

Make Christmas Table Runner using the Half-Hex Ruler - a tutorial with Jenny Doan
Jenny Doan demonstrates a quick and easy Christmas table runner project using the Large Half-Hexagon Template. You can even use scrap fabric to make this festive table topper project!

Instructor
Jenny Doan
Jenny Doan is an American quilter, author, and YouTube personality. Jenny started Missouri Star Quilt Company in 2008 and today it is the largest quilting supply vendor in the United States.
Shop this tutorial
 Olfa Splash Aqua 45mm Rotary Cutter$18.75Shop →
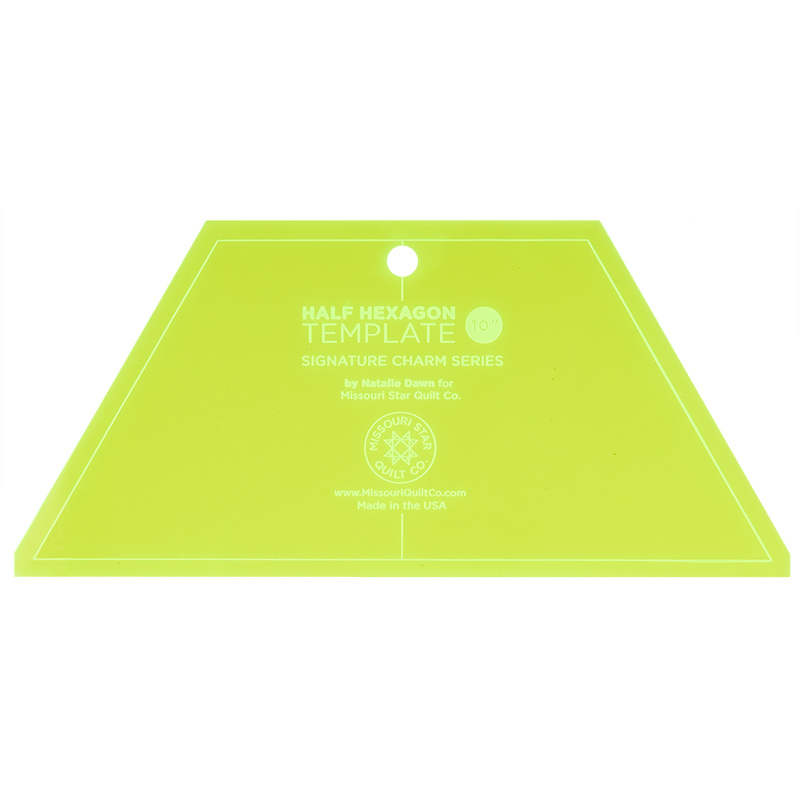 Missouri Star Large Half Hexagon Template for 10" Squares$11.95Shop →
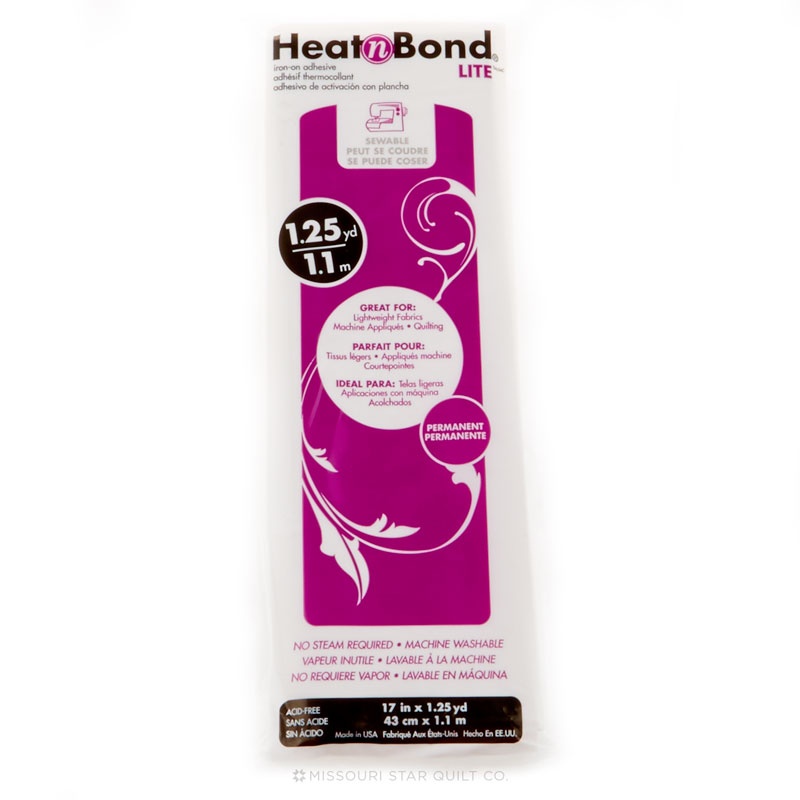 Heat N Bond Lite$3.25Shop →
 Exclusive Missouri Star Jenny TG1600 ProPlus Oliso Smart Iron$199.99Shop →
 Missouri Star Wooly Betty Board - 17.5" x 17.5" Aqua Border$88.95Shop →
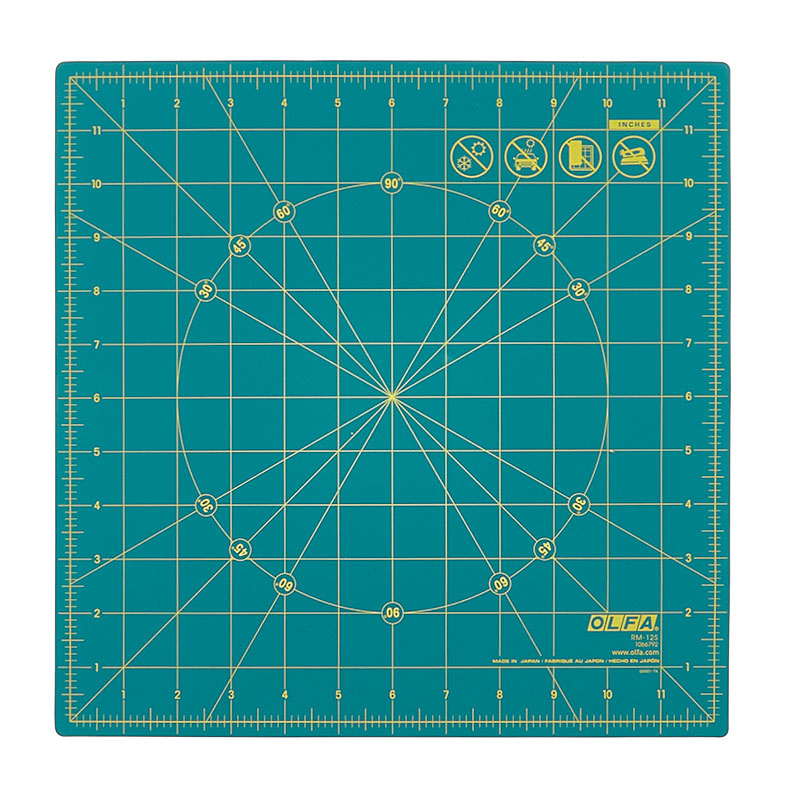 Spinning 12" Rotary Mat$48.95Shop →
Common Questions
What is covered in Make Christmas Table Runner using the Half-Hex Ruler - a tutorial with Jenny Doan?
Jenny Doan demonstrates a quick and easy Christmas table runner project using the Large Half-Hexagon Template. You can even use scrap fabric to make this festive table topper project!
How long is the tutorial video?
The tutorial video is 00:11:57.
Are supplies listed for this tutorial?
Yes. The tutorial page includes the supplies and materials connected to this project.
Video Transcript
[Music] hi it's Jenny from the Missouri Star Quilt Company I've got a great Christmas project for you it's a table runner it's quick and easy and we have used the half hexagon ruler with it you're going to love this take a look at this Runner right here isn't this adorable we've used the half hexy ruler we've made four stands of trees a star in the middle and four going the other direction let me show you how we did this things like this are quick and easy and if you need a a quick gift you know for your for your family or your friends this is great so for this project you're going to need 10 in of your print fabric 10 in of background Fabric and about 10 to 12 in for your border and so it's not very much material you can probably do it out of your scraps you're also going to need the half hexy um the large half hexy ruler and you're going to need a rotary cutter okay so let's get started now what you're going to need for this is you're going to need to use your half hexi ruler and we're going to cut out some of these this is actually going to make our tree branches I want you to see how easy this is to cut out this is a great little template and I love my turning mat if you don't have a turning mat ask Santa for a turning mat they are awesome for these kind of projects all right so so this is your actual tree branches right here and I cut out I cut probably three or four of them at a time I just folded my fabric so you can see how this is going to look right here and I used four on each side now if you want if you have a long table you can use as many pieces as you want it it it'll look cute no matter what you do okay so now for the side pieces we've got a piece of background Fabric and we're going to use our same temp the hexagon ruler and we're just going to go ahead and trim this out and this is I'll show you how fun this is this is a this is just so quick and easy all right now trim off the bottom now these are going to be your side pieces and they're going to fit perfectly because they're from the same template so we're going to measure this we're going to put this on here on our mat and find the exact middle and see there's an exact middle line in here and we're going to use that to to find you can use it to find your middle on the mat and then flip it over and use that bottom and cut it there you go you you've got to make sure you have pieces going both directions because this is how it's going to go on the tree piece just like this so we need to make rows of those so what you're going to do is you are going to fold these over and we're going to sew these down/ qu of an inch in and press them open so we'll come on over here turn this baby on there we go okay so now let's sew down the edge of this we're sewing again a/4 of an inch and we're going to come over here to the iron we'll set that seam and we'll press it back and we'll add one to the other side just like this and these lay on here pretty nice they're not real hard to match up is what I mean by that so if you were making a Quilt Block these are what you are you're calling your rows and so these are going to be these are going to be your rows of trees that we're going to sew together and I've got some over here that I've sewn together so let me show you those here's one side done magic and then here's the other side and I have two done right here and I'm going to show you how we hook two of these together the rows the row set up really nicely let me see my pieces here we go Okay so we've got these two pieces here and the one thing you want to remember is you want them to open up and be stacked you don't want you don't want these pieces to meet you want them to be stacked like this so because they're all from the same template they're going to come out the same size and we're just going to go ahead and flip this over line up line it up and we're just going to sew a/ qu of an inch down this whole row and so basically what we're doing is we're just sewing rows together so that uh to make our tree it's quick and easy there we go now we'll press this open just like this we'll go ahead and press down that seam Flip It Up press it over and now we'll add this one to this one the same way we're just going to sew that together this is so cute one of the things to remember about our templates is that because they're made for pre-cuts they fit on both the the little one fits on the charm pack and the big one fits on the layer cake size so you could make you know if you took your little 5 in template you could make little little little tiny trees with it and um a gal came in and did that one day to make the center of her table runner it was just so cute you know and anything I think anything little is always cute anyway and I have used this hexi for more things I love it okay so now I have my trees for both sides and I will probably trim along you know just trim along the side make sure it's nice and straight before I add my borders and then for this middle piece in here you just need a 3 and 1/2 in strip like this and we're going to sew it either either side so let's go ahead and add that in this is just a 3 and 1/2 in Strip by the width of of what your um your strip ends up you know your row ends up 3 and 1/2 in Strip by that width and we're just going to sew it together and this is where we're going to put our star there we go and we'll press this open it and then add our other side just like this right sides together so our 1/ qu of an inch all right so let's go ahead and and open this up and we will press this so it's lays nice and flat there is our beginnings of our table runner almost done all right so the last thing we have to do is we're going to add a star in the middle I printed this off of um online there's free printable downloads I printed this off and I've got some heating Bond here and what we're going to do is we're going to trace this heating Bond trace this star onto the heating Bond and these this star will be available to you for a free download as well so I'm going to just Trace around this like this and I you put the bumpy side down and I'm using the um you put your bumpy side down and you draw on the on the smooth side then what we're going to do is we're going to iron this onto our star Fabric and I've chosen this red fabric again this is just a such a great project to use with strips now you're going to iron this onto the back side of your [Applause] fabric just like this and if you don't want to waste all your paper you can trim that out first it's really a rough trim when you do it because you're going to trim it really good once you get it ironed on okay so once you're sure this is this is good and ironed on here then you can go ahead and cut it cut it out so I'm just going to cut this right along these lines let me see here basically heating Bond will allow you to iron this on and then um Stitch around it so you don't have to do any hand applique you can just Stitch it on with the sewing machine once you iron it on on actually if you ironed it on it would stick on just fine but I always like to you know do a blanket stitch or a straight Stitch around the edge of my um applique because I'm I am uh if I'm using a table runner on the table it's going to get spilled on and so I'm going to have to throw it in the wash and I want to make sure it sticks on there all right so let me move these okay so you've got your star all cut out and you know it'll lay right here perfectly in between these or you know you can do it uh with the two points out like that and then the I've found the easiest way to get this paper off is just to score a little line on there and just pull this off comes off really easily there we go one more little piece and then you can put it on there where you want it I like mine with like the point like sticking down and then we'll just slide this over here to our ironing board and press that on here and it's as quick and easy as that I mean it's just then you're just going to add your little border I'll probably use this same fabric for my Border 3in strip all the way around and it just makes a darling little table runner now let me show you this other one this table runner I made with scraps this is a Riley Blake line called Holly Jolly and it is I just used the ends of my layer cake scraps out of this and I just think it's darling it came together so cute so no matter what you use whether you're going to use a layer cake or you're going to use your scraps or you're going to use yardage this is a darling project and we hope you enjoyed this project from the Missouri Star Quilt Company


