Make a Christmas Table Runner using the Large Wedge Tool - a tutorial with Jenny Doan
Jenny Doan shows how to make a cute Christmas table runner. You'll need a Large (10") Simple Wedge Tool, a Layer Cake and Rotary Cutter to make this festive quilted table runner.

Instructor
Jenny Doan
Jenny Doan is an American quilter, author, and YouTube personality. Jenny started Missouri Star Quilt Company in 2008 and today it is the largest quilting supply vendor in the United States.
Shop this tutorial




Common Questions
What is covered in Make a Christmas Table Runner using the Large Wedge Tool - a tutorial with Jenny Doan?
Jenny Doan shows how to make a cute Christmas table runner. You'll need a Large (10") Simple Wedge Tool, a Layer Cake and Rotary Cutter to make this festive quilted table runner.
How long is the tutorial video?
The tutorial video is 00:09:33.
Are supplies listed for this tutorial?
Yes. The tutorial page includes the supplies and materials connected to this project.
Video Transcript
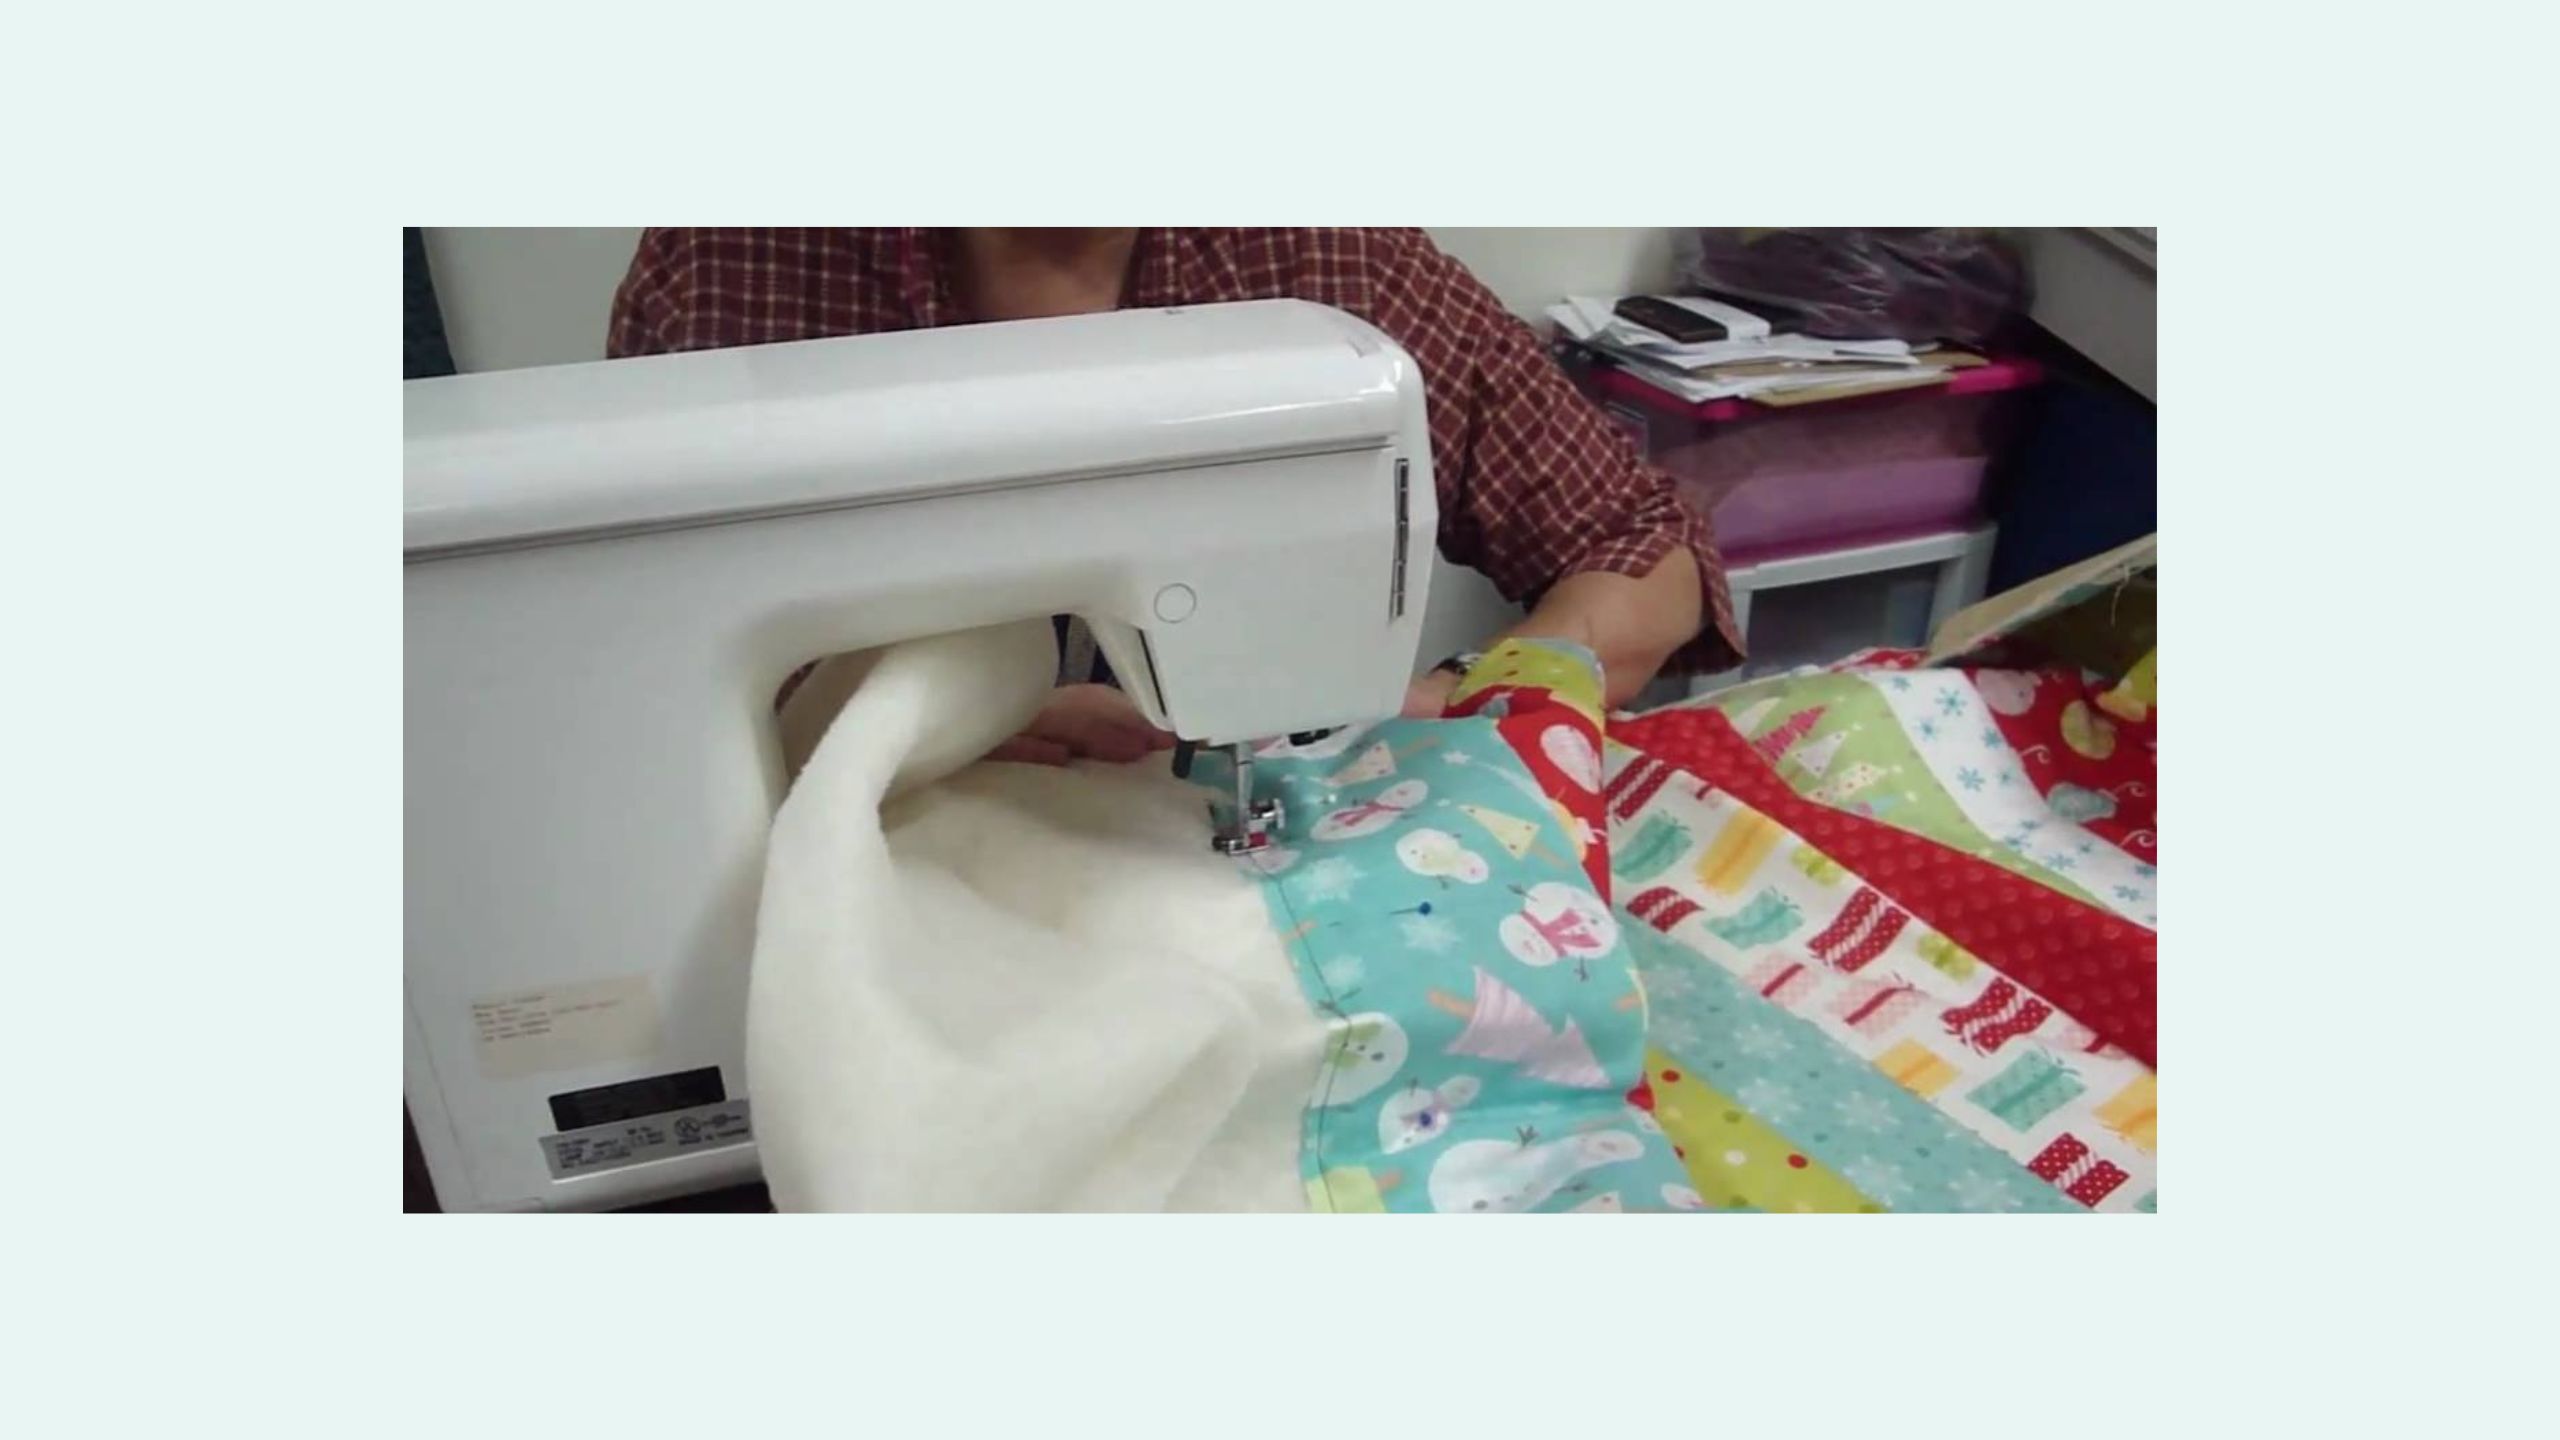
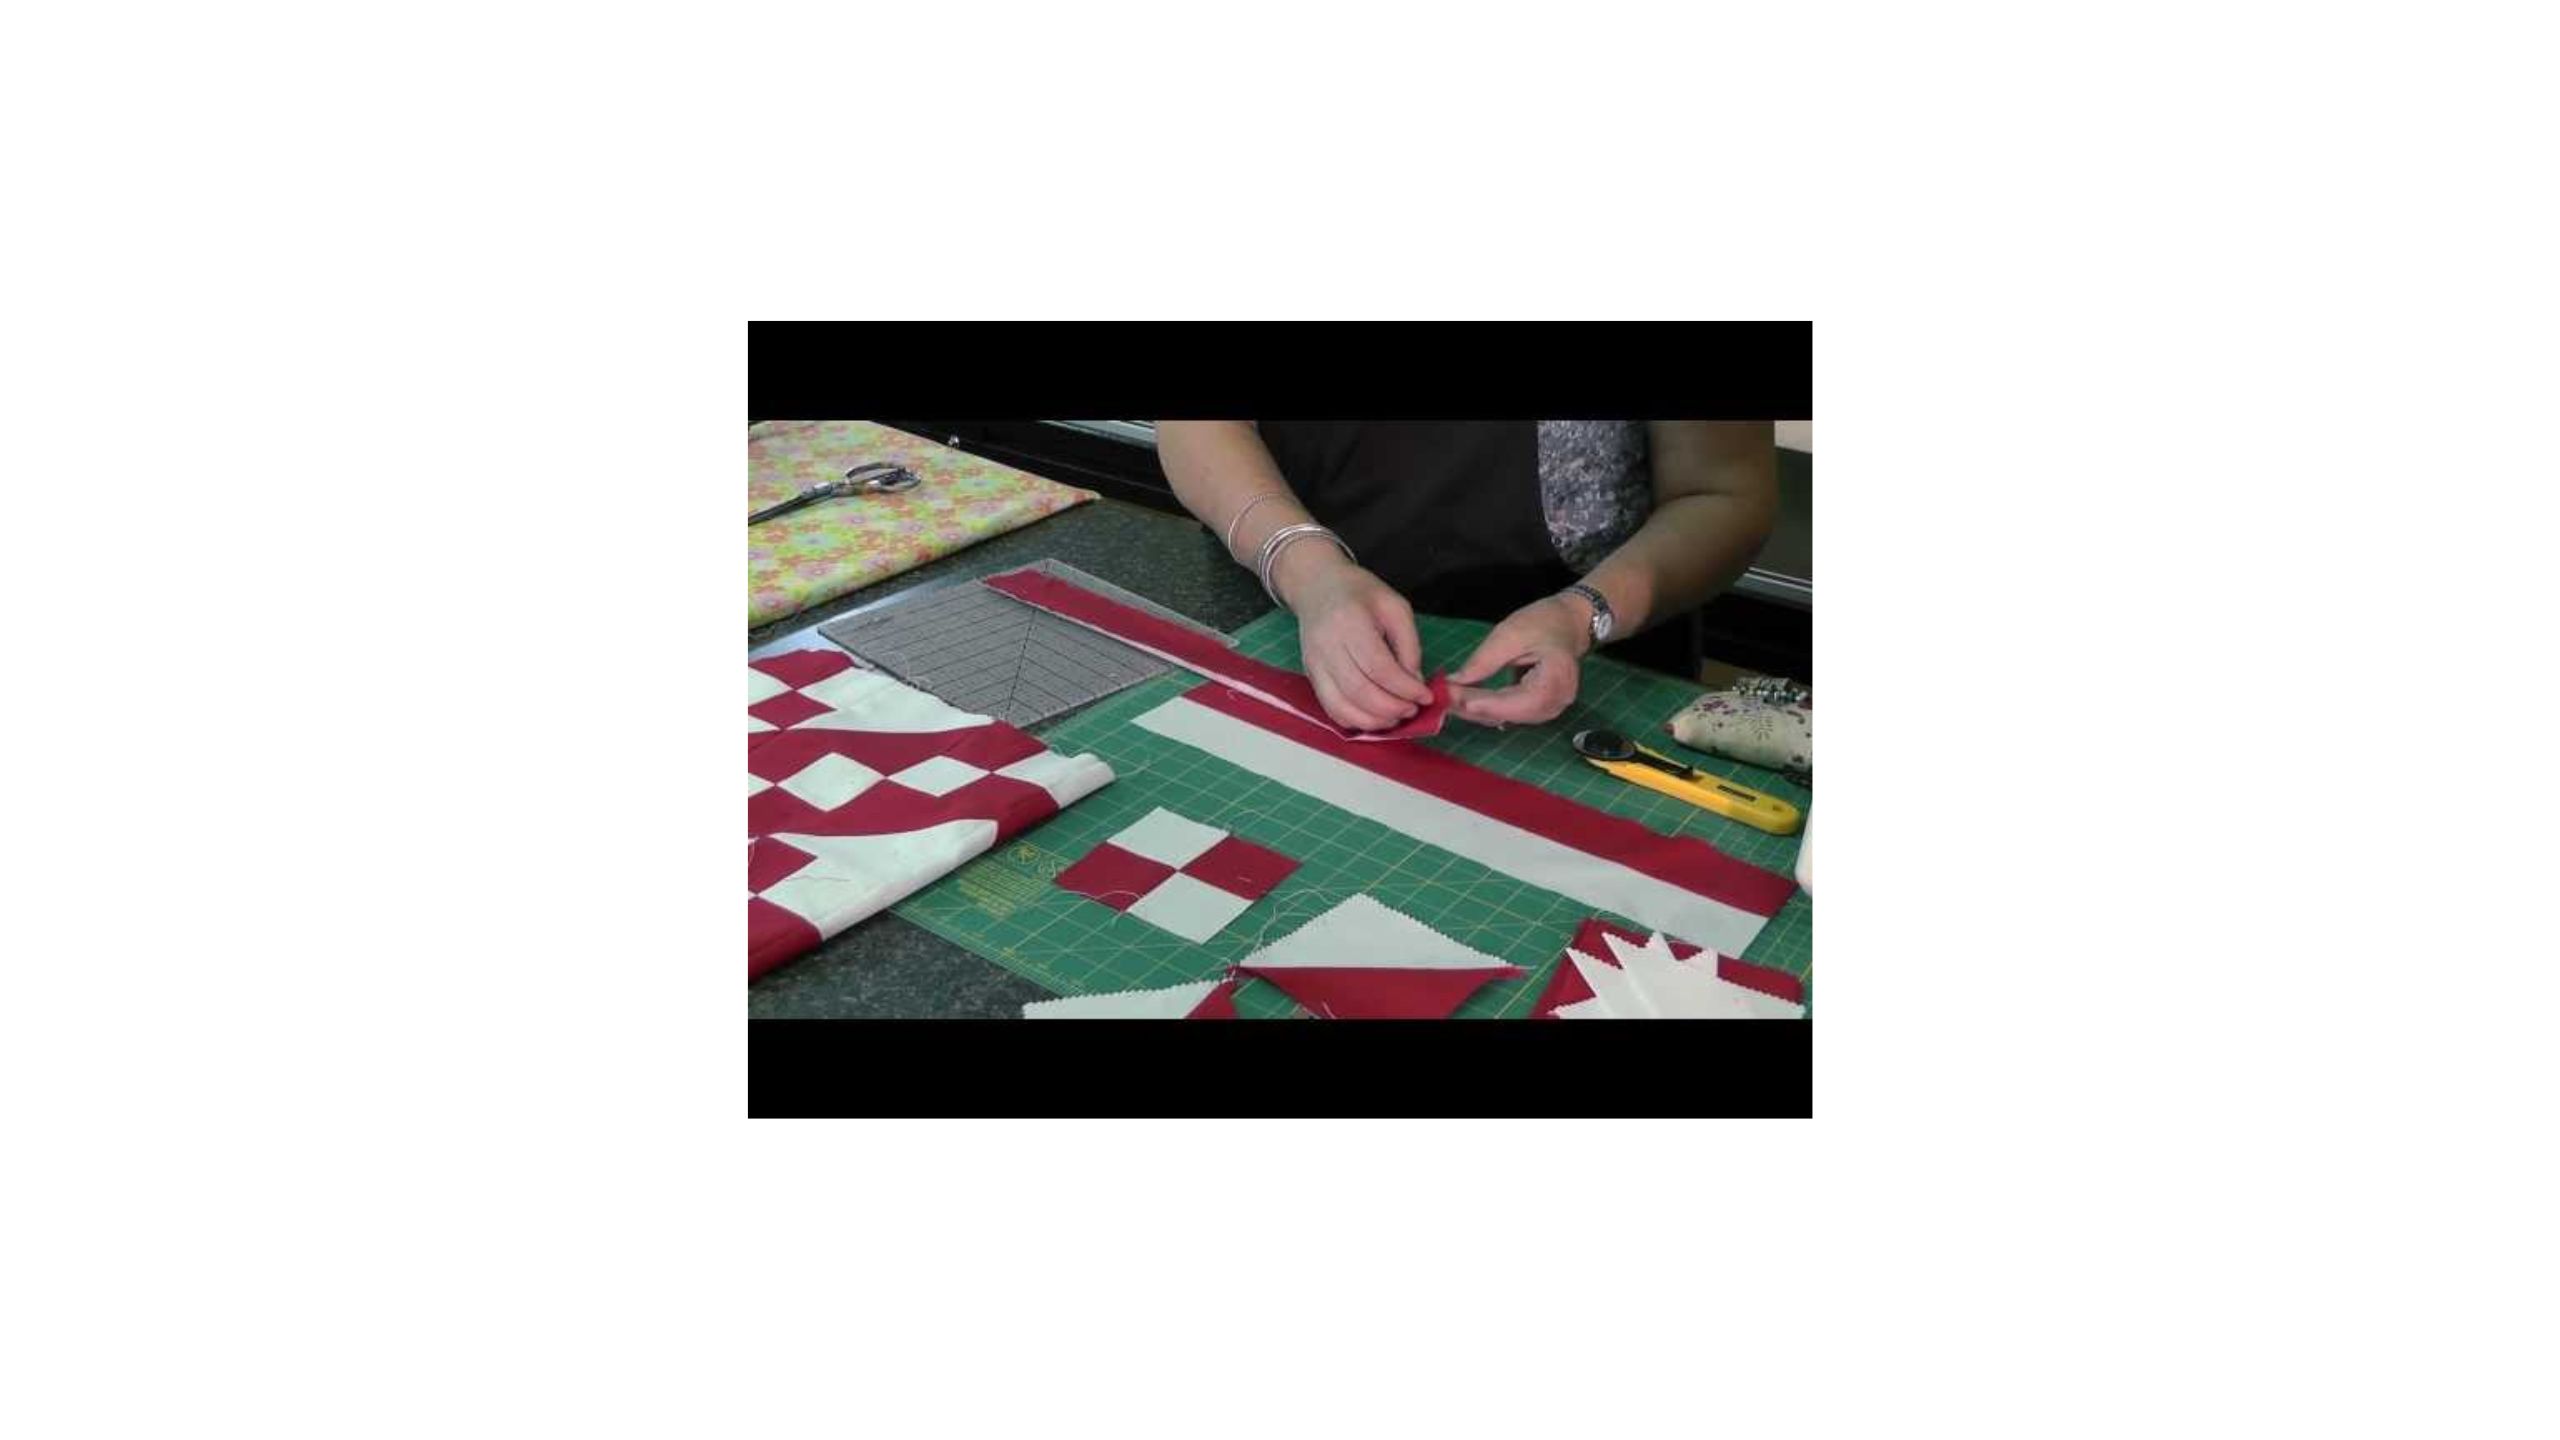
[Music] hi it's Jenny from the Missouri Star Quilt Company Christmas is fast approaching and we have an awesome project for you today take a look at this cute runner isn't this great look how the trunks come the trees work from either side it's just so cute and it's very very quick you're really going to enjoy making this for this project you're going to need a layer cake of course out of this layer cake you'll be able to make about five or six of these depending upon how long you want them you really can get a lot out of one layer cake and then you're going to need the large wedge ruler right here and you're also going to need your rotary cutter you'll also need about an eighth of a yard or a qu of a yard of muslin for your background it may be closer to an eighth but it's you know it just depends how you cut it so um let me show you how we do this the first thing you're going to do is you're going to cut your trees the trees are cut using this wedge ruler and the wedge is really cool because uh usually a wedge floats in the middle of your of your Fabric and you have a lot of waste but our wedge sits along the edge and out of this you're going to get two cuts you'll get two wedges out of each Square so really you can do this out of um if you have stash you know and you have a uh Christmas fabric that you want to use that's at least 10 in wide it'll work perfectly so let's just cut out a a tree here so you can see the shape we're looking at there it is right here and then let me cut one more cuz you can get two out of each um layer cake which is just so cool now we made this using the fa la la uh layer cake by the French General but you can also I mean this is this is going to be darling any any Christmas uh fabric you have that you want to use this is going to be so cute all right so here we are we've got our two little wedges and you're going to want to save this piece of fabric over here because this is going to be your tree trunks so let's just let's just move this over here and I'll show you how we do this now I've got a little pile of wedges cut here and it's really fun to put these together because you put them you know you just stagger them up and down you're going to put one right side up and one um upside down there we go I got one of those so you see how they go and you're so you're going to you know you're going to want to put this one this way and the cool thing is when you go to put these together they really really just line up really great you just lay your edges together like that and then we're going to sew a/ quart of an inch right down here and just sew them together so let's go to the sewing machine and do that all right here we are okay all right now what you're going to want to do here is you're going to want to um set your seam I'm just going to clear off this area you know how messy I am so we're going to set this seam like this and then we're going to roll this back and these are your first two together like this I have a string of them here sewn together already so let's just go ahead and add um a couple more to this one okay so let's take this piece that we've got here that we've we've stitched together our two trees and attach it to our long Runner uh to make it our finished length all right let's come over here here we go we're going to set that down on here again we're just a/4 of an inch we get it started and we check to make sure that we're all lined up nice and even over a little bit there we go then we're going to press it open over here there we are now see if you have one right here that um comes out a little bit more on the bottom it's real easy just to trim that off real quick I mean you just take that little piece and we're just going to slice that right there even it up because we want a nice straight row of trees and then we want our table runner to be um we don't want an angle on the end we want it straight so what we're going to do this is really cool because this wedge ruler is set up it has a center Stitch line and we're going to put that Stitch line right along the um the center line right along the Stitch line and cut it along the edge of the wedge and that will give us a straight edge for our tree so see how that works we just put the little Stitch line right along the edge right along our sewing line and then the edge of the wedge makes the straight line so you end up with a straight line on your um the end of your Runner so that it works out all straight and nice it just works out perfectly so the next thing we want to do now is we're going to add the borders the borders are made up of a 6 and 1/2 in piece of of background Fabric and your 1 and 1/2 in uh strip tree trunk so to get those tree trunks remember we had that little piece left over in from the end of our um from the from when we cut our two wedges we had that little piece left over and this is awesome because you can get several trunks out of one little piece we're going to go ahead and trim this one to 3 and 1/2 that's the width of our border by 1 and 1/2 3 and 1/2 by 1 and 1/2 is the size of our trunk just like that and makes a perfect little trunk size and then what we're going to do is we're going to attach that to a um a 3 and 1/2 by 6 and 1/2 in piece of background so let's go ahead and sew that over here again we just everything is a quarter of an inch we go right through there oh there's my cutter and we're going to press this set your seam roll it back and then we're going to go ahead and attach this I have I have a a little bit of a strip going you'll want to do this for both sides so let's go ahead and attach this really this is so quick and easy you could easily do it in an afternoon and often times we are we find ourselves at the holidays at the very last minute needing that a quick gift for someone and this table runners are small enough that you can Quil them in your machine you know so they go together really quickly and this is just one of those projects so let's see how this lines up you want to make sure that your tree trunks are centered to your trees just like this and right here this very end little piece because it's a it's a half a piece you're going to put a half of this block so you're going to cut a piece from your background that is um 3 and a/4 so here's that piece right here this is a half of your half of your muslin piece which is 6 and 1/2 so this is 3 and a/4 and then we're going to sew that onto the end and you'll see how that um line right up with the end of our table runner there we go let's go ahead and set this and sometimes I get so excited by the end of these Runners that I I get running to the end of my project and I I don't get it done so there we go so what we're going to do now we have this and you know you'll just keep adding these until it's the length of your Runner you'll also add one on the other side and you're just going to sew them right sides together like this and what I would do is I would put a pin you can find the center of your of your you can find the center of your tree if you just fold it over you know match up your fold lines and and make a little finger crease like this and then that will show you the center of your tree and and to just to get this to line up perfectly I would go ahead and put my tree trunk right on there put a little pin in there and make sure it it um it really is in the center of your tree and then attach this on and sew this on so then what you're getting is you're getting this Runner here see where these are these are lined up in the centers like this and they're just perfectly lined up because you put that pin in there and you've added a border on either side and that's the whole table runner so we hope you've enjoyed this tutorial from the Missouri Star Quilt Company t