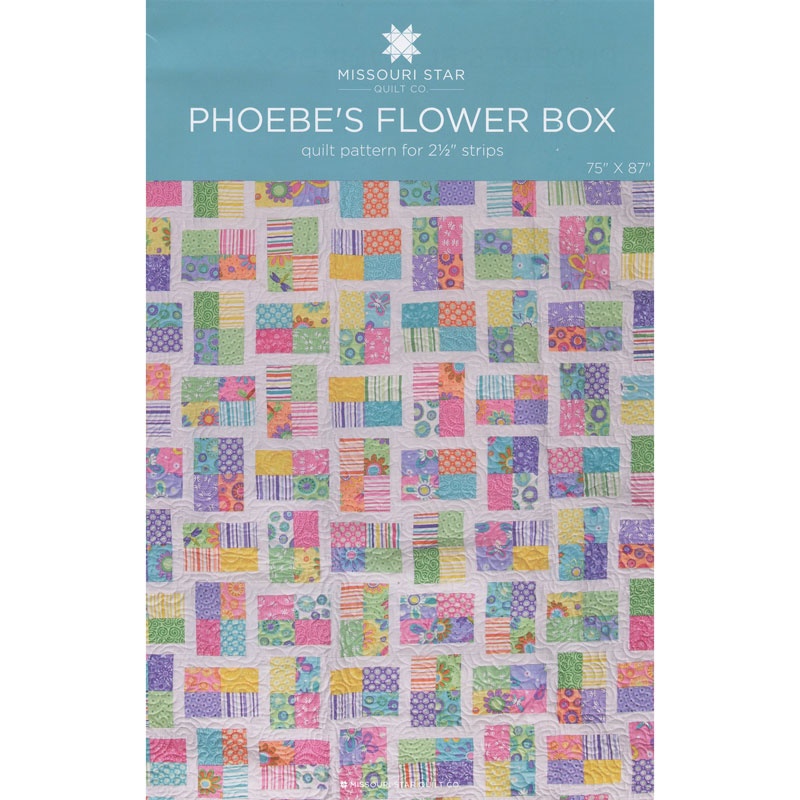
Jenny Doan demonstrates how to make the lovely Phoebe Flower Box Quilt. It's a project that is easier to make than it looks, and uses 2.5" strips of fabric. This quilt is sure to brighten up any room with springtime fun!
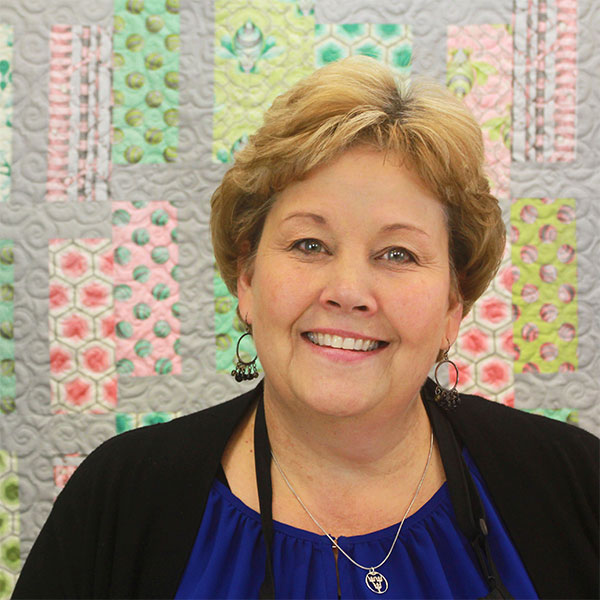
Jenny Doan is an American quilter, author, and YouTube personality. Jenny started Missouri Star Quilt Company in 2008 and today it is the largest quilting supply vendor in the United States.
Jenny Doan demonstrates how to make the lovely Phoebe Flower Box Quilt. It's a project that is easier to make than it looks, and uses 2.5" strips of fabric. This quilt is sure to brighten up any room with springtime fun!
How long is the tutorial video?
The tutorial video is 00:05:17.
Are supplies listed for this tutorial?
Yes. The tutorial page includes the supplies and materials connected to this project.
Video Transcript
Hi, I’m Jenny from the MSQC. Take a look at this gorgeous quilt behind me. Hilary came up with this pattern. We’re calling it Phoebe’s Flower Box. And it’s just so darling. Every little square ends up being bordered. And it’s just a really cute easy pattern. We made this quilt from a fabric line called Phoebe by Another Point of View from Windham Fabrics. And I just fell in love with this purple. This is just a gorgeous quilt. So what you need to make this quilt is one jelly roll. About two yards of a solid or a fabric that’s going to pop your jelly roll. And, and then your border fabrics which this is going to be about ¾ of a yard and this is going to be about a yard and a half, depending upon how wide you end up making your borders. So just keep a watch on that. And let me show you how this is done. So you’re going to take a jelly roll and you’re going to unroll your strips. And you’re going to sew contrasting colors together. I have a, you know, a light purple and a, I mean a darker purple and a lighter white for this contrasting set. And I’ve sewn a couple together here. So here’s these two and there’s these two. So you just kind of want to divide up your jelly roll into two different piles of lights and darks. And put them together. Then we’re going to go ahead and cut 3 ½ inches because what we’re making is a four patch like this. So you’ve sewn your two strips together and we’re going to cut them 3 ½ inches because we, we don’t want a normal four patch. We want this kind of elongated one. So let’s go ahead, let me go ahead and cut these two pieces. And I’m cutting two at once. I layered my strips, you can see. Here’s the top one and here’s the bottom. That just saves you a little bit of time. And then what we’re going to do is take our lights and darks and make sure they’re opposites like this. And then we’re going to sew that together just like you would a four patch. So because you’ve ironed to the dark side on your, when you iron these strips sets, the, these pieces should nest together just perfectly. So let’s go ahead and sew these together. Make sure they’re lined up. You can put a pin in there if you need to. I like to take a few stitches to anchor mine. And then I like to kind of peel it back, open it and make sure if those seams are exactly nested together. And then go ahead and sew my square. Now what we want to do is iron it open. So we’ll just set that seam and then roll that back. I’m going to clip the thread. And then what you’re going to want to do is you’re going to want to take your solid fabric and you’re going to cut it in inch and a half strips. And it’s going to be an inch and a half by 6 ½ which should be the, the width of your block. Let me check here. Ya, it’s 6 ½ and that, you know, depending upon your seam allowance. But you’re going to make your strips that same size. So what we’re going to do is we’re going to attach a strip to both sides of this block, on the long side. So let’s go to the sewing machine and do that. This shouldn’t take us but a minute. This is a great, just a great project. It’s fun. It has a lot of, I mean, it’s just got a lot of show stopper for how easy it is. You know it’s another one of those projects that’s just really easy and quick. Now what I’m going to do right here is just turn that around and put it on the other side. So what I end up doing is sewing down one direction and up the next. And you don’t have to do that. You know you could, you could chain them all down one side if you wanted. Either way will work. We’re just trying to get them together. Alright now let me press this open. I forgot to actually set my seams on there. I always forget that because I get so excited to get to the, the finished look. So we need to set those seams. And then I’m going to trim these threads off of here. I’m a terrible, I leave threads terrible. I’m terrible that way. So once you get your strips on the sides, this is the block you end up with. Darling little block. Four patch with two strips on either side. But when you get two of these together what happens is you turn one sideways. The first one’s up, the next one’s sideways. And it ends up bordering itself together. The blocks just fit in there perfectly. Each block ends up looking bordered. And all you’ve had to do was sew strips on two sides. So we hope you enjoyed this tutorial on Phoebe’s Flower Box from the MSQC.


 Jenny Doan