

Make a Christmas Tree Skirt - a Tutorial with Jenny Doan
 Jenny Doan
- Charm Pack
- Holiday
- Intermediate
- Quilt size 40" × 40"
Our festive Jenny Doan shows us how to make the most adorable little Christmas Tree Skirt with charm packs!
Instructor
Jenny Doan
Jenny Doan is an American quilter, author, and YouTube personality. Jenny started Missouri Star Quilt Company in 2008 and today it is the largest quilting supply vendor in the United States.
Shop this tutorial
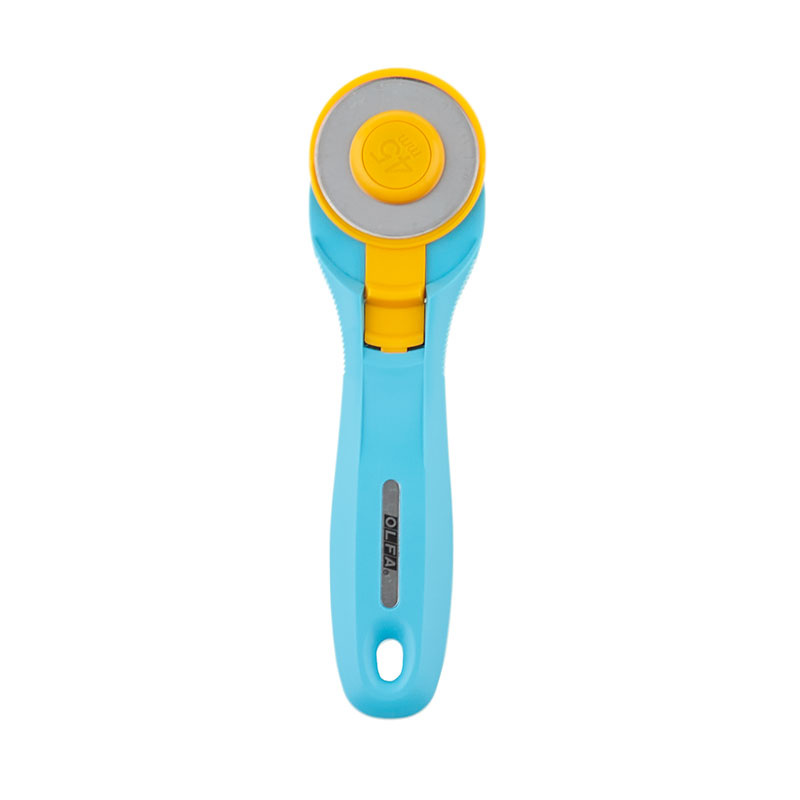 Olfa Splash Aqua 45mm Rotary Cutter$18.75Shop →
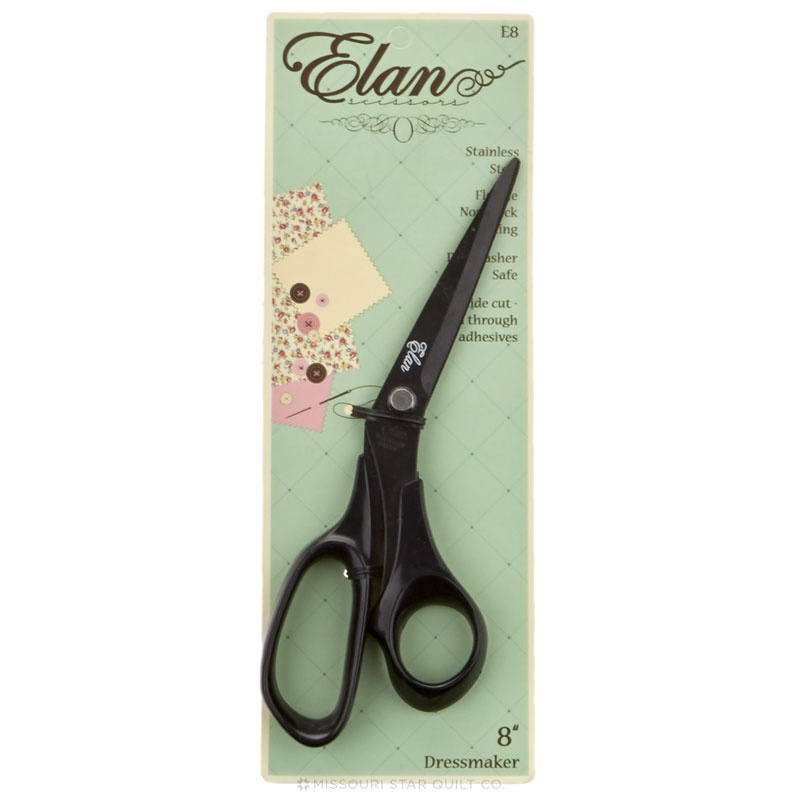 Elan 8" Dressmaker Scissors$20.95Shop →
 Olfa Cutting Mat - 24" X 36"$68.95Shop →
 Missouri Star Quilter’s Best Blend Crib Batting$14.45Shop →
 Missouri Star 5" x 15" Ruler$15.95Shop →
 Exclusive Missouri Star Jenny TG1600 ProPlus Oliso Smart Iron$199.99Shop →
 Missouri Star Wooly Betty Board - 17.5" x 17.5" Aqua Border$88.95Shop →
Common Questions
What is covered in Make a Christmas Tree Skirt - a Tutorial with Jenny Doan?
Our festive Jenny Doan shows us how to make the most adorable little Christmas Tree Skirt with charm packs!
How long is the tutorial video?
The tutorial video is 00:22:16.
Are supplies listed for this tutorial?
Yes. The tutorial page includes the supplies and materials connected to this project.
Video Transcript
[Music] hi it's Jenny from the Missouri Star Quilt Company and it's beginning to look a lot like Christmas we here at the Missouri Star are in the mood we've got the shop decorated we've got Christmas going and I'm here to show you some fun and easy projects today we're going to talk about tree skirts almost everybody needs a new tree skirt once in a while and they have personalities all their own so what we're going to talk about here's a pretty example this is a tree skirt that I've made with u tide and basically what you have to remember that is so simple is that basically all it is is a little quilt it's just like making a little baby quilt we're just sewing charms together and so let me just tell you what we're going to need for this project I'm going to put this over here what we're going to need is you're going to need a rotary cutter you're going to need some scissors SC and you're going to need a marking pen I like this friction one because it you know you can iron off the marks if you make them in the wrong place and sometimes we make mistakes the other technical item you're going to need is a technical object like this Hightech paper plate actually what it's for is the circle in the center of the quilt I'm going to show you how to find that Center you're going to put your paper plate or your roll of duct tape or your bed Riser whatever it is that has the size circle that you need and we're going to trace that in the middle and then you got to be brave and cut into that quilt so the other thing that you're going to need are some charm packs and it takes two to make a good sized quilt um I have two F laws here and we want to keep this quilt square so falala has 42 that gives us 84 charm packs we're going to use 81 of them and put nine across and nine down which will give us a square little quilt so what we're going to do is crack one of these open and what I like to do is I like to separate my charms into colorways so I'll have the lights and I'll have the darks and I'll have the Reds and I'll have the greens and then what I'm going to do is is I'm going to take um one from each pile or sew two of them together actually you know but I'm just going to I'll have my piles of colors here mixed up so that we can sew them together so you put them right sides together and we're we're going to sew this side and remember it's qu of an inch so we're going to come over here to the sewing machine and we're just going to go ahead and sew right down the side of this and then we're going to come over here to the ironing board let me move this a little bit so you can see better and we're going to set this seam right here and then we're going to roll it back now on this one on these it's because these are all um going to go together in Long rows you just want to make sure that you're that you press one row All the Same Direction so that when you attach the next row they'll all be the other direction and those seams will Nest right together so you're going to go ahead and sew nine of these together to make a long row so let's go ahead and do that let's do one more while we're here I'll mix it up a little bit all right so we're going to attach a red one to this and we're just going to keep adding them on like this so we have two and we'll sew this together on the/ quart of an inch and that will give us three and we'll keep going until we have nine there we go so again once you get your next one on you're just going to come over here to the sewing machine set your seam and roll that back so you just kind of want to make sure they're all kind of going in the same direction all right so we'll meet you back here in a few minutes and I'll sew some more together okay so now I've I have this little top I've sewn nine squares together and I have nine rows so that takes almost all my charms and it's just kind of a square you know it doesn't look much like a tree skirt yet it's just kind of a square so I wanted you to take a look over here at this one this I made with two U tide charm packs and it has a really kind of roundish fun look to it and what I'm going to show you today is how to put on these angled borders so that your Christmas tree has a more rounder shape to it and it really looks like a Christmas tree skirt then a little more than just the square the square is cute and darling but let's festive that up a little bit all right right here on the corner of our little quilt you'll have this is your corner right here and we're going to trim that off you have to be a little Brave to do this so here's where our rotary cutter comes in we're going to take our ruler and right here on these Corners can you see these little Corners right here we're going to put this ruler slide it over there so they slide in A4 of an inch so you're a/ qu of an inch on the outside of both of these Corners like here so what you're using you're using this for your measurement and a/4 of an inch over here and then we just hold our breath and be brave and make that cut so we cut that off we're going to do this to all the corners of our little quilt and again we're just a quar of an inch over and we make that cut it's starting to look a little more circular which is kind of what we want from a tree skirt it's really personal preference how how uh how you do your tree skirt but it's so easy cuz basically it's just two charm packs with the rose sewn together now for here we are at the last one there we go we're just we're just being brave so here we go here's what we have we have this little um this little quilt that's going to be a tree skirt and we've got our Corners cut off and a lot of times this kind of um bordering on the corner makes people really nervous but let me just show you how easy this is so what we're going to do is we want to decide what size border we want I think I'm going to use this green fabric right here I think that'll Set It Off keep in the Christmas mood and I think what um what I'd like to do is maybe do a 3in border so instead of doing a couple of borders I'll do one little bit wider I'm going to do a 3in border the first thing you always want to do on your fabric when you're trimming your fabric you want to line it up and you want to make sure that you have a straight edge to work with so we're we're lining our fabric so that it's even along this line of the mat and then we're going to put our ruler evenly along this side and we're going to trim that edge off so that we have an exact straight edge to work with and we can get rid of that and and then we're just going to cut 3in strips I I think for this size this is going to be um it's about uh 40 in so I'm going to cut I know for sure I'll need four because the fabric the width of the fabric is 40 in and um and and then I'll probably cut one extra just in case cuz I like to be I I just like to be sure you know I want to have all my stuff cut before I begin so um if you cut five 3in borders that's 15 in so for the border on this you're going to need a half yard and that's a a real easy way to remember that so for your border you'll need a half a yard and I'm just going to cut one more to make sure now one thing about this kind of this fabric here this line they do a little um a little border thing on here right here see it has this little uh kind of stitch pattern right before the Salvage area and we're going to go ahead and trim that off because we don't want that showing up in our um in our border so I'm going to trim that off I'm going to stack a couple here make sure they're lined up make sure it's straight on the ruler that helps you get a good line um a good straight line on your end and I'm just going to go ahead and trim this off I'm going to trim out as far as I can without hitting that line cuz I just I don't want that in my border all right so what we're going to do now this is kind of fun is we are going to sew these border pieces along the side and so it's going to hang off on both ends so I'm going to leave a little bit of overhang over here and then I'm going to just sew that border on there now when when you sew a border on on a small area like this you want to put your border piece on the top because the bottom will draw in more fabric than the top will because of those feed dogs it'll draw in more Fabric and what you want is you want it to um you don't want wavy borders so we're just going to put our border on the top so we leave a little bit extra over here because this is going to come up here and we want to make sure that we have enough and we're just going to sew this on the trick on this one isn't the sewing it's the trimming and um it's just so easy once you do it I think you'll really enjoy this kind of bordering and you'll want to do it a lot so I put a little pin in here and I just removed that so I cuz I don't want to sew over it and I'm going to and you're remember you're going to have your border piece on the top we're going to sew straight down and I'm just going to um make sure I hold the top piece pretty just in my hand let's see we kind of bunching up here let me get my little scissor clip this thread it caught on my foot that happens sometimes here we go we're going to sew all the way down here until we hit the end of our curve all right we are there all right now what we're going to do is we're going to iron this open we'll set that seam and then we're just going to iron this open now when you attach these borders what you're going to do is you're going to attach all the long side not the corn corers yet just all the long sides so you're going to do four of those long sides and what we're going to do here now you see how this is has these Tails here's how we make this work and make this part of the quilt what we're going to do is we're going to line up the ruler with the edge of our quilt that we've cut and we're going to slide these ends off like this so the next time we add our border here it's just on a straight straight edge it's just a straight border so let's go ahead and add or and cut trim this one let me see this this is always the hard side for me cuz of my I'm I'm so left-handed all right here we go we got this this way make sure everything's laying out nice and straight slide your ruler you know a lot of times if you just slide that ruler up there it kind of straightens everything as it goes and we're going to trim this off and we may need those smaller pieces so we're hang on to those all right now what I'm going to do is again I'm going to attach the next large border piece on the other side so see I'm leaving this corner I'm leaving this corner bear and then I'm going to attach all the long side my borders to the long side so let's go ahead and put this border on the long side again we're going to leave a little bit of an overhang put our border piece on the top and just so a/ qu of an inch straight down the side I've done several T table runners where I've angled the ends and used this type of Border it's just really a cute look so what I'm doing is I'm going along use a pin if you feel you need to I um I just kind of hold it together with my thumb and sew a little bit and reposition to make sure that I'm still completely lined up with the edge I want that to stay right on the edge then let's go ahead and iron this back now and we're going to trim this one the same way so we're going to iron here we're going to again set our seam and then go ahead and roll that back and then we're going to trim it and then we can add that little corner piece all right so make sure your ruler lined right up along that edge and trim that Edge Let's go to this side and we're going to make sure your ruler right along that edge just like that and then we're going to trim it all right now what we got to do is we got to put the border on the corner and we're going to do this this same thing we're going to take off this little bit of um Salvage on this probably should have done that at the beginning got all those cleaned up and then we're going to go ahead and do the same thing we did on the sides only this time it's straight across the border so here we go back to the sewing machine4 of an inch you have a little bit of overhang let me get a little more overhang there there we go and we just sail down this side now this side you've cut the corner open so you want to make sure that you do not stretch that side because what you're dealing with now is some um of those bias Cuts you know your Corners are going to be on the bias so they'll be a little more stretchy so make sure you don't stretch them you just let it slide through the sewing machine keep your top bard nice and snug then we're going to trim this off one more cut here we go we're going to iron this back here we are so now what you're going to do is you're going to lay your ruler along the edge of your um border and it's the same thing you just cut off those Corners so it gives you that perfect little Edge you know it makes that gives you that um rounded look without any trouble at all you haven't had to fold anything you haven't had to miter anything and so we're just lining it up on the edge and trimming so let me move this so you can get a good look at this so here this whole quilt this whole little tree skirt is going to be bordered like that so isn't that a nice little Edge on there with you know no mitering no nothing just a just a nice little border so let me show you another tree skirt where I've got both edges on there um oh here we go okay so this this tree skirt I double bordered you know I put the one on and they're all done the same way you can see we have the the little um cuts that run the fun thing about piecing borders like this is that once you quilt it it really doesn't show so once you get your top finished so then once you get all your borders on and um you'll be you'll need about a yard and a half for backing then you're going to quilt it and you can quilt it on your little machine you know you can stitch in the ditch you can do little pads that you want or you can take it to a quilter we have a long arm here so they put on some of these fun um snowflakes on here so now comes the part where you have to be really Brave we're going to cut this tree skirt and um make a circle so the trunk can fit in so what you want to do is you want to find the middle so I fold this treeskirt in half hang on now we've got a good half here and we're going to find the middle and my middle so my middle is going to show up right about here and I want to put a pin there so that I can find that middle now I'm going to open this up and I have my middle and so I know what I'm looking for is this square right here this green square so I know this square is the middle and then what I also know is that because this is a square quilt this is going to be the middle on both sides so then what I want to do is I'm going to make a cut right up here to this Center so we're we're going to do is we are going to take our ruler and we're going to come come in um because this is a finished um 4 and 1/2 in Block cuz we started off with five then you're going to come in you know 2 and 1/4 in from the edge wait I have this on the wrong side I'm like what is going on okay there we go so 2 and a/4 in and this is where your little pen comes in handy your little um pen that you can that you'll be able to erase you know or what you know actually you don't even need to worry about the erase because you're going to bind right over this and then we've got our technical highly technical paper plate and we're going to put that in the center right here and we're going to Mark around that now you could use a straight cut binding on this quilt for everything but the circle so you have to cut a bias and if you need a a refresher chorus on how to make bias binding we have a great tutorial on that you can check that out so look how Brave I'm just cutting right through my finished quilt so scary but what you need to make are these pants Christmas pants that can go around your tree and you wanted just a nice Circle so there we have our hole for the center pretty cool huh and so a little quilt with just some charm sewn together becomes a tree skirt so let me show you this one over here that's finished I'll put this one here this was a CH a tree skirt where I used two Tidings charm packs and see this is why they call them Christmas pants cuz you know they're just kind of I got the pants going on this is two Tidings charm packs right here it's a little bit smaller because there's a few a little bit fewer charms in here there's only 64 and so that gives you an even 8 by 8 is 64 and um and so it just makes a cute one now I didn't do the Deep uh cut on mine I just cut the corner off barely and then I went ahead and used um a bias as my edging so these can be as difficult or as easy as you want so now you so now you've put your bias binding on your quilt and you've gone ahead and gone around the circle and um and when you get ready to sew this down by by hand or by Machine however you're going to do it I always do my binding by hand but I just slipped a little piece of um the extra leftover binding Under The Edge so that I could tie this together on the tree and it would give it that finish you could use a piece of velcro you could do all kinds of things but I just wanted you know a little tie to be on there and just remember if you need a hint on how to do your bias binding we have a great tutorial on that we hope you enjoyed this Christmas project from the Missouri Star quote company


