Sail Boat Quilt
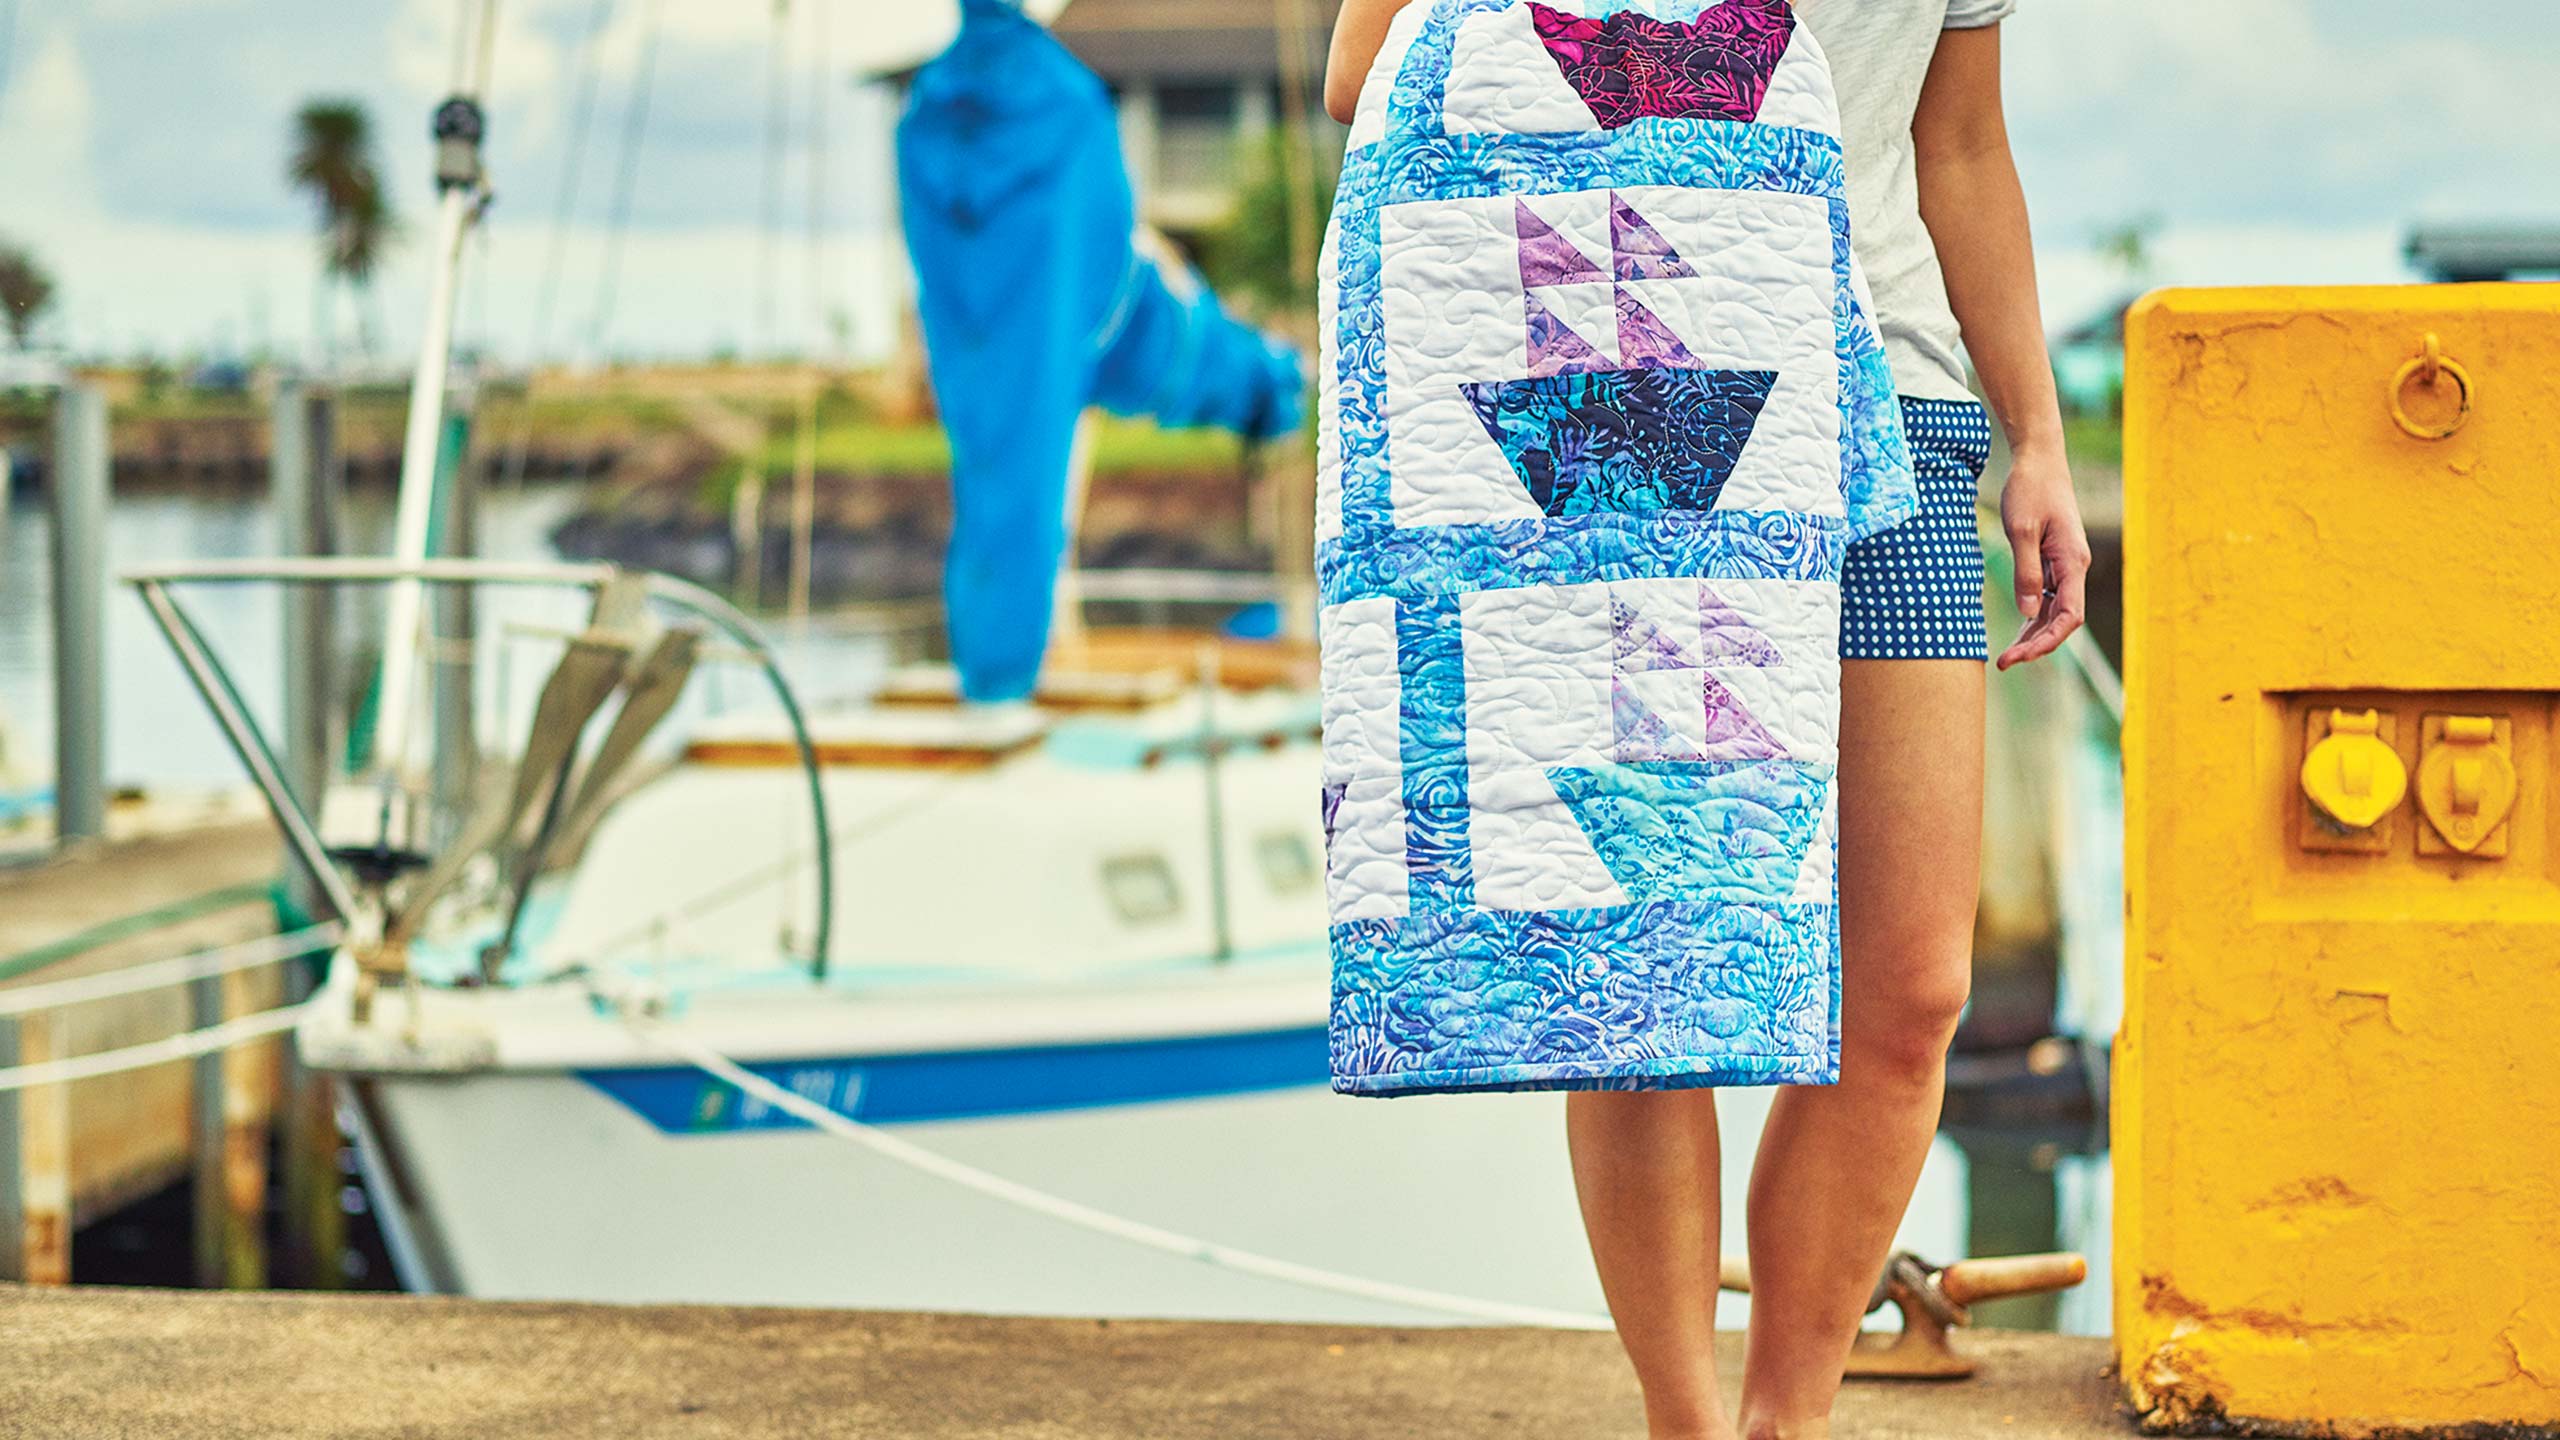
Jenny Doan shares how to make an adorable Sail Boat quilt using the 10" Half Hexagon template.
Instructor
Jenny Doan
Jenny Doan is an American quilter, author, and YouTube personality. Jenny started Missouri Star Quilt Company in 2008 and today it is the largest quilting supply vendor in the United States.
Shop this tutorial
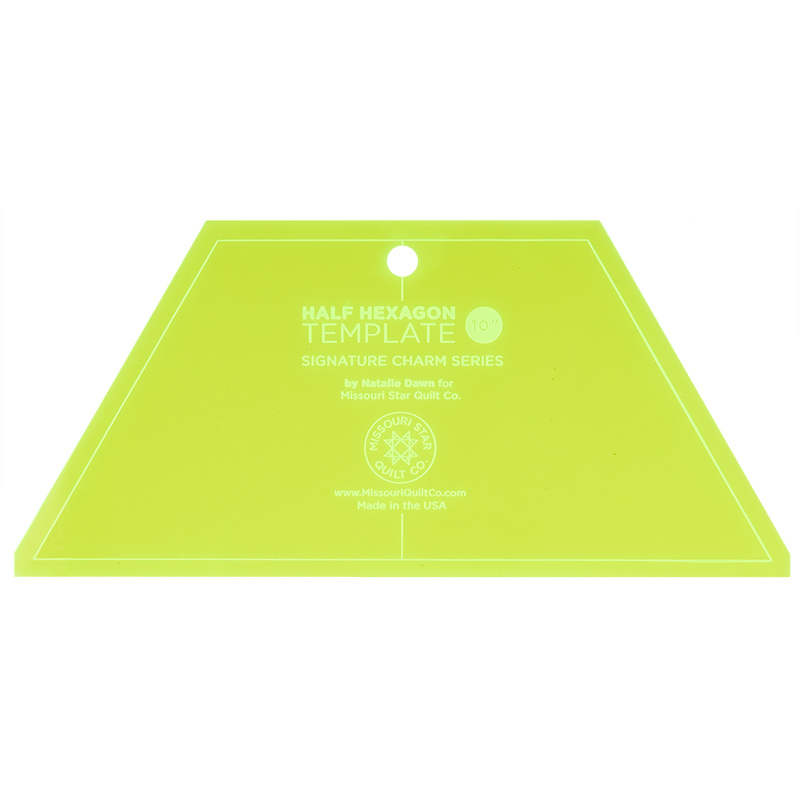 Missouri Star Large Half Hexagon Template for 10" Squares$11.95Shop →
 Olfa Splash Aqua 45mm Rotary Cutter$18.75Shop →
 Olfa Splash 24" x 36" Cutting Mat Navy$68.95Shop →
 Missouri Star 5" x 15" Ruler$15.95Shop →
- Missouri Star 5" x 15" Ruler$15.95Shop →
 Exclusive Missouri Star Jenny TG1600 ProPlus Oliso Smart Iron$199.99Shop →
Common Questions
What is covered in Sail Boat Quilt?
Jenny Doan shares how to make an adorable Sail Boat quilt using the 10" Half Hexagon template.
How long is the tutorial video?
The tutorial video is 00:12:06.
Are supplies listed for this tutorial?
Yes. The tutorial page includes the supplies and materials connected to this project.
Video Transcript
Hi it’s Jenny from the MSQC. When I saw Tula Pink’s new line called Sail Away by Free Spirit Fabrics, I fell in love with it. I knew I had to do something nautical with it. So I started looking around and thinking about blocks. I happen to notice our half hexagon template makes a perfect boat bottom. So let’s talk about this quilt. So here is our block. Here’s the half hexagon boat bottom. And I’m going to show you how to make this block. So cute, so easy. Now when I made this quilt I bought a layer cake. I had a whole layer cake. And you’ll notice there’s only 12 boats in this quilt, three across and four down. And so I had leftover squares and so I made two quilts out of one layer cake. So that’s a little good tip to know especially when you have grandchildren as fast as I do. And I just had a new one and so he’s going to get a sailboat quilt which is really fun for me. So let’s, I want to talk a little bit about this sashing. You can see that I sashed on all these sides and on every other one I sashed, I did, I left the sashing off at the beginning of the row. This gives the boats some movement back and forth. You know they’re not blocked up. They set aside from each other. And so to make this quilt you’re going to need a layer cake or 12 ten inch squares. You’re going to need 1 ¾ yards for the solid white. That’s for each quilt. And you’re also going to need about a yard for the border out here. And I think, let me see over here, let me check, a yard and ⅜ of this blue sashing right here. It’s just an adorable line. You’re going to love it. So let’s get to making this quilt. The first thing we’re going to do is I have, we’re using white yardage for this rather than layer cakes because we need more pieces than our layer cake will give us. But I’ve gone ahead and cut this yardage into a ten inch square. I’m going to lay it with my, the square I’m going to cut from my boat. And I’m going to cut those out at the same time. So the half hexi takes half a layer cake. So what I’m going to do here is I am going to, I think I’ll do it from this direction. It will make a little more sense in my brain. And I’m actually going to turn this around. If I did it the other way I would have a chance of nicking into this top half of this layer and I don’t want to do that. So what I’m going to do is I’m going to make sure my sides meet up on my layer cake. And make sure my bottom meets up down here. I’m going to cut off these little sides just like this. I’m going to come across here and cut off the top. And I’m going to cut this side over here. Just like this. Alright, now what we have is our boat shape right here on the bottom. You can see that. And we have a white piece that’s identical. Now the white piece we’re going to cut in half. I’m going to lay it down again on my, my mat and I can see that this is, let me move this off over here. I can see that this is, it’s ten inches so the five inch line is going to be in the middle. And I’m going to cut this right in half. This is going to make the pieces for the outside of my boat because what we’re, what we’re making right now is the boat. So here’s our, our boat bottom right here. And then here’s these pieces and then what we’re going to do is fold, we’re going to flip these over and we’re going to sew them on like this. And that’s going to give us the bottom half of our block. So let’s go to the sewing machine and sew those on. Now when you lay these on, the little edge pieces don’t match up exactly. They’re just for ease and cutting out on the edge. So you’re just going to lay this together and go ahead and sew your quarter of an inch down. Grab my pedal out there. And I’m going to do both sides here. One more. You just want to make sure you get the angles in the right direction. You’ll have a, you’ll have wonky things on the side. So I kind of lay my piece so it hangs off just a little bit. Then I go ahead and sew down. There we go. Go ahead and grab those threads off of there. Now I want to get you so you have a good look at what I’m talking about here. See how you have a little piece sticking off there. And this little piece sticking off there. They don’t line up exactly and you just kind of hang them over. And then when you open up it opens up nice and straight. And so that then becomes our boat bottom. Now we’re going to go ahead and iron this to the boat side. We want our fabric not to show through to the white. And we have the bottom half of our block completed. So to the top half. Now when you cut your layer cake square in half you’re going to end up with a piece like this which will give you a five inch square for your sails. Because we’re going to make the sails exactly the same way that we make the easy pinwheels which means we need two identical five inch squares. So I’m going to go ahead and cut these five inch squares. And, out of the top half of this. Now I will not be using this sail for this boat. So once you get all your pieces and your sails made you’ll want to swap them around so that you have, so that you mix up your sails. But I’m just kind of showing you how it’s easy to cut it this way. So now you have your two pieces ready. And you’re going to put your light with your dark on top of each other. And we’re going to sew all the way around the outside edge. Now I have one here cut out of another boat that I made. And we’re going to go ahead and sew that together over here and make our sail. Alright so we’ve sewn all the way around. And you’ll get familiar with this method because I use it a lot. I love half square triangles and I like to, to go ahead and, and use them. So what I’m going to do now is I’m lining up my ruler where my seams cross and making sure that the edge of the ruler is on the points of the block. I’m going to go ahead and cut that diagonally both directions. Make sure it stays lined up . If your pieces move you want to make sure to move them right back so that you get a great nice clean layout. Then we’re going to take this over to the iron. We’re going to put it dark side up, set our seams. We can do that all at once. And then we’ll lift them open and roll them back. There we go. And just press them all. And this gives us four half square triangles really quickly. So now we have four of these. And instead of putting them together as a pinwheel or something else we’re making a sail. So we’re going to go ahead and we’re going to line them up this way so that they’re all facing the same direction. And it gives us the look of a sail boat. So then when you put the bottom of your boat on here, you know, it just, it’s going to be really cute. So then you’re just going to lay these together, just like you’d sew together a four patch. So now I’ve gotten these two rows sewn together, just like this. We’ll iron them open and grab this one. And then we’re going to sew these two rows together to make a block. And I have one here that I’ve done. This cute little red one. And what we’re looking at with our boat is, we want this sail to set right in the center of our boat. And we need to put pieces on either side of this. So when I’m creating the block, just so you know, because all of our seams differ. What I do is I go ahead and measure out here and I see exactly how many inches I need. And then I go ahead and cut a piece that’s the width of this and the height of this. Now for me those came out to 4 ¾ by 5 ¾ . So I’m going to go ahead and put I have two of those pieces cut right here. And I’m going to go ahead and sew those on. And they’ll probably end up a little big. The benefit of that is it gives me a little room to trim to square up my block. So I’m going to go ahead and sew this on. And before I go to the iron I’m just going to turn it around and sew my white piece on the other side. Alright. Grab my threads. Oh I’m terrible with my threads. Ok so let’s iron this open. And then I like to take my boat and fold it in half and do a little finger press on this seam right here so that I know exactly where the center is. Then I’m going to line up the center of this. Fold them right sides together. And I’m going to put a little pin in there so that I can make sure that it stays. If I could find, oh here’s a little pin. Almost couldn’t find a pin. How crazy is that. Well I don’t pin very often. But I like those to stay together. So then I’m going to match this up and go ahead and sew it a quarter of an inch all the way down. When I get to the center I’ll want to remove that pin. I know, I try to be good. I used to live dangerously, sew right over the pin. But I’m trying to be good now and remember to take my pin out. It’s always better to be safe than sorry. Alright so now we’re going to press this open. Ok so now we have this great little sailboat block. A little uneven at this end so I’m going to square that up on this one side. And I’m going to use my, use the bottom of my boat to, to square it off because I know that those are even because I used one, one half hexi and cut it right in half. So I know those are even. So I’m going to use the bottom of that and square it off. And I have this darling sailboat block. How cute is that? So then what I did was I just sewed the sashing on these left hand sides or these right hand sides and the sashing in here. Now the sashing is directional so when I cut these pieces I wanted my birds to be going in the right direction so I cut it an eight inch strip, which was how tall. Oh wait a minute I’m not sure how tall that is, let me look. Ten inch. I cut a ten inch strip and then cut those into 2 ½ inch segments so the birds would be going the right direction because you don’t want your birds laying over. Anyway we hope you enjoyed this tutorial on the Sailboat block from the MSQC.