
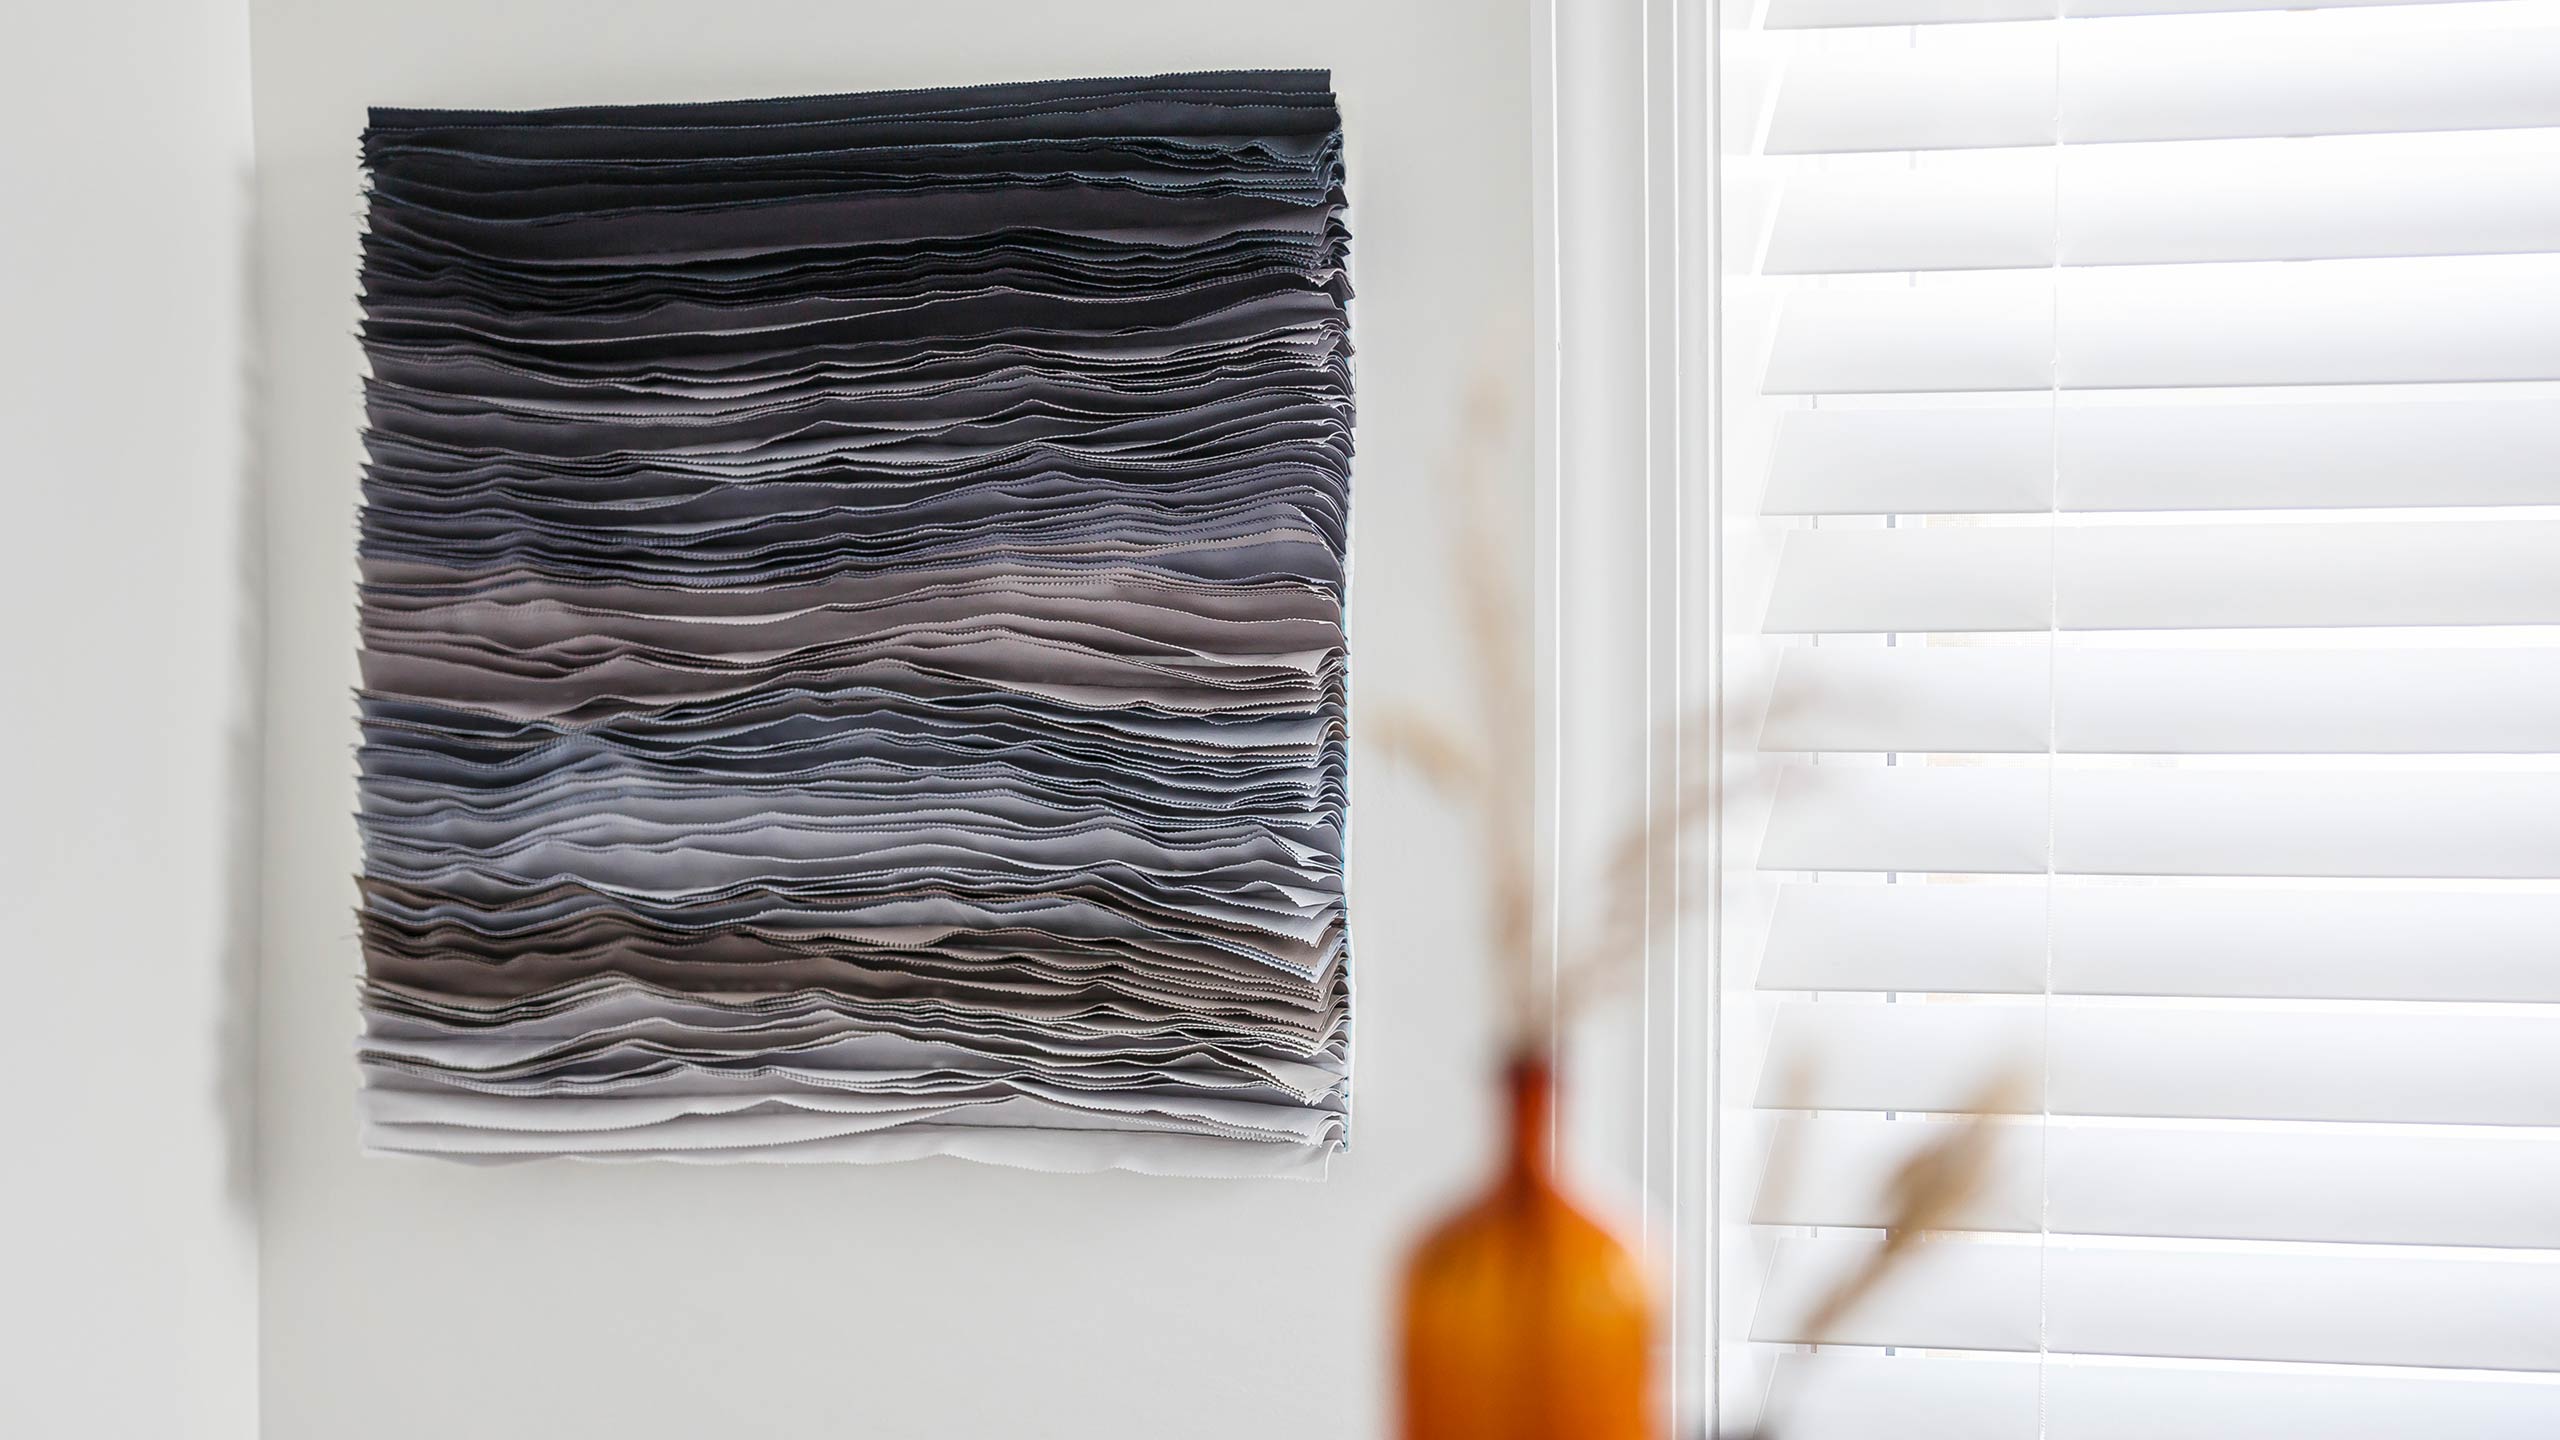
3D Fabric Wall Art
 Misty Doan
- Jelly Roll
- Wall Hanging
- Intermediate
- Quilt size 22" × 24"
Everything is better in 3D, and that can include quilting projects! Join Misty as she shows you a technique that will add depth and energy to your next project. She will show you this technique on a stunning ombre 3D wall hanging Kona Cotton neutrals. Make it yourself for some fabulous wall art!
Instructor
Misty Doan
Misty Doan grew up surrounded by sewing and quilting. She loves spending time sharing tutorials each week each week, and when she’s not stitching up one of her fun sewing projects for home decor, most likely you’ll find her hanging out with her husband and three awesome kids or working on a house project.
Shop this tutorial
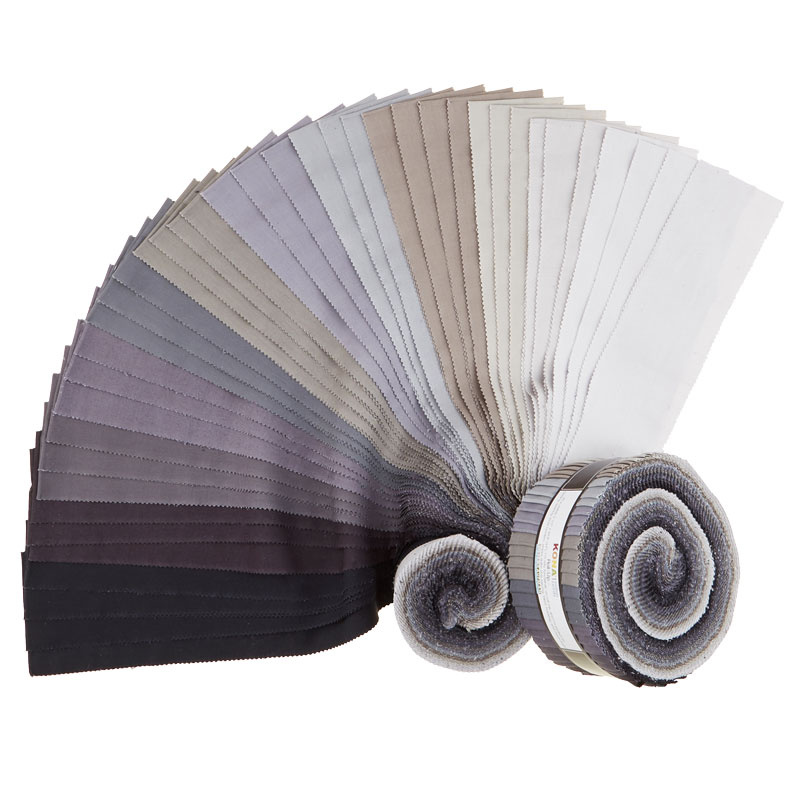 Kona Cotton - Gray Area Roll Up$30.95Shop →
 Kona Cotton - White Yardage$7.48Shop →
 Pellon One-Sided Fusible Fleece White Yardage$9.95Shop →
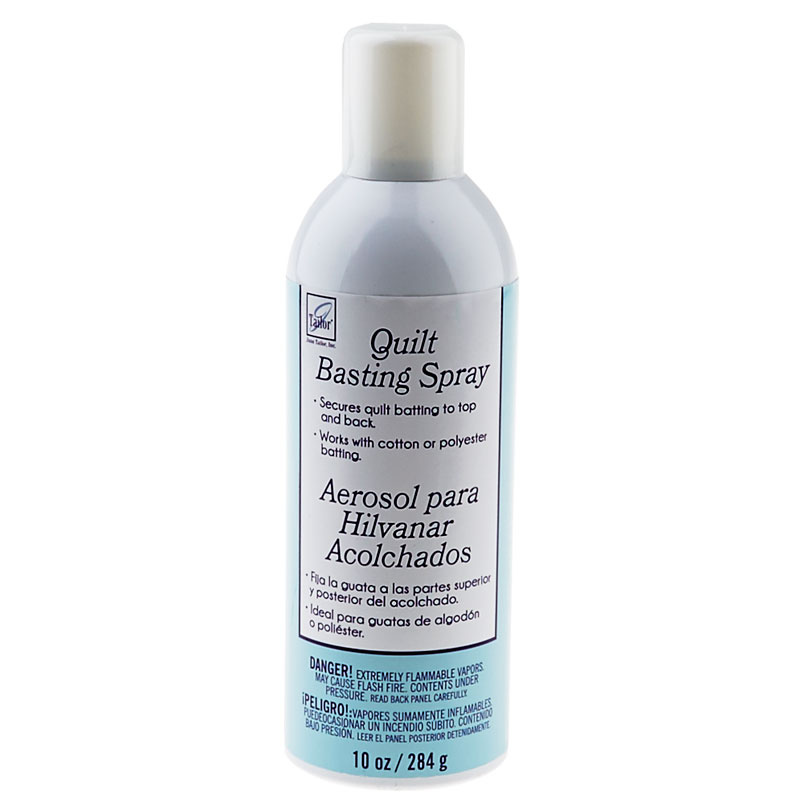 Quilt Basting Spray$18.95Shop →
 Missouri Star 5" X 24" Ruler$29.95Shop →
 Missouri Star 2.5" x 8" Ruler$11.95Shop →
 Missouri Star 45mm Rotary Cutter$19.95Shop →
 Missouri Star Seam Ripper$9.95Shop →
 Missouri Star 8" Everyday Scissors$19.95Shop →
 Missouri Star 50 WT Cotton Thread White$7.95Shop →
 Exclusive Missouri Star Jenny TG1600 ProPlus Oliso Smart Iron$199.99Shop →
 Missouri Star Wooly Betty Board - 17.25" x 25.5" Orange Border$99.95Shop →
 Bernette 77 Sewing and Quilting Machine$1499.00Shop →
Common Questions
What is covered in 3D Fabric Wall Art?
Everything is better in 3D, and that can include quilting projects! Join Misty as she shows you a technique that will add depth and energy to your next project. She will show you this technique on a stunning ombre 3D wall hanging Kona Cotton neutrals. Make it yourself for some...
How long is the tutorial video?
The tutorial video is 00:10:29.
Are supplies listed for this tutorial?
Yes. The tutorial page includes the supplies and materials connected to this project.
Is a transcript available?
Yes. A written transcript is available on the tutorial page.
Video Transcript
things exactly one way. I had seen this beautiful piece of fiber arts just on
the internet and it was this three-dimensional like three story tall gradient piece that was absolutely stunning. And it has just stuck with me and I decided that I needed some time just to play. So I was inspired by that. This is completely different but this is my take on some 3D fabric wall art and I can't wait to show you how I did it.
I absolutely love how this came out. I think it looks kind of moody and stormy. I don't know, I just think it's really fun. So let me show you how I made it cuz it's a little bit different. We're just going to be doing a lot of playing and just enjoying the process today which is kind of the whole point, right?
So I used a jelly roll, which is a roll of 2 and 1/2 in strips by the width of fabric. This one is called Gray Area by Kona. All the supplies that you see here are available in the link below, so be sure to grab those if you need them.
So we're just going to start by opening this up. And I use this exactly as it came off the roll and it is already kind of ordered light to dark. So you can see, just like so, that it is ready to rock. And then for the background, the working area of this, I made what we call, if you're a quilter, a quilt sandwich. So you'll be very familiar with this. If you're not here is what that looks like. We just have a smaller piece of fabric on the front. I have fused that to fusible fleece which is a single side fuse and so that you just hit with the iron and it attaches. Then I used a larger piece of my fabric on the back and I used a basting spray. That is just an adhesive that you spray on to attach that to create this quilt sandwich as we like to call it.
Then I went ahead and I used a pencil in my ruler to mark out the area that I wanted this to end up, so I had some guidelines to work with. So you can see I measured roughly 20 by 22 and so I have a line on the top and the bottom and along each side and so that's going to be my working area
for this artwork. So now that that is ready to go, let's go ahead and prep some of our strips.
This is super easy. I'm just going to go ahead and actually flip this over because I decided I wanted to work dark to light. One thing that you do want to keep in mind when you're doing this, is you can choose either one, but whichever one you start with is going to be the top of your artwork. That's just how it works out. To give it this kind of three-dimensional look that we're wanting, and I liked it dark to light so you could do the opposite if you want, you would just want to start with whatever color you want at the top.
So let's go ahead and take our strips now, and I liked to leave them with the same color together. So this whole stack there's four strips that are all the same color. So of course I can use the measurements on my mat. If you don't have one of these, you can use a ruler. I have that here, but all we're looking for is 22 inches so I'm going to start by cutting off the fold side. Here I'm moving that out of the way and then I can use the length of my ruler here and just slide down to 22 inches. Make sure that's straight along the strip and cut off the opposite end. So now we've eliminated both the selvage, which you know is kind of an unfinished part of the fabric where they attach it to the mill, and the fold. So we've got these 22 inch x 2 and 1/2 inch strips ready to go. You're going to do this exact same thing with your entire roll and just keep it kind of stacked in the colors that it came off, because you're going to want to use that as you go.
So now the next step is we're going to press every single one of these strips in half long ways just like this. So I'm going to take this over to the iron and get going with that. Let's move over here. You can see I have a few ready to go here. With this project the prep is really the most time consuming. And then it just becomes fun. If you want to do just a few colors at a time so you can make some progress on the sewing, that's okay too.
I have some of these already pressed and ready to go, so I'm just going to go ahead and get started. So let me clear off this workspace so it's easier to work and I'll meet you back here.
All right so now we're going to use these guidelines that we put on our background and we're going to start with our darkest strip. All I'm going to
do is open that up so that the fold is pointed down, so that we're sewing in the valley and not the peak. And we're going to line up one edge with that line that we drew. And it should start and stop the strip where our marks are adjacent to that line. So we're just going to sew right along that center seam. That's our first stitch. So let's bring this over here. If you want a pin you can, but this is all about just enjoying the process and having fun, so I did not.
So let's just bring this under the needle. And it is helpful of course to make sure your needle is centered. Sometimes as you're sewing you'll notice that the fabric stretches just slightly and it's starting to hang past that line that I marked. I really do want to keep it as close to that as possible, so you can just grab scissors while you're sitting here at the machine and trim that off. It's just super forgiving, so don't fuss with it too much. Don't worry about it! We just trimmed it so it's back in line with that line and then finish our stitches. You do want to go ahead and back stitch at the start and stop and then cut your threads. Then now we're just going to press this fabric down with our hands. It's just going to roll that way so we're going to take that next strip and line it up with that first row of stitches that we made and we'll sew this down in the exact same way. So let's go ahead and do that.
All right, so once you have those first two strips sewn on, now you want to press this one the opposite direction for now. So you can see we've got kind of this channel in between the two, that's where we are working. Now we're going to take our next strip and we're going to float that in between. So your fold line should just kind of float in between those first two. And we'll sew this down then we'll open this back up and we'll add another on each side in the exact same way. So I'll go ahead and do that and I'll meet you back here.
All right, so now we're getting close to the place where we would change colors. And you can kind of just decide how quickly you want to do that based on your preferences. So I'm just going to start pushing all of these down because I have this one channel where I still need to add the next color. So we want to push all of these out of the way and I'll grab this next color. It's not much different - I don't even know if you can see on camera that it is a different shade. It's really close but you'll notice that I've got it
basically sandwiched between two of the previous shade and that's what I decided I was going to do for the transitions. So exact same way we'll add this one then we'll fold all of these down and we'll continue by adding our next strip in line with this one. And you're just going to follow that exact same process all the way through until you get all of these strips added.
And it looks just like this and they're all brushed down this way. Then you just have to remember that this is the top. And when you hang it it gives you this beautiful 3D effect because of all those stitches and all of the density of strips that you've put in there. So I think it turns out great! It's super, super fun. You can finish it off however you'd like. You could put it in a frame, you can bind it traditionally, you could face it which is what I did just so you only see that on the front edge.
So again you can do this in any colors that you like! It'd be beautiful in rainbow or whatever your heart desires. I hope you will try it and just play with fabric and enjoy the process! I certainly did. I love how it turned out
and I can't wait to see what you make. I'll see you next time on At Home!


