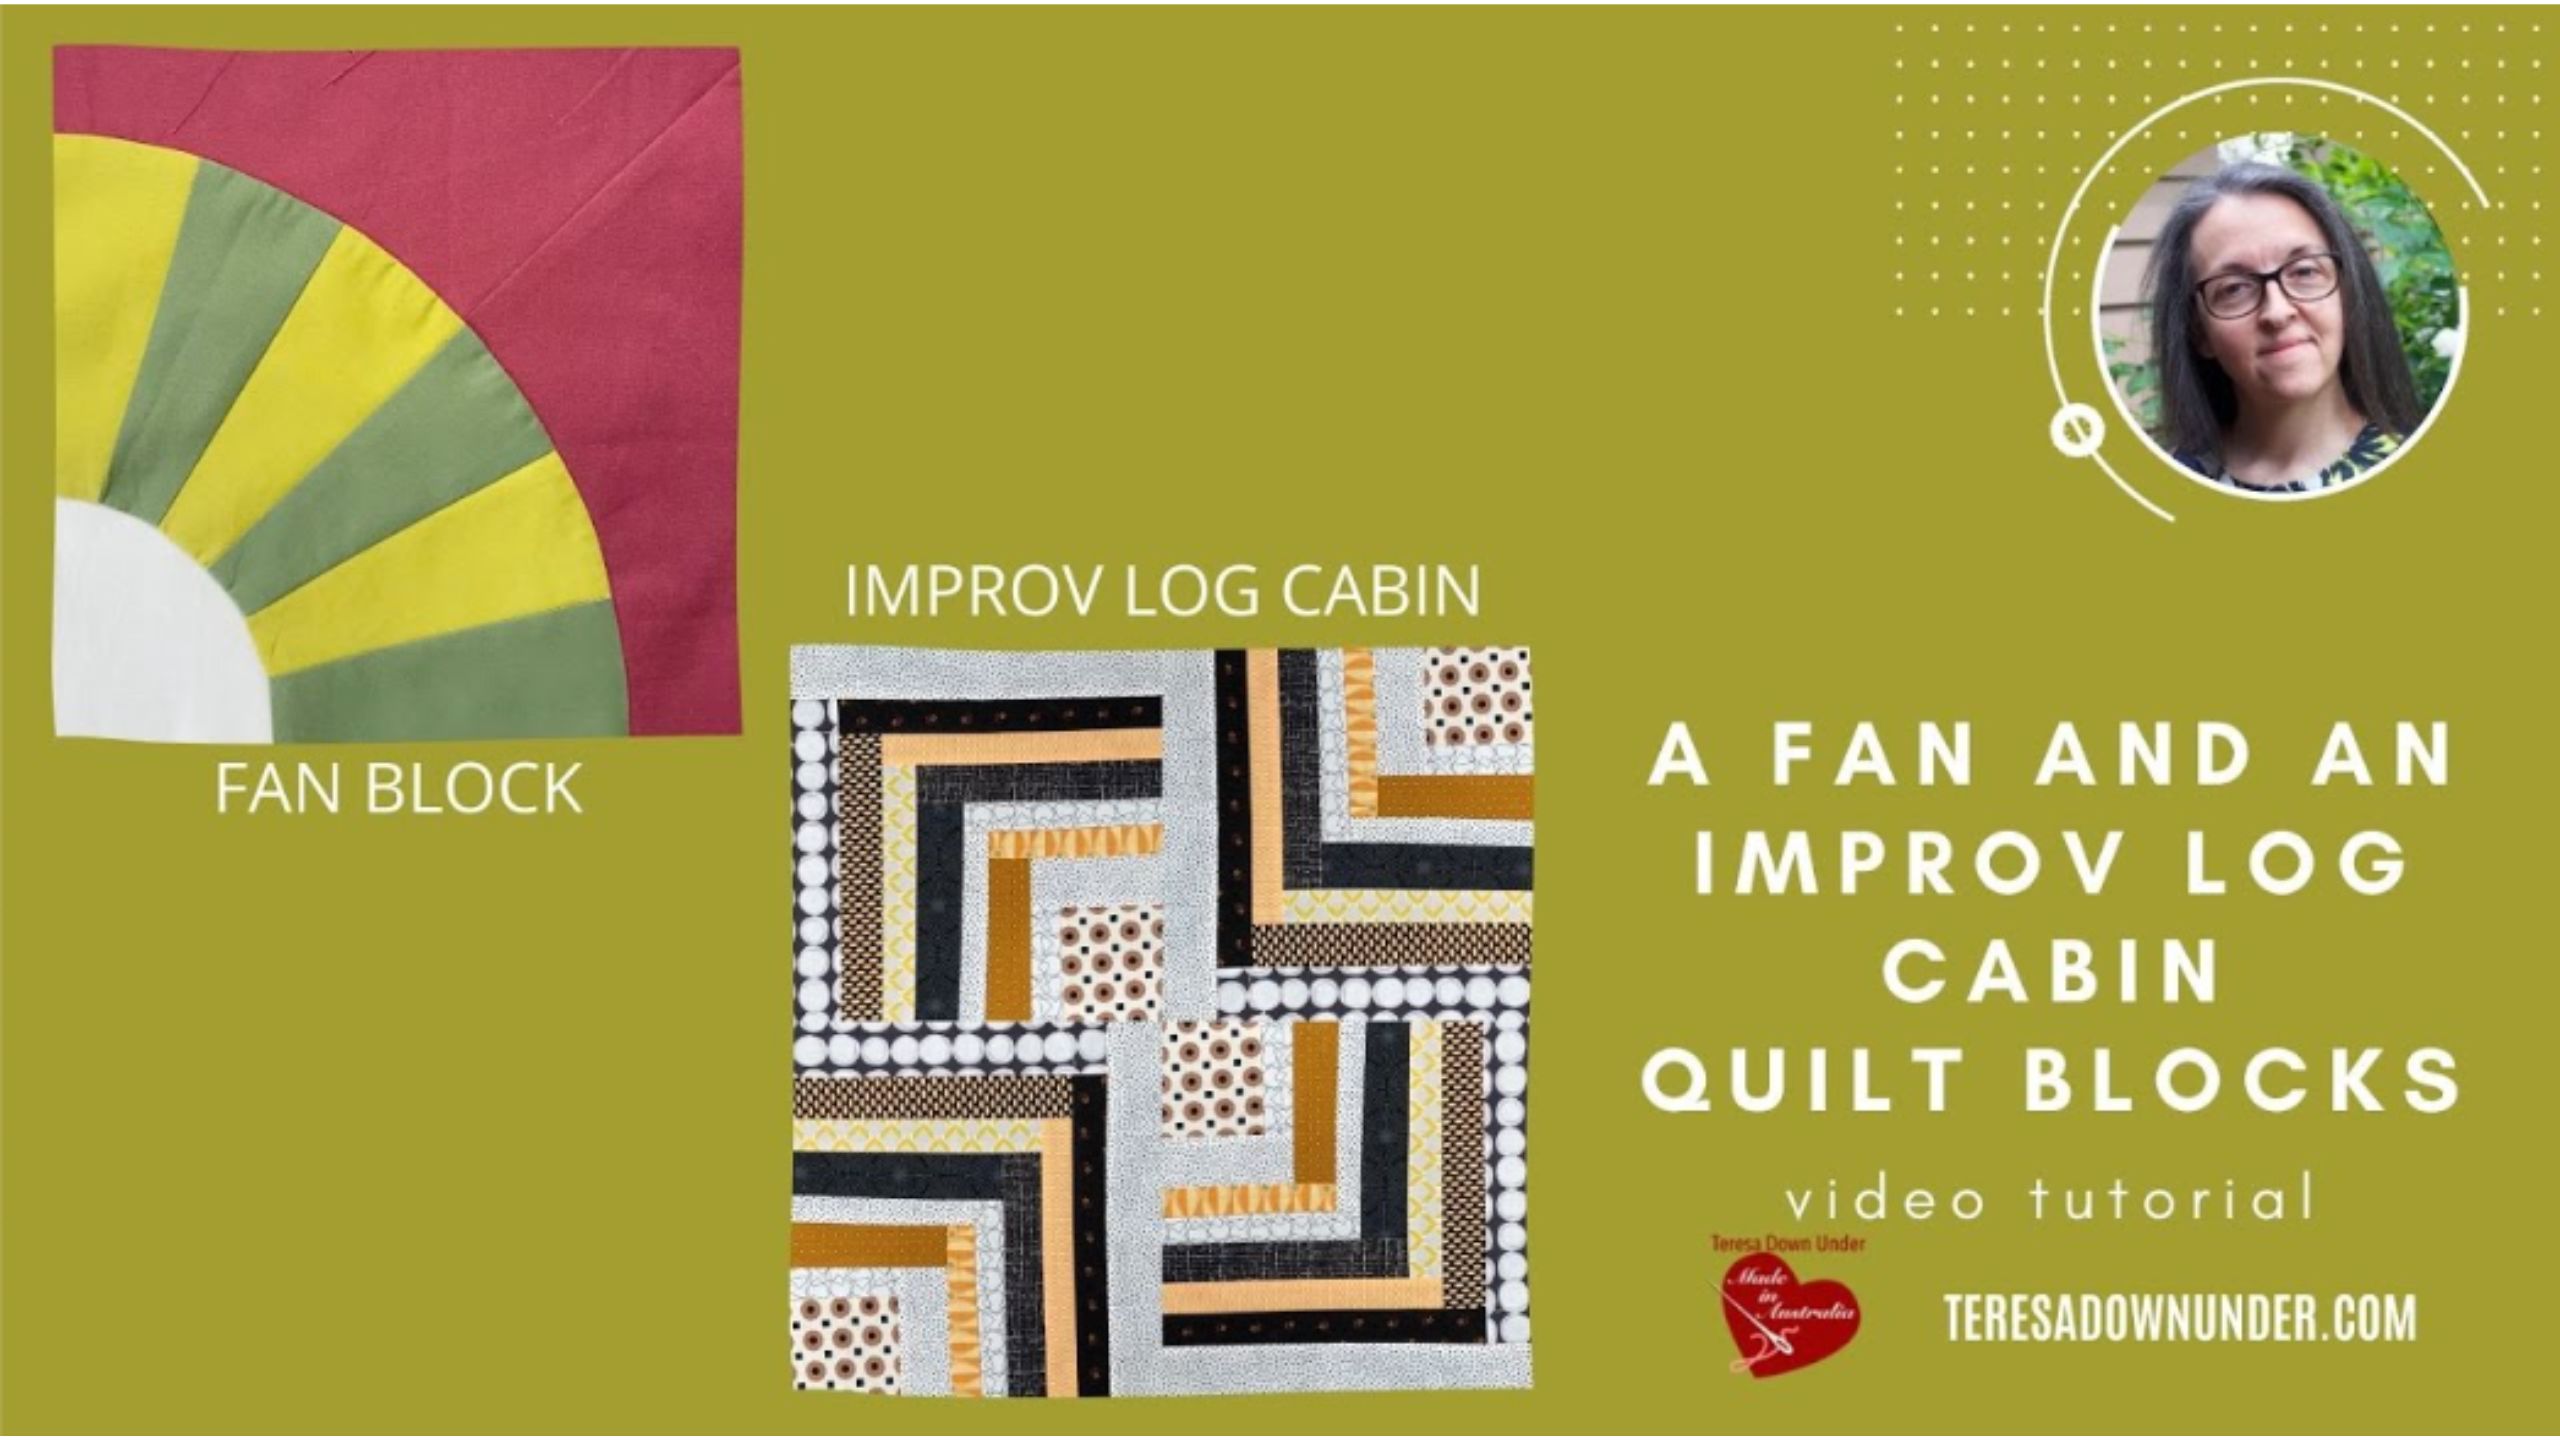
A fan and an improv log cabin quilt blocks with Teresa from Teresa Down Under
Today Teresa demonstrates two different skills: curved piecing and improv piecing. For the improv log cabin block all you need is a square or rectangle piece for the centre and a bunch of strips of any width and length to make a quarter log cabin block. You can stop at any size but Teresa's is 11 1/2″ finished. The fan block belongs to her quilt Wheels. You’ll see that sewing a fan isn’t that difficult. My fan is 9″ x 9″; the large size of the block makes sewing curves easier!

Instructor
Teresa Mairal Barreu
Teresa loves spending her spare time sewing and designing. She is the author of “Turnabout Patchwork. Simple quilts with a twist,” a book all about playing with blocks – making a block, slicing it up, and turning or repositioning the pieces to make a completely different block. She shares several new quilt block tutorials each week on her YouTube channel and blog.
Shop this tutorial

Common Questions
What is covered in A fan and an improv log cabin quilt blocks with Teresa from Teresa Down Under?
Today Teresa demonstrates two different skills: curved piecing and improv piecing. For the improv log cabin block all you need is a square or rectangle piece for the centre and a bunch of strips of any width and length to make a quarter log cabin block. You can stop at any siz...
How long is the tutorial video?
The tutorial video is 00:05:21.
Is a transcript available?
Yes. A written transcript is available on the tutorial page.
Video Transcript
Here are the steps to curved piecing:
Choose your fabrics: Select two or more fabrics that you would like to sew together in a curved design. It is important to choose fabrics that have a good amount of drape, as this will make them easier to sew together.
Create a template: To make sure your curved pieces are the same size and shape, create a paper or cardboard template of the desired curve.
Cut the fabric: Using the template, cut out the pieces of fabric for your curved design. Be sure to add a seam allowance of at least 1/4 inch to each piece.
Pin the pieces together: With right sides facing each other, pin the pieces of fabric together along the curved seam.
Sew the pieces together: Using a sewing machine or hand sewing, stitch the curved seam together, taking care to match the edges of the fabric as you go.
Press the seam: Open up the pieces and press the seam allowance to one side.
Repeat: Continue adding curved pieces to your design, taking care to match the edges and keep the seams smooth.
Curved piecing can be challenging, especially for beginners. It's important to go slow, be patient, and practice on scrap fabric before attempting a larger project. Those new to sewing curves will also find that the bigger the curve, the easier it is to piece!