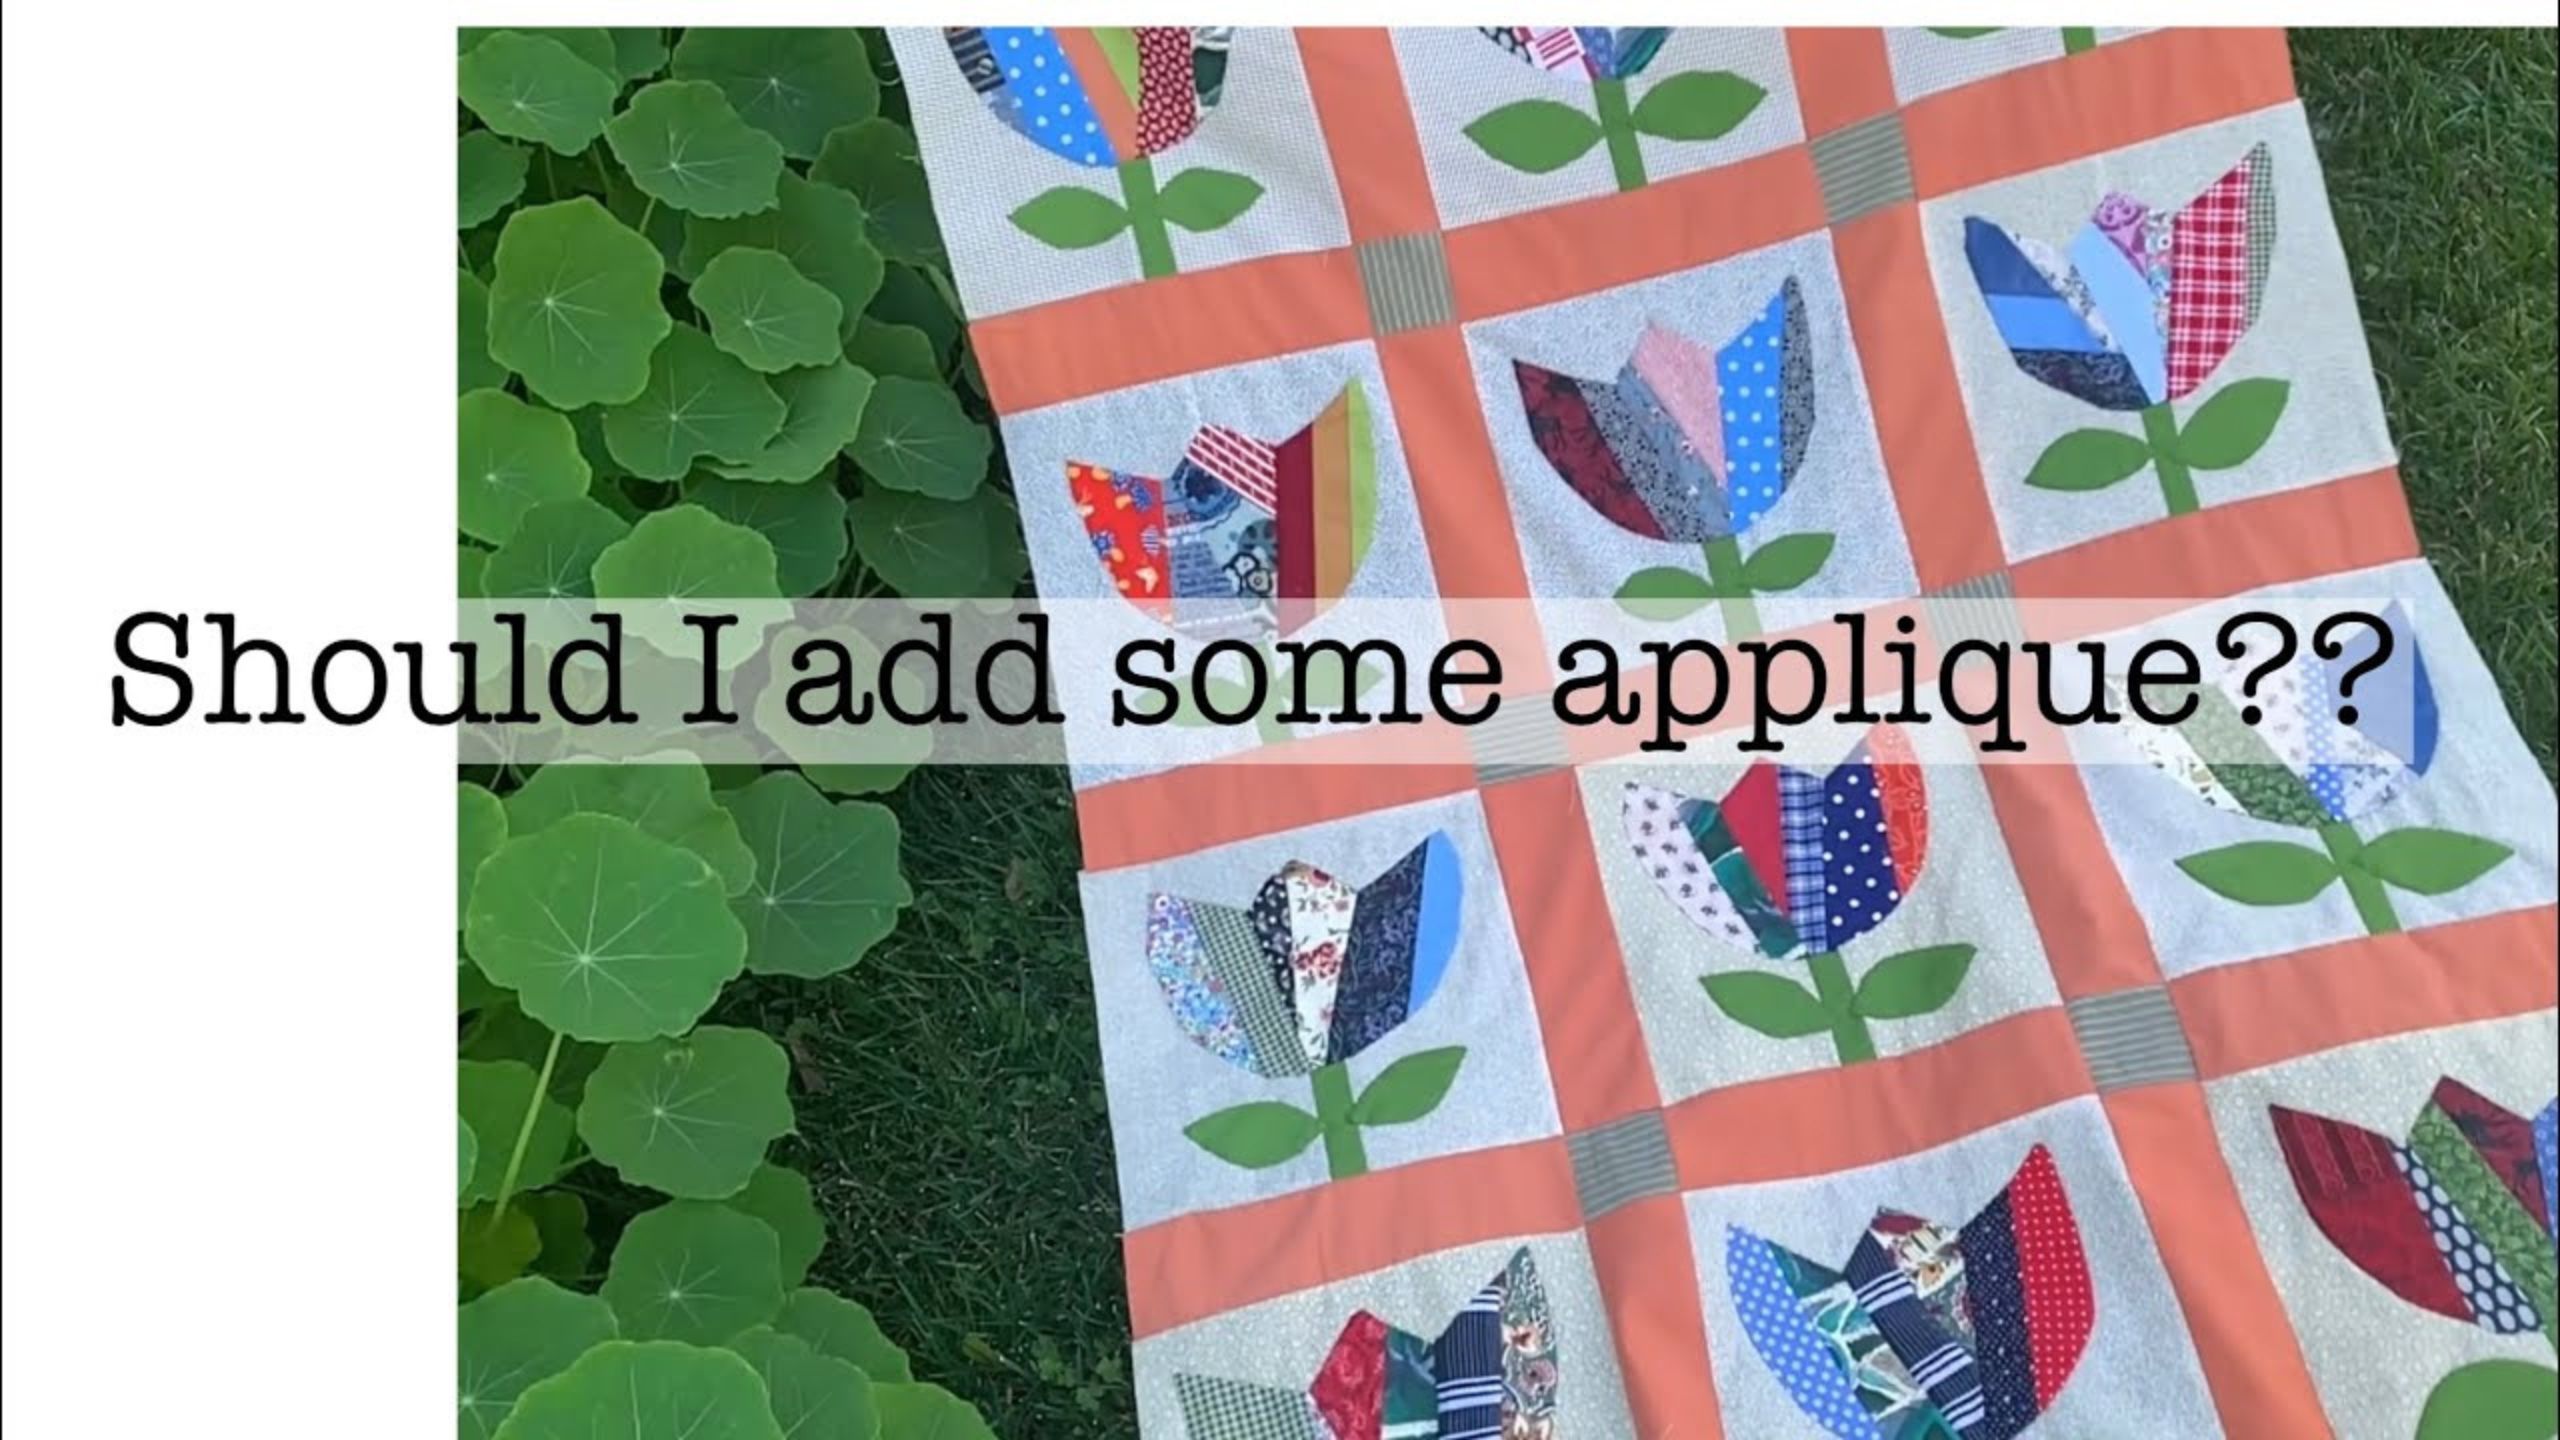
Adding a border and some applique to this scrappy quilt with Beth Shibley
Today Beth Shibley is adding a border and some fun applique to her scrappy tulip quilt!

Instructor
Beth Shibley
Beth Shibley loves to create and share her adventures in quilting. Simple patterns and practical gifts are what she loves most.
Shop this tutorial


Common Questions
What is covered in Adding a border and some applique to this scrappy quilt with Beth Shibley?
Today Beth Shibley is adding a border and some fun applique to her scrappy tulip quilt!
How long is the tutorial video?
The tutorial video is 00:11:20.
Are supplies listed for this tutorial?
Yes. The tutorial page includes the supplies and materials connected to this project.
Is a transcript available?
Yes. A written transcript is available on the tutorial page.
Video Transcript
Are you ready to take your scrappy quilt to the next level? Adding a border and some applique can really make your quilt stand out and give it that extra touch of personality. In this quilting tutorial, we will be working with Beth Shibley to add a border and some applique to a scrappy quilt.
What You Will Need:
Scrappy quilt top
Fabric for the border
Fabric for the applique
Fusible web
Iron
Sewing machine
Thread
Scissors
Step 1: Measuring and Cutting the Border
Measure the width and length of your quilt top. Cut 2 strips of border fabric to match the width of your quilt top. Sew the strips to the top and bottom edges of the quilt top using a ¼ inch seam allowance. Press the seams open. Cut 2 more strips of border fabric to match the length of your quilt top plus the width of the borders you just attached. Sew the strips to the sides of the quilt top using a ¼ inch seam allowance. Press the seams open.
Step 2: Preparing the Applique
Choose a design for your applique. We recommend something simple like a flower, a star, or a heart. Trace your design onto the paper side of the fusible web. Cut out the design leaving a small margin around the edges. Iron the fusible web onto the wrong side of the fabric you will be using for the applique. Cut out the design following the lines you traced. Peel the paper backing off the fusible web.
Step 3: Applying the Applique
Decide where you want to place your applique on the quilt top. Place the applique onto the quilt top with the fusible side down. Use your iron to fuse the applique to the quilt top. Use a blanket stitch or a zigzag stitch to sew around the edges of the applique to secure it to the quilt top. Repeat with as many applique pieces as you like.
Step 4: Finishing
Trim the quilt top to make sure all edges are straight and even. Layer the quilt top, batting, and backing. Quilt as desired. Bind the quilt using your favorite binding method.
And there you have it! By adding a border and some applique, you have transformed your scrappy quilt into a work of art. The possibilities for adding borders and applique to quilts are endless, so don’t be afraid to experiment and make it your own. Happy quilting!
What You Will Need:
Scrappy quilt top
Fabric for the border
Fabric for the applique
Fusible web
Iron
Sewing machine
Thread
Scissors
Step 1: Measuring and Cutting the Border
Measure the width and length of your quilt top. Cut 2 strips of border fabric to match the width of your quilt top. Sew the strips to the top and bottom edges of the quilt top using a ¼ inch seam allowance. Press the seams open. Cut 2 more strips of border fabric to match the length of your quilt top plus the width of the borders you just attached. Sew the strips to the sides of the quilt top using a ¼ inch seam allowance. Press the seams open.
Step 2: Preparing the Applique
Choose a design for your applique. We recommend something simple like a flower, a star, or a heart. Trace your design onto the paper side of the fusible web. Cut out the design leaving a small margin around the edges. Iron the fusible web onto the wrong side of the fabric you will be using for the applique. Cut out the design following the lines you traced. Peel the paper backing off the fusible web.
Step 3: Applying the Applique
Decide where you want to place your applique on the quilt top. Place the applique onto the quilt top with the fusible side down. Use your iron to fuse the applique to the quilt top. Use a blanket stitch or a zigzag stitch to sew around the edges of the applique to secure it to the quilt top. Repeat with as many applique pieces as you like.
Step 4: Finishing
Trim the quilt top to make sure all edges are straight and even. Layer the quilt top, batting, and backing. Quilt as desired. Bind the quilt using your favorite binding method.
And there you have it! By adding a border and some applique, you have transformed your scrappy quilt into a work of art. The possibilities for adding borders and applique to quilts are endless, so don’t be afraid to experiment and make it your own. Happy quilting!