
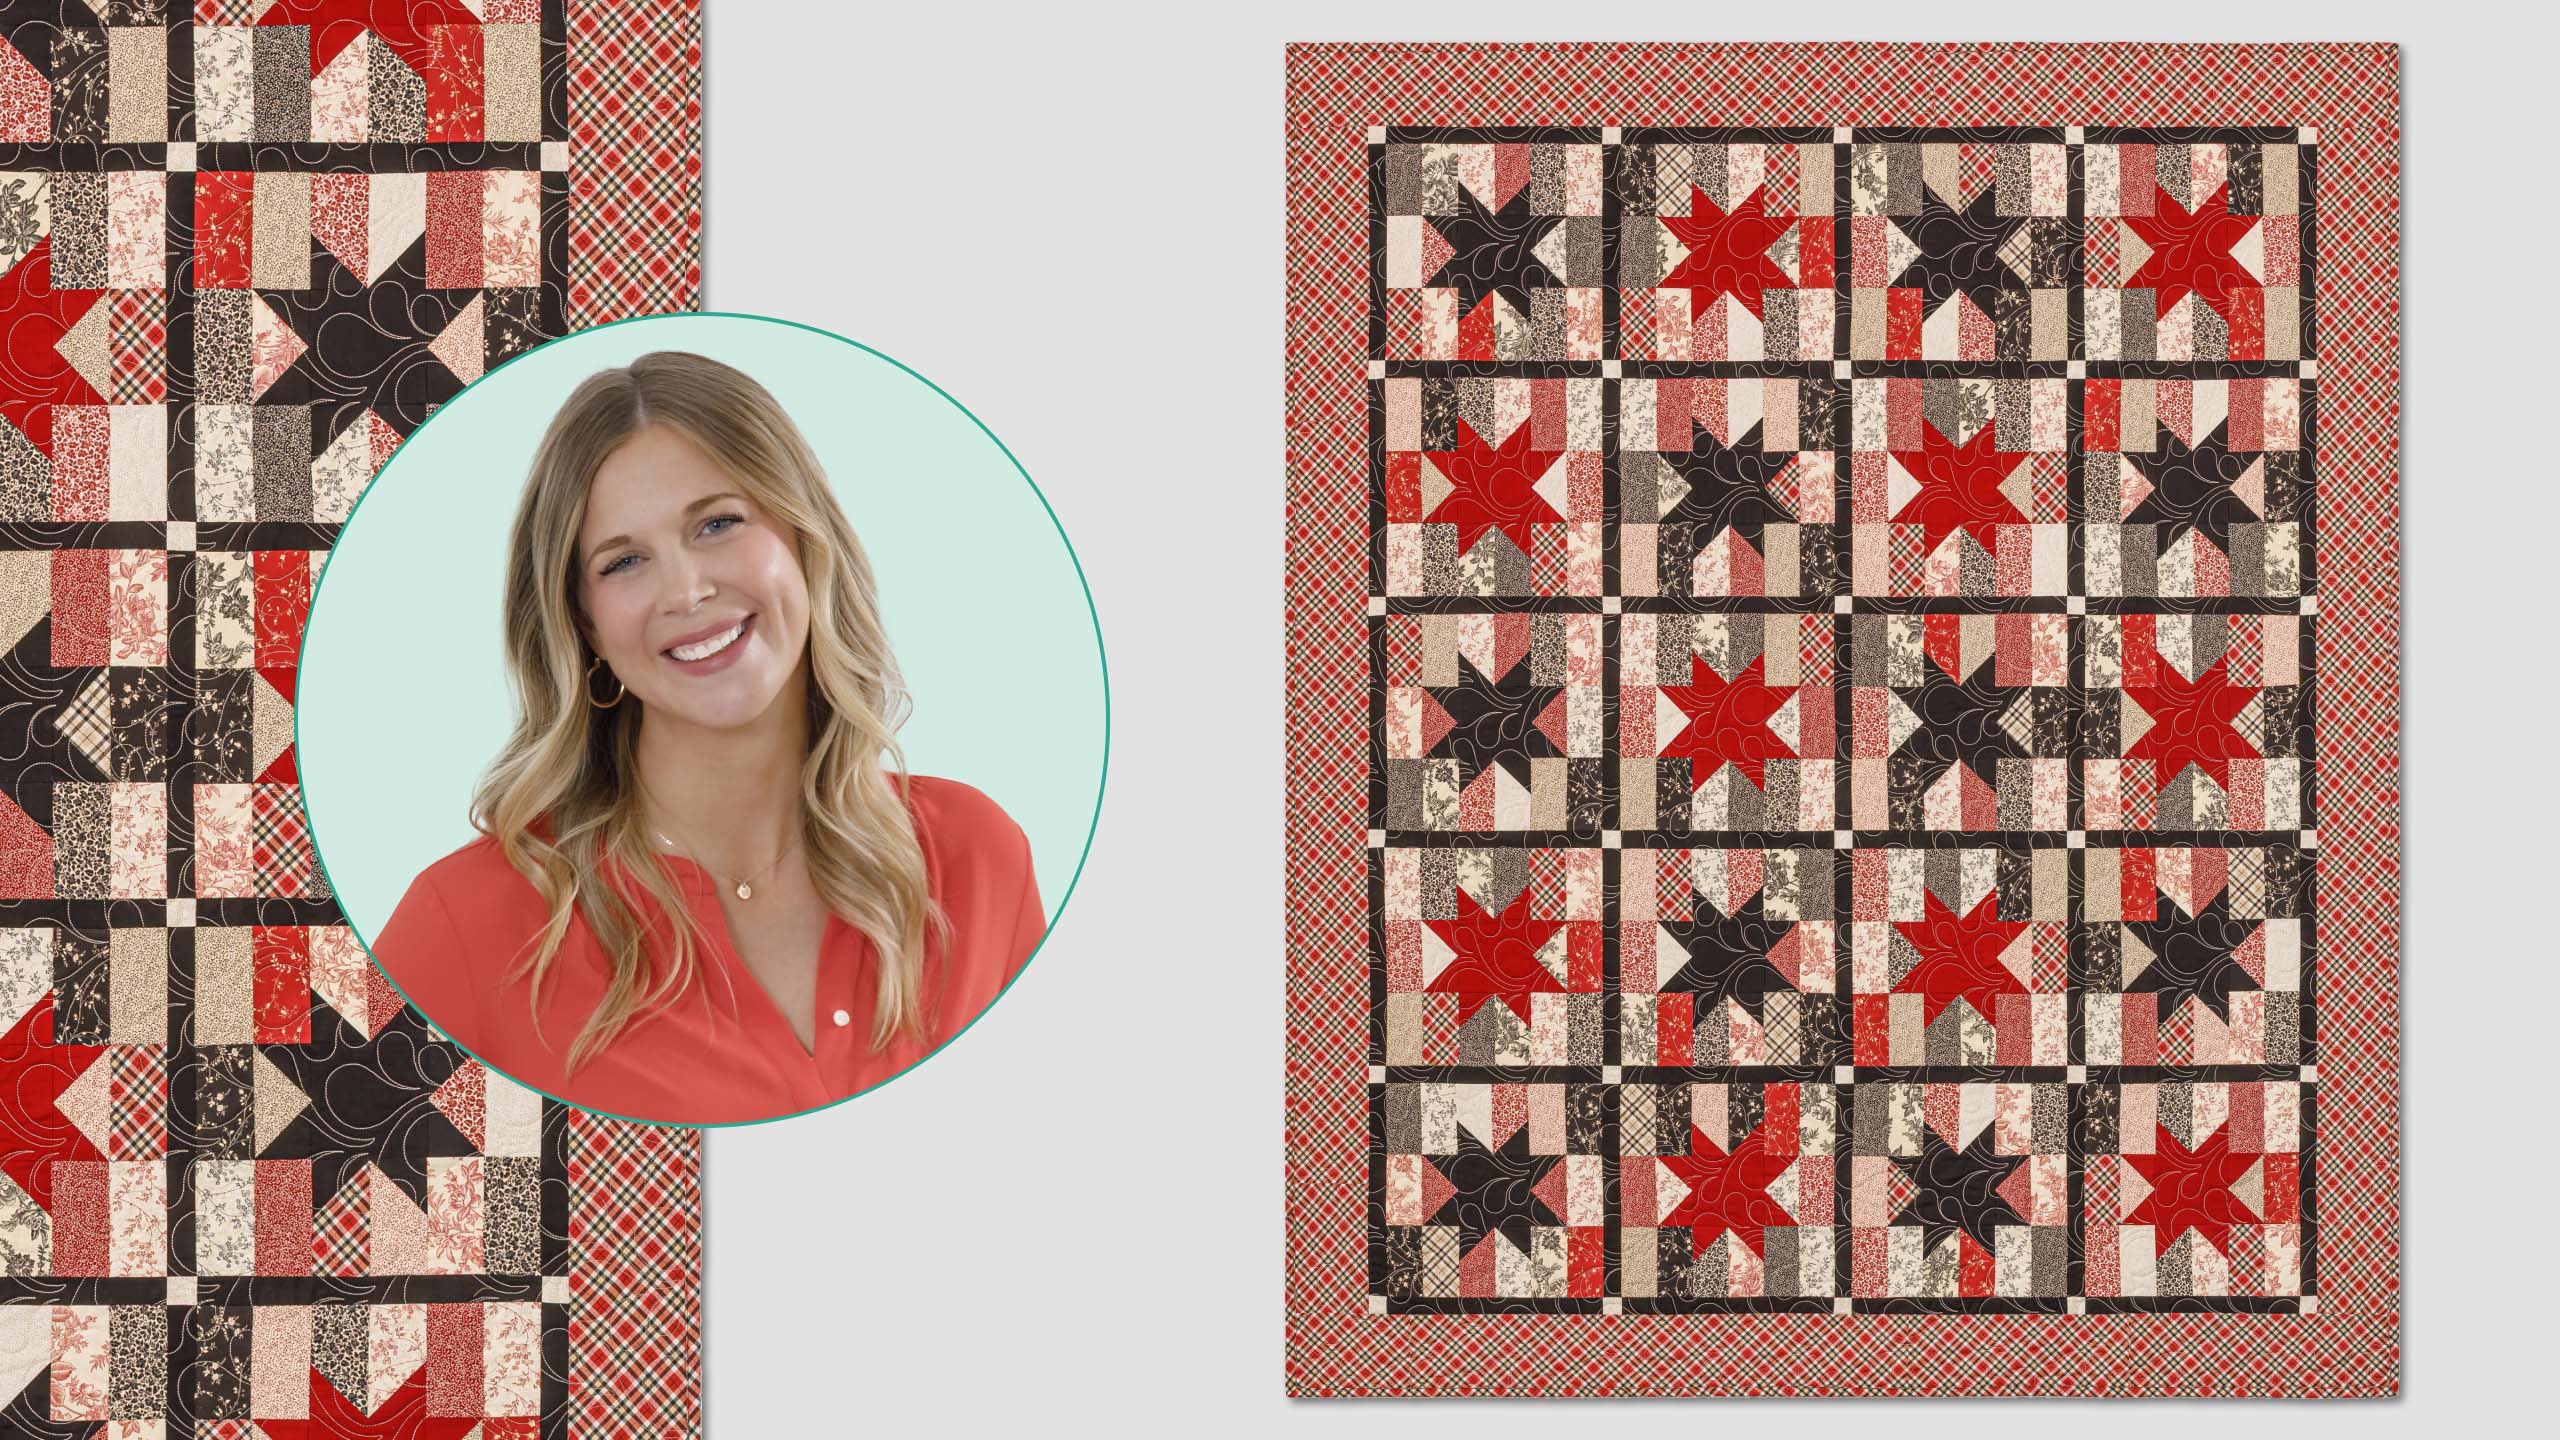
Anchor Stars Quilt
 Misty Doan
- Jelly Roll
- Traditional
- Twin
- Beginner
- Quilt size 62" × 75"
Make a quilt that has time-honored style! Misty uses a jelly roll and yardage from the Modern Classics line to create a quilt that you'll be proud to display for many years. Traditional plaid, flowers, dots, and blenders provide a patchwork background for large stars. Sashing between the blocks provides frames that define each block. The effect is both striking and cozy!
Instructor
Misty Doan
Misty Doan grew up surrounded by sewing and quilting. She loves spending time sharing tutorials each week each week, and when she’s not stitching up one of her fun sewing projects for home decor, most likely you’ll find her hanging out with her husband and three awesome kids or working on a house project.
Shop this tutorial
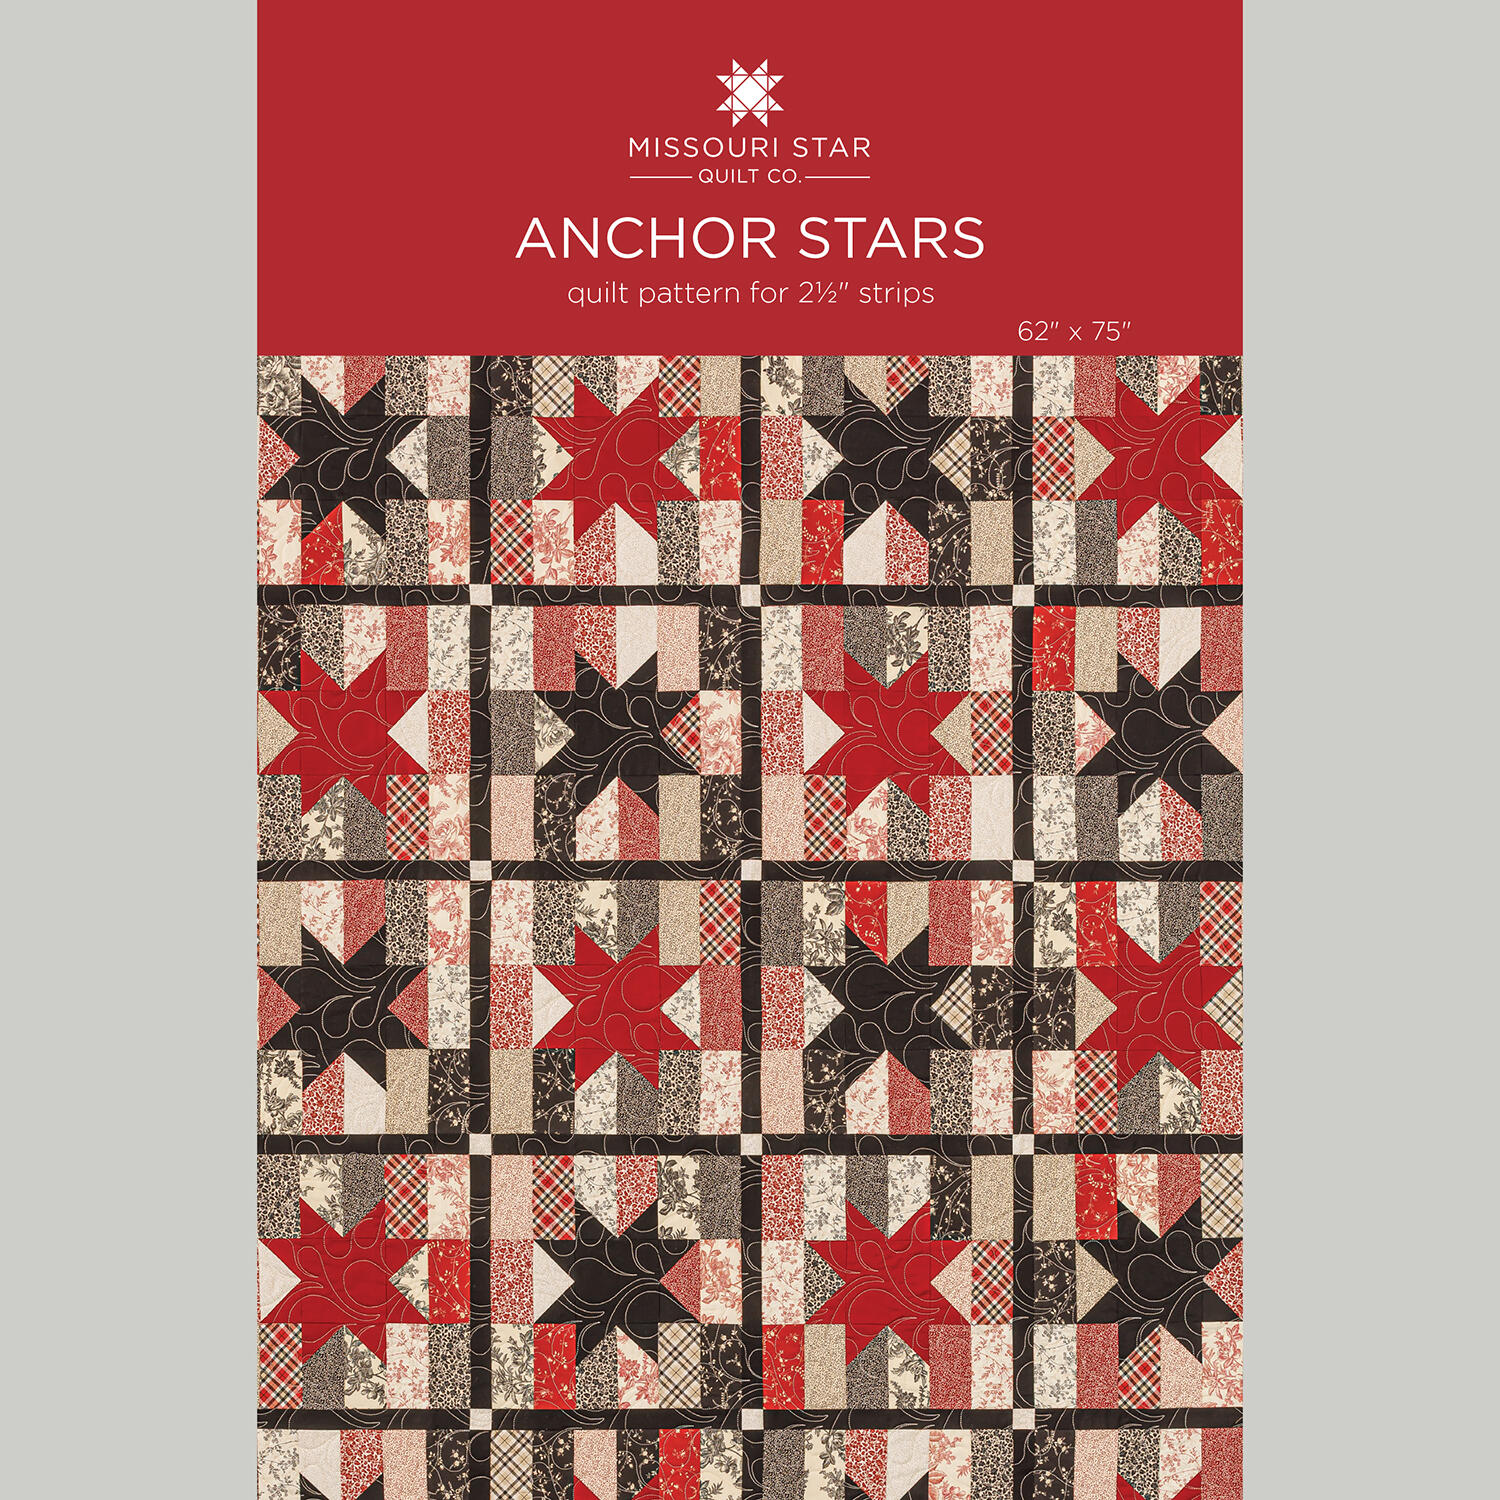 Anchor Stars Quilt Pattern by Missouri Star$9.50Shop →
 Digital Download - Anchor Stars Quilt Pattern by Missouri Star$8.50Shop →
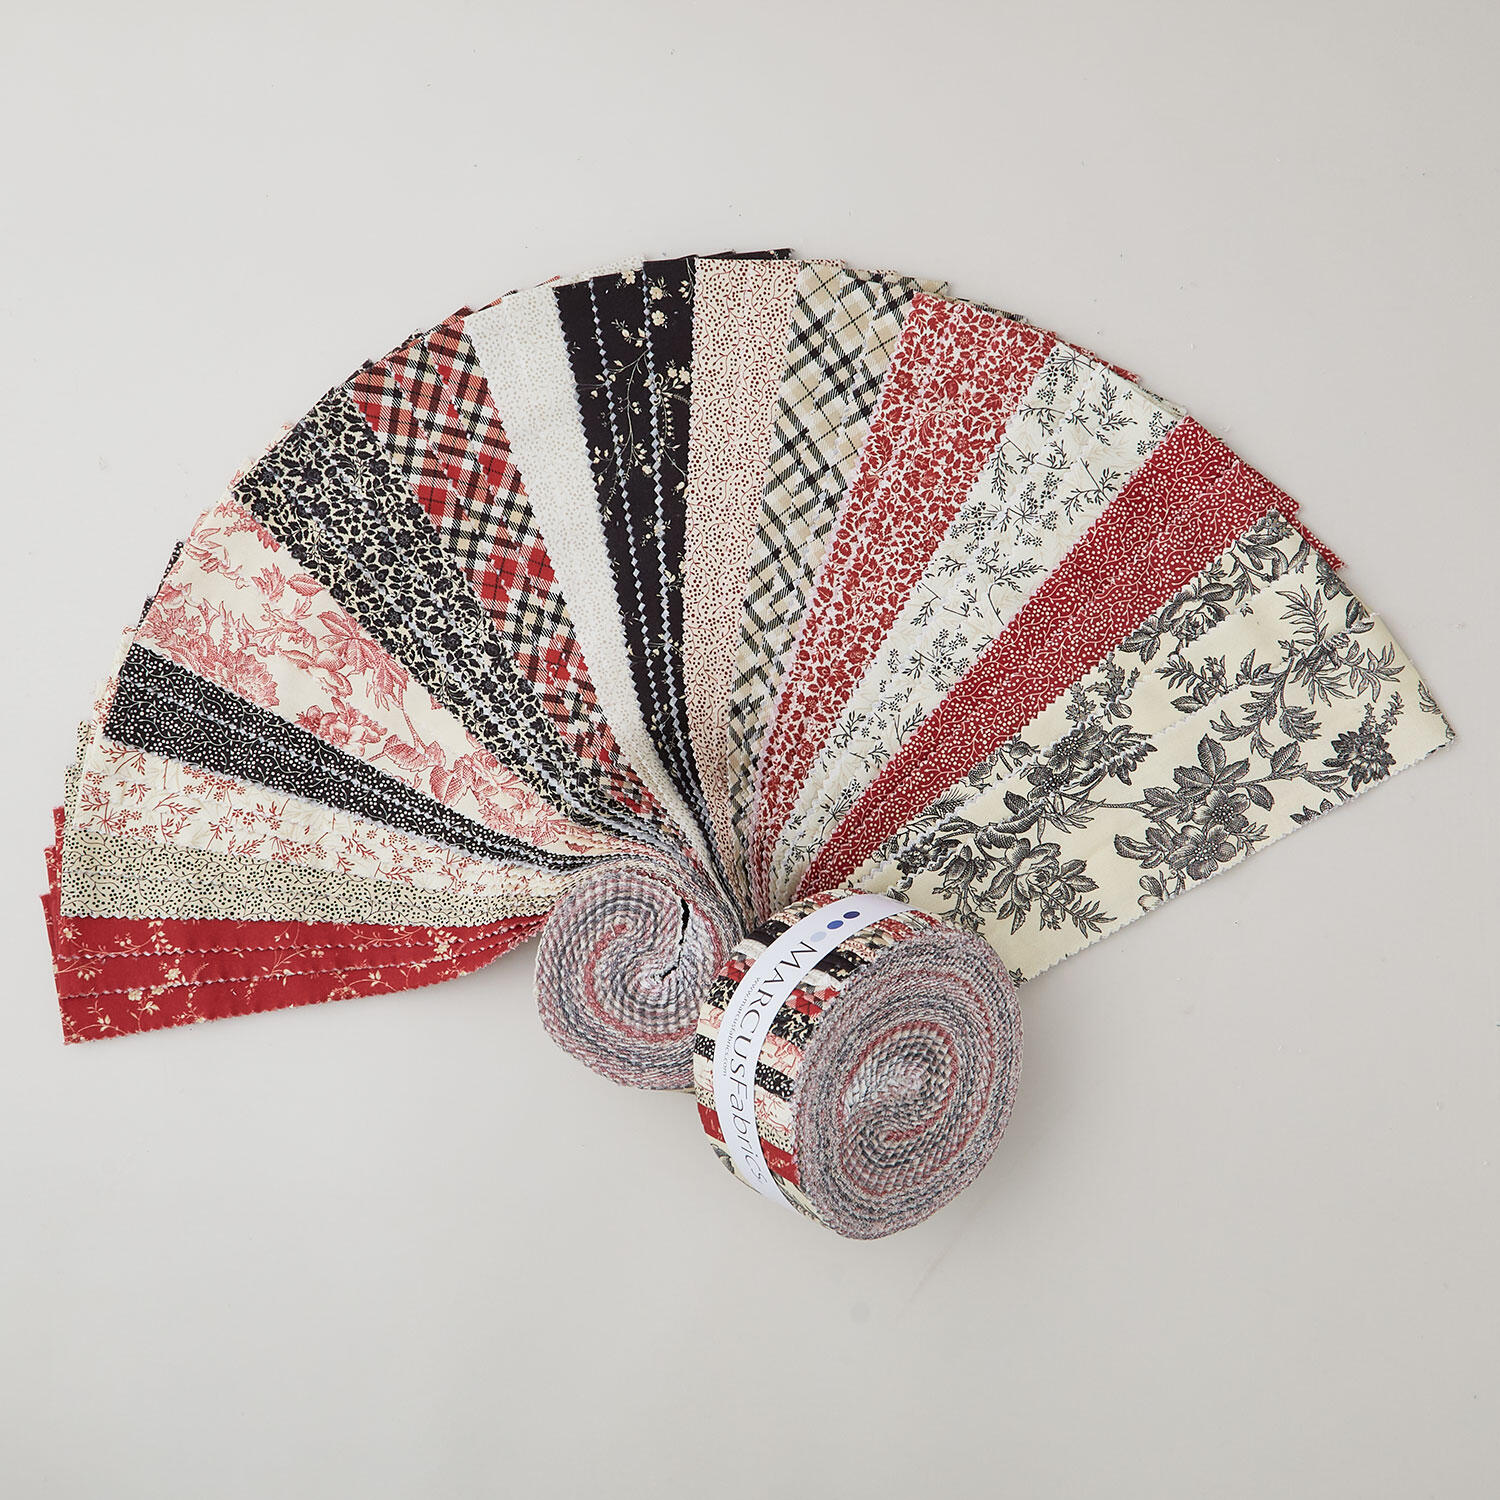 Modern Classics 2 1/2" Strips$50.25Shop →
 Colorworks Premium Solids - Black Yardage$8.96Shop →
 Colorworks Premium Solids - Marrakech Yardage$8.96Shop →
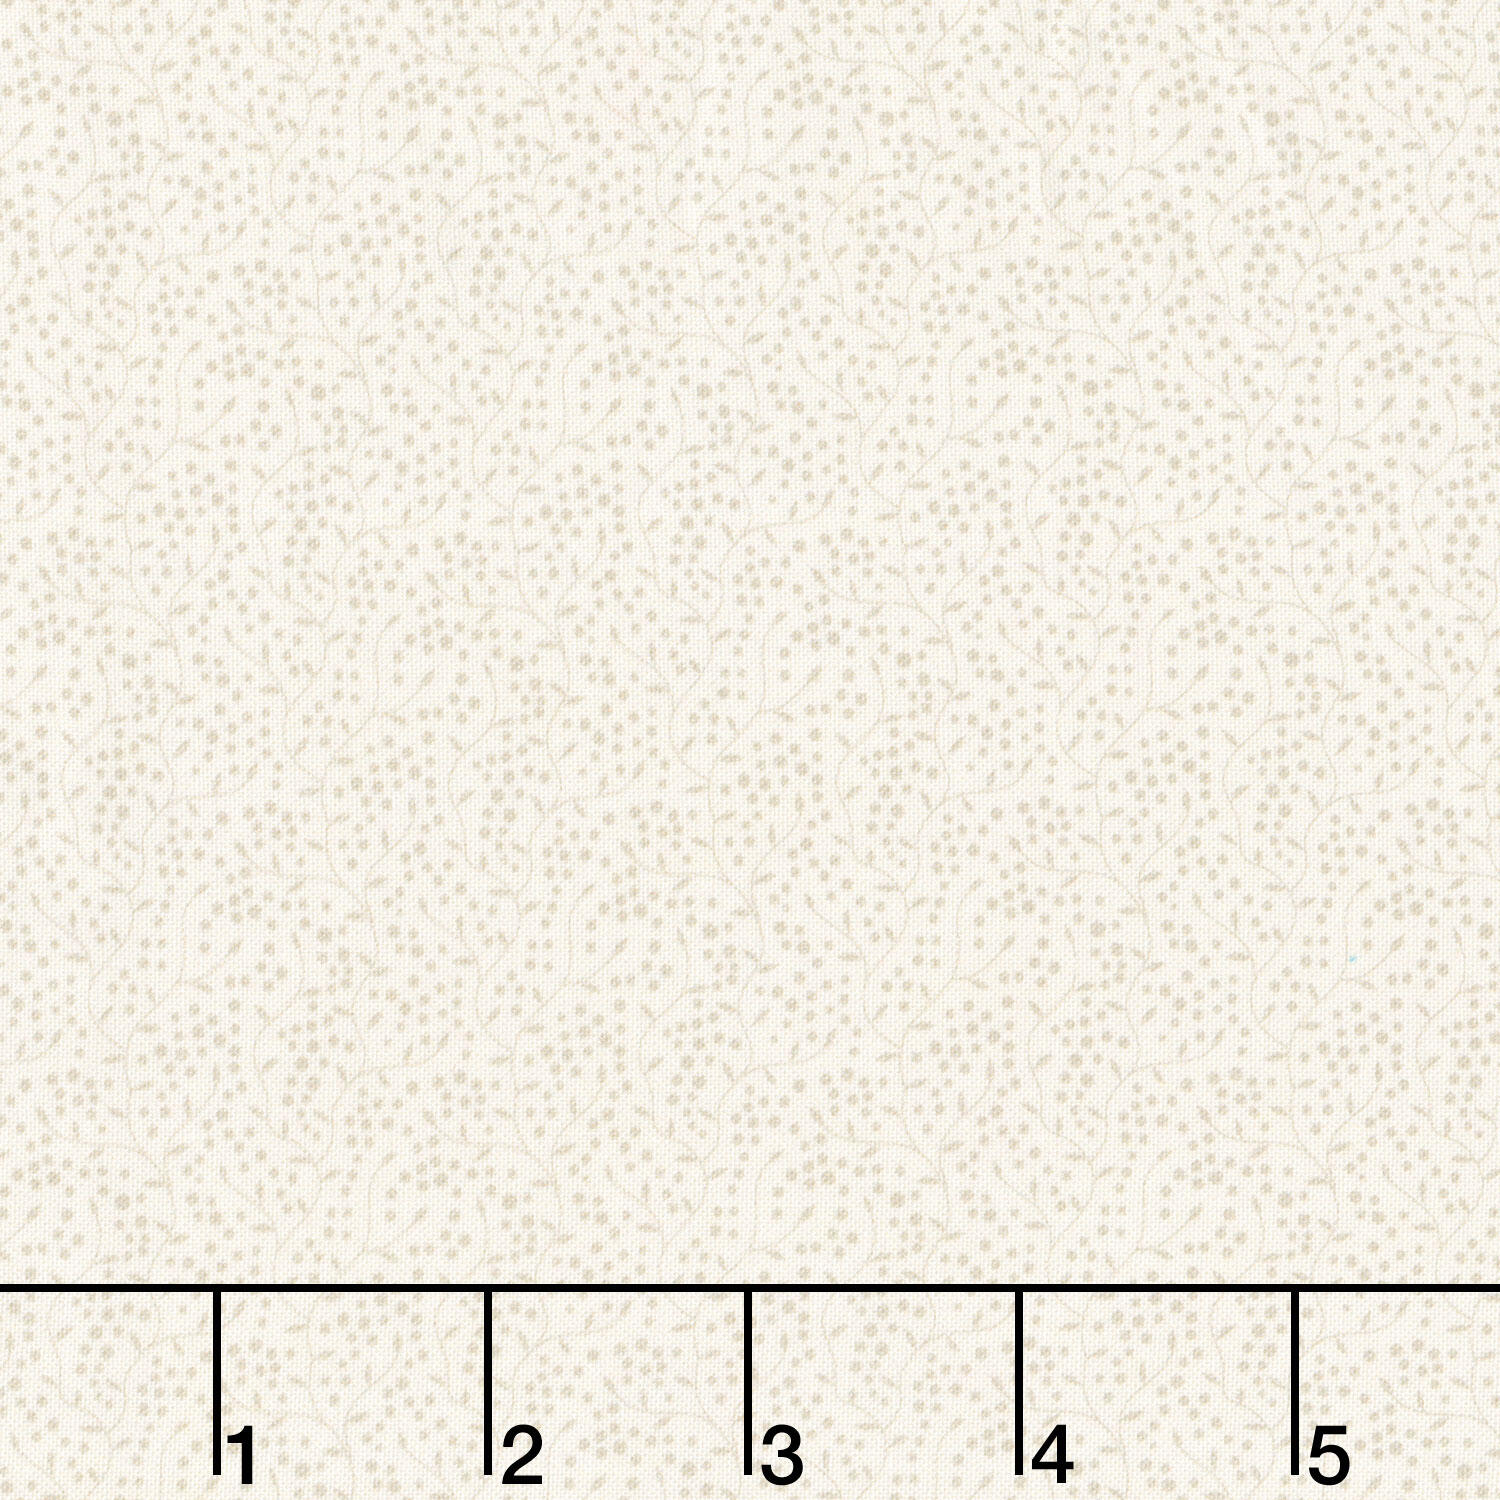 Modern Classics - Seeds Cream Yardage$12.16Shop →
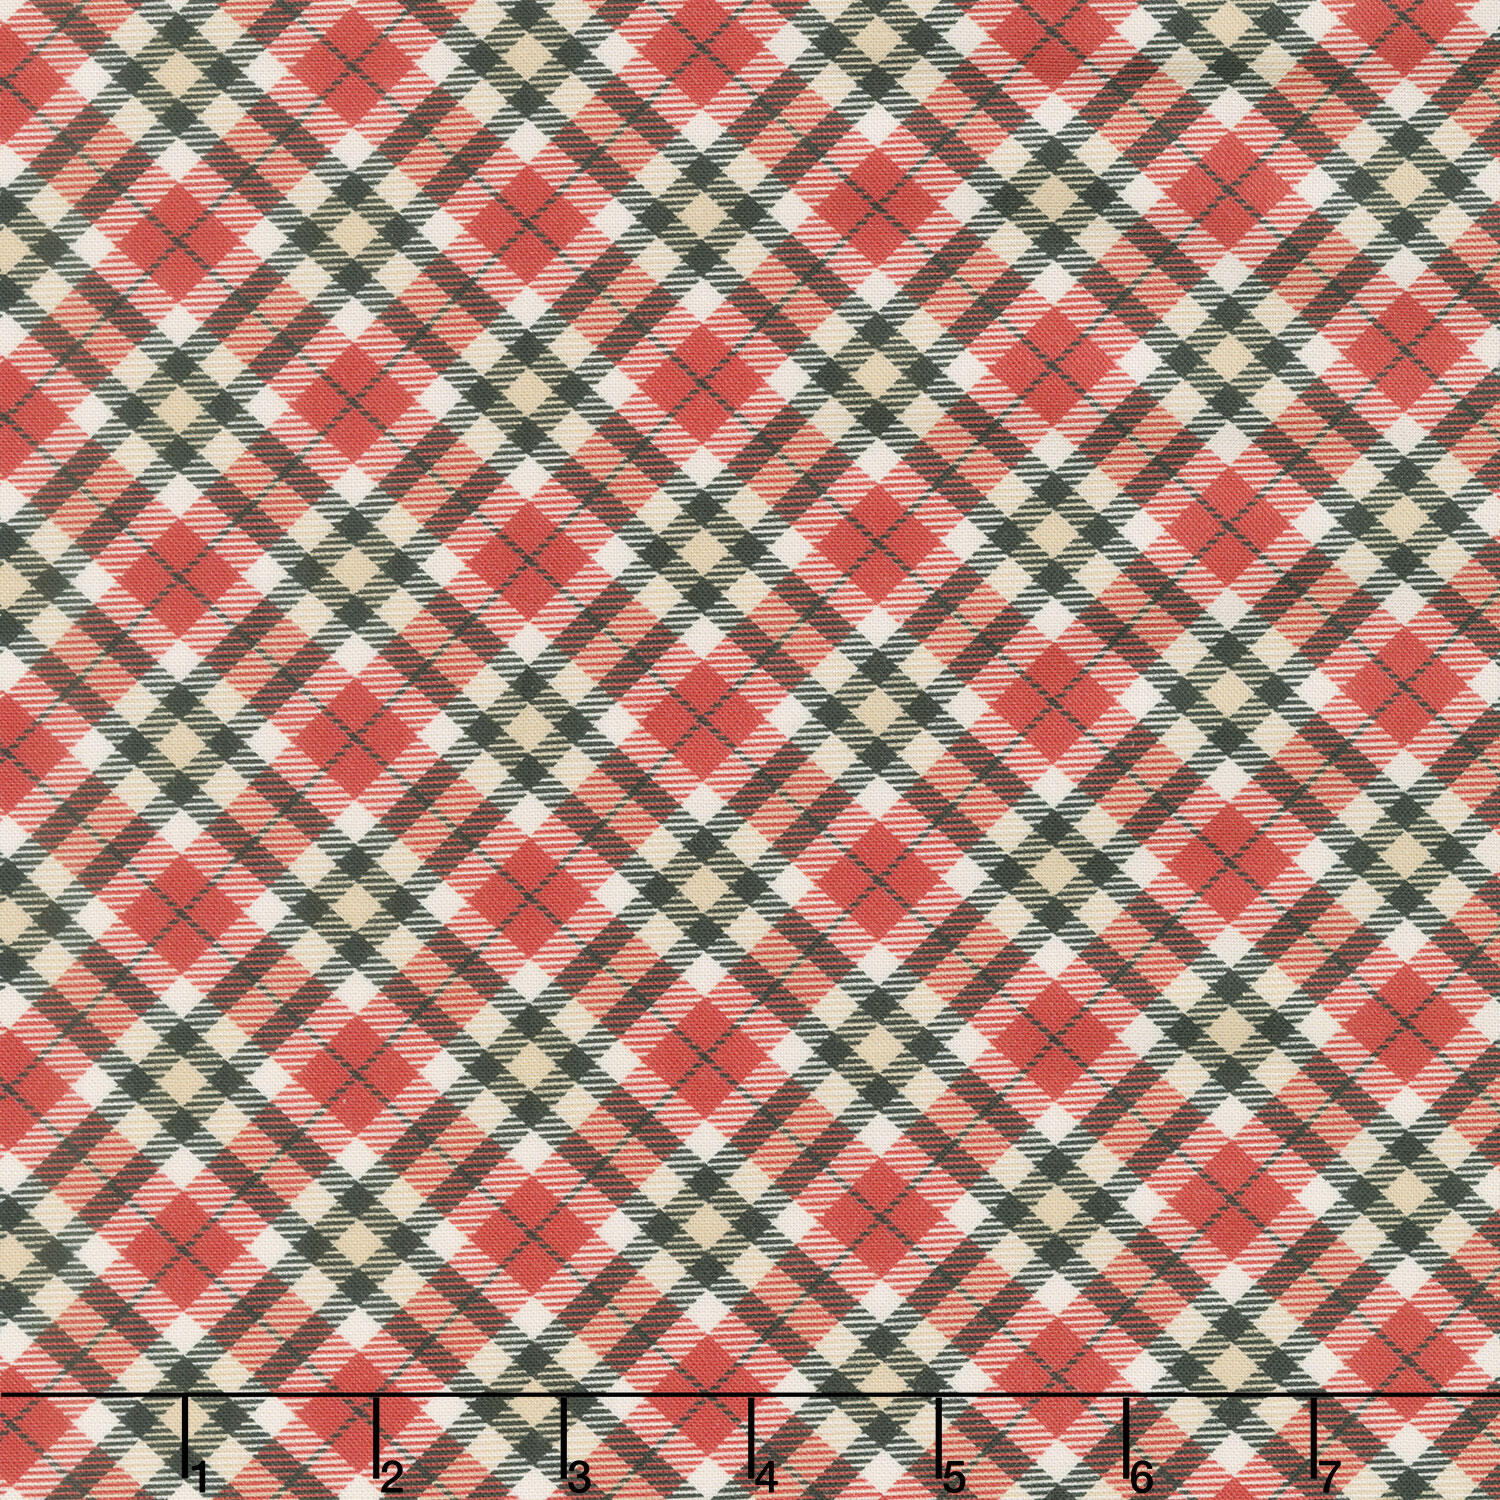 Modern Classics - Plaid Multi Yardage$12.16Shop →
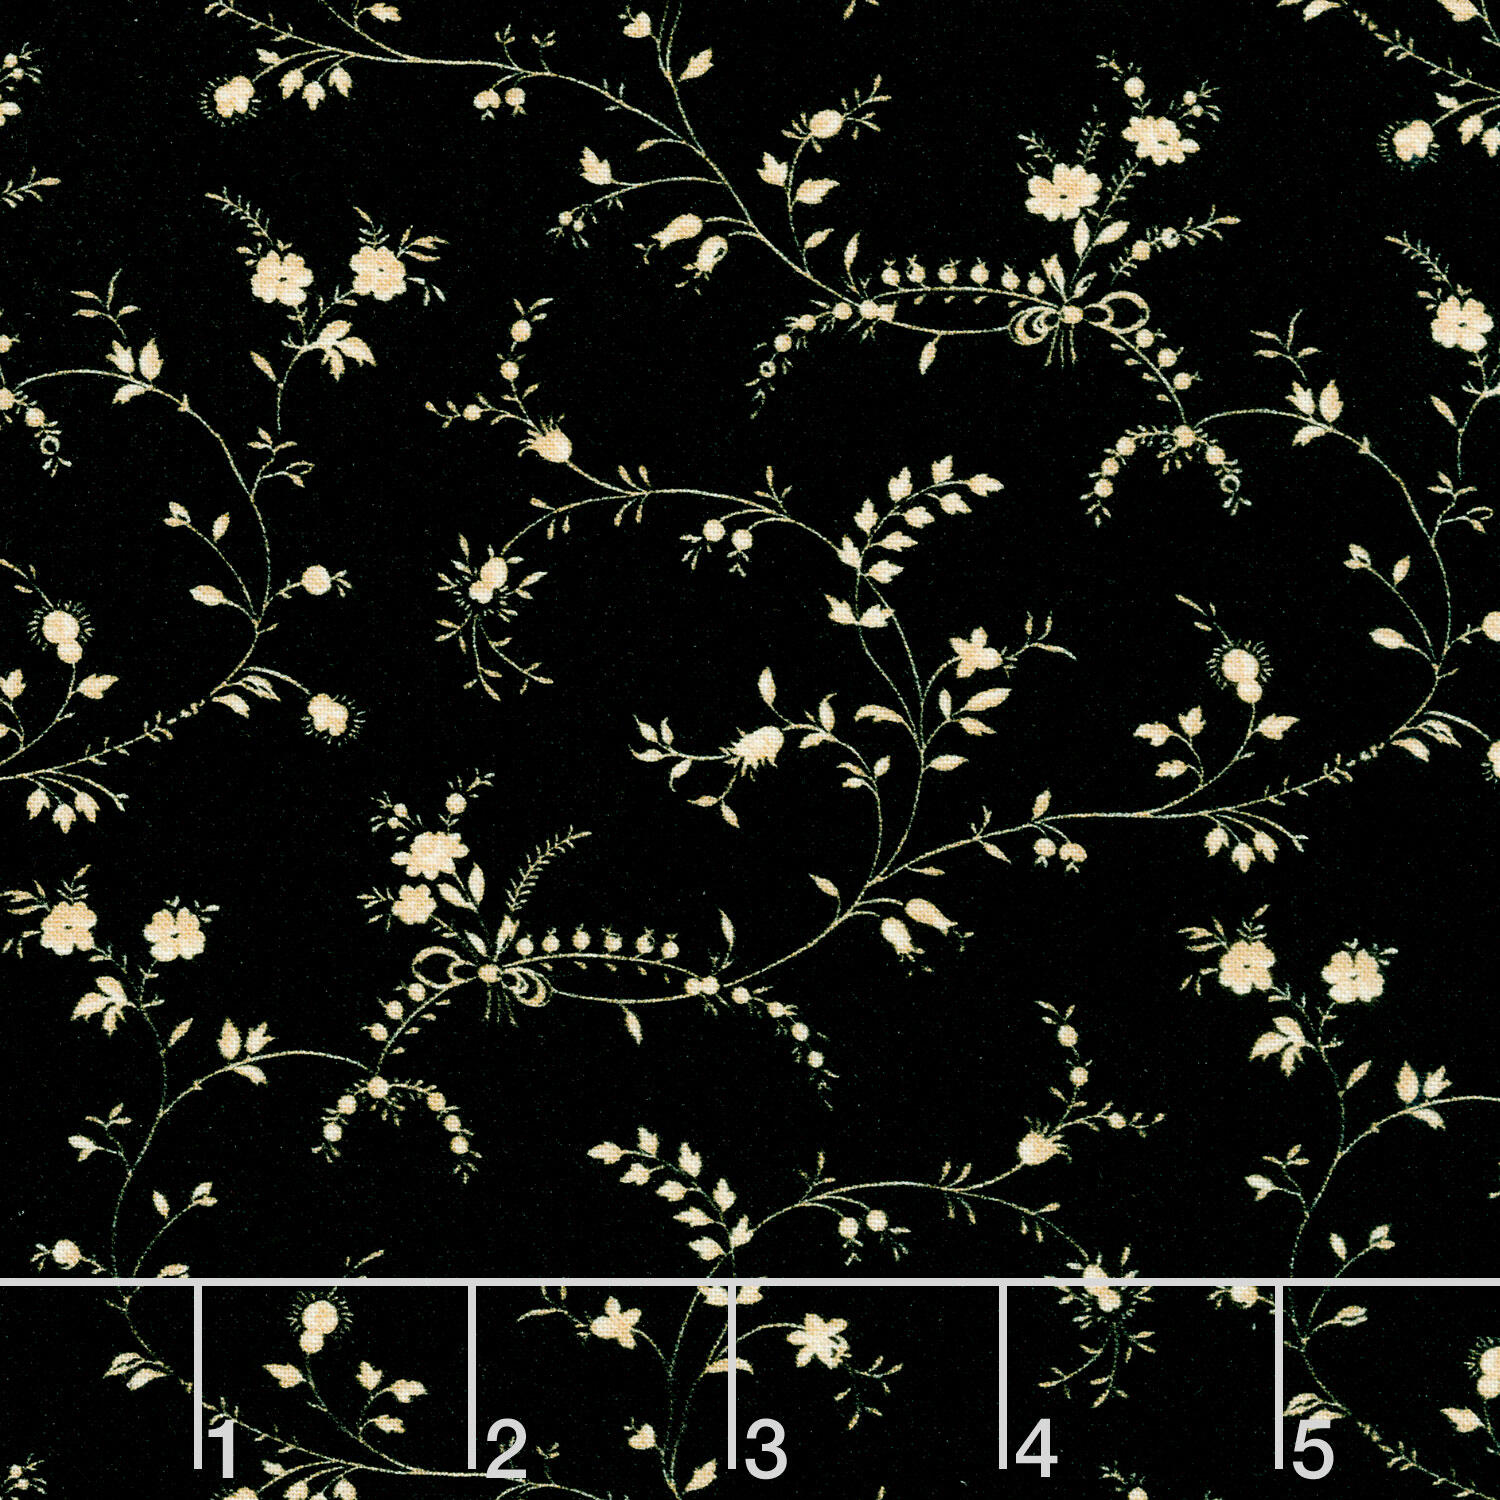 Modern Classics - Wispy Black Yardage$12.16Shop →
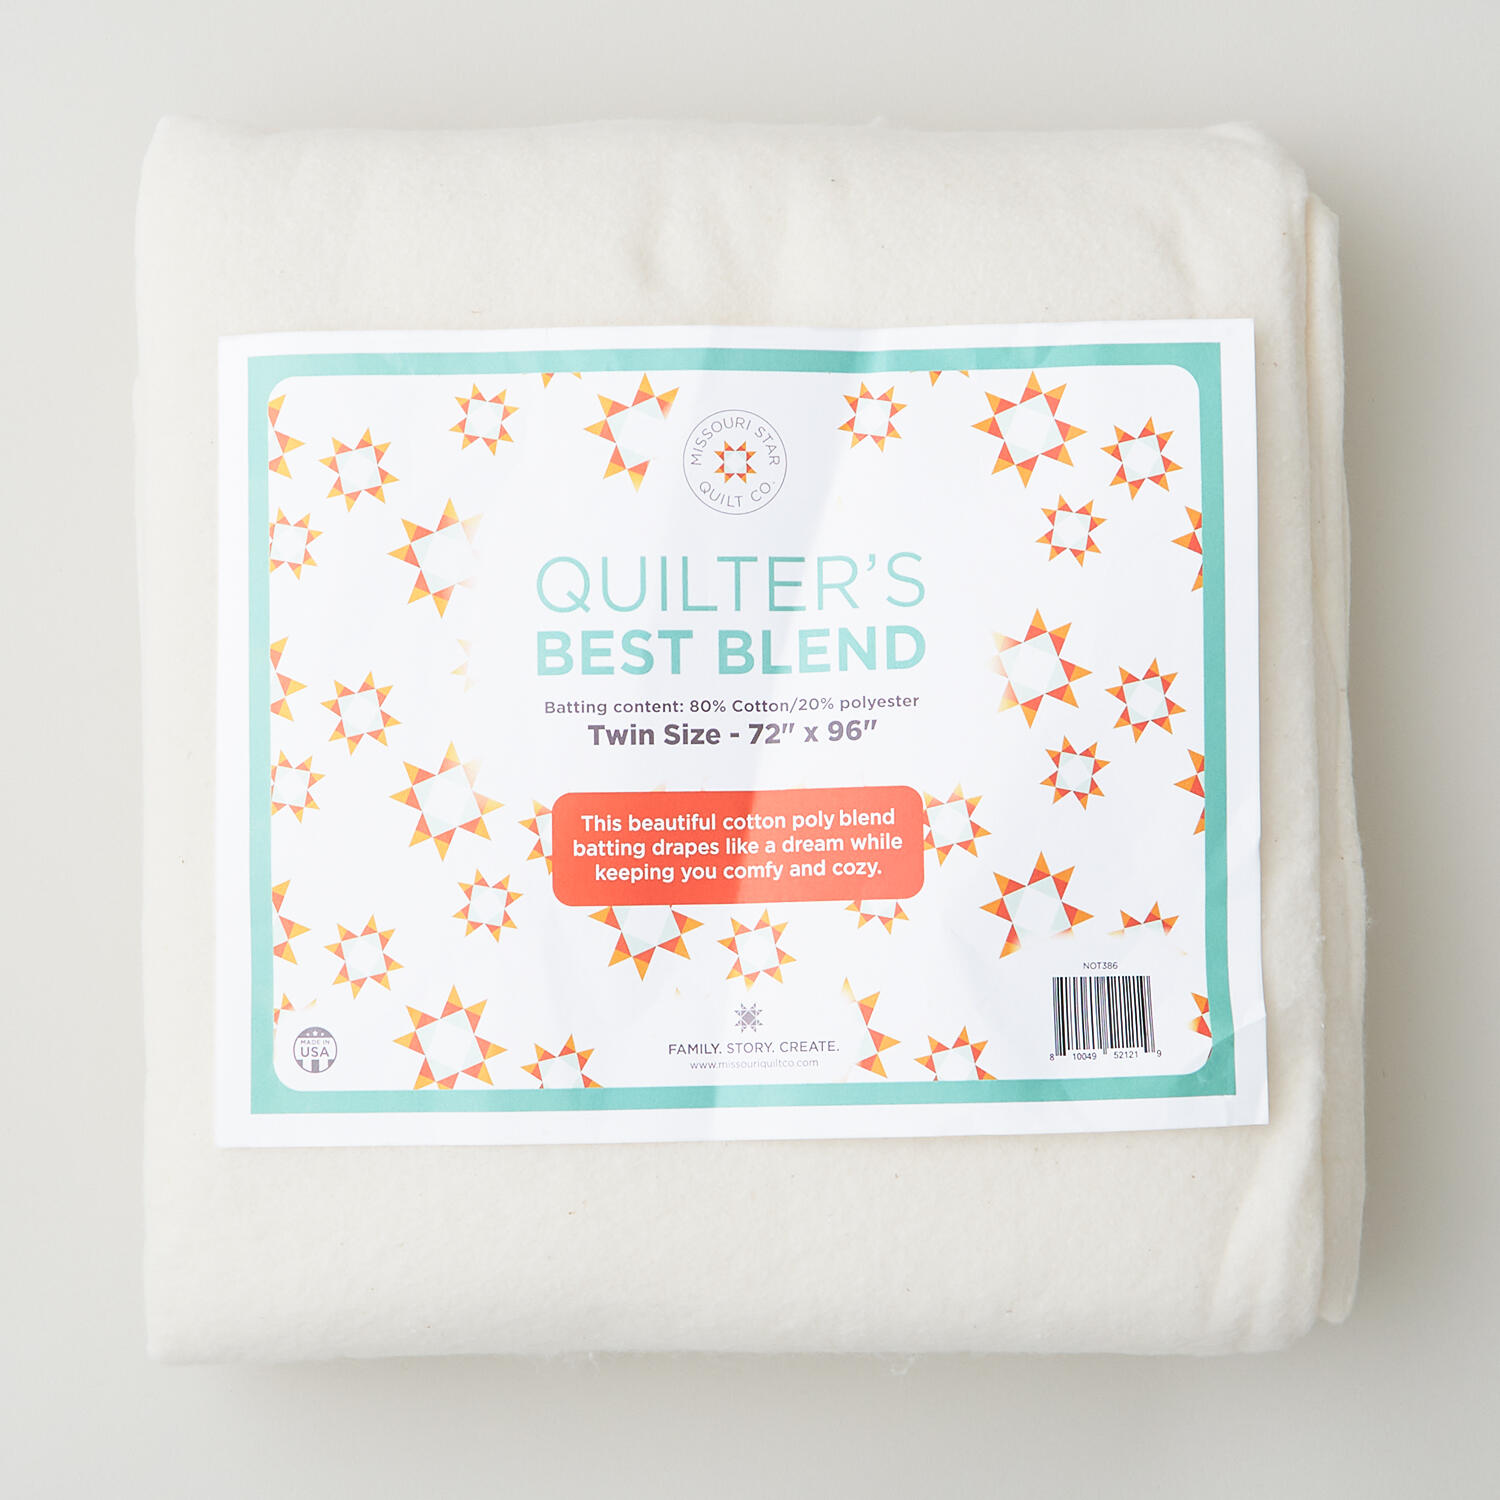 Missouri Star Quilter’s Best Blend Twin Batting$26.95Shop →
 Missouri Star Ruler$29.95Shop →
 Missouri Star 45mm Rotary Cutter - Olga$19.95Shop →
 Missouri Star 8" Everyday Scissors - Amelia$19.95Shop →
 Missouri Star 50 WT Cotton Thread White$7.95Shop →
 Missouri Star + Oliso TG1600 ProPlus Iron$209.95Shop →
 Bernette 77 Sewing and Quilting Machine$1699.00Shop →
Video Transcript
One of my favorite things in the world is to travel and see old architecture and how it varies from place to place. And one thing that I really love to look for are those anchor star bolts on old brick buildings that hold those brick walls in. I just think they're so cool. And so that is actually what inspired this quilt. I'm calling it anchor stars. So, let me show you how to make it. So, like I mentioned, this quilt is inspired by those star bolts that you see on old brick buildings. If you're not familiar, go search it up and look at them. They're really cool. You can find them at antique stores and they still are on a lot of brick buildings today. So, I just love how this quilt turned out and I think the fabric is really perfect for it. So, to make this quilt, you're going to need one roll of 2 and 1/2 in strips, and I use this beautiful collection called Modern Classics by Monica Zu for Marcus Fabrics. You're also going to need a couple of accent fabrics. These are both color works. I use color works black and you need 1 and 5/8 yard of that. And that includes your sashing. And then this one is called Marrakesh, and you need 3/4 of a yard of that one. Now, from your line itself, we also pulled a light fabric out of that for our cornerstones. And so, you just need about an eighth of a yard of that. And then for your border, that is a 5 in border. You need 1 and 1/8 yard. And your backing is four yards with horizontal seams. So, let me show you how to make this. [music] So, the first thing you're going to want to do is open up your pack of two and a half inch strips. And you're going to set those or pair them up into contrasting prints. And so, you're just going to put two of those strips together, right sides together. And you're going to sew all the way down one side with that quarter inch seam. I have one that I've already gone ahead and sewn and pressed open. So you can see that here. And now all of those strip sets we're gonna cut into four and a half inch segments. So let's just take our ruler, make sure we're straight across the mat here. Make it easy on ourselves. And we are looking for 4 and 1/2 in. So there's a few. And we're just going to make our way all the way down. So, you're going to get a good amount out of each of these strips. Make sure we stay straight. There we go. And you would just continue until you have it all cut up. And then we're just going to put these all in a pile. And we're going to mix them all up because I want these to be nice and scrappy. So, I have a bunch of other ones that I've already cut here ready to go. And now we can start making our block. So this is the block that we'll be making today. We're going to have both a burgundy version or red version and a black version that you see here. And so I think we'll make one of the red ones today. And so from your background fabric or your accent fabric, I'm sorry. You're going to cut some 4 and 1/2 in squares and some 2 and 1/2 in squares. And you're going to do the same thing in black so that you can make both of those blocks. but we're just going to work with the red today. So then now we're going to take our little bar units and we're going to start by snowballing two of them with the center seam pointing up. So I'm going to lay my little 2 and 1/2 in square. And you can draw a line or press the line. I have some diagonal seam tape on my machine. So I'm just going to stitch corner to corner. And I'm gonna go ahead and do two of these just to save some time. And so we'll stitch corner to corner here and here. And then we'll trim. And we'll come back and add the other side. So let's start by making sure this is lined up in that outer corner. Placing our needle down on that first point. And then just zooming straight across to that other point. And you could chain piece these here. Place one after the other. You're going to need two that are snowballed in this direction per block. There we go. And so now we'll trim this apart. And we're going to trim off our excess, leaving our quarter inch seam allowance. There's one. and two. And then let's go ahead and press these back. So we'll set that seam and roll it back. Same on the other one here. And so now we're going to add our 2 and 1/2 in squares to the opposite side. We want that to overlap this first snowball that we've made. And so you can see that's going to work just like so. I've already gone ahead and stitched these. And so they're going to look like this once you have both of those sewn. So that's what you're looking for. So let's set these aside. And we have those two ready. And so now for the other two, you want to make sure that the units are running this way. And so just like you did here, you're going to snowball one side and then you'll come back and add the other. We're going to make two just like that. And so I have those. And so you can see here, here's the two that are running horizontal and here's the two that are running vertical. So that's what you need. And so now we can lay out our block. So let's go ahead move some of this out of the way. We're also going to need four more just plain bar blocks. So, I'm going to grab some of those just so we have a good variety here. Make sure I have different prints. There's one. And well, one more. There we go. Okay. And so now we're going to begin with that 4 and 1/2 inch red square in the middle. And we're going to put our star units so that they are facing the middle. And so my ones that are running uh vertical are going to go top and bottom and the horizontal are going to go side to side just like you see here. And then we're just going to set these solid squares into the corners just like so. I think I'll move that one over here. There we go. And so then you're just going to sew this together like a big nine patch. So we can fold this over and stitch down one side and add the other. And then when it's all sewn together, it looks just like this. I absolutely love how it turns out. And so you're going to make one, two, three, four, five, six, 10 of each of the blocks. So you're going to make 10 of the red blocks and 10 of the black. And then we're ready to lay out our quilt top. So you're going to have one, two, three, four across by five down. And of course, you're going to want to measure your blocks because these sashing strips in between are cut to that same height. And they're each an inch and a half wide. So you have the inch and a half sashing and this little 1 and 1/2 inch cornerstone square that carries all the way out into that first little outer border. I mean inner border, excuse me. Then your outer border is five inches. And then for the backing, I used this beautiful black and cream floral and I quilted it with the bubbly feathers pattern. I just love how it turned out. I think it's a beautiful classic design. So, I hope you enjoyed this tutorial and you'll give it a try. And I'll see you next time on At Home.


