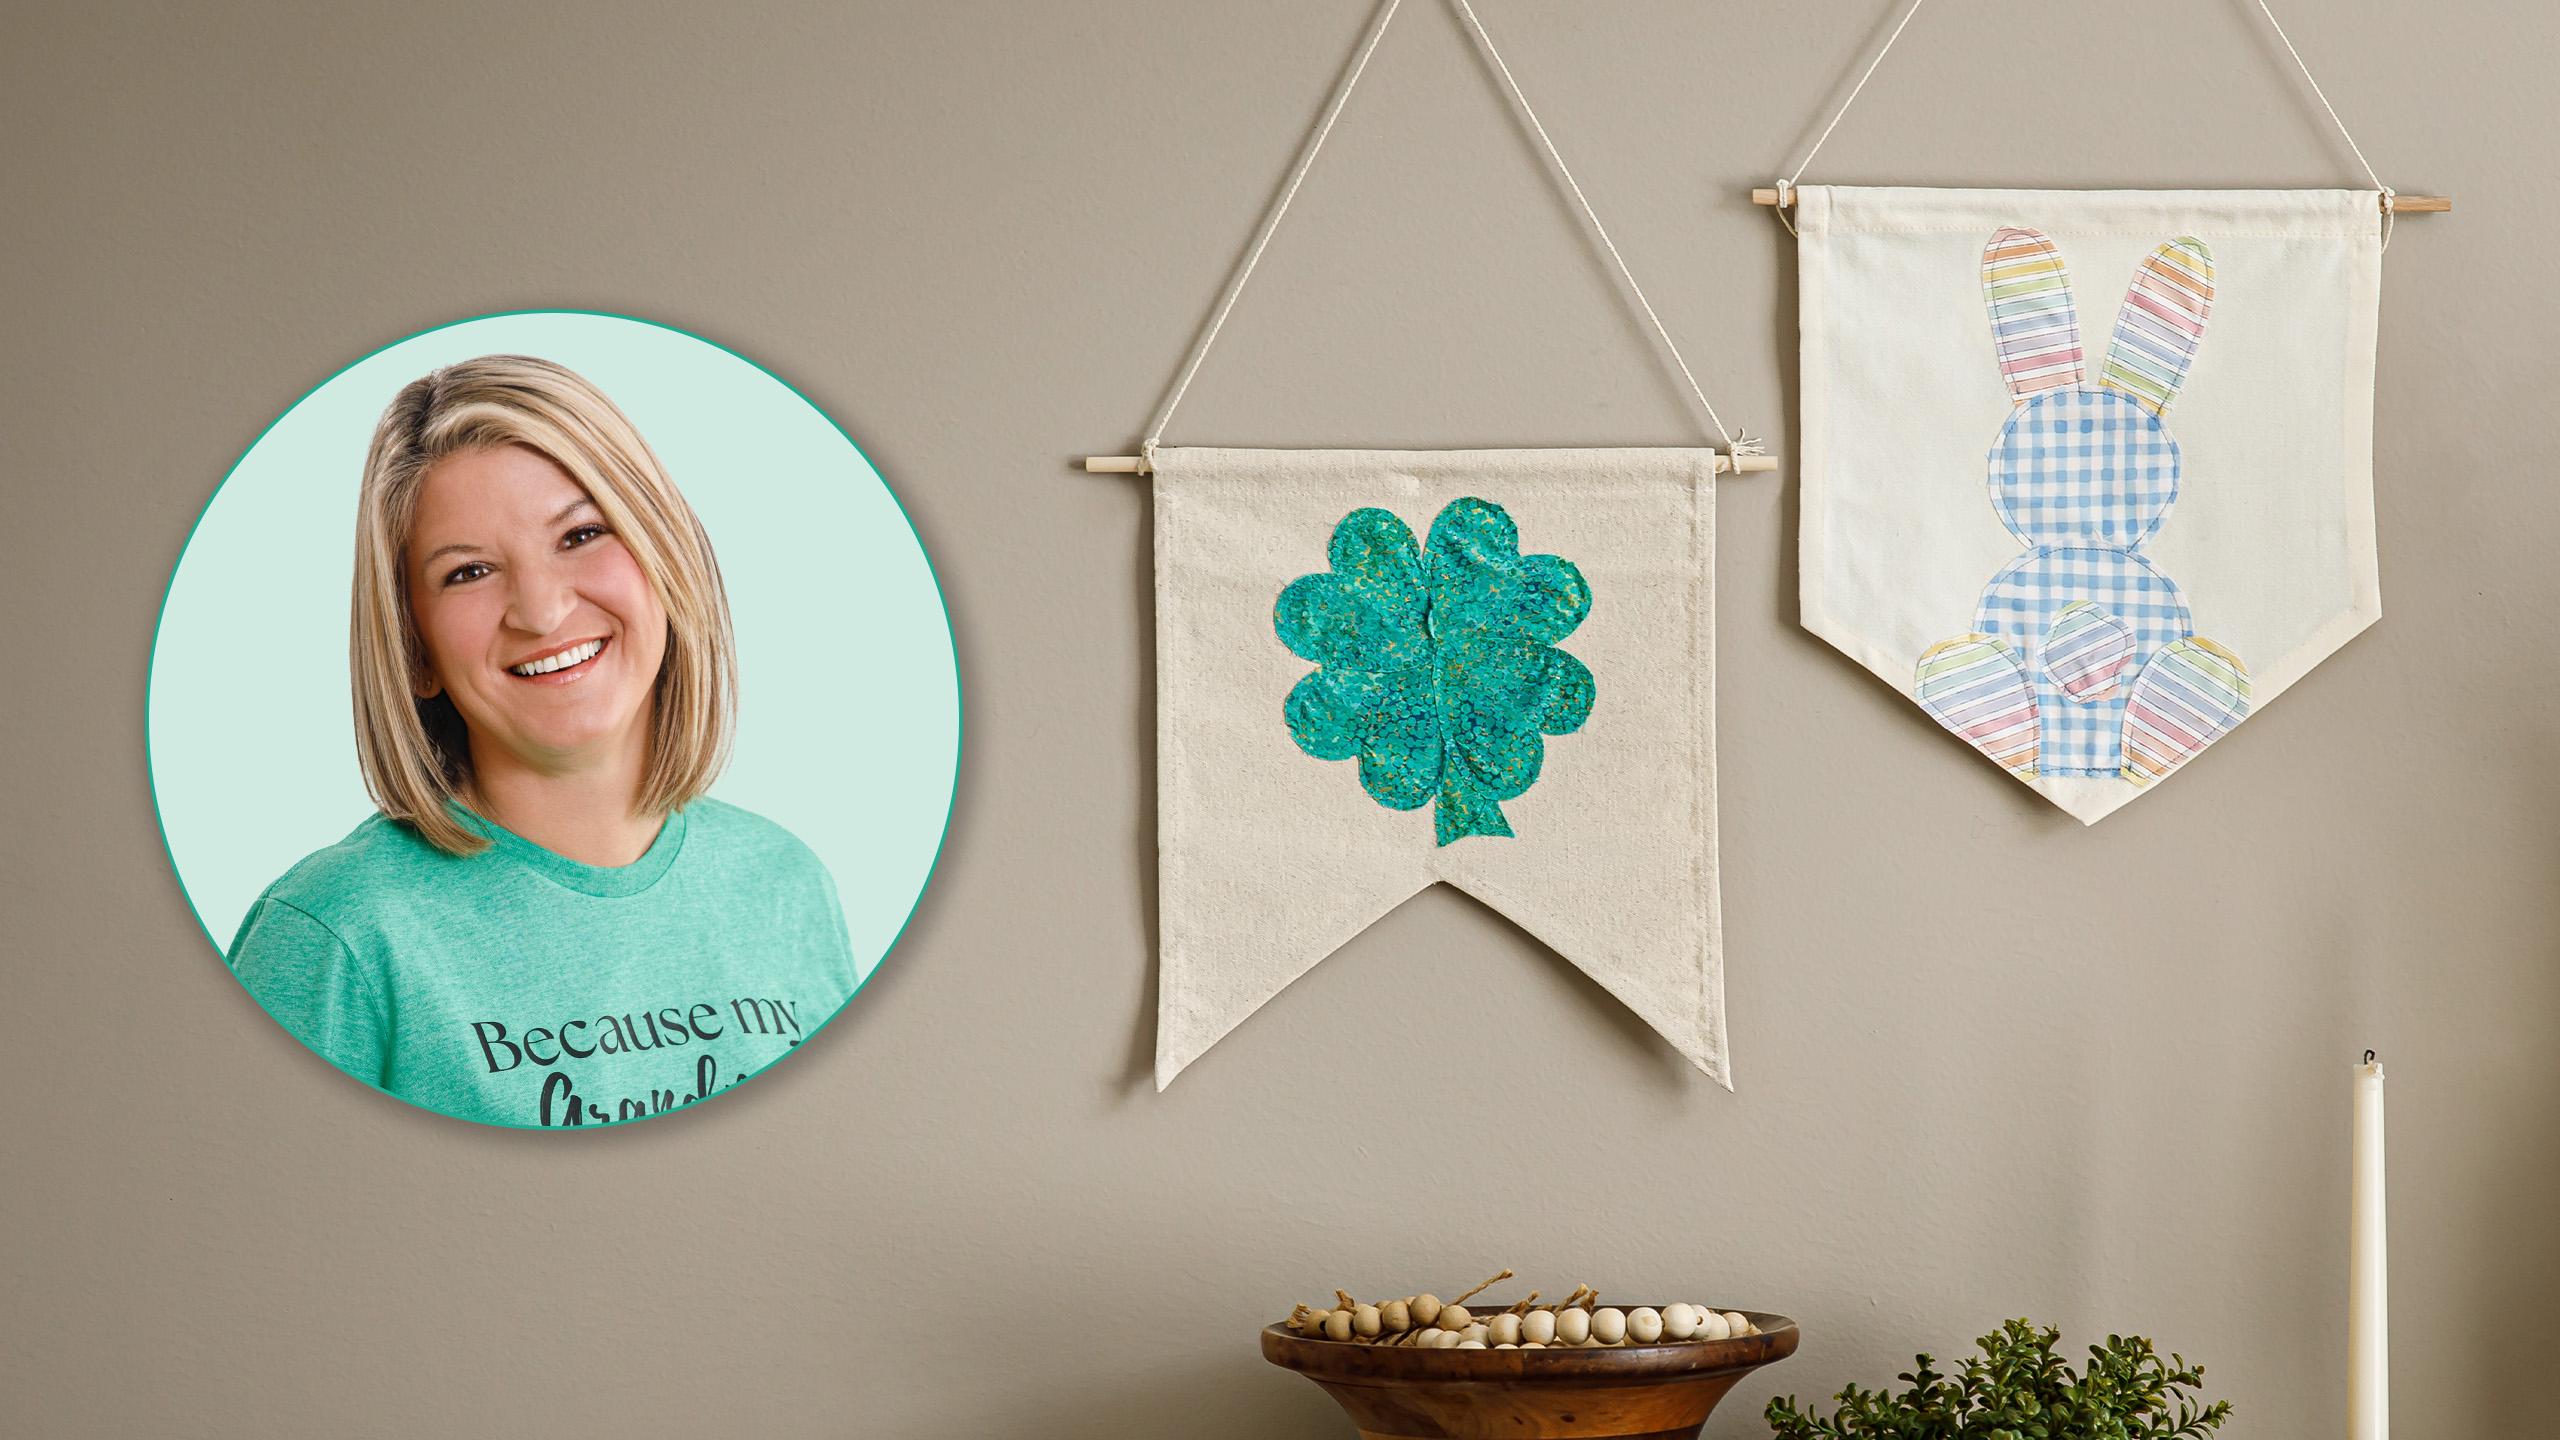
Appliqué your way to a banner spring! Tami Jones of Hometown Quilt Co. shows you how to make banners with an adorable bunny for Easter and a shamrock for St. Patrick's Day. MSQC blank craft base banners and printable PDF shapes provide the quick jumpstart you need to create these fun seasonal décor items.
Tami Jones is the heart and humor behind Hometown Quilt Company—a beloved sewing educator and viral content creator known for stitching together stories, smiles, and a whole lot of bobbin drama. With a knack for turning everyday moments into relatable, laugh-out-loud lessons, Tami has inspired makers across the country to embrace creativity with courage, curiosity, and a healthy dose of imperfection.
What is covered in Appliqué Spring Banners with Tami Jones?
Appliqué your way to a banner spring! Tami Jones of Hometown Quilt Co. shows you how to make banners with an adorable bunny for Easter and a shamrock for St. Patrick's Day. MSQC blank craft base banners and printable PDF shapes provide the quick jumpstart you need to create th...
How long is the tutorial video?
The tutorial video is 00:14:43.
Are supplies listed for this tutorial?
Yes. The tutorial page includes the supplies and materials connected to this project.
Video Transcript
Hi, my name is Tammy with Hometown Quilt Company and Missouri Star Quilt Company has invited me here to do some tutorials for y'all. So, we're going to start with the spring applique tutorials. We're going to make this precious fourleaf clover and this super cute bunny. Now, these templates are available for free at missouristy.com under their free templates section on their website. And there's also a Tammy Jones landing page at Missouri Star that we will tag in the description. Okay, so we're going to start with this fourleaf clover. Now, we're making this for St. Patrick's Day. But you could take this clover and you could put it on the front of a sweatshirt, you know, so you don't get pinched or a t-shirt or it would be super cute on a jean jacket or the leg of your pants, whatever you want to do with it. These fabrics are from Northcot and it's shades of green that I got here. Now, I printed out the template. I cut out all of my pieces and I pinned them on. You can use as many pins as you want, but not more than you need. That's what I always tell my students. Every pen that you put in there will poke you. Now, one of my students says that it's not yours till you bleed on it. So, maybe that's okay. But, print your templates, cut your fabric out. This fabric came from Northcot Shades of Green that I'm using today, but you can use any scraps that you have. We're going to sew ours on. But if you're not comfortable sewing and you want to make it a no-s so project, there's this great sew light adhesive. Now, when you're getting adhesive that you're putting on the back of fabric to sew, you want to make sure you get something that's sewable. You can get some adhesive that's not sewable and then when you sew it, it gums your machine up. You have all that glue. So, we don't want that. We want to make sure that we get some kind of sewable adhesive. But if you put this fabric on this adhesive, you can just iron it on. No. So, easy peasy. Then you can buy your pre-made blank, whatever it is, whether it's a pennant, an apron, a sweatshirt, a jacket, jeans, we talked about, use your soite adhesive, stick it on there, and you don't even have to sew anything. Or you can do what I'm going to do today, which is sew it on. Now, this is green. I'm going to choose my thread color to match the color of my fabric. Now, I don't mean to go out and buy 700 shades of green. You just need two, light green and dark green, because all you're looking for is something that doesn't yell at you. Because when I sew this on, I don't really want white stitches saying, "Hey, I'm right here." Especially when I make a mistake. So, we're trying to hide that, too. And Missouri Star has set me up with this great bucket of cotton thread. It's the cotton thread stash builder, and it has a whole bunch of different colors in it. My husband said, "When you're done, can I have the containers?" I said, "Yes, honey, yes, you can." So, let's find us a color that we like. Okay, I'm gonna pull out all of the greens and then we're going to talk about what I'm choosing and why I'm choosing it. There's a green. There's a green. This is kind of tealely. I'm going to pull it out. Okay. Move that out of the way. So, here's our green options. I really think I'm going to use this teal green because it's closer than any of the rest of them. But, let's say I didn't have this and all I had were these two green options. Okay, I could use this green and it would be perfectly fine because it would blend in enough. You're just talking about some small stitches. So, you're not talking about anything that's big and heavy. So, you just want something that's not white. Or maybe you want white. And if I wanted to do this and I only had white thread, you know what I'd do? I'd use white thread. So, this is what we're going to do. Now, I don't sew on this kind of sewing machine at home. So, this is going to be a whole new experience for all of us. Let's see if we can figure out how to thread it. And maybe where the petals at would be a good idea, right? Okay. So, I said I was going to thread the machine, which y'all didn't see was the last 30 minutes. We had to call in reinforcements because I don't really know what I'm doing. So, we're going to skip that part. It is now threaded. It is a straight stitch only machine. So, it's not something that I'm super versed in using. And I thought I had it threaded correctly and the thread kept breaking. I had it one too many loops in. So, we are threaded with the green thread, the teal that we were going to use. And we're going to stitch our clover on. Now, all we're going to do is go around the outside just like this around each one of our pieces of fabric. Now, if you did not want this to be a raw edge applique, then you could zigzag yours. If you wanted it to be raised to look like a cutter quilt kind of situation, you could make each one of your hearts a different fabric and make it more patchworky looking and then put it on top of some flannel and it gives it some lift. But for what we're doing today, we're just going to straight stitch around each piece. Now, don't forget when you straight stitch or any stitch, you have to back stitch every single time. My grandmother terrified me. She told me that if I did not back stitch, my stuff would fall apart. So, I'm always backstitching. And I'm just going to follow the edge of my presser foot right here next to the edge of my fabric. Slow and steady. There's no secret. I wish there was, but slow and steady. And if you're not great at it, guess what? We were all not great at it once. Sometimes we're still not great at it. So, take your time and use the green thread. It'll hide your mistakes. I've never sewn on this machine, so we're all doing this together for the first time. Maybe in my next tutorial, I will be a little better or more comfortable at least. So, I just asked the production team if I'm supposed to talk while I'm doing this, and they told me if I had some tips, I could tell y'all, but to be honest, I am trying to focus on making sure my stitch is where I want it to be. Okay. So, if you're a beginner and you're trying to figure out how to go around all of the pieces because it's not straight and your stitch is just a straight stitch. So, the first thing I would do is most machines have a button that allow you to always stop with your needle down or always stop with your needle up. I choose to always have my needle up when I stop because I want to pull my project out. So, there's a button on the front of this machine that I just pressed and it makes the needle always be down so that whenever I stop sewing, I can raise the presser foot and shift my project and the thread doesn't come out. So, now I'm just going to go slow and steady. There's really no secret. Use the color thread that matches your fabric that will hide it and practice. It's sewing is kind of like playing a musical instrument. The more you do it, the better you will get. And there's really no shortcuts. We all want them. And I promise I'm not giving y'all extra steps because I don't like the extra steps. But there are a few things that just make Yeah, like that. Few things that make life easier. Number one, taking your time. Number two, matching thread. And number three, the dreaded ironing. That makes a big difference, too. All right. So, I want to show you a couple of things. I want to show you what you can see and then I want to show you what you can't see. Number one, you can see my precious clover. That's super cute. So, I'm not going to get pinched for St. Patrick's Day. Now, I'm not sure if you can see it or not, but there are some bubbles in my fabric right through here. And from a distance, nobody can see that. They can't see it. But if you look at it up close, it's definitely there. I don't care. If you care, I want you to take it off and start over. I'm not taking mine off and starting over because I don't care. But just so you know, when you are turning your appliques underneath the presser foot of your sewing machine, your feed dogs are pushing your project forward and you're turning it. So, you're doing something your sewing machine does not want you to do. It's trying to push your project out and you're trying to push it in a different direction. So, slow and steady. Lots of pins. Lots and lots and lots of pins. So, behind me is an applique quilt that I've made for my little ladies for their birthday. I have four-year-old twins, and I have two of these, exactly the same, and they look great from where you're looking at them from, but if you get close, they absolutely have these bubbles in them. I do not care. The only thing that's going to make that better is more pins and sewing a little slower. So, if that's what you want, then I want you to do that. Now, this is going to be raw edge. There's nothing there to keep this from fraying. It is going to fray. I love the raw edge. If you don't like the raw edge, then what I want you to do is zigzag around the edge, and that's going to take care of it. Super easy. Okay, so we've done St. Patrick's Day, right? Now, if I were at home and I were making this, and I wanted to do one pennant and have something on both sides, make one side no sew, and the other side sew. You can't sew it on both sides. I mean, I guess you could, but I'm not really sure how well that's working out for you. But if you sewed your clover on one side and turned it over, then you could easily make your bunny no sew with this fusible fleece. Cut it out, put it on here, and put it on this side. So then after St. Patrick's Day, you just turn it over. Easy, easy. Or you can make a separate one. Now this one is it's a pennant, too. Also available at Missouri Star. They sent me a bunch of blanks. They sent me pennants, pillowcase covers, an apron, all kinds of things that you can put this on. This would be super cute on my shirt. It would be super cute on my little lady shirt. It would be super cute on a pillow. So, use it on whatever you want. We're going to put it on this pennant today. And we're going to do exactly the same thing that we just did, only now I need to change my thread color. But let's pick a thread color first. Okay, we're going to do the same thing we did a minute ago. We're going to pull out all of the blues and then I'm going to choose one and I'm going to tell you why I chose that one. So, we have this blue. Oh, and I want to show y'all how easy this thread is to get started because we've all been there trying to pull the end of the thread off. And this is way easier than what I'm used to. Blue. Blue. Blue. This is kind of a denim blue. and blue. Now, y'all looking and y'all are saying, "I already know, Tammy, which one?" This one, right? Absolutely. That's the one I'm picking because it falls in the same color family. It's kind of a warm blue. Super good. Now, let me show you how easy this thread is to get started because I wish there was some magic answer to the ones you buy off the shelf at Walmart that go in the notch that they cut at the factory, but I'm digging them out with a seam ripper, with a pair of scissors, with my teeth. This literally just opens. I mean, just un undoes just like that. The easiest thing ever. When I started that green one, I was like, "Hold up. Wait a minute. What is this?" I was prepared for 10 minutes of my time opening the thread. Now, let me find a garbage can. Okay, so I told y'all a minute ago we had a struggle with the sewing machine. So, this is what we're going to do. We're going to put our thread on here. My grandmother taught me this, but she worked at a sewing factory for many, many years. And that's where she learned it. And she said, "Take the thread that's already there, cut it off, tie it to the end of the new thread, and then we're just going to pull it through. So now I'm going to take this thread and pull it. And it's going to come all the way through except for through my needle. So I'm going to cut it off and thread my needle." Now, this sewing machine does have a needle threader. Most of the new sewing machines do. I never teach my students how to use the needle threader and I don't use the needle threader when I sew because some sewing machines do not have a needle threader. And if you don't have one, I want you to know how to do it. And that the rest of us out here that are 40 plus are struggling with our site, too. Okay. Paw says, "Why do you wear glasses in your videos?" Well, Papa, because I can't see. That's why. Welcome to 40. Right. Okay. So now we are threaded and we're essentially going to do exactly the same thing that we just did. We're going to go around each piece of our applique. So we're going to go around each one of his legs, his body, his little tail, his head, and his ears. Straight stitch all the way around. Same thing as before. If you don't want it to fray, then use a zigzag stitch. If you wanted to give it a little lift and make it look like it was made from a cutter quilt, then you could put some flannel behind it. You can do all the things. Now, for what we're doing, we're just going to put a straight stitch around it. Super easy and makes a great decoration. Okay. So, I'm going to line the presser foot up with the edge of my fabric. And I'm going to stitch and back stitch when I start and when I stop. And I'm gonna go around each piece. Okay. And that's it. We're going to pull it out and we're going to cut all of our loose threads off. I've been cutting mine as I go just so I don't sew them down because if you get a loose thread kind of twisted up underneath your stitches, it's really hard to get all the pieces out or it's more aggravating than it is difficult. So, we've cut all that off. Let me attach the end of my pennant back to the rod. And this is what we have. Do you see our precious Easter bunny? So, today, well, let me fix it again. Sorry, y'all. Today we've made a clover and an Easter bunny. They are ready for or you are ready for all the holiday seasons. My name is Tammy. I'm your favorite sewing teacher. I know other than Genie Dawn, right? She's pretty awesome, too, though. I would love for you to come sew with me.

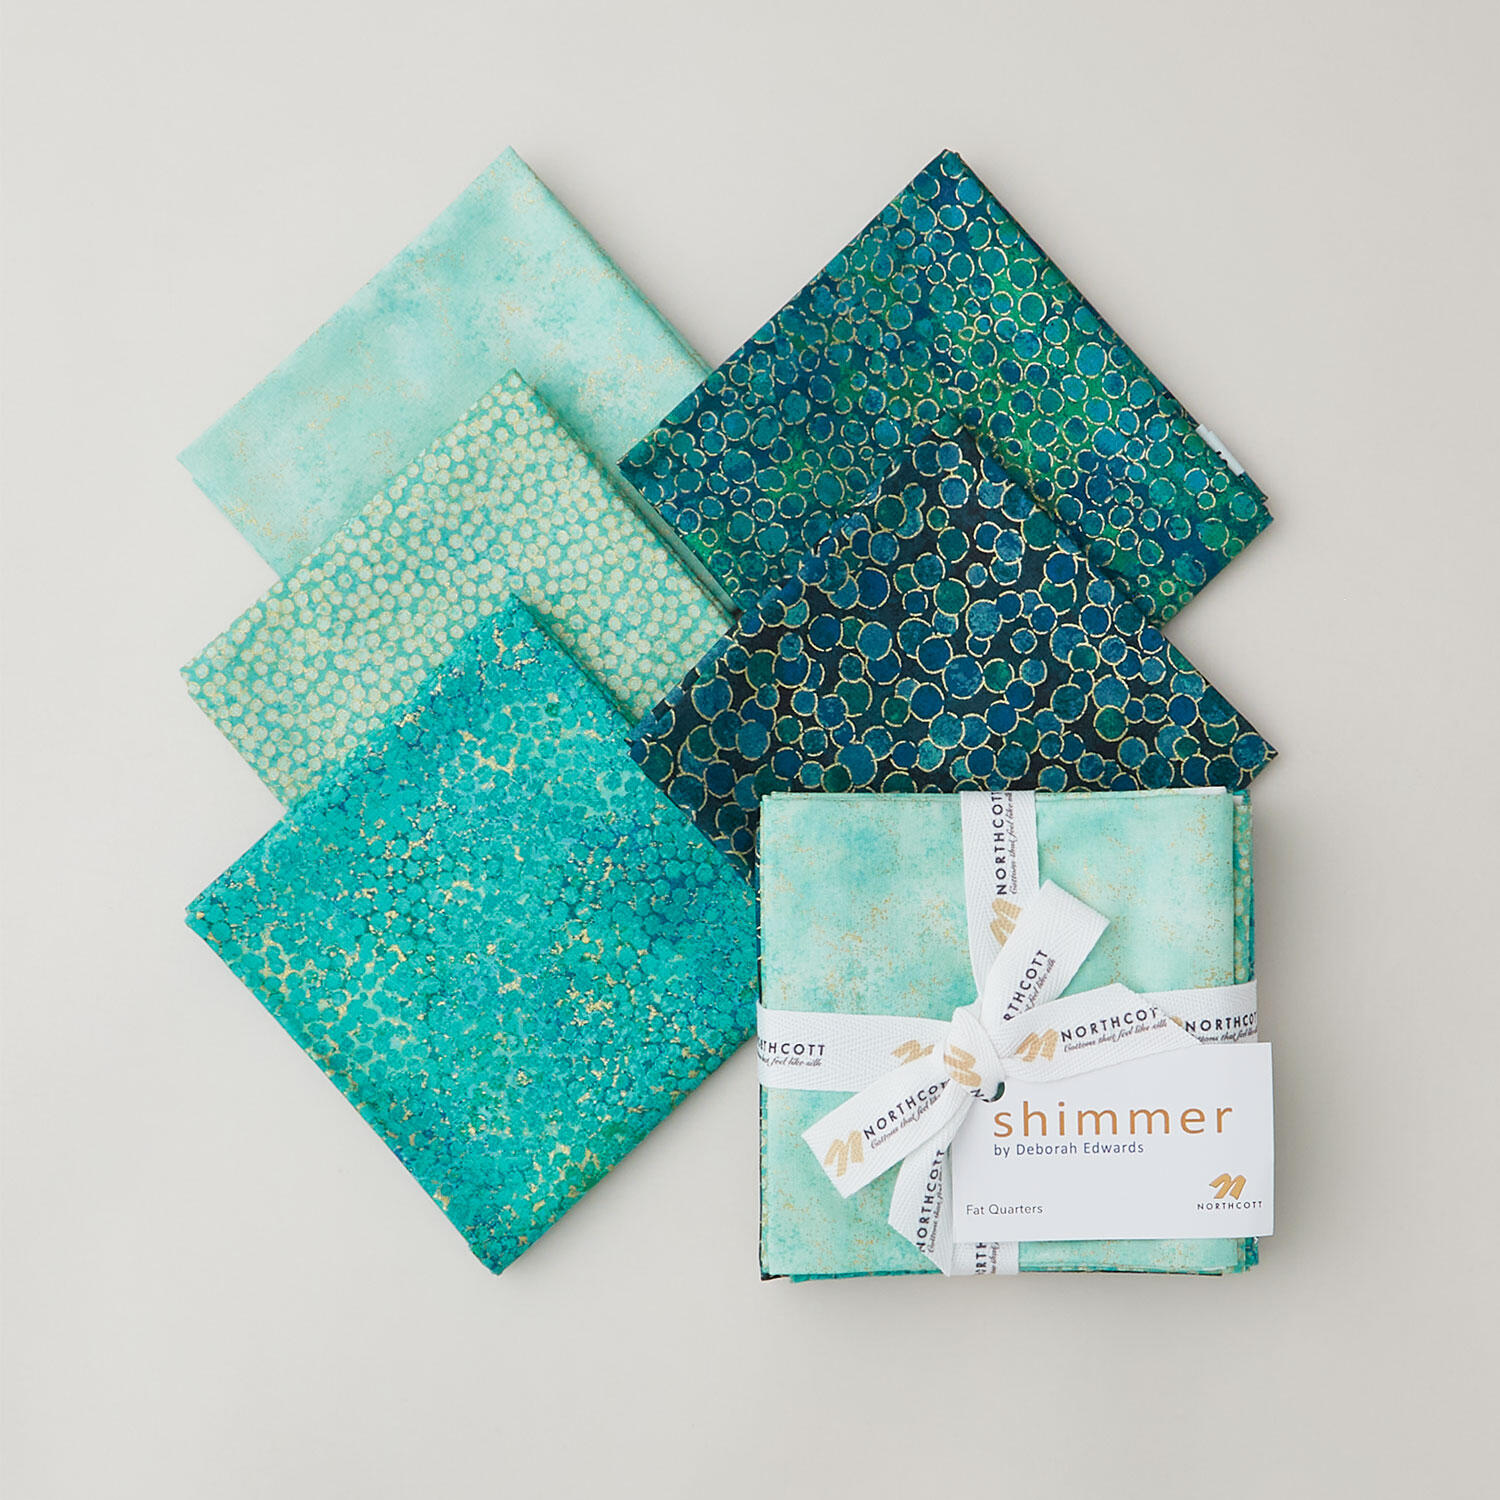 Shimmer Peacock Metallic Rolls$20.50Shop →
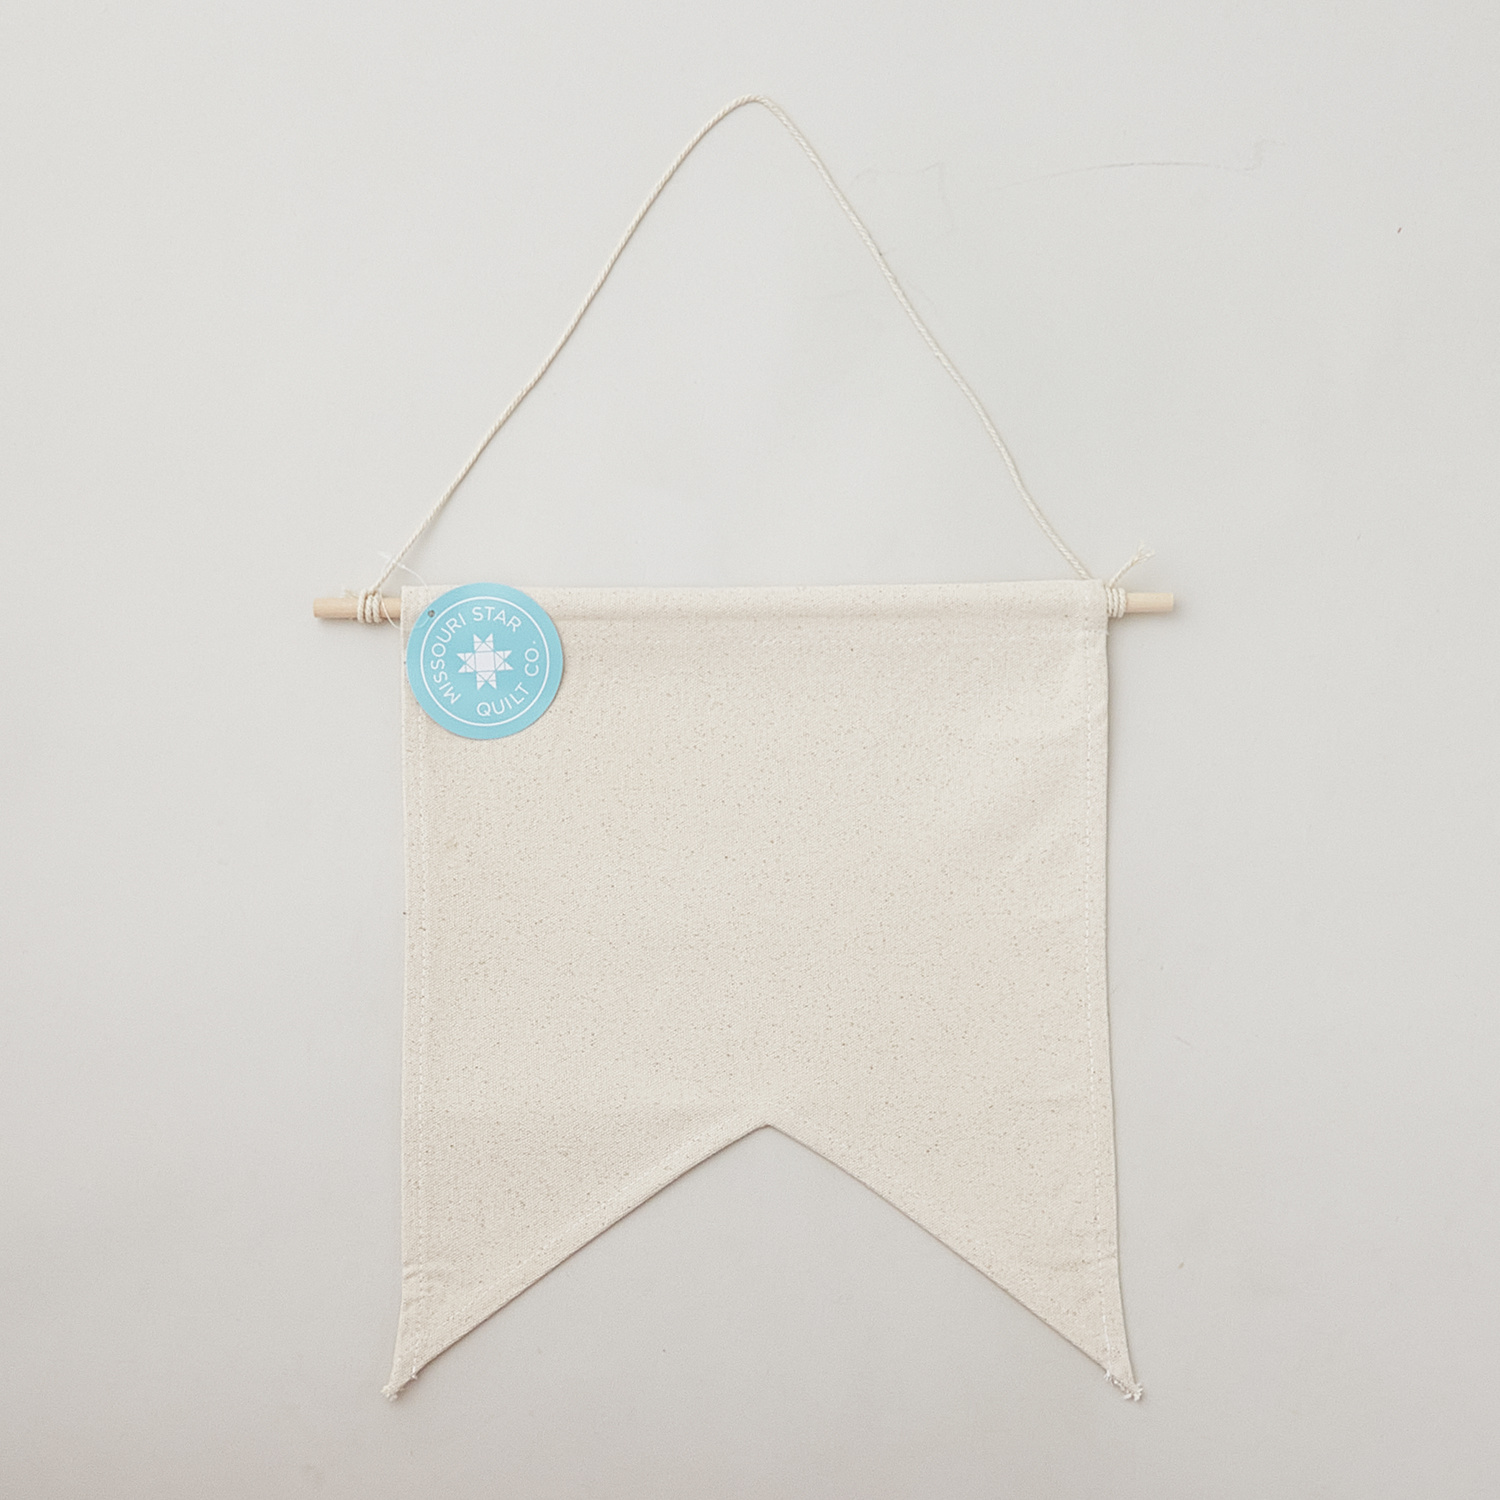 MSQC Blank Craft Base: 11.5" x 13" Natural Canvas Banner - Dovetail$7.95Shop →
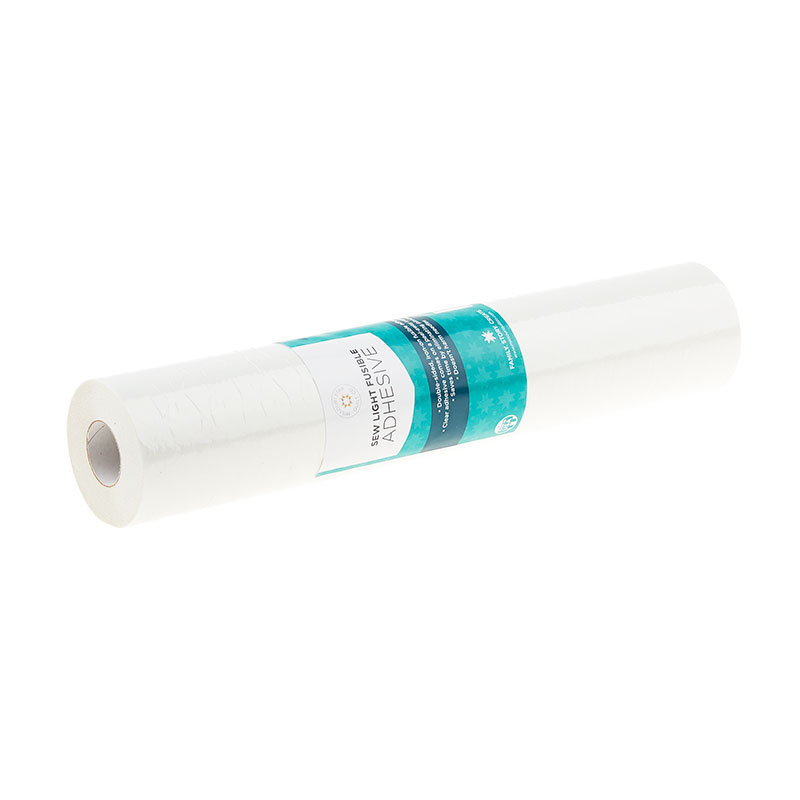 Missouri Star Sew Light Fusible Adhesive - 12" x 15 yards$28.95Shop →
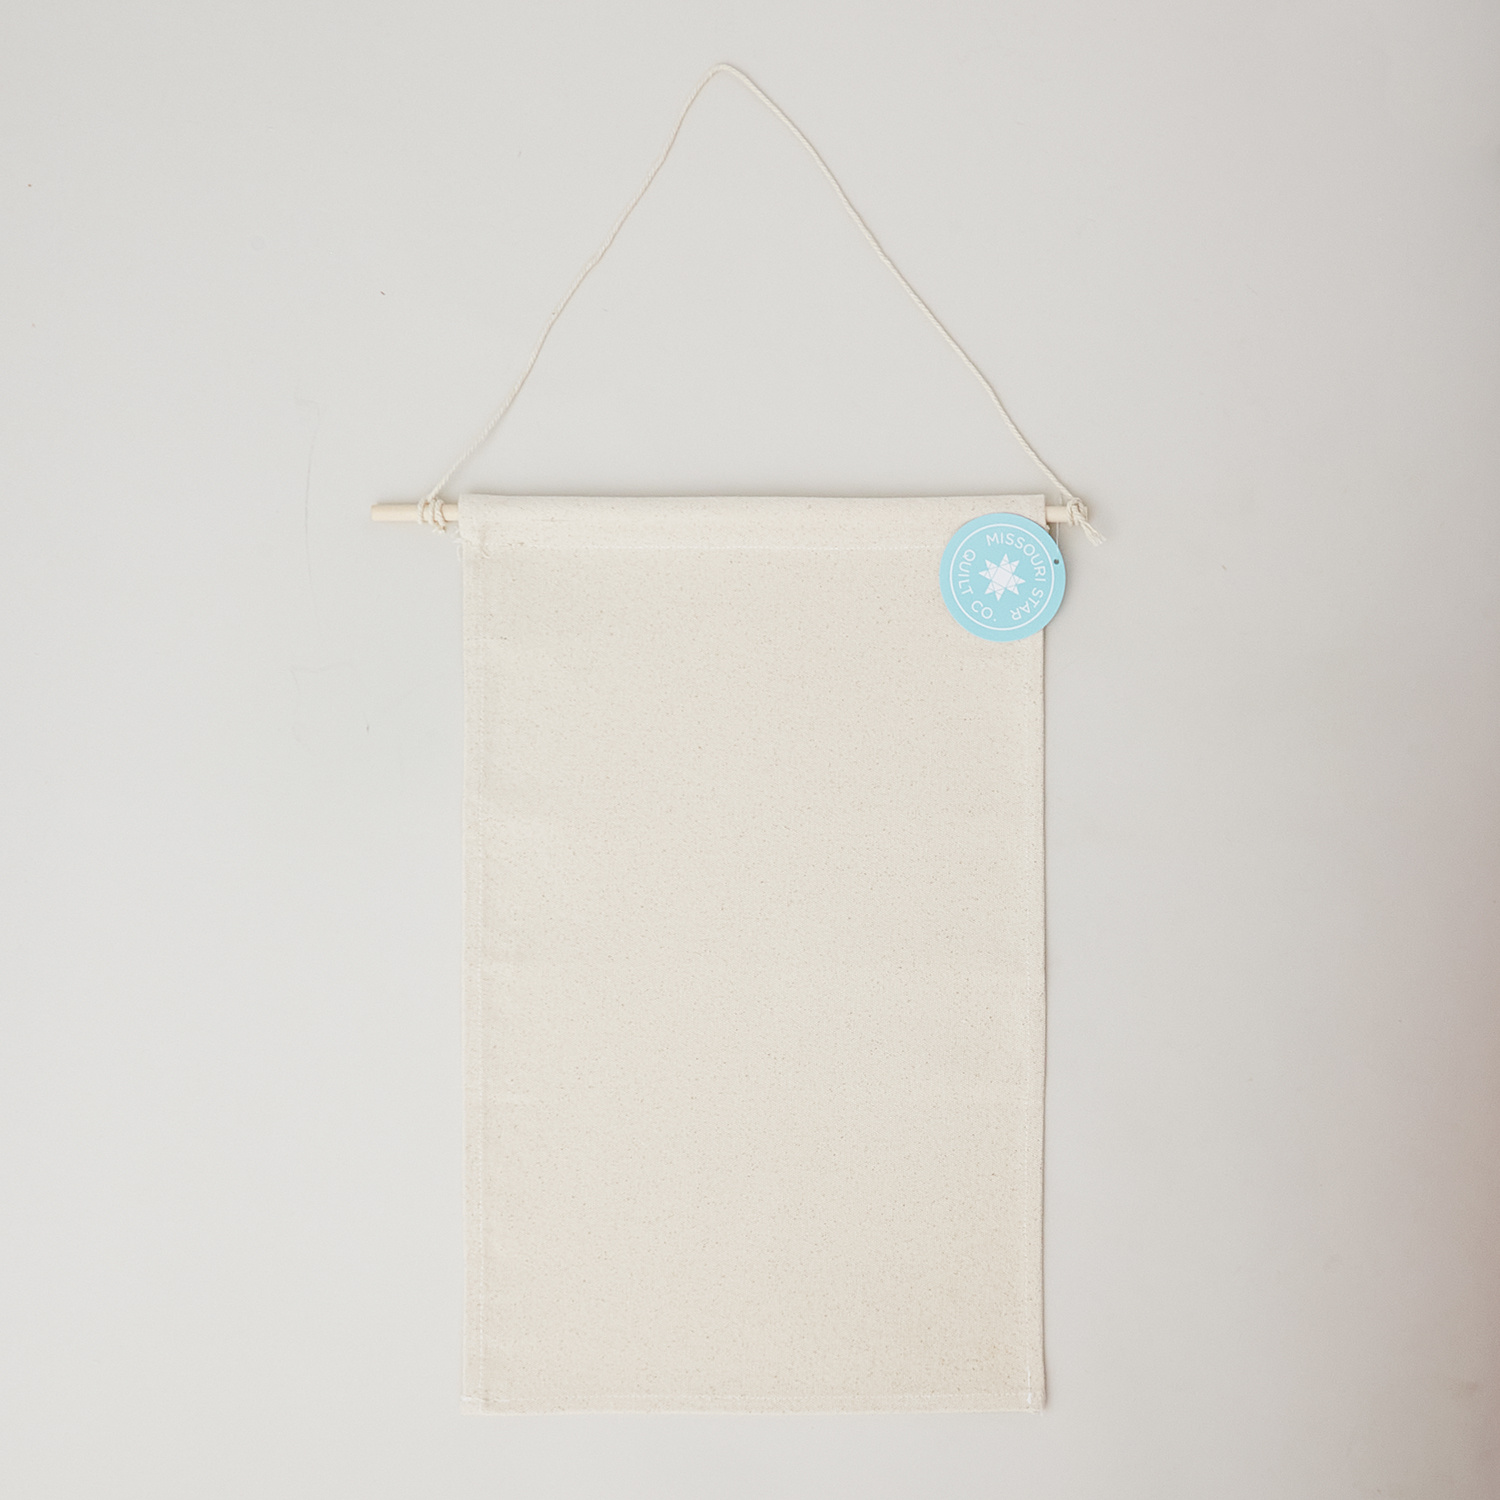 MSQC Blank Craft Base: 11.5" x 18" Natural Canvas Banner - Rectangle$7.95Shop →
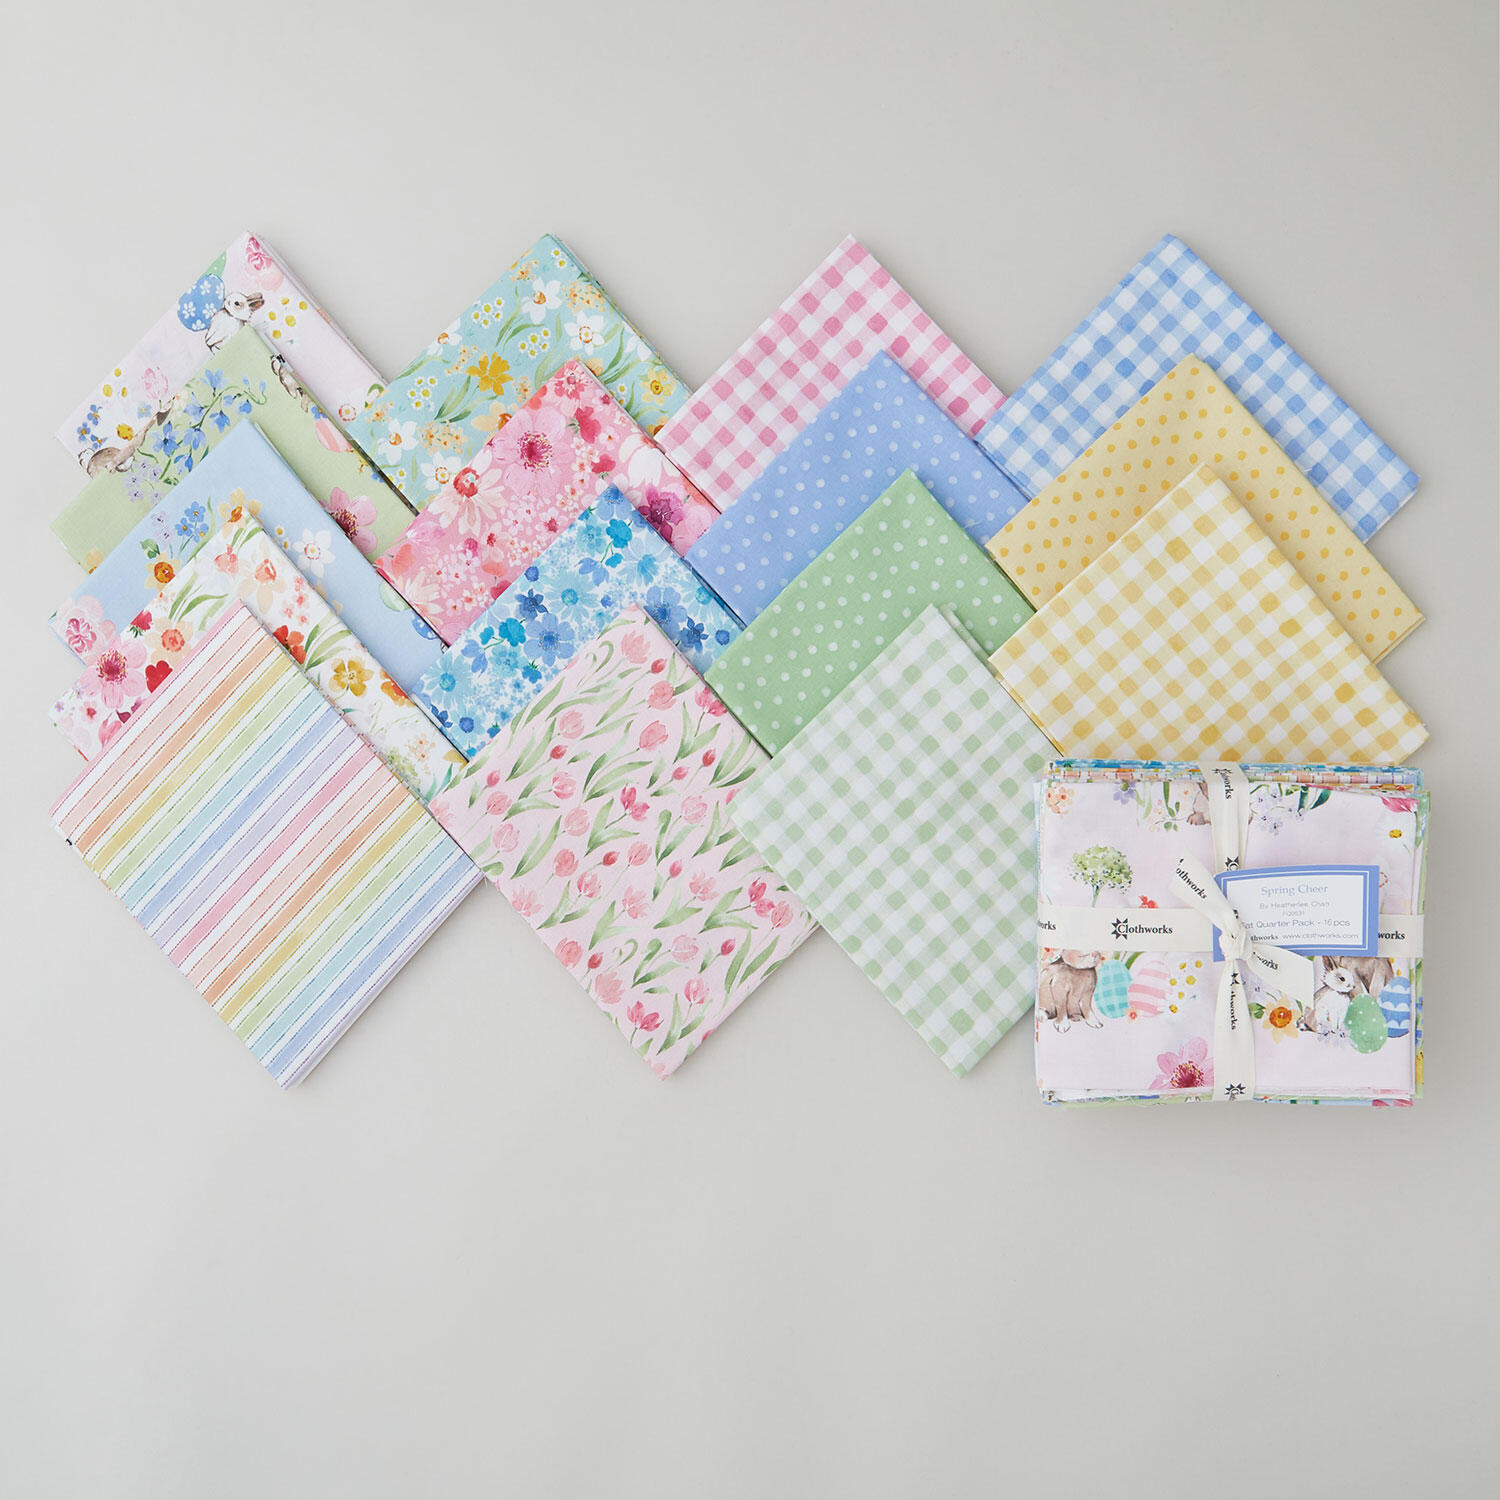 Spring Cheer Fat Quarter Bundle$59.95Shop →
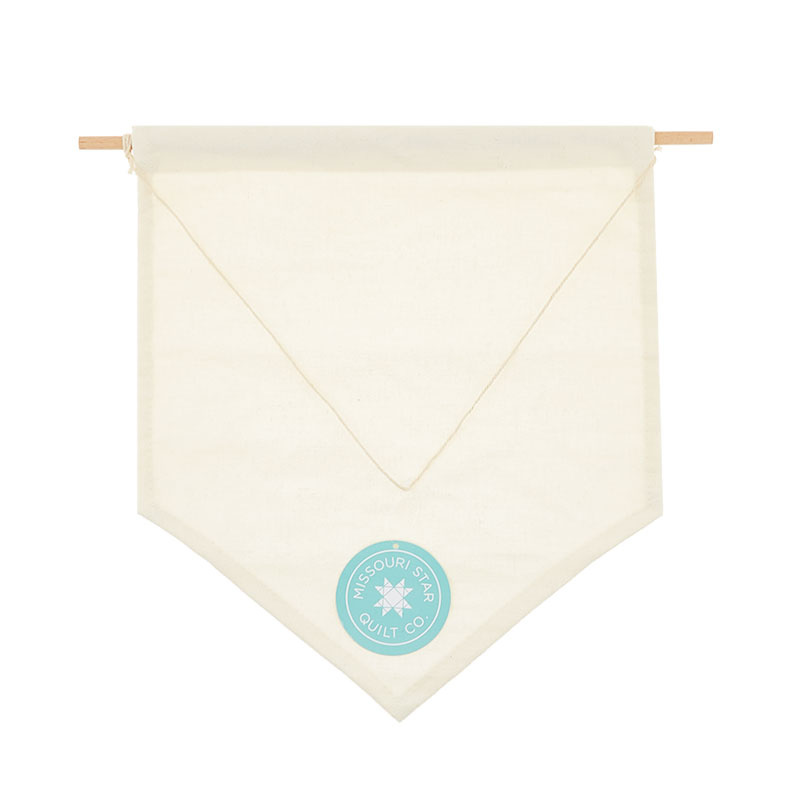 MSQC Blank Craft Base: Natural Canvas Banner$8.95Shop →
 Bernette 77 Sewing and Quilting Machine$1699.00Shop →
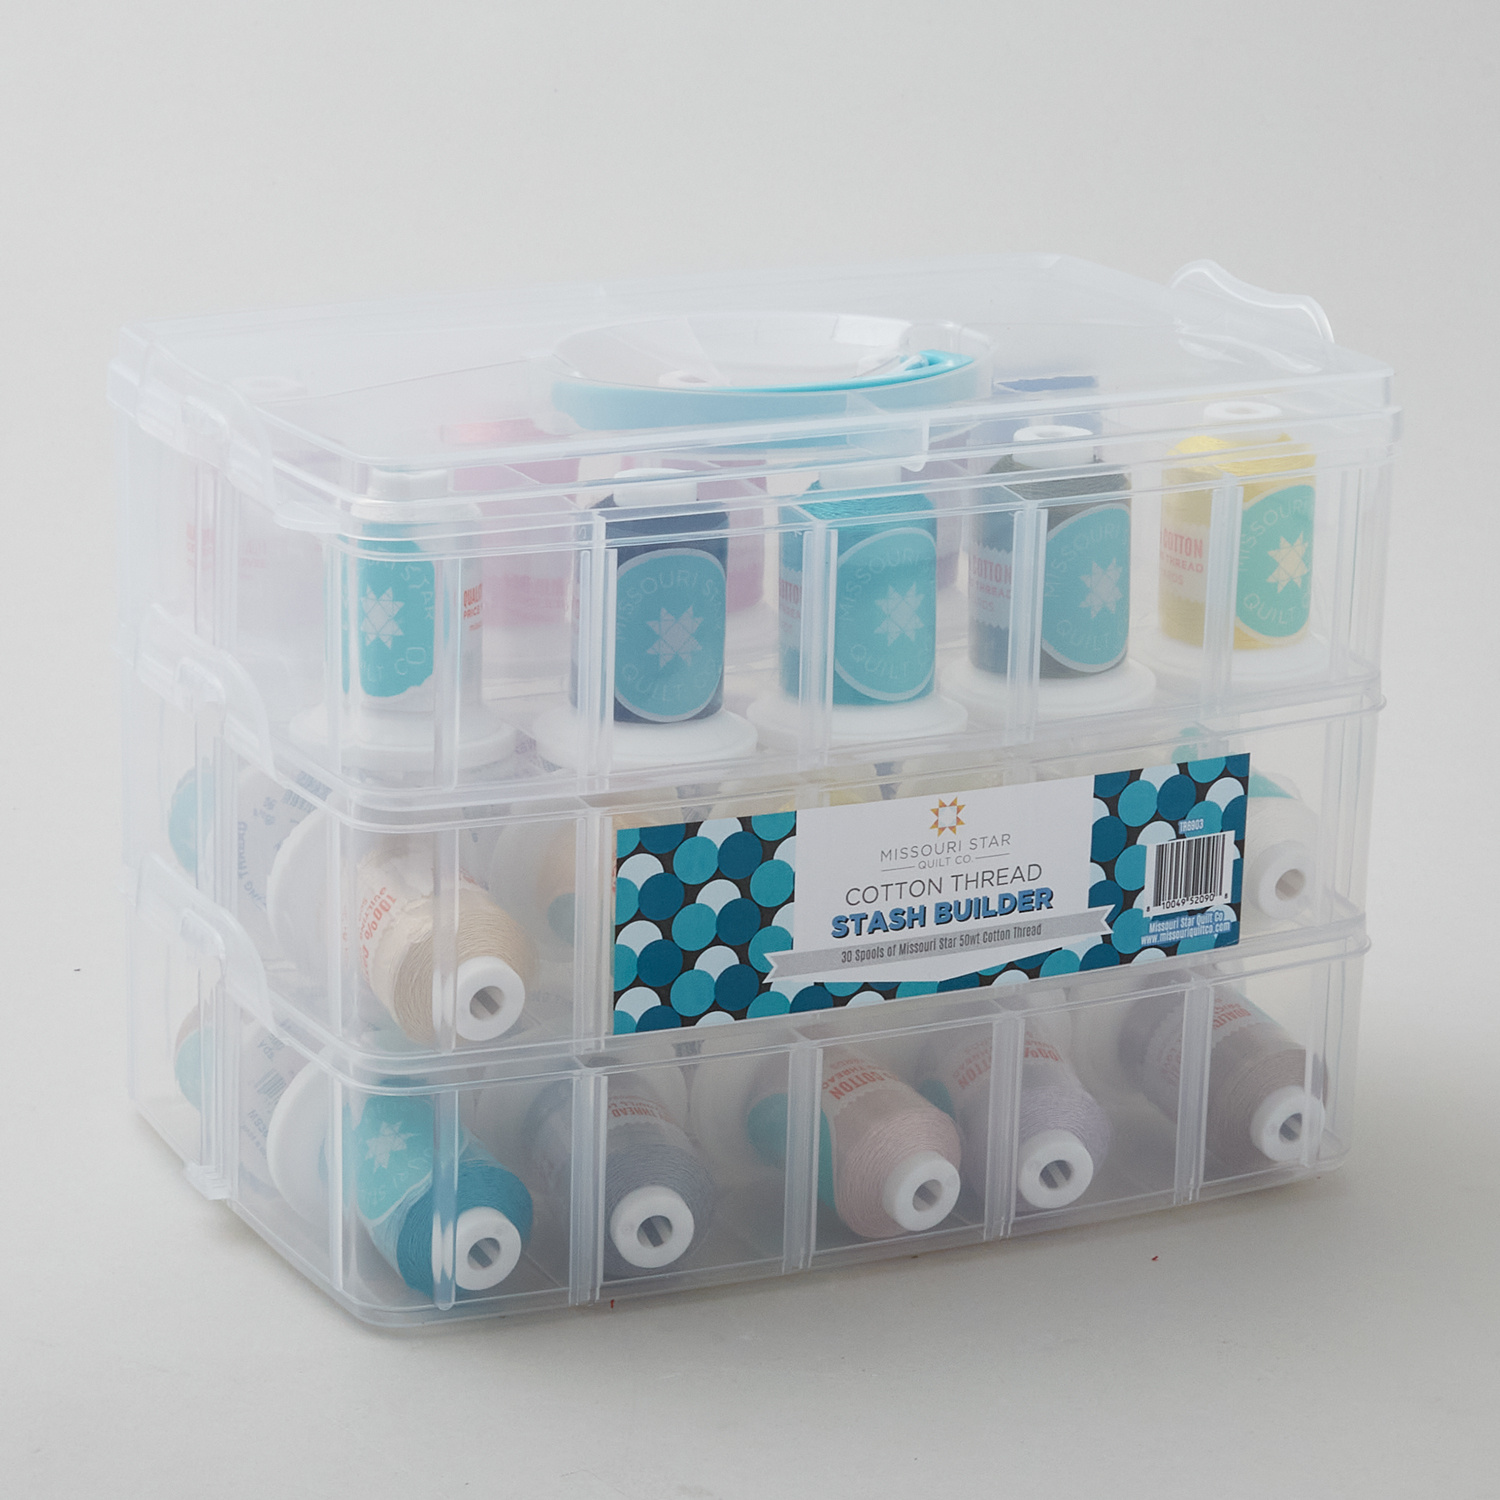 Missouri Star 50 WT Cotton Thread Stash Builder$219.95Shop →
 Missouri Star 45mm Rotary Cutter - Olga$19.95Shop →
 Missouri Star 6" Everyday Scissors - Lulla$12.95Shop →
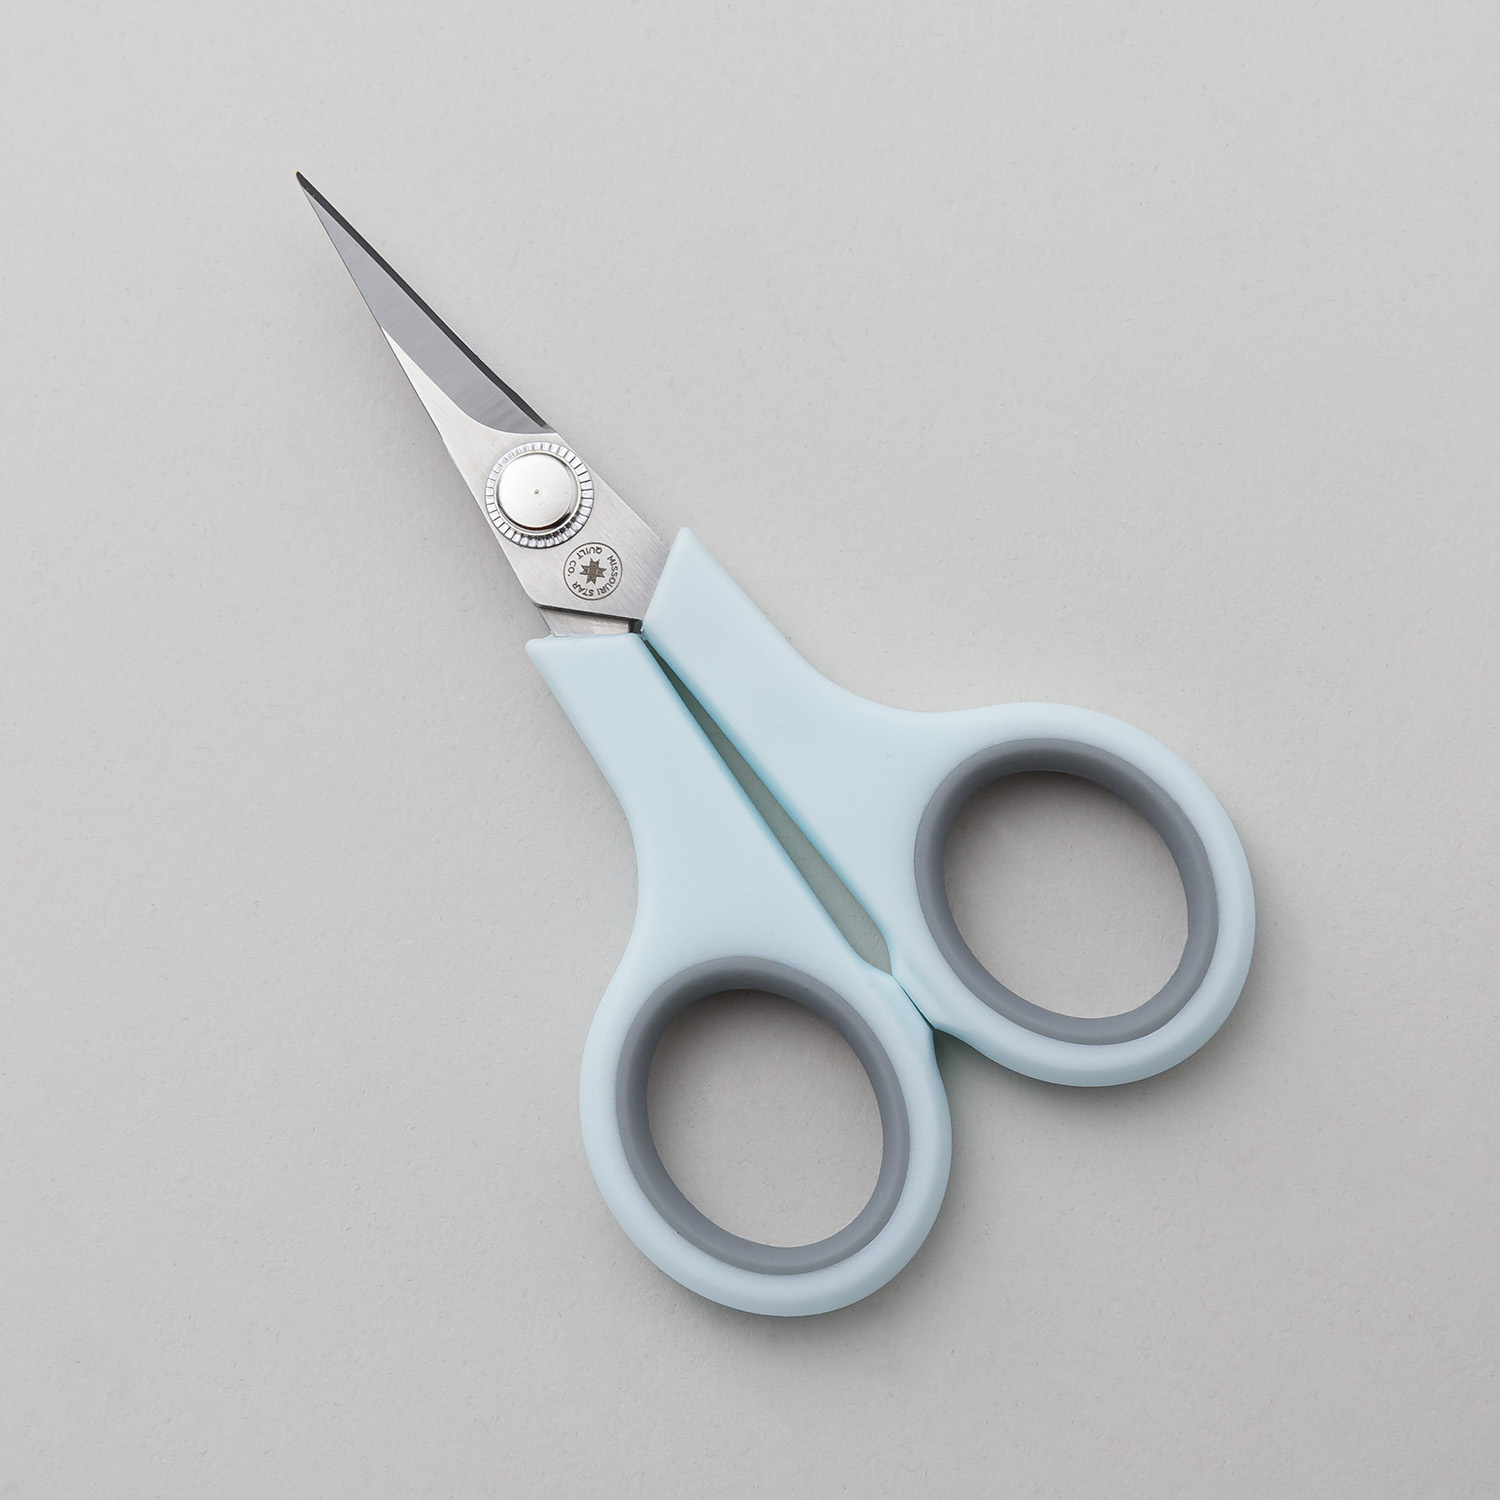 Missouri Star 4.5" Everyday Scissors - Elna$9.95Shop →
 Missouri Star Seam Ripper - Frida$9.95Shop →


