After you've finished piecing your quilt, it's exciting to think about machine quilting it. But before you take that leap, you need to do some preparations first! HollyAnne Knight of String & Story will walk you through basting and preparing your quilt for machine quilting. Learn how a few preliminary steps will help you achieve professional-looking results.
What is covered in Basting/Preparing for Machine Quilting with HollyAnne Knight?
After you've finished piecing your quilt, it's exciting to think about machine quilting it. But before you take that leap, you need to do some preparations first! HollyAnne Knight of String & Story will walk you through basting and preparing your quilt for machine quilting. Le...
How long is the tutorial video?
The tutorial video is 00:08:23.
Are supplies listed for this tutorial?
Yes. The tutorial page includes the supplies and materials connected to this project.
Video Transcript
[Music] Hey there rockstars. My name is Holly Knight of String and Story and I'm here visiting at Missouri Star Quilt Company to guide you to quilt with confidence. Today we're going to talk about what you need to do in order to base your quilt. Now, as we know, a quilt is made up of three layers. We have our top, we have our backing, and we have our batting. But we need to put those layers temporarily together in order to sew and do our quilting. My favorite way to do this is with basting spray. So, I'm going to show you on this lovely table runner how to use this 505 and get these layers all ready to put underneath your machine. Now, if you happen to be doing this, I recommend that you grab a small project. It could be a table runner like this one that I pieced with Misti. It could be a panel that you have hiding in your stash. Anything just to get you started that it's not going to feel like a big overwhelming project. Start small if this is your first time. And all the same principles that I teach you today are going to apply no matter how big your project is. The other thing to keep in mind is that if this is your first time basting and you're a little nervous about going out and getting something special for it, you could always grab some safety pens and do some pin basting to get started. And then once you get the hang of it, then you could get your spray and be ready to do it on something bigger. Now, let's take a look at everything I mentioned. We have our quilt top here and we're going to layer it up. We're using some amazing Nature's Best Missouri Star Quilt Co. batting. This is actually the runner size. So, my table runner is a little bit shorter than the batting. So, I've just trimmed it all up to have it ready to rock and roll. Once you've gathered all your supplies, we're actually going to begin the layering process. And you can see here that I've actually started this a little bit by trimming that batting to size and putting my backing on top like so. I always recommend doing the backing first um and spray basing it it in place. Then, we'll flip over and put the top on. Here's the thing. If you spray base this securely, ideally no wrinkles or anything like that are going to show up in your project later. But if they do, at least they're on the back, right? All right. Once we have these layered, I've left a little bit of extra on either side. That's going to make it easier when we start quilting to have something to hang on to. And you'll notice that all of this is a little bit wider than our quilt top. So, we have some margin of error. We have somewhere to put our hands later. And it's just going to make this a little smoother. And I'm going to pull that top back like so. and get my spray ready. Now, please do this in a well ventilated area. And don't overspray. You don't want to be breathing in a whole bunch of these fumes. And you don't want it to gunk up on the quilt back. All right. I recommend spraying your fabric, not your batting because then you've got a little bit of space that if you do accidentally overspray, it's not going to go all over your space. Okay. So, I start with just a few quick along the line the like top edge there. And you can actually see kind of the flocking of the adhesive. So I can see that I've got a nice coverage. And you want to get right up to the edge. And then we're going to smooth this out. My mom was a teacher when I was growing up and this always reminds me of spreading out um bulletin board paper of wanting to make sure that you start in the center and you work out towards the edges. So if there's any wrinkles or anything like that, they land over on the outside. And then we're going to go and we're going to come from the other end and we're going to just work in sections. I'm not trying to do this whole thing at one time. If it was a project that either was a little smaller or maybe was square and I was down on the floor, I would do this half at a time. Okay. So, same thing here. I've flipped that edge back for you and we're going to end up kind of working in thirds. And we're going to do our next third. Okay. And then pull this forward. Lift up high so it doesn't stick to itself. Lay it down and then smooth down the center and out towards the edges. And then we have just one more little section to go. Flip it back. Spray again. And remember, this is exactly the same process that you're going to do on a project of any size. you just work a little bit larger. One of the things that I like about spray basing is that you can stay off the floor with it. So, this lends itself really well to working on like a table or a counter because you can work in sections like this and not have to be crawling around on your knees all the time. All right, so that is all smooth, you can see. And we're going to simply flip the whole thing over and we're going to repeat that process. This time, putting our quilt top in place. Now, I mentioned at the very beginning that if you were new to this and you wanted to kind of start with what you have, then you may want to do some pens. So, I'm going to lay this out and I'll just kind of show you what that would look like. Notice the way that I flipped this over so that I can see where the edges of my backing are versus where the quilt top is. I want the quilt top to be as close to the center as possible so that if we have any shifting or anything like that, it's going to stay on the backing as we're quilting. Again, ideally, we want to base this securely enough that that's not going to be a big deal, but just in case. All right, so we've got this kind of laid out. If I were to do this with pens, I would take a mediumsiz safety pen, and you're going to do safety pens about every time, like every palm width, right? So, if I lay my hand down, I would put a safety pin here on the edge. I'd put one over on this side. I put one up here. And they're going to be kind of all over, right? But you'd simply just go through all the layers just like that and then close your pens. You want to use a lot of them again so shift doesn't happen. So that's another approachable way to do this, but I find that spray basing is more secure, especially if we're going to be quilting on our domestic machine and handling this a lot. So tips in case. All right, same process. Be careful not to spray the top of your quilt here. But again, I like to spray the fabric rather than the batting so we don't end up with a bunch of sticky overspray. Smooth it out down the center. Now, when we're doing this, I don't know if y'all saw it right there. You want to go from the center out, but you also want to be careful not to distort the fabric. So, if I go really hard with my hands, this whole border is going to bubble out and no longer be square. So, you want to kind of press and smooth, making sure there's no extra fabric caught in your seams, but also that you're not distorting the fabric in the name of making it flat. If you don't get that perfect, it's okay. If someone looks at your runner and is super judgy about it not being perfectly square, that's a them problem. All right, same thing here. Going to lift it up. and lay it down. We want to make sure that we don't have any wrinkles, but we're trying not to pull it out of shape. And some of this, like this here, this is just it's fabric. This doesn't need to look crispy and flat like paper. It just needs to be smooth. And then once you've got this final piece basted down, this is going to be ready for you to quilt. Now, if you are a brand new quilter and you're watching this and maybe you're getting ready to learn how to do some basic freeotion quilting, um, or even walking foot quilting, base your project first and let it be an inspiration for you as you go learn those new skills. And let it be a reminder that you are an entire quilting rockstar. You've got this and your project is going to look amazing. Thank you so much for joining me today as we've covered the basics of basting your quilt. Whether you're starting with pins you have on hand or trying spray base for the first time, you're now equipped to get your sandwich ready to go so that you can finish your quilts on your home machine. Again, I'm Holly Knight of String and Story. It's my job to guide you to quilt with confidence and I hope you've enjoyed this tutorial from Missouri Star Quilt Company.



 Bernette 08 Straight Stitch Sewing Machine$2299.00Shop →
 Schmetz Universal 5 pk size 14/90 Needles$3.95Shop →
 Sewing Machine Oil$9.95Shop →
 Aurifil 50 WT Cotton Mako Large Spool Thread Dove$14.95Shop →
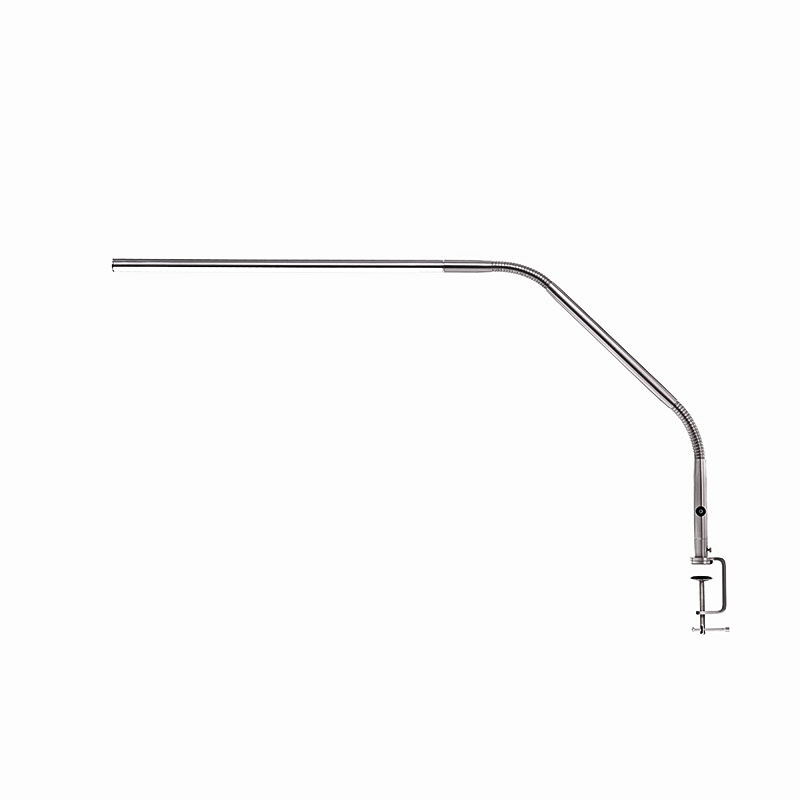 Daylight Slimline 3 LED Table Lamp$229.95Shop →
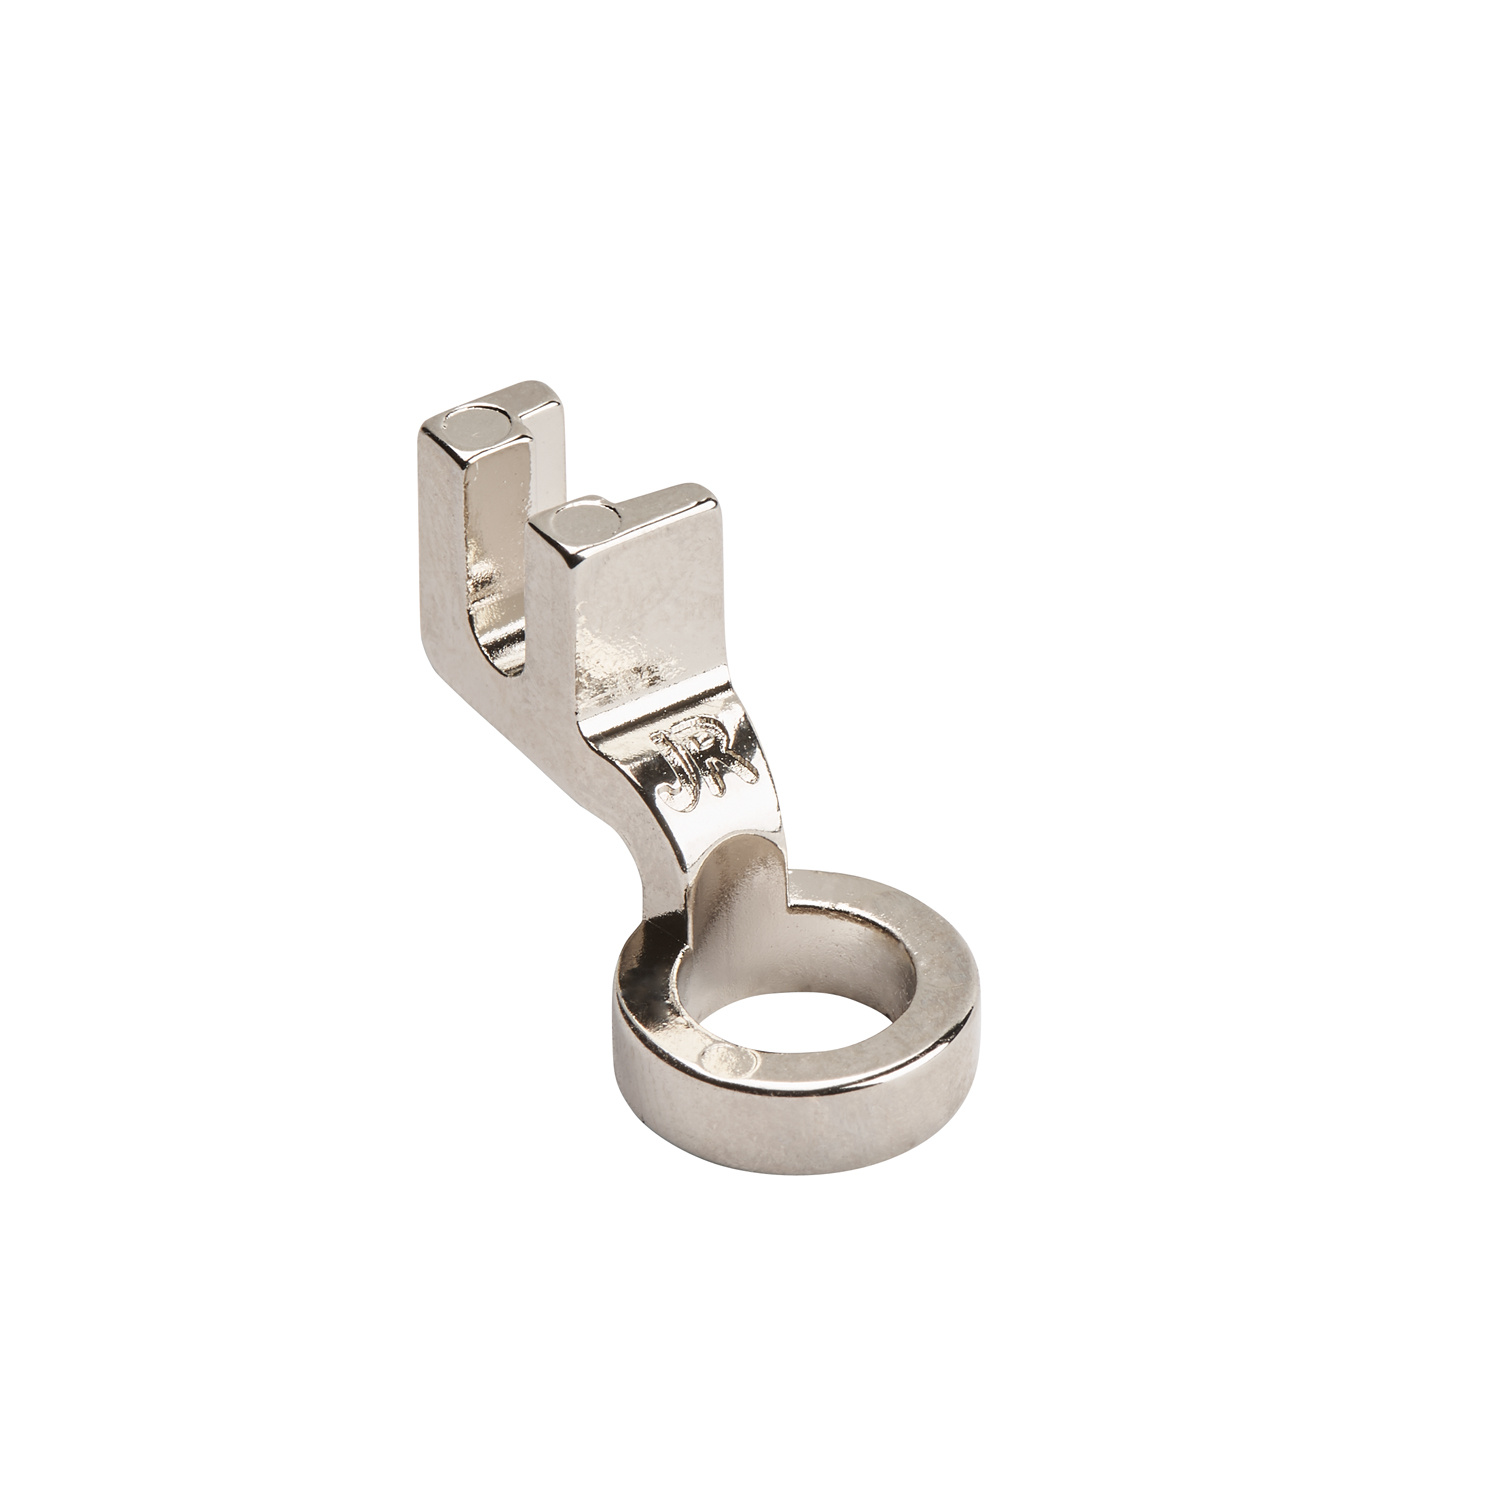 Bernette Ruler Foot - fits B79/B77$64.99Shop →
 Machingers Quilting Gloves - Small/Medium$9.00Shop →
 Machingers Quilting Gloves - Medium/Large$9.00Shop →
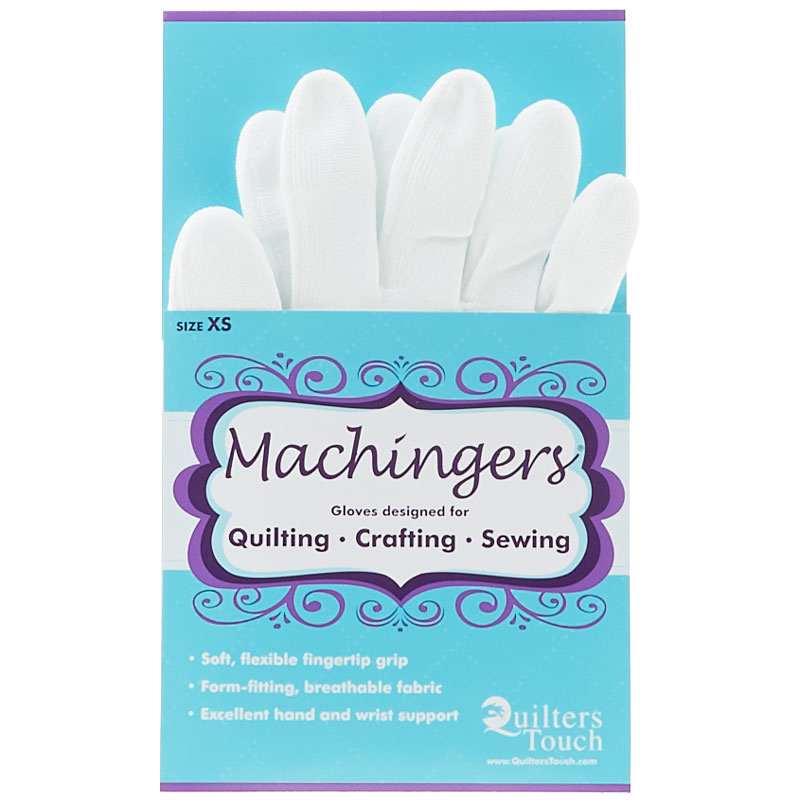 Machingers Quilting Glove - Extra Small$9.00Shop →
 Missouri Star 8" Everyday Scissors - Amelia$19.95Shop →
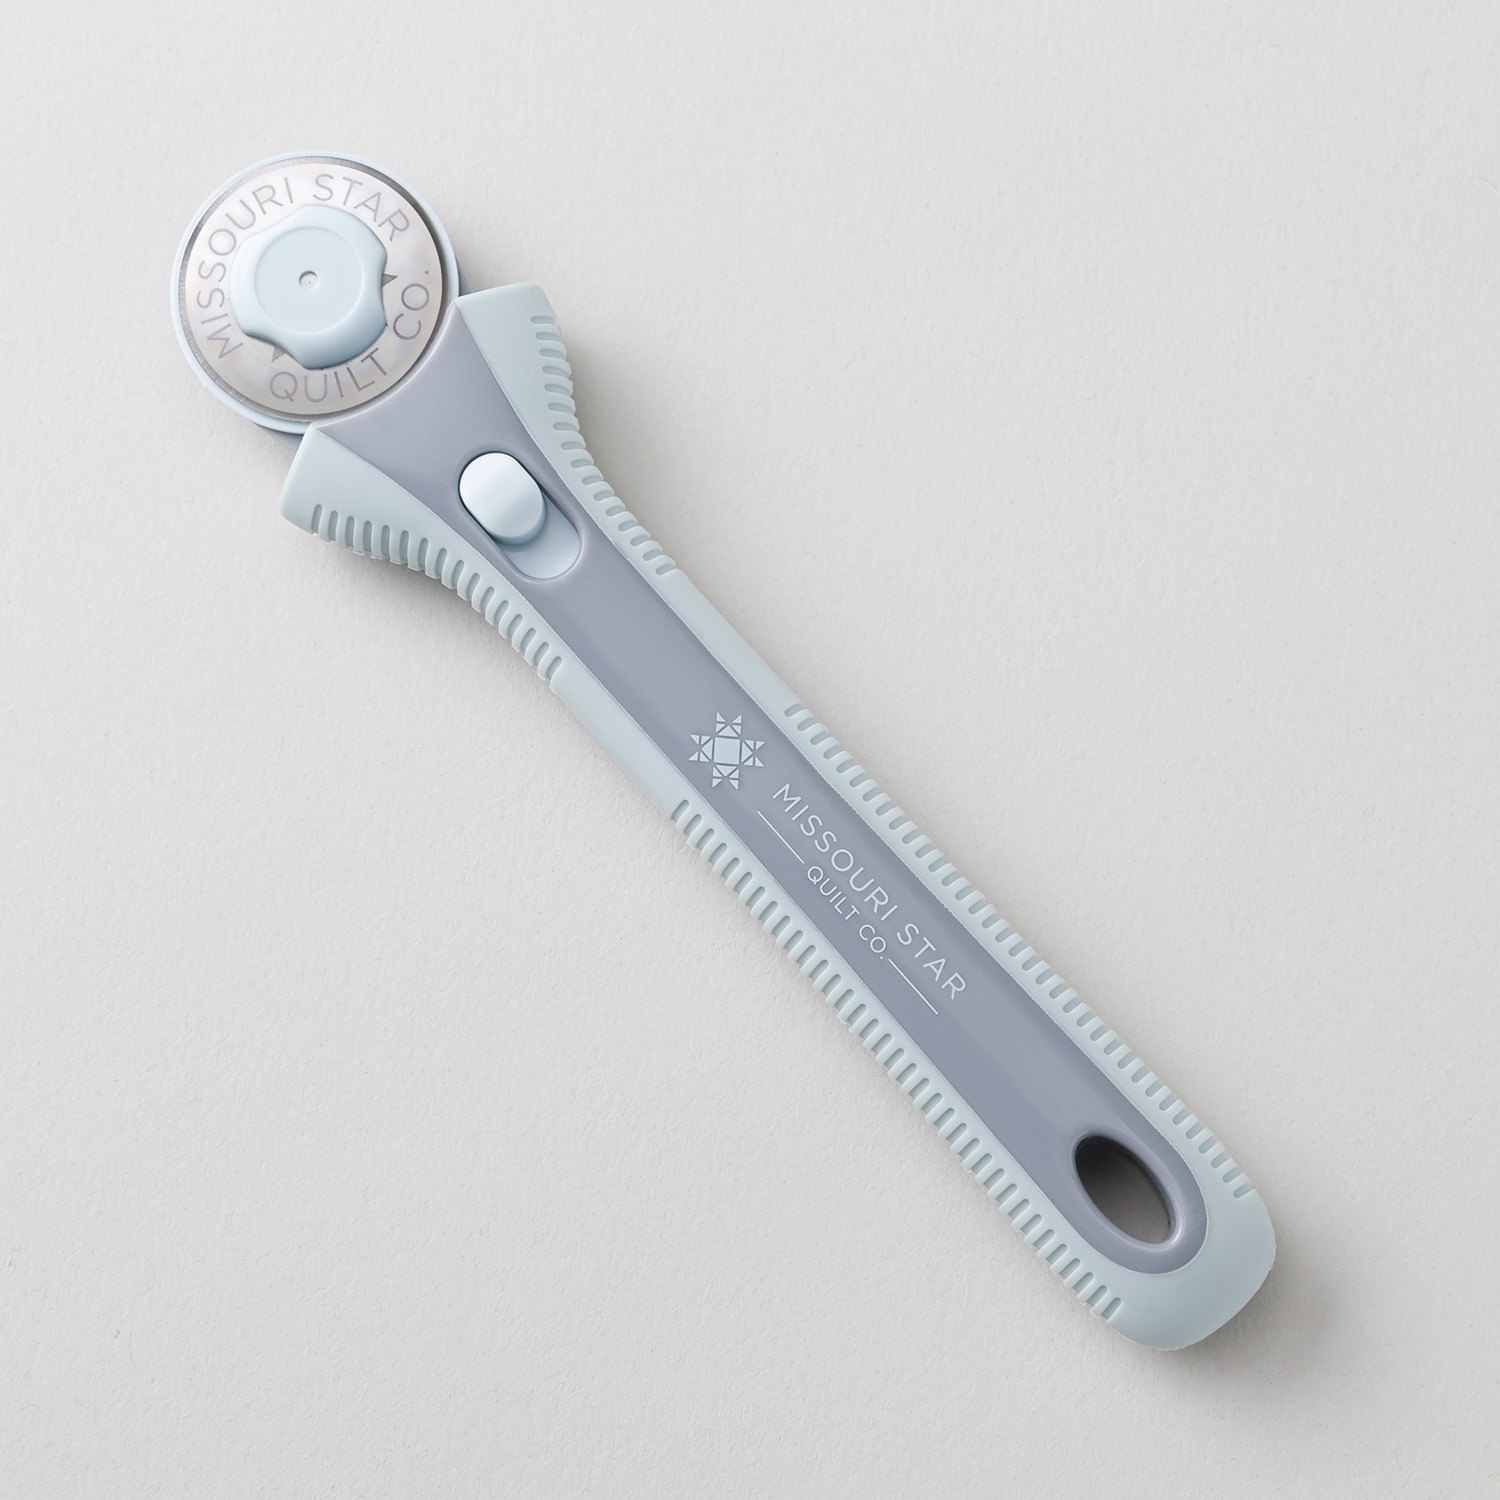 Missouri Star 28mm Rotary Cutter - Klara$16.95Shop →
 Missouri Star 45mm Rotary Cutter - Olga$19.95Shop →
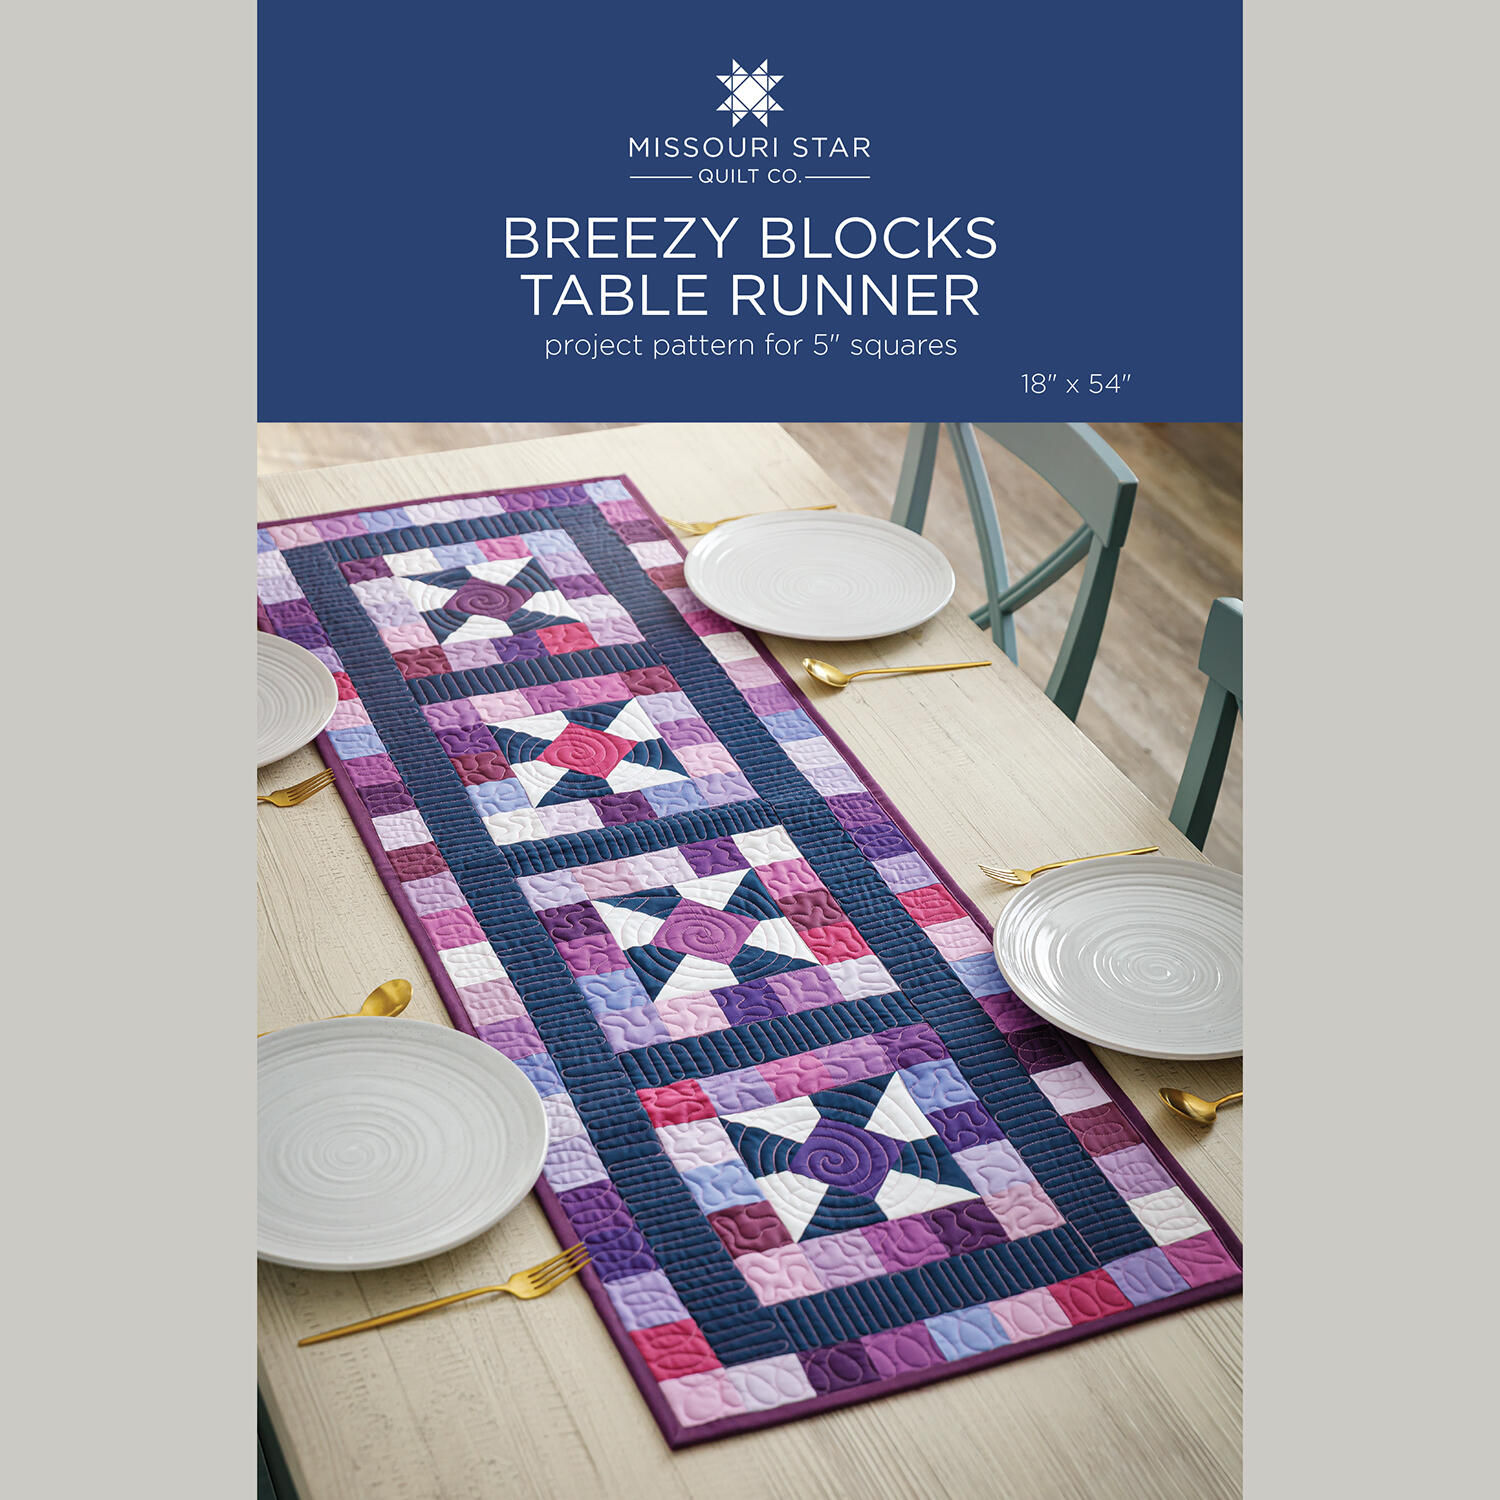 Breezy Blocks Table Runner Pattern by Missouri Star$8.50Shop →
 Digital Download - Breezy Blocks Table Runner Pattern by Missouri Star$6.95Shop →
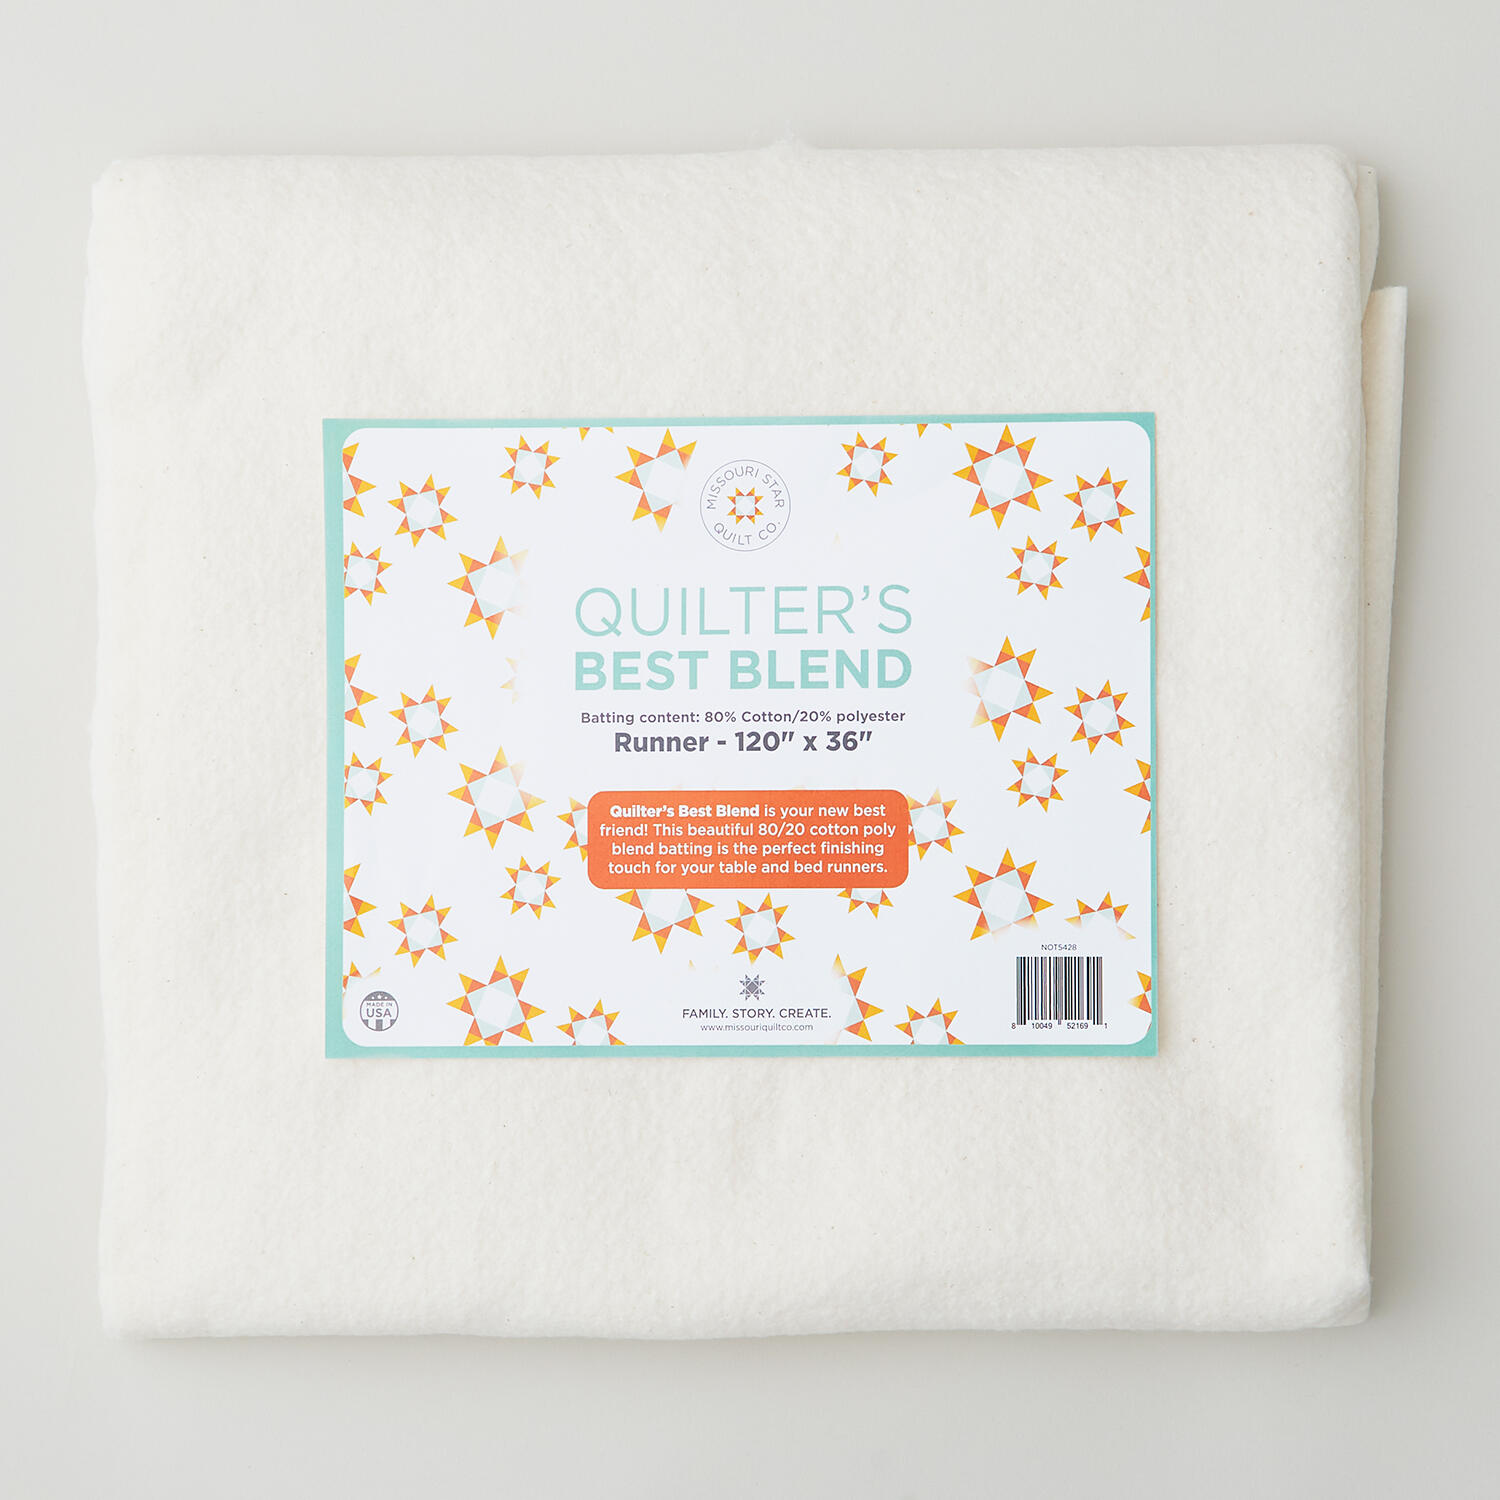 Missouri Star Quilter's Best Blend Bed/Table Runner Batting$14.95Shop →
 505 Spray Adhesive - 6.22 oz$12.95Shop →