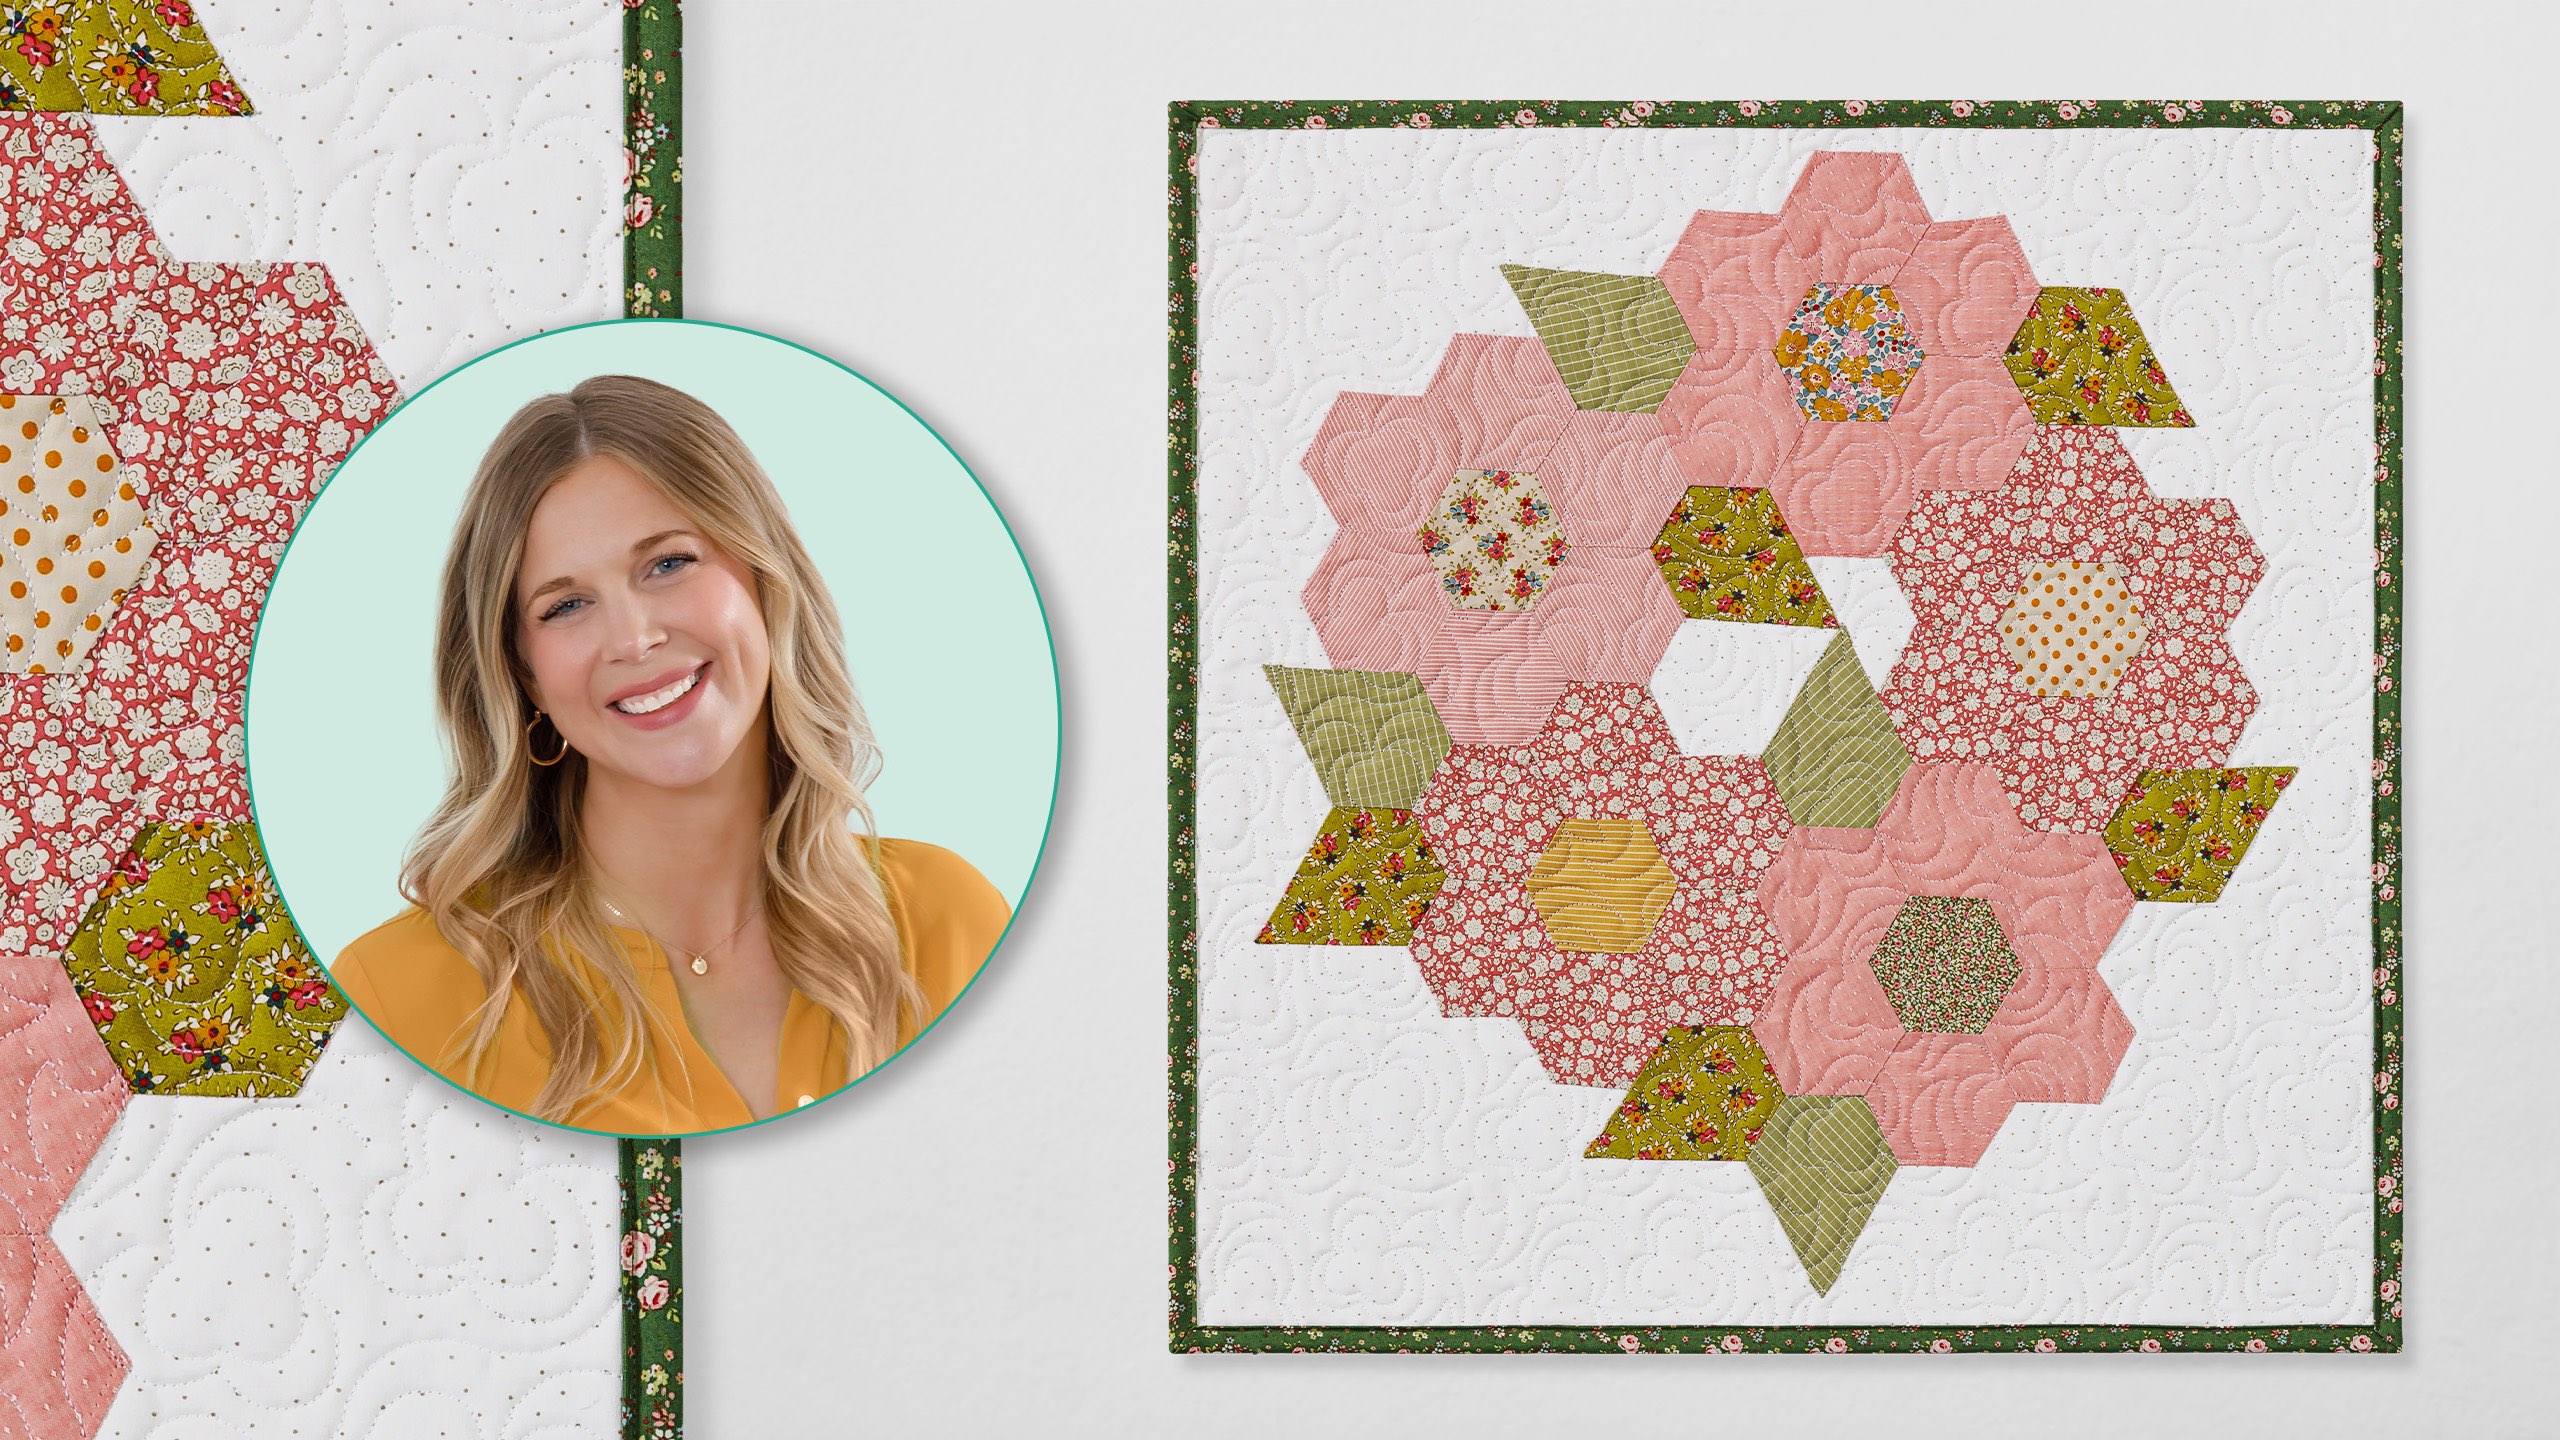
If you're ready to jump on the English paper piecing bandwagon, Misty has just what you need to get started with this fun and easy craft! Using the Missouri Star EPP Beginner's Kit and Creating Memories by Tilda, Misty shows you how to cut your fabric, baste your shapes, sew them together and ultimately turn them into beautifully pieced projects.
Misty Doan grew up surrounded by sewing and quilting. She loves spending time sharing tutorials each week each week, and when she’s not stitching up one of her fun sewing projects for home decor, most likely you’ll find her hanging out with her husband and three awesome kids or working on a house project.
What is covered in English Paper Piecing Beginner Kit?
If you're ready to jump on the English paper piecing bandwagon, Misty has just what you need to get started with this fun and easy craft! Using the Missouri Star EPP Beginner's Kit and Creating Memories by Tilda, Misty shows you how to cut your fabric, baste your shapes, sew t...
How long is the tutorial video?
The tutorial video is 00:23:55.
Are supplies listed for this tutorial?
Yes. The tutorial page includes the supplies and materials connected to this project.
Video Transcript
Hi everyone, it is Misty and welcome to At Home. I'm super excited about today's project. We have created a English paper piecing beginner kit and I'm going to walk you through all of the basics and everything that's included. So, let's get [Music] started. All right. Like I said, I am so excited to share with you our English paper piecing beginner kit. It comes in this great little zipper tote bag. It has a carry strap that I've got tucked away here for now, but you can wear it crossbody and take it with you on the go. Because for me, I have found that I enjoy slow stitching, whether it's embroidery or English paper piecing when I travel, when I'm sitting in the car or on the airplane. I love having something I can do to keep my hands busy. So, let's go ahead and dive into this kit so I can show you everything that's included. So, we will open up our zipper here. And on top there is this adorable little rotating cutting mat. And so, we will be using this for sure. And then you'll notice there are all kinds of little zipper pouches and thread holders to keep everything tidy. We also have these clips to keep all of our projects organized and prevent it from falling out if you, you know, don't have it zipped all the way. Here is our English paper piecing beginners guide. And we will walk through this in just a little bit. But let's go ahead and check out what else is in here. And so up first, we have our shapes. And so this first stack that you see here with the hexagon and this great little jewel template is actually what we're going to use for our project. I'm going to teach you how to make this great little hexagon flower and we'll applique it to this tote bag. So, these are the shapes that we're going to use today, but there are a few others that are included. So, we also have these little diamonds and triangles. There is a needle threader, two needles, and a needle minder. And then a cute little pair of scissors, your glue stick, and your thread. And the tote bag that you need to make this project is actually included as well. So, I'm going to go ahead and get this all out here and I'll show you how to get started with our hexagons. All right. So, I have everything that I need to make our cute little hexagon flower. So, I've pulled out seven of my hexagon papers and three of these little jewel papers. And I also just grabbed a charm pack. This is a great opportunity to use your scraps and your stash. So, don't be afraid to just play with what you have. You don't need anything special. And really, um, you can make a lot of things work. I also want to point out on this tote bag that we're making today, I used scrappy fabrics to make my petal and it looks great. And then on the wall hanging you see behind me, I use the same prints in each petal um each flower, excuse me. And it also looks great. So really, whatever you do, this is going to turn out amazing. And just enjoy the process. So first up, I am going to flip through my pack here and I'm going to pick something to be my center. And I like this cute little blue stripe. And so I'm going to grab one of my hexagons and I'm just going to use my paper as my guide to rough cut this. And you could do this with scissors just by holding this like so, but I actually love to use my rotary cutter and this little rotating mat. And so if you have an extra uh rotary cutter, don't be afraid to throw this in here. Really, you just need to make sure you have at least a quarter inch of overhang that we can fold back onto our paper. And so I am just going to eyeball this with my rotary cutter, pulling my extra fabric out of the way. And then this little mat will spin. There we go. Make sure I got all the way through there. And one more turn. And you can see I'm just getting it as close as I can. It doesn't need to be exact. There we go. And so now we can use our glue stick. This is great. It just turns up if you need to get any more. And so what you want to do is you want to make sure you're about an eighth inch at least in from the edge of your paper. And you're just going to run a thin line of glue. And then I can set this down. And we are just going to roll this back with our fingers. And the first one is always kind of the trickiest one to get started. And we just press that. And you can see how the glue holds it in place. And so then now I can just spin this and make my way all the way around my hexagon by just putting a little glue and rolling my fabric back. And that's why you want to make sure you have at least a quarter inch or more because all of this is going to be hidden in the back of your block. And so you don't have to worry about if the seam is larger than a normal quilting seam. You just want it to be back out of the way and easy for you to stitch through. All right, we'll press that back. And then we're just going to keep going by putting that little bit of glue, folding our fabric over, finger pressing, and rotating our our shape. And here is our last little one. There we go. And there is our first little hexagon. That's going to be the center of our flower that is all ready to go. So now, let's dig through here and pick out some prints for the petals themselves. And that's going to happen in the exact same way that we did the middle here. It's the same hexagon shape. So, I'm just going to pick a few of these. Let's see here. Which ones do I want? Should be like a little floral. this one and maybe this stripe. There we go. Those are cute. And those will all read really yellow. And so, just like before, I can stack a few of these up. Use my shape as a guide. And then I will cut out and spin. But you can see how even the charm pack is a little more fabric than I need. So that's why scraps are perfect for English paper piecing. There we go. Beautiful. All right. So, let me show the gluing one more time on the hexagon because we're going to need to do six of these little yellow ones. And so we're just going to start by putting this here and rolling that fabric back and then continuing around. And then I will meet you back here once I have all of these done. So now I have made the hexagons for my flowers. And I like to just sit and prep a bunch of these and kind of clip them together in colorways. It's a great um opportunity to use those little binding clips that we have to keep your flowers together and organized. Um but once you have them all glued to their shapes, I love how nice and neat they look. And the back no longer matters. We don't care what it looks like back there. And so now we're ready to start stitching our shapes together. And so remember, the kit comes with two different size needles. So you can choose the one that fits your preference. There's also a little needle threader, our thread, and then a needle minder that is magnetic. So whether you want to, you know, wear this on your shirt or just keep it handy, um, it will help keep track of your needle. So we have all of this ready to go. So let's go ahead and grab our needle here from its little keeper, and I'm going to slide the needle threader through the eye of the needle like so. And then we will pull off just a little bit of thread. You don't need a super long string. Me find the end here. I like to do like just about to the length of my elbow because we're not doing long running stitches, right? We just have these little pieces that we're stitching together. And so then I can slide this end through the needle threader here and then grab a hold. Oops, slipped out on me. Get that back through there. There we go. And then grab a hold of the needle and then pop that through. And there we go. I'm threaded easily. And then this is how I like to knot mine. Me make sure you guys can see this. So I lay it across my pointer finger, wrap it around, and kind of make an X. And then I roll the fabric between my finger and thumb until I can see it's spinning right there. And then I slide this back towards the end. And that puts a knot at the end of my thread, which is what I'm looking for. All right. And so now our thread is ready to go. And we can start stitching our shapes together. And the thing that I love so much about English paper piecing is it's just like a puzzle. all of the shapes just fit together. And if they fit together when you lay them out, they will sew together just fine. And so we're going to begin by just taking our middle and one of our petals and we're going to put those right sides together. And so you can see again, it doesn't matter if the back is uneven. All of that will be forgotten once we take these stitches. So now I'm going to pick up my needle and I'm going to start along one of these sides. And the only thing you really want to keep in mind is you don't want to stitch through those papers. You should have just a tiny bit of fabric that's there on the end and that's all you're wanting to stitch through. So when I start, I'm going to take one little stitch here on this corner. And I always do like a lock stitch. So in that exact same spot, I'm going to take another stitch as well just to really hold that and make sure it's secure. And then I go about every eighth of an inch. And we are just whip stitching down this straight side and keeping our shapes perfectly lined up. So I'm just making my way down, making sure I'm just grabbing a tiny bit of that fabric and not stitching through our shapes. And we will just continue until we get to the end here. one after the other. And it's hard to show you, but you can really feel with the needle whether you're getting fabric or some of that paper. It's much more difficult to push through the paper. And so that's how you can tell if you accidentally have too much that you're grabbing there. But I think it's important to remember to slow down and just enjoy the process. And like I said, I love to do it when I'm traveling. It takes, you know, an otherwise unproductive time and gives me something to keep my hands busy. And it it's really surprising to me how quickly these start to come together when I sit and work on them. I don't know if you guys can hear, but there's a little bit of construction happening in the background. Always something exciting going on here in Hamilton. I am almost to the end of my first little line of stitching here. And just Oops, my thread popped out. That's all right. We'll rethread it. So, just like we did before, we're going to pop that little needle threader through the eye of our needle and then take the end of my thread, feed that through, and then pull it back through. There we go. Easy peasy. Anyway, there's always something happening and there's a little construction going on in the background. But let's go ahead and talk about finishing up this little line of stitches. Just like I did the lock stitch at the beginning, I always do that at the end as well. But in this case, we're going to knot it off really well. So, there's one more regular stitch and then we'll do the first of the lock stitches. And so, I just pull my thread until I have a little loop left here. You can see there. And then I'm gonna slide my needle through that. Pull it through. And that will be my first knot. And then I'm gonna go back right in that same spot. Pull this through till I have a loop and knot it off. And then you don't always have to um clip your thread. You can just add your next shape to the center and just keep stitching as you go. And so I'll show you here. I have this middle here. And you can see that's what I've done. I've just gone around my center and added every single one of my petals. And so now my flower is really starting to take shape. And so now let's talk about how you kind of manage the the papers, right? Because now we have to fold them and make everything line up. And that's just part of the process. So, let me go ahead and knot this off from my other little shape here because I'm going to use this thread to finish off our little flower. So, I am just going to go ahead and clip this. And then remember what I showed you before. We're going to make that little X on our finger. We're roll that back and slide it down to make our knot. And it works every time. All right. Make sure I'm ready to go here. And so now, like I was saying, all of our middles are attached and they're just kind of flapping loose here. And so I am just going to fold this over because I need this edge to be sewn now. And so I am just going to continue in the same way, starting with that lock stitch in the same place so it's nice and secure. We want these inside corners to be really sharp, just as if we had done a Y seam on our machine and then we'll continue down. All right, so we are to the end of this little joint we're making. So again, I'm going to pull this through and make sure I have the loop for my knot. I've just slid my needle through there and we'll pull that tight. Do that one more time just to make sure it's nice and secure. There we go. And so now I can clip that thread. All right. So now we have sewn one more of our little petals. And you're just going to continue in that exact same way until your flower is complete. And so now let's talk about adding our leaf shapes. The construction of those or getting those ready is exactly the same way. It's just a different shape. And that is using this great little jewel paper that you see here. I went ahead and prepped three of our leaves. And so, let's just talk about how those are going to set in. So, here is our flower. And then we are going to have one that sets in here and one that sets in here. And those are going to kind of meet. And so, I like to stitch from here to here to here. all at once and then I'll come back and do just this one little section. And so I can do that whole run without clipping my thread. So that's really helpful. And then the other one is just going to set in here on this side. And so once we're all done, our flower is going to look something like this, which I think turns out super cute. I have this pink one that I've stitched all together. And so now once you've completed these, you can applique them to anything your heart desires. So you can see how that's going to fit on our little tote bag just like so. But you can really applique this to anything. I am going to show you how to attach it to the tote bag that came in your kit. So I'm going to go ahead and clear this off and bring my machine back up here because I'm going to machine applique that on. You could applique it by hand if you'd like. But before we do that, let me show you one more thing. We need to get these papers out of the way. And so, let me just show you that you can just peel back the corner of your fabric that you've glued down and get a hold of that paper with your thumbnail and they just pop out super easily. And so once you've done all your stitching, those will just pop out. And you can actually reuse these shapes a few times, which makes it really, really handy. And so, like I said, I'm going to go ahead and remove all of those. And I'll meet you back here with the machine to applique the tote bag. All right. So, I have my sewing machine ready to go. And here is our flower block with all of those papers removed. So, you can see how it looks on the back. And one thing that you might need to do is go ahead and give that a press so that all of your seams are still laying flat after you removed the papers. But you can see they really stay where they started. And it it's just easy as that. And so now I have pressed my tote bag and we are just going to pin this in place. So I'll bring this over here. And these side seams here represent the front of my bag. And so I'm just going to position this to make sure that I am not going over those side seams. And if you wanted to use a little bit of heat and bond, you could cut some pieces and place it behind. But I'm just going to pin this really well. And so I'm going to pin here and I'll make my way across this just to hold everything nice and secure. And then we will blanket stitch this on the [Music] machine. And I know you don't see me pin very often, but this is one of those instances where it's the right thing to do for sure. So, I just want to make sure I'm only going through that first layer of canvas so that we can put this on the machine. There we go. And one more over here. There we go. I think that will do the trick. All right. So, let's put these pins away and let's make sure our machine is set up and ready to go. So, I am going to look for a blanket stitch here and right there. And then I have this set at a 2.1 width and a 2.5 length, which I think looks great. I love that you can see it right here on the screen. And so then now I'm actually going to go ahead and remove my extension table just so that I have room to get my tote bag around the throat of the machine here. So, I'll slide this under the needle. And then I'm going to begin by lowering my presser foot. And I always like to just hand crank at first to make sure that my needle is lined up right with the edge of my fabric. And it is. And so now we are going to start our stitches. So, when I get to one of those inside corners, I want to make sure that my needle is staying down. And then I can lift my presser foot and pivot this underneath the needle and come back down this other side. If you need to reposition any pins or anything, now would be the time to do that. And now I am right at that top point. So, same thing. I can pivot and go back down the other side. And so, I'm just going to continue in this way. You want to make sure you're only sewing through that top layer. So, keep moving that extra bulk of the tote bag out of the way. And we will just continue down this side now. All right. I am just going to continue all the way around the rest of this flower in this exact same way with my blanket stitch. and I'll meet you back here as soon as I'm done. All right, there we go. We have finished appliqueing our adorable English paper piece flower onto our tote bag. It's as easy as that. I absolutely love how quickly this comes together. I love that you can use up your stash and your scraps. And I think you'll be really surprised at how quickly you start to accumulate lots of these flower blocks once you get started. So, as a reminder, in this beginner's guide that comes in the kit, it has this initial layout that we did here, as well as different options that is all done in the exact same way. So, here's this adorable runner. It's just applied onto a rectangle just like I showed you on the tote. And then we have this great little wall hanging as well. And the layouts are all included in that beginner's guide. So, make sure you pick up this beginner kit to get started on English paper piecing and hopefully you will be hooked just like I am. I have lots more projects coming soon, so be sure to check them out and I'll see you later on at home. Hey everyone, thank you so much for watching at home. We're so excited to be almost a million quilters strong here at Missouri Star. And so, if you haven't already joined our family, be sure to subscribe and hit that notification bell so you can be notified of all of our future tutorials. and we'll see you soon.


 Missouri Star EPP Beginner Kit$39.95Shop →
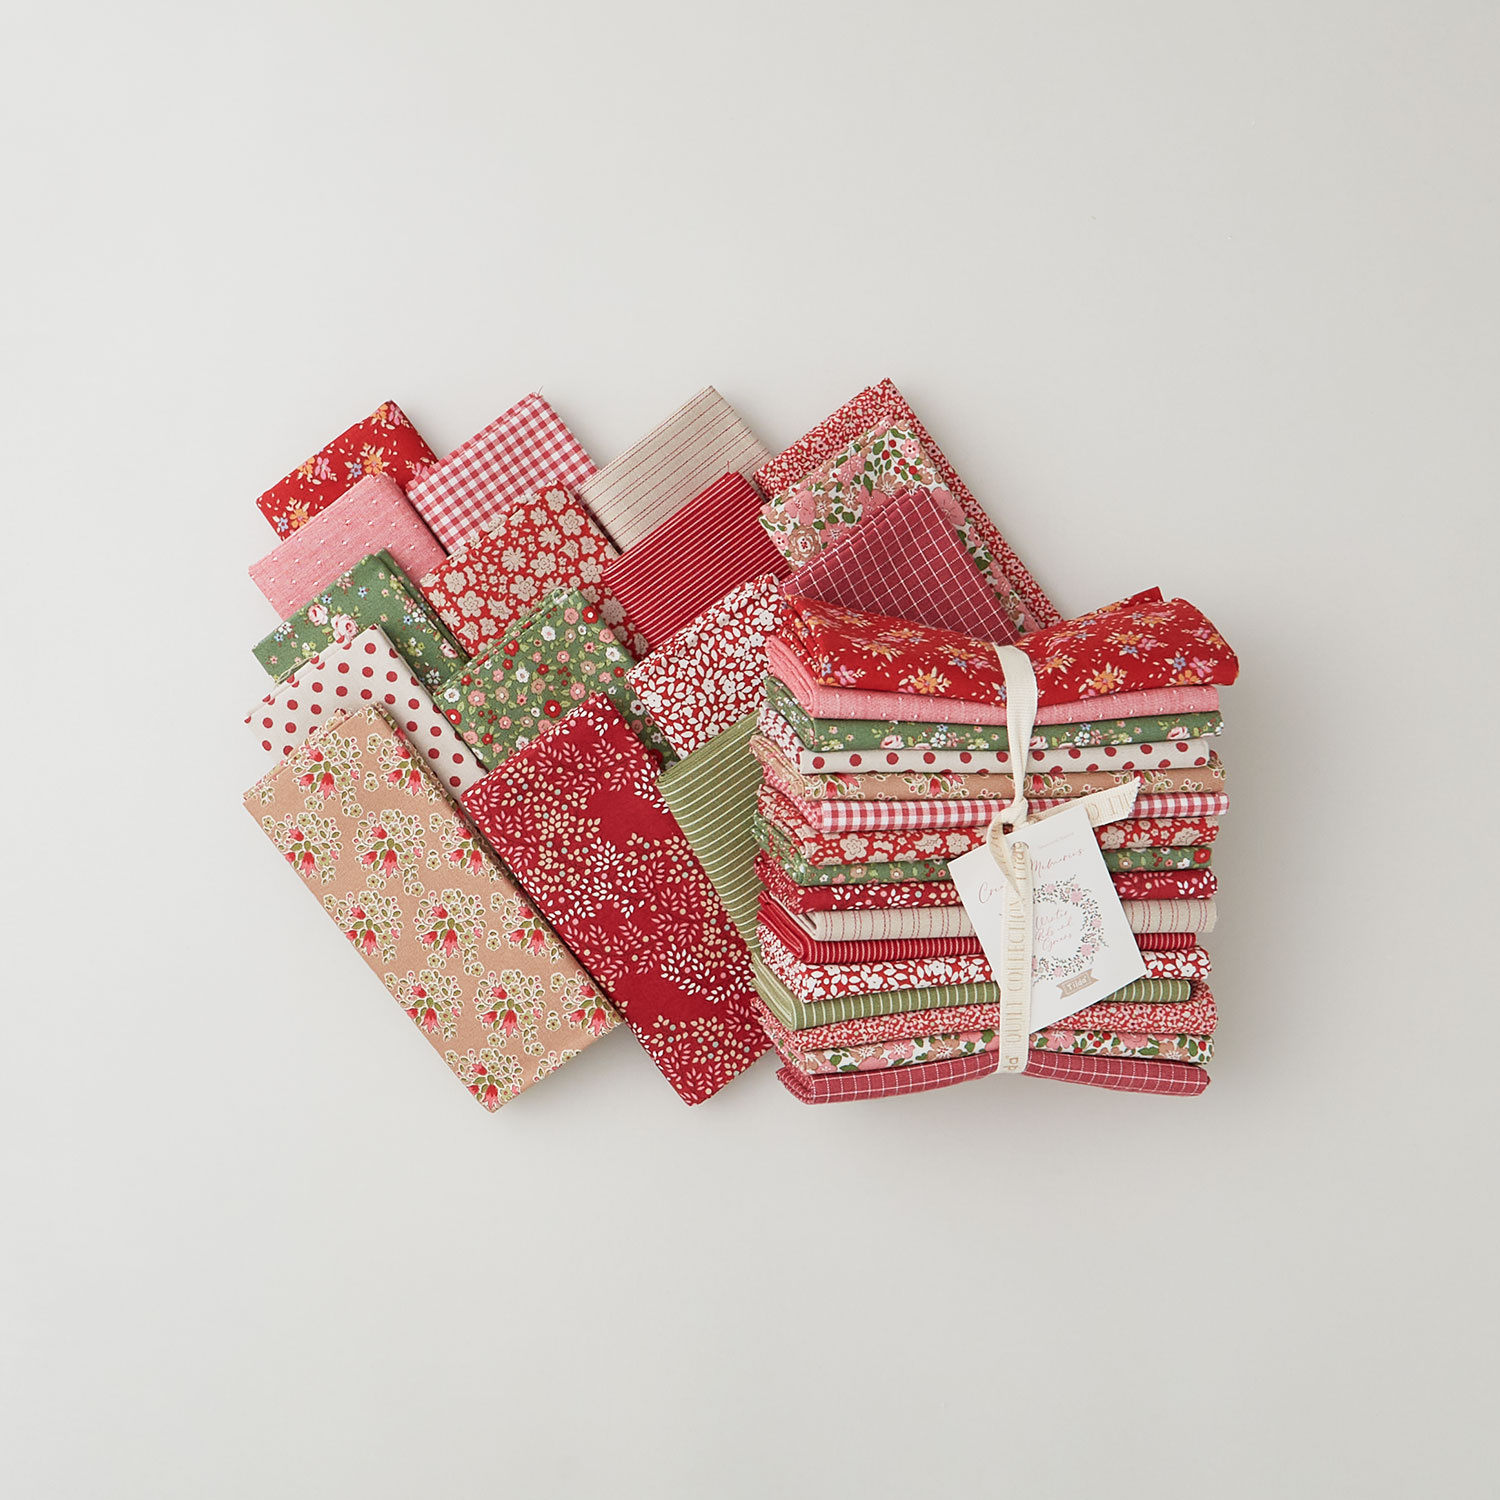 Creating Memories - Winter Fat Quarter Bundle$71.50Shop →
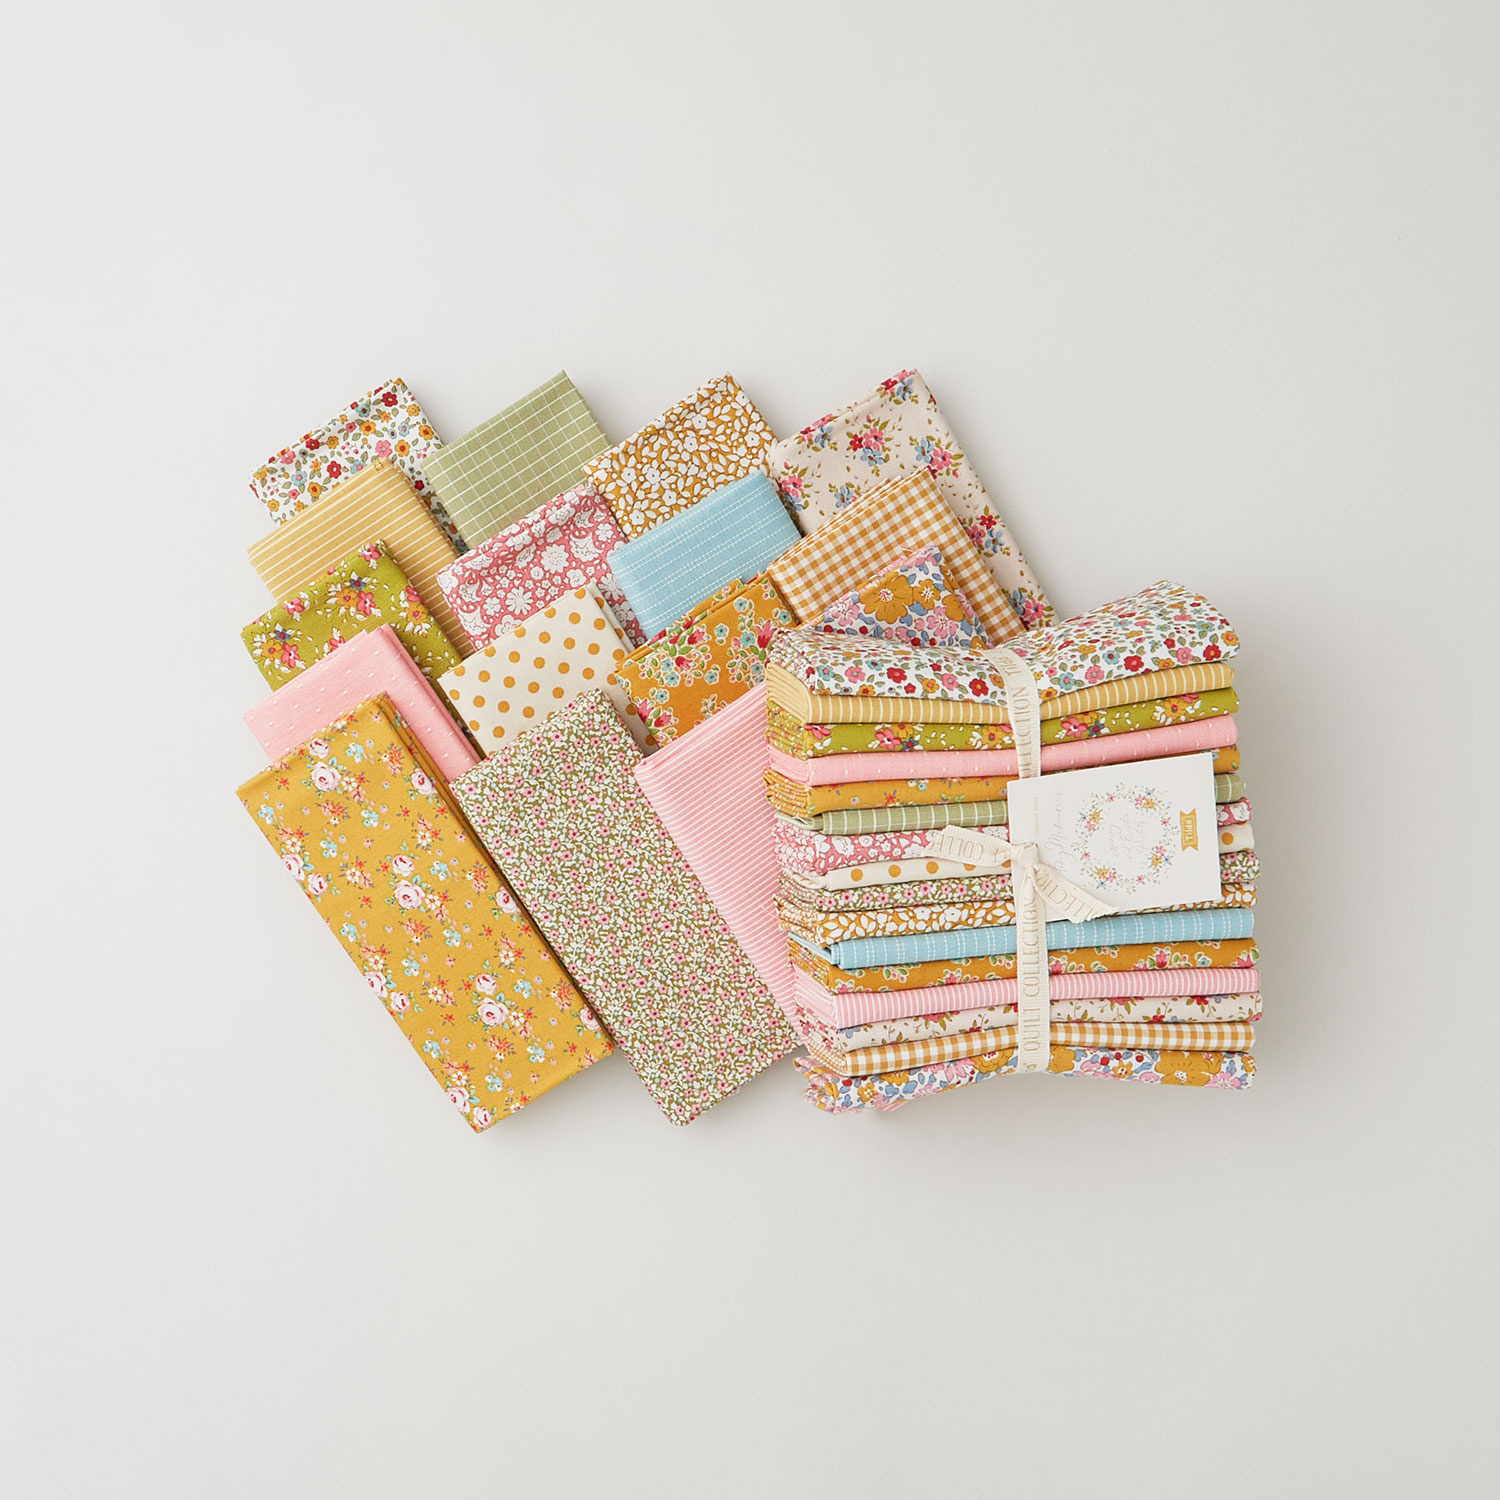 Creating Memories - Spring Fat Quarter Bundle$71.50Shop →
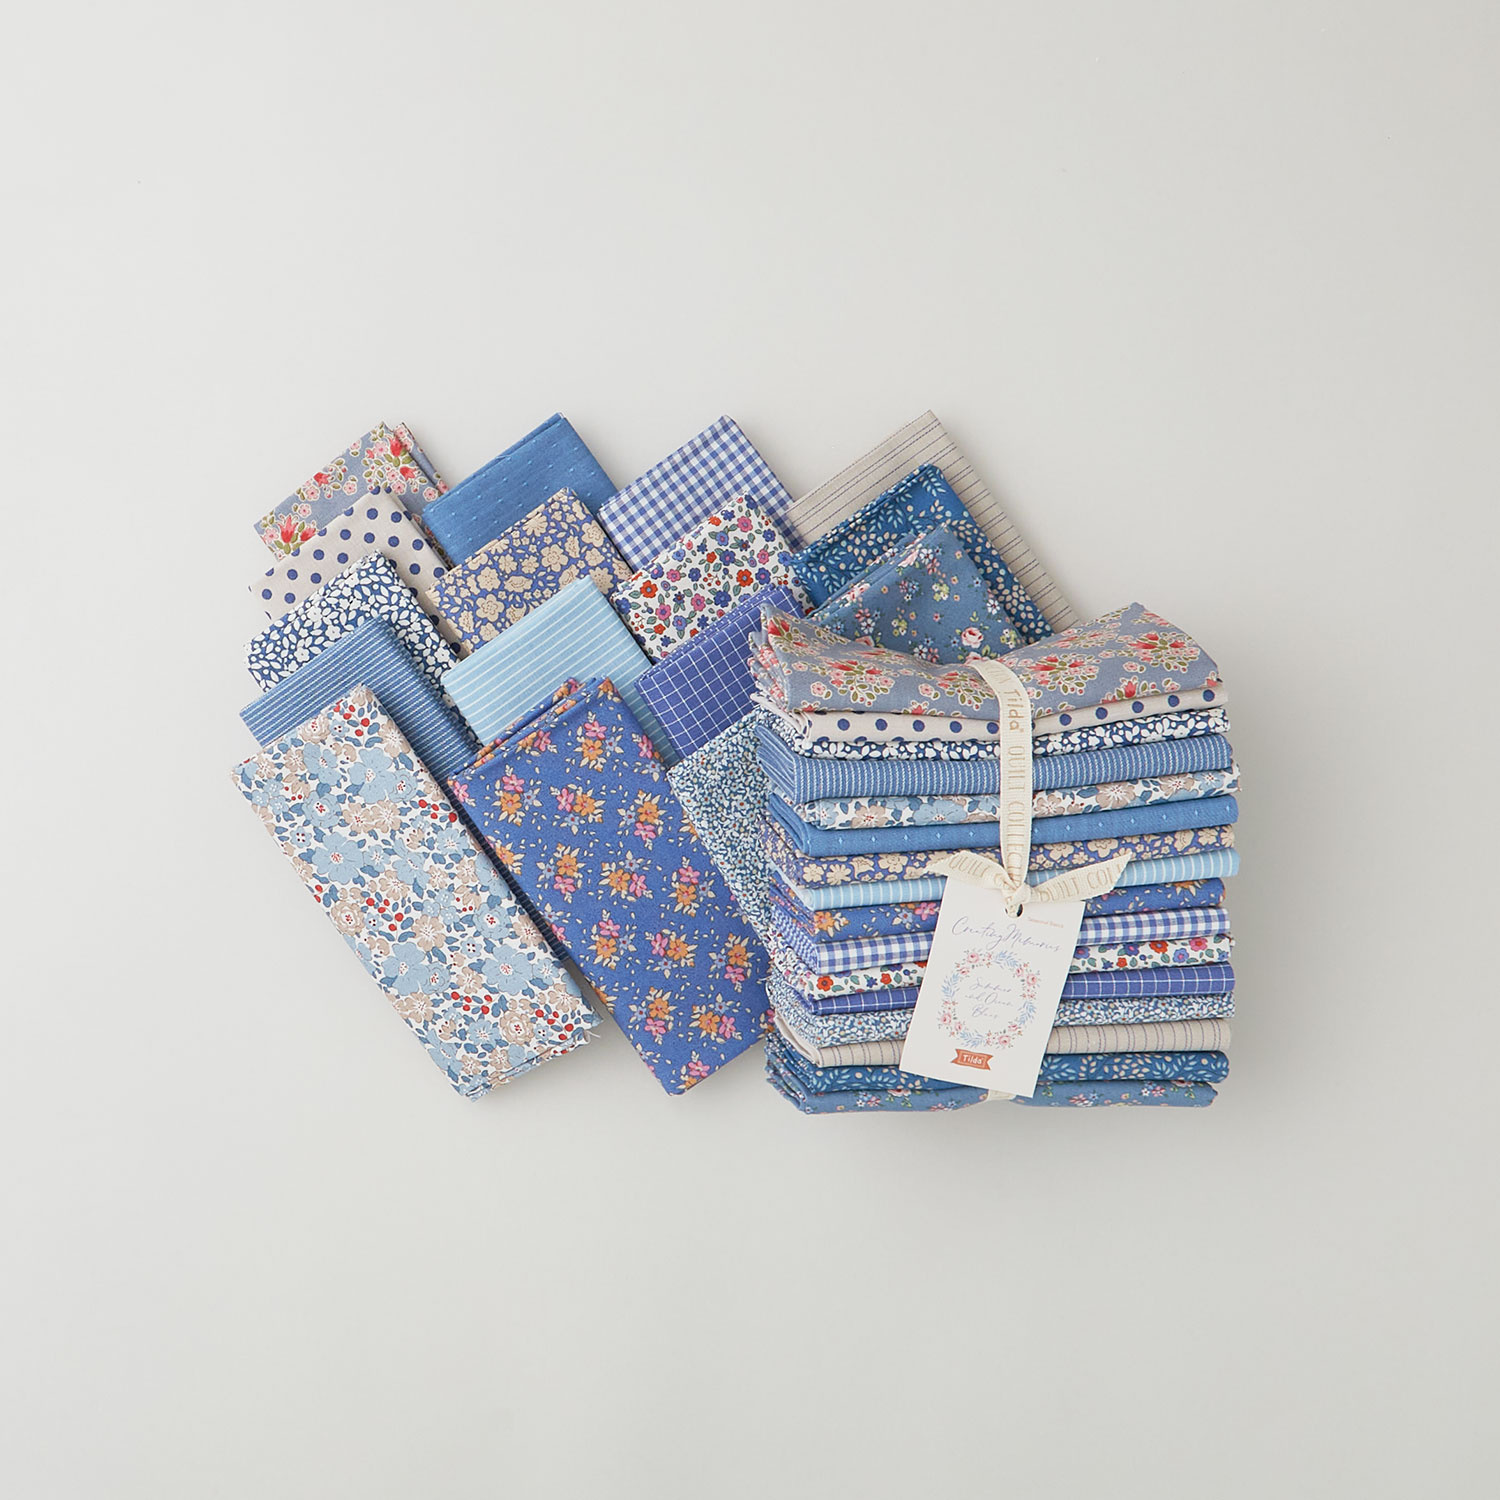 Creating Memories - Summer Fat Quarter Bundle$71.50Shop →
 Kimberbell Basics - Tiny Dots White on White Yardage$10.76Shop →
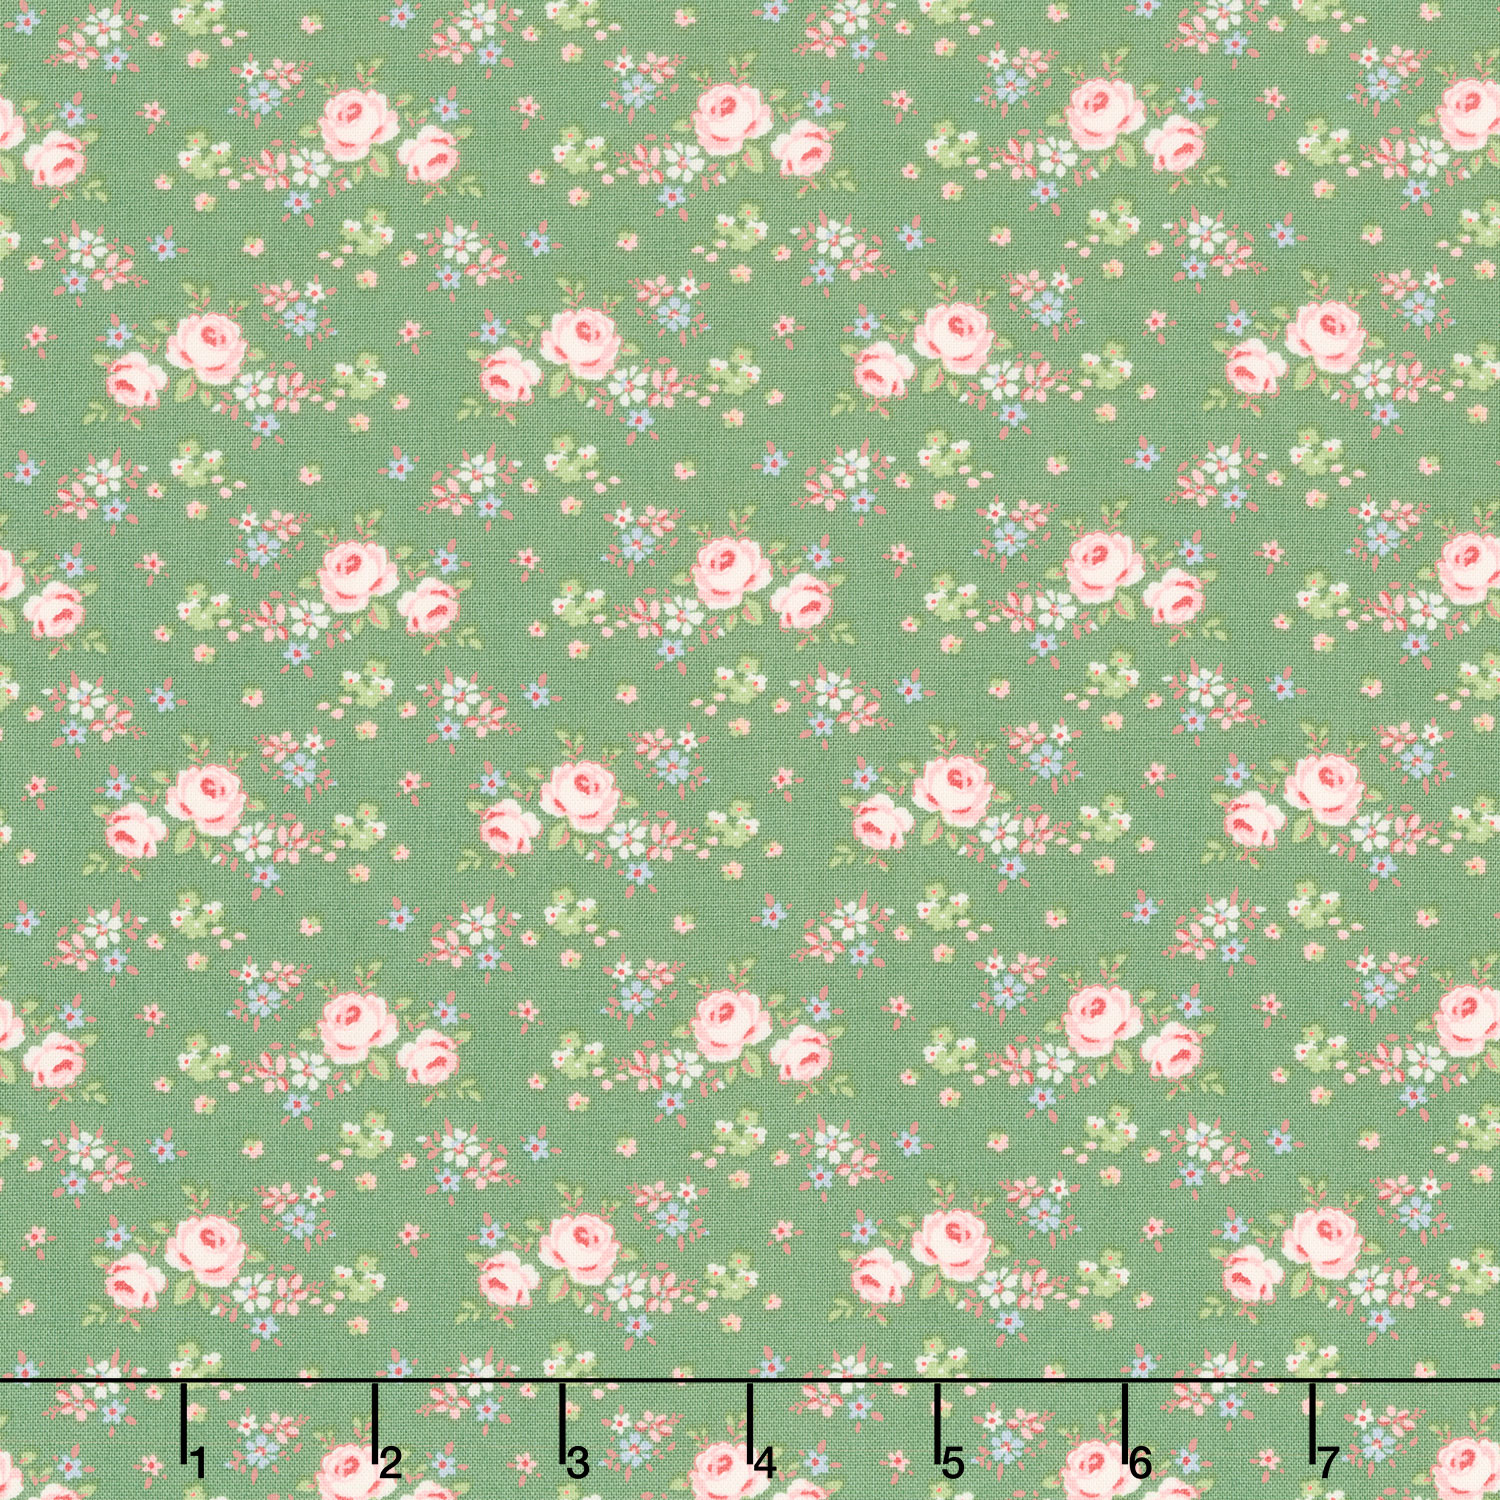 Creating Memories - Winter Gracie Green Yardage$14.96Shop →
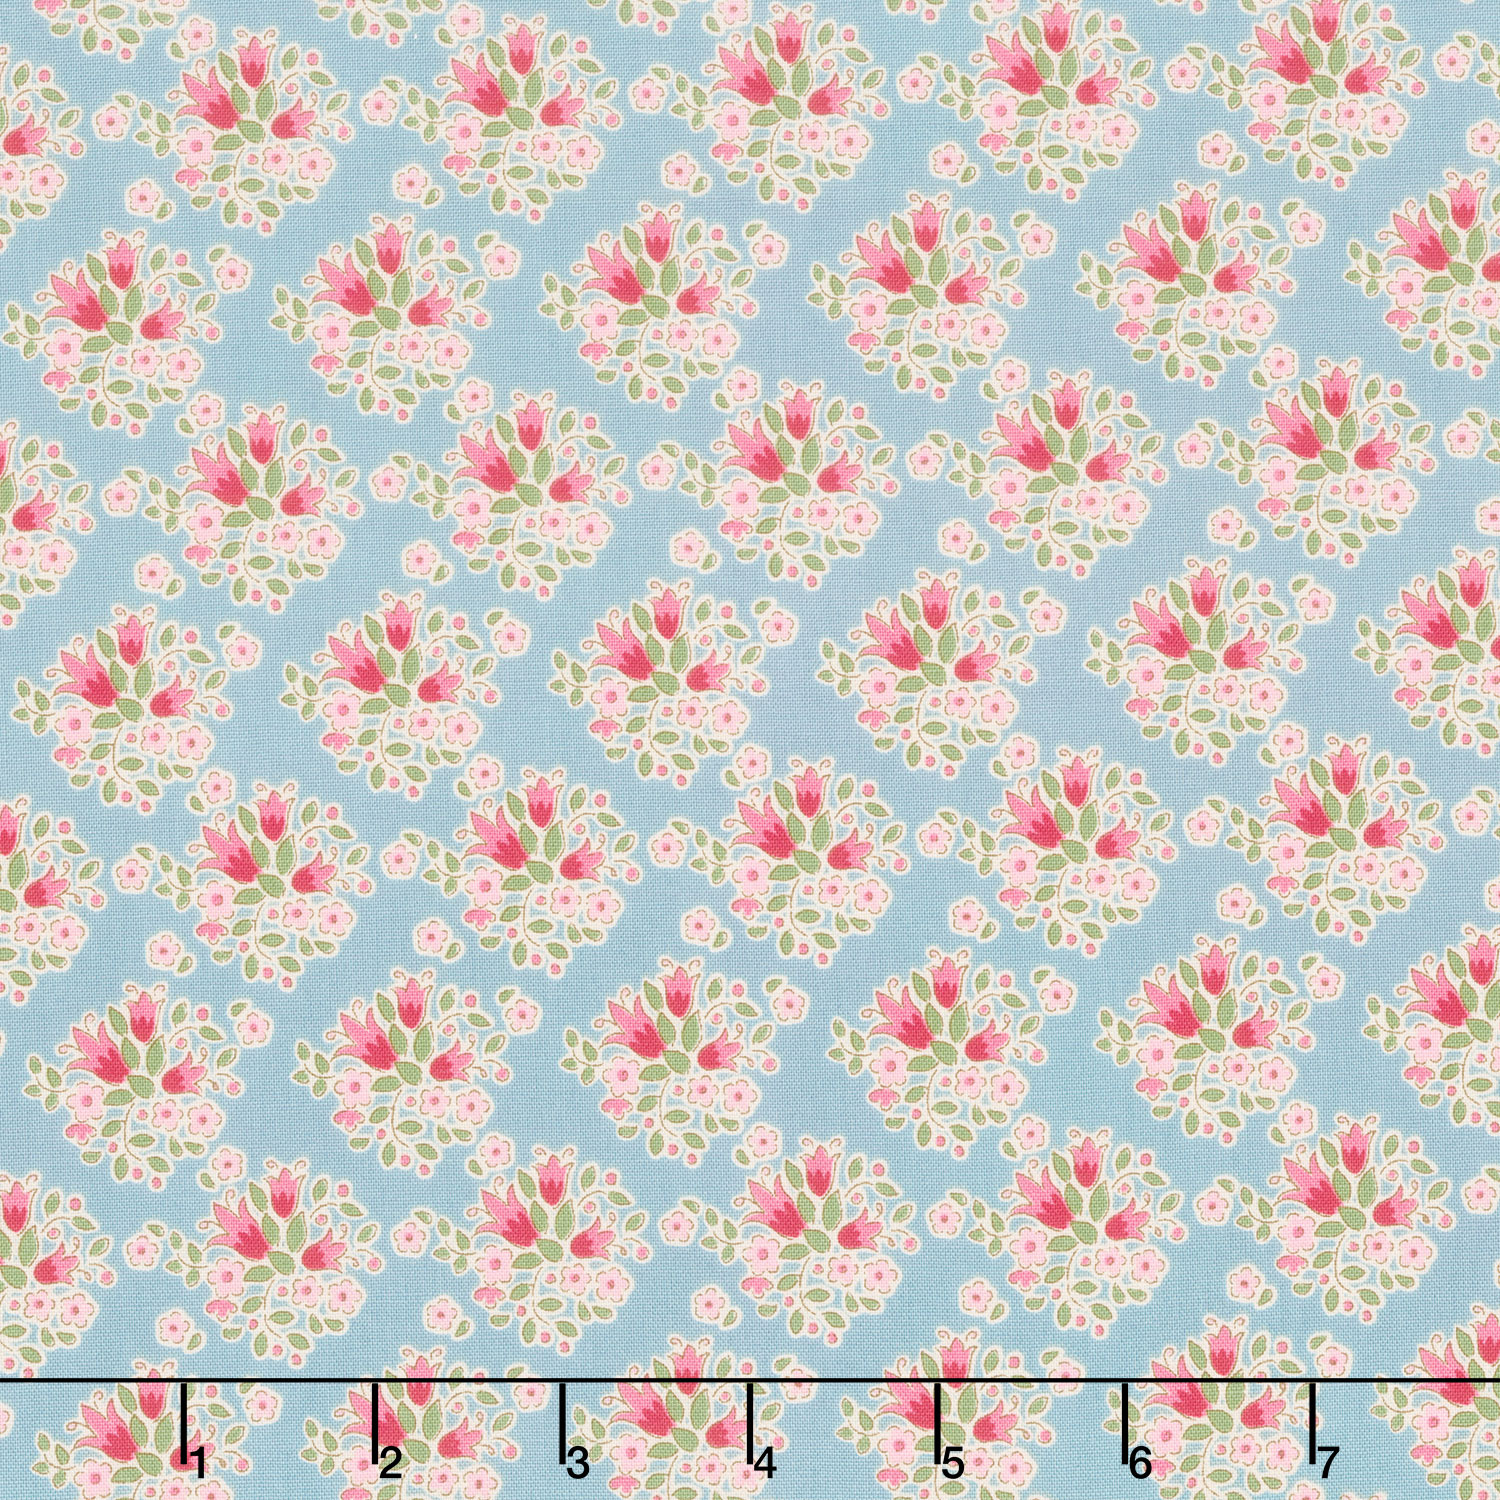 Creating Memories - Summer Lulu Blue Yardage$14.96Shop →
 Kimberbell Basics - Tiny Dots Cream/Taupe Yardage$10.96Shop →
 Missouri Star 45mm Rotary Cutter - Olga$19.95Shop →
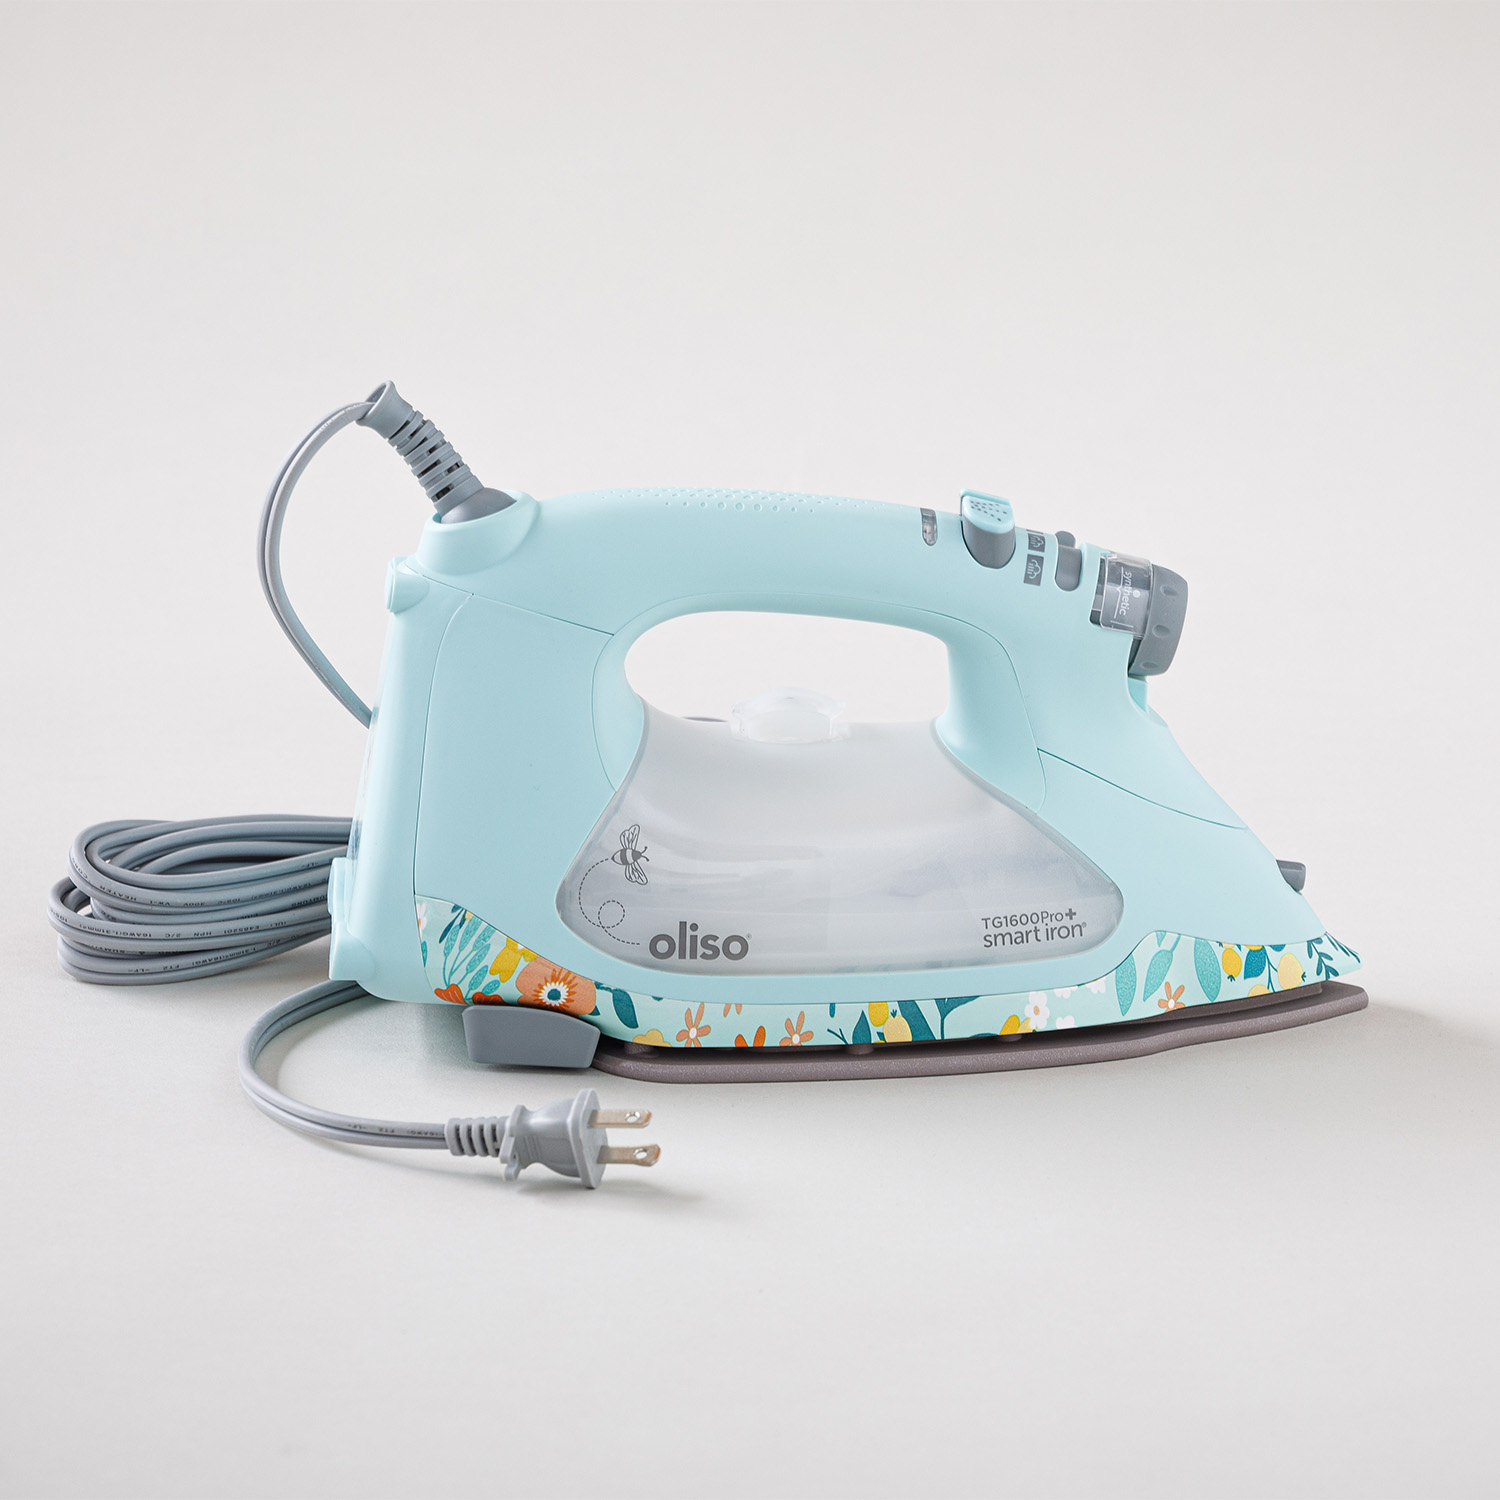 Missouri Star + Oliso TG1600 ProPlus Iron$209.95Shop →
 Missouri Star 50 WT Cotton Thread White$7.95Shop →
 Bernette 77 Sewing and Quilting Machine$1499.00Shop →