
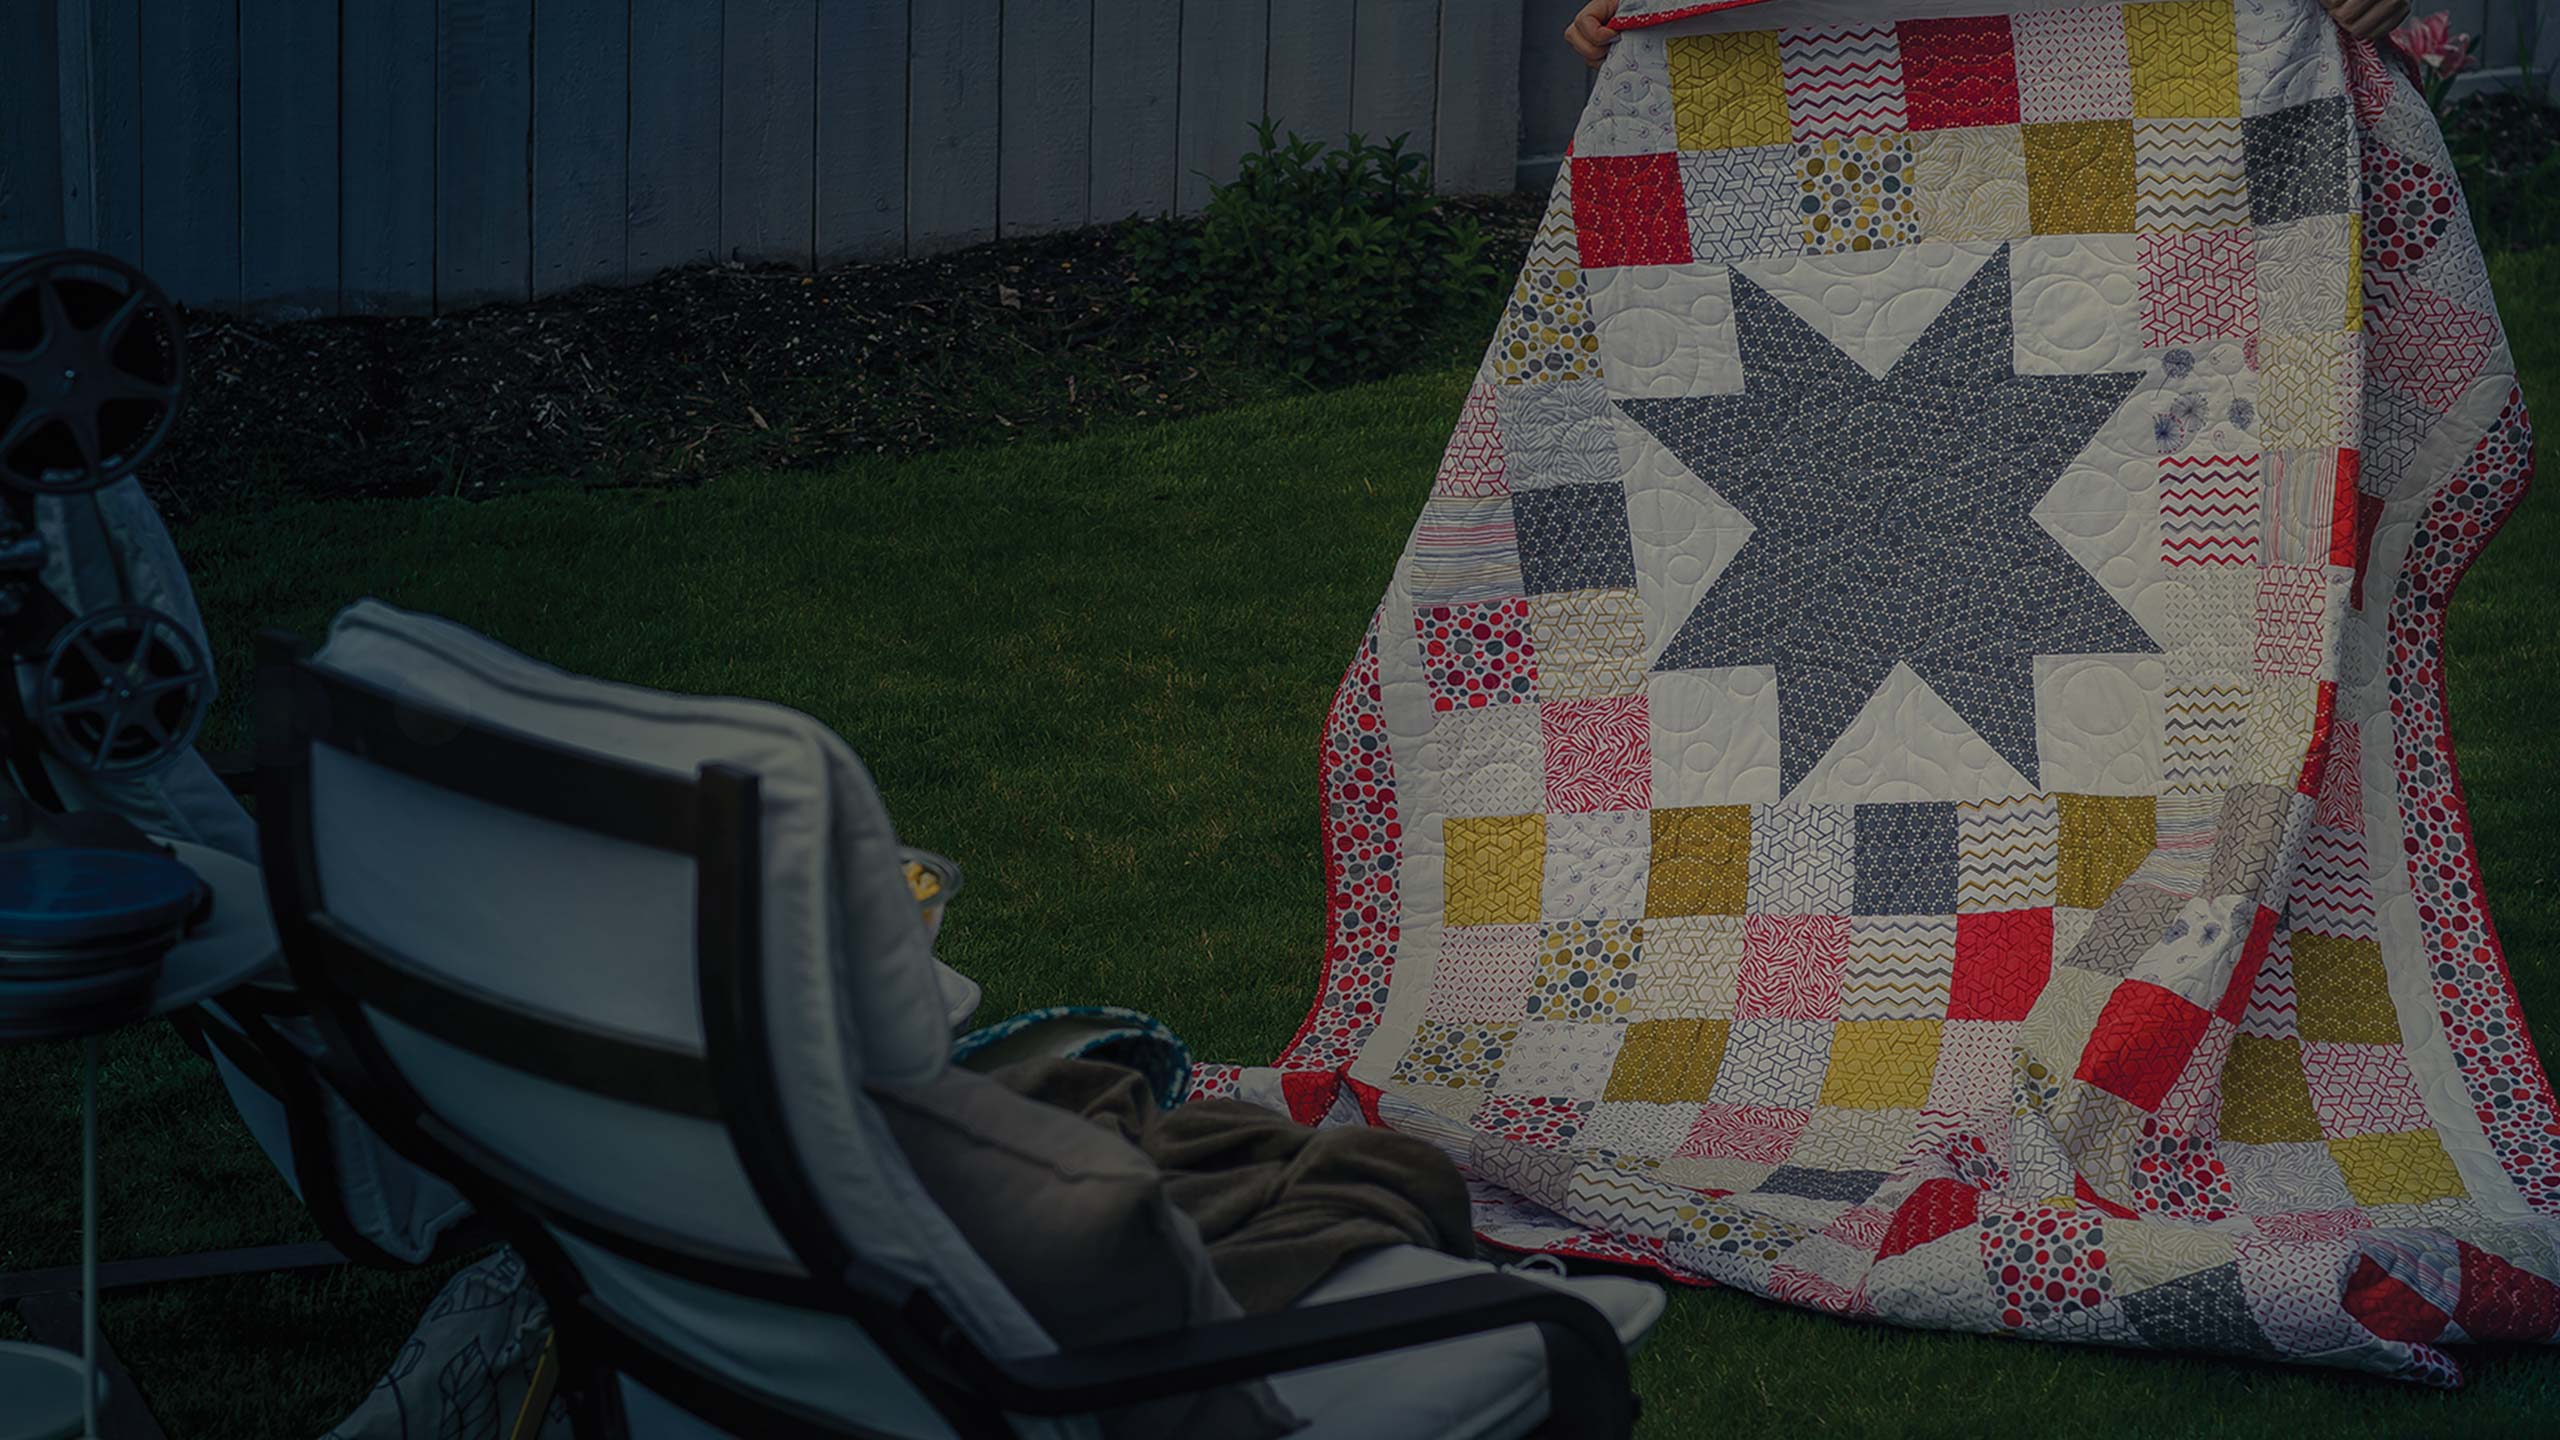
Big Charm Star Quilt
Jenny Doan shows us how to make a fun and easy Charm Big Star Quilt. Or, check out the entire website here!

Instructor
Jenny Doan
Jenny Doan is an American quilter, author, and YouTube personality. Jenny started Missouri Star Quilt Company in 2008 and today it is the largest quilting supply vendor in the United States.
Shop this tutorial



Common Questions
What is covered in Big Charm Star Quilt?
Jenny Doan shows us how to make a fun and easy Charm Big Star Quilt. Or, check out the entire website here!
How long is the tutorial video?
The tutorial video is 00:12:16.
Are supplies listed for this tutorial?
Yes. The tutorial page includes the supplies and materials connected to this project.
Is a transcript available?
Yes. A written transcript is available on the tutorial page.
Video Transcript
Hi, I’m Jenny from the Missouri Star Quilt Company. It is never too early to start thinking about Christmas, and we have a great Christmas design right here. For those of you who like to buy Christmas fabric, you know it comes out around March and it’s gone by July. So we have to get started on those projects early.
Let’s take a look at this great little quilt behind me. I love charm pack quilts. They are just easy. They are one of the quilts to sell out of my shop. People love them because they’re no fuss. You know you can grab them. You don’t feel guilty grabbing them, taking them to the television or throwing them in the car for a picnic. You just feel like you can use them, but sometimes you kind of feel like you need to add a little more. So we added the big star to this charm pack quilt and it’s just adorable.
So to make this quilt, what you’re going to need is four charm packs and we’ve used “Winter Wonderland” by Moda. You’re going to need a yard of white fabric, and that’s going to take care of all the white in the star and your first border and you’re going to need a quarter of a yard of red and you’re going to need a yard and a quarter for our border. We’ve put a five inch border on here and it just sets the whole quilt off and make it perfect.
So, the first thing you’re going to need to do when you want to make this quilt is you’re going to have to make the big star. This big star is made using half-square triangles and I do those by sewing two squares together--sewing all the way around them and cutting both directions. So, from your quarter yard of red fabric, you’re going to take that and you are going to cut four nine-inch squares. From the white fabric, you’re going to cut two nine-inch squares.
Now we have to match these together and sew them.
So what we’re going to do is we’re going to put two red squares together, sew all the way around them, cut them diagonally both directions, and then we’re going to make two identical sets of red and white squares. So we’re going to put a red and a white together and a red and a white together, sew all the way around and cut them both directions.
Now, I’ve already cut these, so I’m going to go ahead and cut this one and show you how I do this.
So I kind of like to lay it at an angle like this. I lay my ruler end to end and I have sewn, remember I have put these together, sewn a quarter of an inch all the way around and then I lay my ruler edge to edge like this from corner to corner and cut diagonally straight across. Then, without moving the block, I’m going to turn it over here and put it corner to corner on here and I’m going to cut straight across. This is going to give me four half-square triangles right away, which I love. I love the ease of that. So now what you should have is eight half- square triangles that are red and white and four half-square triangles that are just plain red.
So I’m going to stack these over here.
What we want to do is iron them. I’ve got my reds here and, because they’re exactly the same color, we don’t worry about which side we pressed to--we just want to press them open. When you iron your white ones, you’re going to want to make sure they’re pressed to the dark side. So put your dark on top and then just roll the top back and press it open. Now the reason I cut these in nine-inch squares is, because the nine-inch helps them fit into the charms so that they fit in here exactly with the charms and we don’t have to make any, any guestimates on that. They just fit right in there.
Now out of the white, you’re also going to need to cut four six-inch blocks for your corners. These are your corner blocks right here and you’re going to need to cut four of those. So here’s how we assemble our star: the first thing we’re going to do is we make a pinwheel in the center out of our reds and it’s not going to look like a pinwheel because they’re all exactly the same. But if you were to make this star in another print, you would, you would, you would see the pinwheel, but because we want just one big red star, this whole center part is going to be the same fabric.
So when you put this center together, you’re going to put it together just like you would put a four patch, but we’re going to go ahead and lay this out and put it together row by row by row. So now what we need to do is we need to add our legs, and our legs are going to come out from the center so our whites will be matched up like this. It’s kind of like making a flying geese unit, cause our whites are in the center.
Whoop, there we go and our whites over here. This is going to be in the center--there we go. I’m a little angely-challenged and I’m going to scoot this up here and scoot this up so I have room for my legs down here on the bottom. There we go; that one and the white in the center and then we’re going to put four of these squares. Now how I got this size of these squares is I measured these squares. Whatever size this square ends up, you’re going to want to cut those squares for the corner and mine work just fine with nine and six-inch squares in the corner, but, but the, you have to remember that it’s kind of all based on seam allowances, so you just want to make sure that you check your seam allowances and it will fit in.
So here’s what we’re going to do: we’re going to go ahead and sew this star together and I’m going to star by this row and I’ll sew these two and these two and then I’ll sew row after row after row and I’ll meet you right back here. Ok so now I’m down to the last row and I have to put those together. It doesn’t really matter which end you start from because we get a little bit of bias; we can make this fit and I like to nest up my, my two seams so that they lay opposite each other. You can also clip all your little ears off if you want to--all these little edges off right here. You can iron your seams to the side or you can iron your seams open. What we’re looking for is a flat quilt. So however you want to do that is just ok.
So I’m going to go ahead and press this and then what we have to do is we check it to make sure that we really do look like a star. That we really do have our angles going to right way and then we’re going to sew this together again row by rows. So I’m going to sew the bottom two rows together right now. There we go, you want to line up your seams. Now if in order to line up your seams, you have to have one seam that’s, that’s going you know to the, to the wrong color. It’s not going to matter. We’re not going to do die over that. We’re just, we’re look for, haha, we’re looking for seams that match up. Then we’re going to press this open. Make sure we’re lined up pretty good and it looks like we are.
I like to iron from the top to make sure there’s no folds and then I can go on to the back and I can make my seams go whatever direction I want. Sometimes when you get a little fold in your, in your, in your fabric that can, that can really mess you up with, with your laying them together. Alright, top two rows. I like to take a couple of stitches and then line up my seams. Hold them together with my finger and then just kind of let them sail along.
Now we’re going to attach these two seams. Well, I guess I better press it open first. Looks pretty good. We’ll lay these right sides together. Again we’re just going to sew along and line up our seams. Now if you have a seam that, that doesn’t really want to fit, use the bias. Use that to make it, make it go where you want it to go, it’s a, it’s really good. And if you have a piece that’s a lot larger than your other piece. If you put that piece on the bottom then the feed dog will take in that extra material and you’ll line up really good.
Things will just fall into place. Alright, so here’s our big star. Let me press this center seam. Now, if I’ve done this right and if I’ve calculated correctly, which you guy all know my math you know. This is one of those seams where you know when things come together big like this in the middle, you can press that open if you want to, if it feels too, too lumpy for you or press it to the side. I will just say if anybody ever looks inside your quilt to see which way you put pressed, they are not your friend, haha. Alright, so here’s our big star and this is going to go right in here.
So now that you’ve made your big star, what you want to do is you want to take your four charm packs. I like to open them all up and stack them in reds and whites. Then, when I put them together I stagger them so the colors, you know they’re, they’re not lined up, they’re just off centered a little bit, like this and then I put my quilt together. So first I put this bottom part, which is twelve across by nine down. Then I put my, my star and I sewed rows of two to the side and your charms should match up with the length of your star and then I sewed across the top of the star and then I made this section right here.
So that is entirely up to you wherever you want to put your star. You can put it, you can put it smack in the middle, off to the side, down on the bottom, wherever you’d like it. This is where you get to do a little fun, fun design work. So we hope you enjoyed this tutorial on the first Christmas Quilt of the season from the Missouri Star Quilt Company.
Let’s take a look at this great little quilt behind me. I love charm pack quilts. They are just easy. They are one of the quilts to sell out of my shop. People love them because they’re no fuss. You know you can grab them. You don’t feel guilty grabbing them, taking them to the television or throwing them in the car for a picnic. You just feel like you can use them, but sometimes you kind of feel like you need to add a little more. So we added the big star to this charm pack quilt and it’s just adorable.
So to make this quilt, what you’re going to need is four charm packs and we’ve used “Winter Wonderland” by Moda. You’re going to need a yard of white fabric, and that’s going to take care of all the white in the star and your first border and you’re going to need a quarter of a yard of red and you’re going to need a yard and a quarter for our border. We’ve put a five inch border on here and it just sets the whole quilt off and make it perfect.
So, the first thing you’re going to need to do when you want to make this quilt is you’re going to have to make the big star. This big star is made using half-square triangles and I do those by sewing two squares together--sewing all the way around them and cutting both directions. So, from your quarter yard of red fabric, you’re going to take that and you are going to cut four nine-inch squares. From the white fabric, you’re going to cut two nine-inch squares.
Now we have to match these together and sew them.
So what we’re going to do is we’re going to put two red squares together, sew all the way around them, cut them diagonally both directions, and then we’re going to make two identical sets of red and white squares. So we’re going to put a red and a white together and a red and a white together, sew all the way around and cut them both directions.
Now, I’ve already cut these, so I’m going to go ahead and cut this one and show you how I do this.
So I kind of like to lay it at an angle like this. I lay my ruler end to end and I have sewn, remember I have put these together, sewn a quarter of an inch all the way around and then I lay my ruler edge to edge like this from corner to corner and cut diagonally straight across. Then, without moving the block, I’m going to turn it over here and put it corner to corner on here and I’m going to cut straight across. This is going to give me four half-square triangles right away, which I love. I love the ease of that. So now what you should have is eight half- square triangles that are red and white and four half-square triangles that are just plain red.
So I’m going to stack these over here.
What we want to do is iron them. I’ve got my reds here and, because they’re exactly the same color, we don’t worry about which side we pressed to--we just want to press them open. When you iron your white ones, you’re going to want to make sure they’re pressed to the dark side. So put your dark on top and then just roll the top back and press it open. Now the reason I cut these in nine-inch squares is, because the nine-inch helps them fit into the charms so that they fit in here exactly with the charms and we don’t have to make any, any guestimates on that. They just fit right in there.
Now out of the white, you’re also going to need to cut four six-inch blocks for your corners. These are your corner blocks right here and you’re going to need to cut four of those. So here’s how we assemble our star: the first thing we’re going to do is we make a pinwheel in the center out of our reds and it’s not going to look like a pinwheel because they’re all exactly the same. But if you were to make this star in another print, you would, you would, you would see the pinwheel, but because we want just one big red star, this whole center part is going to be the same fabric.
So when you put this center together, you’re going to put it together just like you would put a four patch, but we’re going to go ahead and lay this out and put it together row by row by row. So now what we need to do is we need to add our legs, and our legs are going to come out from the center so our whites will be matched up like this. It’s kind of like making a flying geese unit, cause our whites are in the center.
Whoop, there we go and our whites over here. This is going to be in the center--there we go. I’m a little angely-challenged and I’m going to scoot this up here and scoot this up so I have room for my legs down here on the bottom. There we go; that one and the white in the center and then we’re going to put four of these squares. Now how I got this size of these squares is I measured these squares. Whatever size this square ends up, you’re going to want to cut those squares for the corner and mine work just fine with nine and six-inch squares in the corner, but, but the, you have to remember that it’s kind of all based on seam allowances, so you just want to make sure that you check your seam allowances and it will fit in.
So here’s what we’re going to do: we’re going to go ahead and sew this star together and I’m going to star by this row and I’ll sew these two and these two and then I’ll sew row after row after row and I’ll meet you right back here. Ok so now I’m down to the last row and I have to put those together. It doesn’t really matter which end you start from because we get a little bit of bias; we can make this fit and I like to nest up my, my two seams so that they lay opposite each other. You can also clip all your little ears off if you want to--all these little edges off right here. You can iron your seams to the side or you can iron your seams open. What we’re looking for is a flat quilt. So however you want to do that is just ok.
So I’m going to go ahead and press this and then what we have to do is we check it to make sure that we really do look like a star. That we really do have our angles going to right way and then we’re going to sew this together again row by rows. So I’m going to sew the bottom two rows together right now. There we go, you want to line up your seams. Now if in order to line up your seams, you have to have one seam that’s, that’s going you know to the, to the wrong color. It’s not going to matter. We’re not going to do die over that. We’re just, we’re look for, haha, we’re looking for seams that match up. Then we’re going to press this open. Make sure we’re lined up pretty good and it looks like we are.
I like to iron from the top to make sure there’s no folds and then I can go on to the back and I can make my seams go whatever direction I want. Sometimes when you get a little fold in your, in your, in your fabric that can, that can really mess you up with, with your laying them together. Alright, top two rows. I like to take a couple of stitches and then line up my seams. Hold them together with my finger and then just kind of let them sail along.
Now we’re going to attach these two seams. Well, I guess I better press it open first. Looks pretty good. We’ll lay these right sides together. Again we’re just going to sew along and line up our seams. Now if you have a seam that, that doesn’t really want to fit, use the bias. Use that to make it, make it go where you want it to go, it’s a, it’s really good. And if you have a piece that’s a lot larger than your other piece. If you put that piece on the bottom then the feed dog will take in that extra material and you’ll line up really good.
Things will just fall into place. Alright, so here’s our big star. Let me press this center seam. Now, if I’ve done this right and if I’ve calculated correctly, which you guy all know my math you know. This is one of those seams where you know when things come together big like this in the middle, you can press that open if you want to, if it feels too, too lumpy for you or press it to the side. I will just say if anybody ever looks inside your quilt to see which way you put pressed, they are not your friend, haha. Alright, so here’s our big star and this is going to go right in here.
So now that you’ve made your big star, what you want to do is you want to take your four charm packs. I like to open them all up and stack them in reds and whites. Then, when I put them together I stagger them so the colors, you know they’re, they’re not lined up, they’re just off centered a little bit, like this and then I put my quilt together. So first I put this bottom part, which is twelve across by nine down. Then I put my, my star and I sewed rows of two to the side and your charms should match up with the length of your star and then I sewed across the top of the star and then I made this section right here.
So that is entirely up to you wherever you want to put your star. You can put it, you can put it smack in the middle, off to the side, down on the bottom, wherever you’d like it. This is where you get to do a little fun, fun design work. So we hope you enjoyed this tutorial on the first Christmas Quilt of the season from the Missouri Star Quilt Company.


