Binding 101 with Courtenay
Wrap up your quilt with confidence! In this Binding 101 tutorial, Missouri Star's sewing specialist Courtenay Hughes walks you through the essential techniques for creating clean, beautiful bindings.

Instructor
Courtenay Hughes
Courtenay Hughes is a talented instructor of quilting, embroidery, and appliqué classes. She teaches at Missouri Star Academy, in both online and in-person classes.
Shop this tutorial
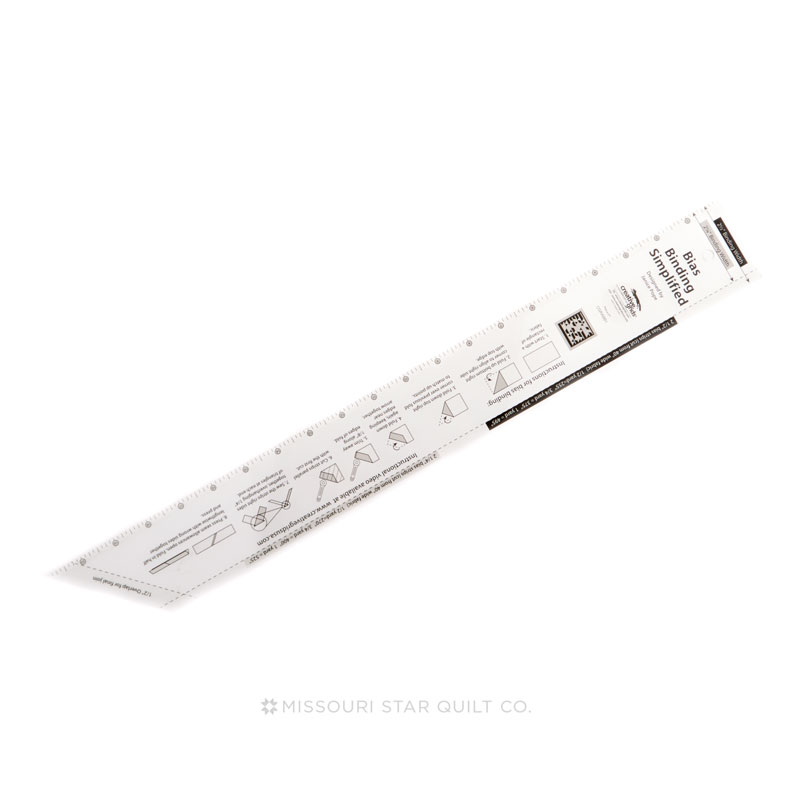 Creative Grids Bias Binding Simplified Ruler$26.99Shop →
 Creative Grids Quilting Ruler 6 1/2 x 24 1/2in$35.49Shop →
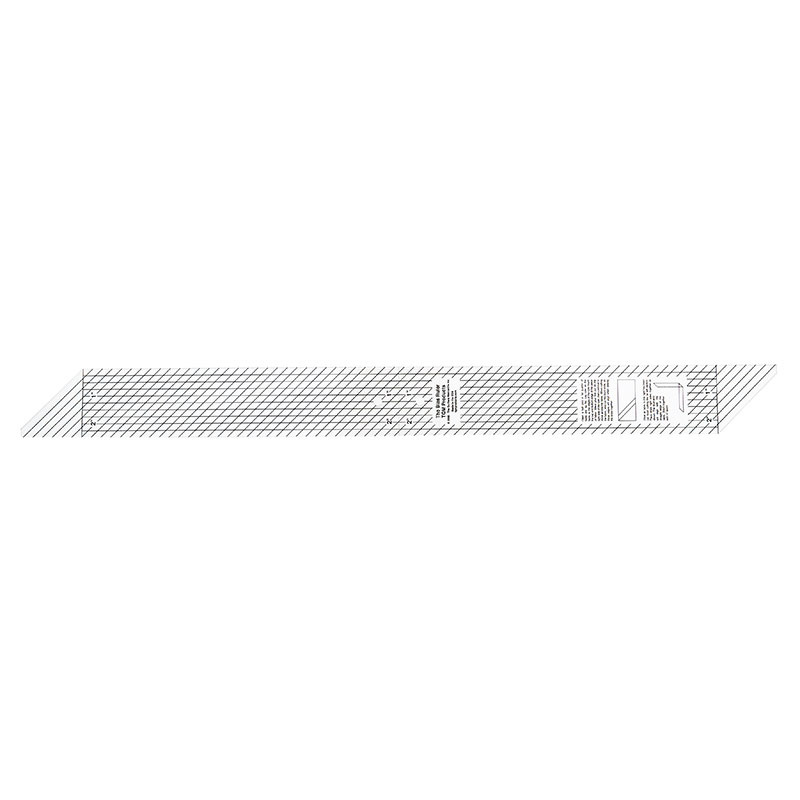 The Bias Ruler$21.95Shop →
 Missouri Star 45mm Rotary Cutter - Olga$19.95Shop →
 Missouri Star + Oliso TG1600 ProPlus Iron$209.95Shop →
 Missouri Star Wooly Betty Board - 17.25" x 25.5" Orange Border$99.95Shop →
 Baby Lock Accomplish - 1500 SPM Straight Stitch Machine$1199.00Shop →
 Missouri Star 50 WT Cotton Thread White$7.95Shop →
 Missouri Star 2.5" x 8" Ruler$11.95Shop →
 Missouri Star #8 Perle Cotton 10 Gram Ball - Warm Red$3.49Shop →
 Missouri Star #8 Perle Cotton 10 Gram Ball - Cmas Green$3.49Shop →
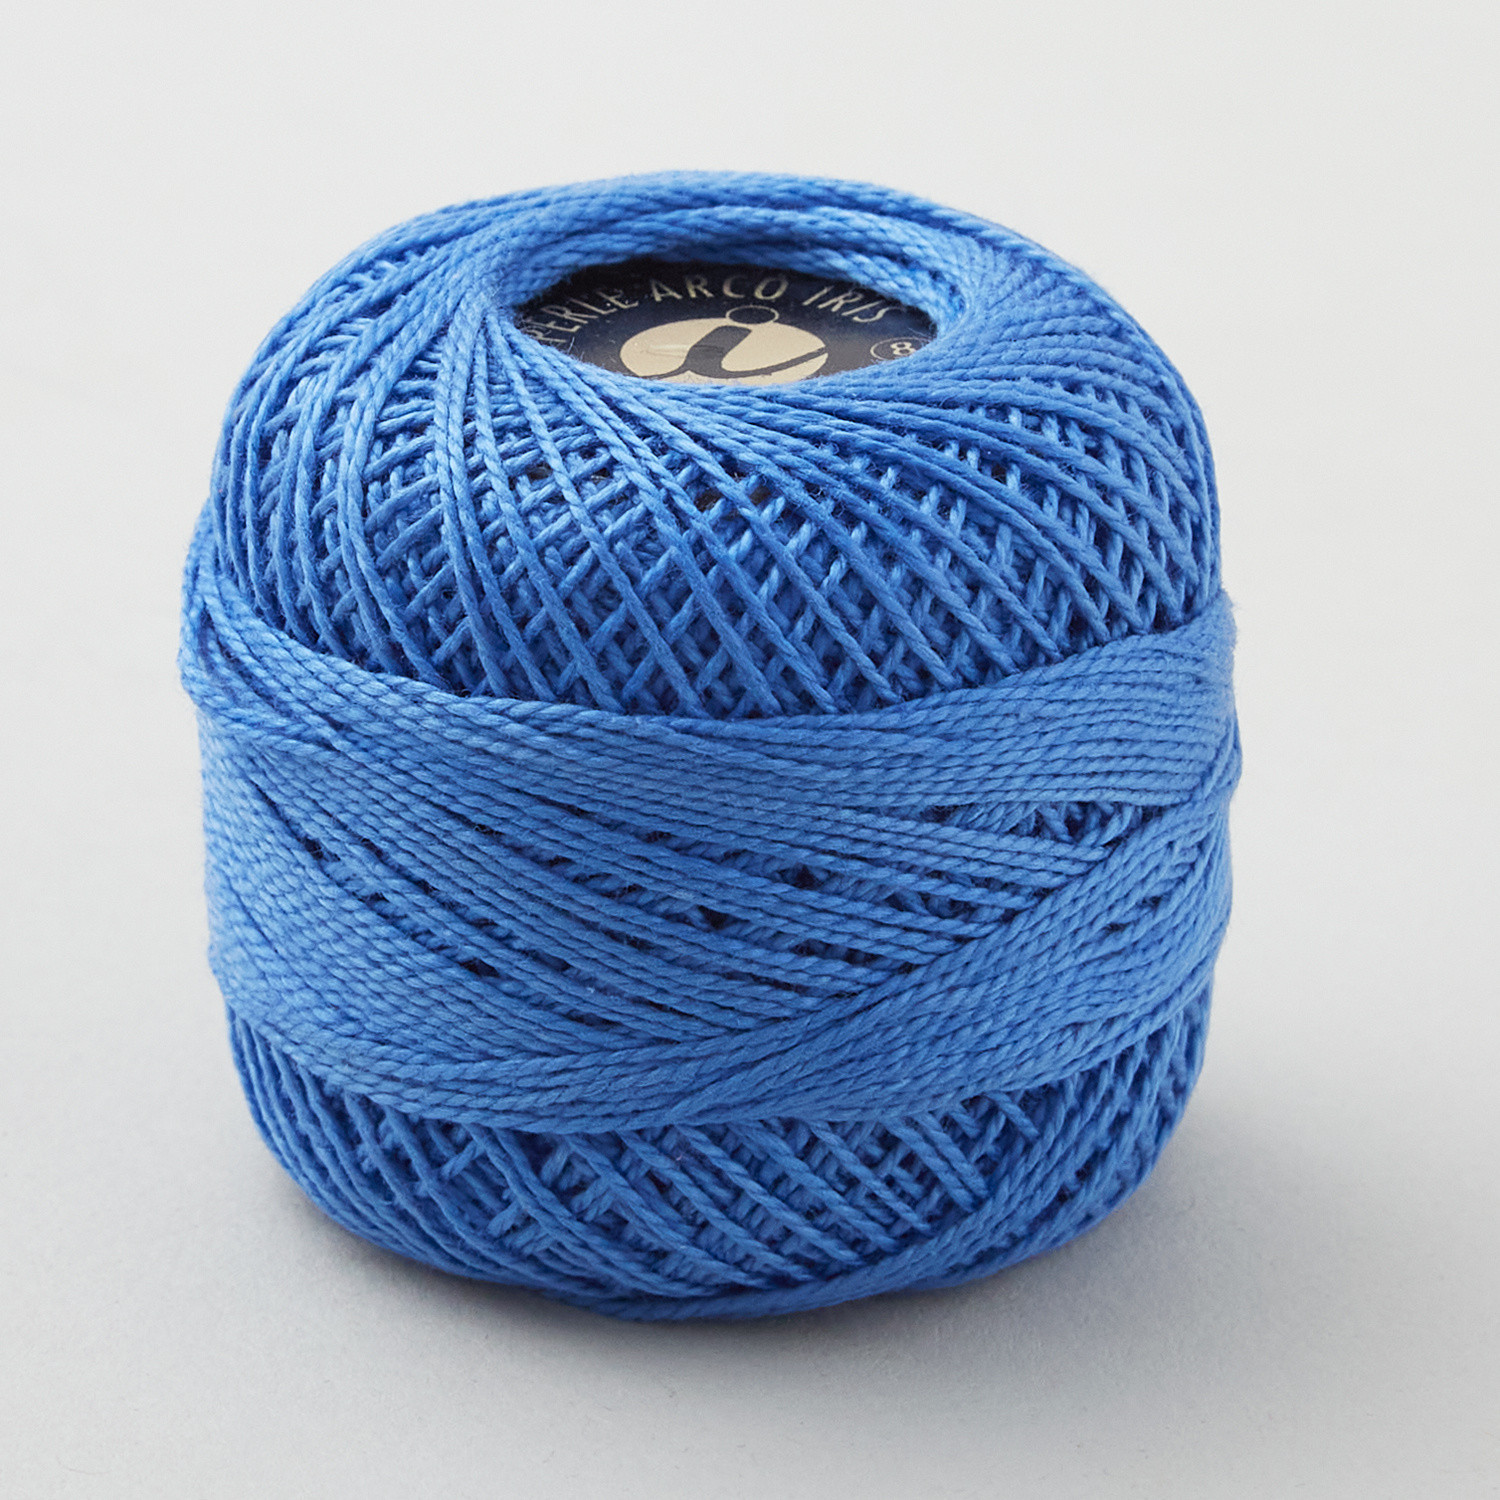 Missouri Star #8 Perle Cotton 10 Gram Ball - Imperial Blue$3.49Shop →
 John James Embroidery / Crewel Needles - Assorted Sizes 5/10 (16 ct)$3.25Shop →
 John James Embroidery / Crewel Needles - Assorted Sizes 3/9 (16 ct)$3.25Shop →
 John James Pebble Embroidery Needles$12.45Shop →
Chapters
- 0:00Welcome & Getting Started
- 0:39Frequently asked binding questions
- 1:12Two methods for cutting
- 3:28Bias binding
- 5:53Adding binding to a quilt
- 19:09Corners and ending
- 25:14Flange binding
- 28:45Two color binding
- 30:55Single fold binding
- 32:16Curved binding
- 36:20Changing binding color
- 40:08Faced binding
- 43:10Chenile-it binding
- 47:15Hand stitching
- 48:10Scrap binding
Common Questions
What is covered in Binding 101 with Courtenay?
Wrap up your quilt with confidence! In this Binding 101 tutorial, Missouri Star's sewing specialist Courtenay Hughes walks you through the essential techniques for creating clean, beautiful bindings.
How long is the tutorial video?
The tutorial video is 00:50:44.
Video Transcript
Hey everybody, it's Courtney with Missouri Star. Today we're going to talk about the B- word. Yes, binding. Some people love it, some people don't. I see it as um a necessity to get to the end of my project. And usually by the time I get to the binding part, I'm over it. I'm ready to get it out of my side. I'm sick of it. I'm ready to get it bound and off my table. So hopefully today I'm going to show you some tips and tricks and maybe some new techniques that you haven't seen to make make making binding more fun. So let's get started. Okay, so the first things first, how wide should I cut my binding? Well, that's up to you. I usually cut mine at 2 and 1/2 in, but a lot of people cut it at two. And you'll see later on in the video why sometimes we're going to cut it at one and a half. Okay. Second question a lot of people ask, should we cut it on the bias or with the fabric? I usually cut mine with the fabric. However, it the binding is stronger when you cut it on the bias. And I'm going to go over the two methods on how to cut that right now. So, I have the piece of fabric laying here in front of me to cut with the fabric. And that means that your salvages are meeting at the top. I have my fabric nice and ironed flat. I will lay my fold down at my belly. And I have the fold lined up neatly across one of the lines on the mat. And that way I know I'm getting a good 45° angle cut on this edge. So I'm going to line up my ruler on this edge. And in this case, I am using the mat markings. And I'm going to cut off my strip. Okay. And then I'm going to flip it over because I know that's a nice straight cut. I'm going to make sure that that binding is at the edge again. And I'm just going to cut my two and 1/2 inch pieces out of this. So very easy. I'm going to line up. Now I'm using my ruler markings. I'm not using the mat anymore. And I'll just cut however many strips I need. Now, how many strips do you need? What you will do is you will add up all four sides of your quilt and then I usually add 18 in. So, for example, my quilt is 70 in square. So, 70 * 4 is 280 in plus I'm going to add 18 in. And that's just for ending and just mistakes or whatever. It's just my little comfort thing that I do. So, 280 + 18 is 298 in. Then I divide that by 40 inches because I like my fabric. I like to figure it out at 40 usable inches. We've got all those great designers out there now that are coming out with these really cool salvages, but the salvages are getting a little bit bigger than they used to. So I plan on 40 inches of usable width. So if I do seven strips at 40 in, that's only 280 in. But I actually need need 298. So I'm going to go ahead and cut that eighth strip. Now, if you find think that that's a little bit wasteful eventually, if you're feeling that you're cutting off too much binding, save all your extra binding strips, sew those together, and make a scrappy binding. So, there's no waste, right? So, and that's a fun way to end a quilt. Anyway, so now let's talk about bias binding. All right, bias binding is binding cut on the bias. So, this is just an 18inch piece of fabric that I cut with the fabric with my salvages up up here. And then you're going to lay it flat. And we we carry this bias binding ruler. It's by the quilters Merkantal. Um Susan Brown created this ruler and it's an awesome ruler for this. So, you're going to lay your ruler on your fabric just like this. And I've drawn a line here. Okay. I'm going to go ahead. I'll cut that right where my line's drawn. Okay. And then I could move this out of the way. And then I'll just come down. She's got quarter inch marks on this ruler. So, I can go ahead. This is an act. This um measurement is actually 2 and 1/2 in. So I know that my strips are 2 and 12 inches. If I want to make them just two inches wide, I can just come down to the 2 inch mark. So it's totally up to you, but you can go up to 2 and 12 inches on your binding, which is nice. So I'm going to cut a second piece. And then you're going to go all the way down. I I usually go to about here. I don't use this corner of the fabric. And then you can flip this over and start cutting from this side and go all the way down. And this will give you 280 usable inches of binding in a half yard cut. Okay. What the great the other great thing about Susan's ruler is it has these little notches at the end. And you can see this here where I marked it. I just marked it. But the ruler will cut right there. It's got them cut off on your ruler. And you can just go right there. So then when you go to join them, you don't have to worry about the overhang of of the corners like you used to, like we normally do, like you have to figure out how much do I need hanging off the top and the bottom and then they don't line up right. This is exactly the top meets the top and the bottom meets this bottom. And then you'd sew on your quarter inch line and then you've got your binding all ready to go. So that's why I love using that ruler. Now, we're going to talk about adding the binding to our quilt. And now we have my iron up here. So, I'm ready to show you how to get this going. So, here I have my 2 and 1/2 in strips that I cut. Okay. I have this one right side up on my mat. I'm going to place this one going up the other way horizontally. Horizontally. This one's horizontal. This one's vertical. Okay, I'm going to get them at an angle. And I've got some salvage on here. So, I'm going to leave make sure I'm not including that salvage. Now, why do we join them this way instead of straight? When we join them on the diagonal, you don't have as much bulk in one place. You're spreading that bulk out along the edge of your quilt and along your binding. So, it's not you don't have one big lump every now and then in your binding. So, that's why we do that. Okay. So, I've got my strip blade here. And if you need to, you can draw a line between the top and the bottom corner, right where they meet each other. Now, I'm going to use a Sharpie. Do not use a Sharpie. I'm doing this so you can see it. Okay? You're going to want to use something that comes off. Okay? And then you'll go to the machine. You can pin that if you need to. And we're going to sew this seam. Okay? So, I'm making sure that my two lines are lining up, one at the top and one at the bottom. Now, I'm ready to rock. Okay. All right. Pull it apart. Looks great. Now we're going to cut that seam allowance. Just cut that away there. And you're going to continue and do that for all of the strips in your binding. Okay? I'm just doing two for now. You don't want to be bored out of your mind doing this thing. So now what we need to do is once you're done piecing your whole binding, you're going to want to press your seams open. Okay. So, another tip is when you are um sewing your binding together, use a f a thread that matches your binding color. I've seen um some people they're using a black binding and they'll use white thread and because we're pressing that seam open, that thread color shows up on your binding. You don't want that to happen. So, I usually try to match the thread color pretty close to my binding color. Okay. Now we're going to press our binding in half, wrong sides together to make your binding strip. All righty. Now, we're ready to put our binding onto our quilt. Okay. So, I'm going to pretend um that this is the back of my quilt for this example. I am going to sew the binding on the back and pull it around to the front. It this works either way. If you're going to put it on the front, that's fine. So, I'm going to start by cutting off the salvage. You don't want to put salvage on your quilt. Okay. Get rid of that. All right. So the first thing I'm going to do, however wide my binding is, I am going to draw a line on my binding. So if this is going on, I have raw edge to raw edge. I want to draw on this side. And again, I'm going to use a Sharpie. Maybe I'm going to use a Sharpie. There it is. It's just like home. I can never find my tools. Right. So, um, use something that can evaporate or water away or whatever or something light. This is not going to be seen, though. This is going to get folded to the back. So, you could use like a light colored pencil or even a pencil, but just make sure it doesn't go through. So, I'm going to mark a line 2 and 1/2 in right down from the top. Okay. Then, I'm going to open it up. And again, I'm going to mark a 2 and 1/2 inch mark. I don't need to go all the way over, but on the bottom right hand corner, I'm going to make a line. And then I'm going to use my little ruler here, and I'm going to draw a line from top left to bottom right. And this is going to become important later. Okay. Going to put my pen right here, everybody. Okay. Right here. Okay. Now, we're ready to start binding. I am going to I usually if it's a long quilt I usually try to start near the top of a long side because then once I turn that last side I'm like oh I'm almost done. Total me totally mental game I do with myself. But you start it wherever you want. Just make sure you're going to give yourself enough room coming around the corner. And I'll show you why in a minute. So I'm going to come down here right about there. And I'm going to bring it to my machine. And I use a/4 of an inch seam allowance when I put my binding on. Um, some people use 3/8, but I use a quarter. And I don't want to start right at this marking. I want to give myself some room. So, actually, I'm going to move this up a little bit more. There we go. So, I'm going to give myself, what is that? 3 4 inches there. And we're going to be almost right at the corner, which is kind of perfect. Okay. I've got my pin. I've got this. And I'm going to get a tool back out right up here. So, I'm going to start and I'm going to back stitch. And then when you get close to the corner, you want to mark, you can either mark on the binding or on the quilt with a pen a quarter of an inch up from the corner. Okay. Now, you want to be careful that you don't mark too far back. Say your foot is here and your corner is up here because as you're putting the binding on, this is the binding is going to move. So then by the time you get to the corner, it may be less than a quarter of an inch and you really need that quarter of an inch at your corner. Okay? So sometimes you might want to just put a pin like right at the quarter inch mark so you can see that and you'll know where to stop. And that's probably even a better idea than drawing on it. But, okay, I'm going to stop right there. My needle is down and I'm going to turn my quilt so that that corner is right in front of the foot and I'm going to sew right off that corner. Okay, I go ahead and cut the thread. Now, I'm going to lay this binding back up. So, it is that raw edge is even with the edge of the quilt. And that's going to become important when we have sides that aren't exactly 90°. So, I'm going to roll that up. Fold that up just like this. And then I'm going to fold it back over on itself. And I'm going to line that fold up even with the corner of my quilt. Put it back under the machine. And I usually back stitch here. I don't know if it's necessary, but I feel better about myself if I do. And then you're going to keep going and do that all the way around till we get to the end. So I'm going to stop here and we're going to pretend that I'm around to the other side. Okay. So now you're going to see where these markings come into play. I am going to lay my binding straight over this other one. Now, to keep that in place, I am going to I'm going to use a pin in this case because I want this to stay nice and flat. Okay? And you want it I'm going to say taut or tight. You don't want it to be like this. See how we've got that in there? You want it and I pull on it just a little bit. You don't want to pull on it too much, but you want to make sure that it's nice and flat. And then when I'm coming down from the top, I kind of want to do the same thing here. So, I usually put my finger on that thread and I'm pulling it a little bit. Okay, not not hard, but just a little bit to make sure again it's nice and taut. And then I'm going to fold this back. And I'm giving myself I don't think that's quite a quarter of an inch, but might be almost. This measurement is going to be up to you. Some people are able to go a little bit closer to that line. Some will come back. I find myself I need to do about that much. Let's measure that just for fun. Oh, it's probably one 1/8 to probably three one two 316. Please don't use that measurement on your ruler, but that's what where I like to cut. Now, I'm going to grab a pair of scissors. I'm just going to cut that right off. Look at that. Scary, right? Okay. Now, I'm going to take this, the top one, and fold it so it's perpendicular to my quilt. I'm going to take this one and open it right sides together. You're going to make sure those edges meet. And sometimes if it's easier, you can pin your quilt or you can clip your quilt together so you can have more room. And this is why you can't sew right up to where you need to where you're ending is because you need this room to play with this binding a little bit. Okay. So, we're going to lay this right on top here. Our edges are even. And I like drawing this line on here because now I know where to sew. I know which way to sew. I don't have to get it on the machine, go, am I supposed to go from top right corner to bottom left or top left to bottom right? Everything's already done. So you don't have to worry about it. So that's why I like doing it this way. Now again, everybody's brains work differently. You do you. Do what makes it easier for you. Okay? Not everything and not probably anything I say is written in stone, which is good. And we're going to sew right on that line just like we did before. Get rid of our pins and our clips. Now, before you cut anything, lay your quilt out and make sure that that's nice and flat. That looks pretty good. So, now we're ready to cut our seam allowance. because I've gotten a little bit full of myself sometimes and have cut it and I could have really cut it a little smaller, sewn it a little closer. So, it's good to check. Okay. And then I just I normally don't go to the iron at this point. I usually just finger press this open. Use the nails that I don't have. Or if you have one of those little seam presser rollers, that's a good this is a good place to use it. And now I'm going to put this under the machine and finish my seam. All right. Now, you'll see I did get a little bit of a wrinkle there. So, I probably could have pulled that a little tighter. But look, when you pull it around to the front, if this was a print, you'd never see that. So, that's a good thing to know. I should have pulled on it a little bit more, but most of the time I can get it where I don't have them I don't have a little wrinkle in it. So, when you're pulling your binding over to the other side, whether you're putting it on the back or the front, you want to make sure that you're filling your binding with your quilt. You don't want to come out here and then you've got all this space in here. You want to fill fill that binding up. Okay? that will count if you ever put your quilts in a shell. Okay? Other than that, it doesn't count. But I just think it gives a nice finish when that binding goes all the way to the edge of your quilt. Okay? So then your corners will come out looking like that. Look how pretty that miter is on that corner. Okay. And now this is either ready to machine stitch or hand stitch down, whatever you'd like to do. Okay. Now, we're going to talk about what if my corners aren't 45 degrees. Okay, so here sometimes you get some really cool quilt or table runner patterns and you've got these weird angles. How do you treat those? You treat them treat them the exact same way. You're going to come up. You're going to sew to a quarter of an inch in. So, you'll sew till about right there. Then, you'll stop and you're going to pull that binding back. And remember how I told you about making sure that that raw edge is even with this raw edge. So, you pulled the binding back just like that. And you're going to pull it forward again on itself and move forward. Now you can see that that is not a very big it's not as big of a bite as it is with the regular 90° angle, but it works. Trust me. Okay, let's just sew it. Okay, and then you can see. So, let's just do that. Just sew a little bit of this corner here for you. I was always afraid of these corners until a good friend of mine that I worked with many years ago, Chris Scott, said, "Courtney, don't be afraid of those corners." And she showed me how. And I'll always love her for that. All right. So, now you've got that beautiful Look at that. You got that beautiful little miter at the corner there. Okay. So, that's how you treat an odd odd angle. Okay. So, that's nice and easy. You got that conquered. The other way to end a quilt binding is if you have Now, this would be a fun like little a lot of people do quilted postcards or um little art quilt swaps and maybe you don't want to have to deal with that binding joining it that way. I just cut this at an inch and a half. And what I did first is I laid a little piece of ribbon down first, right where my binding started. I sewed all the way around just like usual. And when I got to the end, I just ended my binding together. Cut it straight. And then when I sew this over the edge, that binding edge of binding is going to be caught in that ribbon. So that's a nice little If you really don't want to deal with the binding, do it this way. It's easier though on a single fold binding. With a double fold, you're going to have a lot of bulk there. So, think about that if you if you use the double fold binding, which is our normal binding. That's what they call that. Okay. So, let's show you. These are two different um quilt samples I made, and you're going to see how bad I am at sewing binding from the front to the back. So, this is um I sewed this. This is the front of my quilt. These are the back. And then I top stitched in the ditch on both from the front side to catch the binding in the back. Now this is a two and a/4 inch binding. Now I did attempt to glue these down before I stitched them. And I used um this thread so you can see how bad I am. No, just so you can see how um how much room you have on the back. So with the two and a quarter inch binding, you don't have a lot of room there for error. So, and I've seen people that do this and they look fabulous. So, there are very talented people out there with their binding. I am not one of them at this method. Okay. So, this is how much room you have if you have a 2 and a/4 inch binding. This is how much room you have if you have two and a half. So, even though you have a little more room, to me it looks a little more sloppy. Okay. So, this is why I usually don't do this method. I would um in this case, if I'm sewing to the front, I'd hand stitch it to the back. But I am a I hand I machine stitch all of mine to the back and bring it up to the front and then I top stitch. And I will we'll pretend for the minute and I'll show you. We'll go back to the machine here for a minute and I'll show you how close to the edge I get. So we'll pretend in this case this is the top of my quilt. I folded this over. You can pretend that blue line's not there. And I'm going to show you how close I get to the edge of that fold when I top stitch. And there are different feet to use for this. And I'll talk about that in a minute. Okay. So right here, you can see how close to the edge I am of that binding. That is really close. That's where I want it. And it looks really great on the front. Now, you need to think about on the back, you're going to be able to see those stitches. So, I usually either match my backing fabric or I match the color of thread that I used to quilt it with. And that way, it's less obvious. But I love this method. You can use um a lot of people have stitch in the ditch feet for their sewing machines. You can put that um the ditch piece of your foot on that edge and then move your needle over one or two clicks and then that will get you this exact position. There are also feet out there. I know one um for the Jukie is called a compensating foot and that the one foot is hinged and it rides along just the edge of that folded edge of that binding and then then the thread hits right there. And I that's the foot I use at home. And oh my goodness, it's really made a difference. And I the stitch in the ditch foot will do the same. And if you see, I didn't do a bad job using just a regular foot in your sewing machine. It just takes practice, right? And like everything, it takes practice. So don't get down on yourself if it doesn't look perfect at first. It's not going to matter. Plus, this hasn't been washed yet. Once it gets washed and crinkled up, nobody's going to know. Okay, let's moved on. Have you seen flange bindings? Okay, flanges are fun. So, a flanged binding. This does get sewn to the back and then brought around to the front. Okay, so here we've sewed it to the back of the quilt, which is white, and we're bringing it around to the front. And then you will stitch in the ditch right on this flange, right between the slime and this purple. And that thread, I usually use the thread that matches the flangy part, which would be the green. And then you don't even see that. And this is a really fun finish, I think. And I've used this several times. Sometimes you might have a big border that's basically solid, and it's fun to bring in another color from the quilt and do this to it. I just love doing that. And then on the back, you can see where my stitches are. Um, I just used white thread there. Okay. Now, you can make your flange different sizes. In this case, you the purple is 1 and 1/2 in and the lime is 1 and 3/4. So, you can kind of see that there. And it kind of doesn't make sense in your brain because you see less of the lime. So, you'd think that the lime would be cut thinner, and it's not. Your flange is always cut larger or wider than your main fabric or your main binding color. Now, this one, you can see the flange is a little bigger. So, here, let's see. I cut um the purple one and a half and I cut 2 in from the lime. So, I would probably tend to use this on a larger quilt, the wider, but maybe I do want a skinny one going all the way across. And this would be good on a smaller quilt. Totally up to you. Do whatever you want. Okay. So, when you are, let me show you. When you're joining your strips. So, you will cut and join on the diagonal. Two sets of strips. You'll cut five strips of yellow and five strips of green. In this case, join them in the on the diagonal like usual. I pressed my seams open. But when I went to start joining these two together, do you see how I did the offset? I came down here with the green and didn't start at the top. That's so that this seam does not match up with the yellow seam. If you had those right on top of one another, then we're back at getting some bulk again. So, you just want to make sure that this is offset when you start. And then when you start putting it on your quilt, just cut that off and you're ready to rock. And then when you go to iron this, you're going to iron it towards your main fabric. And then when you're ready to flip it and iron it flat, it'll be ready to go. If you tried to iron this towards the gold, you're going to it's going to be too wide. It's not going to work. So, you're going to want to iron it towards your main fabric, not towards your flange. And then you'll just iron this in half. And then it's ready to put on. And when you put it on your quilt, you're going to put it on with the flange facing up towards you. So then when you flip it around and sew it down, it's on the right way. Okay. So that's flange. So there's another way to think about your binding on your quilts. Now, this is one I saw on the internet and this just blew my mind and I thought, "This is not going to work. Absolutely not work." But it did and it's so cool. A twocolor binding. Okay. So, if say you have a quilt that um you cannot find a fabric to match the front anywhere and you don't really want to use the same color of binding on the front as the back, it it just won't look good. Use a two-color one. Okay. So, in this case, I cut my front fabric. So, my front um this is the front of my quilt. I cut that at 1 in. And I cut the purple at 1 and 7/8. Yes, I don't really like using that 7/8 or any eighs in my quilting, but I tried it the other way and it didn't work. So, we could use an even quarter. So, you do the same thing. Join it offset just like I talked about with the with the flange. And then you're going to sew it on. Sew it on the front. This I did sew around on the front leaving your you're going to mark it just like we did before. So you want to measure how wide this is and you'll do your marks just like we talked about at the beginning so when you go back to join them you can join them correctly. You're going to sew it on the front. Come around the back and you've got white on the front and purple on the back. I couldn't believe it. It was so cool. I was like, "Oh, that is that will come in handy someday." And this is what it looks like before you press it over. But is that slick or is that slick? I just thought it was so much fun. So, there's that. One of my other fabrics that I usually gather when I'm out now are stripes. I love stripe binding. So, here's what they look like um done differently. This one I just cut with the fabric. So, the salvage is at the top. So, it's the stripes are going across here. I love when you cut a stripe on the bias just because it just gives it a little bit more dimension. So, stripes are fun. Um, usually if I'm out and about, I'll grab a yard of stripe because I love them so much. All right, now we're going to talk about singlefold binding. What is single fold and why on earth would I ever need it? Okay, single fold bindings can come in handy for a few things. One is if you don't have enough fabric, you can make a single fold. So, what a single fold binding is. Now, this one I cut at an inch and a quarter. I normally cut mine an inch and a half because I want a little more room. So, you hand you would um machine sew this on just like usual. Go around the corners and then you'd bring it to the back and hand stitch it on. So, when you bring it around the back, you'll fold it up on itself and open itself again and hand stitch that on. This comes in handy also for I use it a lot for um table runners or placemats, something that's not going to be handled a lot. Um I don't think it would be really um really great for a big quilt unless the quilt has curvy edges or something else where I need to use bias binding for and it'd be better at one and a half inches a single fold binding. But normally um the little stuff is great. Plus then you don't have to buy as much fabric for binding if you're doing a single fold. But I love the single fold. It's very nice and flat. Um, and it gives it a nice finish as well. Now, we're going to talk curves and our one and a half inch. So, the other times where you would use a single fold binding is when you are doing curves like a drunkard's path. If you have um curves at the end, a scallop border um a scallop border, not a drunkard's path, scallop border or um we did a quilt not too long ago um that was hexagons. We used a singlefold binding and bound it with a singlefold binding because it was easier to bring around the back and there wasn't as much bulk. Okay. So, when we start, you always try to start on a flat side. Okay. So, I'm going to start down here. And the one tool that I love for this binding is the Bay Annie stiletto. um it helps me go around these curves. Okay, so I'm gonna start here. Now, when I start going around the curves, I am not pulling on this binding. I don't want to pull on it, but I'm kind of just maneuvering it to that outer to that corner. And I am going to go a little slower. And I'm just going to lay it there. Just going to lay it flat. I'm not pulling on it cuz if you do that then your beautiful little scallops are going to pull up on you and they're not going to lay flat. Okay. Now, as I'm getting down into this divot, these inset curves, I guess I'll call them, are very sharp. On some scallop edges, they're they're a lot more gentle. And Jenny can and anybody can you can just kind of pull your scallops straight and you can continue on. But this is too too deep, I guess, of a curve is what I'm going to say. So, what I'm going to do, I'm going to sew up a little closer. I'm going to use my stiletto and I'm going to fold the binding back on itself right where those two fabrics meet. And I'm going to crease that with my no fingernails. Okay. Then when I come down to that curve, I know where to stop. I'm going to stop right on that right on where I made that mark. Now I'm going to get in here and turn this. And I'm going to use this stiletto move fabric out of my way. And I'm going to start coming up the other side. Sometimes you just have to and we're able to lift your foot up and then you keep going. And that's all there is to it. So the inch and a half, I would again use inch and a half here because it's a lot easier to maneuver to the back and then you'll just fold it over on itself and again and hand stitch it to the back. Now, I'm going to show you how to end this by doing um showing you the next project. So, when you get around to this side and you're ready to end your binding, we're going to show you that with our next binding technique. All right. So, um, a few, it might have been two years now, Moa Drowski was a guest contributor to Block Magazine, and she had this wonderful quilt, which I will show you. Hers that she contributed was um, a little different than ours. Hers was out of all these wonderfully bright colors. But I want to show you, look at how that binding changes color every block. So, at every block where the block changes, the binding changes color. I about had a heart attack. Like, what am I supposed to do with this? It was um quite a challenge. And even on the creams, the creams change right where the block color meets. So, I thought, "All right, here we go." And it was amazing. It was so easy. And again, a different fun technique. So, I will show you how to do that. So, we're going to pretend I'm starting with um my red fabric here. So, I'm going to lay this down. Give myself a lot of room. And I did go ahead and I drew a line right where that color meets. Right where the two colors match meet. Okay. And then I sewed it on just like normal. And then I'm coming around where my next piece of binding is. Okay. And I am going to stop up here because we want some room to play. And I drew another line where the red meets the turquoise. Okay. Then I'm going to grab my turquoise strip and I'm going to lay it right sides together, which is hard to tell because it's solid. Sorry. And I'm going to just give myself some room on the edge of this. I'm going to lay this on here. And I'm going to stitch on that red line to get my seam allowance. Okay. And then around the corner. I'll show you what it looks like. So there I sewed it on that line. Then we have these tails. Cut those tails. So, they're a quarter of an inch just like usual. And then when you go to flip this to the back, look at that. Your binding your binding meets right where the color is. Is that cool or what? Thought it was awesome. So, when you get done, you're going to do the same thing. The only thing is when you get here to the end, and this is what you do in the previous one with our with your um scallops, but you don't have to worry about matching anything, right? Because all your your colors the same. You're going to This one has the the stitching. This one has the stitch has the line, too. You want to lay your fabric down, draw the line. Then you're going to sew sew on that line. Let's make sure we're right sides together. Right side to right side. So, this gets kind of a little awkward. And you're going to line up those right side to right side. Make sure your lines meet. You're going to sew on those lines. And then when it opens up, you'll press that seam open and voila, your ending is done. I just thought it was so much fun. Um, and I think you can have a lot of fun with this. Okay. All right. Now, we're going to talk about faced a faced binding. What is a faced binding? So, if you're doing a little art quilt and you might not want a binding to show, you can do something called a faced binding. So, the edge of your quilt will just look like this and there's no finish on the edge. So, how that works is I cut these I cut some squares. These are 3 and 1/2 in. And then I folded them in half and then I basted them to all four corners. Okay. So the fold is on this side and the raw edges are there. Based on them all four corners. Then I cut binding strips two and a half inches like usual. And I went and measured or on this I just laid it down because it's easier. I came down this far into the corner and left this much into the corner. The reason is you don't want to have you don't want to come up this far because once you flip this around, you're going to see the edge of that binding. You want to make sure that um you have enough binding hanging over in that corner that you don't see that. Okay. So, you're going to sew your binding strips down. Then, you're going to press them away from the quilt. And then you're going to top stitch a little tiny stitch right next to that fold. Okay. Then you can go back. Then you're ready to turn it right side out. And then what that's doing is that's giving you a nice finish. That little stitch you did last. This is kind of fun. And one of the things you can do with these and these corners can be poked out better, of course. Um, one, if you use rods or dowel rods or anything that you you can hang up your quilt this way on the wall, you can also put your name and make a label uh for on your corners. It's a great little labeled. It's already done and ready to go. So, that's fun. I like this method. Now, I was in the shower. It's where I do my best thinking. And I thought, could you do prairie points like that? Yes, you can. So, I went zooming into work that day. And I laid my prairie points down first, basted them down, and then I put my corners on all four corners. Then I laid my strips down, put my strips on it, and by golly, you can make prairie points, which to me is way easier than a lot of times when you do prairie points, you have to leave room in the quilting between the front and the back of the quilt and put your prairie points in there and then hand stitch it closed. I thought this is way easier. And it did work. Now, is there a little bit of bulk there? Yeah. Do I care? No. And if you wanted to, you could go back and top stitch. You might top stitch in there. That's There's quite a bit of stuff there, though. I don't really think you need to, but there's a way to do prairie points in your binding. So, how fun is that? Now, chenille. Chenille it. Another favorite product of ours. We like goofing around with texture, right? So, chenille it comes in different sizes. Um, I believe it's 38 and 5/8. And this is a 5/8. Okay. And um I saw online where somebody did binding with it and I thought, "Okay, let's give it a shot." So the first thing I did was I sewed this is the back of my quilt. I sewed from the top a quarter of an inch in from the edge of my quilt. Actually, no. The first thing I did was I zigzagged around my whole quilt. You want that to have a finished edge. So you could surge it if you have a serger or I zigzagged. You can see my tiny little zigzags. Then I took my chenilleit and I have this hanging over about an eighth of an inch and I started a quarter of an inch down from the corner, backstitched and came all the way down to this corner. Stopped a quarter of an inch and backstitched. And I did that around all four sides. Then you go back and do the same thing on the top. But here, all I was doing was matching the edge edges of my chenille with the chenille piece that was already on there. I sewed down the middle, which is about a quarter of an inch. might be a little big. And then I stopped a quarter of an inch in. And then when you're ready to go around the corner, you just pull pull this back and continue down. So there's my pieces of chenille. And this is what it looked like at the edge of the blanket after I washed it. So how fun is that? What a great way to And there's the front. But what a great way to finish a quilt, especially if there's um I've seen a lot of quilts now where you're putting the chenille inside too for decoration, pillows or whatever. But what a great way to finish your edge. So fun. All right. How about putting rick rack on your binding? So I thought um Carol who works with me in the studio saw this and said, "Oh, you might like to do this on your video." I'm like, "Well, sure I will." So um this is just rick rack you buy from the store. The thing you'll have to decide is are you putting your uh binding on the back and bringing it to the front or are you putting it on the front and bring it around the back? And that's going to decide where to place your rick rack. Okay. In this case, I am I stitch it to the front and brought it to the back. So, what I had to do is I had to lay my binding down and I glued this before I stitched it and it was um just with a little bit of glue stick and that was kind of nice. it held it in place because it's kind of slippy. So, what I did is I kind of did this type of thing. I'm like, "Okay, that's going to work." You could also do a little bit um when you get here with your binding, just do a little bit of a basting stitch a little way down. Set your stitch length to like five or four and a half and then do this and see if that's going to work. And if that's going to look good, just keep going. So, that's what I did here. I made sure it was that's where I wanted it to stick out. So on this side, you can see I decided to start on the back and bring it to the front. So look how much further out I had to place my rick rack. I had to place it out quite a bit further, which is fine. And then I'll top stitch right along there. And you can see where I glued it. And a little bit of the glue is coming apart, coming off, but and then I just top stitch that, which will be another security to put it in there. So what another fun little way like a little girls quilt or um a sweet little wall hanging rick rack. And that comes in a billion colors. We all know that. So, I thought that was a great a great thing to share with you guys. You can also instead of putting rick rack, put the prairie points inside. So, you'll do the same thing as you did with the rick rack. Just decide where you want um where you want your binding to land. You can make these as big as small as you want. And then just put your binding on top of that and flip it to the back. So, fun fun ways to embellish. All right. So, how do you ways to hand stitch? There are um a lot of ways to hand stitch your binding down. Now, there's so many creative people out there. Now, I want to show you this is a great reason to pre-wash your fabric. I um sprayed this to get my stitching my machine quilting lines out and the red bled. So, this is kind of funny. So, it's a good sample to show. So you can I've seen people do a button hole stitch to attach the binding to the back. I this is just a pearl cotton that I had. You can do a running stitch, a big stitch. You can also do X's to attach it. And you can do this to the front or the back. You don't have to do it on the back. You can bring it to the front and you can make it a whole little like kind of needle work sampler. So I thought this was a lot of fun. I I have a quilt I'm going to do this on, but it's nice another little added little thing you can do. Here's a um one of our scrap bindings that I told you about that I just got pieces of old binding and just sewed them all together. But how fun would that be on a quilt? Just take your scraps that you have from the top of your quilt and put them in a binding piece. It's ready to go for you. Then last but not least, Art Gallery has come out with these bindings that are already made for you, and these are darling. So, it comes on the bolt this way, and I'm just obsessed with them. There was a Halloween one that I didn't get my hands on and I'm so mad at myself. So, this is all ready to go. It has little cut lines on here of where you cut. you want to cut with a scissors or if you're going to use your rotary cutter, lay it flat because if that's not printed exactly straight, you're going to cut into your other side. Okay? So, you can take your rotary cutter and a ruler and cut on those little dash lines. And then you can decide what's going to be against your quilt, which in this case, I had this binding. I bought this and I cut it ready to go. I can decide whether I want that on the side of my quilt or if I want that to show on my quilt on the front or the back. So, it's so fun and they have so many different patterns that it makes it a lot of fun. And last but not least, what color should I use on my binding? Well, that's up to you. I normally, let's see, I normally do not match my binding. I don't use the same fabric that's in my border normally. Um I usually like to either pull another color out. If it's a print border, I'll choose another fabric from the line. Maybe a dark. To me, it's the last border of my quilt, right? It's a little tiny border, but it's a border nonetheless. So, I like it to stop at that binding. Again, totally up to you. Use the border fabric if you want. Use a scrappy. Do whatever you want. All this all these are just ideas for you to have fun and play with. Take these ideas and do something more with them. I'd love to see pictures of them, so make sure you post them on our Facebook page. And I just hope I gave you some ideas of something different to do with your binding. Have a great day, everybody.