On this episode of At Home With Misty, join special guest HollyAnne Knight of String & Story to create a fun table runner. Made with blocks featuring pinwheel blades that appear to spin around on-point squares, the Breezy Blocks runner is perfect for spring. It's made with striking Colorworks Premium Solids and has a lively piano key border. Give it a whirl!
Misty Doan grew up surrounded by sewing and quilting. She loves spending time sharing tutorials each week each week, and when she’s not stitching up one of her fun sewing projects for home decor, most likely you’ll find her hanging out with her husband and three awesome kids or working on a house project.
On this episode of At Home With Misty, join special guest HollyAnne Knight of String & Story to create a fun table runner. Made with blocks featuring pinwheel blades that appear to spin around on-point squares, the Breezy Blocks runner is perfect for spring. It's made with str...
How long is the tutorial video?
The tutorial video is 00:14:28.
Are supplies listed for this tutorial?
Yes. The tutorial page includes the supplies and materials connected to this project.
Video Transcript
Hey everyone, it is Misty and welcome to At Home. I am joined by my dear friend Hollyanne Knight of String and Story and we have a super fun collaboration today. I'm going to teach her how to make this adorable runner you see behind me and she's going to teach you how to quilt it. Hollyanne, thank you so much for being here. I'm so excited you got to come to town. This is so exciting. It's the best. So, why don't you tell everyone a little bit about you and what you do? Yeah, welcome y'all. My name is Hollyan Knight of String and Story, and it's my job to guide you to quilt with confidence. I'm really excited to be here because we get to do some custom quilting, and we're going to break that down with both freeotion quilting and ruler quilting as we do this collaboration so that y'all can feel more confident finishing your own projects. Exactly. And so, today, this is my normal tutorial. I'm going to teach Hollyanne how to make this runner and then on Friday, you'll get to watch her quilt it. So, I hope you'll join us all week and feel more confident in the project as you go along. So, to make this breezy blocks runner, you are going to need one package of 5 in squares. I use these beautiful purples from Color Works. You're also going to need 2/3 of a yard of navy. That includes the sashings in between your blocks. And you will need just a/4 yard of white. So, let's get started. All right. So, up first, we are going to cut 5 and 1/2 in squares from our white and our navy. So, I've gone ahead and done that. I have them ready to go. I don't know how I ended up with two navies, but you know, life. That's right. And so, I'm just going to stack these together. And I'm just going to sew a quarter inch seam on all four sides. So, let's go ahead and do that. All right. And we are just going to pivot and sew on all four sides. I love that tip for pivoting that you sewed all the way off the edge so that if you're nervous about that seam allowance, you can get it right every time. Exactly. You don't have to stress. And we're going to square these up anyway, so you you have a little bit of wiggle room. So, it's a great beginner project. Okay, there we go. So, now I'm going to take my little ruler here and we are going to cut these corner to corner. So, right through those seam lines that you stitched. There we go. One direction and the other. Let me get out of the evisceration zone. Oh, you are fine. I think you're safe. I will do my best. All right. And if you want to press those to the dark side, that would be awesome. Brilliant. And then I will find my squaring tool. Beautiful. Thank you. All right, since you've got a few started, I will begin. And the measurement we're looking for is three and a half. And I'm going to be using the block lock today. And if you have never used that before, it has this little ridge in the middle that nestles right against that half square triangle line. And the block lock usually goes on your light fabric if you have pressed to the dark side. I actually know that trick. Yeah, it's a great way to remember. And so I'm just going to slide this up. You shouldn't have a lot of extra because we want this to be three and a half. So, I'll go ahead and trim that off. And then if you slide it and flip Whoop, if it's going to cooperate, usually it'll just slide down. We line that up with the three and a half and trim off. Now, I have already squared up some of these just to save us a little bit of time. So, I have those ready to go. And so, now, do you want to sew or do you want me to sew? I am happy to sew. All right. So, first we're going to lay this out like a little pin wheel just so we know what we're doing. But before we sew these together, we actually are going to take from our charm pack and we're going to pick one square and we're going to cut it in fourths. Perfect. So that we have four matching prints and we are just going to snowball these middles. So we're going to sew point to point. Perfect. Oh, this doesn't have diagonal seam tape on it. So let's draw a line. This will make your life much easier. So, I'm just going to lay my ruler here. And you're going to stitch right on that line. So, I will go ahead and do all of these for you. And you can just chain piece one after the other. We love a chain piecing moment. Exactly. There we go. There we go. And one more. Beautiful. You do just want to make sure that your half square triangles are all the same directions as you snowball so you don't get any goofiness. All right. So, then I will trim these apart and we will trim off our excess here. You're going to have to run behind me and press it back. So, nice to have a helper. This is a nice team project. This could be a great like Yeah. Find a buddy who's learning how to sew. Yeah. And work on it together. There we go. Retreat project. Yeah. So, we're just leaving our quarter inch seam allowance. And then she is just rolling back those snowballs that we added. Beautiful. All right. So, now we have those all pressed and we are going to match those purples in the middle so that we get the spinning effect. And then we're just going to sew this together like a four patch. So I will just hand those off to you. Lovely. Do you want me to go ahead and go? Yeah, absolutely. you go ahead and sew it together. Don't forget to nest your seams here. It'll make your life easier later. Yep. So, if it's easier for you to press it, you could absolutely do that. Or just make them behave, as Jenny would say. I like that attitude. You are in charge of the fabric. Yep. Especially when you only have this one seam in the middle to to deal with. It's not too hard to just do at the machine. I might drop a pin in there in future though. There you go. Sure. I'm not a pinner. You know this. That's like the one place that I would pen is that where that matches. Yeah. Just to hold it in place. Makes sense. And so she's going to give this a good press. Do we want this fully spun? Oh, here. Do you have uh the snips? Yeah. Thank you. There you go. If we can spend the same, we might as well spend the same, right? Why not? Because then you get that cute little for patch in the middle on the back and no extra bulk. There we go. Let's make sure that they can see what you've done there. Yes. Get it all nice and flat. So, the way that we split this here, we'll put it right here. So, by snipping that little thread, I could continue. And just like we made our little pin wheel spin, we can make our seam spin on the back. And then we get a nice flat center so we're not gonna have that bulk when we come to quilt it later. Exactly. Which Hollyanne's always looking out for that just a little thing. As a pieer, I'll be honest, sometimes I'm just like, looks flat from the top. You know what? You can still quilt over that. It'll get the job done. That's right. Exactly. So, our entire pack of 5 in squares, we have just cut into two and a half inch squares. That's what we're using it for. And so then to make the borders for this block, we are just going to find some scrappy pieces and we're going to do sets of three for the sides. Yeah, there you go. Say hand colors as you use them. Yeah, but I I've actually already sewn them. So, um, so we'll just pull these in. And so you're going to put the sets of three on the side. I'll hand that off to you. And then once we have added those, then we'll do sets of five to the top and bottom. So, do you want to keep going? Perfect. So, I'll let you add one of these to each side. Brilliant. And then we'll add these. And here, if you sew in the direction that you press them, you're you're less likely to get them caught under your foot. And again, that'll keep it flatter for later. Thread cutter on this machine is so satisfying. I know. Every single time. It really is. I keep thinking I'll get over it. Nope. Not over it. I was going to tell you if you wanted to flip that around so if it's easier the other way. You're welcome to. It turns out that this foot has a quarter inch on both sides. It does. So, and a nice big throat space. Yes. And fit a whole block through there. Yeah. All right. And I will press that for you. Look at us taking turns. Yep. Good teamwork. Teamwork makes the dream work. That's right. Go. Flip that one around. Roll it back. And then when you add these to the top and bottom, the only place you really have to worry about nesting are those corners there. So, you do want to watch for that. And like Hollyanne said, if you want to put a pin in there, you're welcome to. I do have some pins. I'll reach way back through there to where you hid them. We can bring them around for you. And so she's just going to add those sets of five to either side now. And if you know they don't nest, just make sure they line up and they're pressed nice and flat. So it's going to be totally fine. Don't don't stress about nesting your seams in the name of your quilting, but where you can nest them, it will make your life easier later. That little thread tail is trying so hard to escape. Like, no, you will not. Don't run over your pens. It's not worth it. It's not worth That's exactly it. For years, I was like, "It'll be fine." And then, you know, you throw the timing out. It's not worth it. No. So now she's just flipped that around. Yep. We'll add the last side here. And even though I don't consider myself a pinner, the reason I like to pin across seams like this is I just then I can sew faster. Mhm. Makes sense. I like sewing faster more than I like skipping pinning. It's the little things. That's fair. Beautiful. I love it. All right, let's press this now and our block will be all done. Oh, it sticks to the machine. Oh, yeah. The metal. If you have a magnetic pin thing, it'll stick to your BO8. Mhm. Handy dandy. There we go. Oh, that looks so lovely. Look at that cute block. Look at us. Well done. And so for the runner, you're going to make four of these blocks. And then in between each block, you are going to cut your sashing strips to that size. So let's measure it just to make sure. There we go. So it should be 10 and 1/2 in. And it finished beautifully. And so in between each one, you will have one of these 10 and 1/2 in by 2 and 1/2 in navy rectangles. And then on the top and bottom, you're just going to have that long strip. Now, because I had so many 2 and 1/2 in squares left from that pack of 5 in squares. So then I just went ahead and used the last of that charm pack. I had all those extra squares to make this fun scrappy border. This is all just two and a half inch squares. It matches up perfectly. Easy math. And so then we got to hand it off to Hollyanne and she got to work her quilting magic which I was so excited when I saw it because we only ever do edgeto edge here. And so do you want to talk a little bit about what you'll do on Friday? Yeah. So on Friday we're going to come back together and we're going to talk about really how easy it is to quilt and even to custom quilt your own projects. The motifs that I've used here, I've got a meander, a swirl, and a switchback. And these are the first three motifs that I teach anytime I'm teaching freeotion quilting. I'm going to introduce them to you. We're going to talk about how I incorporated them in this table runner so that hopefully you feel like a rock star ready to quilt this yourself. That's right. And you're going to do it all on a domestic machine. So excited. So, be sure to tune in on Friday. We appreciate you guys being here. Holly and thank you for doing this with me. It's the best. And we will see you guys later. See you soon. Hey everyone, thank you so much for watching at home. We're so excited to be almost a million quilters strong here at Missouri Star. And so if you haven't already joined our family, be sure to subscribe and hit that notification bell so you can be notified of all of our future tutorials. And we'll see you soon.


 Misty Doan
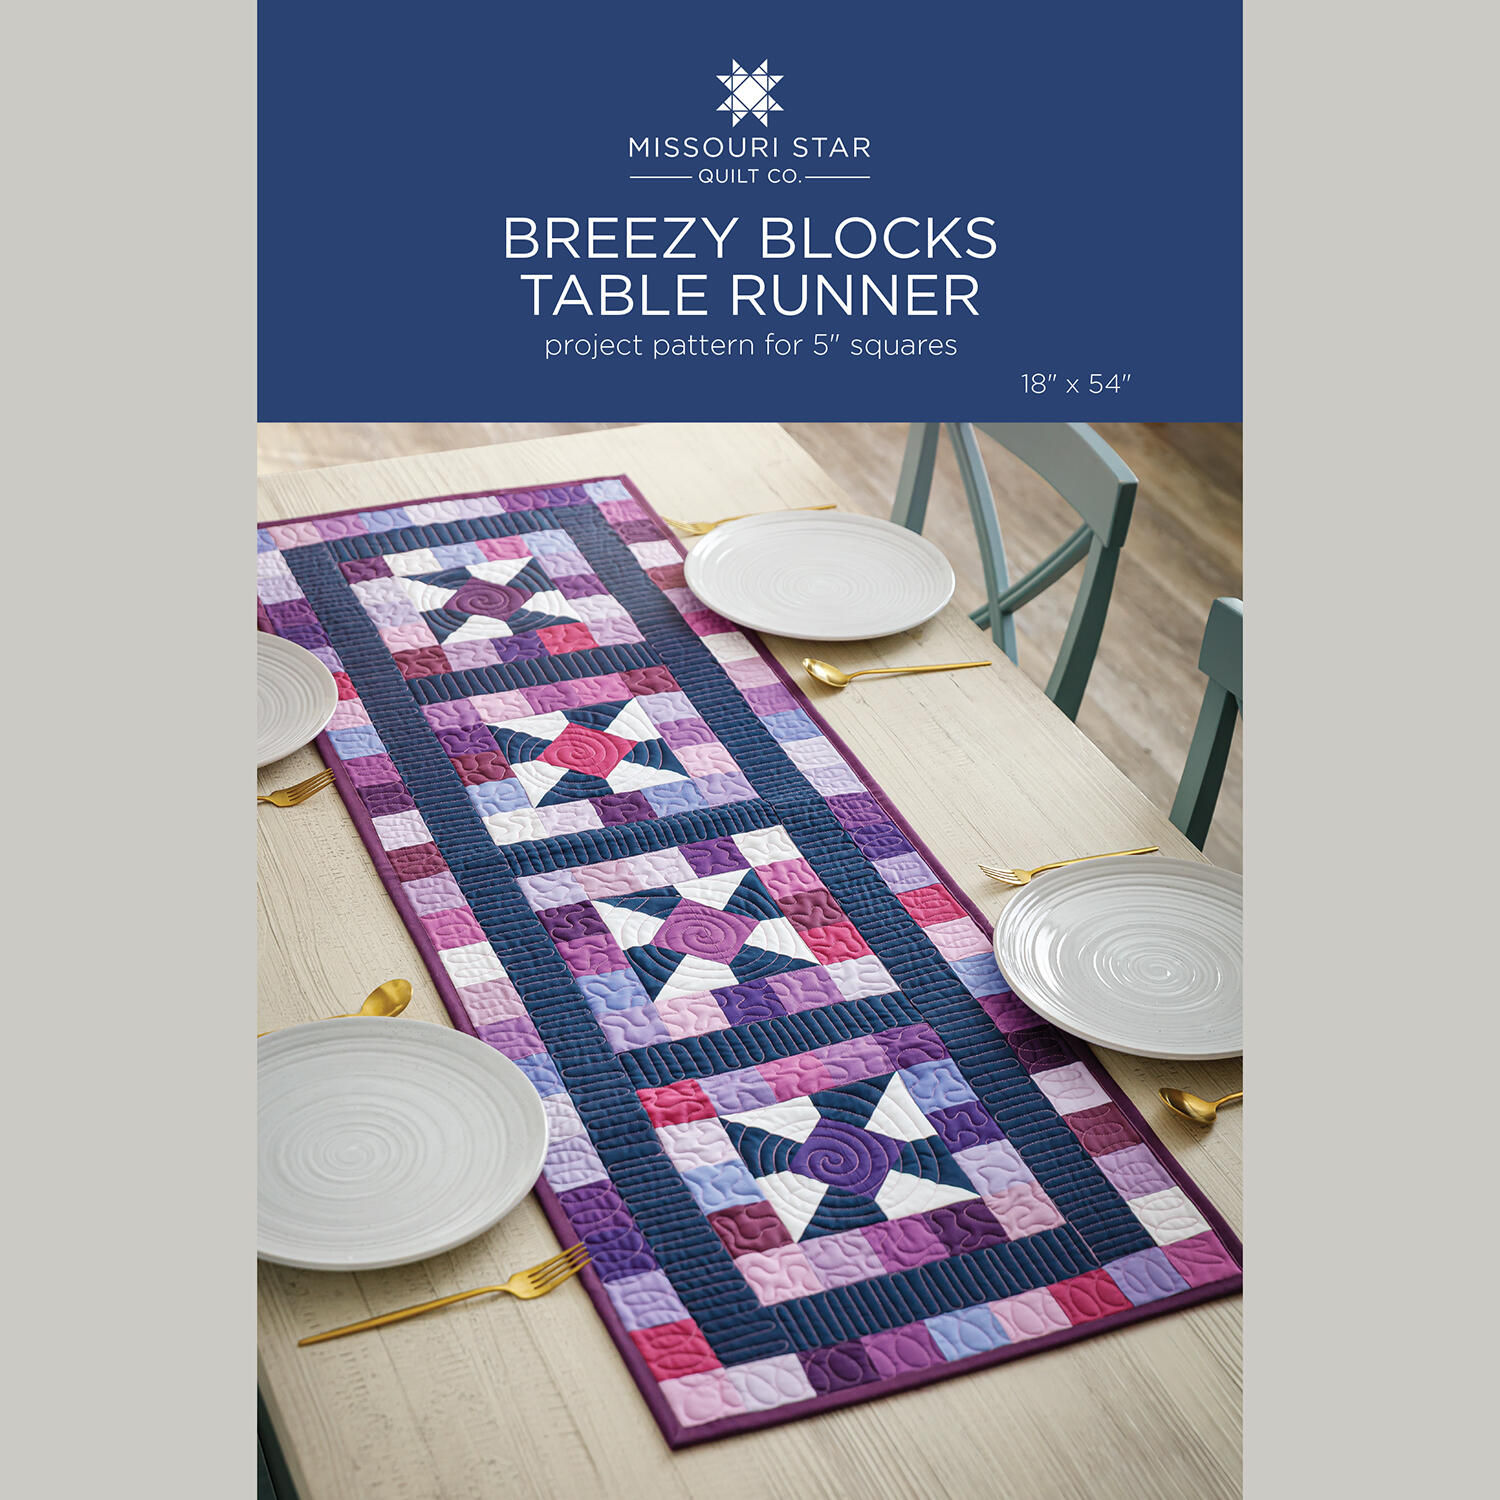 Breezy Blocks Table Runner Pattern by Missouri Star$8.50Shop →
 Digital Download - Breezy Blocks Table Runner Pattern by Missouri Star$6.95Shop →
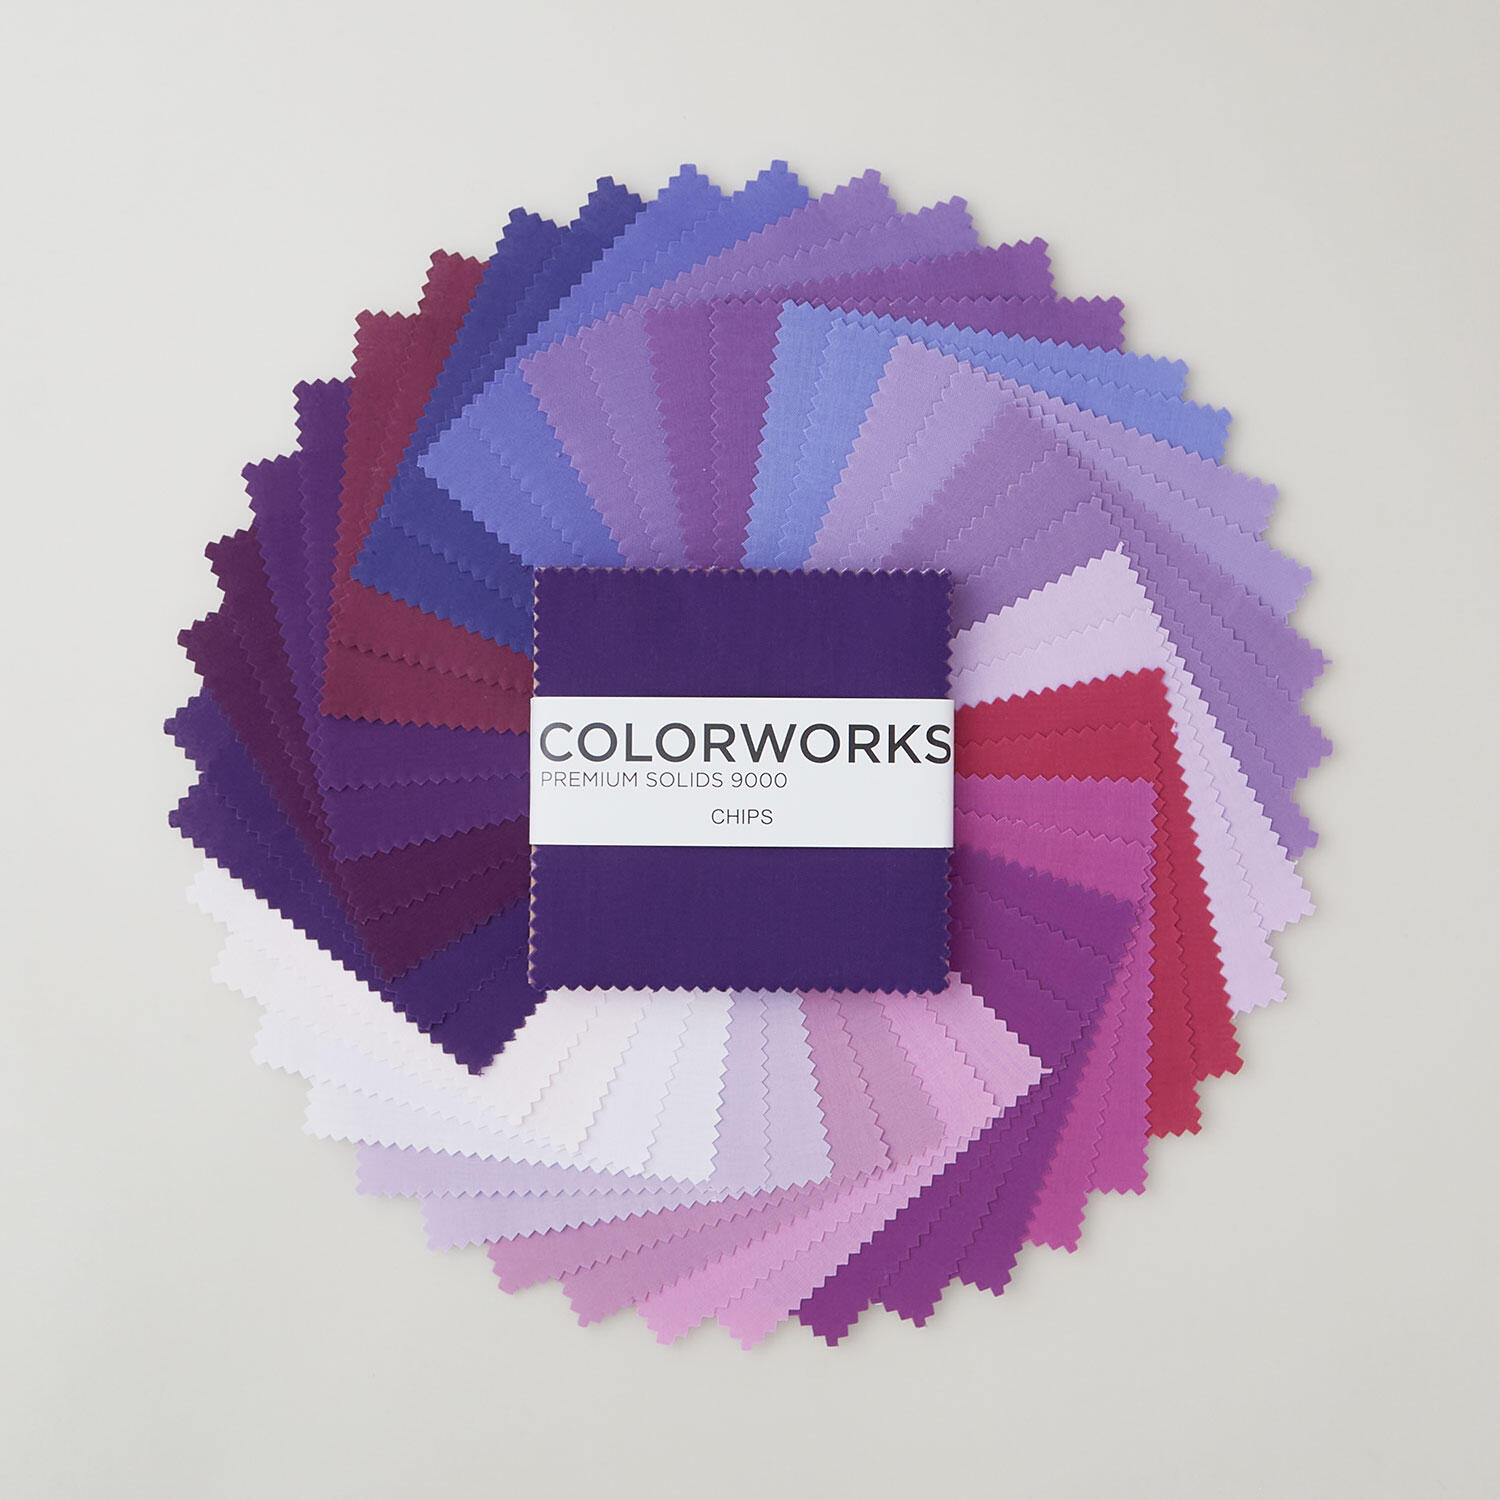 Colorworks Premium Solids Majestic Purples Chips$11.16Shop →
 Colorworks Premium Solids - Navy Yardage$8.12Shop →
 Colorworks Premium Solids - Superwhite Yardage$8.12Shop →
 Colorworks Premium Solids - Plum Yardage$8.12Shop →
 Missouri Star Quilter's Best Blend Bed/Table Runner Batting$14.95Shop →
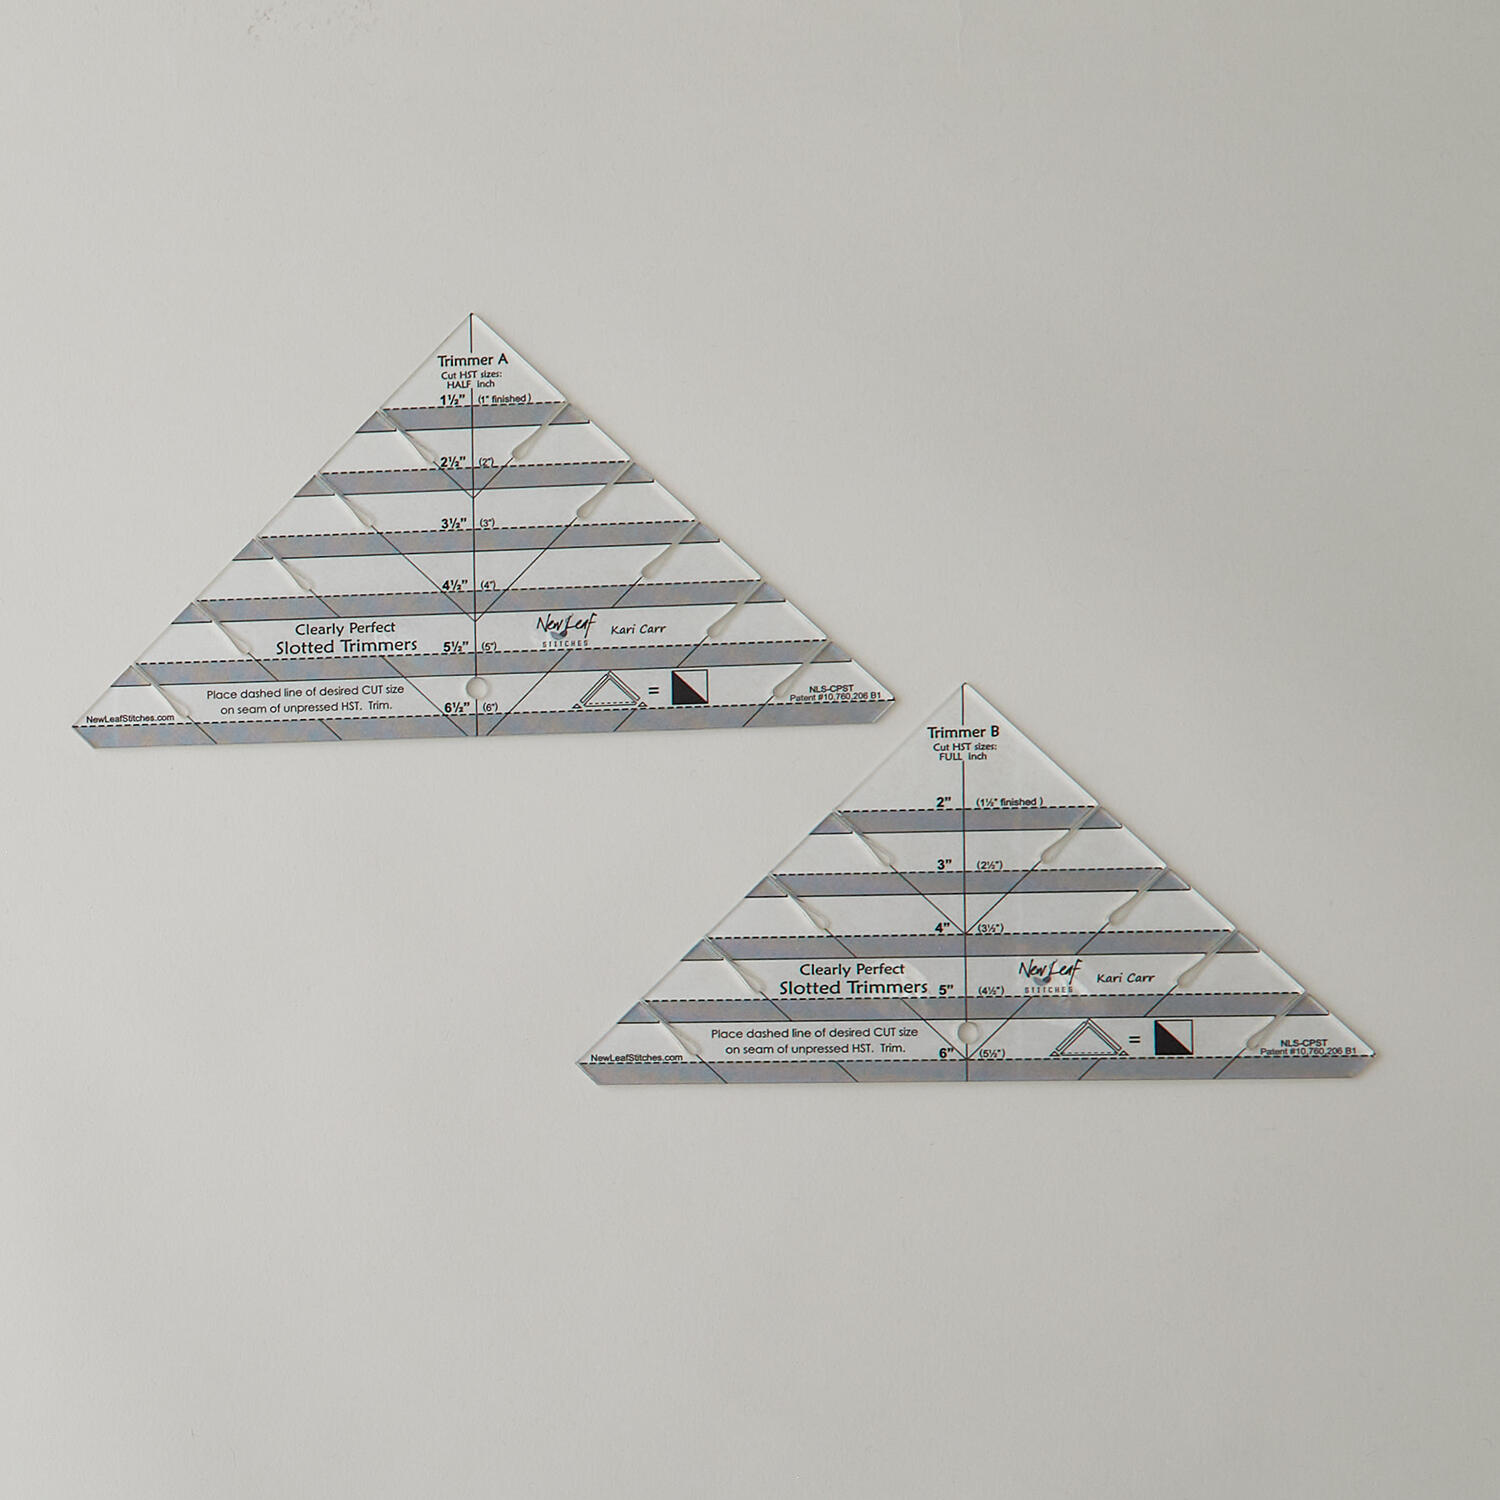 Clearly Perfect Slotted Trimmers$33.95Shop →
 Missouri Star 2.5" x 8" Ruler$11.95Shop →
 Missouri Star 45mm Rotary Cutter - Olga$19.95Shop →
 Missouri Star 8" Everyday Scissors - Amelia$19.95Shop →
 Missouri Star 50 WT Cotton Thread White$7.95Shop →
 Missouri Star + Oliso TG1600 ProPlus Iron$209.95Shop →
 Missouri Star Wooly Betty Board - 17.25" x 25.5" Orange Border$99.95Shop →
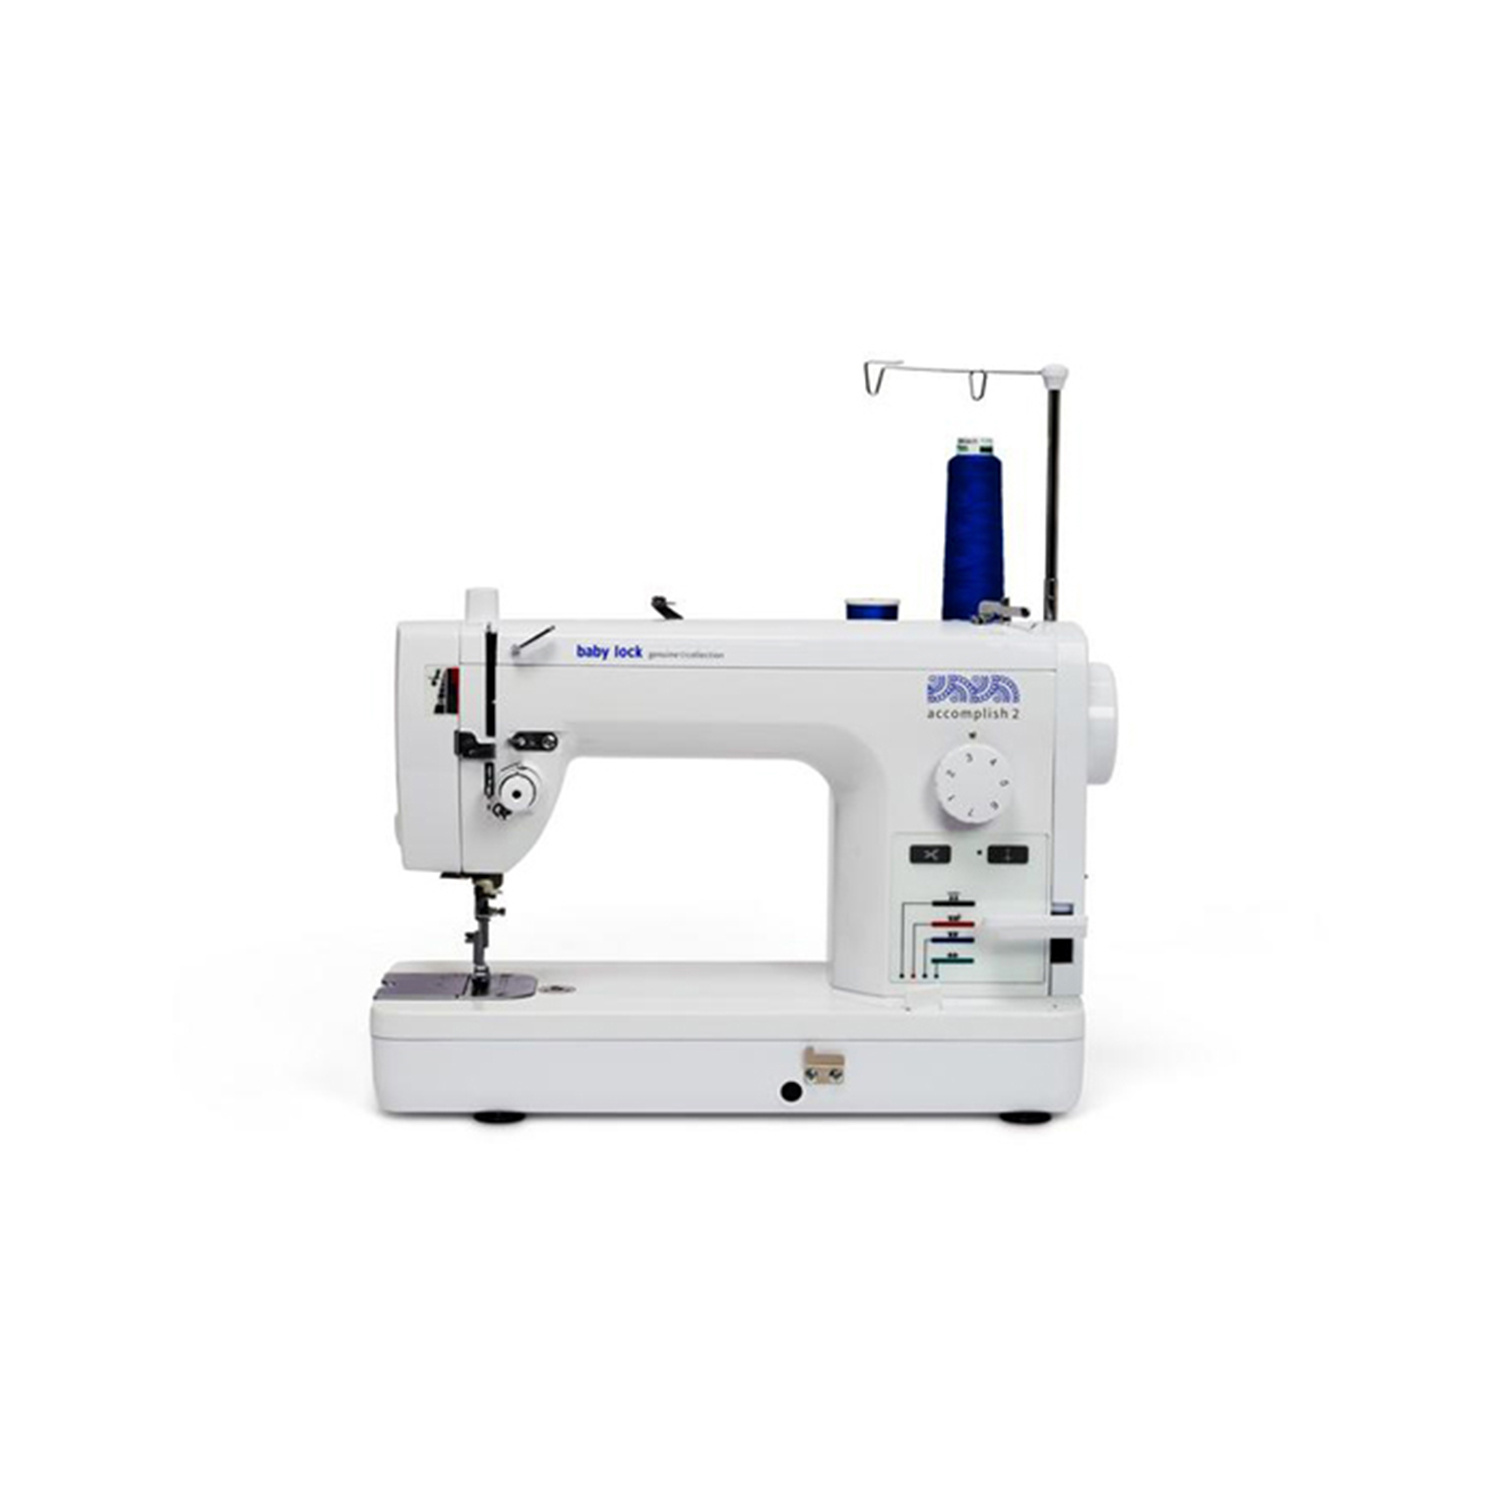 Baby Lock Accomplish 2 - 1500 SPM Straight Stitch Machine$1199.00Shop →


