Bricks on point - Vintage quilt inspiration with Beth Shibley
 Beth Shibley
- Scraps
- Traditional
- Lap / Throw
- Beginner
- Quilt size 14" × 14"
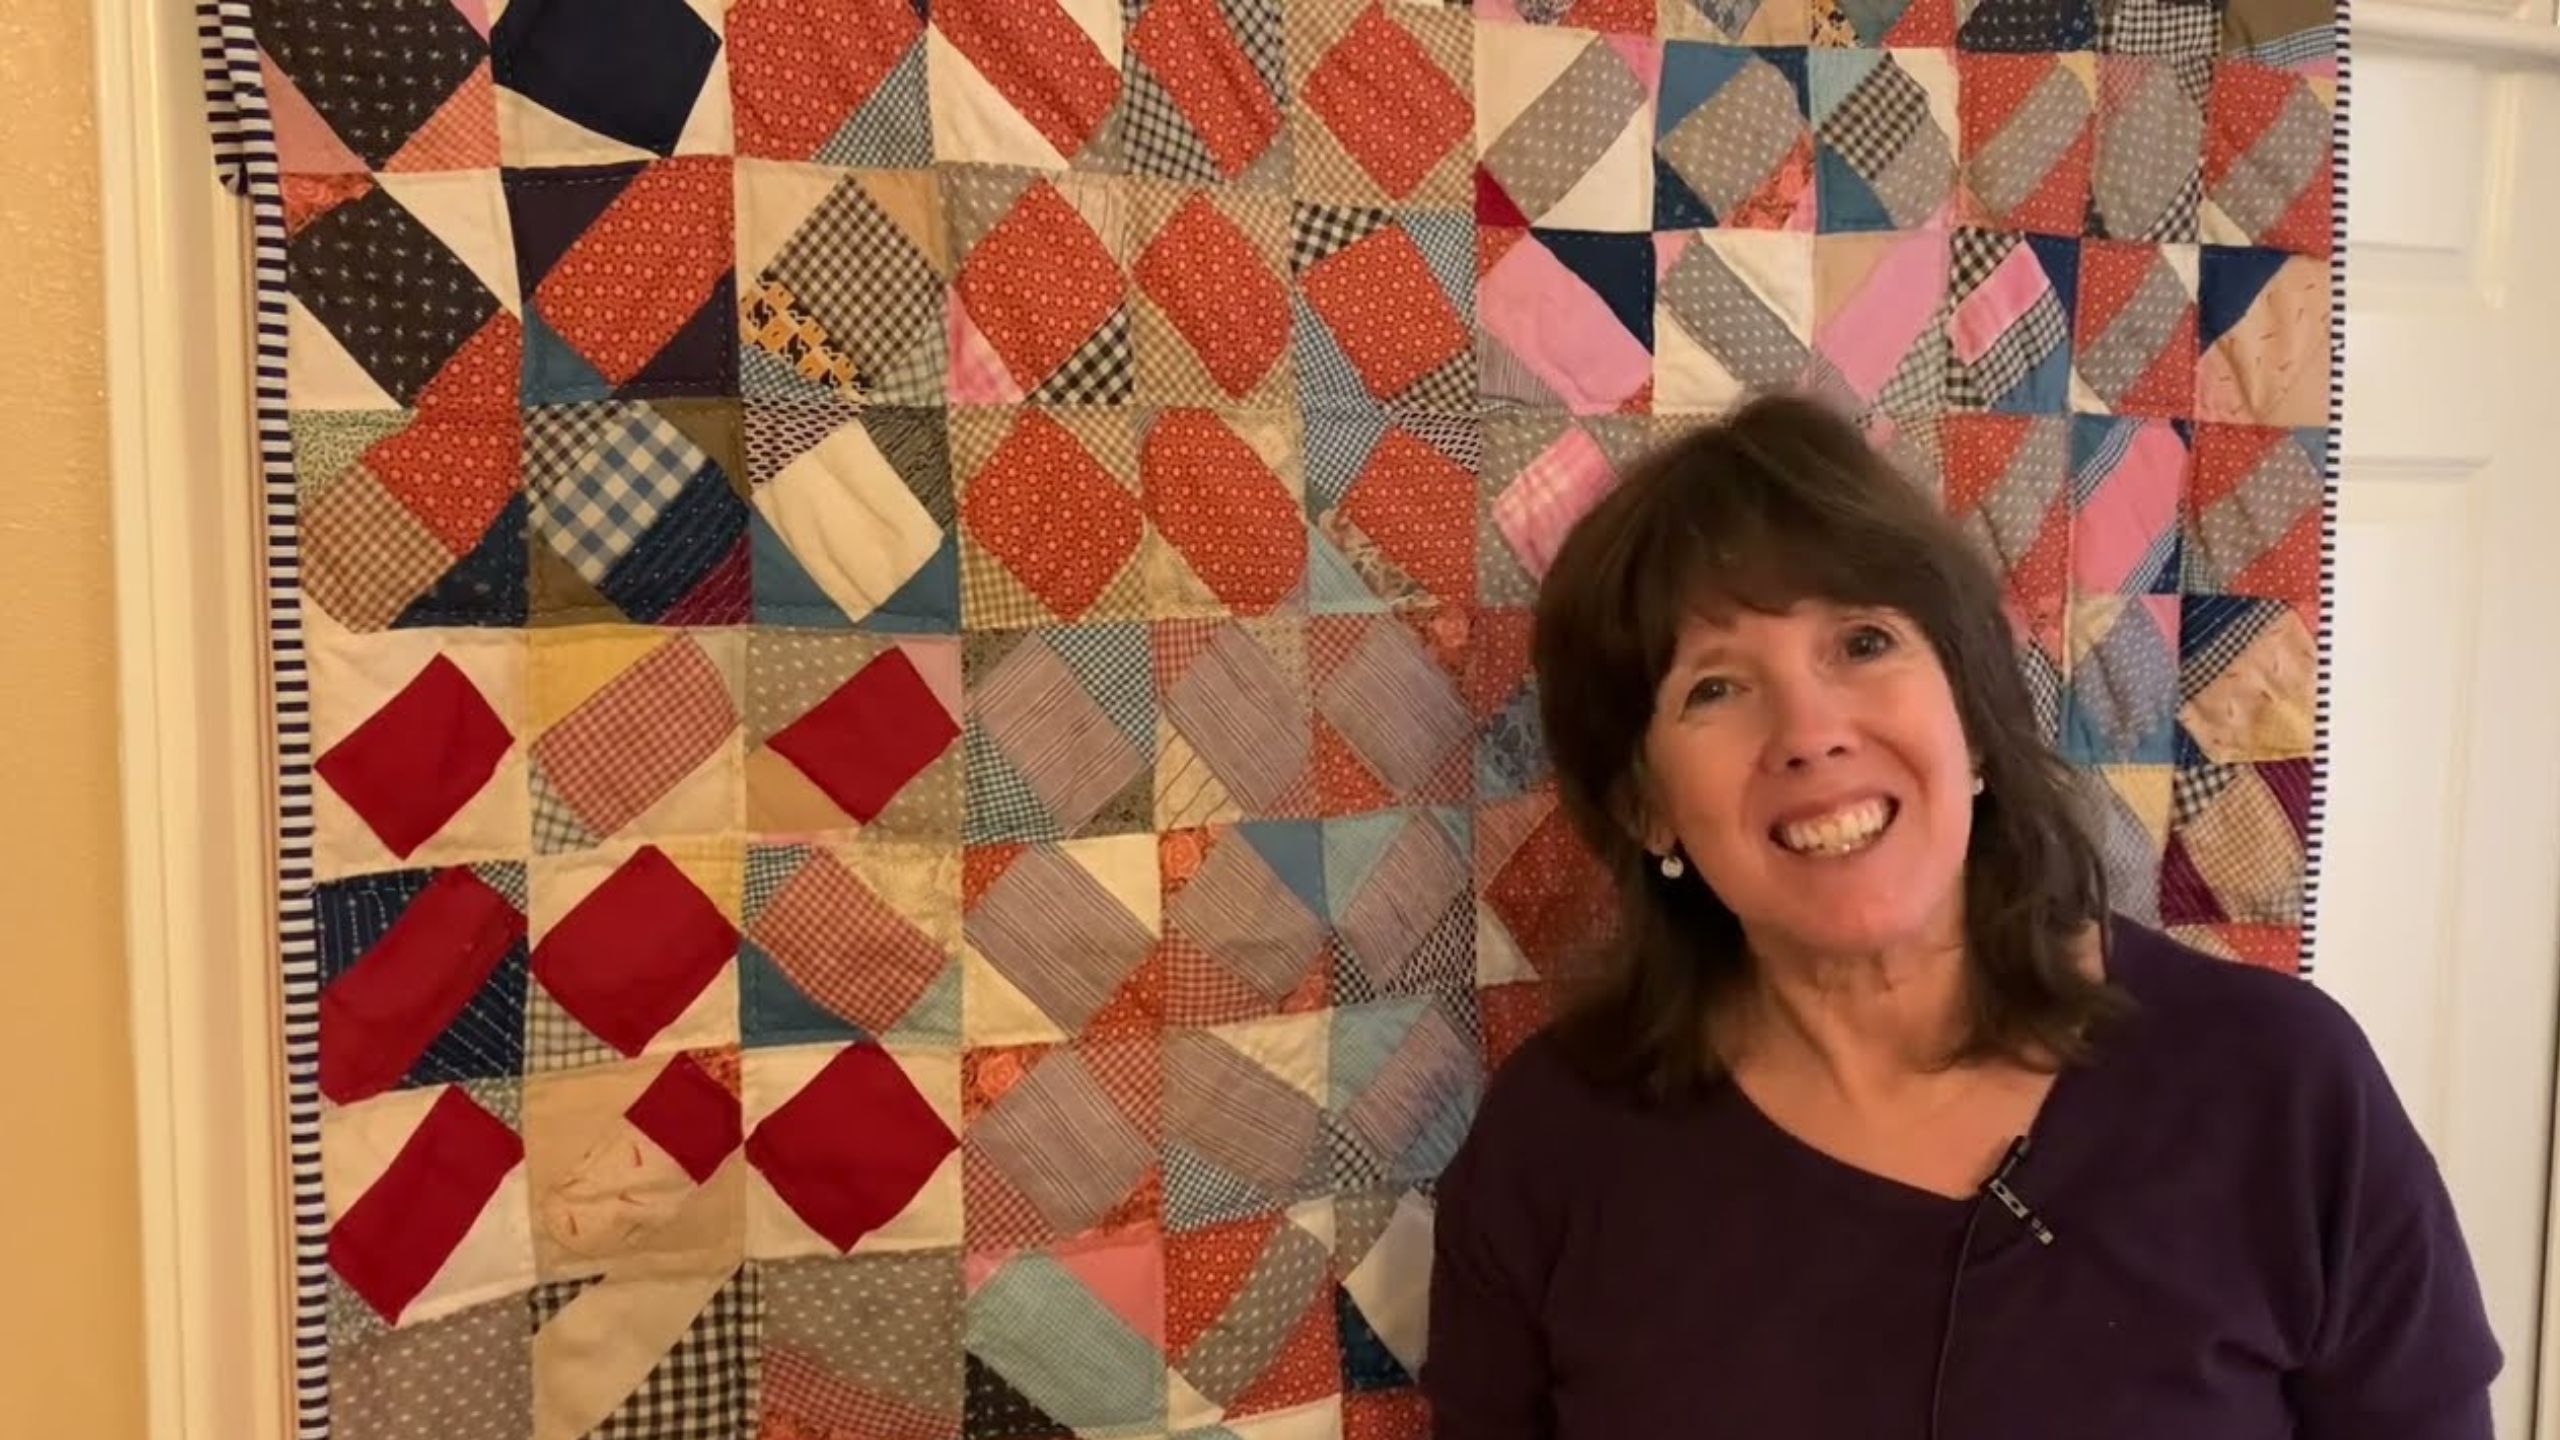
Learn how to make a bricks on point quilt with Beth Shibley. She's using an old vintage scrappy quilt as her inspiration for this simple block. Each finished nine patch block will measure 14" square.
Instructor
Beth Shibley
Beth Shibley loves to create and share her adventures in quilting. Simple patterns and practical gifts are what she loves most.
Shop this tutorial


Common Questions
What is covered in Bricks on point - Vintage quilt inspiration with Beth Shibley?
Learn how to make a bricks on point quilt with Beth Shibley. She's using an old vintage scrappy quilt as her inspiration for this simple block. Each finished nine patch block will measure 14" square.
How long is the tutorial video?
The tutorial video is 00:12:58.
Is a transcript available?
Yes. A written transcript is available on the tutorial page.
Video Transcript
"Quilts on point" is a technique of setting quilt blocks at a 45-degree angle, which creates a diamond shape with the corners pointing to the top, bottom, left, and right sides of the quilt. This is achieved by adding setting triangles to the sides of the quilt blocks.
Here's how to make a quilt on point:
1. Choose your quilt block design and make the blocks.
2. Determine the finished size of your quilt top and add an additional 8-10 inches to each side.
3. Cut square blocks of fabric for the corners of the quilt. The size of these corner blocks will depend on the size of your quilt and the finished size of your quilt blocks.
4. Cut large triangles of fabric to use as setting triangles. These triangles will be placed on the sides of the quilt blocks to make them fit on point. You'll need two triangles for each block.
5. Sew the corner blocks to the ends of two of the rows of quilt blocks.
Sew the setting triangles to each side of the remaining rows of quilt blocks.
6. Sew the rows of blocks together, alternating the rows with the corner blocks with the rows with the setting triangles.
7. Add borders to the quilt top to complete the quilt.
When sewing the quilt blocks together, it's important to be accurate to ensure that the quilt top lies flat and the points of the quilt blocks are aligned. Quilting on point can be challenging but it creates a unique and stunning finished product.
Here's how to make a quilt on point:
1. Choose your quilt block design and make the blocks.
2. Determine the finished size of your quilt top and add an additional 8-10 inches to each side.
3. Cut square blocks of fabric for the corners of the quilt. The size of these corner blocks will depend on the size of your quilt and the finished size of your quilt blocks.
4. Cut large triangles of fabric to use as setting triangles. These triangles will be placed on the sides of the quilt blocks to make them fit on point. You'll need two triangles for each block.
5. Sew the corner blocks to the ends of two of the rows of quilt blocks.
Sew the setting triangles to each side of the remaining rows of quilt blocks.
6. Sew the rows of blocks together, alternating the rows with the corner blocks with the rows with the setting triangles.
7. Add borders to the quilt top to complete the quilt.
When sewing the quilt blocks together, it's important to be accurate to ensure that the quilt top lies flat and the points of the quilt blocks are aligned. Quilting on point can be challenging but it creates a unique and stunning finished product.