Here comes Peter Cottontail, hopping down the quilty trail! Make an adorable Bunny Patch Pillow for Easter or springtime decorating. The bunny faces are made from super-soft Cuddle ® minky fabric, cut with the help of MSQC Nesting Bunny templates. A Beautiful Bowquets charm pack makes creating the simple patchwork background easy, too. Hop to it!
Misty Doan grew up surrounded by sewing and quilting. She loves spending time sharing tutorials each week each week, and when she’s not stitching up one of her fun sewing projects for home decor, most likely you’ll find her hanging out with her husband and three awesome kids or working on a house project.
Here comes Peter Cottontail, hopping down the quilty trail! Make an adorable Bunny Patch Pillow for Easter or springtime decorating. The bunny faces are made from super-soft Cuddle ® minky fabric, cut with the help of MSQC Nesting Bunny templates. A Beautiful Bowquets charm pa...
How long is the tutorial video?
The tutorial video is 00:20:09.
Are supplies listed for this tutorial?
Yes. The tutorial page includes the supplies and materials connected to this project.
Video Transcript
Hey everyone, I have a super fun project for you today. We're going to make this adorable bunny patch pillow. Spring is in the air and Easter is just around the corner. So, I thought it would be fun to share this cute little bunny patch pillow with you guys. I absolutely love how it turned out. It's just these adorable little cuddle applique bunnies on some simple uh patchwork backing. And so, let me show you how easy this is to make. So, up first, you are going to want to grab one charm pack. And I use this adorable collection called Beautiful Bouquet by Studio E. And then for all of the bunnies, I actually used some Cuddle. You just need a quarter yard total. I used two different shades, this pink and white, but you can kind of decide how much you want. And you just need a/4 yard all in. For your backing fabric, you're going to need a half of a yard. And I forgot to mention that the pattern actually is enough to make two of these pillows so you can have a matching set. In addition to that, you're going to need a little bit of Soite fusible adhesive as well as a couple packages of polyfill to fill it fill the pillow up. Inside, you're going to need this adorable bunny template as well as a little bit of pearl cotton. I used black and rose pink. Of course, some needles to go along with it. I prefer these chenille it needles. Um, a little bit of invisible thread would be helpful, some silicone pens, a marking tool, and some scissors. You'll also need a little bit of peel and stitch if you want to print out the faces to embroider those on the bunnies. So, let me go ahead and show you how to make this. Up first, we're going to make the patchwork that is the background of our pillow. And so to do that, you're going to want to select 16 5 in squares for each pillow. And we're just going to pair these up into sets where we have some alternating prints. So I'm just going to do a couple of these to get us started. And so we're going to put those right sides together. As you can see, I have here. And then we're going to begin by sewing a quarter inch seam on two opposite sides. So I'm going to go ahead and chain piece these. Let's go ahead and take them to the machine. This is just a great way to make some scrappy four patches. There's one. And I will just slide the next one in right behind. And now we can flip this around and come down the opposite side with that quarter inch seam. Okay, now we can trim these apart. I like to use my little 2 and 1/2 by 8 in ruler for this. I'm just going to lay it right along one edge of my 5 in square. Cut these in half. Oop. Make sure I'm all the way through. There we go. And do the same with this set. And then we can take these to the iron and we'll press them open. I do try to always roll my seam to the dark side just because it makes it easier to have everything nest. So, I'll set that seam, roll it back, and same with these. All right, last one. Okay, so then now once you did all of your sets, you could mix these all up from here. Since I just have two, I'm just going to make sure I have opposite fabrics together. And so, I'm going to place these right sides together. Again, I'm going to make sure that center seam is nesting and that I'm going to have contrast once I stitch these together. So, let's go ahead and do that with both. Again, this is a great opportunity to chain piece all of these. It makes it go really quick. And so just like before, we're going to sew a quarter inch seam on opposite sides. This time we just want to make sure we're intersecting that first seam. So let's go ahead and do that. and flip them around. Again, you just want to make sure when you're stitching over that in the middle that that seam is staying nested for you. All right, let's go ahead and trim these apart as well. And just like before, we can lay our ruler right on the edge since this width is still 5 in. And we'll just cut those in half just like so. And when you open them up, you have these great scrappy four patches. It makes it super quick and easy. So, let's go ahead and press these open. There we go. One more. Perfect. And so for the backs of each pillow, you're going to need 15 of these little four patches. And then you're just going to lay them out three up and down by five across. And you'll stitch all of those together until you have a panel that looks like this. And then we'll set this aside and we'll start working on our bunnies. All right. To make our little bunnies, you're going to want to grab that template. So I have mine ready to go. And I do want to point out that this smaller rabbit actually pops out and the ears do as well. And so we will use the ears a little bit later on. But to begin, we are going to just cut a little piece of our fusible here. And I'm going to begin by tracing the head shape of our bunny. And so let's just do that really quick with a pen. And if you've never used this so light fusible before, there is a paper side, which is what I have up towards me. And the other side has the glue adhesive on it. So, we're going to work on this paper side. So, I'm going to begin by just tracing around this cute little template. There we go. And then I'm actually going to pop one of these ears out. I have it taped in place here. And we're going to go ahead and trace a couple of these as well. There we go. All right. Now, we can set this aside and move this out of the way. And I'm just going to go ahead and rough cut this out. We don't need anything exact. There's my bunny and my little ears. I'll set this aside for now. And so up first, we are going to take our cuddle. Whoops. Me grab that. Trying to run away. We're going to take our cuddle. And I'm actually going to fuse this onto the wrong side of the cuddle. So, let's take this over to the ironing board and we're going to go ahead and press this on here. Just making sure we don't get any of the sal salvage in the way. So, now we're just going to press this down. A nice hot iron. Perfect. And then let's go ahead and rough cut this out. If you've never used Cuddle before, just know it's going to make a little bit of a mess. That is just part of the process. But I am just going to cut around just like so. So, now we can just set this to the side. I'm going to grab some nice sharp scissors and we can start cutting out uh the shape of our bunny head. So, let's go ahead and do that. I'm just following right on the line that we traced. And the nice thing about working with Cuddle is it's really forgiving, so you don't have to worry too much about it. Almost there. All right. And so you're going to repeat that till you have all three of your bunnies cut out and ready to go. you're going to have a little bit of fluff laying around. So, I'm actually going to take a break here, clean this up with a vacuum, and I'll meet you back here for the next steps. All right, we've got all of that fluff from our cuddle cleaned up now. And so, here is our little bunny ready to go. I went ahead and cut out our cute little embroidered face from our peeling stitch. And I just cut it nice and close to the design. And then I also went ahead and fused our ears onto the wrong side of one of our uh 5 in squares. So, let's go ahead and cut those out really quick. And I love this little detail of adding some of the print into the ears. Just ties everything all together. So, there is one and one more here. There we go. All right. And so if you've never used peel and stitch before, you're going to want to kind of crease that and pull away the paper backing. That's just going to leave that adhesive glue on the wrong side of our fabric. So we'll do that with both of these. There we go. And then I'm just going to kind of center those up in our ears. We'll bring it back over here to the ironing board. Make sure you're happy with the placement. And then we'll hit these with a nice hot iron to secure those in place. There we go. Beautiful. All right. So, that part is ready. And so, now we are going to add our little face to our bunny. And I will be honest, this doesn't want to stick super well to the cuddle. So, you might use a couple of pins or a little bit of glue based just to hold this in place while you start stitching. There we go. And then I'm going to peel this off. If you have a tiny hoop, you could totally put this in a hoop, but I'm just going to hold this in my hand. There we go. And now we will begin stitching, of course, from the backside. If you've never done any embroidery before, go and check out all of those embroidery 101 videos. It'll teach you all the stitches and just simple ways to do that. I'm going to begin by using my black to do the whiskers and the eyes and the mouth. And then, of course, come back with the pink to do that cute little nose there. If you need some advice, go ahead and check out the embroidery 101 videos. There's lots of great tips and tricks in there. And I'm just going to set this aside because I have a couple of these done. And so, here is how they look once they are all stitched up and ready to go. I do want to give you a couple of little pointers that are helpful. So once you have finished all of your stitching, I did go ahead and take my scissors and cut away all of the excess of the peel and stitch. Even though it dissolves with water, I just didn't want to run any risk of that getting stuck in kind of the fluff of the cuddle. And so I just cut away all the extra and then just gently ran these underwater and just brushed away all of that peel and stitch. So all that is left is these cute little bunny faces. So, now let's go ahead and clear this out of the way and we'll bring back our background piece, which we have right here. And so, the first thing you want to do is you want to find your center line, which you can fold it to find that, but it should be this middle seam right here. And we're going to place our first bunny right there in the middle. and just kind of eyeball it on that center line. And I'm going to go ahead and use some of these silicone pins just to hold this in place. Because of the cuddle, I want to press this from the backside to make sure that my fusible is really going to stick. So, I'm just going to help it out. Make sure nothing shifts by pinning it for now. So, there is our first one. And then we'll add this one right next to it. And you kind of want to nestle those up really close to one another because you want to have about an inch all the way around. And that will make sure you have plenty of room for your seam allowance and your quilting. So we'll just pin this as well. And of course, you'll have one more that you'll add to the side here. So, once you have that secured in place, we're going to take this over to the ironing board. And I'm going to flip it over so I can now secure that fusible from the backside. And just take your time. Hold your iron so that it has plenty of time to fuse. And if you need to flip it up and make sure you've got all the all the bits ironed down, go ahead and do that. So, I'm just going to spend my time here. Make sure this is nice and stuck. All right. So, now those are nice and secure. You can go ahead and move those pins out of your way. Don't need those anymore. And so then the next step is to come back with your invisible thread. That's what I like to use. You could use white or pink if you'd rather. And we're just going to then top stitch. I used a blanket stitch all the way around the outside of the bunny heads and then also those ears on the inside. And once you have all of that done, then you're going to sandwich this with a little bit of batting and backing and quilt the whole thing. And so then that is going to look like this. Once you have that all complete, you can see here that little bitty blanket stitch or zigzag, whichever you prefer, with that invisible thread, it just secures everything, holds it down so we don't have to worry about these little bunnies lifting off later. And so then once we have this ready to go, when you square it up, it should measure 12 and 1/4 by 20 and a quarter. And so you're going to cut a backing piece that exact same size. Here's that. So we're just going to place these right sides together. Line that up. Put a few pins in here to secure it so that we're not fighting with it later. And then we can take this to the machine. And I am just going to sew a quarter inch seam all the way around this and leave an opening on one of the short sides here. So I'll back stitch at the start and stop. And then we can turn this right sides out. Fill it with a little fluff. So let's go ahead and take this to the machine. All right. So, we're going to back stitch there. And I'm just using the edge of my pillow front as the guide for my quarter inch seam. And I will just make my way all the way around here. And then meet you back here when I have just that opening left. [snorts] Okay, we have stitched all the way around. Now, let's go ahead and pull out these pins. And then now we can turn this right sides out through that opening that we left. There we go. Make sure all your corners are poked out and nice and sharp. If there's too much bulk or something in there, you can pull it back through and kind of trim off some of that excess. There we go. Perfect. Now, we're just going to fill that with a little bit of polyfill. Whip stitch our opening closed. And it looks just like this. When you're all done, you'll have two cute little matching bunny patch pillows. So, I hope you enjoyed this tutorial and I'll see you next time on At Home. Hey everyone, thank you so much for watching [music] at home. We're so excited to be almost a million quilters strong here at Missouri Star. And so, if you haven't already joined our family, be sure to subscribe and hit that notification bell so you can be notified of all of our future tutorials. And we'll see you soon.

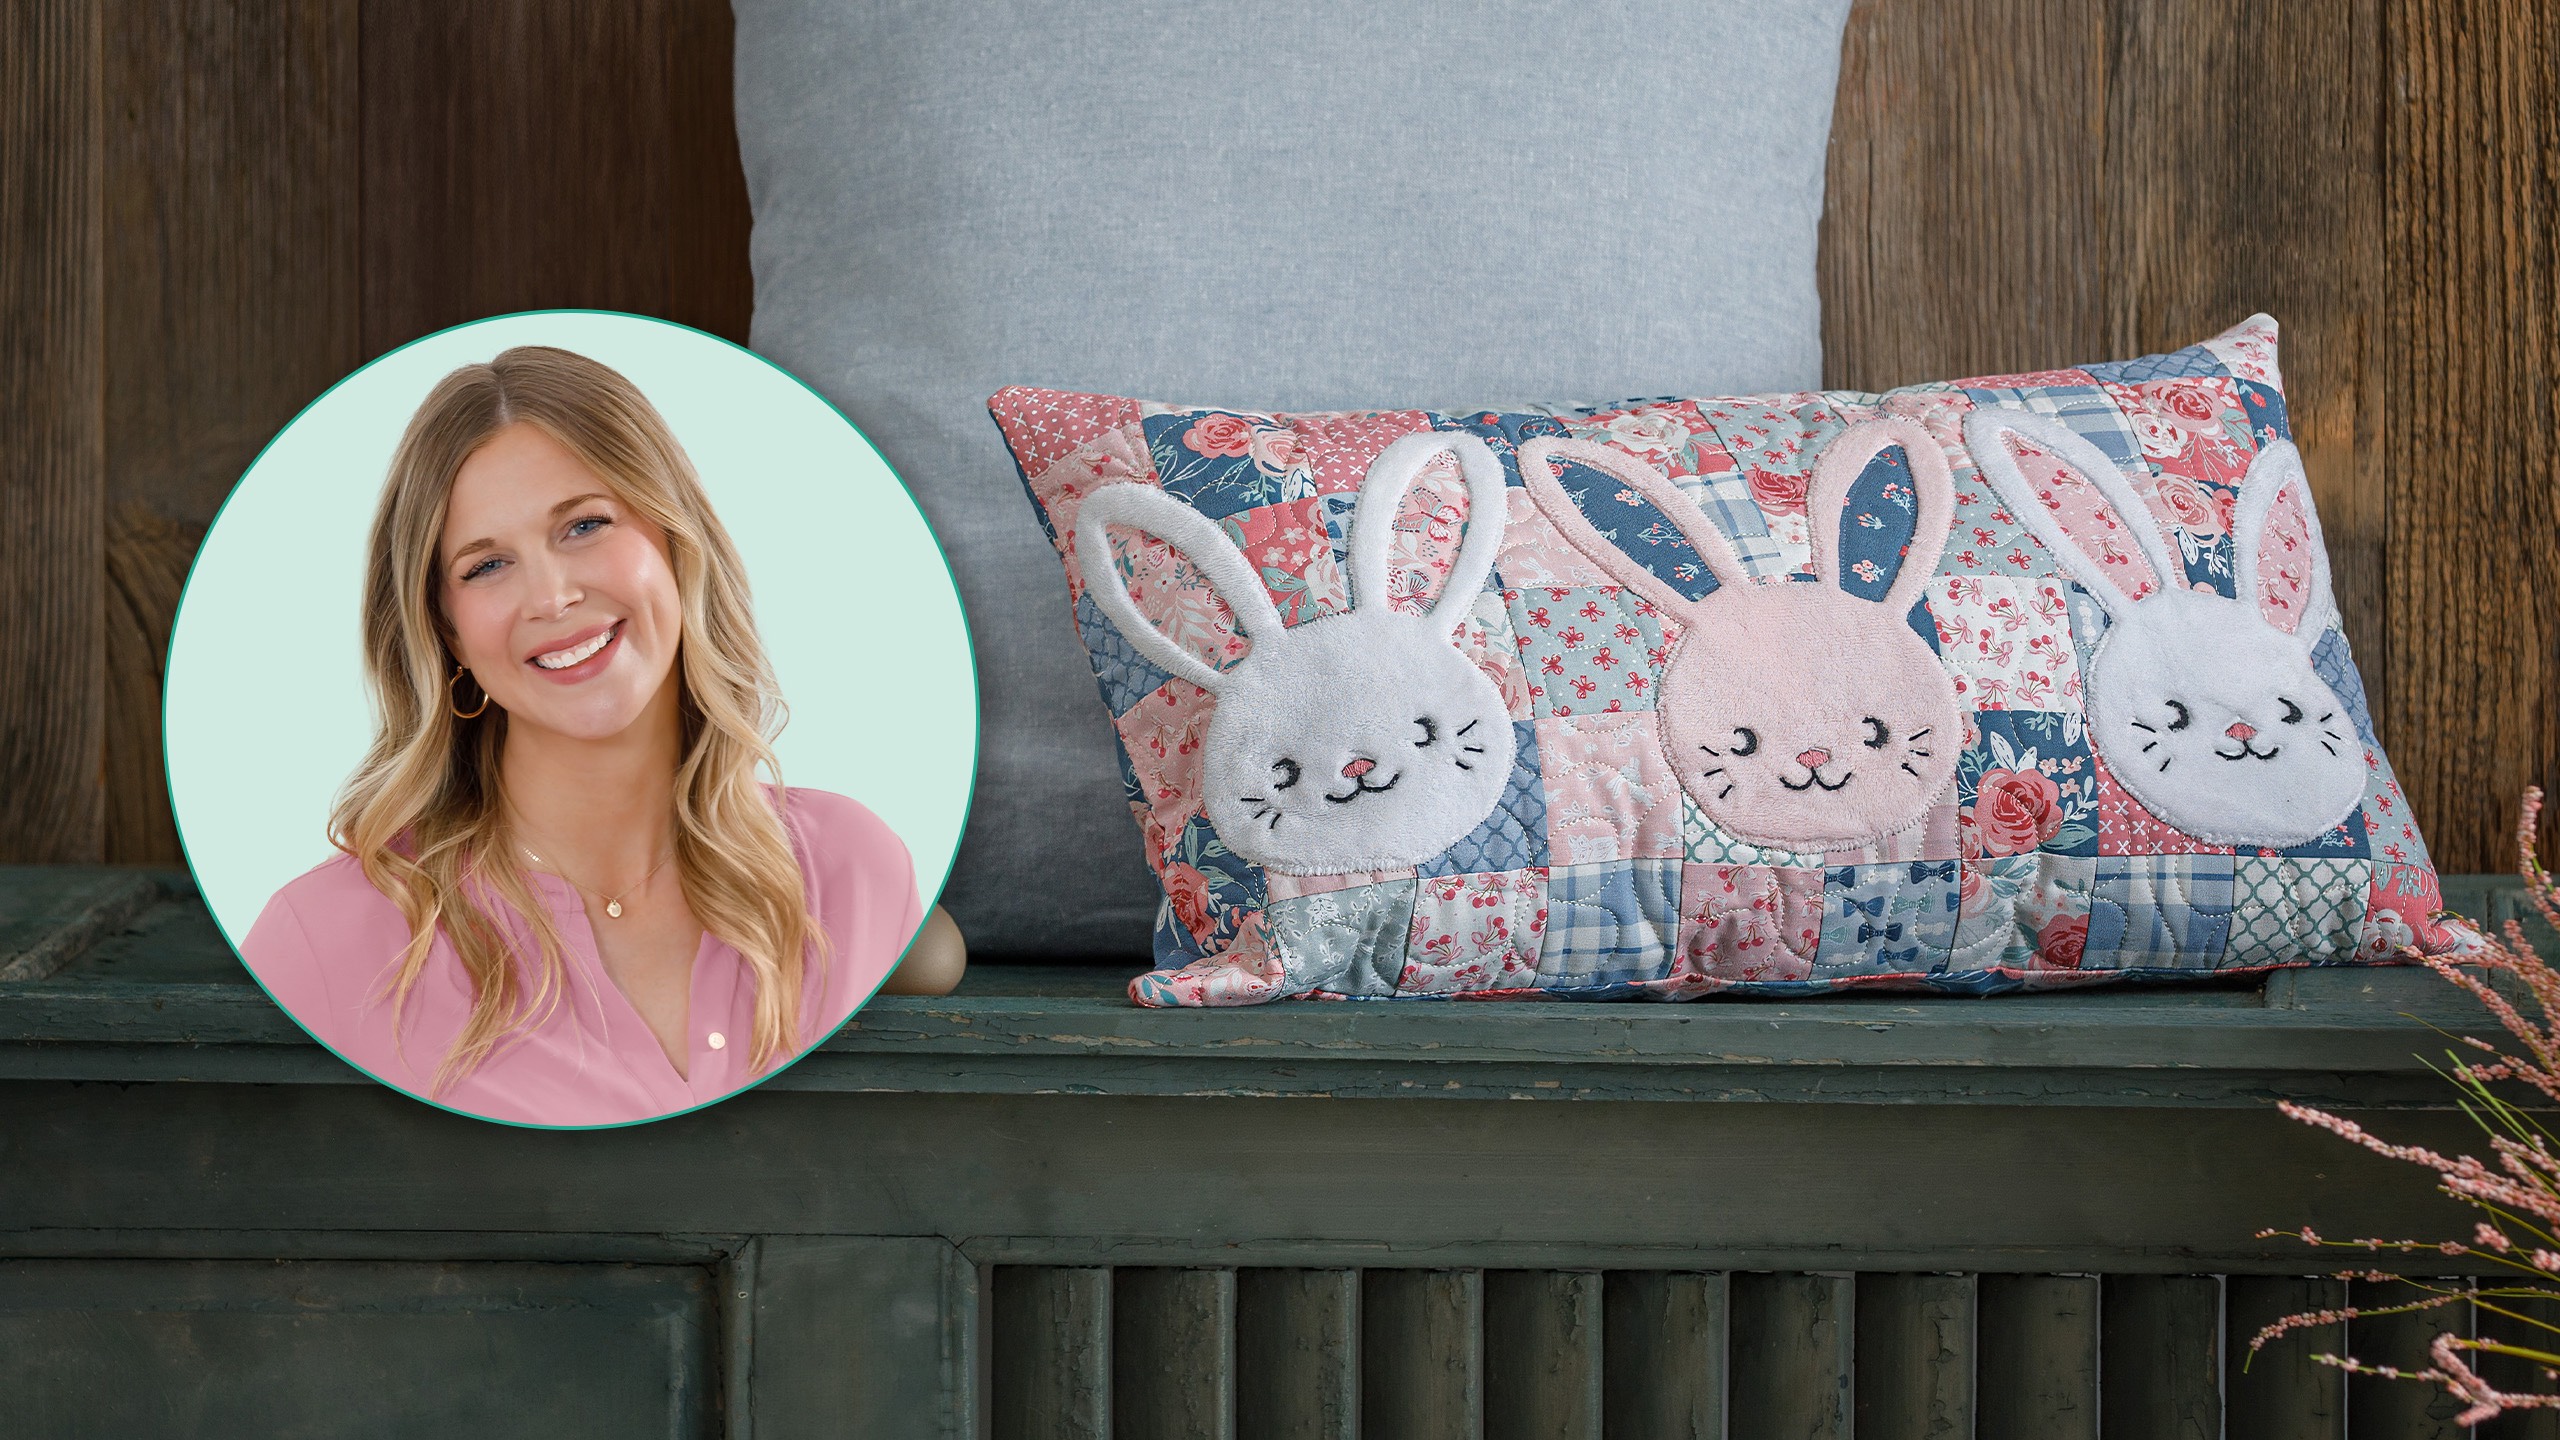
 Misty Doan
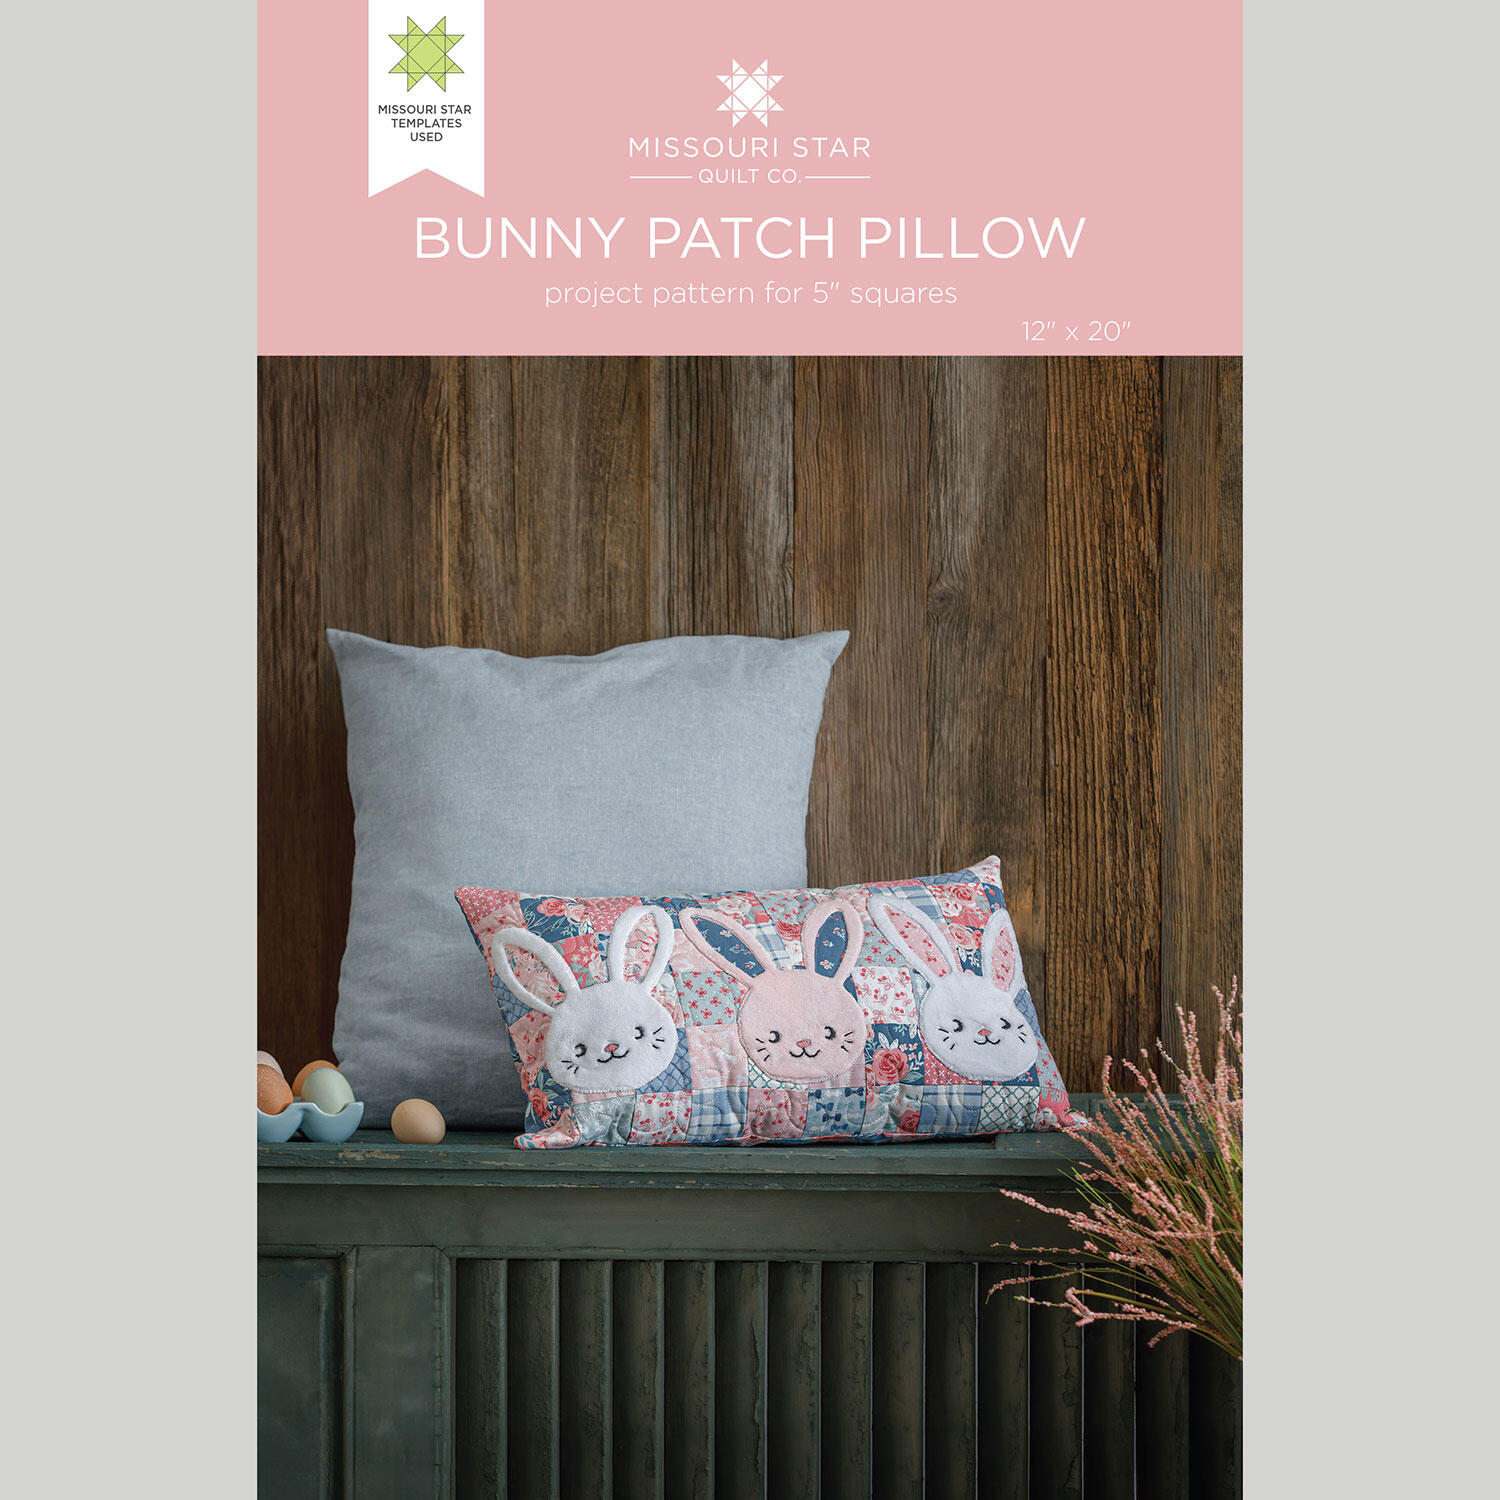 Bunny Patch Pillow Pattern by Missouri Star$8.50Shop →
 Digital Download - Bunny Patch Pillow Pattern by Missouri Star$6.95Shop →
 Cuddle® Solids - Snow White 60" Minky Yardage$15.35Shop →
 Cuddle® Solids - Baby Pink 60" Minky Yardage$15.35Shop →
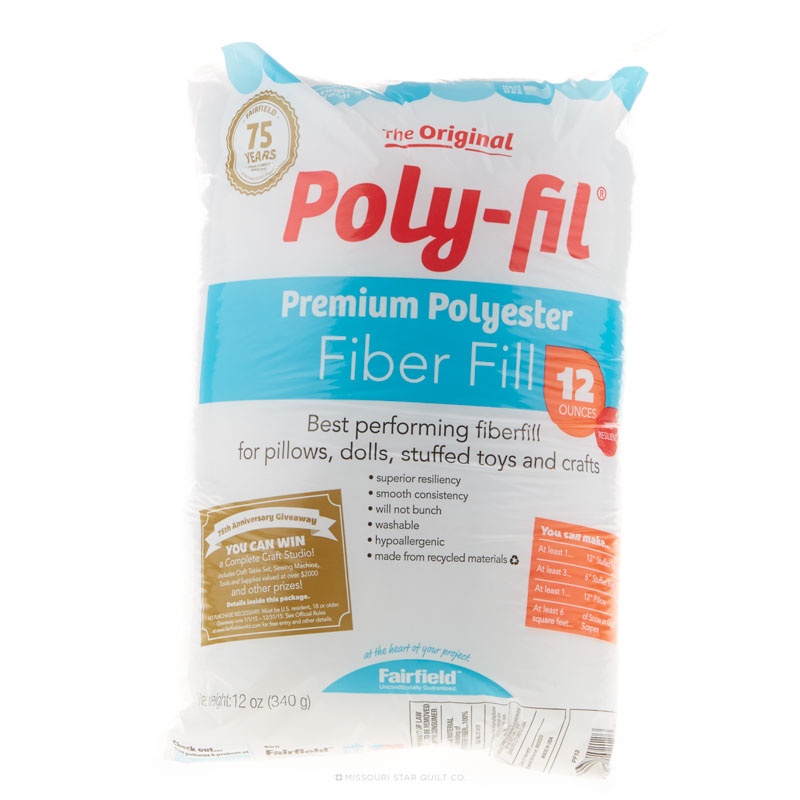 Poly-Fil Fiber 12oz$7.95Shop →
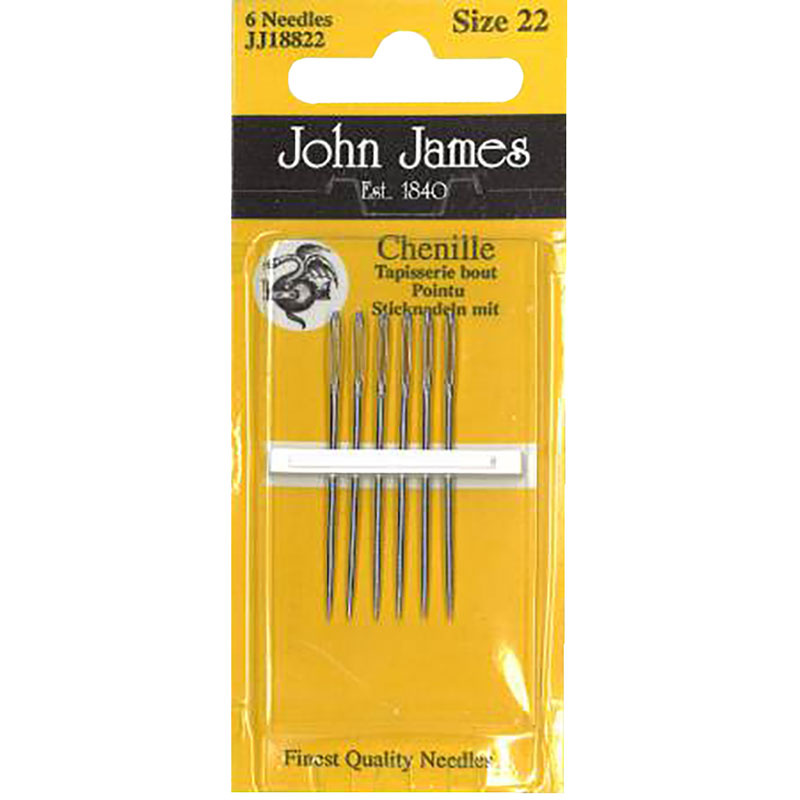 John James Chenille Needles - Size 22$4.25Shop →
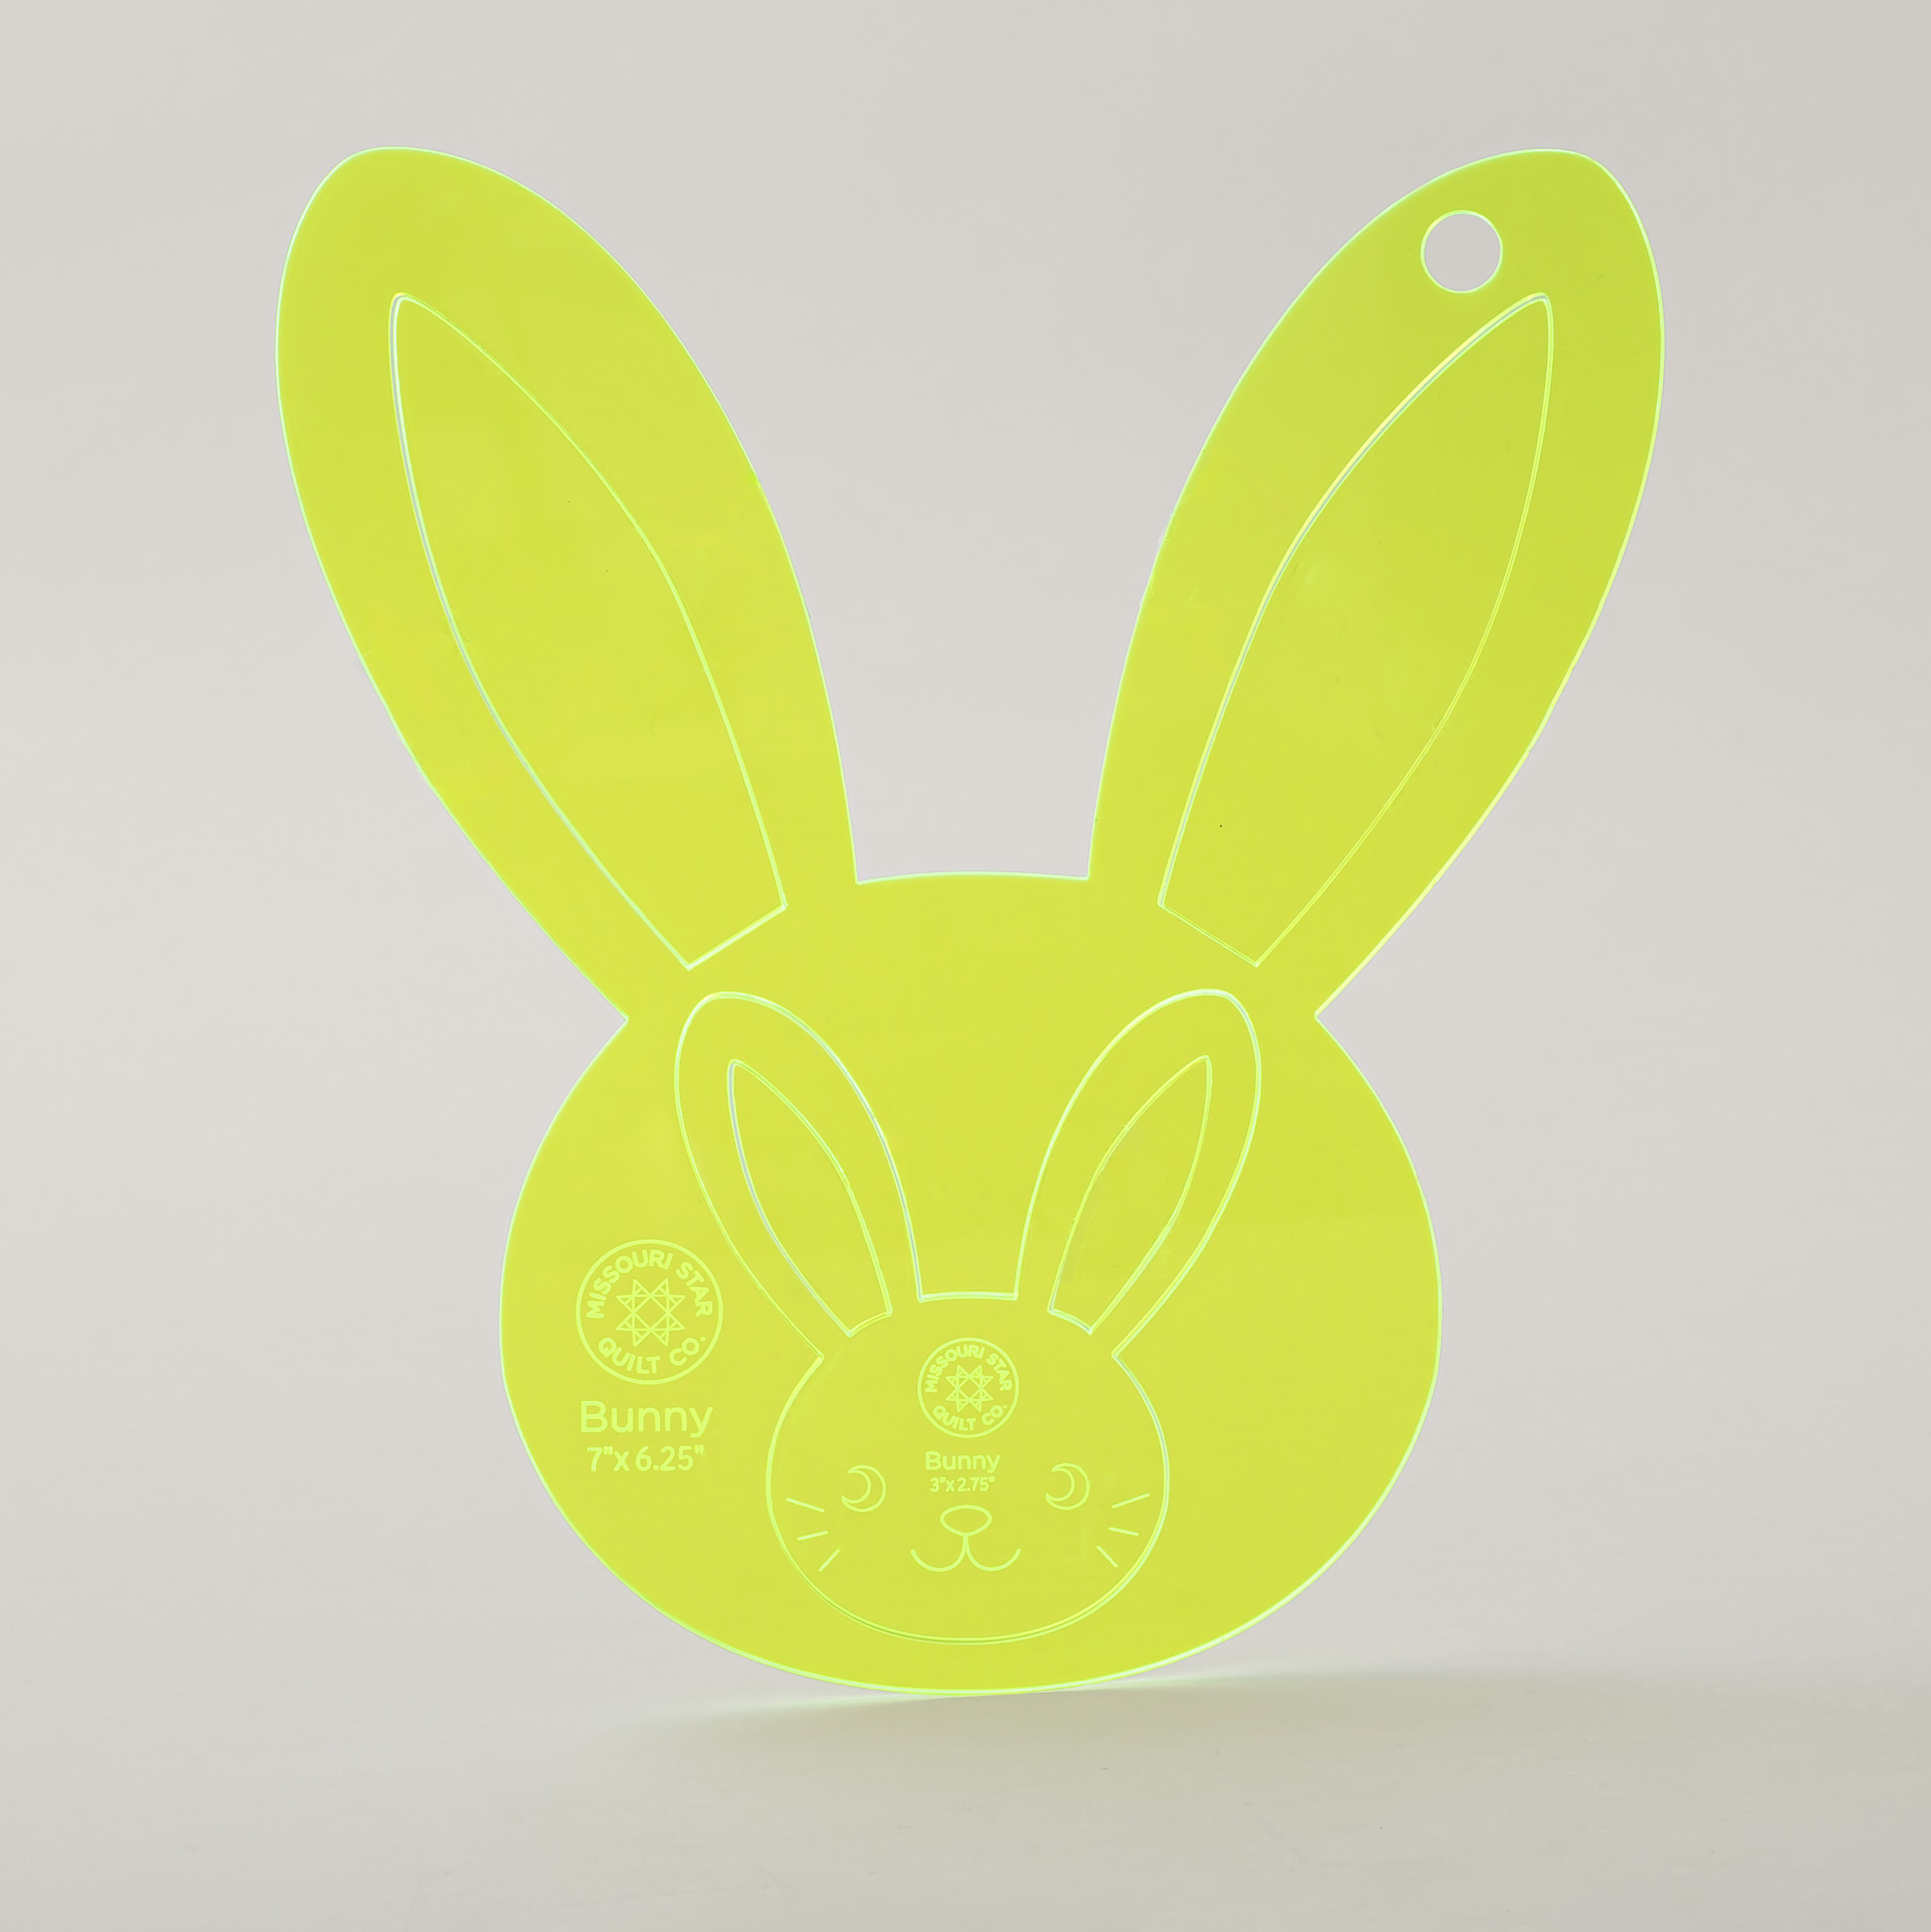 Missouri Star Nesting Bunny Head Templates$12.95Shop →
 CutterPillar Glow Ultra Light Board and Cutting Mat$299.99Shop →
 Missouri Star 45mm Rotary Cutter - Olga$19.95Shop →
 Missouri Star 8" Everyday Scissors - Amelia$19.95Shop →
 Missouri Star #8 Perle Cotton 10 Gram Ball - Black$3.49Shop →
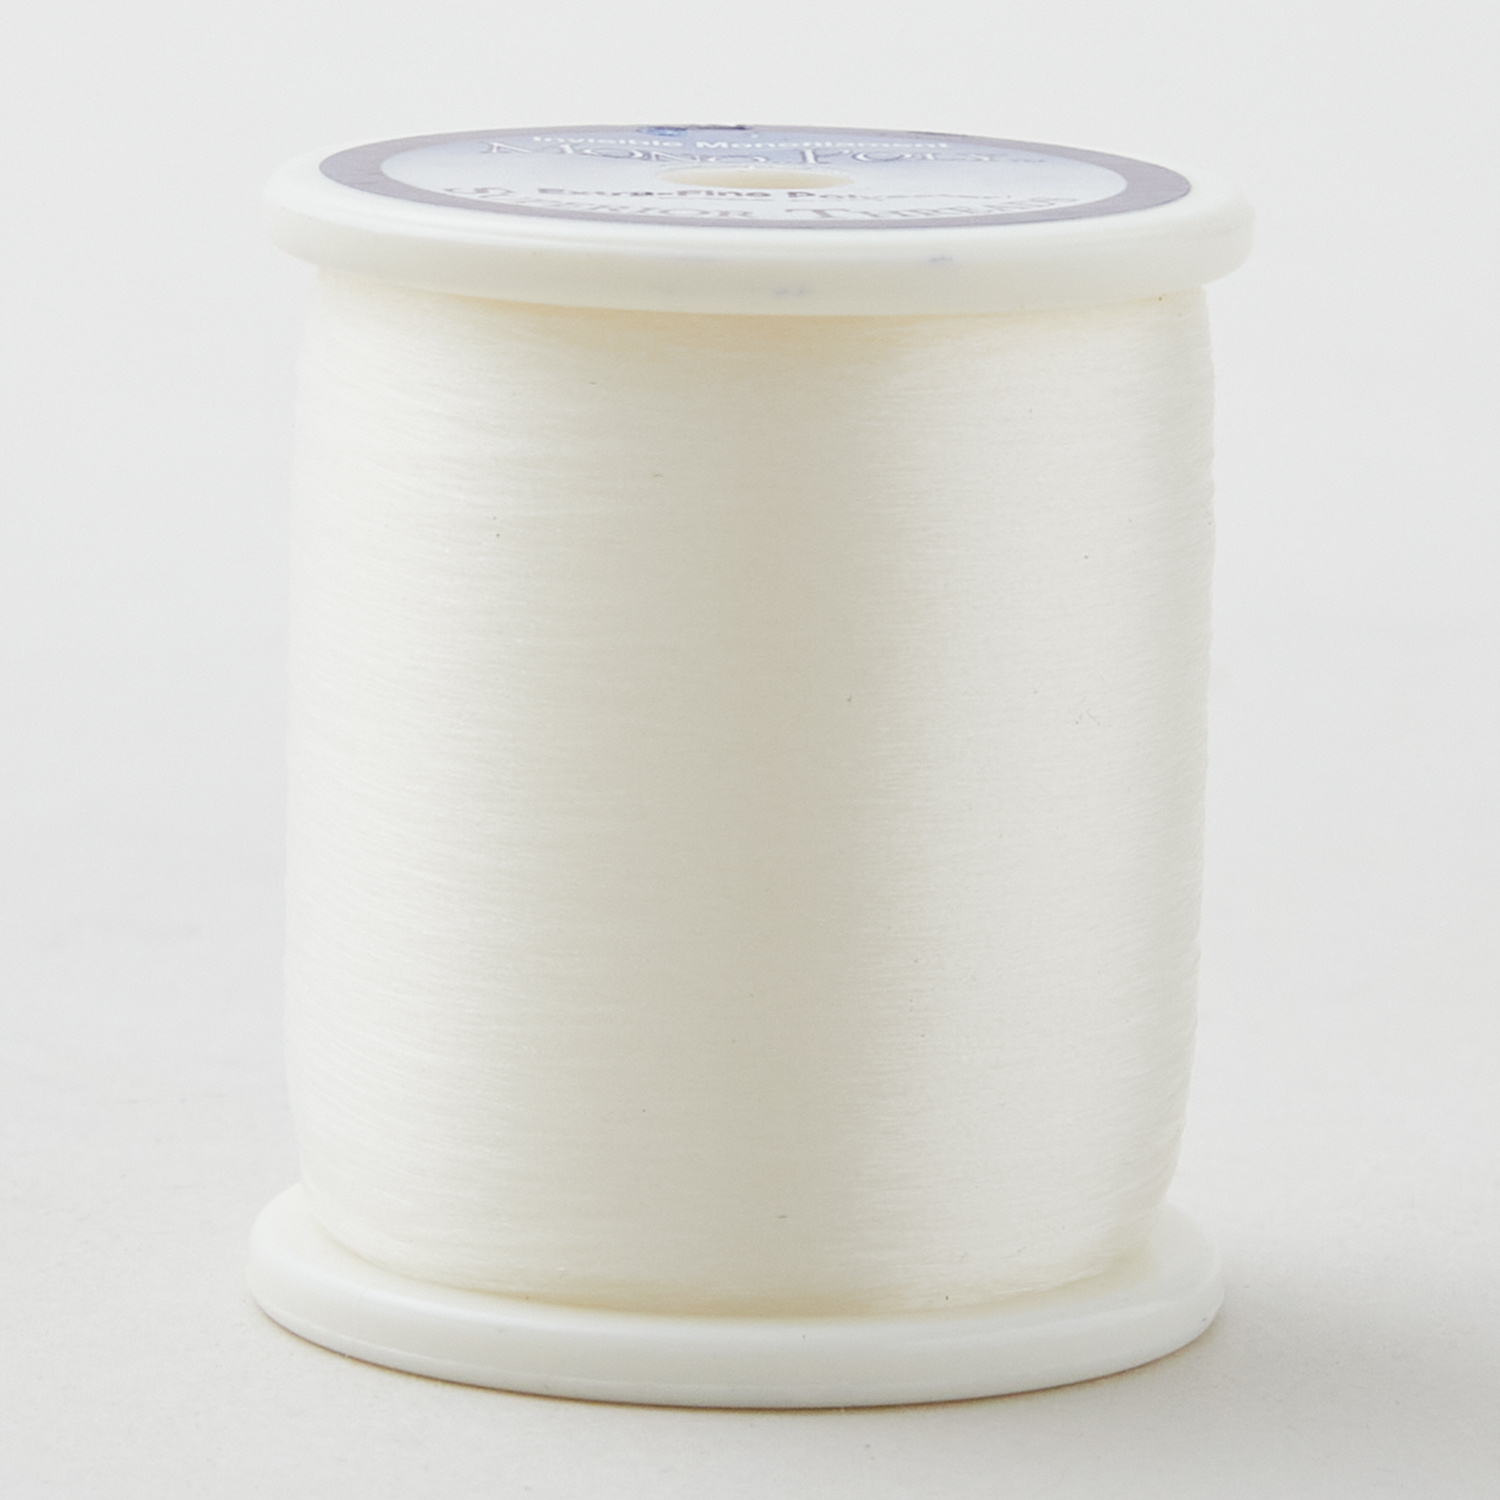 MonoPoly™ Invisible Thread - Clear$8.75Shop →
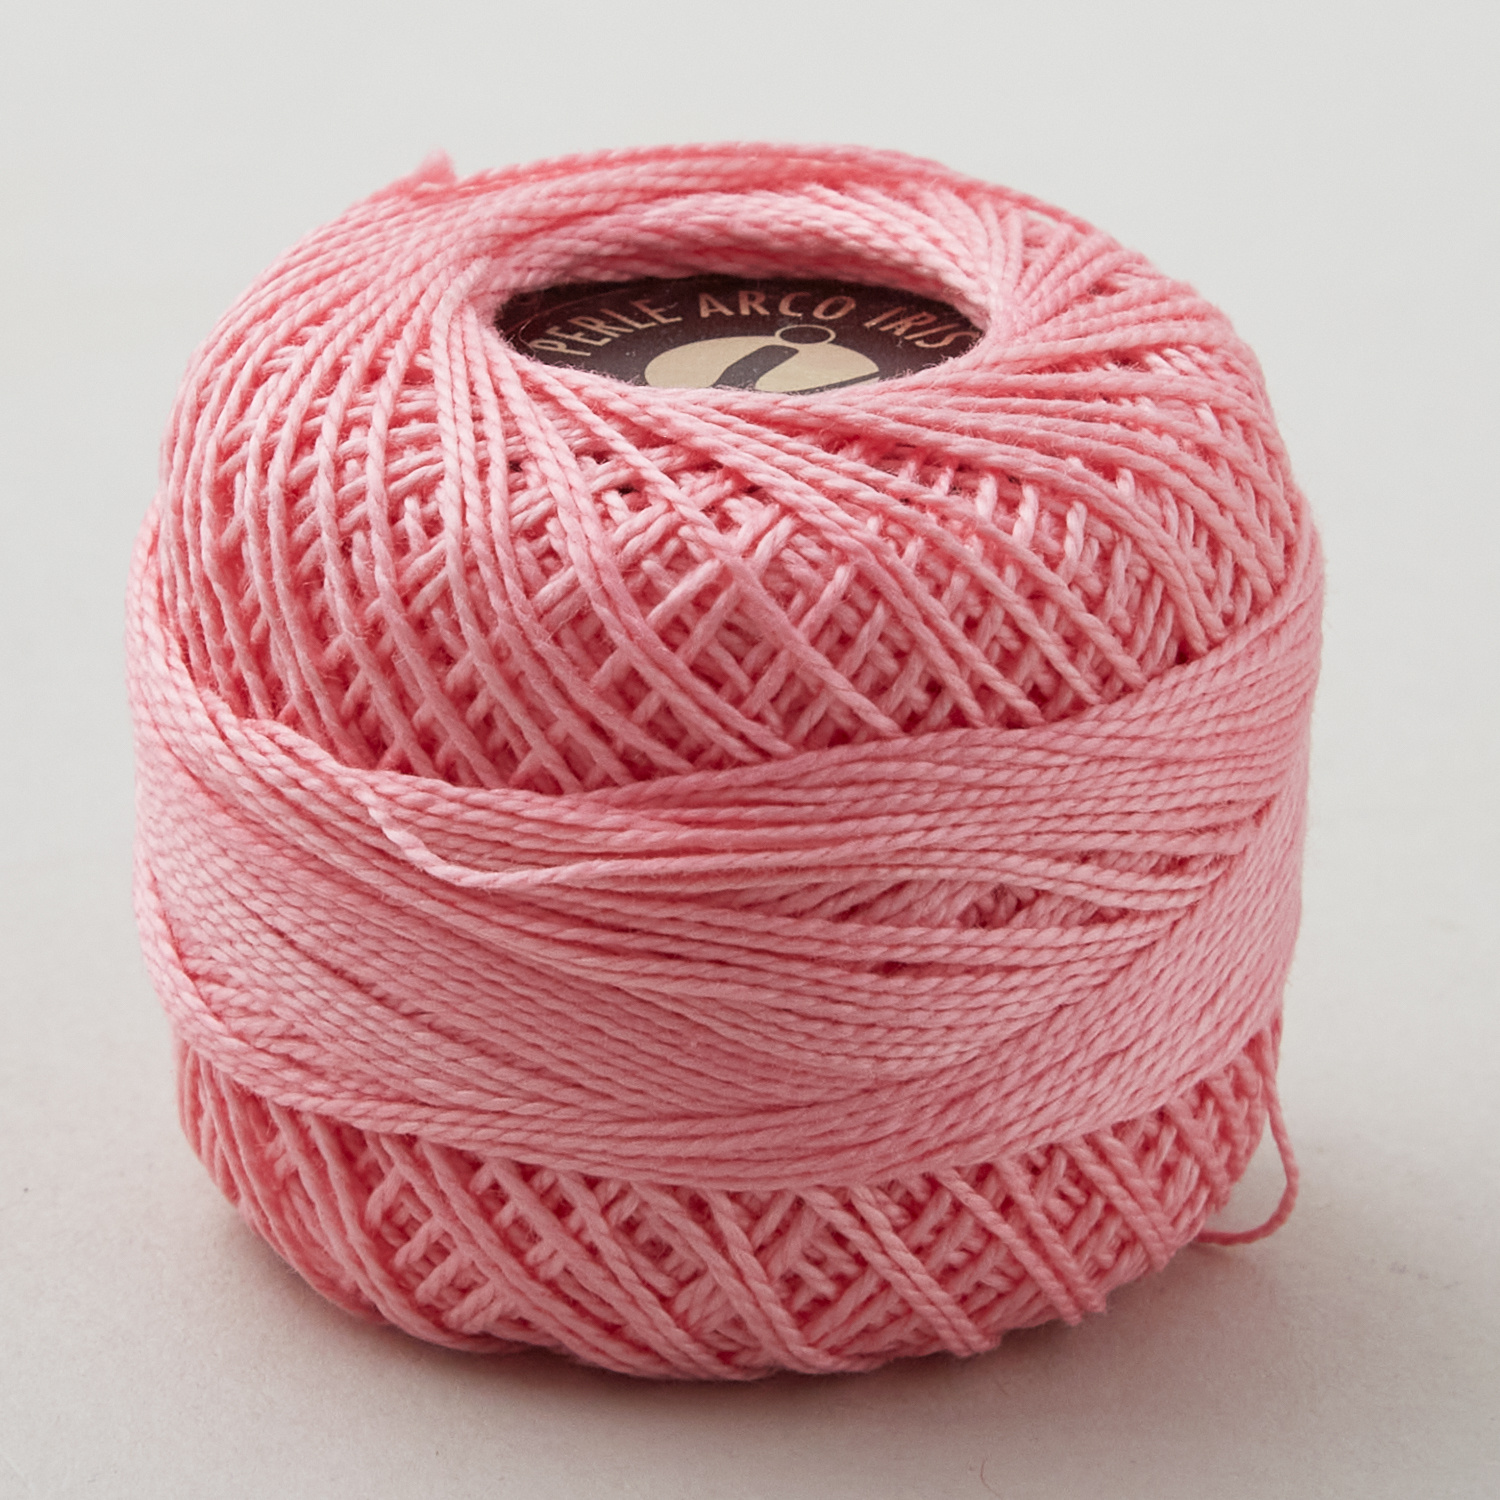 Missouri Star #8 Perle Cotton 10 Gram Ball - Rose Pink$3.49Shop →
 Missouri Star + Oliso TG1600 ProPlus Iron$209.95Shop →
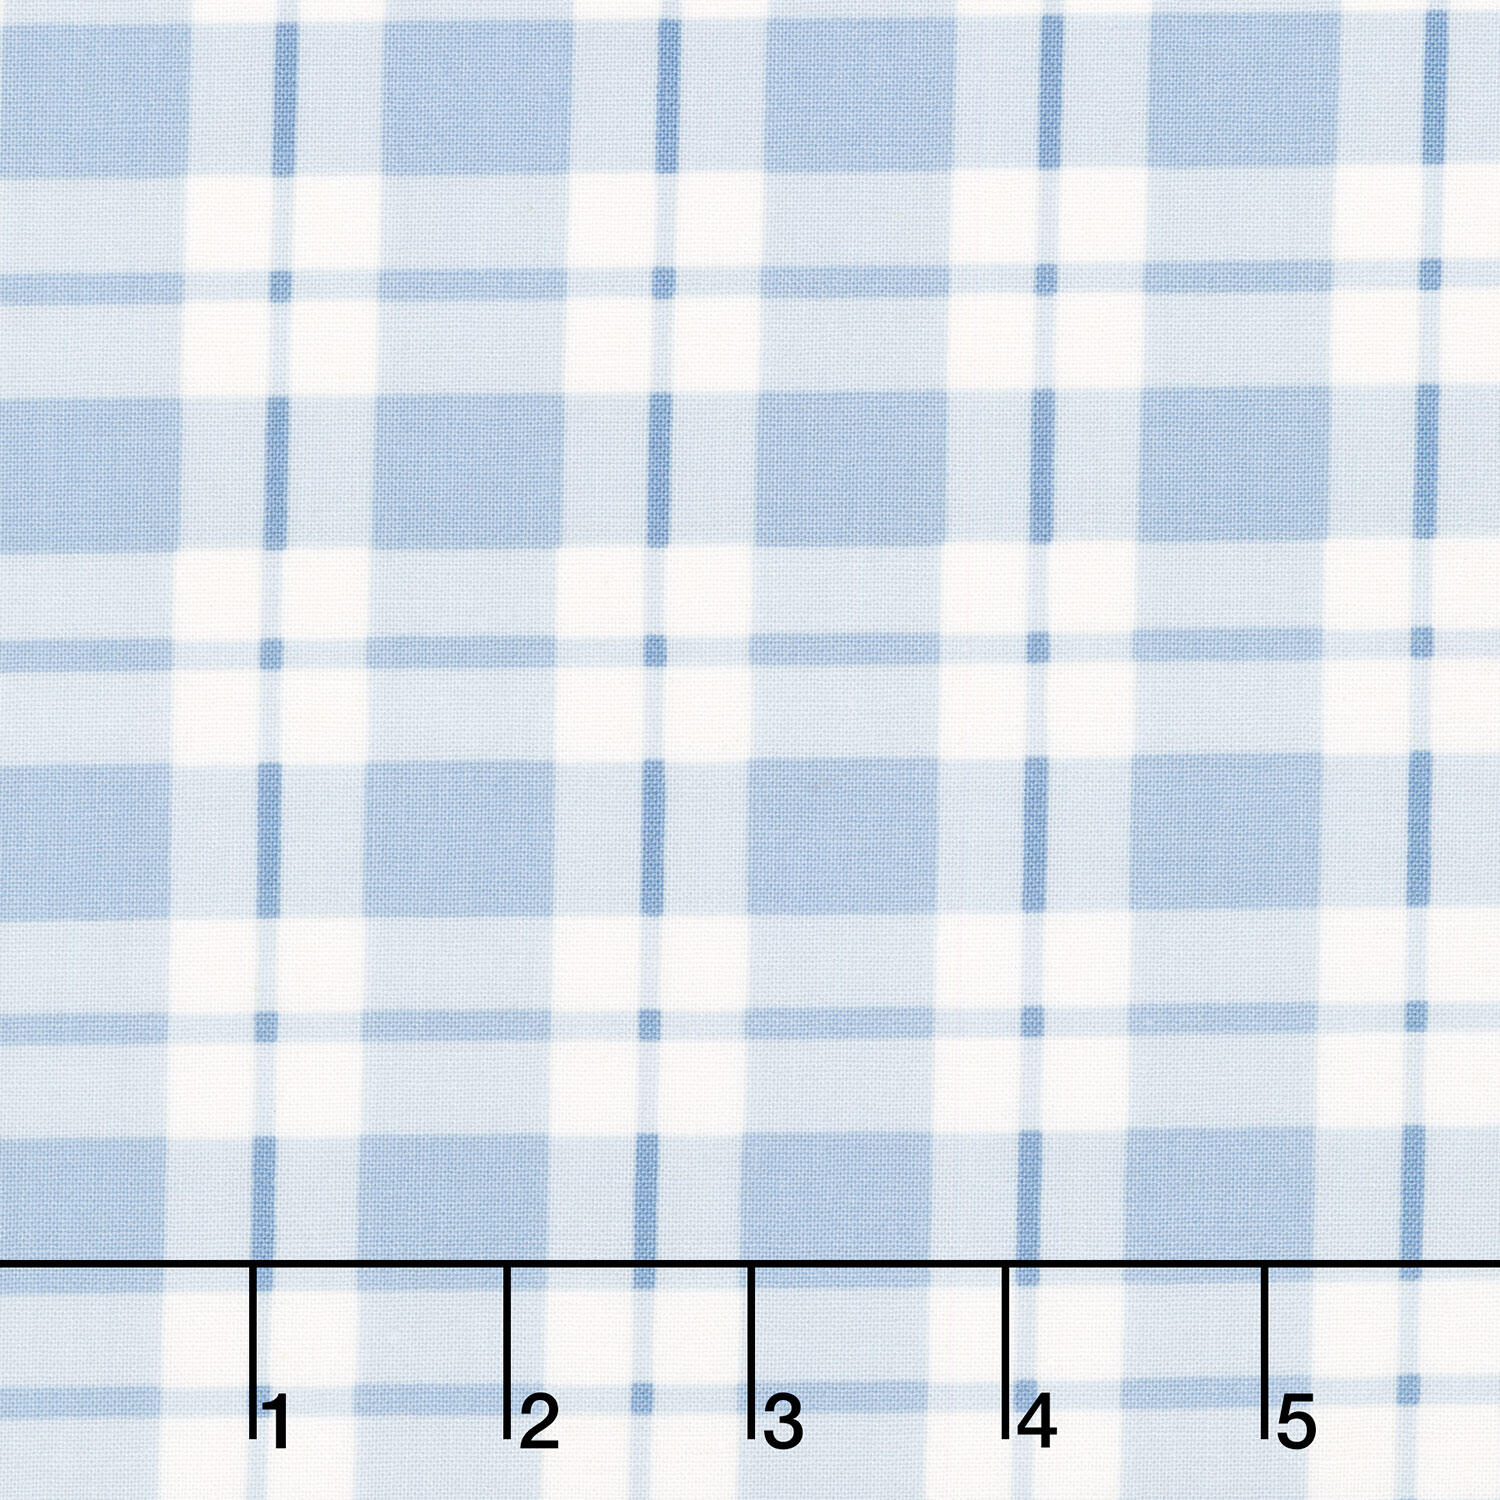 Beautiful Bowquets - Plaid Light Blue Cream Yardage$12.56Shop →
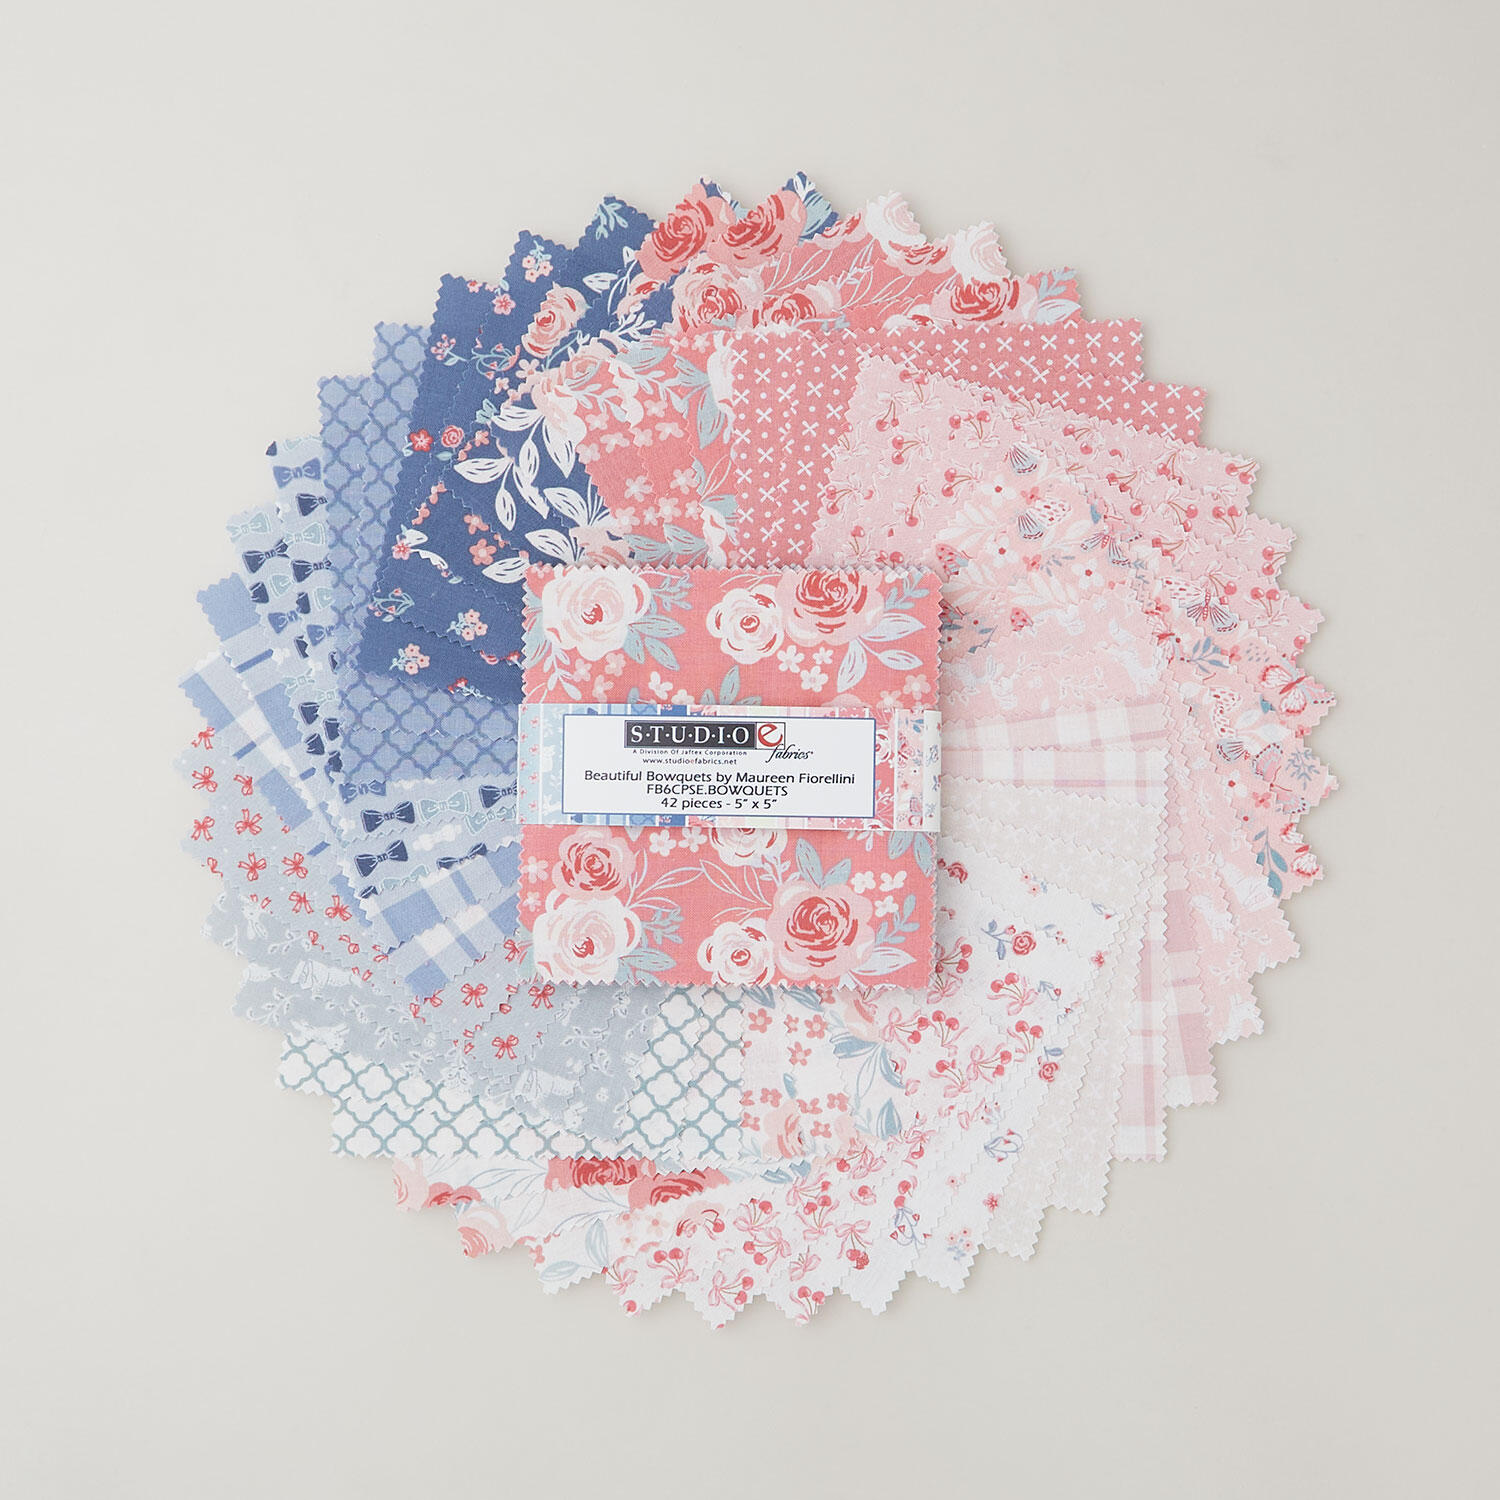 Beautiful Bowquets Charm Pack$15.95Shop →
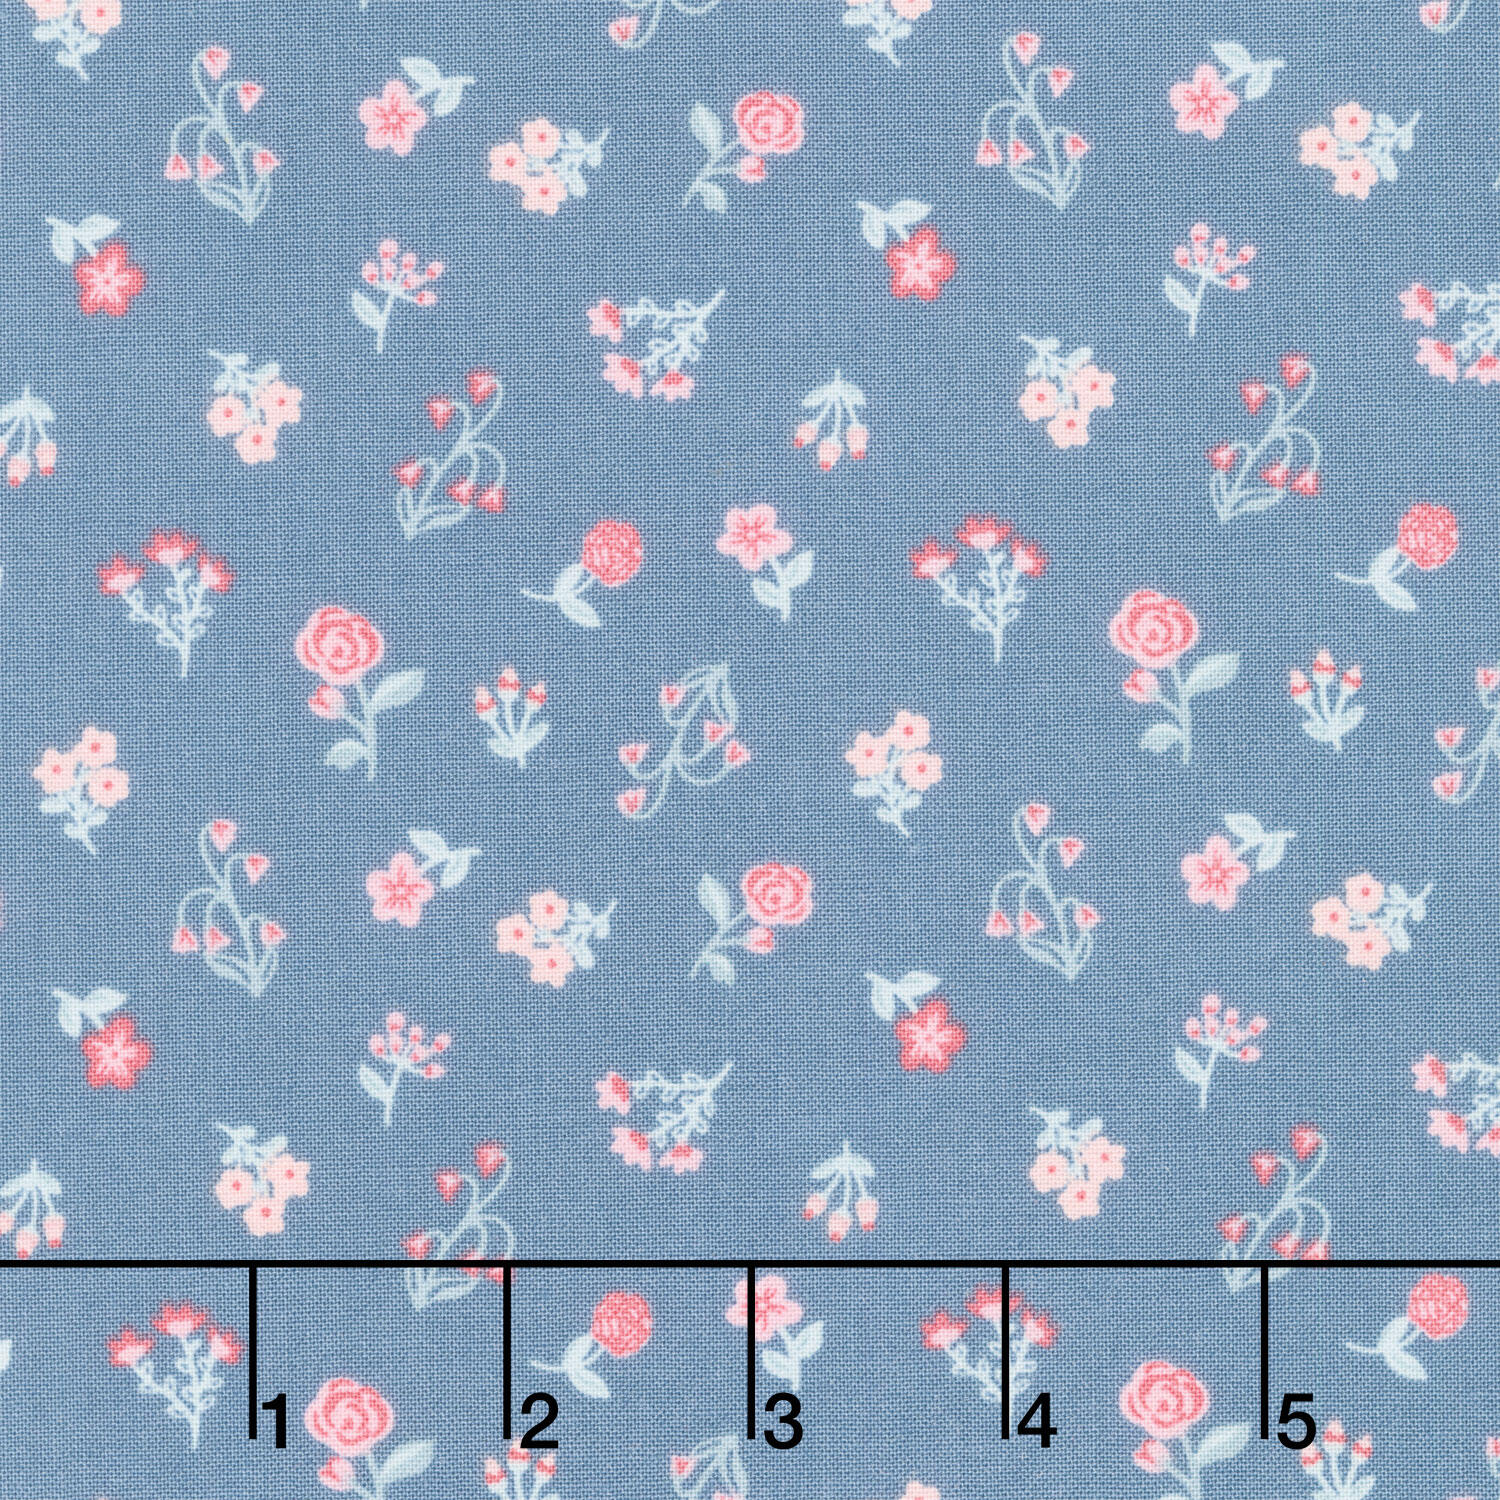 Beautiful Bowquets - Mini Blossoms Navy Multi Yardage$12.56Shop →
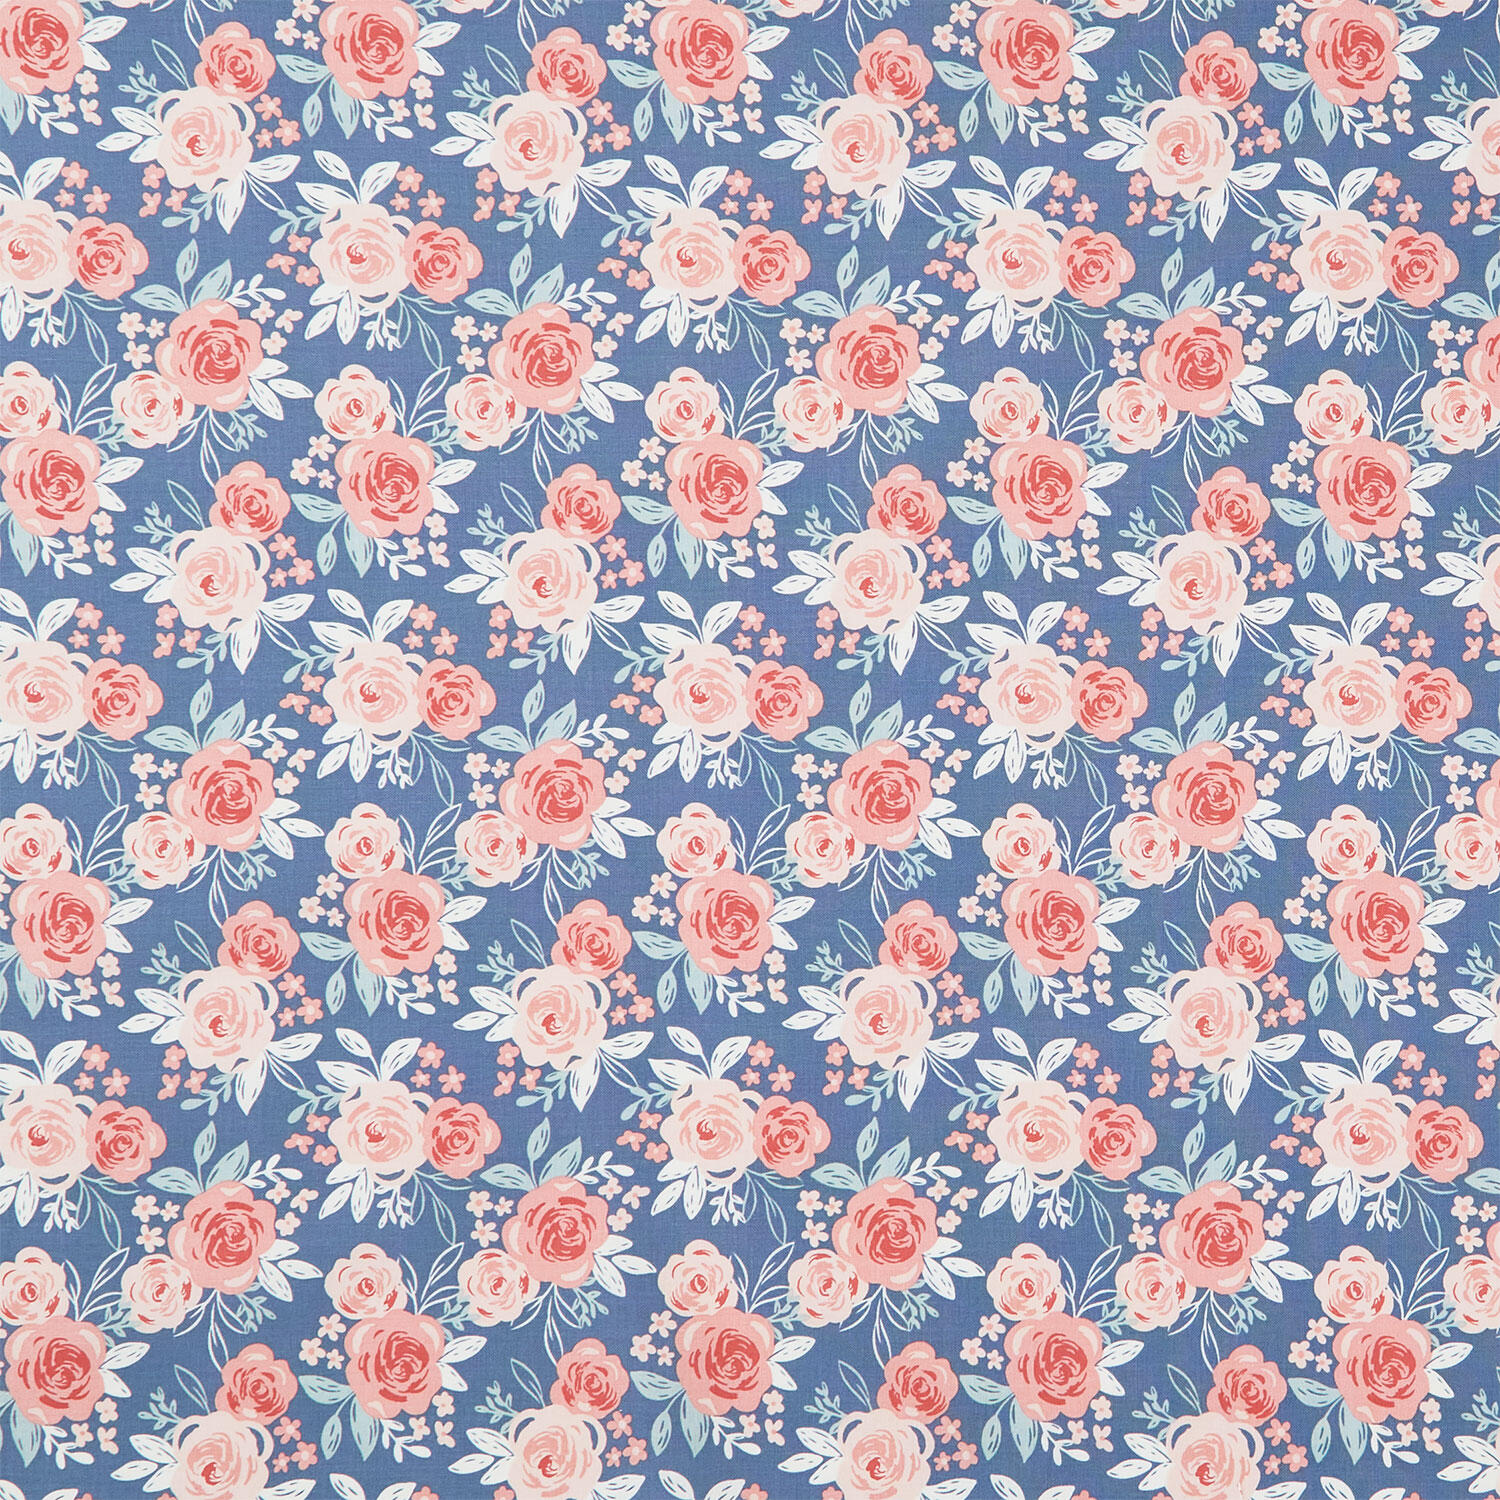 Beautiful Bowquets - Roses Navy Multi Yardage$12.56Shop →


