Whether you're heading to a summer picnic or attending a holiday potluck, this casserole carrier is something you'll reach for all year 'round. Wrap the quilted, insulated carrier around your casserole dish and tote it to your event, knowing the carrier will help maintain the dish's temperature. You can make matching hot pads, too!
Misty Doan grew up surrounded by sewing and quilting. She loves spending time sharing tutorials each week each week, and when she’s not stitching up one of her fun sewing projects for home decor, most likely you’ll find her hanging out with her husband and three awesome kids or working on a house project.
What is covered in Casserole Carrier and Hot Pads?
Whether you're heading to a summer picnic or attending a holiday potluck, this casserole carrier is something you'll reach for all year 'round. Wrap the quilted, insulated carrier around your casserole dish and tote it to your event, knowing the carrier will help maintain the...
How long is the tutorial video?
The tutorial video is 00:21:18.
Are supplies listed for this tutorial?
Yes. The tutorial page includes the supplies and materials connected to this project.
Video Transcript
Hey everyone, I have a super fun project to share with you today. We're going to make this easy casserole carrier. So, let me show you how to make it. I'm really excited about this pattern. This is a design I've wanted to do for a long time and I finally figured it out. So, it has a casserole carrier and as a bonus, a couple of hot pads included as well in the pattern. So, let me show you everything you need to make this up. First, you want to grab a package of 5 in squares. And I'm using these everlasting boutiques from Island Boutique. You're also going to need 3/4 of a yard of accent fabric. That's going to do all of your binding and your handles. And then you need 1 and 1/8 yard of background fabric. This is really mostly the backing, the inside of your casserole carrier there. In addition to that, you need one package of batting. Our uh Missouri Star crimp size is just about right. That's a 45 by60 piece. And then you'll need some Inselbrite, which is the insulated batting that is perfect for hot pads. And a little bit of Velcro. So, let's go ahead and get started. So, the body of this uh casserole carrier is really just made up of solid 5 in squares. And so open up your pack, mix it up, and we're going to sew those together in three segments to begin. And so the middle piece is two across by seven down. And then your two side units are going to be 2x3. So you'll make two of these, just like so. And then what we want to do is we want to add these to this middle. And so what you're going to want to pay attention to is you want these seams to line up. You'll notice because these have a seam here and these don't, you're gonna have a little bit of overhang. That's just your quarter inch. And so, let's just fold this over. Make sure our seams are nested. And if you want, you can put a little pin in there to make sure everything will stay lined up just like so. And then we'll begin by sewing a quarter inch seam on this side. and then I'll come back and do the same with the other. So, let's go ahead and take this to the machine. I did go ahead and switch out my thread to pink because we're going to do quite a lot of top stitching on this project and so I want it all to blend in. There's our first seam. and our second. Just always make sure you take those pins out before you sew over them. Okay, there is our first side. And now you can see how that looks. And I'm just going to add my other side here in the exact same way. I think I can line these up without pinning, but again, if you want to feel free to pin. And so we will just sew down this one with that quarter inch seam. All right. Just as a reminder, I did back stitch at the start and stop of when I was adding those pieces just because we want it to be nice and secure. And so now we can press these open. Right now, let me move this out of the way because the next step is to go ahead and quilt this whole thing. So, I have my quilt sandwich kind of ready to go here. Me just unroll it. Okay. And we'll talk about these layers really quick. So, I have my cotton batting, my Insulbrite. There's not a wrong side of that, so you just don't have to worry about it. And then this is my lining fabric. And so, I'm actually going to flip this over. Now that you've seen it, and we are going to lay our casserole carrier on top of this. Whoops. This way. There we go. And you'll want to base this all in place. Base through all your layers. So, you can use safety pins or spray base, whatever method you like. And if you want to follow the pattern to add those extra pot holders, you'll just tuck those in these little squares here to finish it up. And you're going to quilt this whole thing, cut it out, and go ahead and bind this edge. And so, let me go ahead and move this out of the way because I have that step ready to go. So, that is going to look like this. And so, you can see I just bound it with our long arm and then just trimmed it square. and bound all the way around the outside. And so I I did it all on machine. And so you'll notice I just top stitched right along that. And I cut two and a/4 in uh binding strips. And it just worked out really nicely. And so now that we have this part ready to go, let's go ahead and add the handles. All right. So to make the handles, you're going to need to cut two strips that measure 5 in by the width of your fabric. And so with this, what we're going to do is we're gonna open these up. We're gonna press them in half down the long length. All the way to the end here. And then once you have that pressed, you're going to go ahead and press in towards the center from each side as well. And then you'll come back and press this one in. And then we'll fold those so that it's all enclosed. And I went ahead and did that with both of my strips here. So you can see how that looks. They're all pressed inside and ready to go. And so then in addition to that, you need two 5 in squares and one 4 and 1/2 in piece of batting or fusible fleece, whatever you have lying around, but you'll have plenty of batting to just use that. And then you'll also need a 3 and 1/2 in piece of Velcro. But to begin, let's go ahead and take these two pieces that we pressed. And I'm going to open this up. I find it's easier to press it first before doing this step, which is why I did it, but you could do either way. And so now we're going to just line up these ends and we're going to sew them into a big loop. So I'm just going to take a quarter inch seam on both ends. So let's go ahead and do that. Just make sure you've got them all lined up. And then when I pull this, it'll all just fold back in on itself. We'll give it a press so it lays nicely, but I just find it easier to do it this way. And so you do want to make sure you don't have any loops or anything when you go to attach these. So now we'll just open these up just like before and we'll sew our quarter inch seam. Perfect. All right. So, let's go ahead and take this over here and press these. And just make sure everything's going to lay nice and smooth. And again, let those fold in. There's one side. Double check. Make sure I don't have any loops hiding in there. Turned out great. And we'll press this little bit as well. We just want everything to lay nice and flat. There we go. There are our straps ready to go. And so then now what we're going to do is we're going to go ahead and sew a top stitch about an eighth of a eighth of an inch, excuse me, away from each side under the machine. And I always like to start on this open side just to secure it first and make sure it's closed. And that secondary one is really optional. It's more just for a nice clean finish. So, I am just going to zoom all the way around here and sew on both sides. All right, we've made it around once. I'm just going to go ahead and mirror that on the other side so we have a nice professional looking finish. All right. Now, our handle is all stitched all the way around. Let me just trim some of these threads off really quick from my start and stop point. There we go. And so now we want to bring our little carrier that we have quilted. And we are going to flip this over. And I want to find where those seams are just like so. And I'm going to line those up right on this center seam line here. Again, you want to make sure you don't have any twists or anything. That looks right. Perfect. And then I'm just kind of eyeballing in the middle of these squares here and making sure I have them centered. And then we are going to put a couple of pins in here to hold these in place. Just make sure they're running right down the middle. Pull this over. There's that one. And one more here. And so now our next step is we're going to kind of follow along that top stitching line to start. And we're going to make a box that runs the full length of this bottom section here. So this 2 by3 section. So we're going to go all the way across across the width of our strap and back up on both of these. So let's go ahead and take this to the machine now. And I am just going to line this up here. Starting with that seam. And we're just going to attach this to the body of this casserole carrier. This is another reason why making sure your thread kind of matches that strap color just makes it easier. So, as I approach this edge here, I just want to make sure I've got my needle down. And then I can pivot. So, straight across. And then we can just spin and finish out our box. And now we'll just close up this last little short side here. Making sure to back stitch. And then I'm going to do that exact same thing on this other side. And I'll meet you back here when it's all done. Okay, our handles are secured now. Caught that under my presser foot there. So, we can pull these pins out of our way. Here we go. All right. And you can see it's really starting to take shape. And honestly, if you wanted to be done at this point, you totally could. But I wanted to h have like a little clasp to hold this together so it wouldn't just pop open as we were traveling. And so to finish that, we are going to take those two matching 5 in squares and our little 4 and 1/2 in piece of batting and we are just going to sandwich this all together. I'm going to go ahead and press this since I had a scrap of fusible fleece, but otherwise you'll just want to use a little bit of basting spray or that basting powder to attach your batting. And so now we're going to sew all the way around these squares, leaving just a small opening to turn this right sides out. So we'll do that with just our regular quarter inch seam. Just make sure you back stitch so that as you tug on it to turn it, it won't pop those stitches. Okay. Okay. So now I'm going to use my scissors and I'm just going to trim off some of the bulk in these corners. You want to make sure you leave plenty of your seams. Don't cut through the seam itself. But I'm just going to get some of this excess fabric out of the way. Just so this will turn nicely. There we go. And now, where is my little opening? Right there. We can just turn this right sides out. Making sure our corners are going to lay nicely. Get a little pencil or something to turn out these little corners. Just want them to be nice and sharp. There we go. That looks nice. So, now we can take this over to the ironing board. And I just want to make sure to begin with that I'm going to tuck in that little bit of excess fabric and turn it under. You should have a quarter inch on both the top and the bottom. And then we'll just press this whole thing so that it will lay nice and flat. Beautiful. And then you can see that extra fabric there is all just tucked inside and ready for us. And so now I have a little 3 and 1/2 in by 3/4 inch uh rectangle of our Velcro ready to go. And I'm going to begin by placing this piece right along that edge that has our opening. And I'm just going to float it right in the center. And we are going to stitch just around the perimeter of that Velcro. And that's also going to secure that opening that we have. So let's go ahead and do that. All right. So, there is that first little piece. I'm going to trim away that thread. And so, then on the next piece, we want this to wrap around. And so, this piece actually needs to be on the opposite side. And so just like we did before, we're going to lay this on here, center it between the two, and we're going to sew the box all the way around that to secure it. All right. So once we have this sewn, both pieces of Velcro are added. Now we get to attach this to one side of our straps. And so I'm just going to pull this side out here. And I'm going to find the middle and just by tugging on it. You just want it to be close. Then we can pull this up and give it a nice little finger crease so that we have that reference line. And I'll open this up. I'm going to lay this right in the center. Same if you want to find like a little middle crease. It's kind of tricky with that Velcro, so you really can just eyeball it. And then we will put a pin in here. And then we are going to sew. We're just going to follow our stitch lines on our handle to secure this on both sides. And so let's go ahead and take this to the machine. It'll help a little bit if I flip it over. And I need to move that pin more towards the center so that it's out of my way. There we go. And now we'll just stitch right along those two stitch lines that we had when we closed our handle up to secure this all together. Again, just make sure you back stitch at the beginning and the end. There's one. And then we can slide this over and do the same on that other seam. Beautiful. All right. Now, we'll pull that pin out. And this is ready to carry your favorite 9 by13 pan. You'll just fold in the short sides first and then the long sides on top. Then you can take your handle and just wrap this around just like so. And you're ready to take your little casserole carrier on the go. It's just as easy as that. So, I hope you enjoyed this tutorial and I'll see you next time on At Home. But wait, there's more. Remember, if you buy the pattern for this cute little casserole carrier, you also get the bonus for these two little hot pads that are included. So, it's a great little housewarming gift or wedding gift that you can put together for anybody or maybe just yourself. So, I hope you guys enjoyed it. Hey everyone, thank you so much for watching at home. We're so excited to be almost a million quilters strong here at Missouri Star. And so if you haven't already joined our family, be sure to subscribe and hit that notification bell so you can be notified of all of our future tutorials. And we'll see you soon.

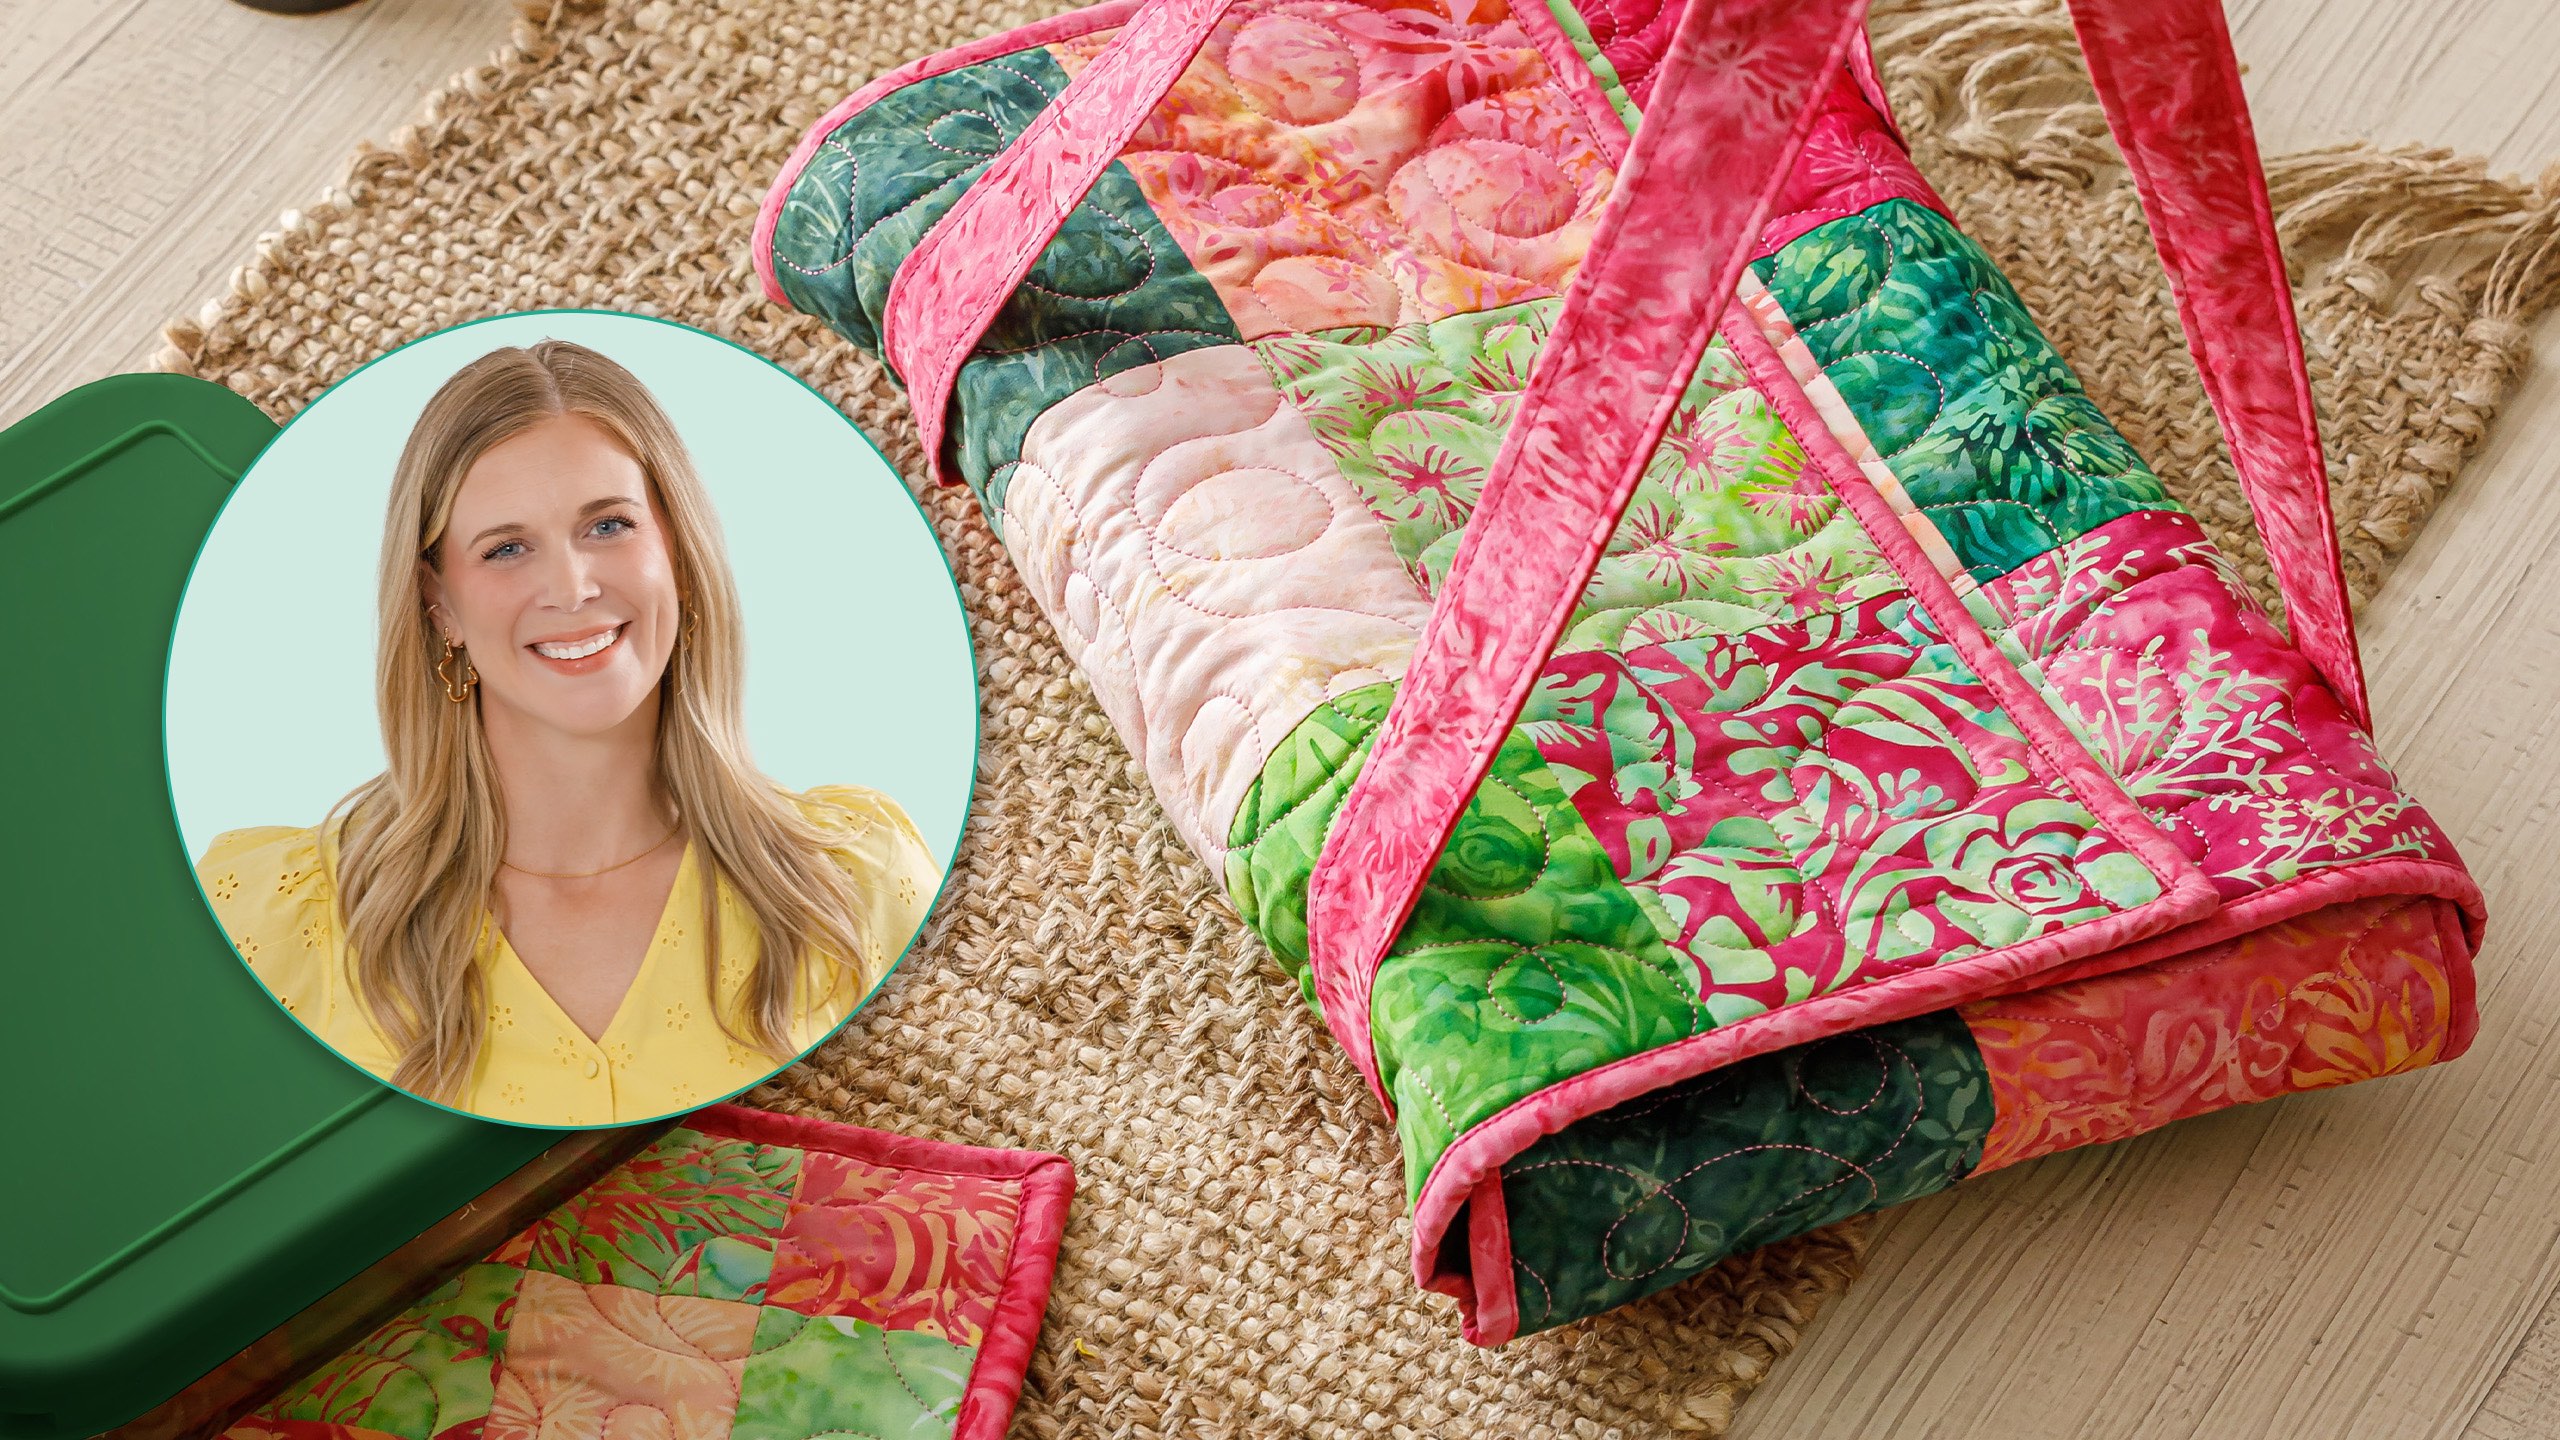
 Misty Doan
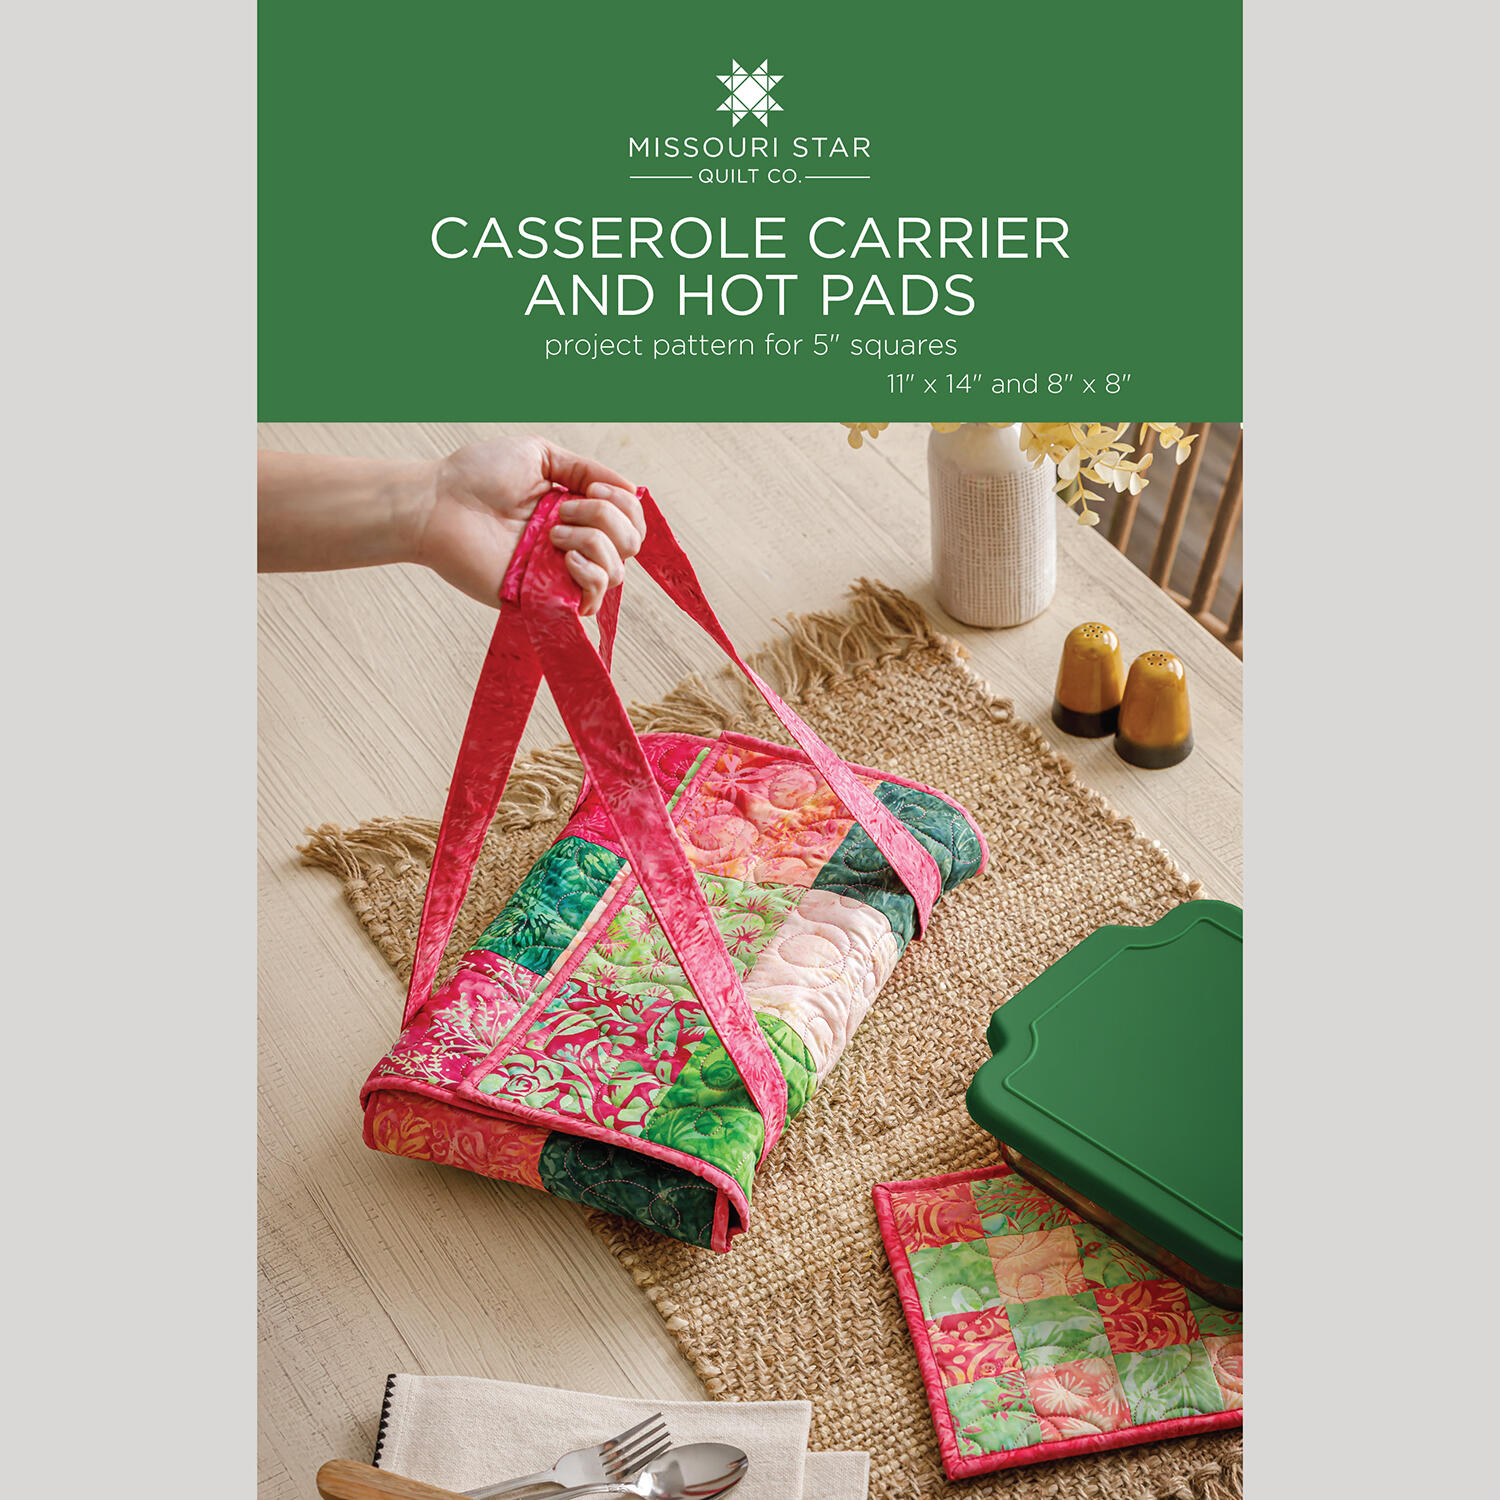 Casserole Carrier and Hot Pads Pattern by Missouri Star$8.50Shop →
 Digital Download - Casserole Carrier and Hot Pads Pattern by Missouri Star$6.95Shop →
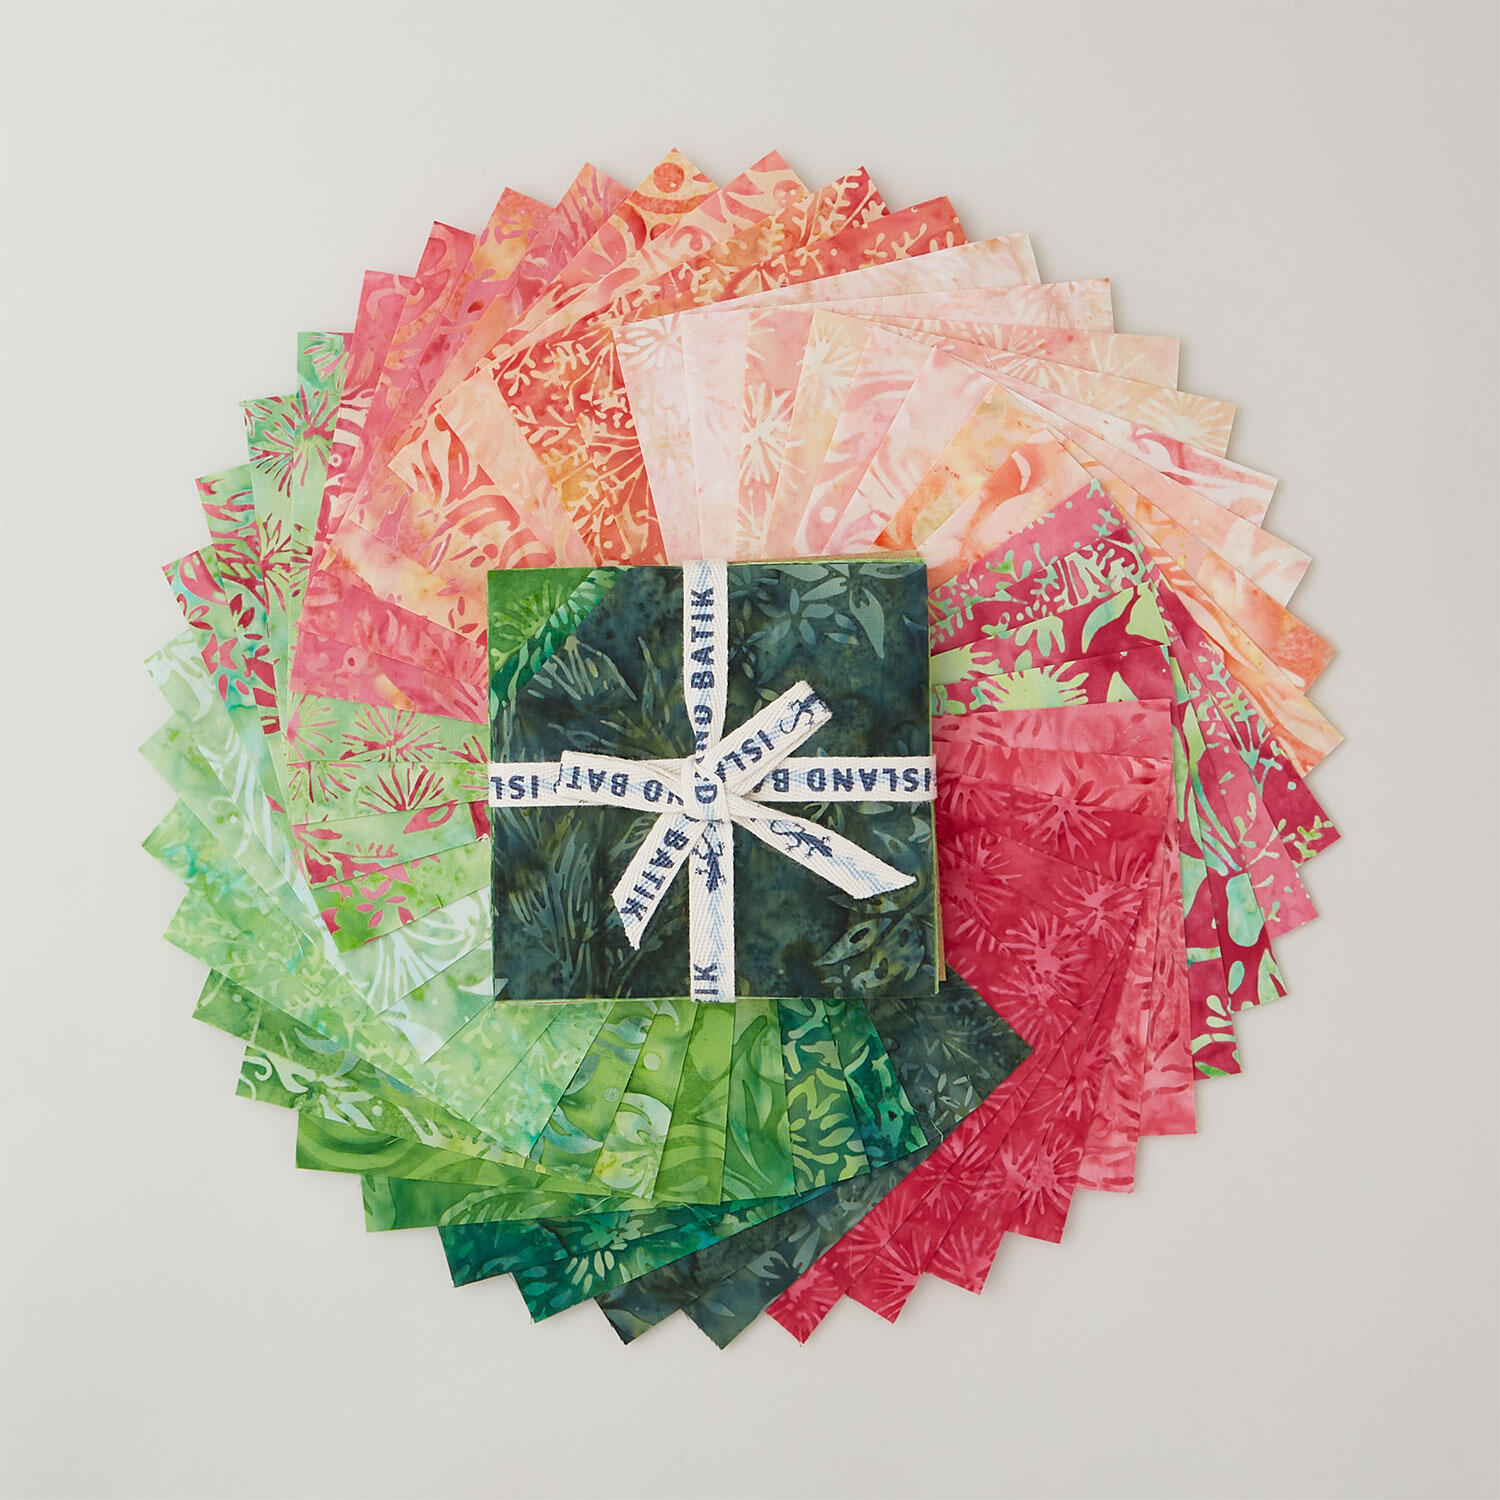 Everlasting Batiks Stamps$13.95Shop →
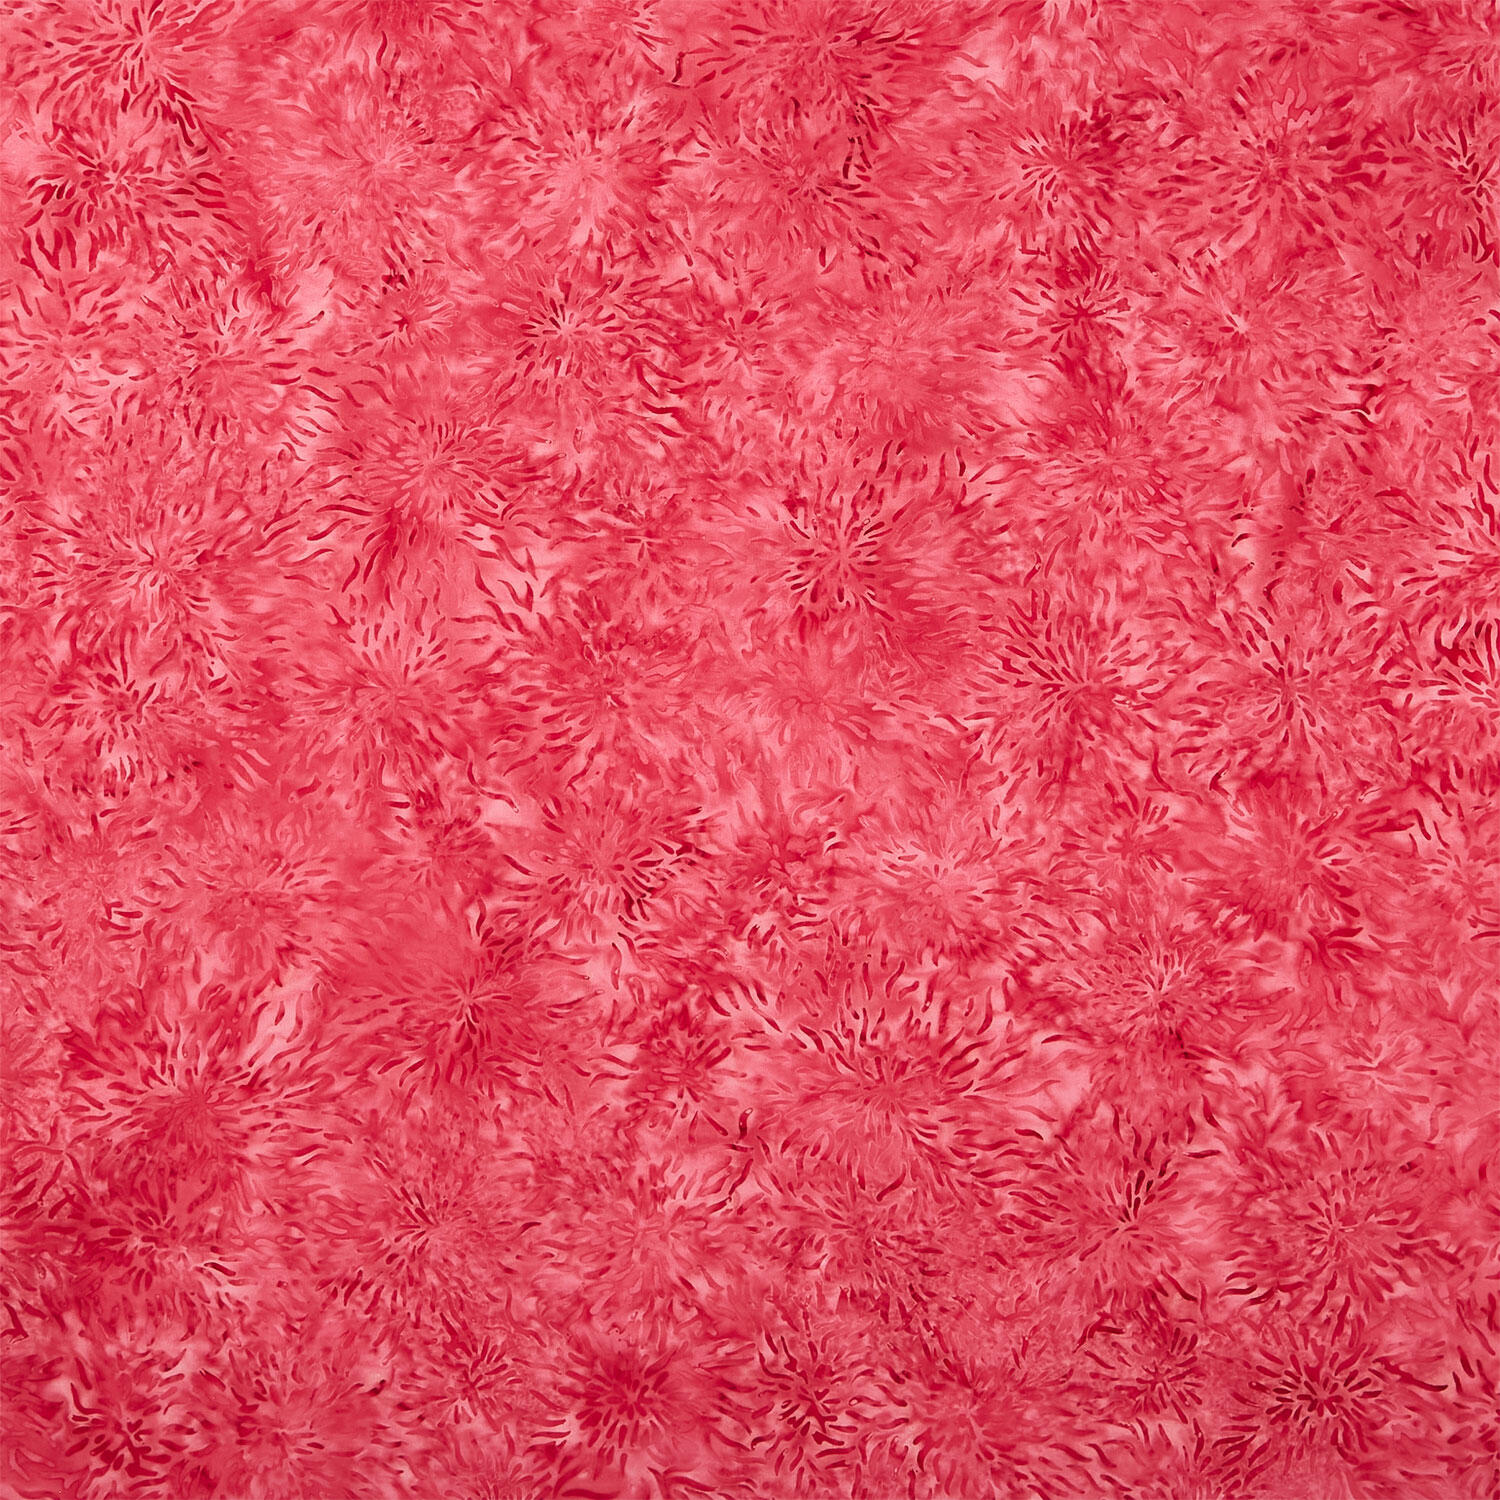 Everlasting Batiks - Starburst Pink Raspberry Yardage$11.92Shop →
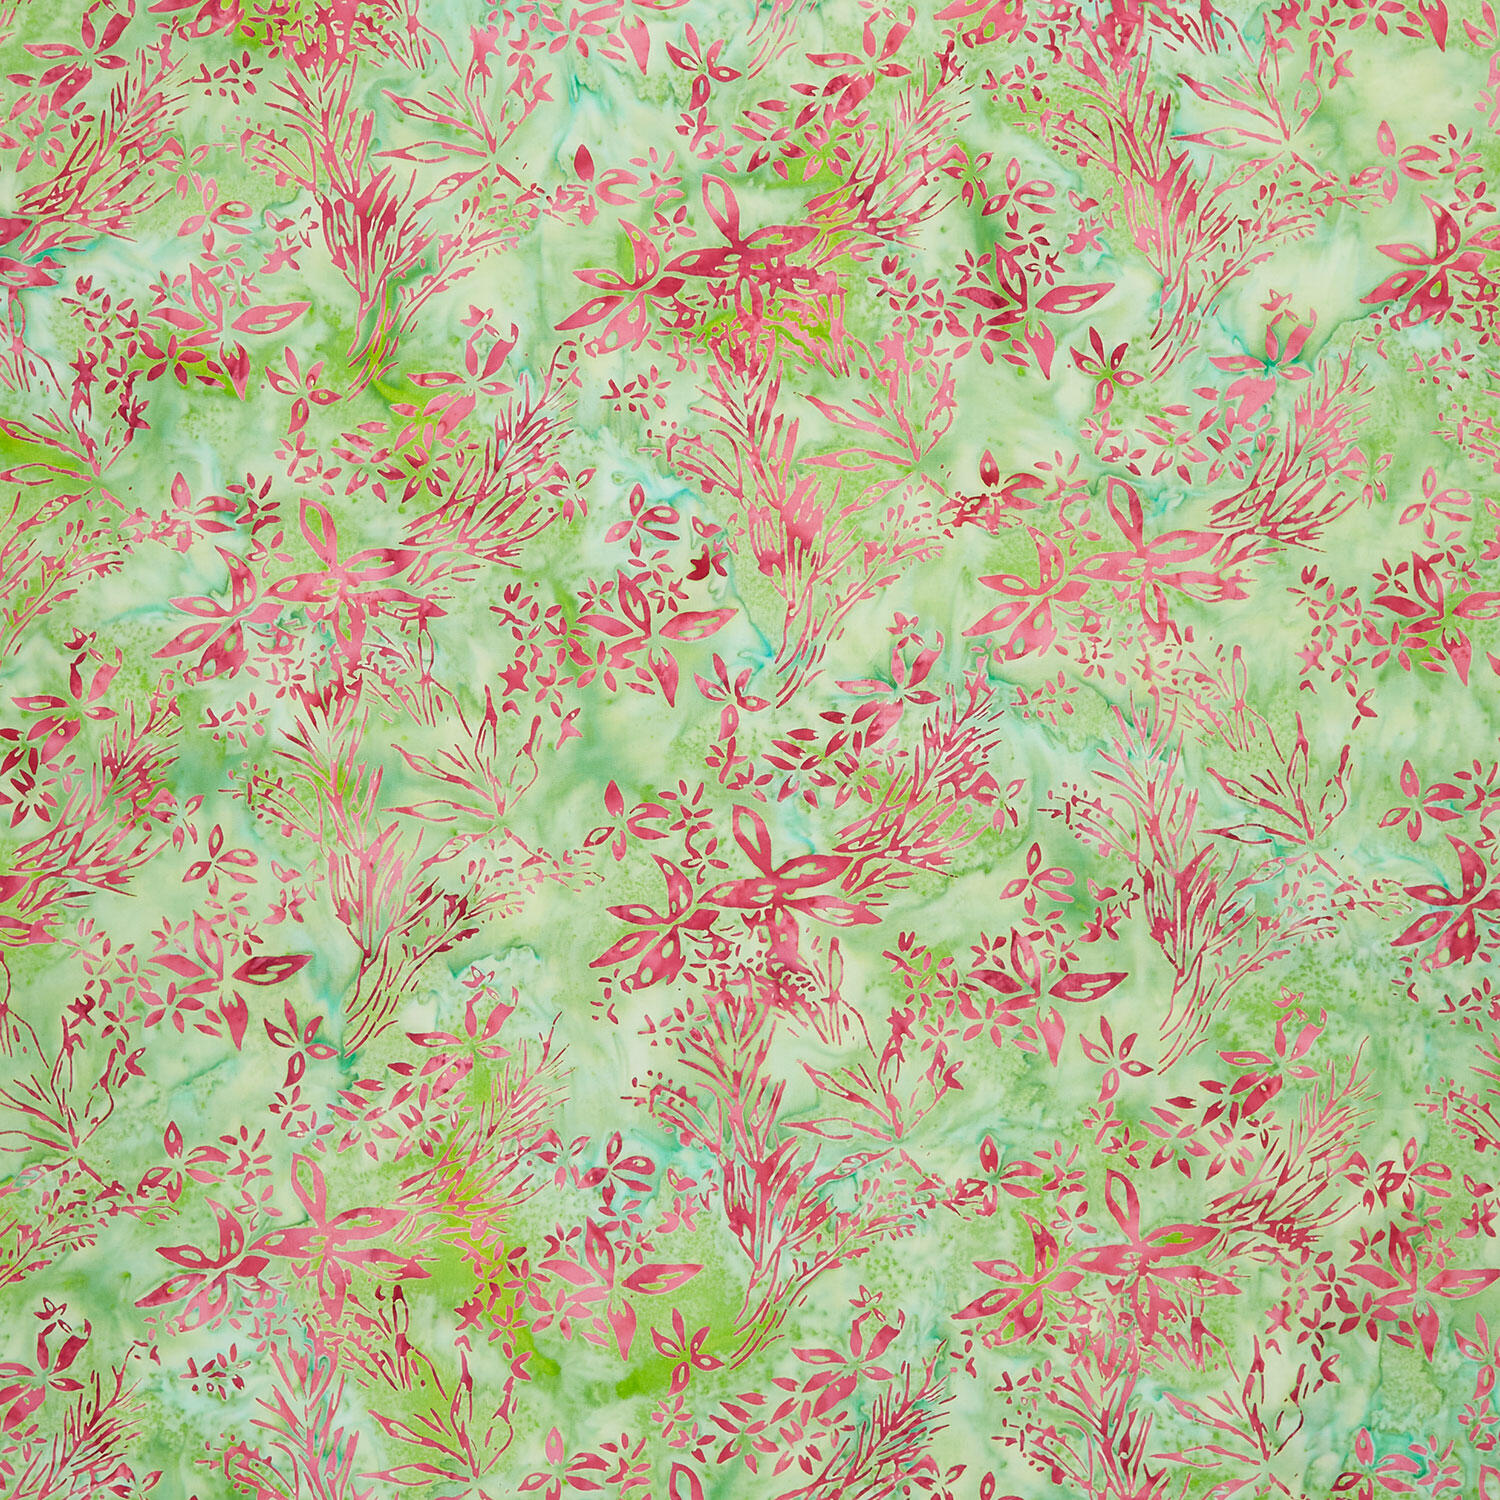 Everlasting Batiks - Wildflowers Multi Pink Yardage$11.92Shop →
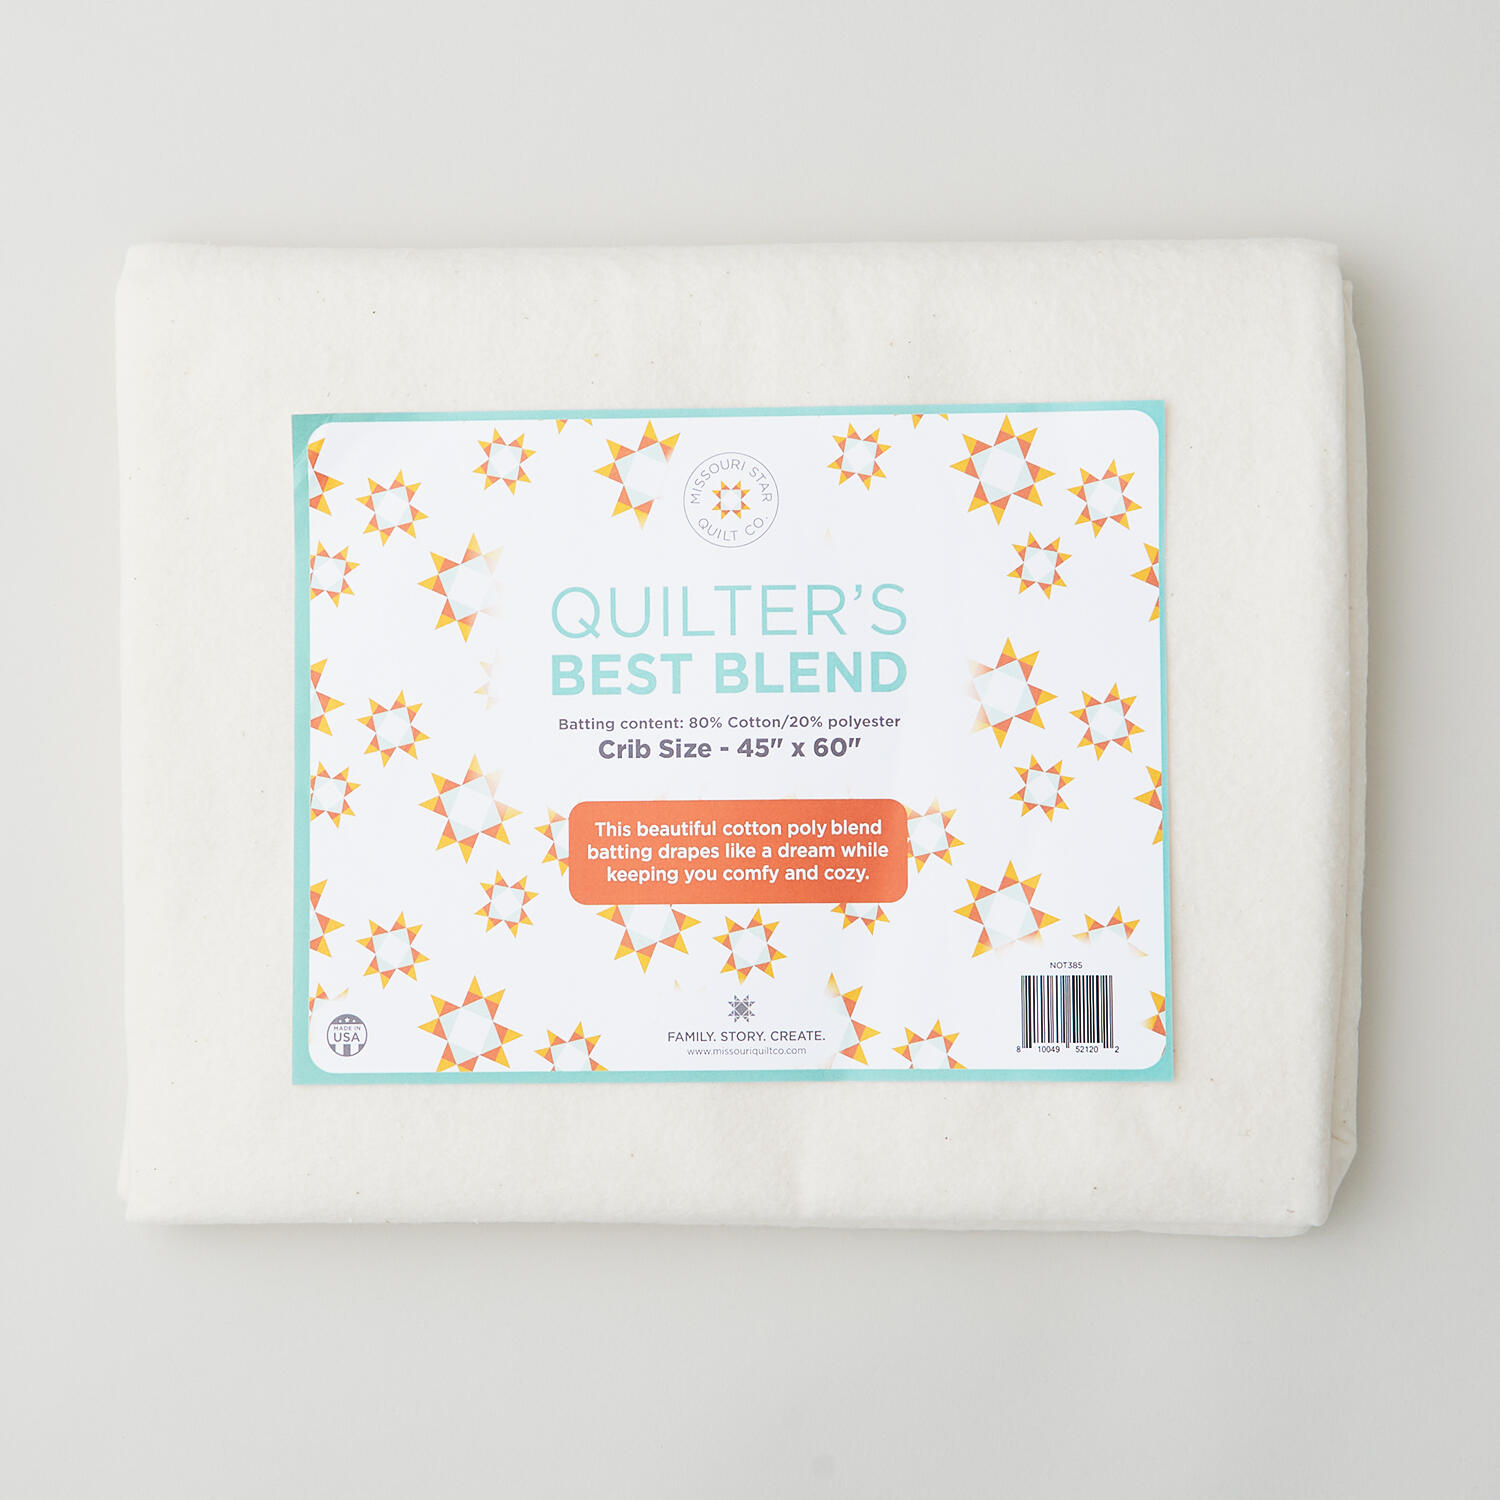 Missouri Star Quilter’s Best Blend Crib Batting$14.95Shop →
 Insul-Bright$9.25Shop →
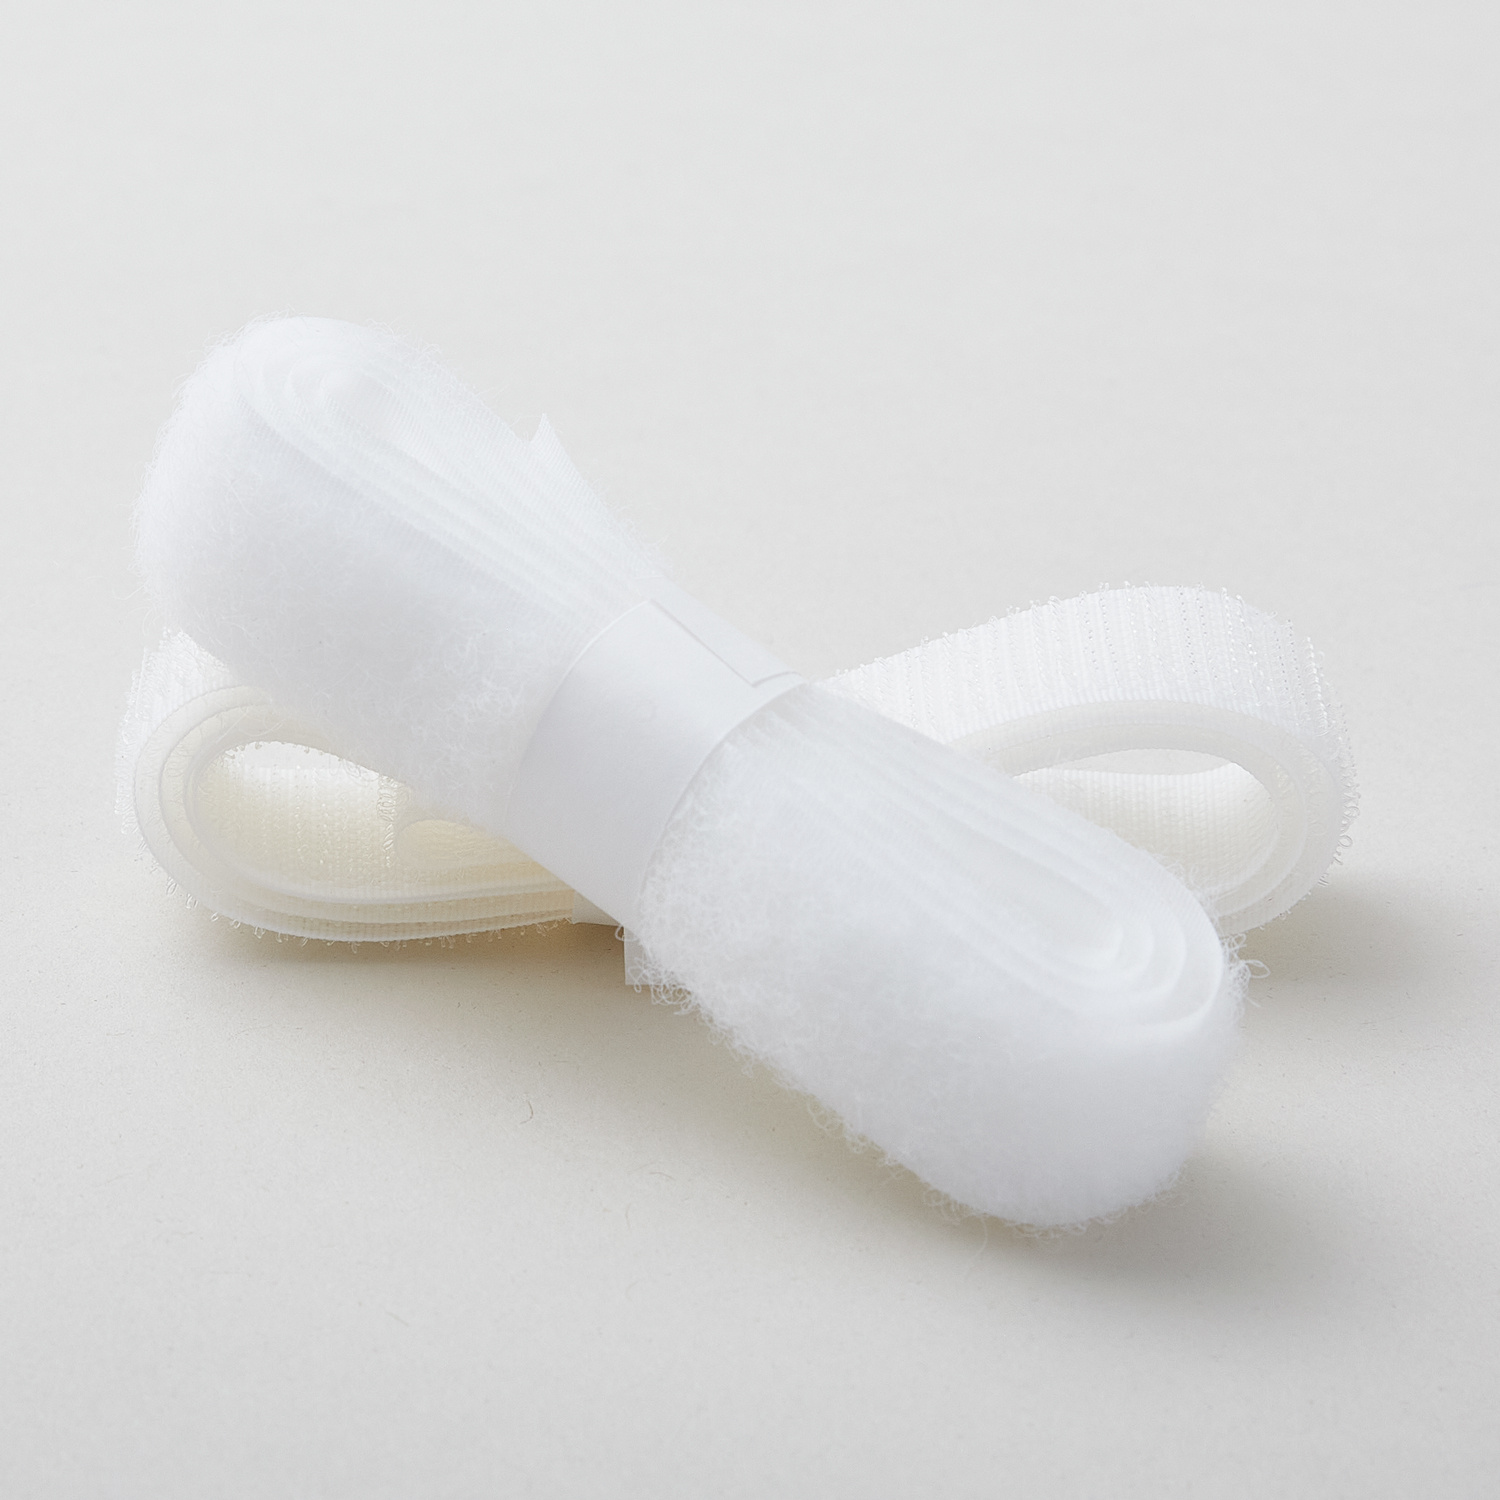 Velcro® Brand Fastener Regular Duty Strip White 3/4" x 30"$3.75Shop →
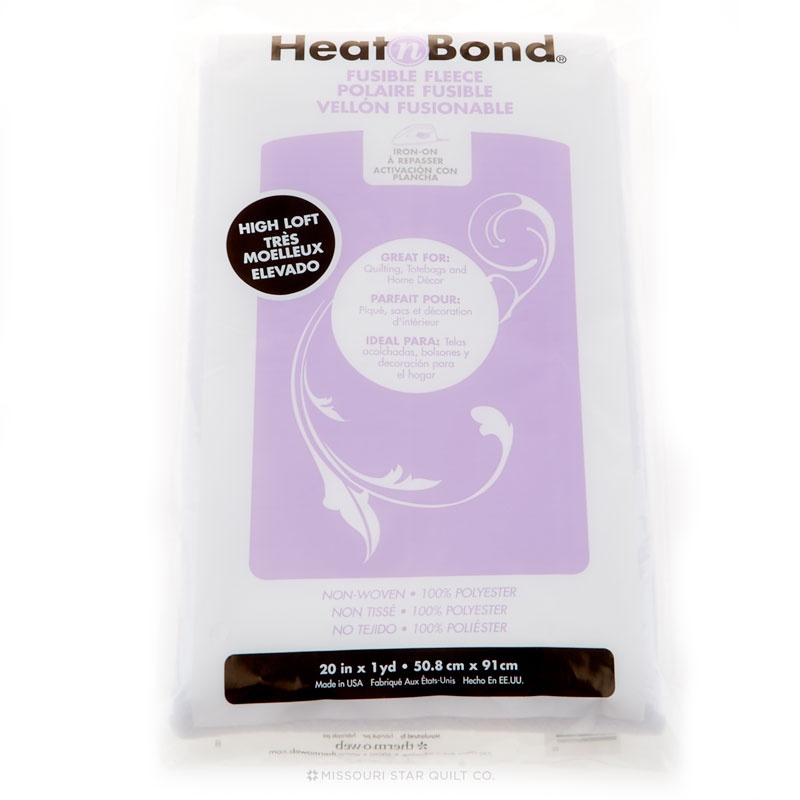 Heat N Bond Fusible Fleece 20" x 1yd$6.25Shop →
 Missouri Star 45mm Rotary Cutter - Olga$19.95Shop →
 Missouri Star 50 WT Cotton Thread White$7.95Shop →
 Missouri Star + Oliso TG1600 ProPlus Iron$209.95Shop →


