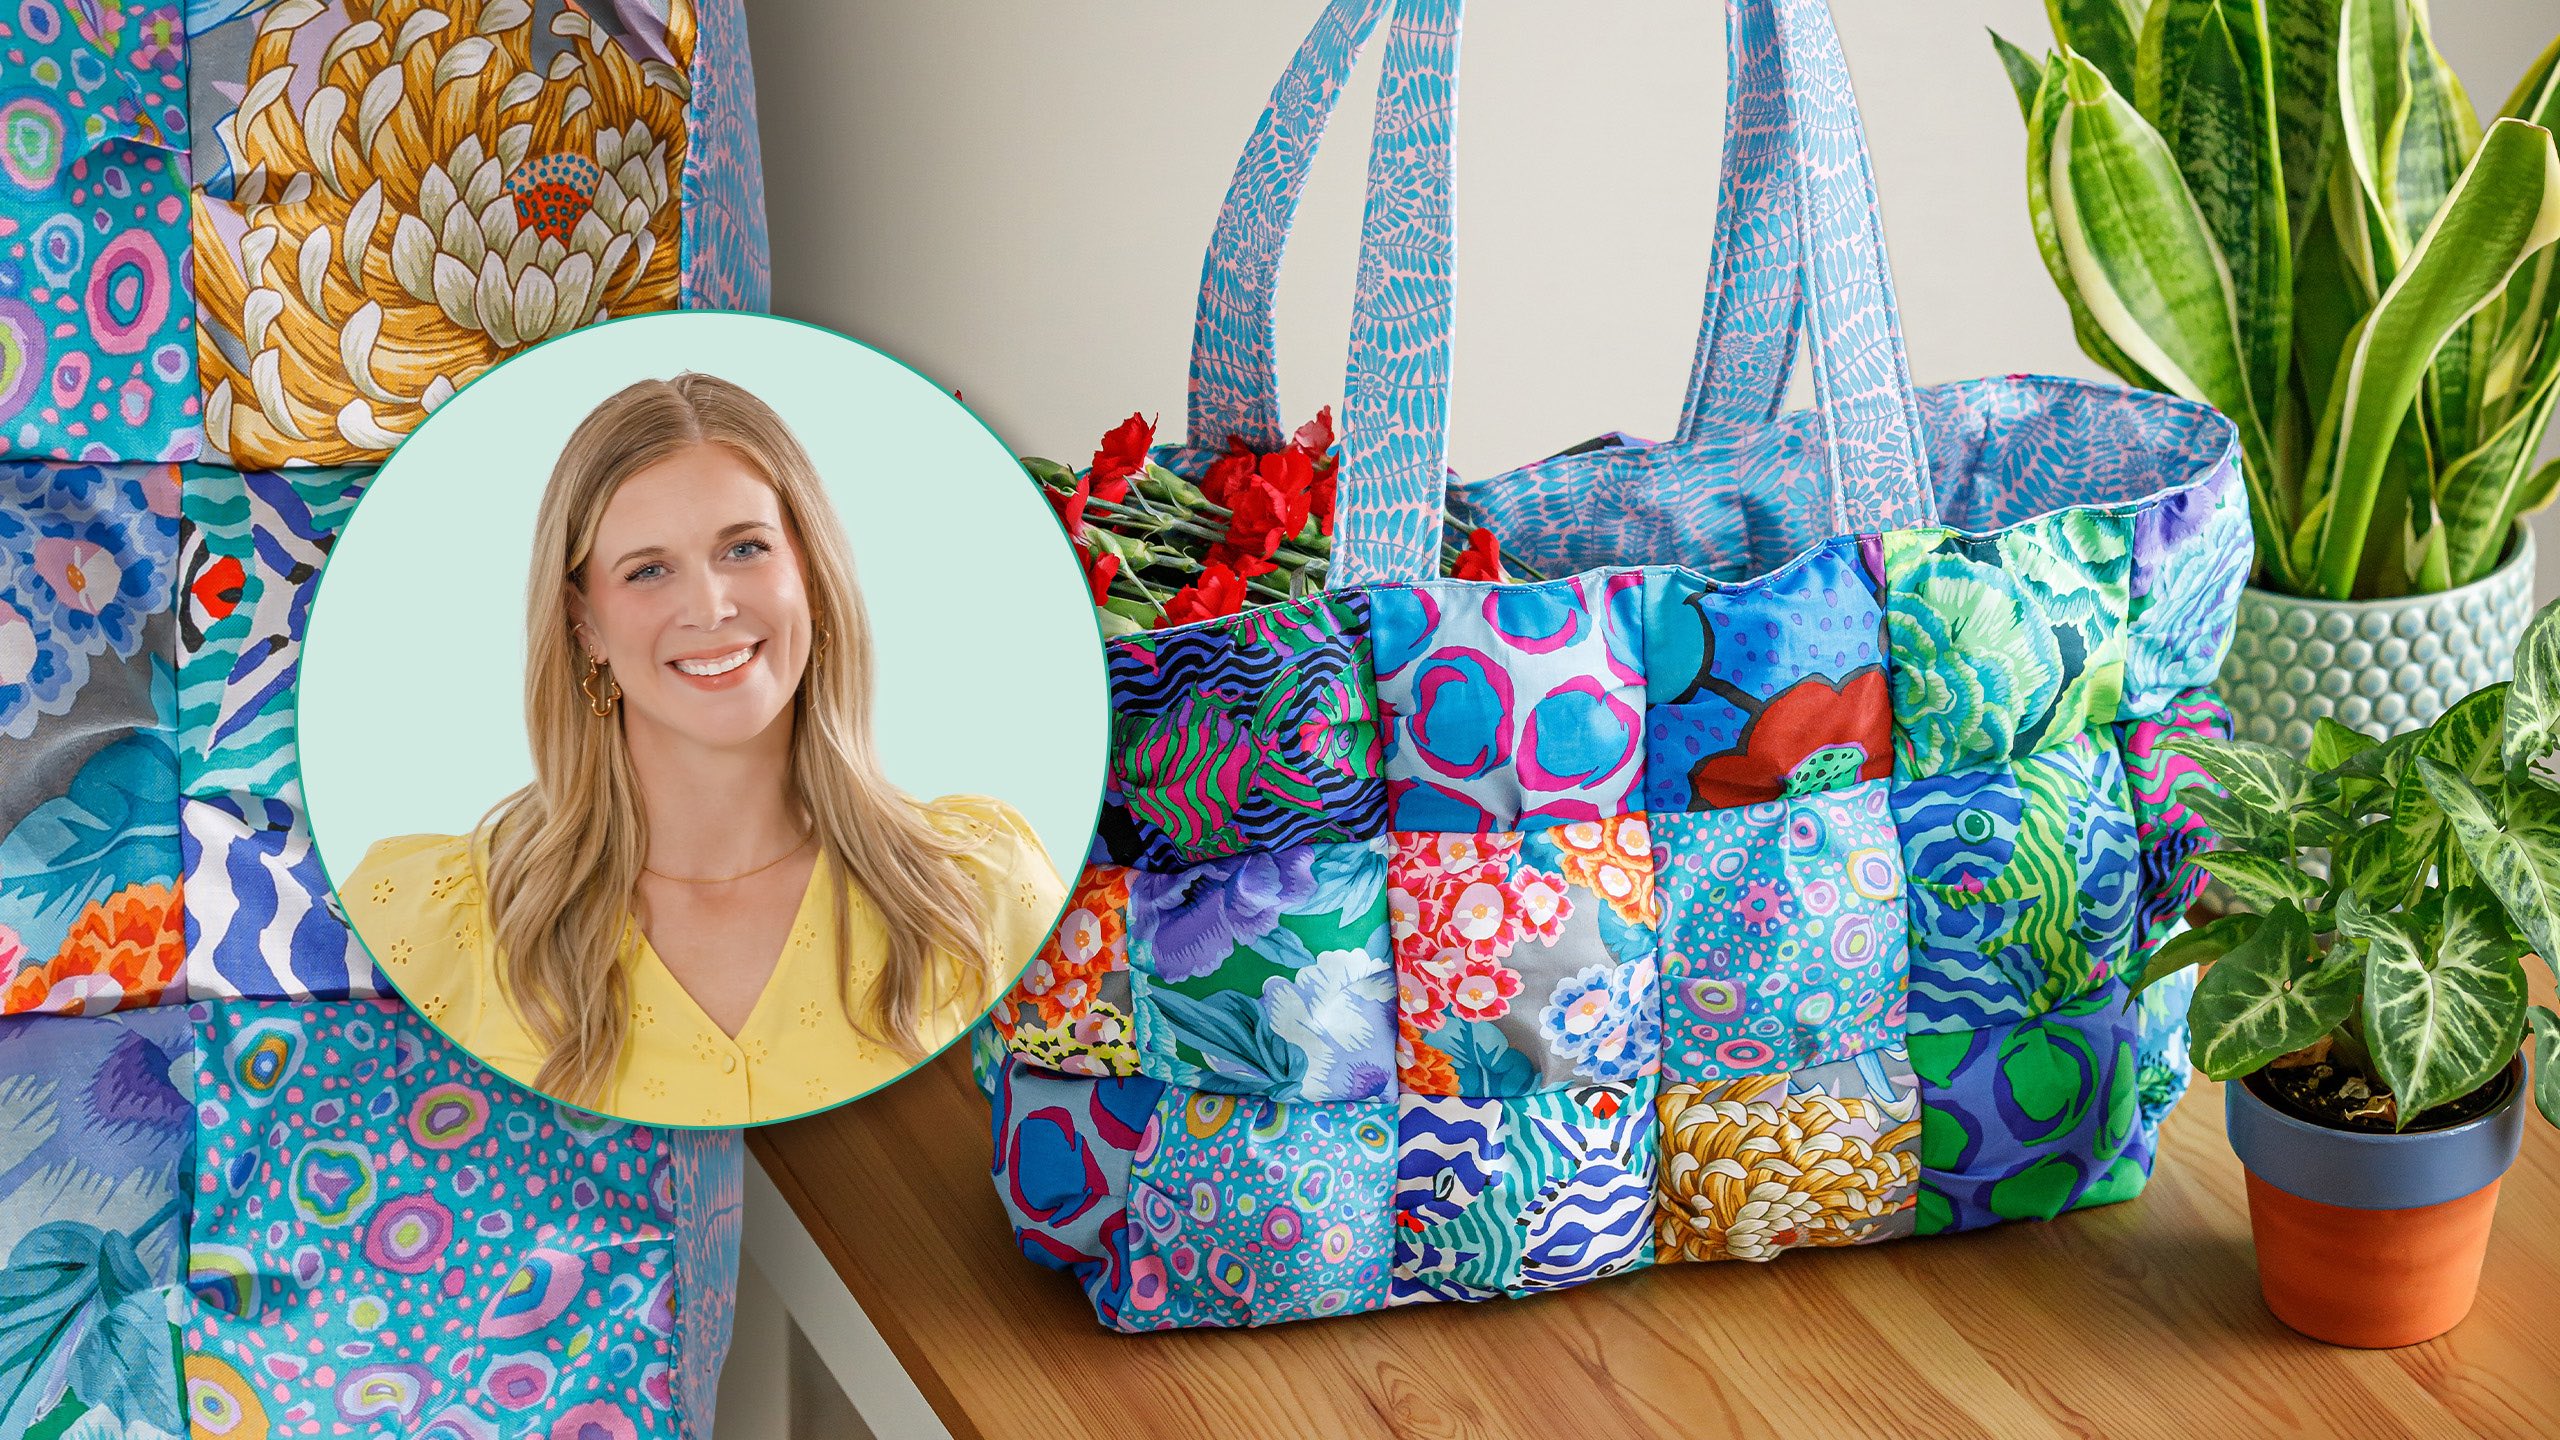
Designer style is in the bag! Misty makes a fun, puffy tote bag using a charm pack of fabulous prints from designer Kaffe Fassett's August 2025 Collective. Kaffe's signature bold prints along with the unique style of this tote make it a real showstopper!
Misty Doan grew up surrounded by sewing and quilting. She loves spending time sharing tutorials each week each week, and when she’s not stitching up one of her fun sewing projects for home decor, most likely you’ll find her hanging out with her husband and three awesome kids or working on a house project.
Designer style is in the bag! Misty makes a fun, puffy tote bag using a charm pack of fabulous prints from designer Kaffe Fassett's August 2025 Collective. Kaffe's signature bold prints along with the unique style of this tote make it a real showstopper!
How long is the tutorial video?
The tutorial video is 00:34:02.
Are supplies listed for this tutorial?
Yes. The tutorial page includes the supplies and materials connected to this project.
Video Transcript
Hey everyone, welcome to At Home with Misty. I have a really fun project for you today. We're going to make this adorable charm puff tote. It's so simple, you're going to love it. [Music] [Music] To make this adorable puff tote, you are going to need one package of 5 in squares. I have used the K Facet Collective August 2025 cool collection. So, just pick something that you love. You're also going to need 2/3 yard of backing fabric. This fabric you are not going to see at all in the finished project. So, I just used white, but if you have something in your stash that you don't love, this is a great place to use it. You'll need 1 and 1/2 yards of accent fabric. Make sure you do love this. This is going to make the handle and your lining. In addition to that, you are going to need some polyfill, a package of single-sided boozil, a little bit of Pelon shape flex, and a zipper. So, let's get started. Up first, we are going to make the little puffs that make up the outside of our bag. So, grab those 5 in squares, and then from that uh backing fabric, remember the hidden fabric, we are going to cut that into 4 and 1/2 in squares. So, I've gone ahead and done that here. And then we are going to just pick a few from our pack. Let's get some fun different prints here. Here we go. And so we are basically going to make a little pleat. I'm going to start by lining up the corners even though this is a little bit larger. And then I'm just going to fold this so that we have just a tiny little tuck so that my sides match. And I'm going to go ahead and take this to the machine. I'm going to stitch this down. And then I'm going to pleat just in that way on three sides. And you'll do this for all of your charm pack. And then we'll come back and we'll add the polyfill. So let's go ahead and take this to the machine here. And we'll do a couple at a time. This is a great project to kind of chain piece. You can knock these out pretty quickly. So I'm going to line that up first. And you do want to make sure you're taking um less than a quarter inch seam here, like an eighth of an inch, because we are going to then sew these together, and you want those seams to be hidden. So, I'll take a few and I'm going to match up this opposite end here. And I'm just going to let this fold over. And I've gone ahead and sewn off. And we can just continue around this again. Now I'm lining up this opposite corner here. Kind of just hold that in place. And this fabric will naturally want to make a little pleat to match up with that background. So we'll just let it do that. And one more side here. There we go. Okay. So, there is our little pocket that we have made. So, now you can see we have an opening here on one side. And so, we're going to grab a little bit of polyfill. In this case, less is more. So, just a small handful is going to be plenty because when you put these together, they get bulky really fast. So, I'm just going to fill that pocket. And now we're going to close it by doing the exact same thing we did before. Starting on this edge here, taking a few stitches and then letting that fabric pleat in the center to finish it off. You might want to back stitch at the start and stop since we have put some pressure on this, but we're going to catch it in other seams anyway. All right. So, that is how you make your little pocket with your 5 in squares. Pretty fun. And as you can see, I have a bunch done here. And so, let's go ahead and bring out the panels that we're going to make using these because the next step is to just sew these together with our regular 1/4in seam. And so, you're going to make two side panels that are laid out 2 by3 just like so. I have those ready to go. And then you're going to have your front and back panels that are 3x4. And so I have each of those ready. And for me, it was helpful to make them like this just so I could keep track of how many I had. But now we can essentially sew these all together into one long strip. So I'm just going to put these together right sides. Sew these all in one uh big section. And I'll meet you back here. When I start sewing these, I'm using a regular quarter inch seam allowance now, which is why we wanted that narrower seam when we were making the pockets because we didn't want to catch those in there. And also, when you're sewing to them together like this, that's when you'll really notice why less is more with that polyfill, because it's not hard to stitch these under the needle as long as you don't have them over full. And if you have too much fluff by one side of the needle, for example, you can just kind of shake it a little bit and move it out of the way. There's one. Now, we'll add this one here. And I'm just going to finish this off. And I'm actually going to sew it all the way around into a loop. [Music] All right. So, now we have made our continuous loops of puffs. How cute are they? I love it. we can go ahead and set this aside for a few minutes while we prep the bottom of the bag and all of our lining pieces. So, let's go ahead and make the base of this bag. And so, to do that, you are going to cut a piece of your lining fabric at 8 1/2 by 16 1/2. And then the boozel you're going to cut at 7 1/2 by 15 1/2. And you're going to go ahead and fuse that to the wrong sides of that base fabric, which I've done here. That just gives us a half an inch all the way around the bozel so that we don't have to worry about that bulk getting caught in our seams. But we are still going to be using a quarter inch seam allowance. So I have also marked the center points of each side of this base because we want to match that with the center seams of our puffs that we've made here. So let's go ahead and begin by turning this wrong sides out. I just had to show you how cute it was, you know. And so now we are going to line this up. And remember, we have four on the side here. And so that center mark that I've put on my lining fabric, I'm going to put that right on the seam. And we can pin that in place. And then I'll turn the corner here. And I have a center mark here that I'm going to put right on that side seam. This is just going to keep everything evenly distributed for us. And then we will turn and keep making our way around lining up the centers of our base and our bag. And one more here. And you can feel free to put more pins in if you'd like, but this was enough for me to feel pretty secure so that we can take this to the machine and start sewing. And so I am going to start a little bit away from this corner here just so that I don't have to fight with that at the beginning. And we will just start sewing. Make sure you back stitch here. And so we're just using our quarter inch seam. Just going to line this up under my presser foot. And again, I don't have to worry about the bozo getting in the way because I've given myself plenty of room. And we're just going to make sure everything is lined up. Looking good. Okay. So, I'm going to back stitch and then I'm just going to sew with a quarter inch seam until I get close to this other corner. And then I'll meet you back here to show you how to handle that. All right. So, as I'm approaching this corner, this takes a little bit of finesse. So, I'm going to back stitch here just so I can pull this away from the machine and show you really close. And so, what you can see here is that I'm going to have a little bit of overlap in this corner because of our quarterinch seam allowance. And so, you can kind of feel as you're approaching the machine. And you want to stop right as you get to that uh corner seam. And that should just be about a quarter inch away from the edge. So if it's helpful for you to mark a quarter inch box on those corners, you can totally do that. I do that by feel. And so I'm just going to get here to the corner, back stitch there so that I lock that corner in place. And then I'll pivot and do the same thing on each of the sides. So let's go ahead and do that. All right, we've hit that corner. So now I'm going to pivot again, lining up this side, starting right at that corner seam again. And we will just make our way all the way around our bag. [Music] [Music] Okay, we have attached the base. Now we can flip this right sides out. This is a great chance to just make sure that you've caught all your seams. You didn't miss anything. Looks lovely. Look at that. It's already starting to take shape. And so now we can work on the handles. So for that, I have cut two strips of bozel at 1 1/2x 27 in. And then from your lining fabric, you're going to cut two strips at 4 in by 28. So I went ahead and pressed this in half. And then I like to go ahead and fuse my bozel ahead of time. So, I'm going to take this over to the pressing mat here. And if you are not familiar with this, there's like a smooth side and then a bumpy side. The bumpy side is the adhesive. And so, we're going to take the fold that we pressed and we are just going to nestle that up to the side of our boozle. You're kind of working blind. So, if you don't love this, there's, you know, there's different ways you can do it. You can also turn your edges under and just secure it like inside with the sewing machine, but this is the way I like to do it. I think it's fast and it works out. So, I'm just using that center fold and lining that up with the edge of the bozel. Making sure I have about a half inch on both sides. That feels right. So, we've got a hot dry iron and we're just nestling that bozo right at that center fold just to make sure it's running down the middle and it's secured. And so, we have that all secured here. And so, now we're going to turn under this opposite edge a quarter inch and we'll press that under. Me move this over here so I'm not constantly juggling it. So, we'll just go ahead and you can measure this or just eyeball it. I usually just eyeball it. And we're just going to turn down this edge here. Slide this. Okay. Make sure it lays nice and flat for me. Okay. And so now I'm going to grab some Wonder Clips or some pins. I like to use clips for this. And we are going to fold over this edge and then match the opposite side and pin those in place. And then we will just make our way all the way down to make sure that those are nice and secure. So I'll go ahead and pin all of this and I'll meet you back here. So I have clipped this entire edge and now we're just going to run about an eighth of an inch seam to make sure we enclose that whole side under our sewing machine. And then I'm going to flip this around and do the same thing on the other side just so they match. So let's go ahead and take care of that. And I will just pull my clips out as I go. I keep my little bowl handy right here next to me. And like here, if I need to adjust and line up, I can do that as I go. This is another opportunity also if you have some fun decorative stitches on your machine, you could use one of those for your handles. [Music] All right, that first side is all stitched. So, we're just going to flip it around. Do the same thing on the other side. This one's going to go much faster because we don't have anything to secure. It's just for aesthetics. All right, there we go. Our handle is all done. I went ahead and finished up the other one already. And so now we can clip this in place on the outside of our bag. And then we'll be ready to move on to the lining. And so let's go ahead and we remember our side panels are the 4x3. And so I am just going to clip the bag in place or the handle, excuse me. right at the first seam from the edge. So, I'm going to find the center of that handle. Make sure we're not twisted. And we're just going to clip these in place for now until we have the lining all done. So, one on that side. Turn it around and do the same thing on the other side. Just make sure I've got them right. There we go. And there we go. Alrighty. Now we can move on to our lining. All right. So, let's dive into the cuts we need to make for our lining fabric. So, you are going to cut two pieces for your inside pocket at 8 in x 10 in. You are also going to need your bottom piece that is 8 1/2 by 16 1/2. You need two side pieces at 8 and 1/2 by 12 and 1/2 and two for your fronts and backs of the bag. Lining that will be 12 1/2 by 16 and 1/2. So those are the cuts that you see here. So on everything except for the pocket pieces, we are going to cut our interfacing a half inch smaller in both directions. So you see I went ahead and fused my interfacing here onto the wrong sides of my fabric and it's a quarter inch smaller on all four sides. And so that's what you're going to do to prep this at the beginning. And then we're going to move on to adding that zipper pocket. So I have started this a little bit here. And so you can see here's one of my 8x10 in pocket pieces and I've put it right sides together on one of the side panels of the bag. And so to begin with, what I did is I pressed this in half, both pieces, and found the center line of that and then also of the pocket. And so I lined up that press line. And then you're going to measure down 2 in and that's where you're going to place the top of the pocket fabric. So you can see that's where that is. So you'll come down an inch from the top of that pocket fabric and we are going to draw a line that is 8 in long. So, it's going to be one inch in from either end. Let me just draw this for you so you can see. There we go. And then we're going to come down a half an inch. We're going to do the same thing starting one inch in on both sides. And then we'll just finish out this little rectangle here, just like so. And then you can pin that in place. Do whatever you need to do. And you're going to stitch right on that rectangle that we drew. So I've done that already. It's already secured. And then you might be able to notice that I've also drawn a little line here in the middle. That's actually now my cut line. So I'm going to carefully use my straight edge and my rotary cutter. And this is just right down the middle of the rectangle that I drew. And I'm going to start about a half an inch in and end about a half an inch in from either side because I do not want to risk cutting through my stitch line. So, let's just make this cut here. There we go. And now we can grab some scissors. And we've got this little opening. And we're just going to make kind of a little Y towards that outside corner. Just again being careful not to go through your stitch line. So we're going to do that on each of these corners. Get as close as you can without trimming through them. There we go. And one more. All right. Beautiful. Now, once we've done that, we're going to push this through our little opening that we've made. Turn this out. And I like to kind of finger press and make this line up right along those seams that we took. So, I'm going to do that first along these long edges. And then we'll take it over to the iron and really make sure it's going to lay nice and flat. But I find if I just roll these seams a little bit first, I have better luck. All right, that looks good. So, let's bring that over here. So, to begin with, again, we're going to make sure and roll this back because we want that seam to be right on the edge. And we can come in with the iron and just secure that. Give it a nice press. Hold it in place so it lays nice and flat for you. And then we'll turn this around and do the same thing on this other side. There we go. It's kind of a fun little trick. Okay. Beautiful. And so then now from the top we have this beautiful finished edge and we're ready to add our zipper. So let's go ahead and do that. I'm going to press this from this side one more time just because I want it to be nice and flat for us. So take your time here. It's just going to be difficult, isn't it? Okay, close enough. All right, so now we're going to grab our zipper. I'm going to go ahead and move my zipper head down a little bit. And I like to put a little pin or something to keep the edge of my zipper still secure. So I'm going to grab these. Again, I just don't want this to flare on me. So I just run a little pin through here. And that just keeps those edges together. And then I'm going to lay this right in here. And I like to put a pin again just to make sure we're nice and straight across here. Make sure it's peeking out of our little opening. Oops, I might have got it a little too high there. So, let's actually start from the top. Make sure I'm happy with it. You can use something like zipper tape or something to secure this temporarily if you have it. I know a lot of people don't. So, you can totally make this work without it. So, we'll just put a couple pins along one side here just to keep this from shifting until we've secured the other side. And we just want that zipper to run right down the middle of that rectangle that we've made. So, I'm going to go ahead and do that. Lovely. All right. And then now I'm going to stitch about an eighth of an inch away from this opening. If you have a zipper foot, it's a great place to use it. And we're going to go ahead and go on these three sides. And then I'll pull out these and make my way all the way around the zipper. Just again, make sure that your zipper head is in the middle because you will be sad if you have to pick this out. All right. So, I can just slide that zipper pull out of my way until I get a little bit farther down. And then we'll slide that back up. Sometimes you have to lift the presser foot to move that. All right. Now, I'm going to pivot at the edge here. And I like to go over this. I like to back stitch all the way over it just because I really want to secure that zipper in there. That's just my personal preference. And now that I've secured that top side, I can pull these pins out because I know my zipper is going to stay where I want it. Although the zipper head tried to pop out on me here. Could have been bad. So, let's slide this back up towards the center. There we go. And now we can continue and finish out this little box. needle down. Slide that out of the way. Okay. Okay. And we will pivot here and back stitch. All right, there we go. Look at our little zipper that's hidden inside there. I think that is such a fun little trick. And so now that we have that all secure, double check, make sure you haven't caught it and that it will open and close easily. We can trim off the excess ends here. So I'm going to come back and do that. We can toss those. And then we're going to find that matching piece. Remember, we cut two of these. And we're going to place right sides together. This is another place to use uh pins or clips, whatever is going to make it easier for you. So, I'm just going to line up these edges here. Pin these in place. Here we go. Okay. Now, one last little note that I want to make is I am going to make a little mark just to remind myself one inch in from each of these bottom edges because we are going to leave this bottom edge open. And this is how we're going to turn our bag at the end. So, I'm actually going to start here on this side. I'll back stitch really well. make myself all the way around and stop here. So, let's go ahead and take this to the machine and do that. And so, you'll just move this piece out of the way as you go so that you're only stitching through those two layers of your pocket. [Music] Okay, we have enclosed our little zipper pocket. And so now we only see our beautiful lining fabric. And you can see I've left that bottom open so that we can turn our bag in the uh out through that opening at the end there. So that's very important. Make sure you've done that. And so now, these pieces are going to go together exactly like the outside of our bag did. So, we're just going to join these narrow pieces in between each of our larger front and back panels, and then we will attach the bottom. So, I'm going to go ahead and do that just like I showed you before, and I'll meet you back here when it's all done. All right, we have sewn together our lining in exactly the same way. Remember, we pivoted on those corners so that those are all set in. We've finished up our pocket with that bottom open. And the other thing you want to check is to make sure that your zipper is open on the inside of this lining because we need to be able to get through here to turn the bag right side out. So, this is ready to go. I'm going to leave it uh right side out like you see it. And we're going to grab the outside of our bag and we're going to tuck this, including the handles, inside of our lining. And the bottom should nestle in with the other. So, just take your time. Make sure these are all lined up here because it will make it easier in the long run. And so then now the first thing I'm going to do is I am going to match up these corners, my outside corners. I'm going to put a clip there. We'll make our way all the way around here. But lining up those corners first just keeps everything where we want it and we don't have any weird twisting of our lining. And so then once we've done that, we're going to go back to where we clipped our handles and we're just going to make sure that we have the lining in there as well. So I'm just doing that. Turn it around to this side. And you can feel free to add any extra clips that you'd like so that you feel nice and secure about this. And so I kind of like to just put one at every seam. It just makes it really smooth and I don't have to worry about that fabric shifting. And one more. All right. And so now we are going to sew all the way around this top here with a quarter inch seam under the sewing machine. So let's go ahead and do that. Make sure you back stitch at the start and stop so that it's nice and secure. [Music] [Music] You'll notice I'm just kind of maneuvering the bag as I go around to keep the bulk from pulling on my needle. Make sure everything is secure. Just take your time with this. [Music] All right, we are almost back to where we began here. So, we're just going to back stitch really good there. Make sure it's nice and secure. All right. And so now we are going to turn this right sides out through our pocket. You just want to be gentle here as you go. So, you don't want to pop any of those seams. So, just a little bit at a time. You can see it does come through there with very little effort. And our bag is almost complete. All that we have left now is to press along this top edge and give it a top stitch all the way around just to give it a nice lovely finish. And then also once you finish that, you can secure your pocket closed. And then your bag is all done. Let's look at this one that I top stitched just so you can see. It just gives it a nice little finished edge all the way along the top. I think it's such a fun and easy tote bag to make and a great way to show off your personality. So, I hope you guys enjoyed this and I'll see you next time on At Home. Hey everyone, thank you so much for watching at home. We're so excited to be almost a million quilters strong here at Missouri Star. And so, if you haven't already joined our family, be sure to subscribe and hit that notification bell so you can be notified of all of our future tutorials. And we'll see you soon. [Music]


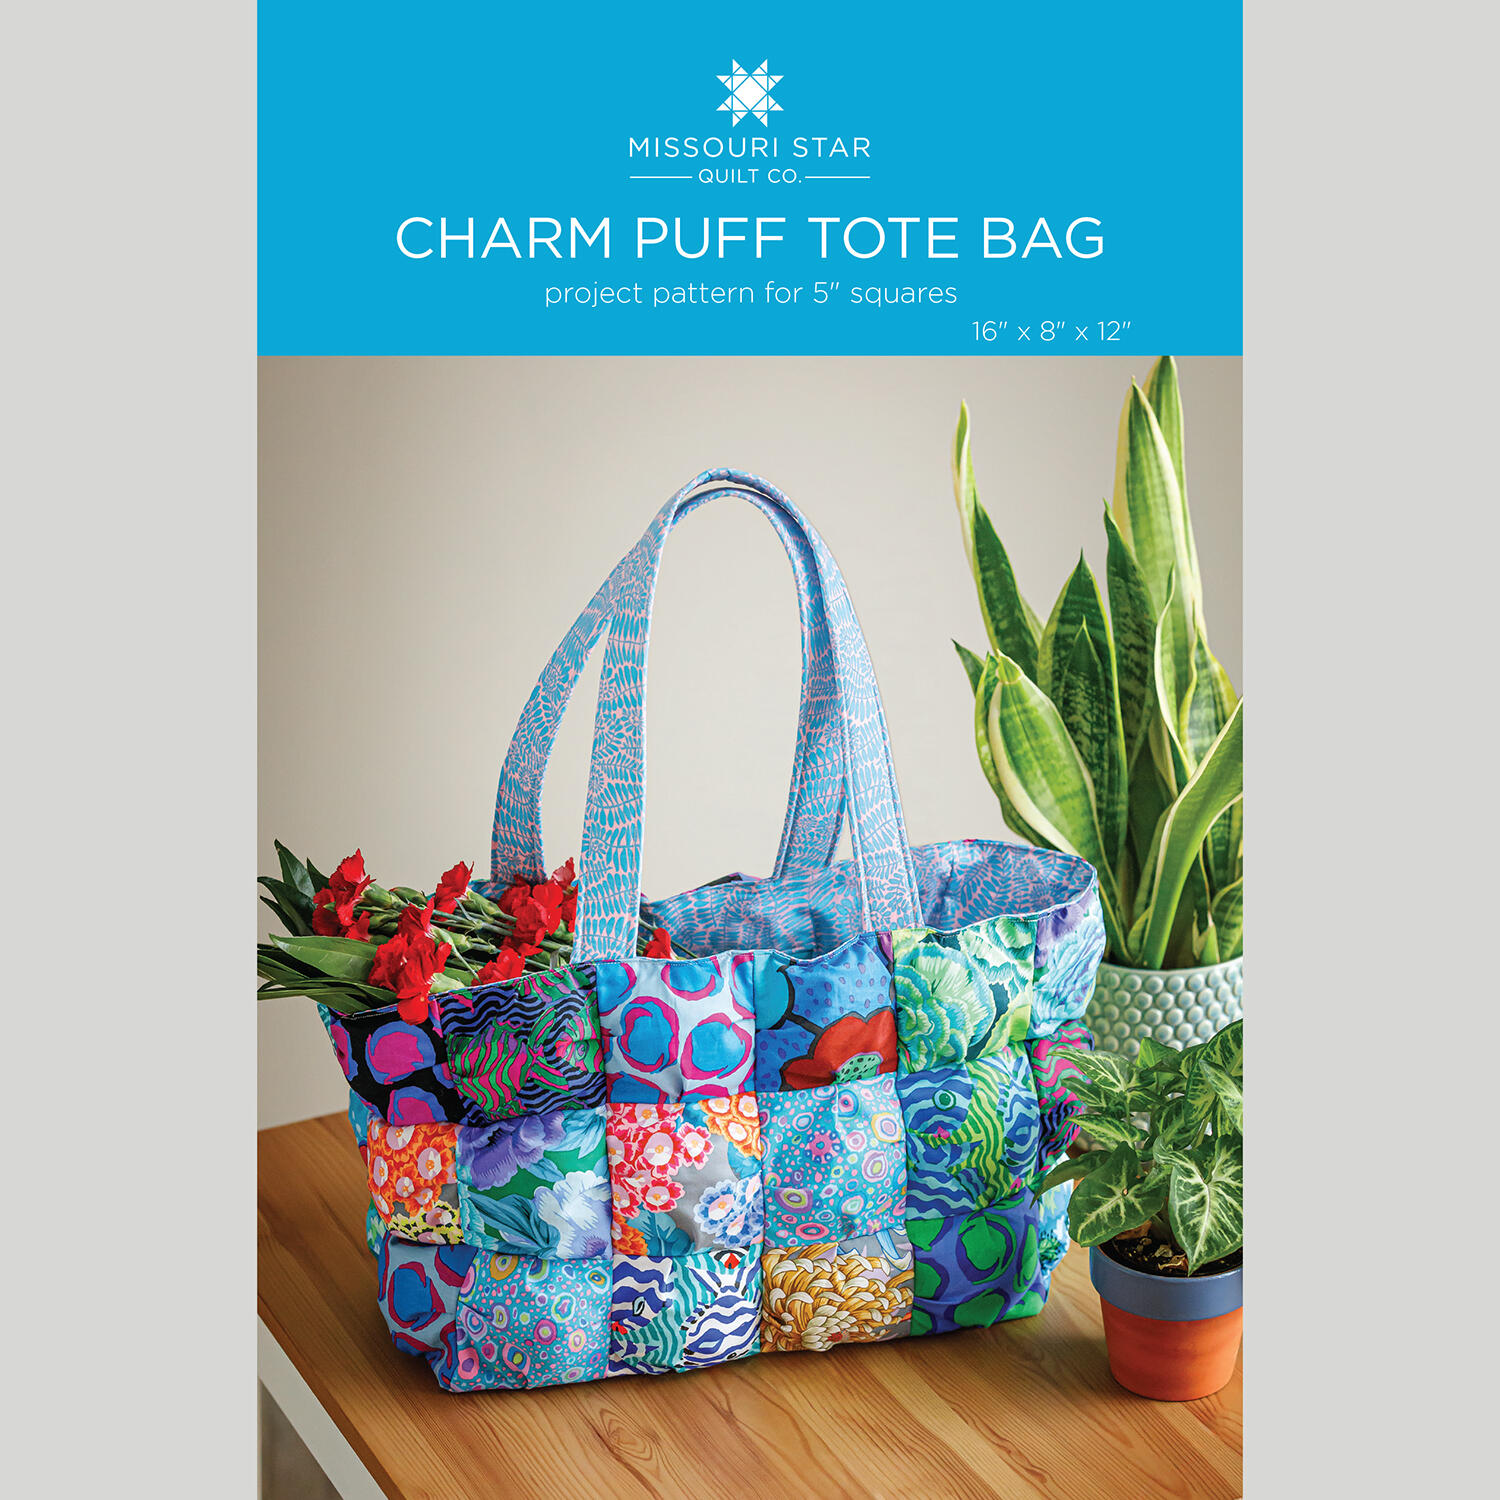 Charm Puff Tote Bag Pattern by Missouri Star$8.50Shop →
 Digital Download - Charm Puff Tote Bag Pattern by Missouri Star$6.95Shop →
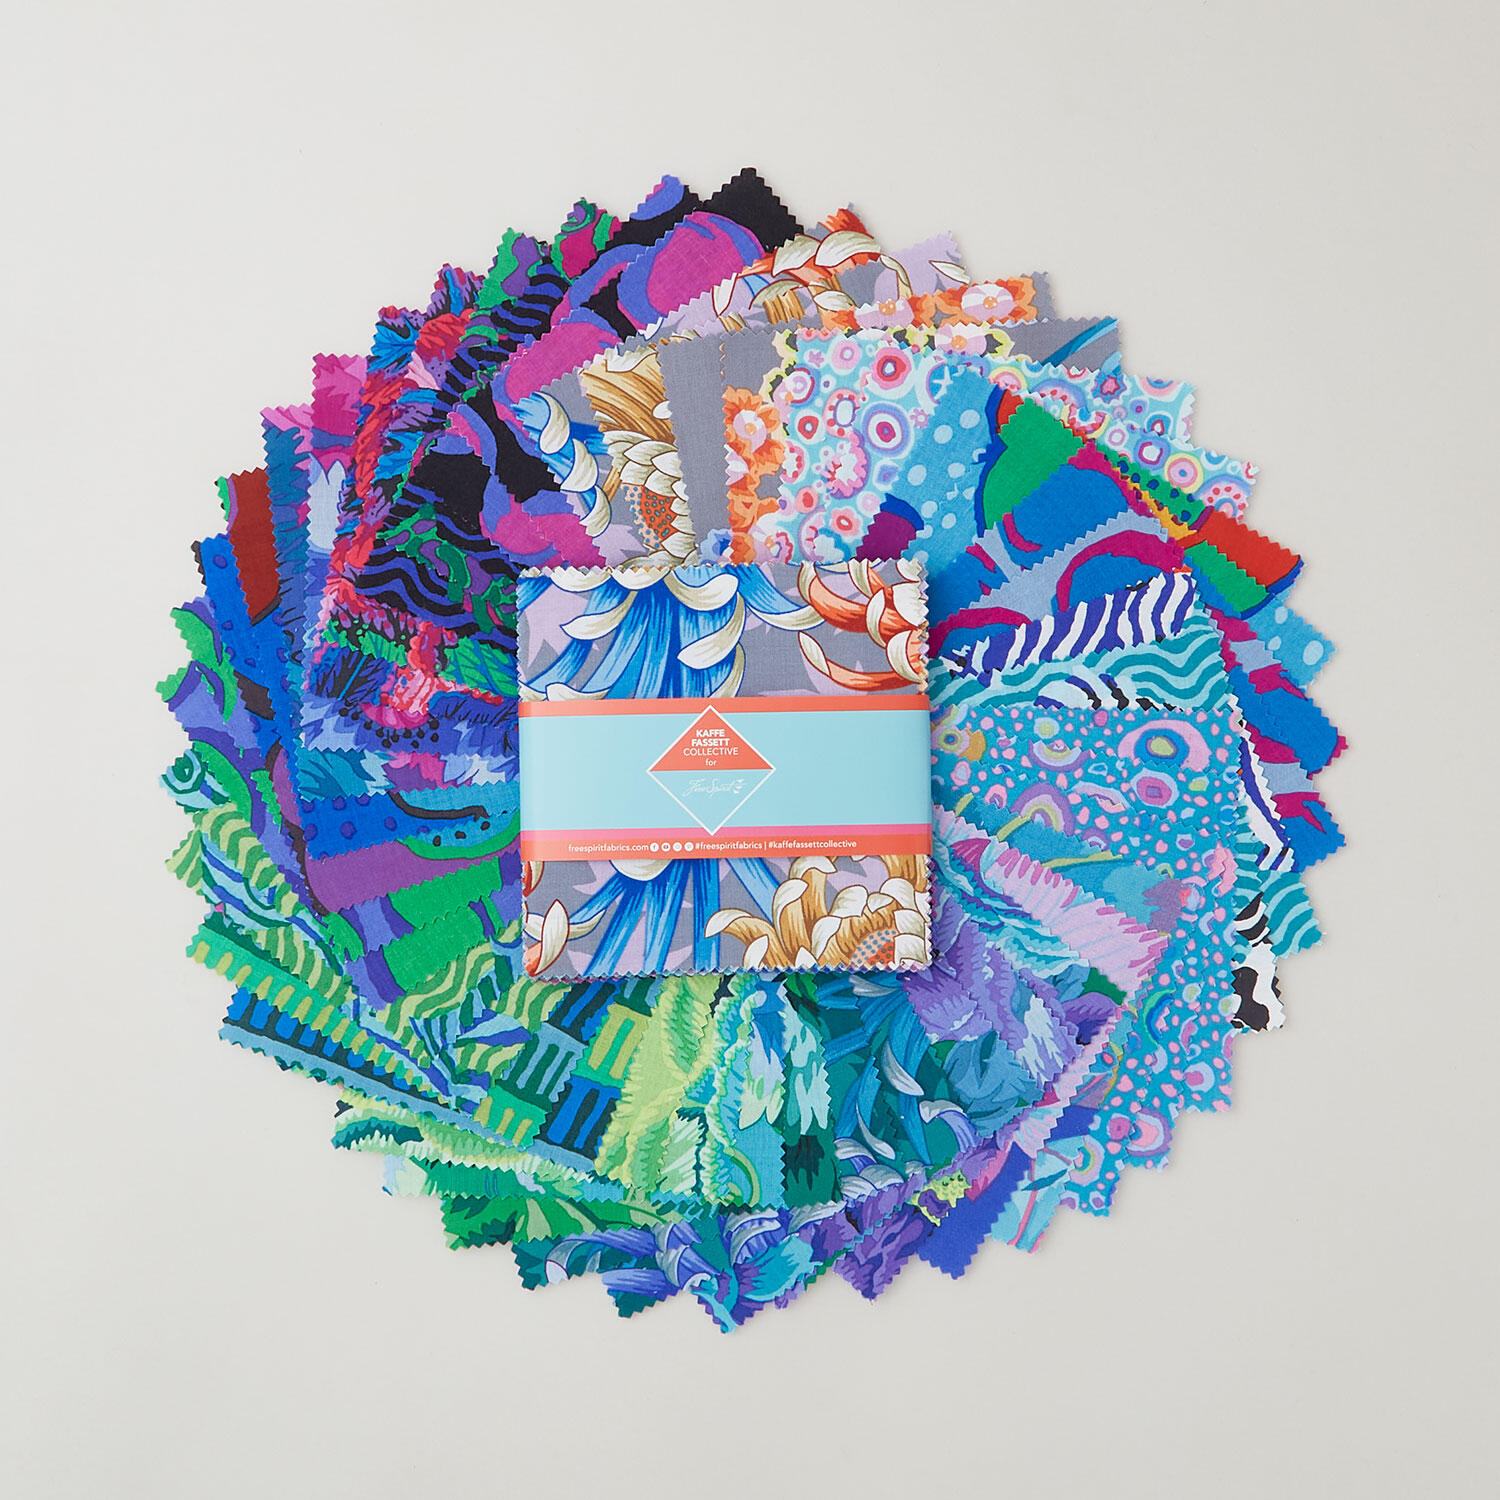 Kaffe Fassett Collective August 2025 Cool Colorstory Charm Pack$15.95Shop →
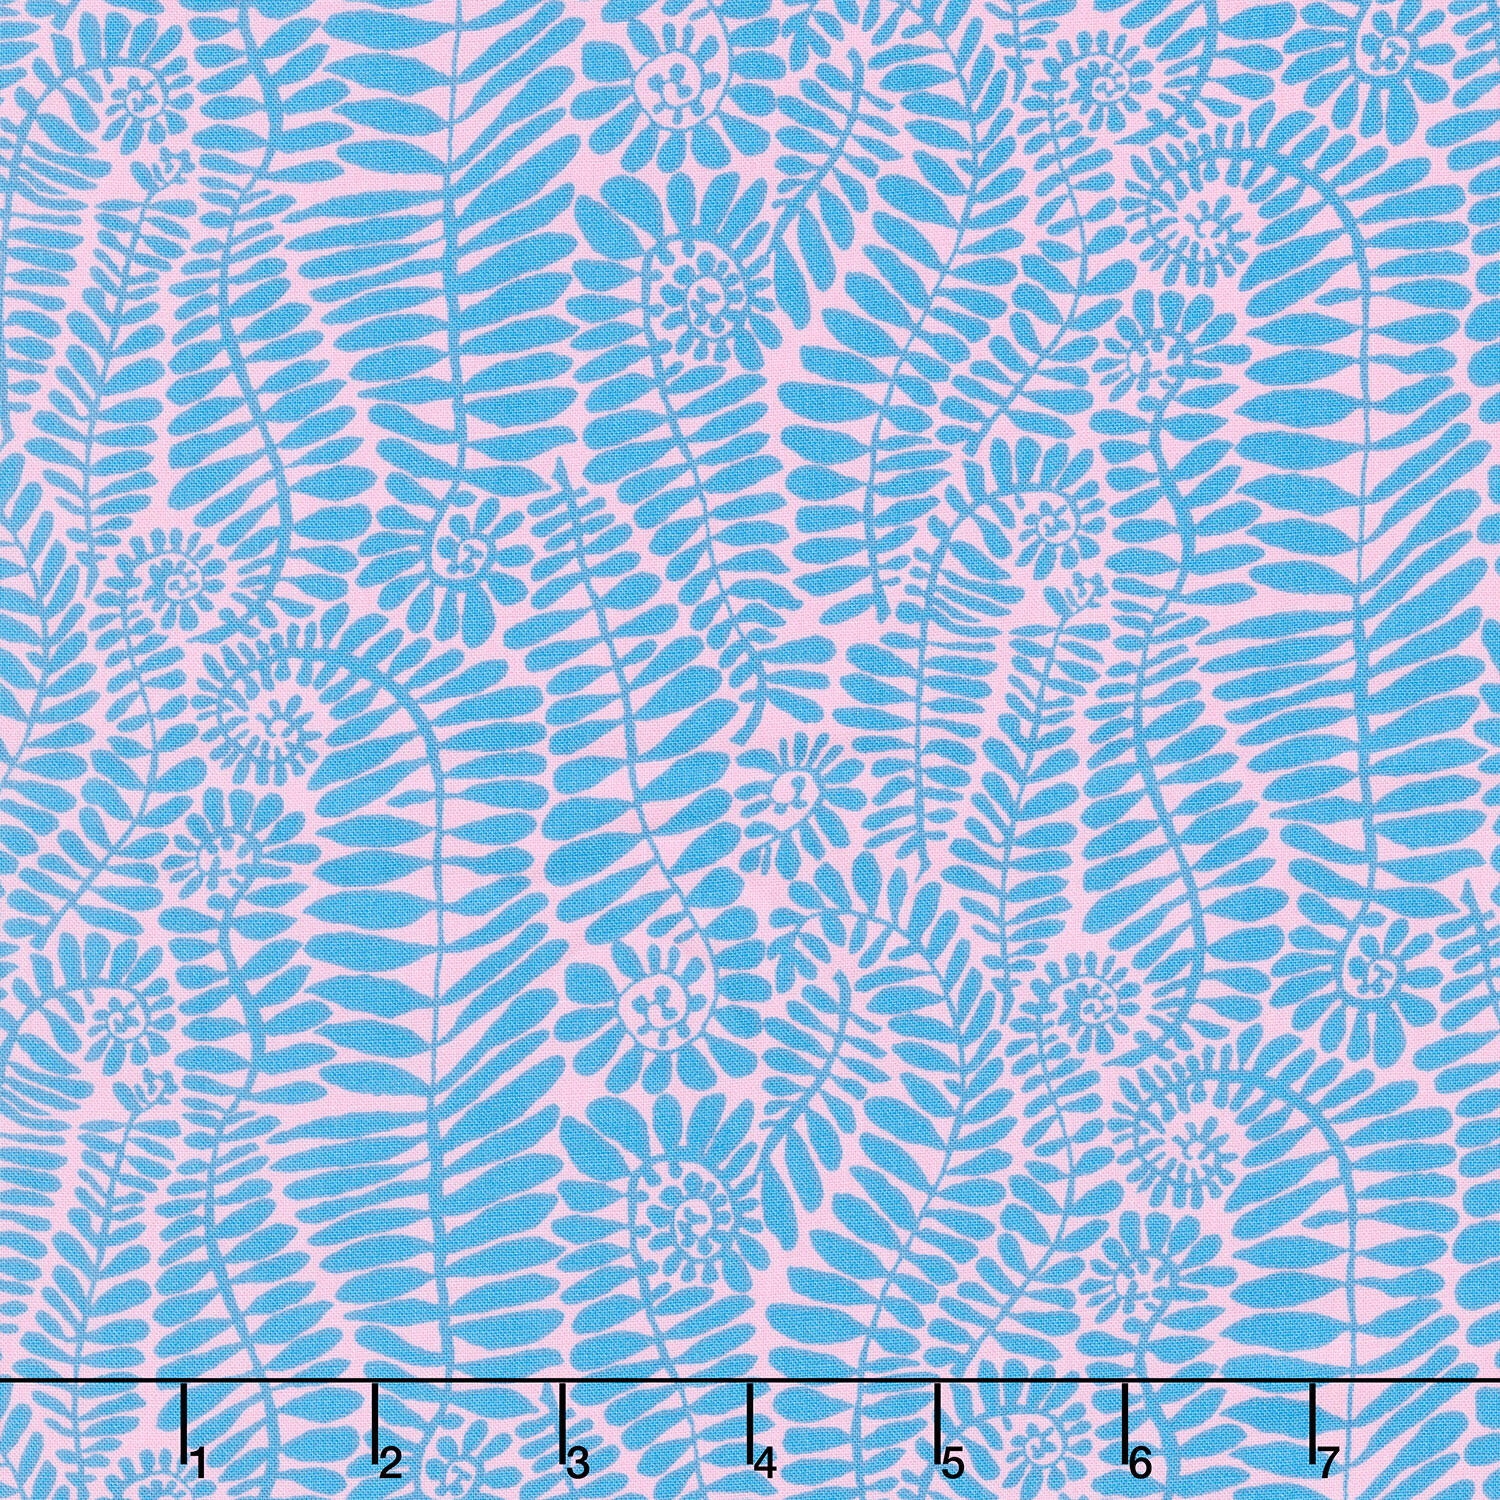 Kaffe Fassett Collective - February 2025 Contrast Colorway SM Fronds Summer Yardage$13.30Shop →
 Colorworks Premium Solids - Superwhite Yardage$8.12Shop →
 Pellon Shape-Flex Fusible Interfacing White Yardage$6.55Shop →
 Royal Wedding 14" Zipper$1.95Shop →
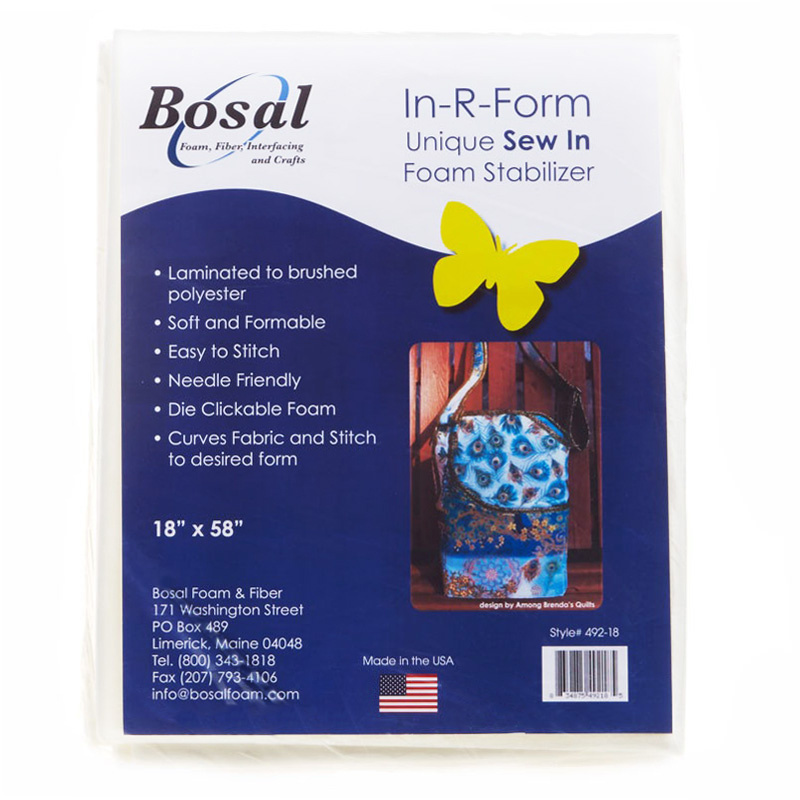 Bosal In-R-Form Sew In Foam Stabilizer 18" x 58"$11.95Shop →
 Poly-Fil Fiber 12oz$7.95Shop →
 Missouri Star 45mm Rotary Cutter - Olga$19.95Shop →
 Missouri Star 8" Everyday Scissors - Amelia$19.95Shop →
 Missouri Star 50 WT Cotton Thread White$7.95Shop →
 Missouri Star + Oliso TG1600 ProPlus Iron$209.95Shop →
 Missouri Star Wooly Betty Board - 17.25" x 25.5" Orange Border$99.95Shop →
 Baby Lock Accomplish - 1500 SPM Straight Stitch Machine$1199.00Shop →


