Checked Wedding Ring Quilt
 Eddie Walker
- Honey Buns
- Holiday
- Double
- Quilt size 74" × 74"
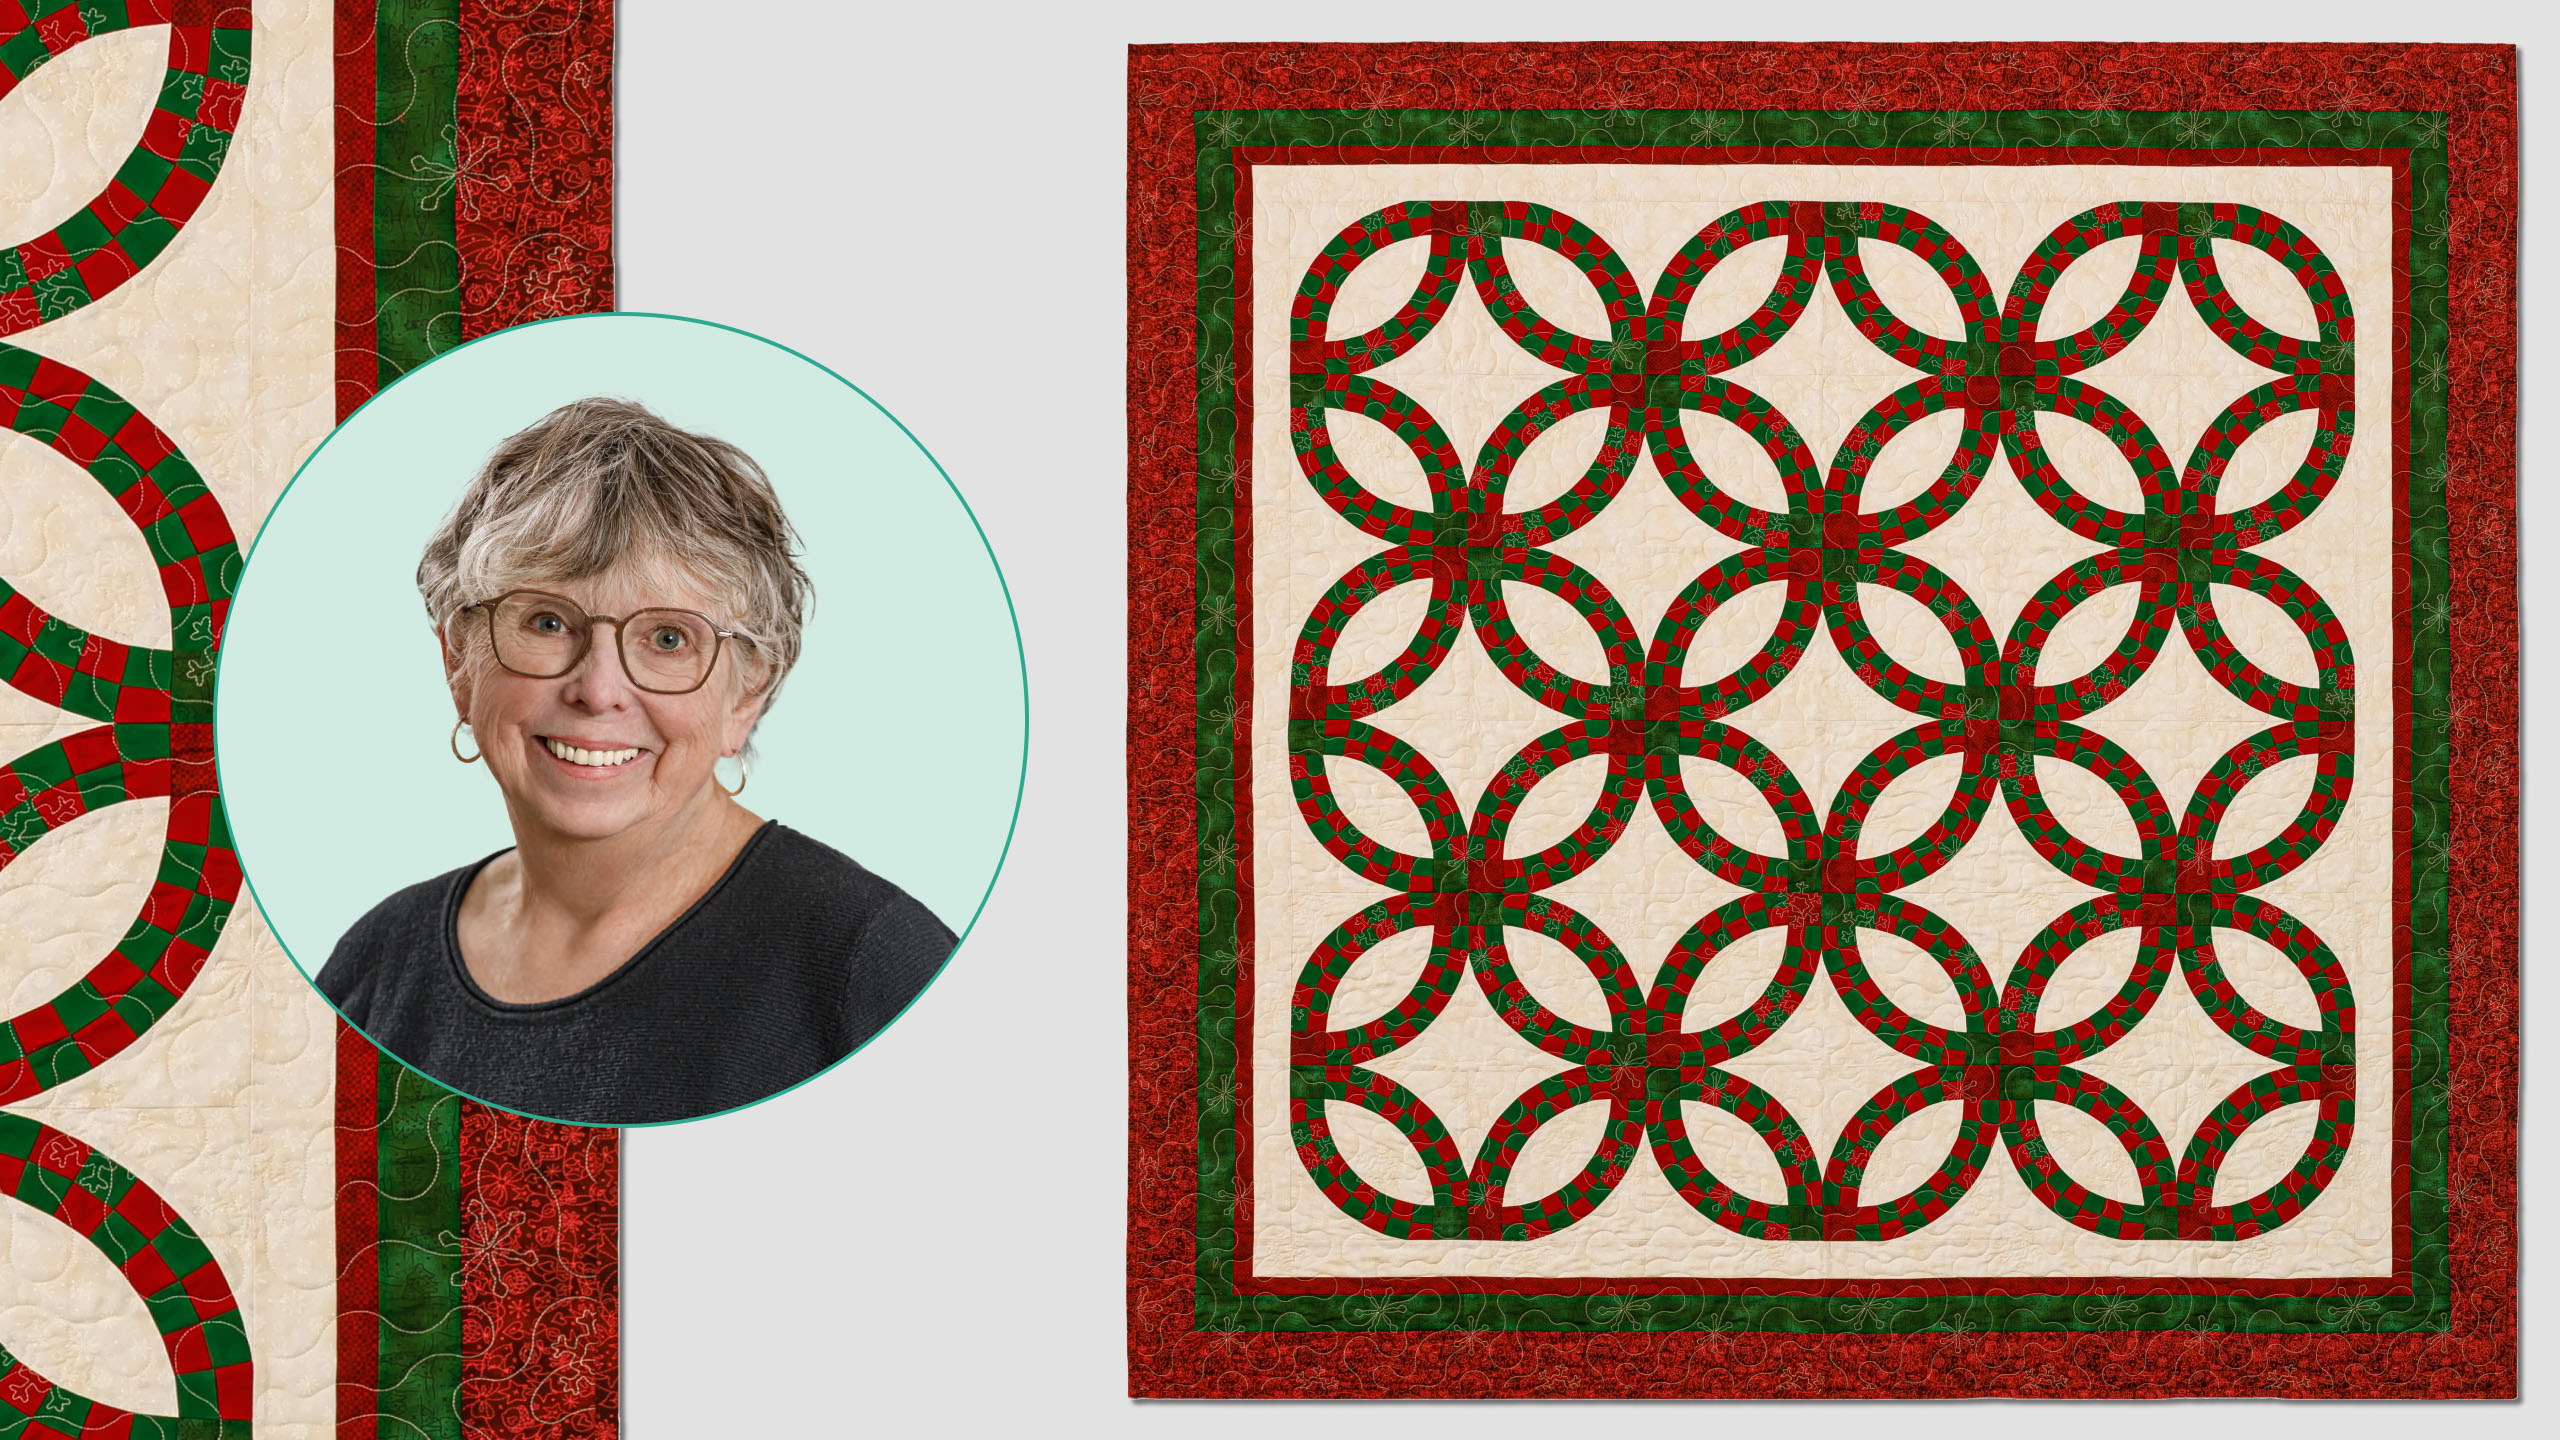
Guest quilter Eddie Walker is here to show you how to sew a Checked Wedding Ring Quilt that will stop onlookers in their tracks. Using red and green solid precut strips from Robert Kaufman and the Christmastime collection by Robin Kingsley for Maywood Studio, Eddie walks you through the Checked Wedding Ring Quilt Pattern by Missouri Star.
Instructor
Eddie Walker
Shop this tutorial
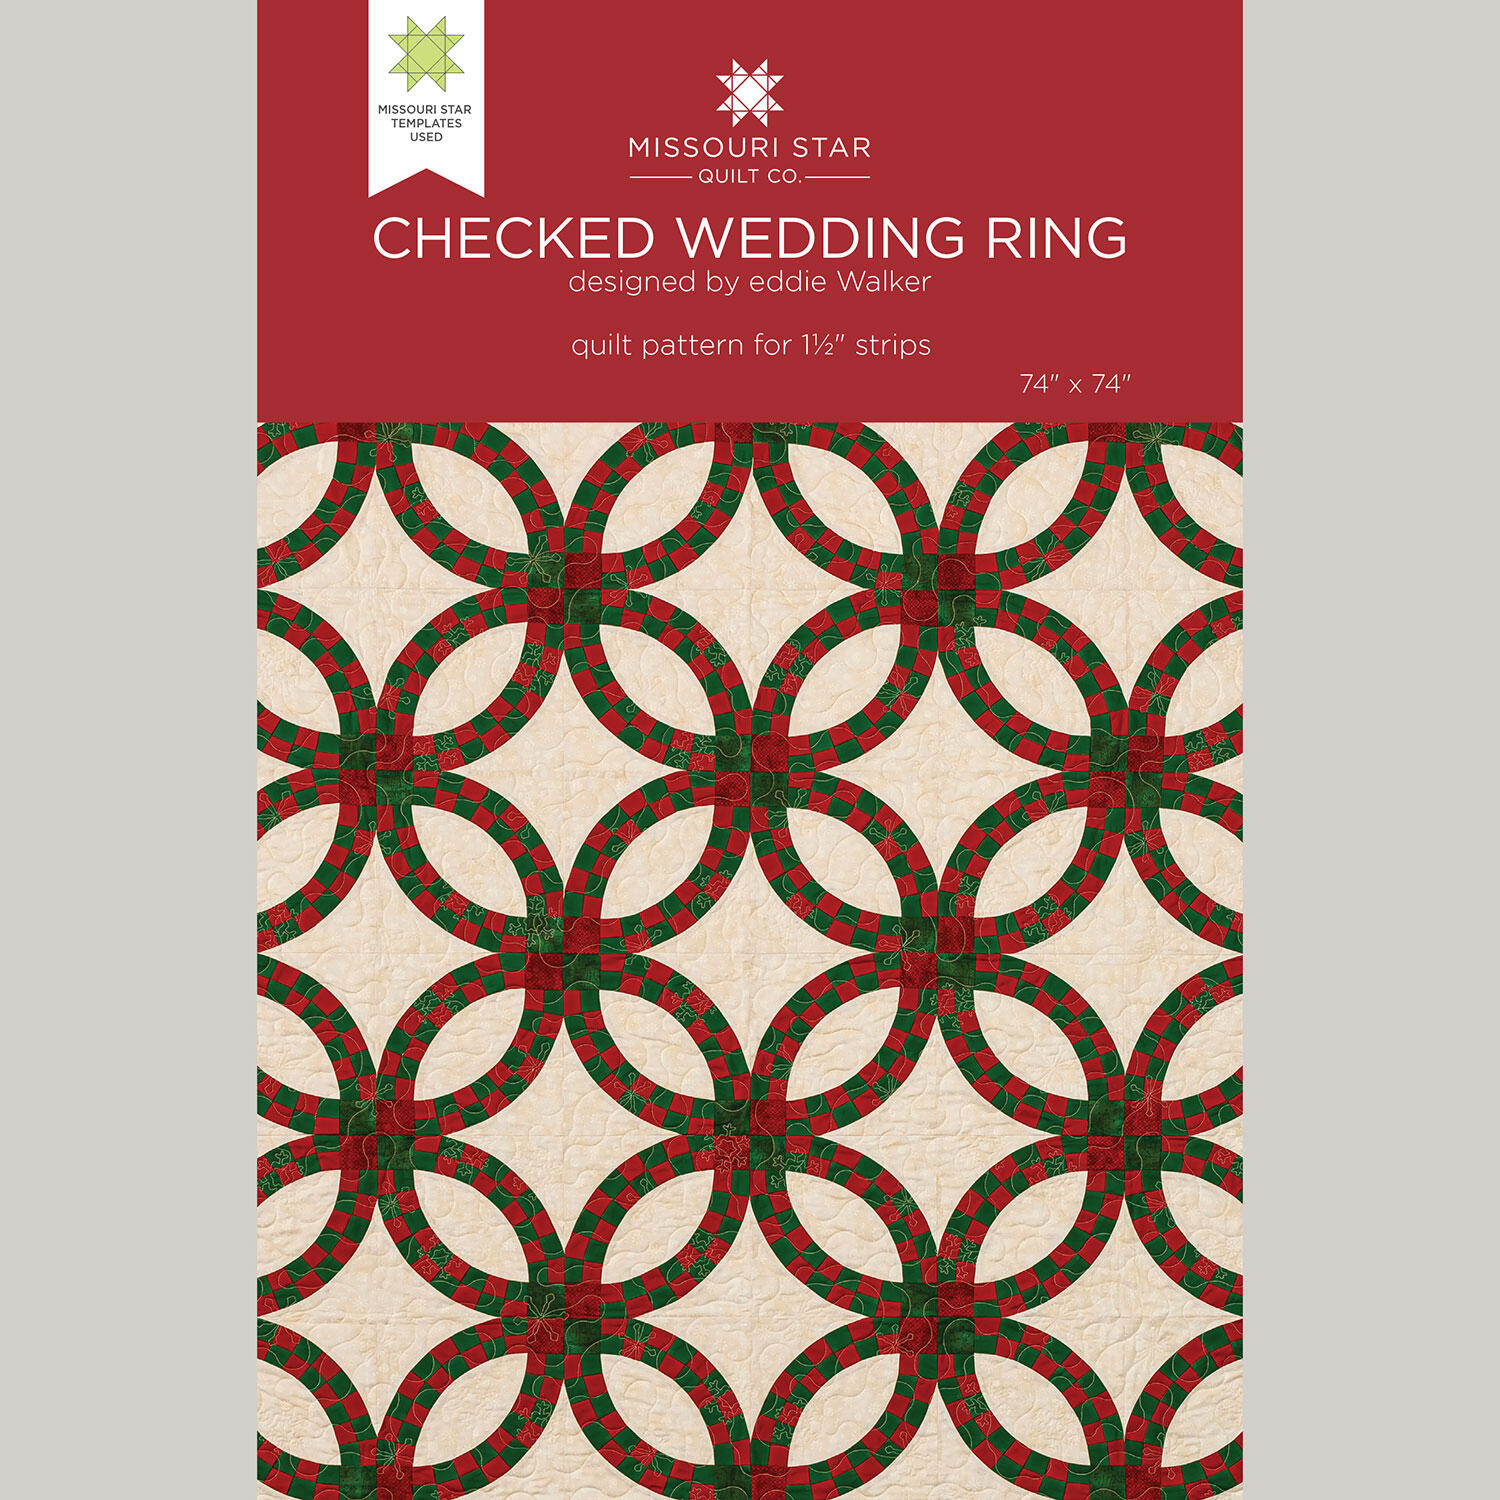 Checked Wedding Ring Quilt Pattern by Missouri Star$8.50Shop →
 Digital Download - Checked Wedding Ring Quilt Pattern by Missouri Star$6.95Shop →
 Kona Cotton - Rich Red Yardage$8.48Shop →
 Kona Cotton - Jungle Yardage$8.48Shop →
 Christmastime - Christmas Trees Green Yardage$12.36Shop →
 Christmastime - Mini Patchwork Red Yardage$12.36Shop →
 Christmastime - Snowflakes Cream Yardage$12.36Shop →
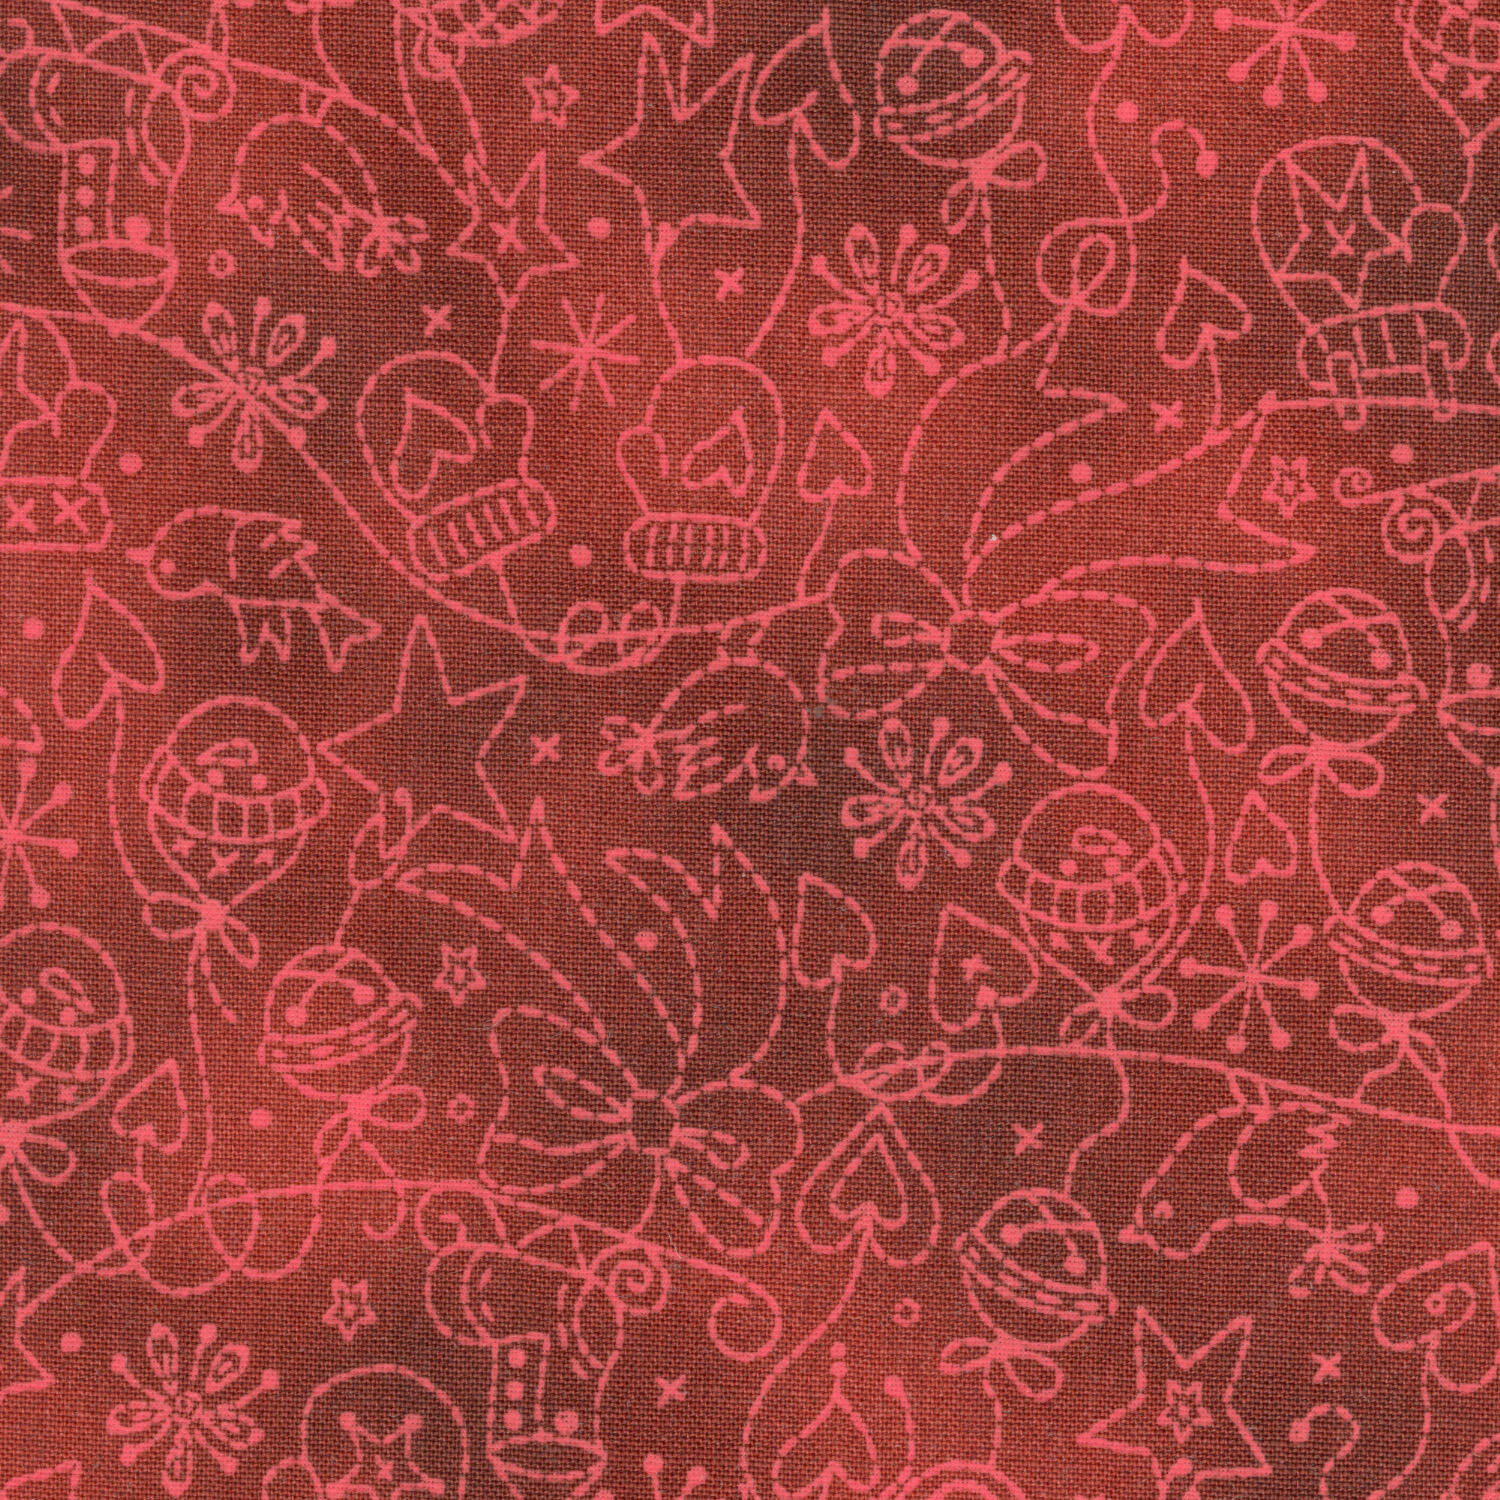 Christmastime - Tree Decorations Red Yardage$12.36Shop →
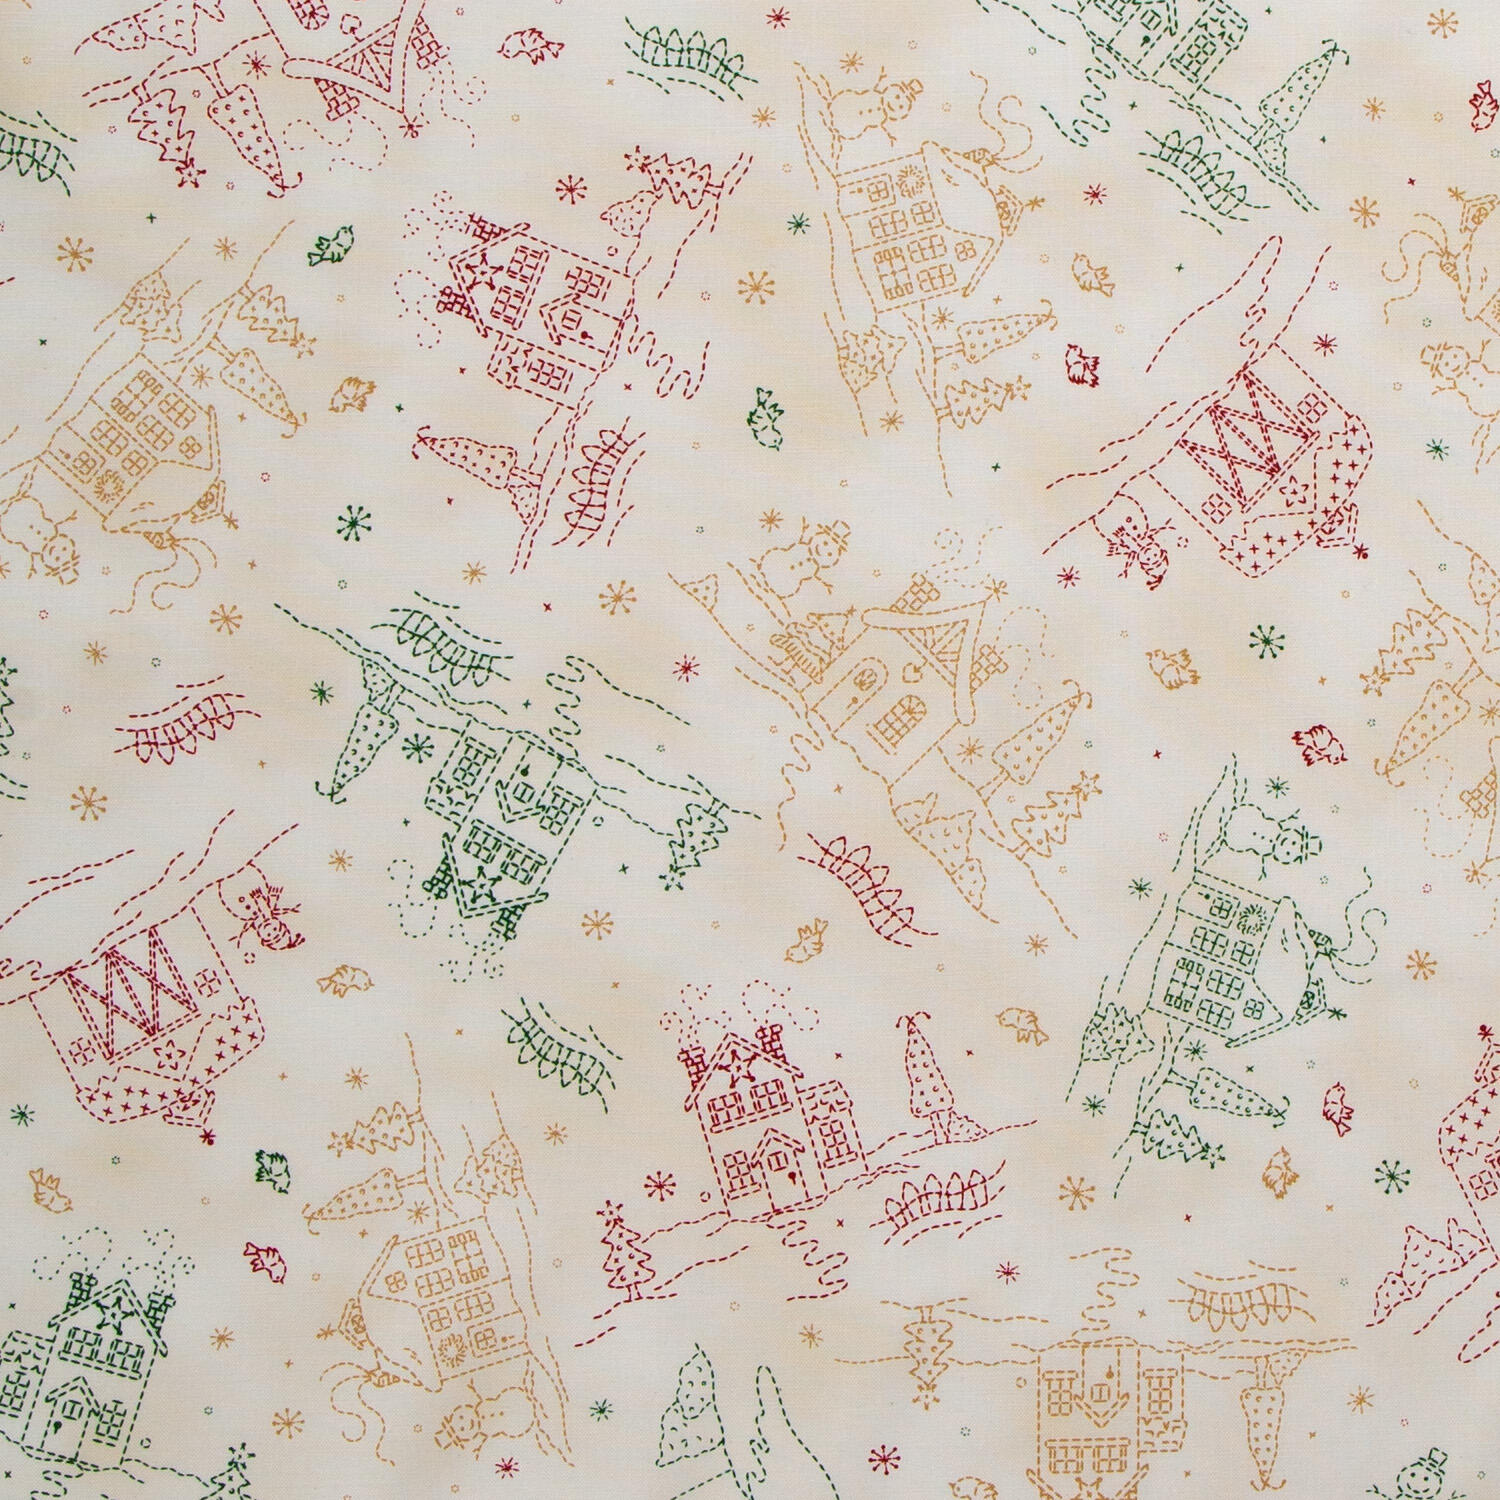 Christmastime - Cottages Red Green Yardage$12.36Shop →
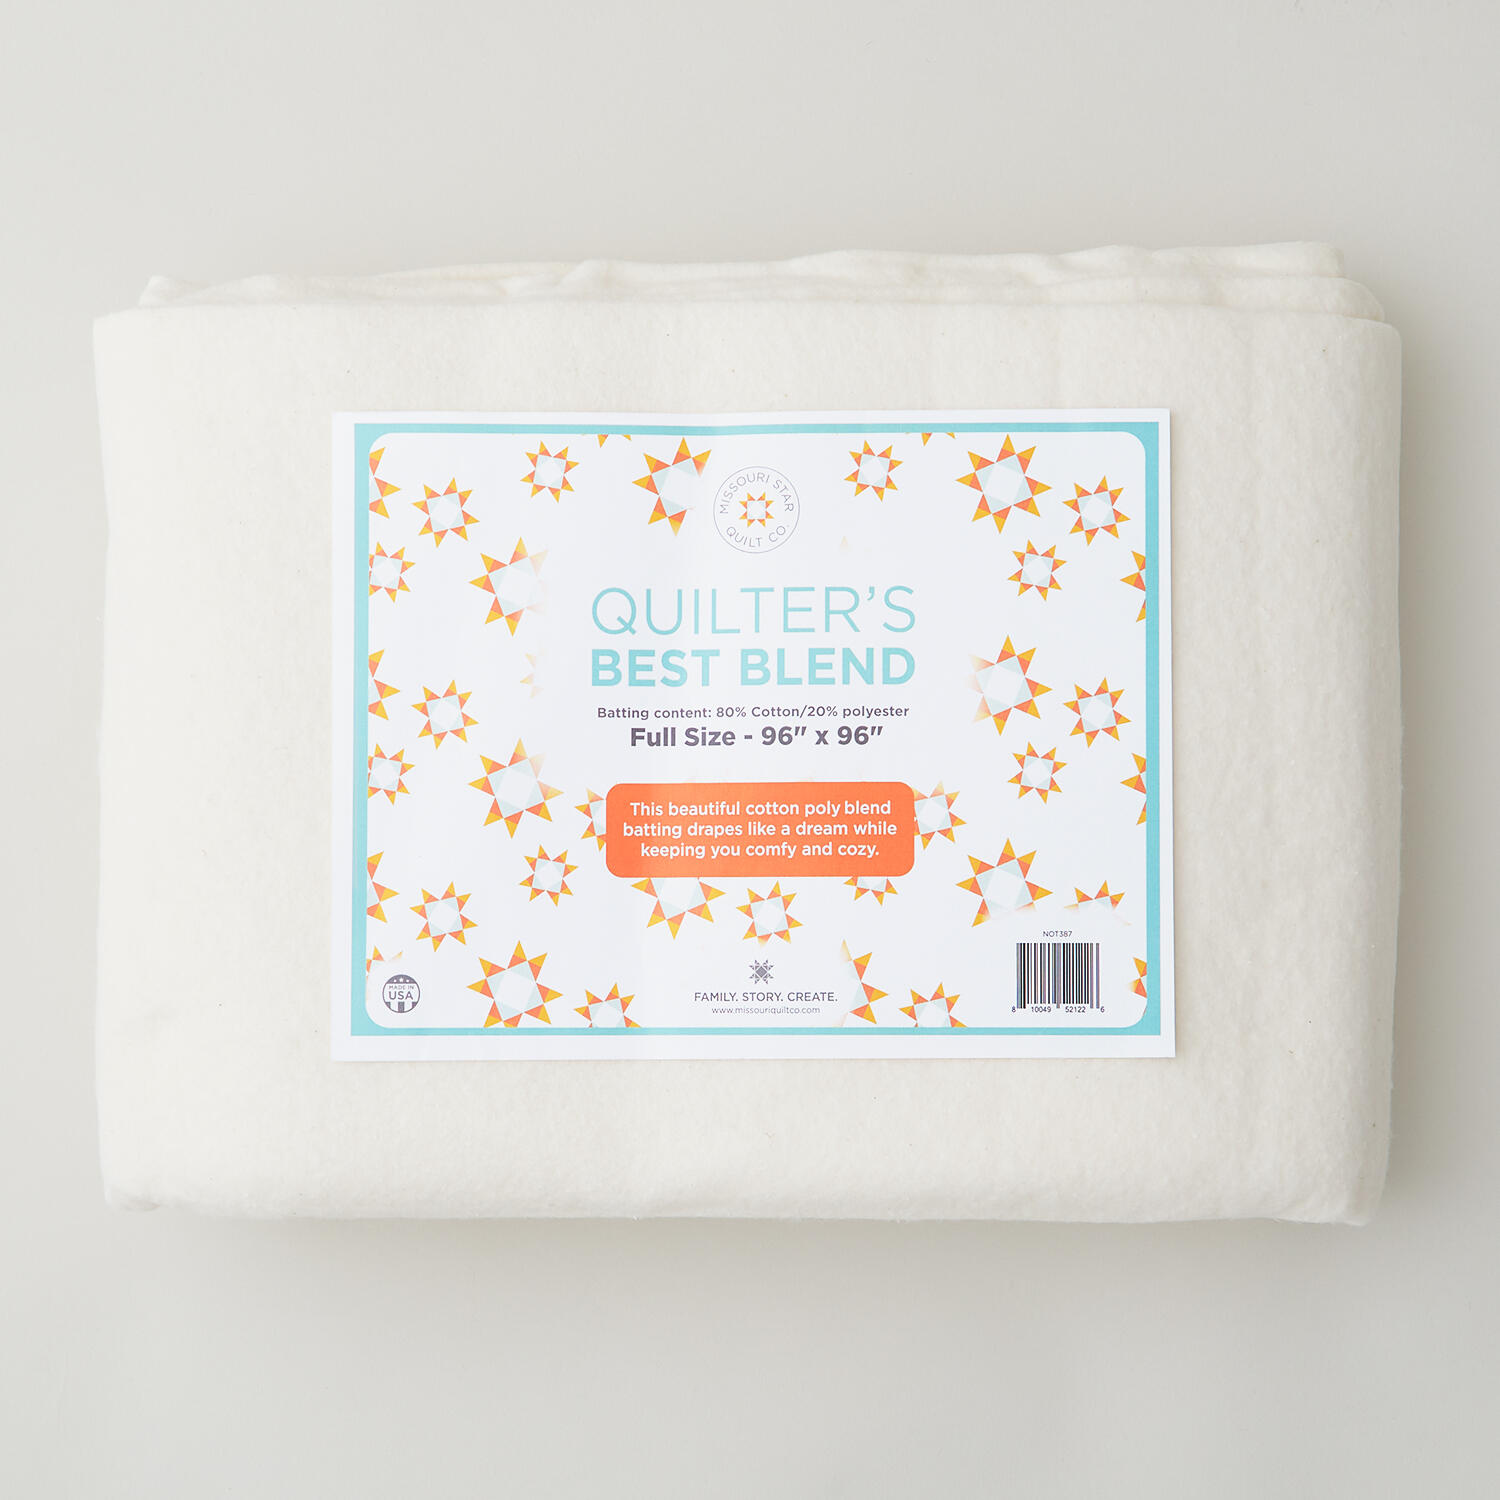 Missouri Star Quilter’s Best Blend Full Batting$32.95Shop →
 Double Wedding Ring Template Set$24.95Shop →
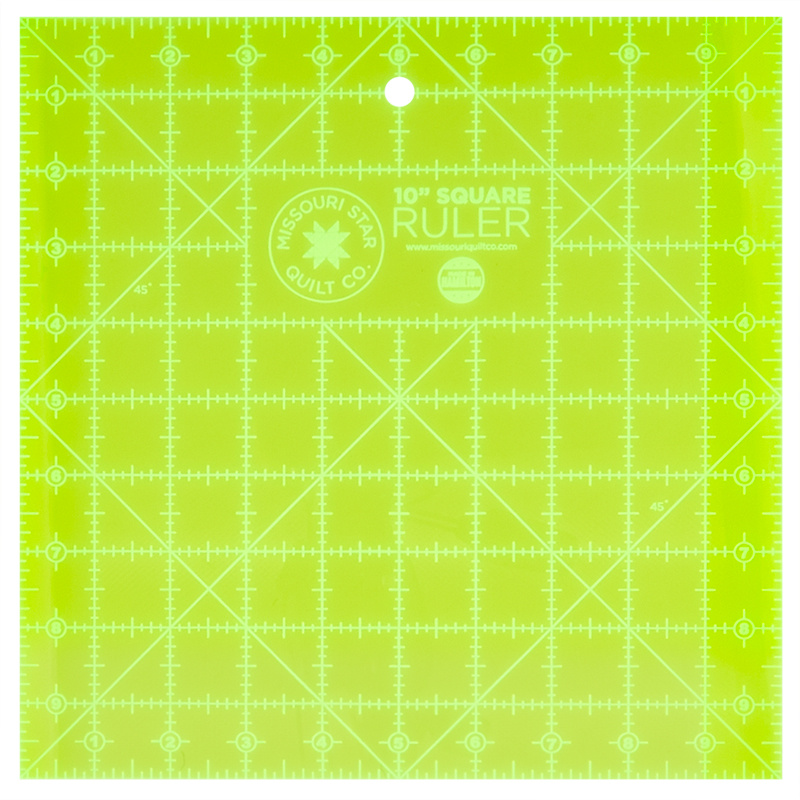 Missouri Star 10" x 10" Square Ruler$19.95Shop →
 Missouri Star 45mm Rotary Cutter - Olga$19.95Shop →
Video Transcript
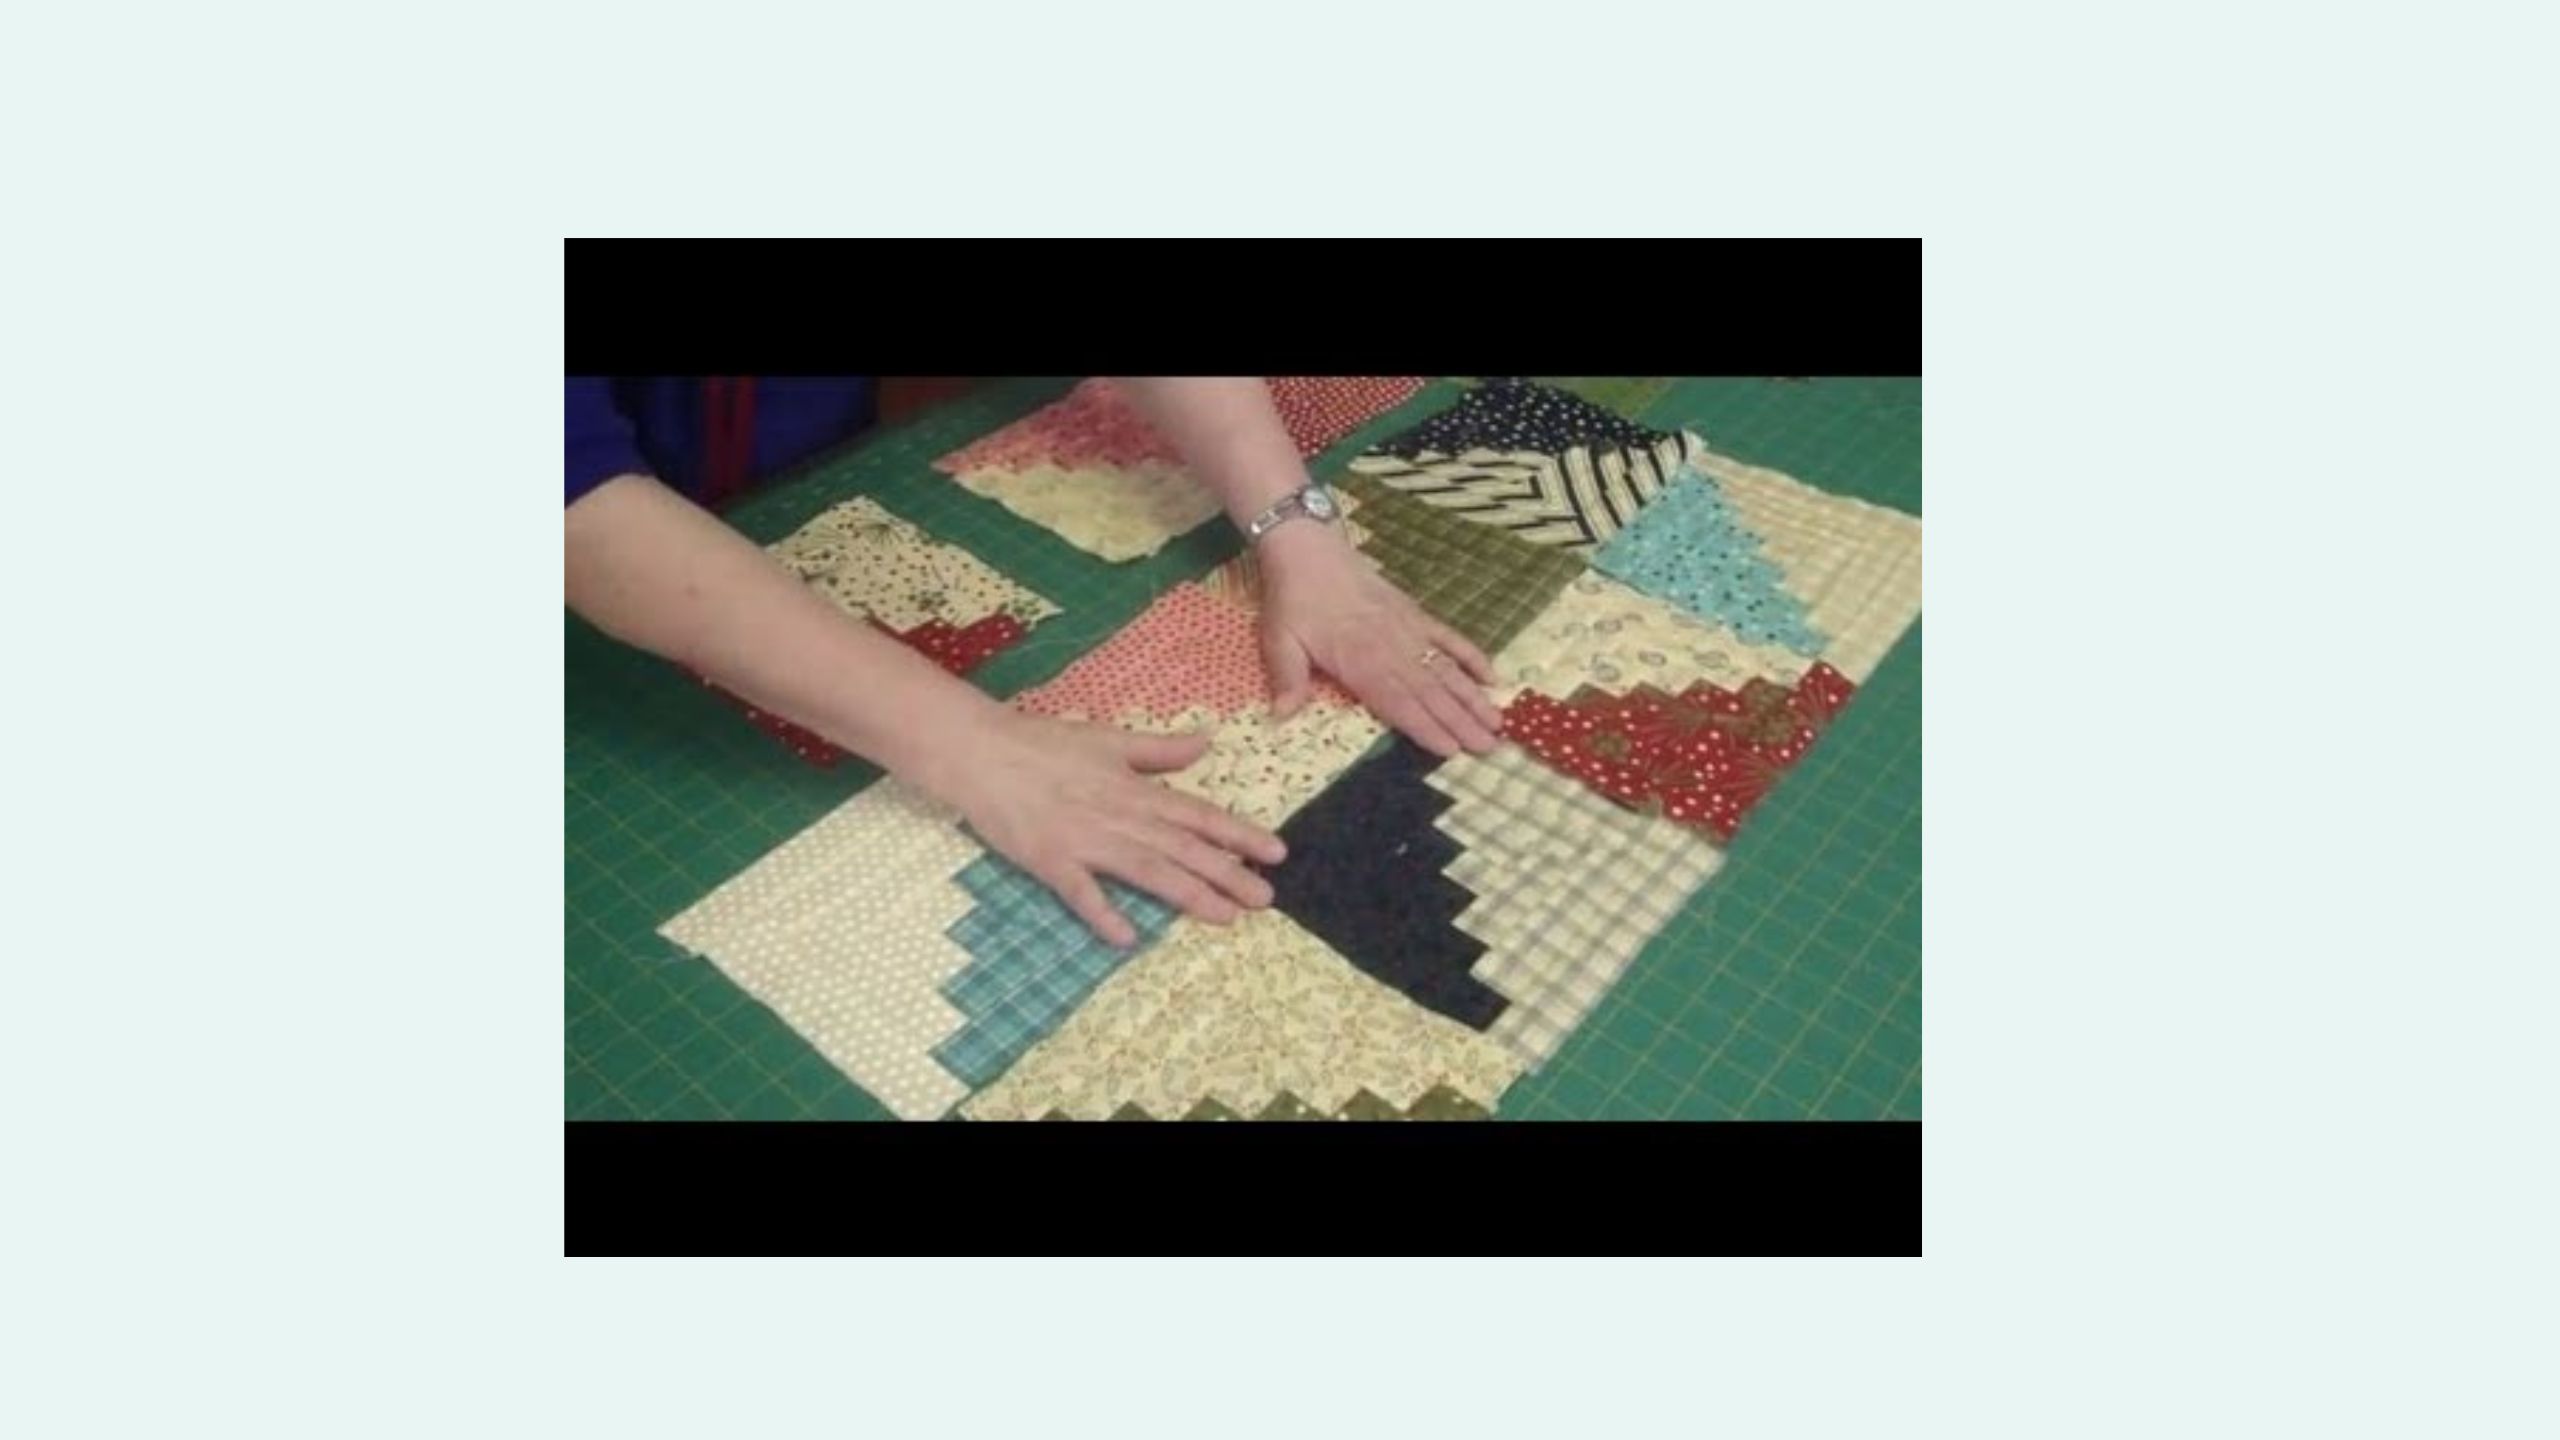
Hi, I'm Eddie Walker and we're gonna make this beautiful quilt that you see behind me. Isn't it great? Okay, so we're going to make this great quilt. This is a quilt made using the the wedding ring templates. And let me tell you a little bit about this quilt. It's um Christmas, but it's really pretty. The reds and the greens in the in the arch are using honey bun strips which are an inch and a half and those can be cut or purchased as honey but buns. Uh the background is a beautiful little snowflake and then we've got accents of red and green and these are all from Maywood Studios and they really look pretty. I'm going to show you a sneak peek at the back cuz I like it. It's got this little Christmas stitched village and it just looks great. So let's talk about how we're going to make this. Okay, first of all, these are the supplies we need. We need the wedding ring templates, which Missouri Star so wonderfully made with my help. And then we have um our solids that we're going to cut into 1 and 1/2 in strips. These are the Kona cotton that I'm using for the um 1 and 1/2 in strips. That's sometimes available in um honey buns, but today we're going to cut one and a half in strips. And you'll need approximately two yards of each color. The background is this beautiful little snowflake print in an off-white. And then we have our two and a half inch corners. And um then these are later used in the border and this beautiful little Christmas print in the border final border. So let's get going and make this quilt. [music] Okay, let's get started. You're going to use 1 and 1/2 in strips. Now, those are typically found in honey buns or strip rounds that are just wonderful to buy and very convenient, but you can't always get the color you want or, you know, maybe they're just not available. So, we're going to cut one and a half in strips for just for a few just to line them out and show you how to do it. Um, one of the most important things about cutting strips is not to get what they traditionally call an elbow. And an elbow is when your fold lines do not line up and you get this nice little bend. And it'll be important when we sew these strips together not to get that bend. Okay. Now, I've got a really pretty straight edge on this because I've recently cut. So, the key is when you're you're cutting your um 1 and 12 in strips or any strip across across the grain of the quilt, you want to make sure that you do have a nice straight edge, which we do. And you want to make sure that your folds are parallel. If you're folding your your fabric in half, you want to make sure that they're parallel. So, you're going to line your ruler up here at 1 and a half. And I'm going to do it at one so I can see. I'm going to follow my 1 and 1/2 all the way up. And it comes across perfectly at 13. So, I'm going to cut this strip. And I'm going to know that it doesn't have a bend down here in either of the folds. Okay. So, there we go. Now, I have some cut. So, we're going to go ahead and use the ones I have cut. And we will sew our strips together. This quilt has a um nice little checkered here and it's called the checked wedding ring for that reason. That is for done by forming a 2 and 1/2 in strip out of two 1 and 1/2 in strips. So I'm going to go ahead and do that and we're going to make one of these. So we've got a green and a red and we're going to line these all up and we are going to sew. Okay. Now, you want to be pretty careful about your seam allowance, your your quarter inch. You also want your stitch to be kind of close because we're going to cut across these sections and we don't want them coming undone. So, here we go. We're going to sew this together. And this is a nice even quarter inch stitch. I mean quarter inch length. And you're going to want to make sure that it's a nice tight stitch. You may want to use um your stitch length at two, two or two and a half, but two will make sure that when you cut through that, it doesn't come unsewn. So, here we go. Okay. So, now that we've got these stitched together, we need to make a decision to press to the dark. Well, both sides are pretty dark, so let's just pick one. You'll want to be consistent on your pressing all the way through the quilt. So, if you decide to press your seam allowance toward the red, keep it that way all the way through the quilt. When we sew these little wedges together, they're going to need to nest. So, they'll do this wonderful little nesting thing and match up those little squares perfectly. So, let's just give this a quick press. Actually, I I have one already made. Let's use it. Okay. So, we're ready to cut. We can tuck this away. And let's let's cut our our little uh wedges. I like to cut it with the I fold. I'm a very lazy quilter. I like to do multiple if I can. If this isn't comfortable for you, please just use one layer. We're going to cut our first one. We're going to put the wedge on there and we're going to cut across. Flip this around and do our second cut. Throw that away. Now we can just flip the template and cut back and forth. Now we'll need nine of these to make our arch. and it will be checked. Okay, I have plenty. All right, I even brought a few. So, here we go. It's going to go red up, red down, red up, red down until we get this great little arch. You're going to sew two Z's together, then fours, and then add one. Um, we're going to make 18 with the red as your beginning, and we're going to make 18 with the green as the beginning. So, let's get started and sew some of these together. We've got 1 2 3 4 5 6 7 nine. Let's take a couple of these just in case I have more reds than I have greens. Okay, so we're going to sew these together. I like to sew from the skinny edge first. And when you do these, you're going to want to make sure that your what you're putting on top as you're sewing and your seam allowance here is always the same. It's very similar to a four patch. If you don't, you're going to end up out of sequence and they don't fit together well. So, keep the red one up. Okay. Now, this is where you want to be very consistent with your quarter inch because I was in charge of making this little template and it it needs to be pretty accurate to fit into the rings. So, here we go. There we go. Three and four. Okay, we're going to cut these apart real quick. Whoa. Now, at this point, we don't press these rings. We want them to stay as flat as possible and not to um be distorted. So, I like to just finger press them. And that kind of takes care of it nesting together. And see how nicely that nests. I mean, it just forms a perfect little check there. So, these will nest together as well. [snorts] And this time we've got the green on top. And there's our four. And our four. And see, they nest really nice. Okay, we'll do these again. Nesting. And then we're going to add our last one. Now, when you add your last one, you've got your choices. You can either make this a red one or Nope. We're going to make it a red one. Okay. [laughter] But you'll want to make 18 red ones. And I'll show you in a minute what I mean by that. Okay, this now becomes a red wedge or a red arch, excuse me. And that means that this red square here is in the upper quadrant of this somewhat of a four patch arch. Um, unfortunately, this one is too. When we start making these, we want to have 18 that are red up here and 18 that are green up here. So, I'll show you that again, but we want to go back to cutting the um inside of the block. And we're going to do that with our background fabric, this beautiful little snowflake. And these are this is a 9 and 3/4 in, no 8 and 3/4 in strip. And I've cut this from our fabric. And so often when I use the um wedding ring templates, I end up cutting a square. But this time, we're just going to lay these on and progress across. Actually, no. I was going to say if we open it up, we gain more. But we do not. So, we're going to do it this way. Okay. So, this is our template, and we're going to cut it here. around here off the edge. Pull it apart. Oops. One more little. And then I'm going to flip this around to get rid of this edge here. Okay. So, we've got that. And then our next one will come over here. And I'm just going to go ahead and cut this across. square this edge up. Come around here and make sure we if we have any extra there that we get rid of it. Okay. So, those are our background pieces. We're now going to cut our melon. And the melon is comes right out of the middle. This is um the C template. And we're just going to flip him around and cut it. If you like using a rotating mat, you know that it might make it easier for you. I'm so used to just flipping stuff around, I just move it. So, there we go. Okay. Now, before we sew these together, we want to make sure that when we sewed that nice little um arch together that we did it accurately. So, we're going to want to use this template, the solid one. And it works really well to lay our ring right there and make sure that it is that size. If it is over or under, you need to adjust your quarter inch. This is really important to do this when you make your first block because you need to adjust that quarter inch so you get an accurate and consistent measure through all your bands. Okay. All right. So, I think we're ready to do this. I like to sew the melon first because I think it's the easiest part to do this. We're going to fold our melon in half and finger press right there and there. We're going to do the same with our checked ring. And we're going to pinch both edges so we have a nice little crease. Now, I'm not a pinner. Some of you are pinners. And if you like to pin, pin. If you like to glue, glue. Um, it's important to match this center right here and your ends and your ends. This needs to fit to this accurately. So, let's give it a whirl and I'll line it up for you and we'll get started. Okay. So when we sew this, we want to make sure that our edge there is as straight as possible. We line it up as straight as possible. And then I just stitch in about three stitches with needle down. Okay. And then I line my little folded creases. And these little wedge handles make perfect little perfect little handles to lay down and stitch towards you. You want to keep that ringed edge all the way out to the to the background piece to the melon. Okay, we're going to stop at the middle and come on around. Of course, you know, these are right sides together and they match at the end, which is really a good thing. All right. So, there is our our piece. We are now going to add our outside background and it's going to go just right here. So, we're going to take and match our corners, our ends there. Crease our middle. And then we're going to line it up right on that point there again. And we're just going to do basically the same thing but with the checkered part underneath. So line it up nice and square on the corner here. So you get a nice smooth transition there. Three or four stitches in. Um line up your center. And we've already sewn these so that the fold is going toward us on the other side. So this is how it should lay. And it will try to lay that way. I mean, it really will. You want to keep an eye on it and make sure that if it doesn't, you flip it and keep going. Sometimes I even end up with twisted ones and it's okay. All right. So, we're going to bring this down here. Once we've gotten to the middle, keep that background piece out toward the edge. and kind of just make its way through there. Okay, let's get that little ruffle out of there. There we go. Okay, so here we go with the background, the other part of your wedge. Okay, now to finish this off, we need to do this one over here. Hey, it's good thing I had red and red because we want to match these. When you put these together, you're going to want to make sure that you put the red and the green to the red and the green. There will be a block in between it, but but that is what you want. Okay, so we're going to take our other background and we're going to fold it in half and we're going to add it to this one crease there. And I literally just count in five. 1 2 3 four. This is my fifth one. So I know that it's the one I'm going to crease. Sometimes I don't crease, sometimes I just count. Okay, here we go again. Now, this one's not quite as easy as the um one that you've already got the melon to. The melon kind of secures it. So this one you kind of feel like you're sewing in midair, but you aren't. You're going to make it start out nice and straight. Couple stitches in. Needle down. Pull it over. Now, this is where you may want to go in there and finger press these so they're all flowing toward you. It'll just help it go around. Okay. So, here we go. We're going to match the center. And like I said, if this makes you more comfortable to pin, please pin. Okay, pull that background all the way out to the edge. Stop in the middle. Match up your other end. Yeah. And there we go. We have this corner, I mean this edge of the quilt done or block, excuse me. All right. So now we're ready to add the the four patch illusion that we get here. And it's basically just a cornerstone to the block. Now you can be you this is where you get to make a decision. We have the red on red here and you want to be consistent with what you join. So this is red and red. This one is green and green. Now we can either make this red there or green there. You that's your decision. You can play with it and make it look the way you want it. I'm gonna put red here. Okay. So, this red square is added to the smaller portion of the background. So, we're going to take this and I've got a couple cut here. And these are out of two and 1/2 in strips. It's a 2 and 1/2 in square. And this is from um one of the accent pieces. We're also, I believe, going to use this in a border. So, here we go. I've got two. And when you do this, [snorts] you're gonna want to line your two and a half inch square up with the front of your wedge and the back of your wedge, which this background piece is going to stick out. And it's going to look kind of odd, but it's going to work. This is where we're able to trim and make our block nice and square. So, we're going to sew across this. Now, you're going to want to add the same color to each end of this. It makes it much easier to assemble the quilt. You don't have to do a lot of twisting of blocks or whatever. So, here we go again. We're going to line up that quarter inch there and this edge down here and sew this on. There we go. So, here's our quilt block almost finished. And I have this crease and this crease ready to go. We're going to line this up. And this is going to curve around here and make a nice finished block. Again, we're going to line that quarter inch there up with your wedged piece and this seam allowance. And those will nest. If you're a pinner, pin. Let's do this. Okay. Now, if you just take your time and stitch in, and I like to rearrange and hold my breath and do whatever I need to do, but I nest this seam. Okay? And as soon as I get to that seam, I needle down and I start thinking again about how I'm going to get to this nice little wedge here, this point here, where it's creased. We're going to hold this here and in place. Come right out to that edge and then stop and pause and line up your next one which will be this nice nest seam. So there it is. It's nice and nest. We want to make sure that we get these out to the edge and coming toward you the folds and everything lines up and is nice and flat. We're going to sew down to this nested seam. Pause and come on out. And this should stick out and match your little piece behind. And there we go. We did it. So, here's your your finished block. Now, we can press. And we're going to press this and it's going to look beautiful. Okay. So, we will press it and trim it up. I'm going to clean off my space over here. Make sure my iron's all ready to go. We're going to press. Get this clutter out of the way. Press from the back. Your um wedge seams will go in toward the melon. So, you're going to press around here like that. And let it lay nice and flat. And then here we go. And those go like that. Press from the front. And you want to make sure that you get all of this little seam out. Those whites or light creams tend to want to leave a little bit of space in the fold, but you want those out nice and flat. Okay, now we're ready to trim this. To trim this, we're going to use a 10-in ruler. And mine is right here. So, you want to line up your one and your one in this corner. And I like to start right up here. And I put that up to the very edge. this springing down to this. Now we have a nice diagonal line here that should go from point to point here and line up almost perfectly. The idea is to get a quarter inch seam allowance here, a quarter inch seam allowance here on all sides. So, we're going to square it to this one. Trim it off. And I'm going to cut a tiny bit of that red square off, but we won't miss it. Get rid of this before I twist it. pull this around. Put our point up there and there. And diagonal through as much as we can. There we go. There's there's a point in here sometimes when things do get twisted. And I found that if you go back to the iron and you repress and you try to make this block here as square as possible, as square. This one seems to want to tip a little bit that way. So, I'm going to repress and I'm going to pull this up here and press that over into there. And then we're going to go back with the ruler and see what we changed. Okay. because, you know, life doesn't always work out work out perfect. So, we're back here with the 10 and the 10 on that corner. See how much better that improved? I pulled this corner up just from slack in this stitch line, and it's going to turn out to be much, much nicer block. Okay, here we go. We're going to trim there and there, and we've got it. So, here is our finished block. and you made almost made the quilt. So, let's see where this goes on the quilt. All right, this placement is right. Well, let's pick one I can reach. Okay, this is the the red square. Now, you're going to alternate these with red, green to make your ring around. And you'll do six rows of six. And um it's a beautiful quilt. We've got uh borders to add once we get it going. So, we're talking about the borders, and the borders are um the background piece first, which is this snowflake. And I like to use a 2 and 1/2 inch strip of that. It kind of makes these rings float out here. And it just gives a much nicer appearance to the quilt. And then we just need some accents of what we used. So, we've got this little checkered red at 1 and 1/2 and this again at 2 and 1/2. And then our finished border, I think, is four. So, um the quilt finishes up 74 by74. The um quilting pattern is called Meandering Snowflakes. And then it's got this beautiful, beautiful backing, which is a hand sto kind of a handstitched embroidered cottage look. And it just really adds a lot to it. So, there we go. We did it. We made a quilt. All right. I hope you go home and try this. This is the checked wedding ring quilt. And um it's really a lot of fun. I can imagine it as an anniversary gift for somebody in golds and silvers and whites and very elegant and formal. So I think it could be a really fun quilt to make. I'm Eddie Walker and I thank you for joining me here at Missouri Star for this tutorial. Go home and make the checked wedding ring. Okay.