Soft and sweet, or bright and bold? The choice is yours with the Color Wheel quilt! Misty demonstrates how fabric choice can result in two very different-looking quilts. Using pastels from the Aunt Grace Rock My Baby collection creates a lovely quilt that's perfect for a little one. Bright solids from the I've Got Hue and Colorworks Premium Solids lines make a quilt that's as fun as a brand-new box of crayons!
Misty Doan grew up surrounded by sewing and quilting. She loves spending time sharing tutorials each week each week, and when she’s not stitching up one of her fun sewing projects for home decor, most likely you’ll find her hanging out with her husband and three awesome kids or working on a house project.
Soft and sweet, or bright and bold? The choice is yours with the Color Wheel quilt! Misty demonstrates how fabric choice can result in two very different-looking quilts. Using pastels from the Aunt Grace Rock My Baby collection creates a lovely quilt that's perfect for a littl...
How long is the tutorial video?
The tutorial video is 00:11:33.
Are supplies listed for this tutorial?
Yes. The tutorial page includes the supplies and materials connected to this project.
Video Transcript
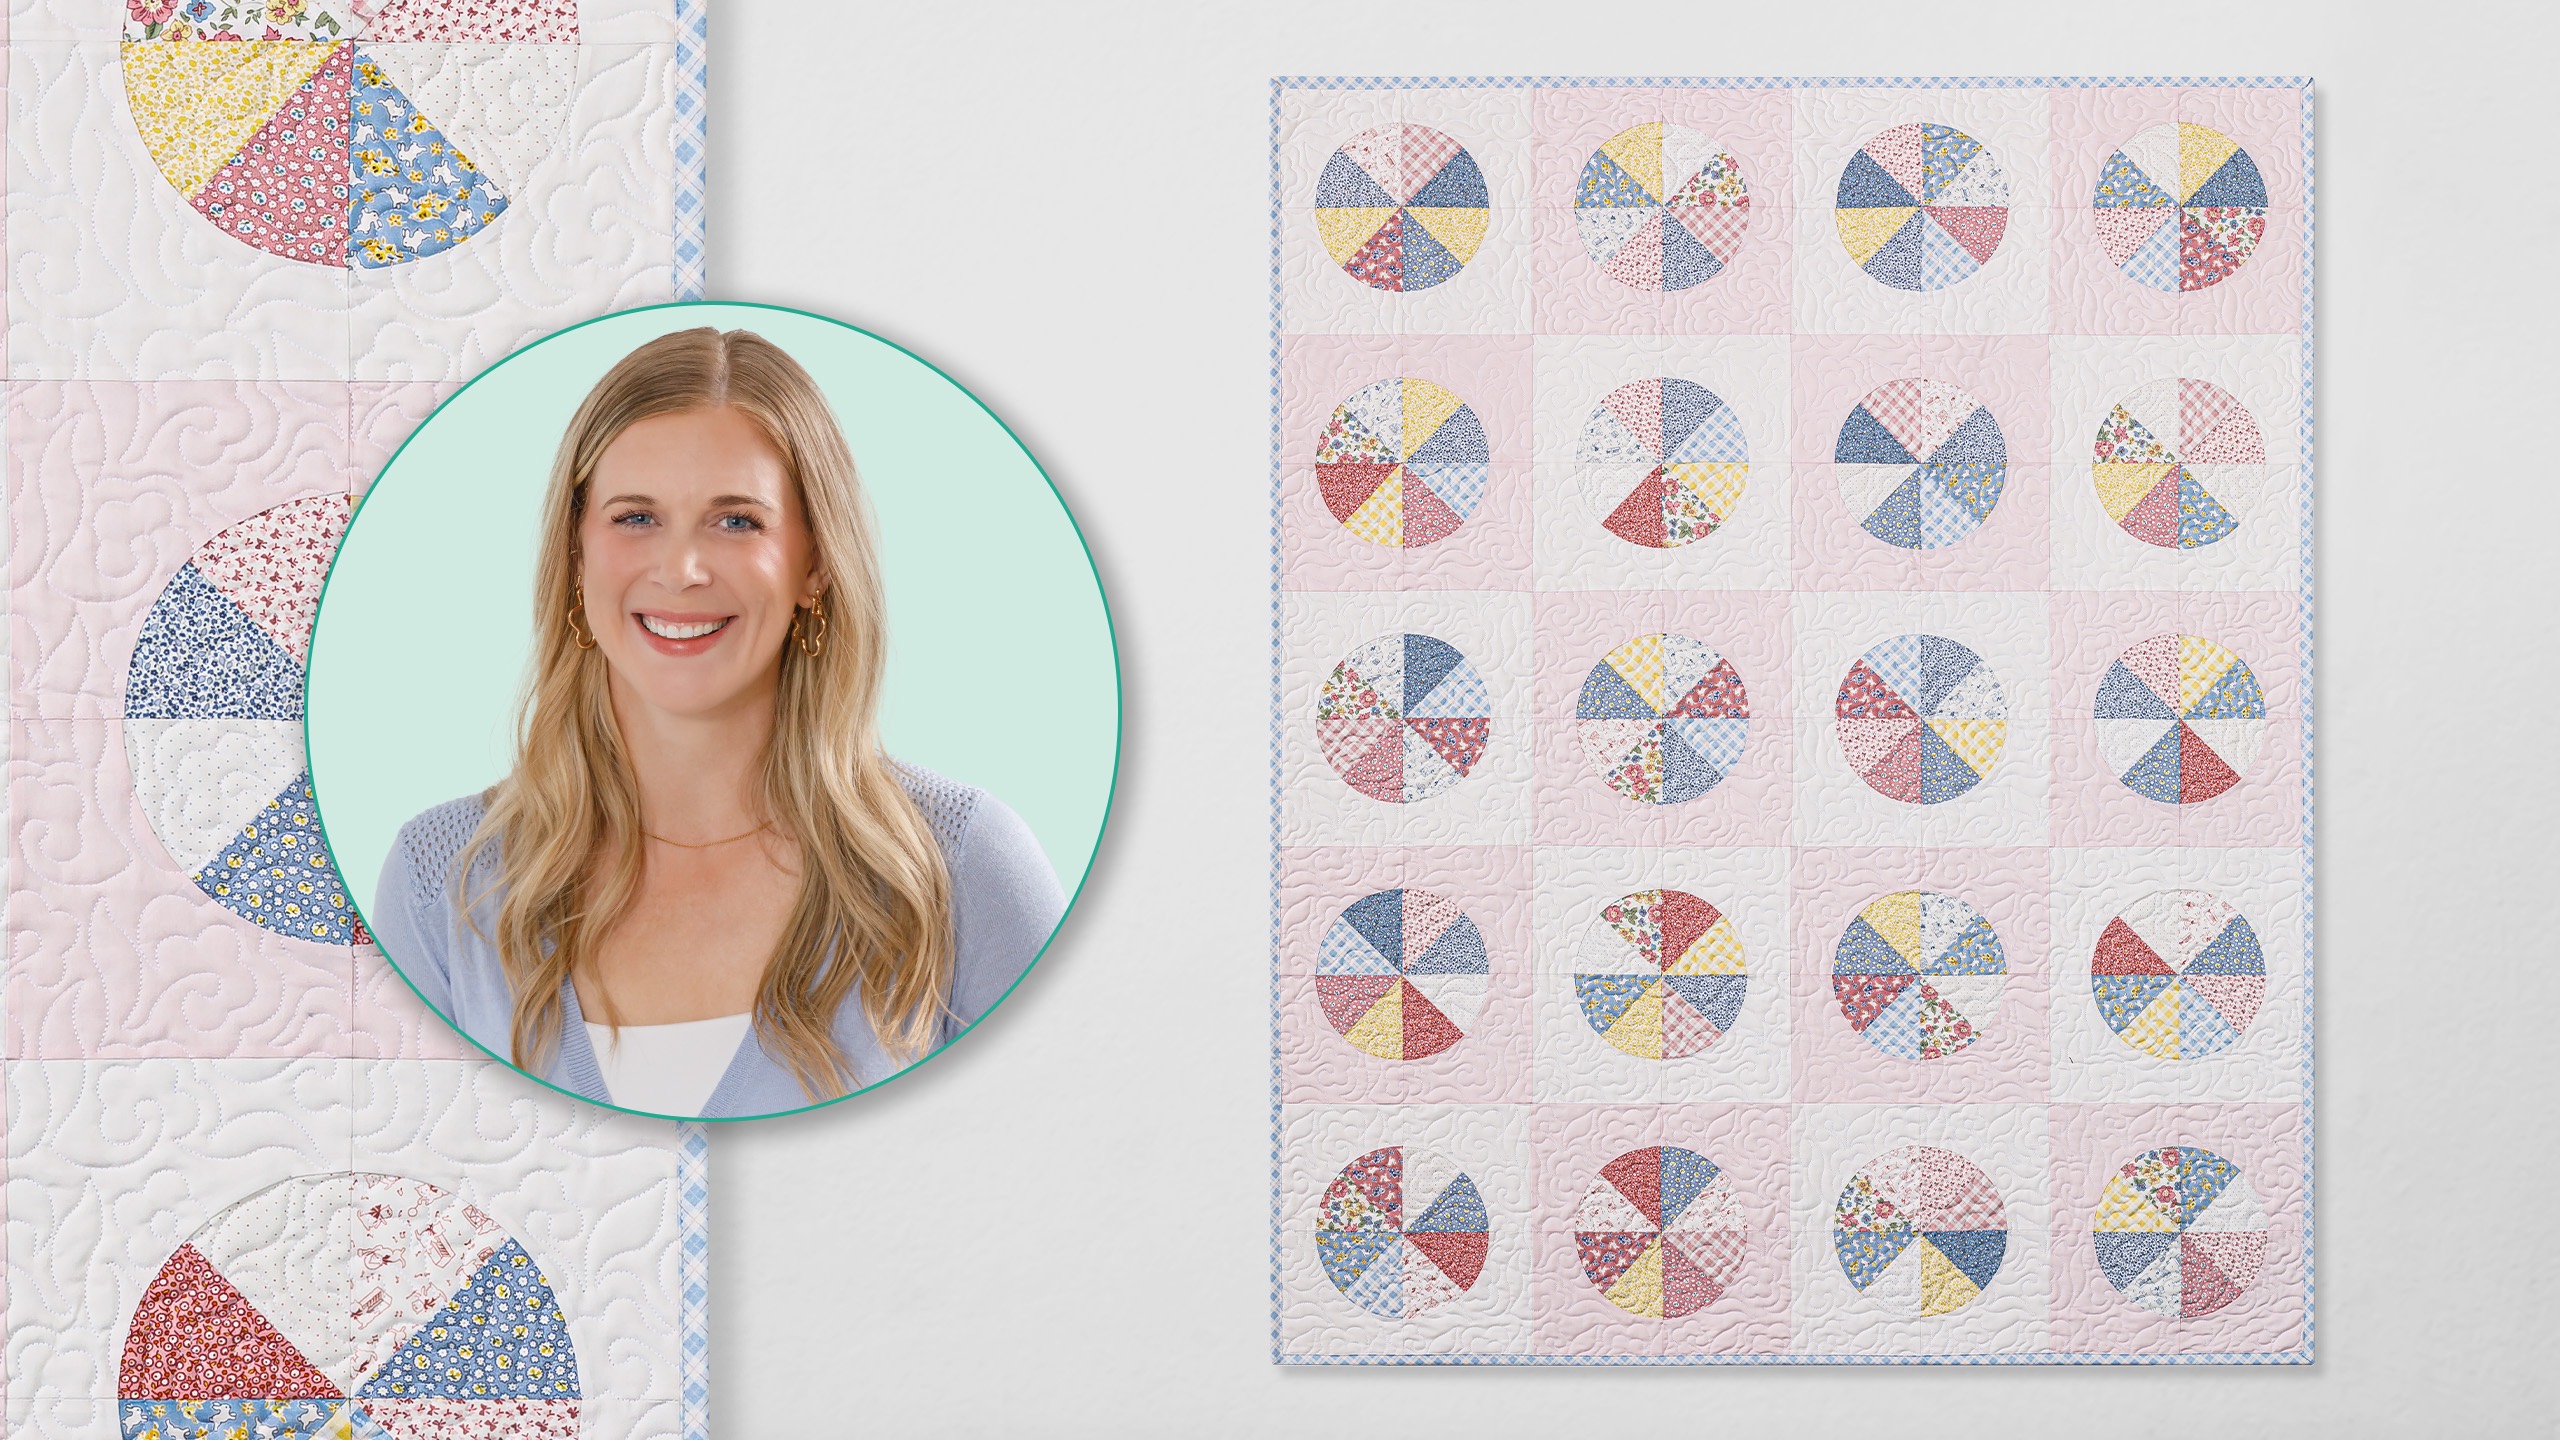
Hey friends, I have a super fun quilt to share with you today. I'm calling it color wheel. I absolutely love how it came together. So, let me show you how to make it. This quilt is so much fun. I absolutely love that we use two different background colors here and it just shows off these sweet little 30s prints so well and it's really fun to make. So, to make this quilt that you see behind me, you are going to need two packages of 5 in squares. And I used this adorable line called Aunt Grace Rock My Baby by Judy Rothermill for Marcus Fabrics. You're also going to need 1 and 1/4 yards of each of your background fabrics. I have used Ballet Slipper. That's this pink and snow. And both of these are from Northcot. For your backing, you need 3 and 1 eigh yard with a horizontal seam or 1 and 5/8 of a 108. and I had to use this adorable little plaid for the binding. And you'll just need 5/8 of a yard for that. You're also going to need our Missouri Star small drunkard's path template set. So, grab that and I'll show you how to make it. So, the first thing we're going to do is we are going to pair some contrasting colors of our 5 in squares together. So, I'm going to place those right sides together, just like so. And then we'll use our ruler to draw a line corner to corner. And I've just got a pencil here. You can use whatever you'd like to mark it. And then I'm going to sew a quarter inch away on both sides of that line. We're doing the two at a time half square triangle method. So, let's go ahead and do that now. I like to just sew all the way off the edge. Flip this around and go right back down the other side. Okay, so that is done. So now we will use our ruler again to cut in between those two seams right where we drew before. And so now we'll take this over to the pressing mat and we will roll these back. Go ahead and do this one as well. And for each of your block, you're actually going to need four of these units. So, I would just make all of your half square triangles, put them in a pile so that you can mix them all up and have a lot of variety within those blocks. And so, we're just going to take one of these now, and I'm going to take the B portion of my drunkard's path template, and I'm going to set that right in the corner. One thing I want to point out is there is a little middle line here on the template. So you can just make sure that this corner is lined up as well as that center mark on your seam. And that's kind of what you're watching for. And so I am now just going to trim this [snorts] out so that I have my curve shape. And this side here is just a little wonky. So I'm going to straighten that up. And that'll also get rid of that bulk with that little dog ear at the bottom. And so that is how we make our little curves. Like I said, you're going to do four of these for each block. I have some ready to go. So, we'll just use this one. And so, now let's move on to our background fabric. So, I'm going to use pink for this one. And so, I have a 6 and 1/2 in strip by the width of fabric that I've cut. And I'm going to subcut this in to 10 in rectangles. So, let me just line this up here on the mat. Oh, it's a little crooked. Want to make sure everything is straight. Perfect. So, since I know I can get four 10in cuts out of the width of fabric, I'm leaving this folded, but you could open it up if you want. Cutting off that fold, then measuring over five and 10. Perfect. And so then I'll take one of these rectangles and we're going to use the A portion of our template now. And I am looking for the 6 and 1/2 in size that's marked on the template. And so I'm going to line up the solid line with the edge of my fabric. So it goes right into the corner like you see here. And then I can cut this out. And there's one. Whoops. Let me make sure I got all the way to the end. And then we can actually spin this fabric and we'll be able to get two of these with just a minimal amount of waste in between. So, this is the most efficient way to cut out these background shapes. Keep missing that little start. There we go. All right. So, now that I have those cut out, I can just take this and I'm going to finger press it in half so that I can find that center mark. And now we are going to sew these together. And so to do that, I'm going to line this up on the straight side and I'll start stitching. Just easing this in. And I want that seam to match up right with that finger press that we've marked. Again, if you want to pin here, you absolutely can. I like to just feel it with my fingers and uh that's what works best for me, but there's no right or wrong way to do this. So, do what works best for you and just remember to slow down and take your time. All right, so we'll take a few stitches to get us started. I do like to keep my needle down when I'm working with curves. And then I'm just going to gently merge these fabrics together. It's like a zipper merge, you know. And I'm watching for that center point, lining my seam up there. And then I'll stop with my needle down. And I can kind of readjust my hands. And we'll just continue all the way to the end. And as you get to the end here, if you want to use a straight pen or, you know, um, stiletto or something to hold those. My nails are kind of long, so I can kind of guide those together. I also like to use a little dab of glue sometimes to really make sure that those meet up. There's lots of little tricks for success with curves. But there we go. We have set in our little curve unit. I think it looks so cute. And so now we can take this over to the ironing board. And we're just going to give this a press. All right. And it looks just like that when you finish that up. I think it's so cute. And so now we're going to bring three more of those in to make our cute little pie shape. And you can see I just made them all scrappy. And so now we can put these right sides together. And we're just going to sew this together like a big four patch. I do want to point out if you're one that worries about the bulk in seams, you can see here that I have just pressed mine flat. But if you wanted to press it open, you would do that before you cut your curves. so that it's pressed open here and then it would be open here as well when you get to this center. So, totally your preference. I didn't have any trouble with it like this, but just something to keep in mind. So, let's go ahead and sew this block together. And then I will just feed this one in. right behind. Take a few stitches. And I do want to make sure that my circle is meeting up. So you can put a pin in that point if you want. There we go. And now I can just open these and put them right sides together and sew my block together. So once I get past that first little joint where I want the edge of my circle to match, I'll line up my center seam. Just making sure it's nesting so that those are going opposite directions. And then again line up the other side of that circle and cruise all the way to the end of our block. Okay, all done. Now we just need to give it a press. So, I'll take this over here to the pressing mat. Roll this back. I always like to press from the top first just to make sure all of my seams are laying nicely. I don't have any tucks. We go. Now we can turn it over and make sure our seams are going how we want. Just press this one over. We did pretty good. There we go. There is our adorable block. And so then you will have half of your blocks with this pink background or whatever you choose and half with the white like you see here. And so let's go ahead and take a look at the quilt behind me. You'll see I just alternated between the two background colors and I did four across by five down. So a total of 20 blocks for this size. This measures 48x 60. And I also wanted to show you just a different option. This is the baby version that's also in the pattern. It finishes at 36 in square. And this is just using nine blocks. So, super quick and easy. Comes together really fast. We put a little bit of cuddle on the back. And we actually quilted both of these with our bamboo batting, which is just so soft. I absolutely love it. So, the quilting on this one is called Merrily, and I backed it with this really cute floral. I think it turned out really, really sweet. I really love how this turned out and it's a great little challenge if you haven't made curves before to have that little pieced in seam there. I really had fun making it and I hope you'll give it a try. I'll see you next time on At Home.

 Misty Doan
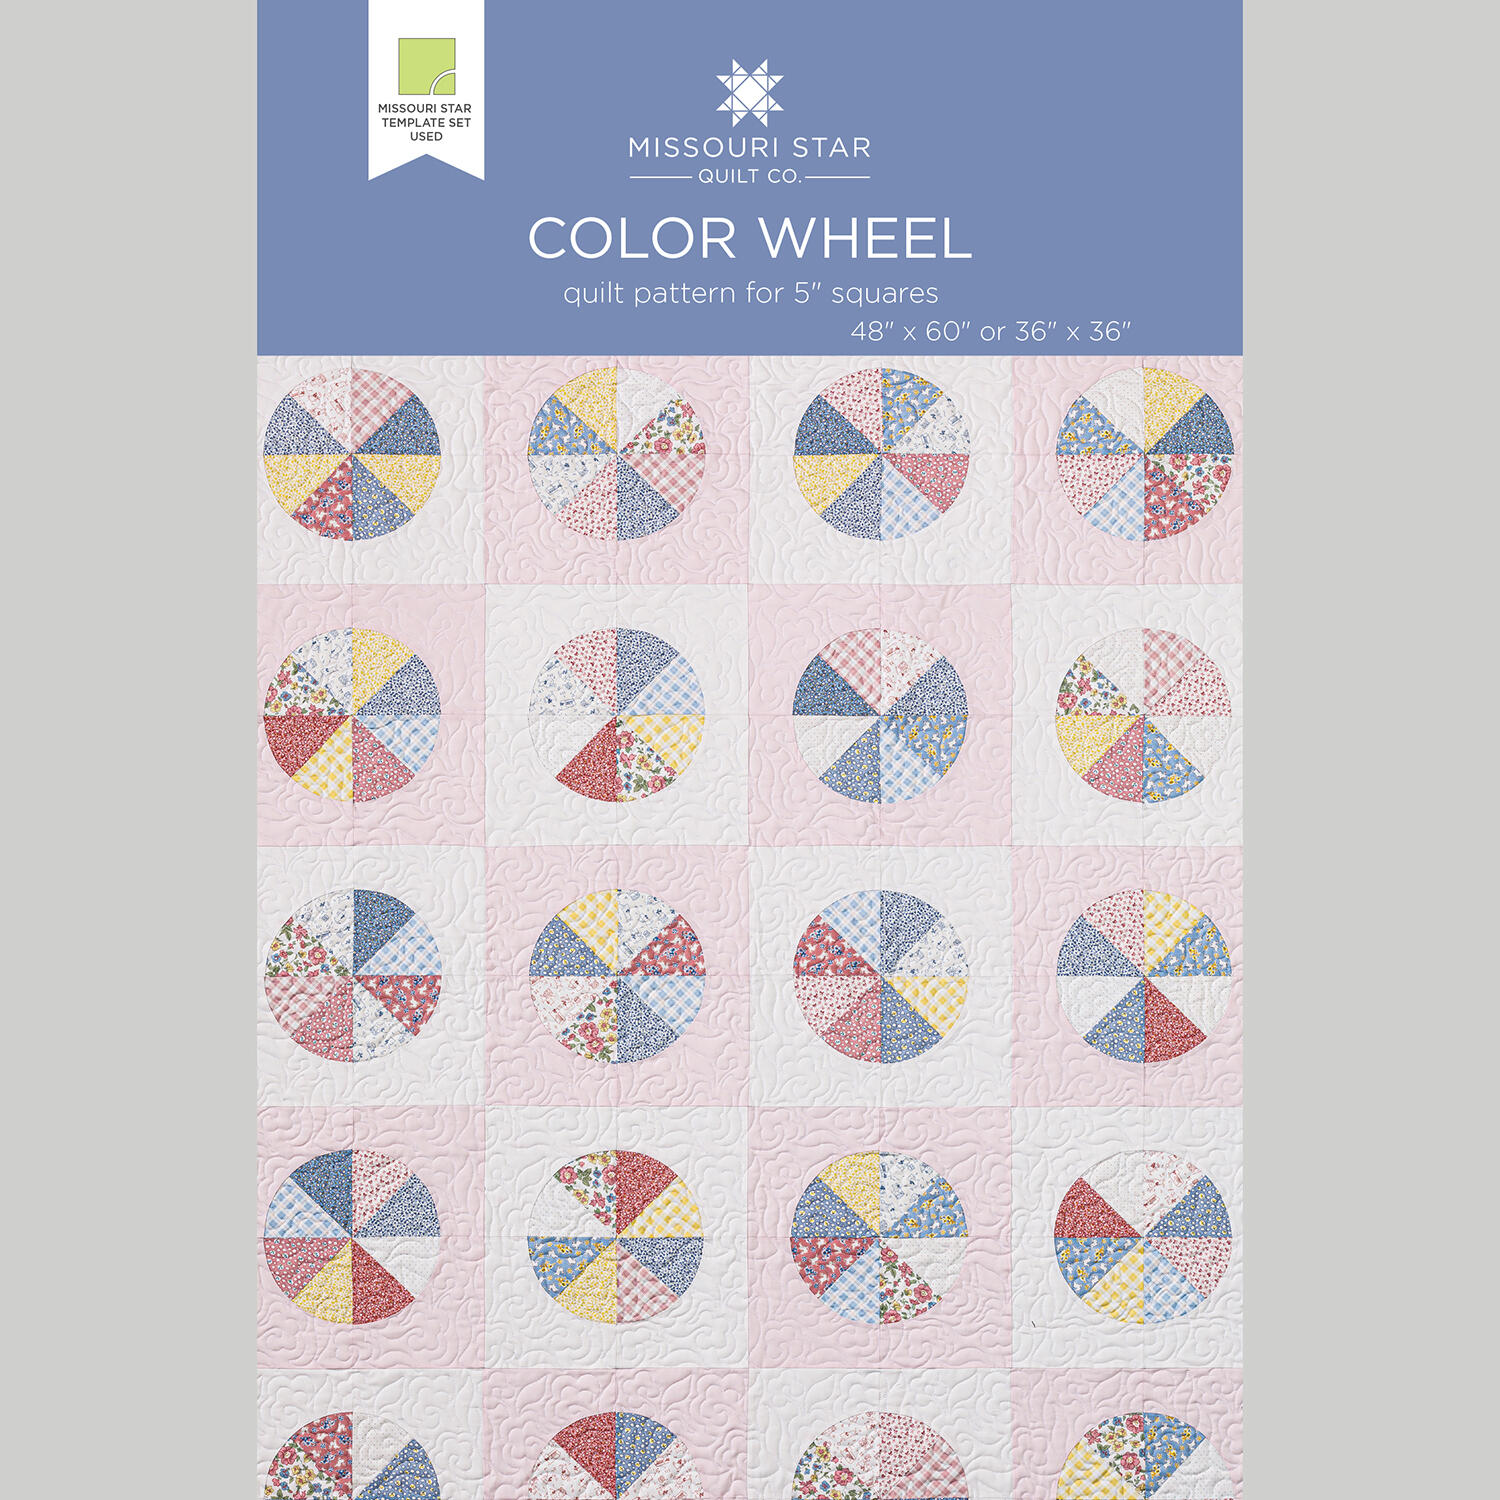 Color Wheel Quilt Pattern by Missouri Star$8.50Shop →
 Digital Download - Color Wheel Quilt Pattern by Missouri Star$6.95Shop →
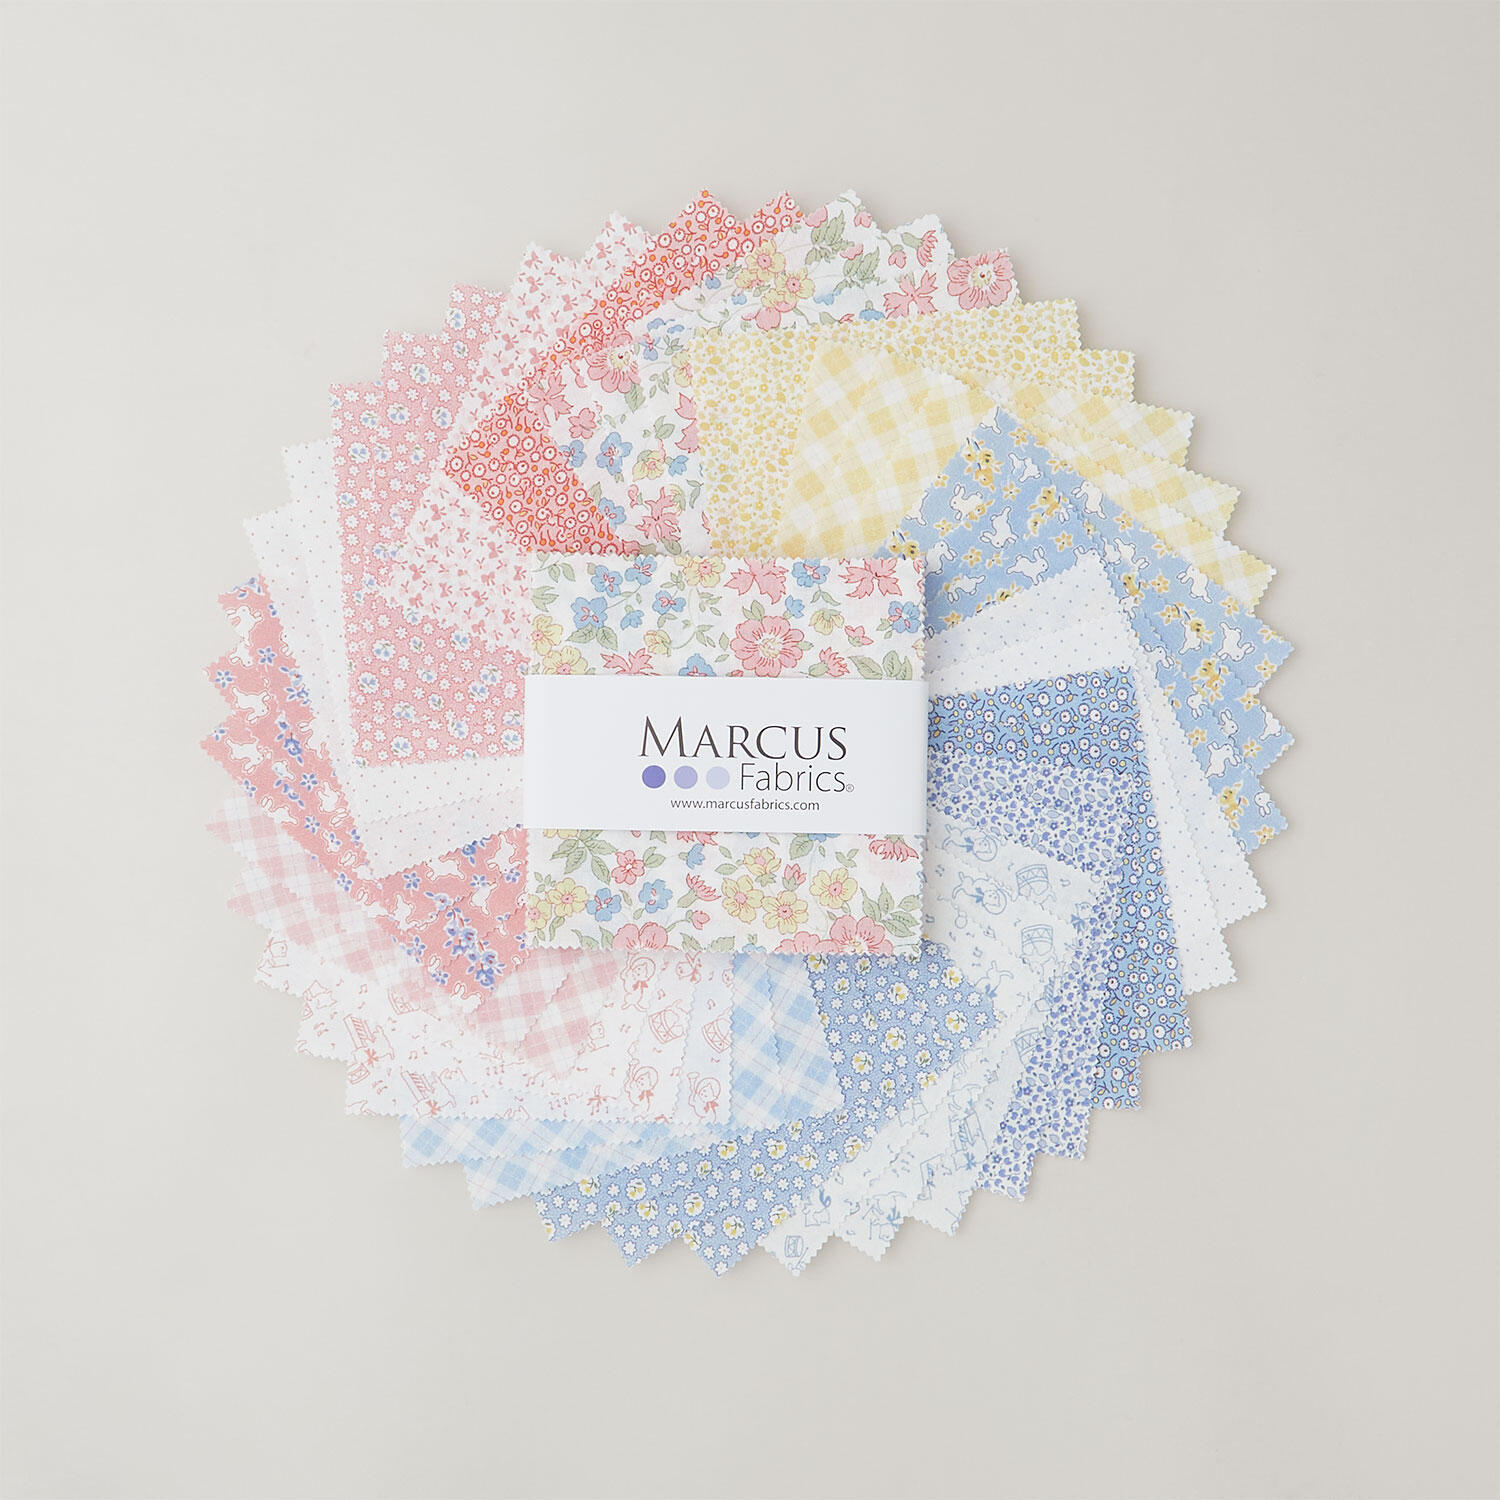 Aunt Grace Rock My Baby Charm Pack$14.50Shop →
 Colorworks Premium Solids - Ballet Slipper Yardage$8.96Shop →
 Colorworks Premium Solids - Snow Yardage$8.96Shop →
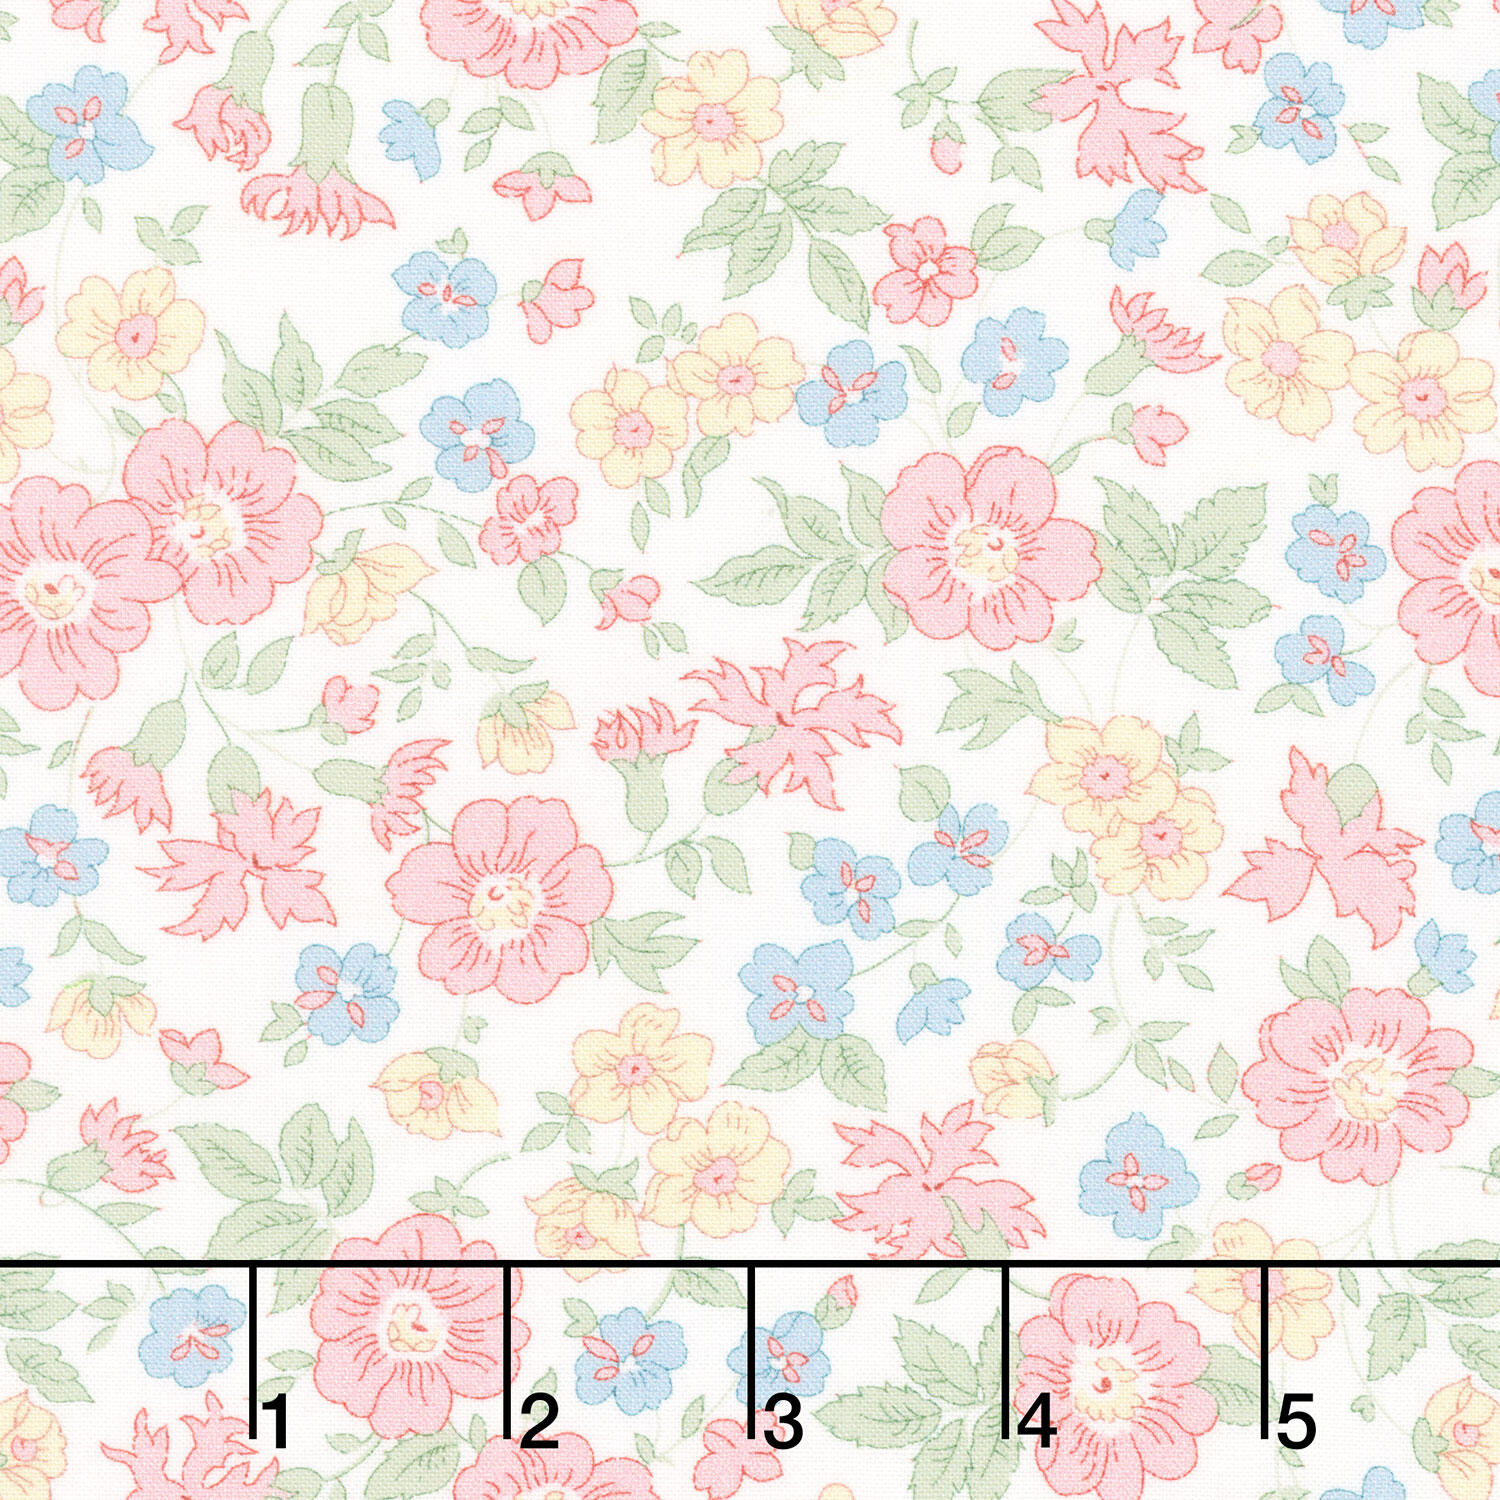 Aunt Grace Rock My Baby - Flower Garden Multi Yardage$12.04Shop →
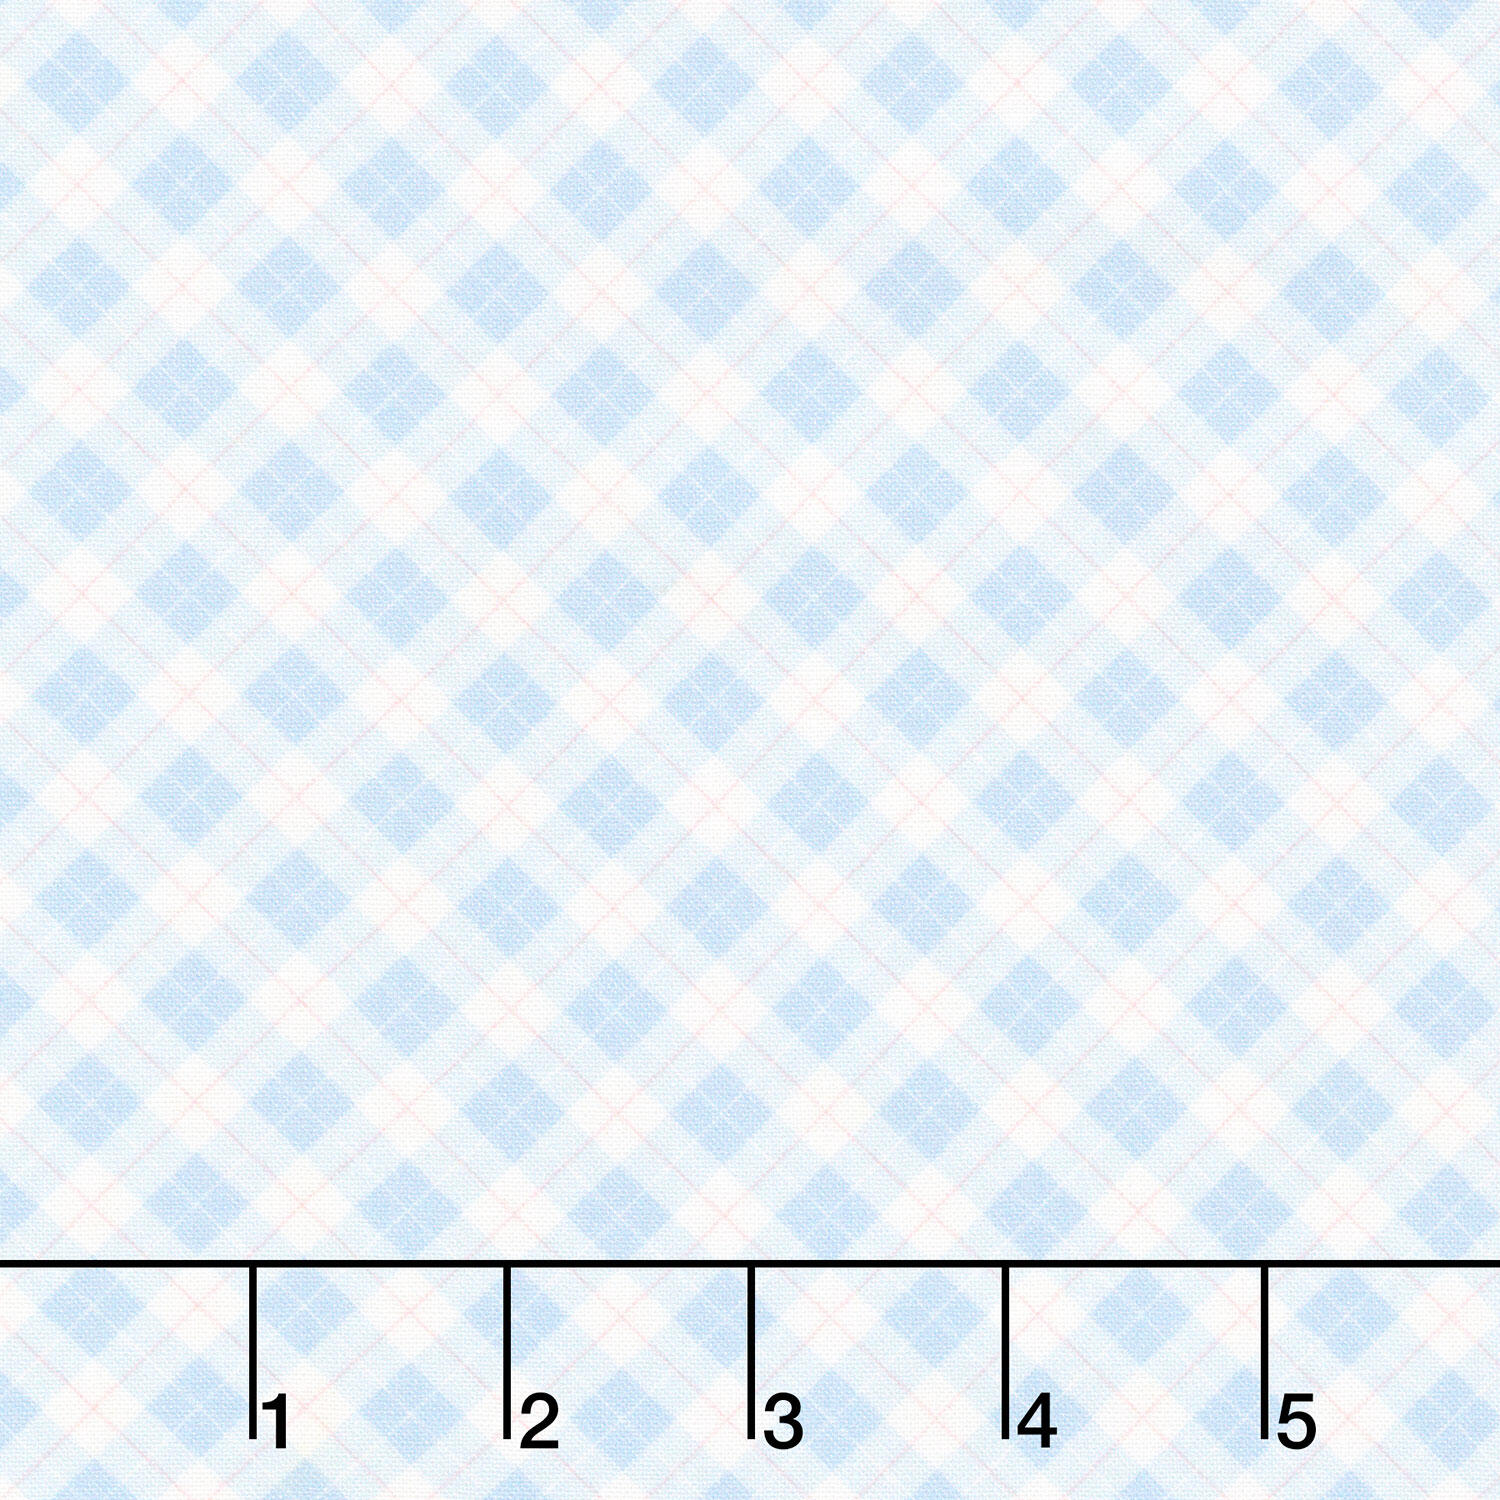 Aunt Grace Rock My Baby - Plaid Blue Yardage$12.04Shop →
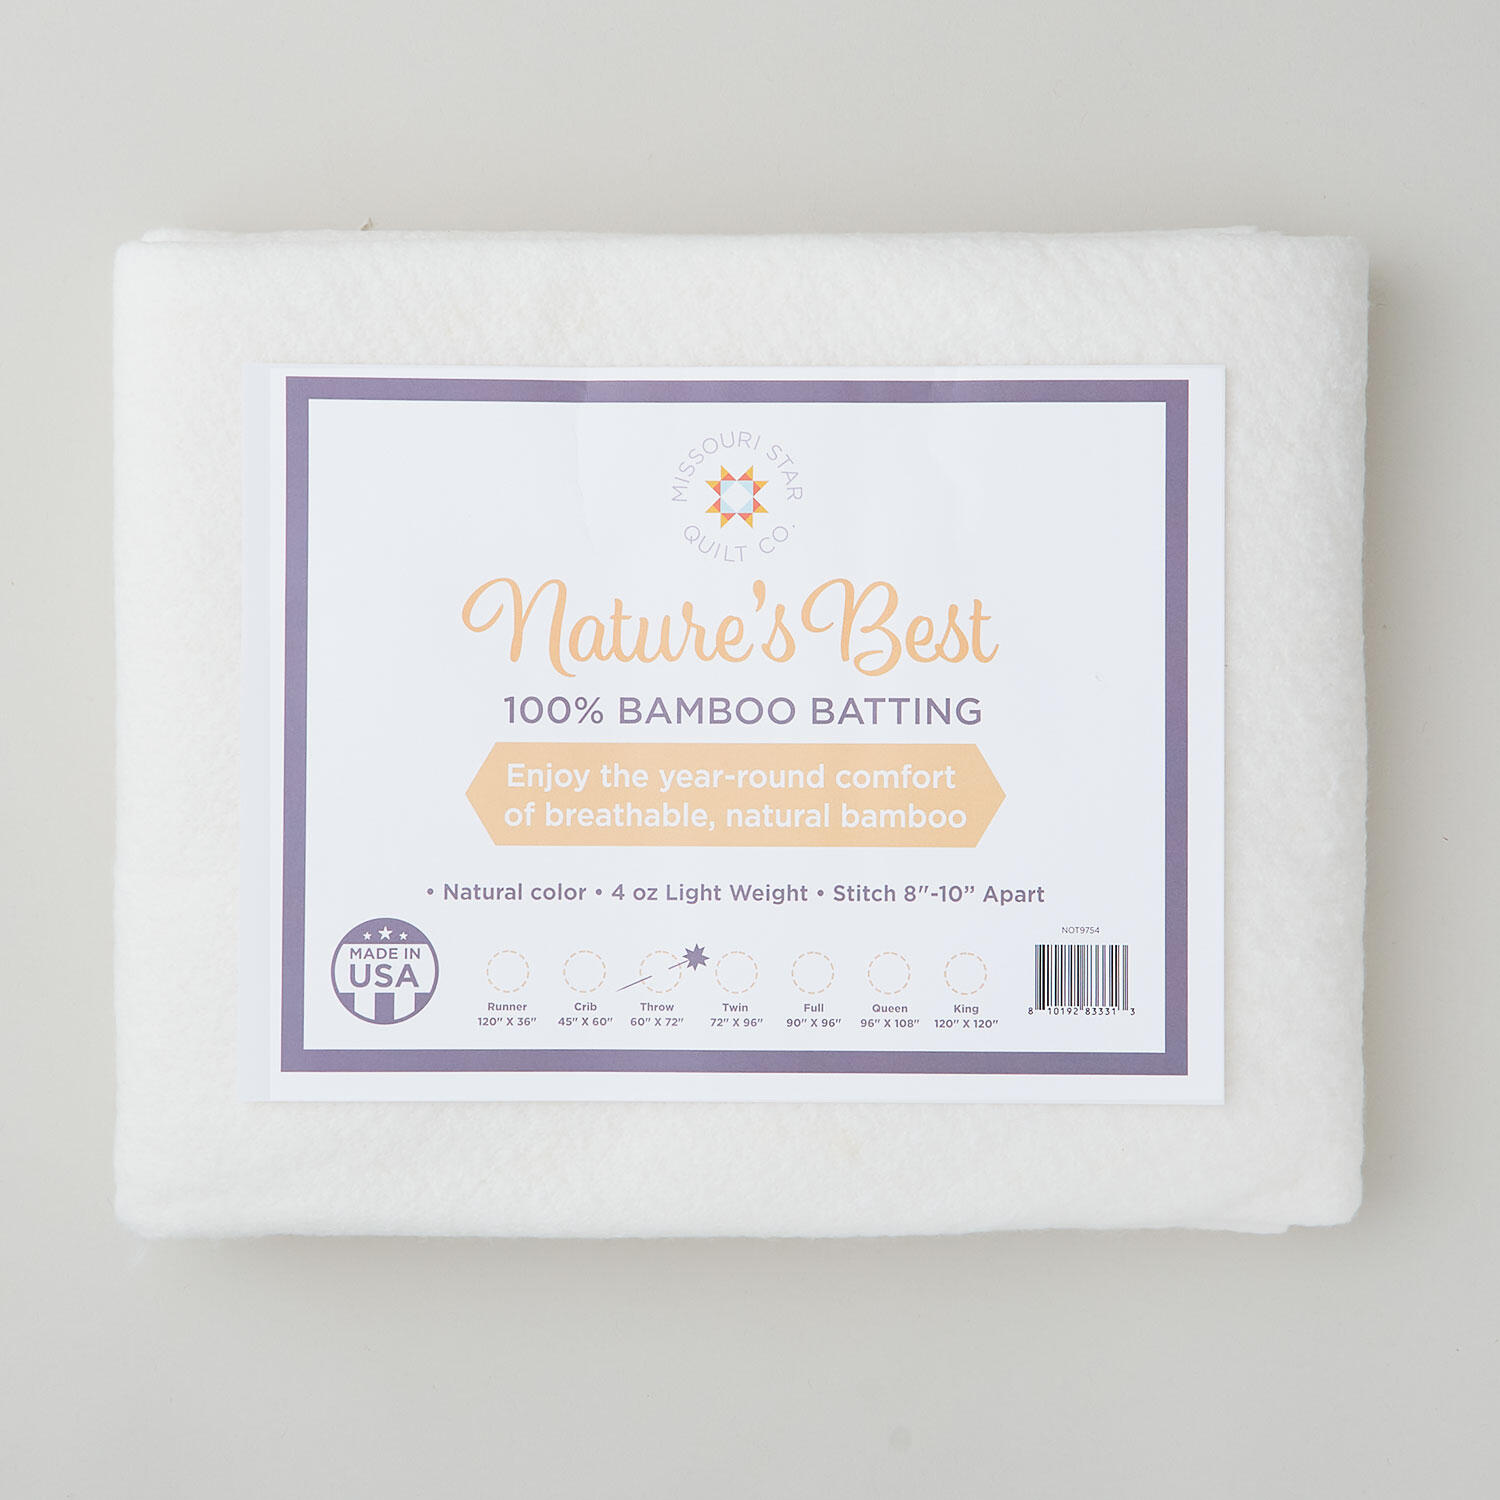 Missouri Star Nature's Best Bamboo Batting - Throw$30.95Shop →
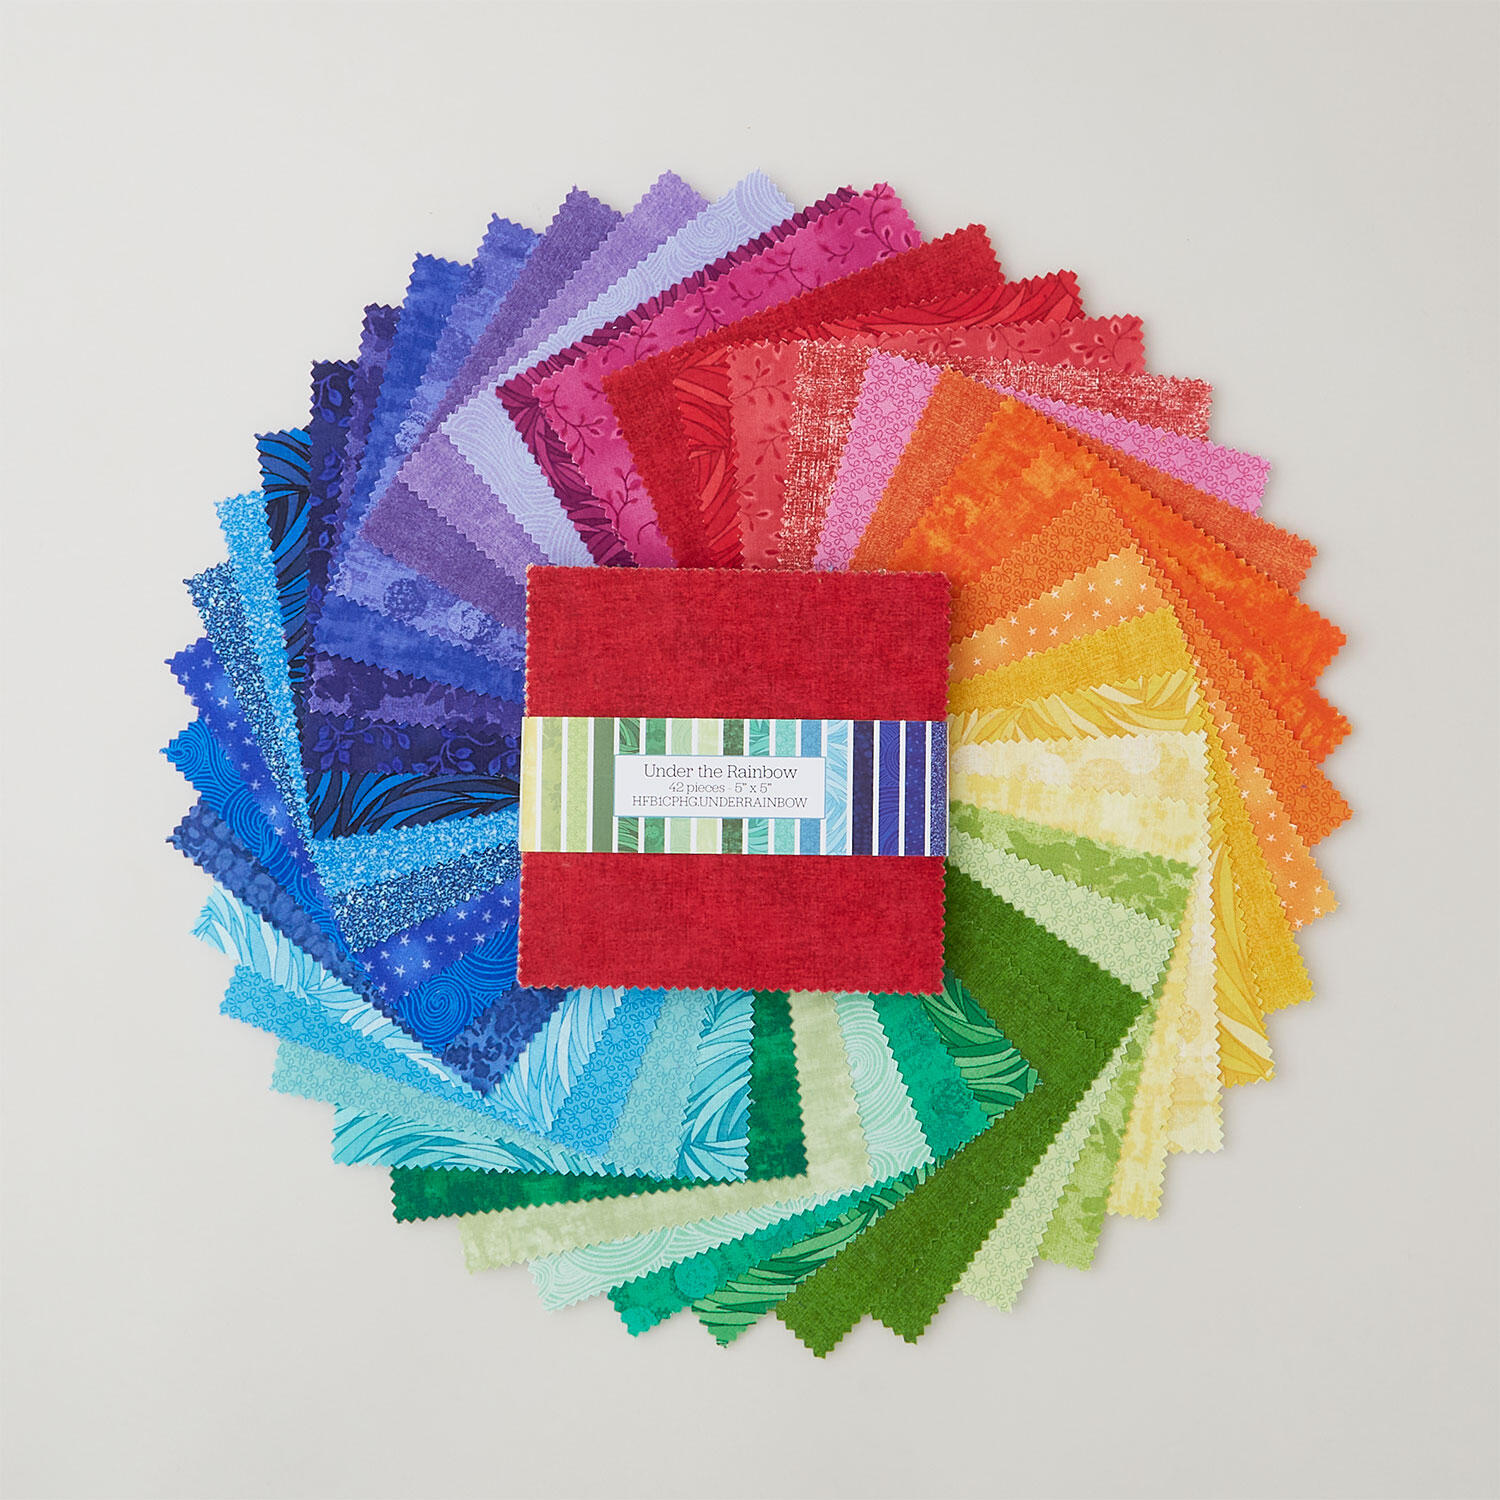 I've Got Hue, Babe - Under The Rainbow Charm Pack$12.15Shop →
 Colorworks Premium Solids - Black Yardage$8.96Shop →
 Colorworks Premium Solids - Vapor Yardage$8.96Shop →
 Cuddle® Solids - Black 60" Minky Yardage$15.35Shop →
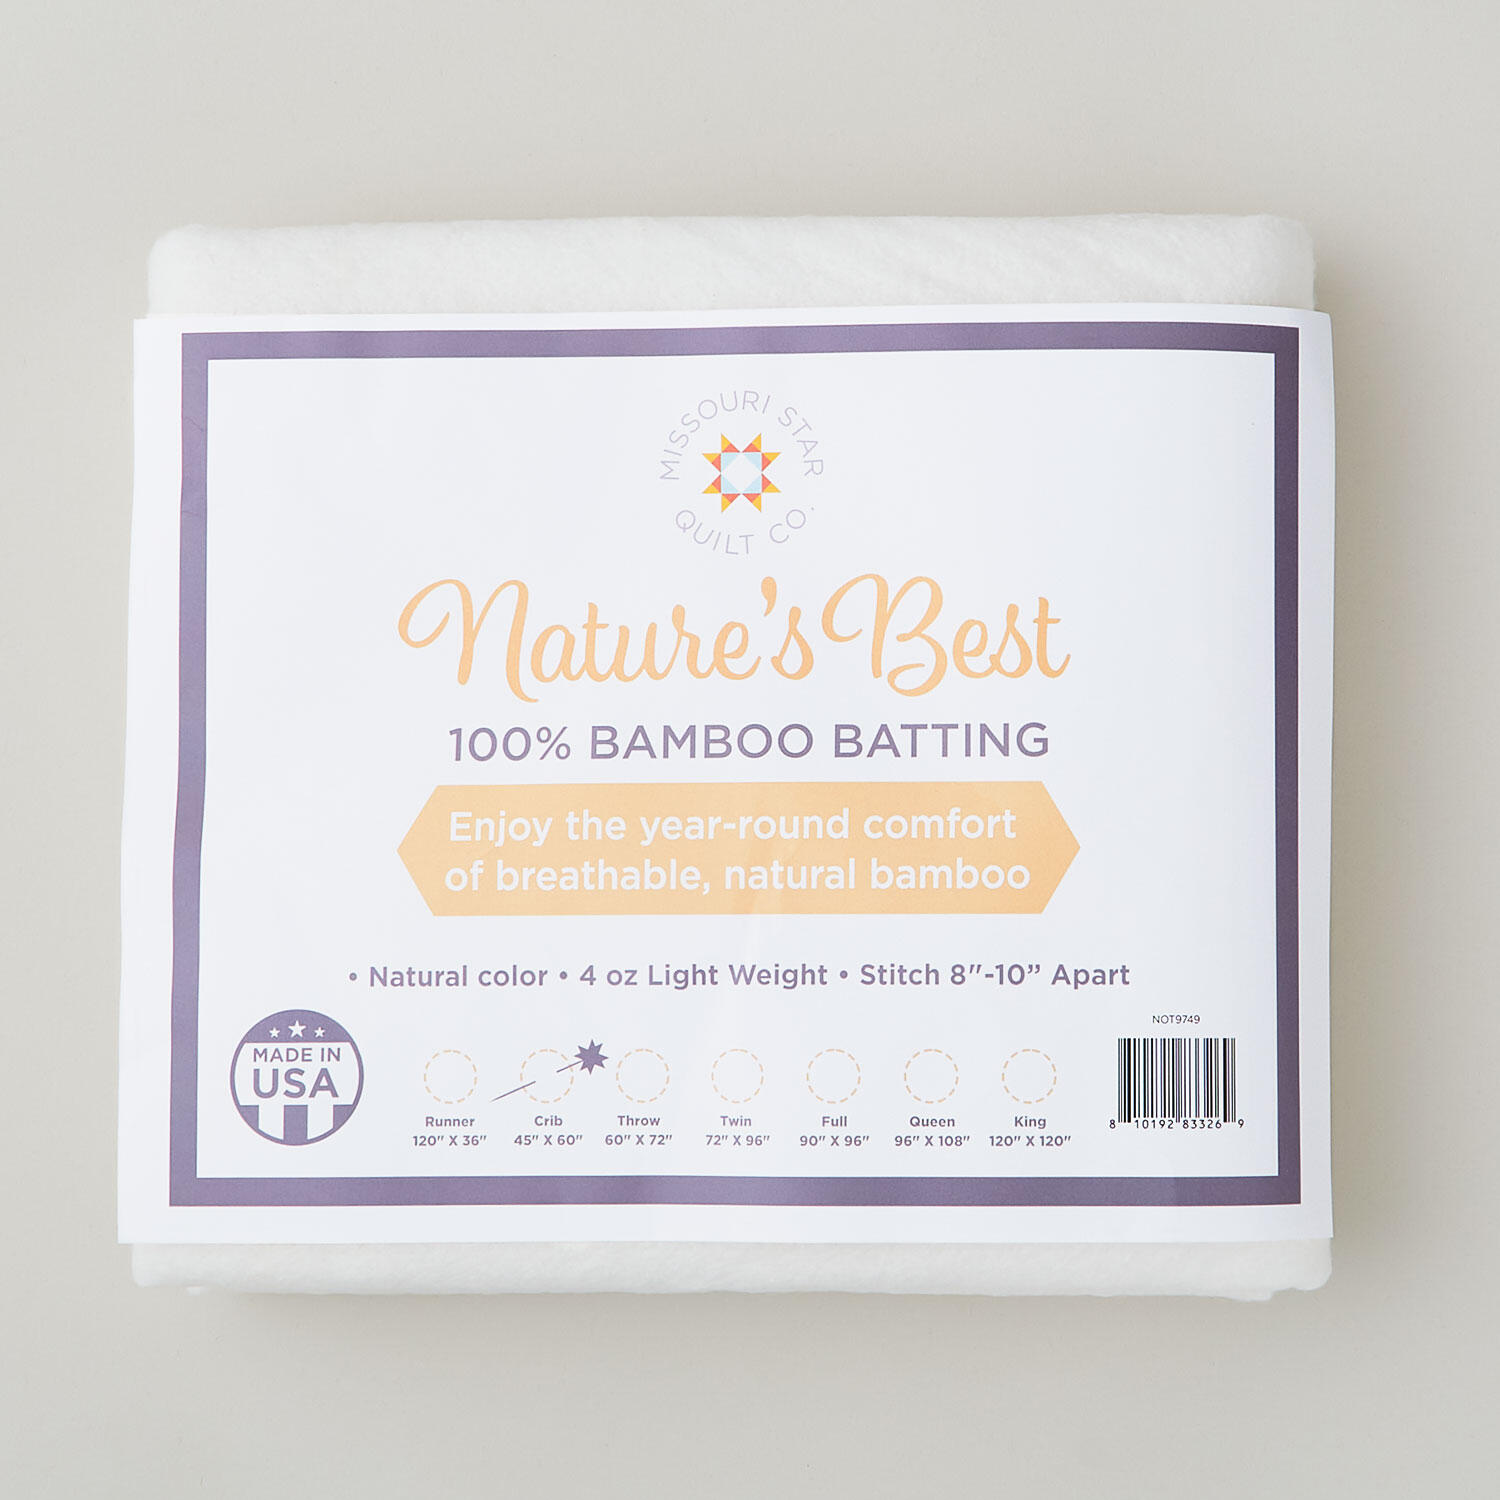 Missouri Star Nature's Best Bamboo Batting - Crib$22.95Shop →
 Missouri Star 2.5" x 8" Ruler$11.95Shop →
 Missouri Star 5" x 15" Ruler$19.95Shop →
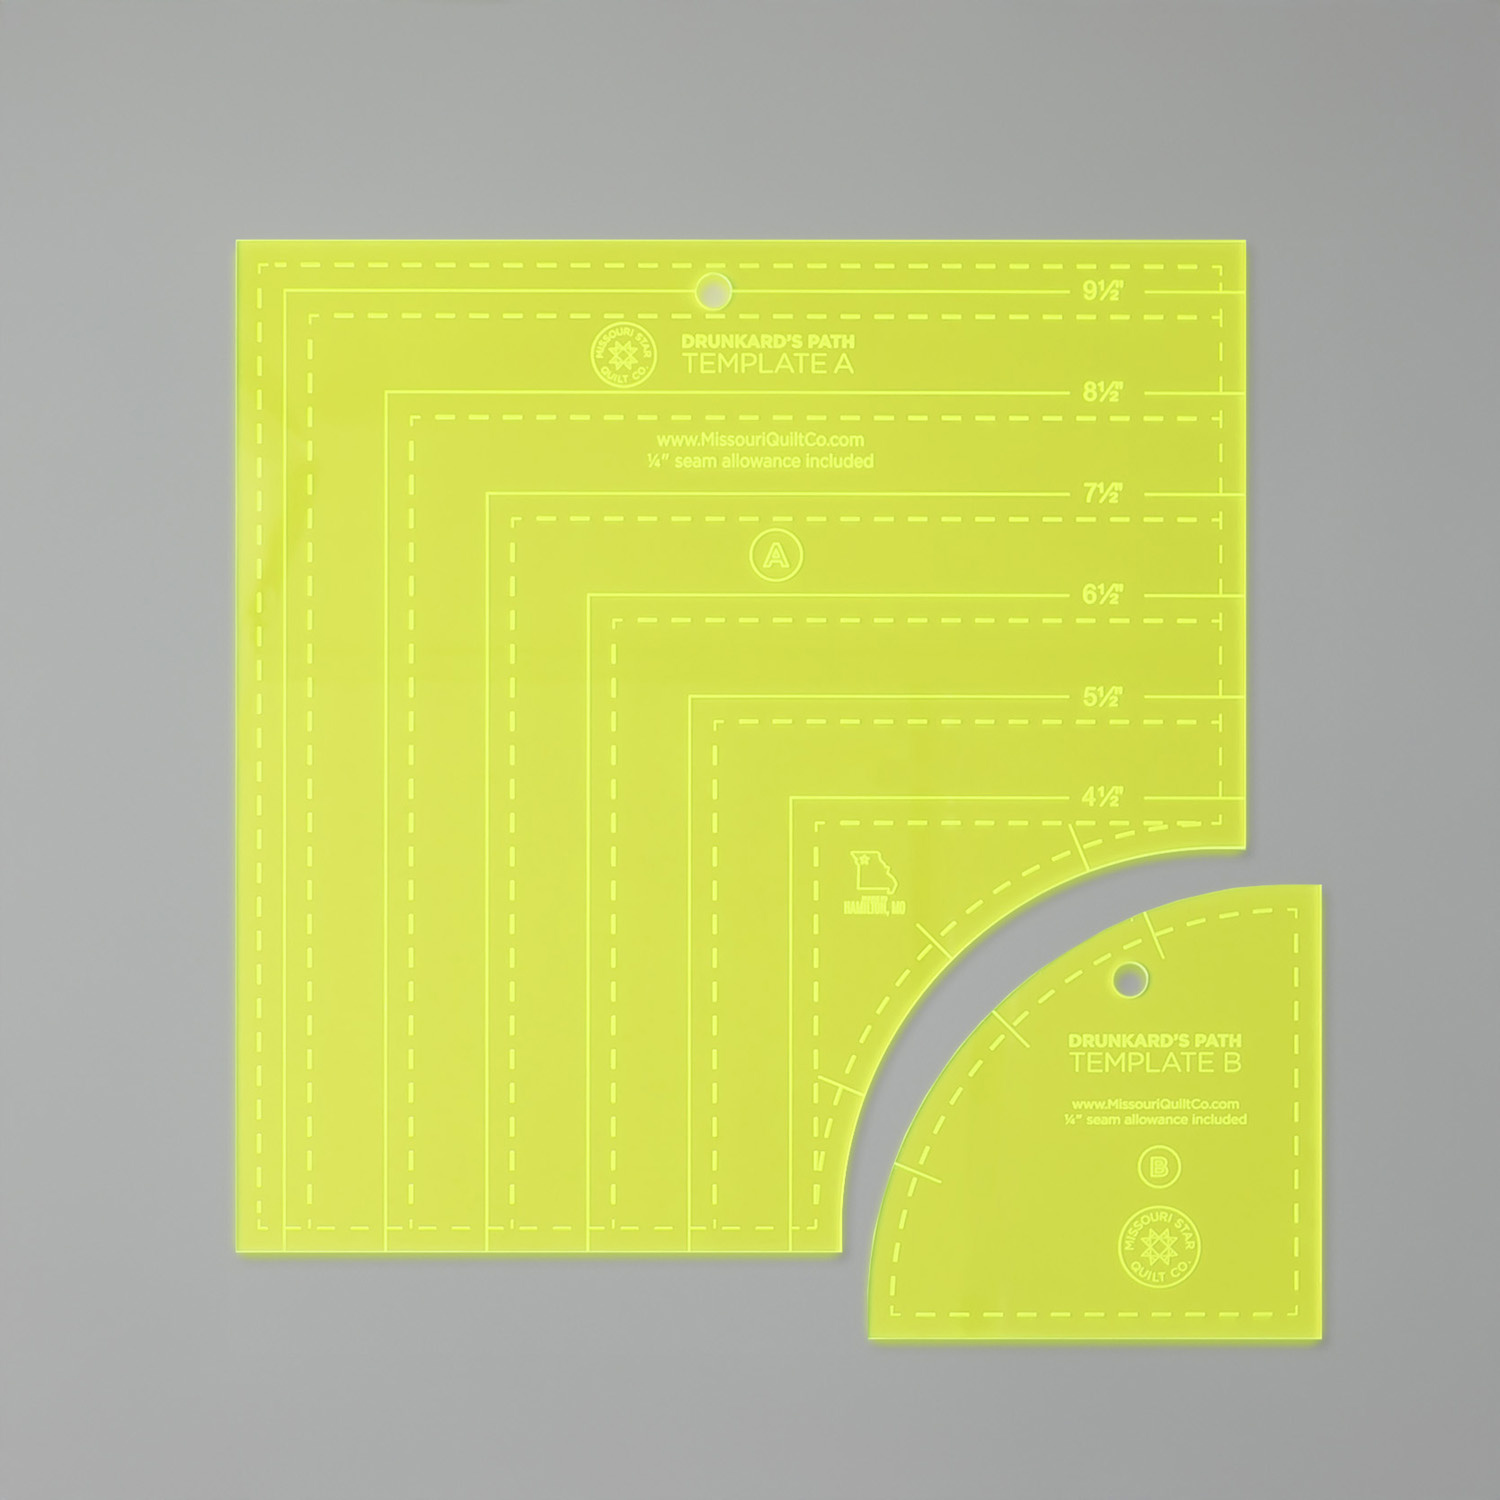 Missouri Star Drunkard's Path Circle Template Set - Small$21.95Shop →
 Missouri Star 45mm Rotary Cutter - Olga$19.95Shop →
 Missouri Star 8" Everyday Scissors - Amelia$19.95Shop →
 Missouri Star 50 WT Cotton Thread White$7.95Shop →
 Missouri Star + Oliso TG1600 ProPlus Iron$209.95Shop →


