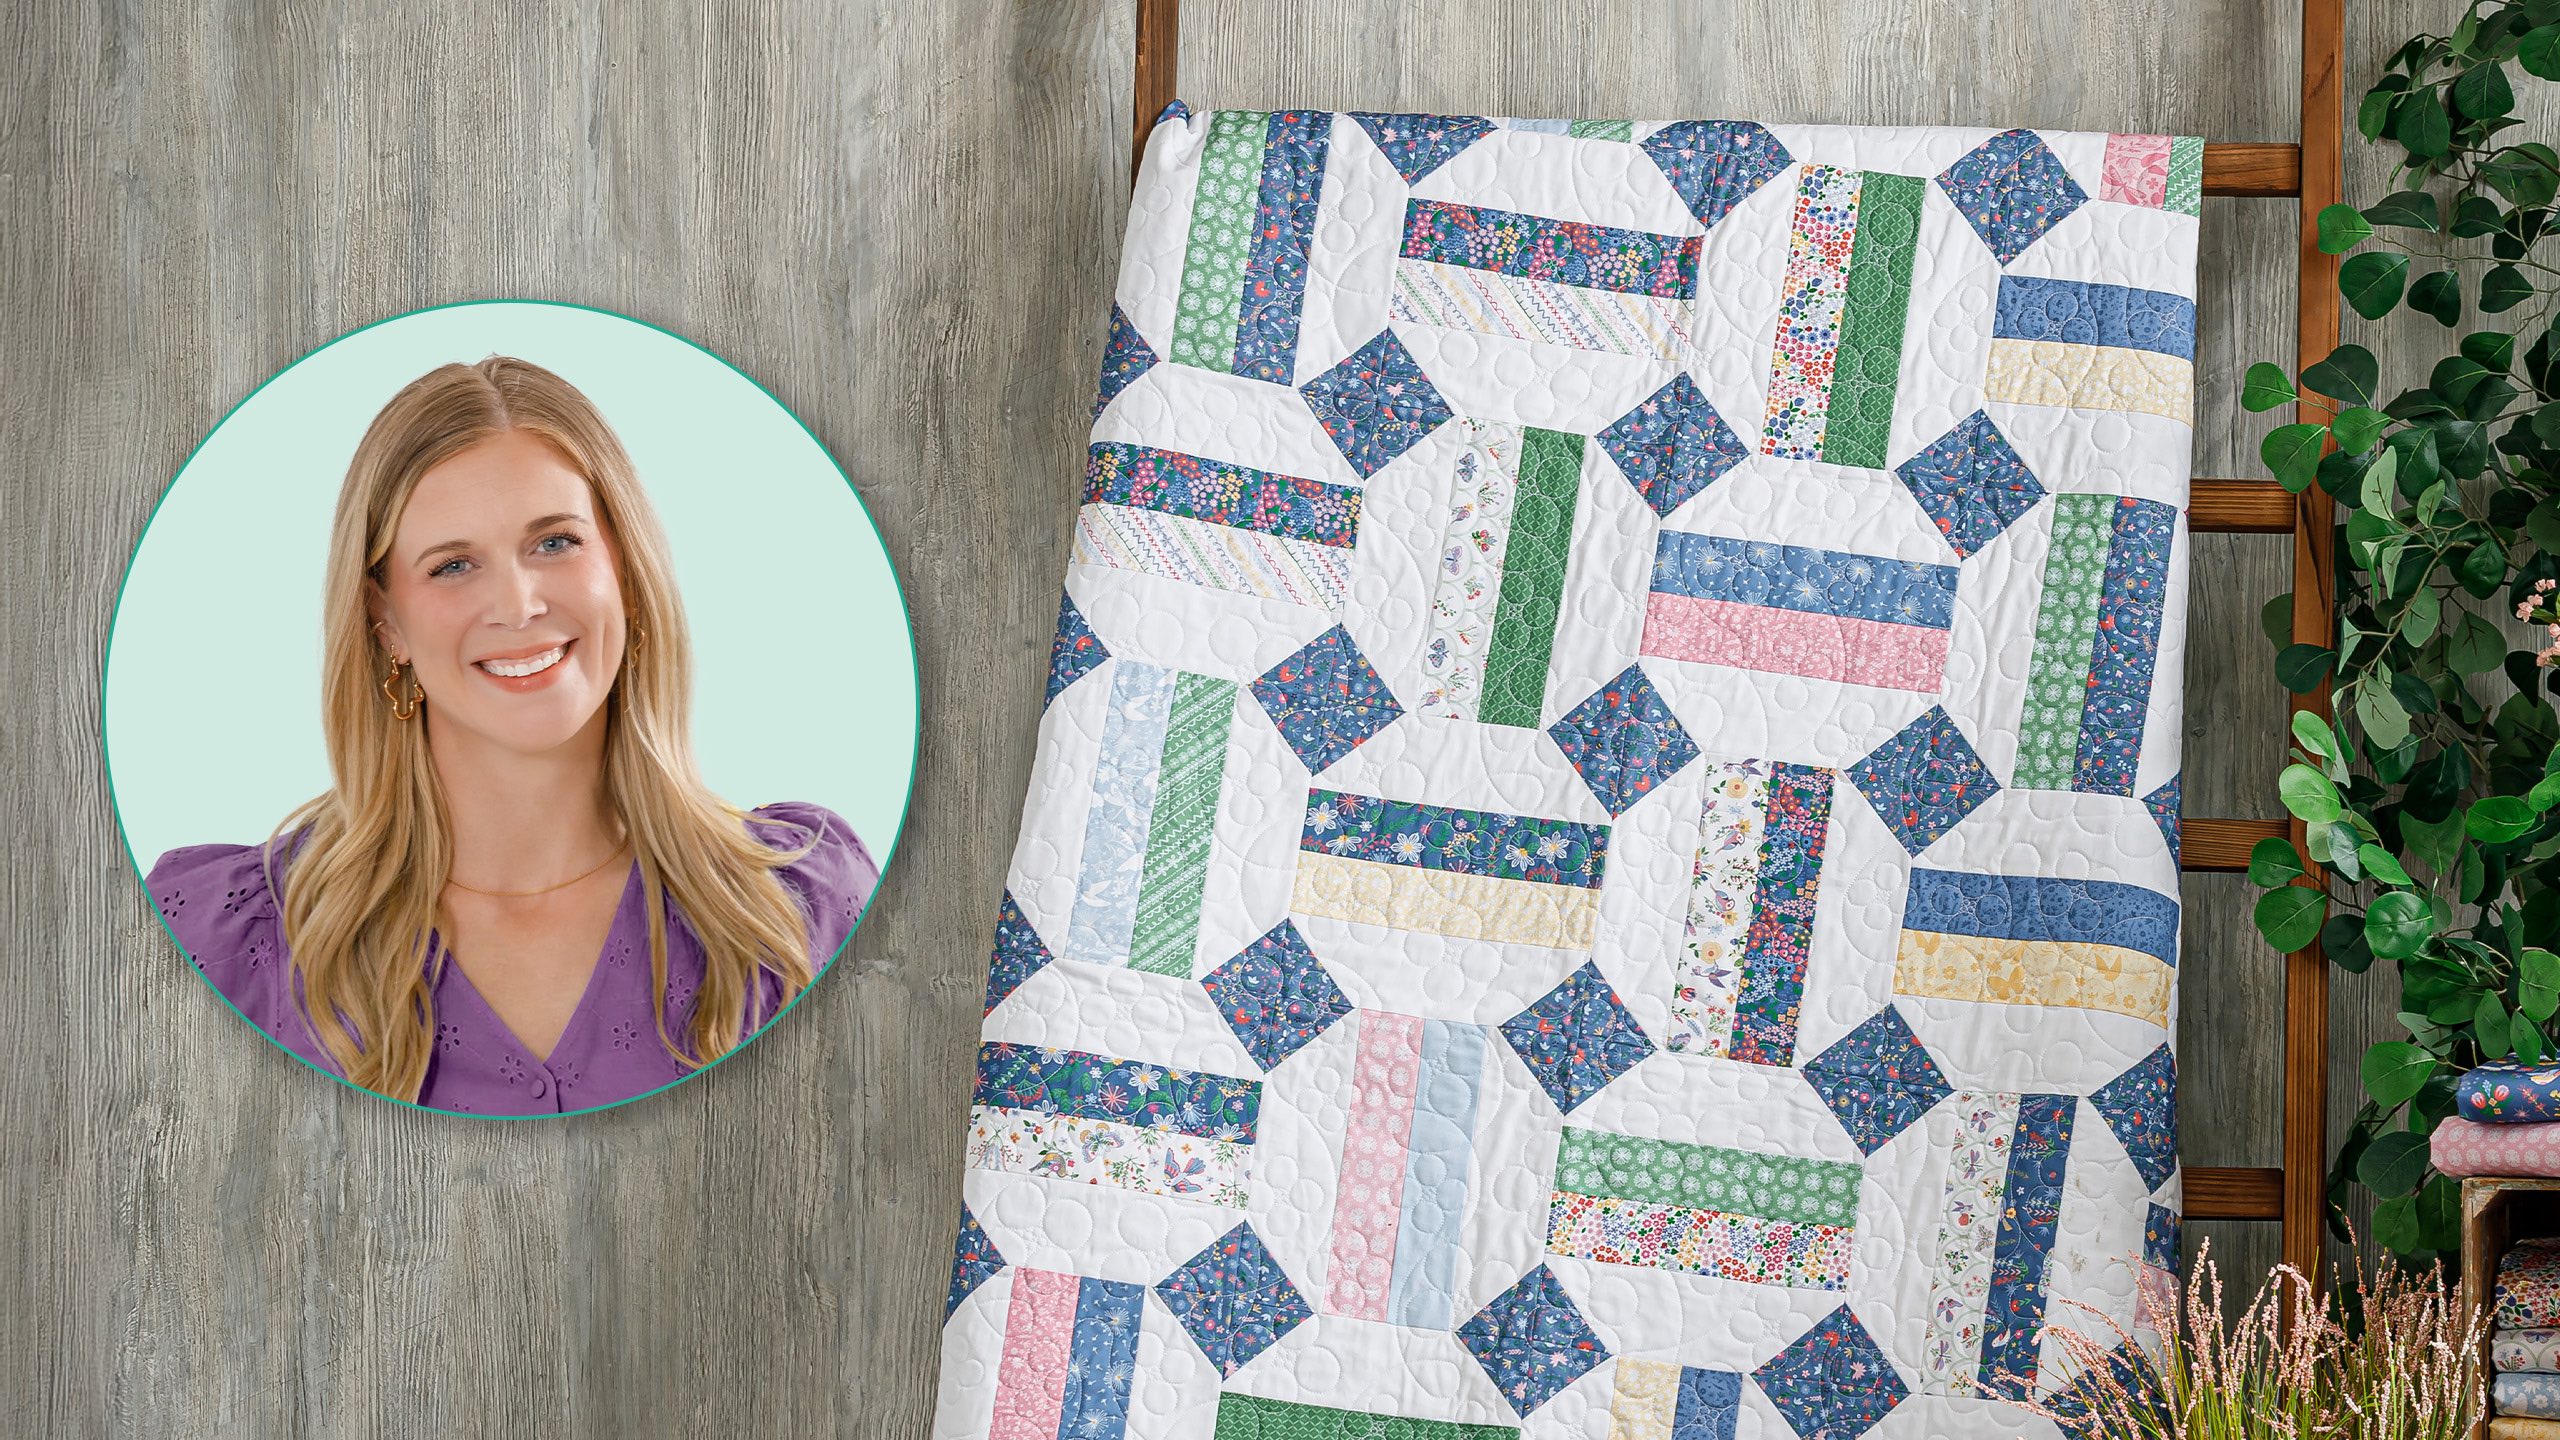
Dainty florals and bold geometric shapes find common ground in this quilt! Join Misty as she shows you how easy it is to make the Common Ground quilt, featuring precut 2-½" strips of Ingrid's Wildflowers fabric within large octangles. With its big shapes and the help of a jelly roll, this generously sized quilt comes together in a snap!
Misty Doan grew up surrounded by sewing and quilting. She loves spending time sharing tutorials each week each week, and when she’s not stitching up one of her fun sewing projects for home decor, most likely you’ll find her hanging out with her husband and three awesome kids or working on a house project.
Dainty florals and bold geometric shapes find common ground in this quilt! Join Misty as she shows you how easy it is to make the Common Ground quilt, featuring precut 2-½" strips of Ingrid's Wildflowers fabric within large octangles. With its big shapes and the help of a jell...
How long is the tutorial video?
The tutorial video is 00:08:54.
Are supplies listed for this tutorial?
Yes. The tutorial page includes the supplies and materials connected to this project.
Video Transcript
Hey everyone, it is Misty and today I have a super fun quilt to share with you. I am calling it Common Ground and it features our brand new Ingrid's Wild Flowers uh fabric collection. It's absolutely beautiful. So, let me show you how to make it. I'm calling this quilt common ground and I just love it because it's just a simple block that you can rotate back and forth. And I love this secondary diamond that you get when you place those blocks together. Just super quick and easy, but really pretty, I believe. And so to make this quilt, you are going to need one package of 2 and 1/2 in strips. And of course, I'm using this beautiful Ingred's Wildflower collection. You're also going to need 2 and 1 eigh of the accent fabric. And I just chose one from the collection. For your background, I used super white from Northcot. and you need 3 and 3/4 yds of that. For your backing, you'll want 5 and 3/4 yds with vertical seams, but I went with a 108. And you just need 2 and 1/3 yards. We also have these adorable labels of love that were designed to coordinate with this fabric collection. So, be sure to check those out and let me show you how easy this is to make. Up first, you want to open up your entire roll of your 2 and 1/2 in strips and first admire how adorable this collection is. and then just pair them up into sets where you have some decent contrast. And we're just going to sew two of our 2 and 1/2 in strips together into a strip set. So it looks just like this. And then once you have all of those strip sets sewn, we can cut our background fabric. And so these are also going to be cut into strips. And so just uh you want to measure over 3 and 1/4 in by the width of your fabric. And we are going to add one of these background strips to either side of our strip set. So, I have some of these ready to go. And I'm just going to take this over to the machine now and sew all the way down one side and then add another to the opposite side. So, when you're sewing strip sets like this, you want to be really careful not to stretch or tug. Just let the machine do the work. Take a few stitches and then line it up and zoom down and just readjust and guide that fabric. Okay, we have that first side sewn on. I'm just going to go ahead and fold that out of the way. I'll press it at the end and then we will add our other strip on the other side here. Perfect. All right. So now we can take this over to the pressing mat and we are going to press these background strips. I like to press from the top just to make sure that I don't have any tucks or pleats that get caught along that seam line. We want everything to lay nice and smooth. There we go. And now I can do the same thing on the other side here. Just roll this fabric back. And again, just let the iron do the work. Try not to tug too much. We're just pressing that seam flat. All righty. So now, if we have done this right, this should end up 10 in tall. And so we are going to cut this strip set into 10 in segments. So, I'll straighten up the end here. Give myself a little more room. There we go. Get rid of all those salvages. And now I want to measure over 10 in. My ruler is five, so I know I can do two of those. Just make sure I'm straight along my mat here. If you had a 10-in square ruler, that would be really handy as well. And you should get four of these from every single strip set. Here we go. I'll just cut a couple. But of course, you would just continue and finish out your strip. And so then the next step is we're going to cut some 3-in squares from our accent fabric. So, you'll just cut a 3-in strip and subcut those into 3in squares. And we are going to add one of these onto each of the corners of our blocks. And I am going to go ahead and draw a line. You can draw a line, press a line, whatever is easiest for you. Or if you have diagonal seam tape, of course, you can use that as well. So, we'll go ahead and mark each of these so that they're ready to go. And so now we're just going to take one of our blocks and we'll add these to each of the corners. And we want those to kind of round out the block to create this snowball effect. just like so. So, we'll just add one at a time here at the machine. And we're going to sew right on that drawn line. And then I will just spin my block and take care of all four of these corners. Perfect. All righty. And so now we can take our ruler and trim off our excess. If you wanted to sew a half inch away to save these for some extra little half square triangles, you absolutely could. I'm just going to add them to my scrap bin. [snorts] There we go. And so now we can roll all of these corners back. And that is all it takes to make this cute little block. Isn't that so cute? So simple. And so let's move this out of the way. I have a few extra here. We can talk about the layout. And so all I did is you're going to start in your top corner with one where your bars are facing upright. And you're just going to alternate between each one back and forth and back and forth. And you'll notice, whoops, how when you place these together, those little diamonds join and you get this fun movement. And I like that you still get to see so much of the fabric because it's so pretty. And so for the layout, we have 1 2 3 4 5 6 7 8 across by 10 down. It measures 76 by 95. I quilted it with a pattern called Forget Me Not. I think it's really sweet. And let's take a look at this beautiful backing. All those fun little butterflies and birds in there. And then, of course, our cute little labels. Flourish freely. I just think it turned out so cute. So, I hope you guys enjoyed this tutorial on the common ground quilt. And I'll see you next time on At Home. Hey everyone, thank you so much for watching at home. We're so excited to be almost a million quilters strong here at Missouri [music] Star. And so if you haven't already joined our family, be sure to subscribe and hit that notification bell so you can be notified of all of our future tutorials. And we'll see you soon.

 Misty Doan
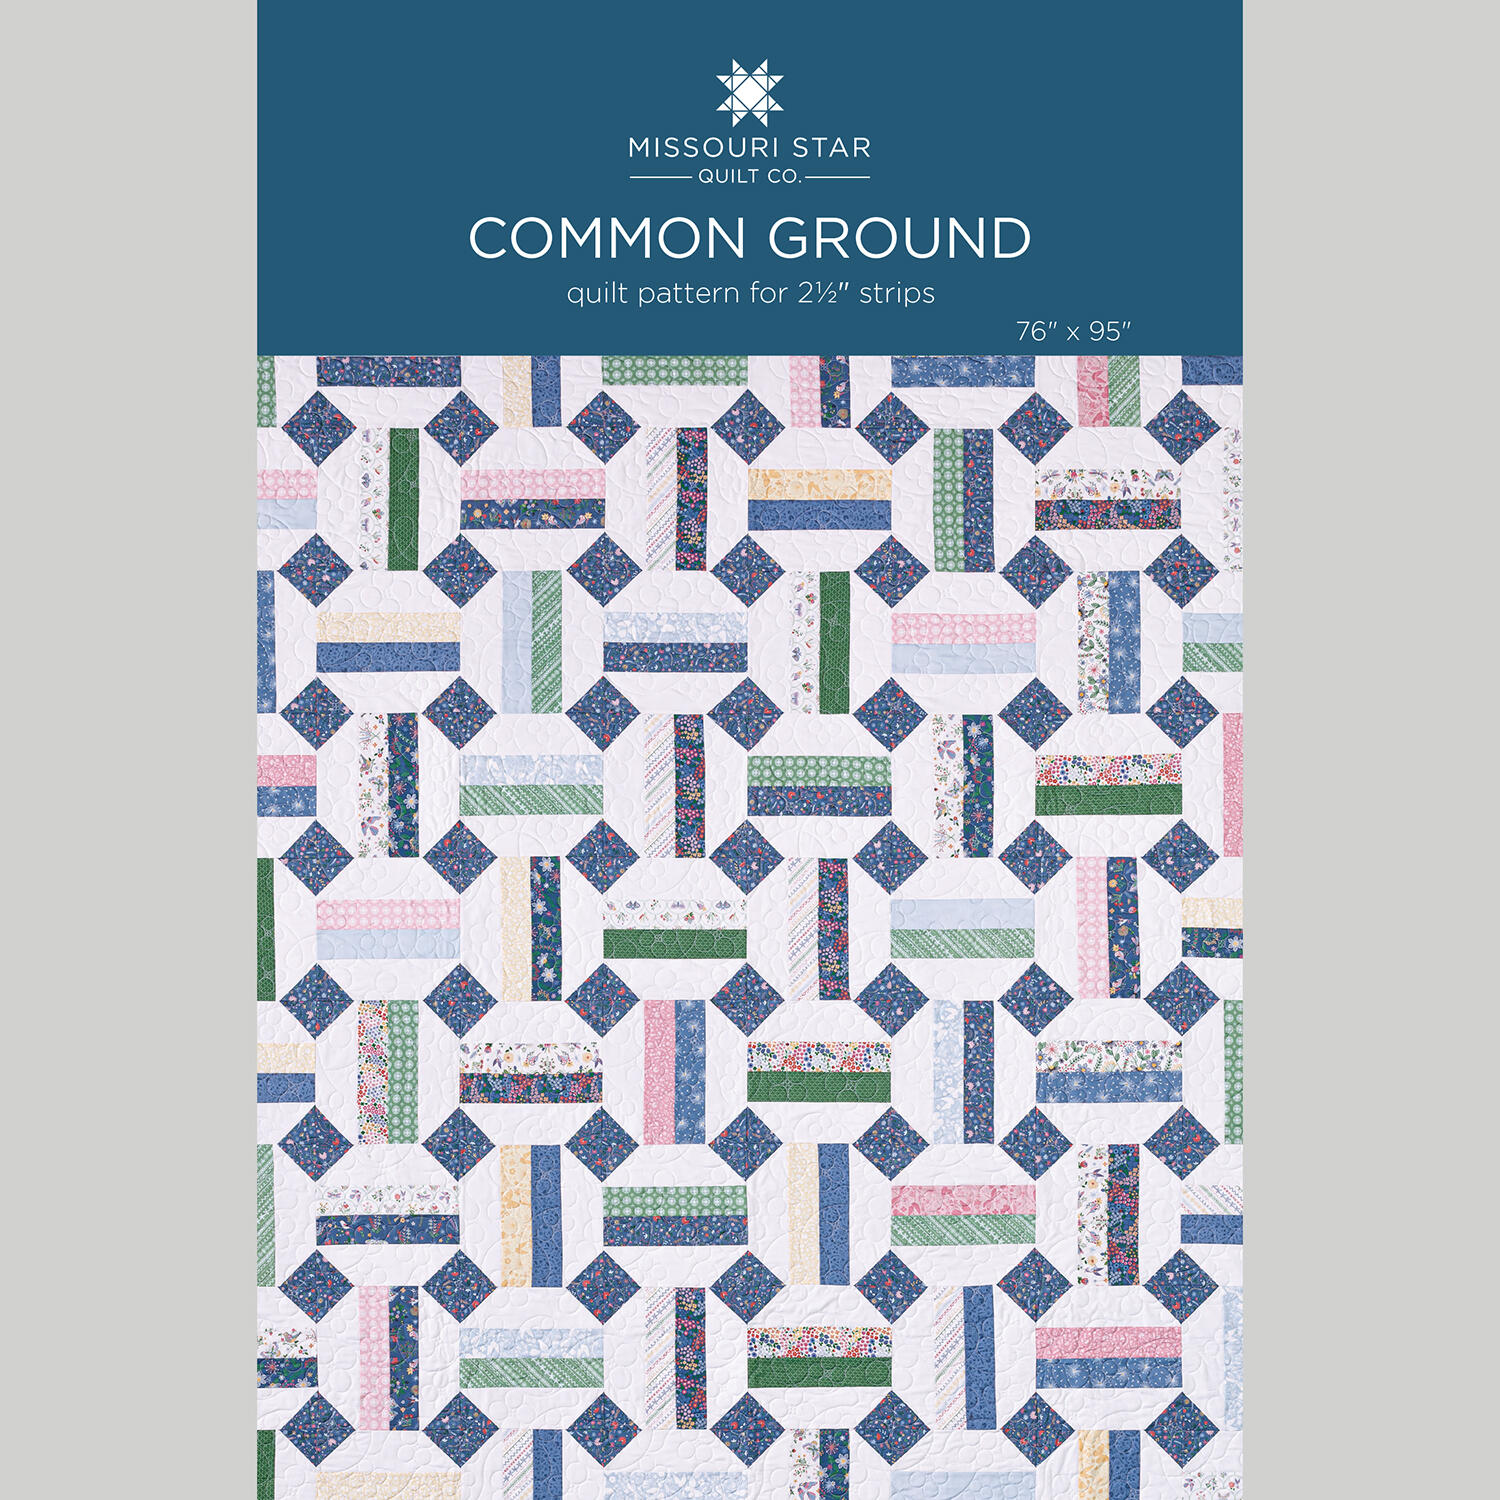 Common Ground Quilt Pattern by Missouri Star$8.50Shop →
 Digital Download - Common Ground Quilt Pattern by Missouri Star$6.95Shop →
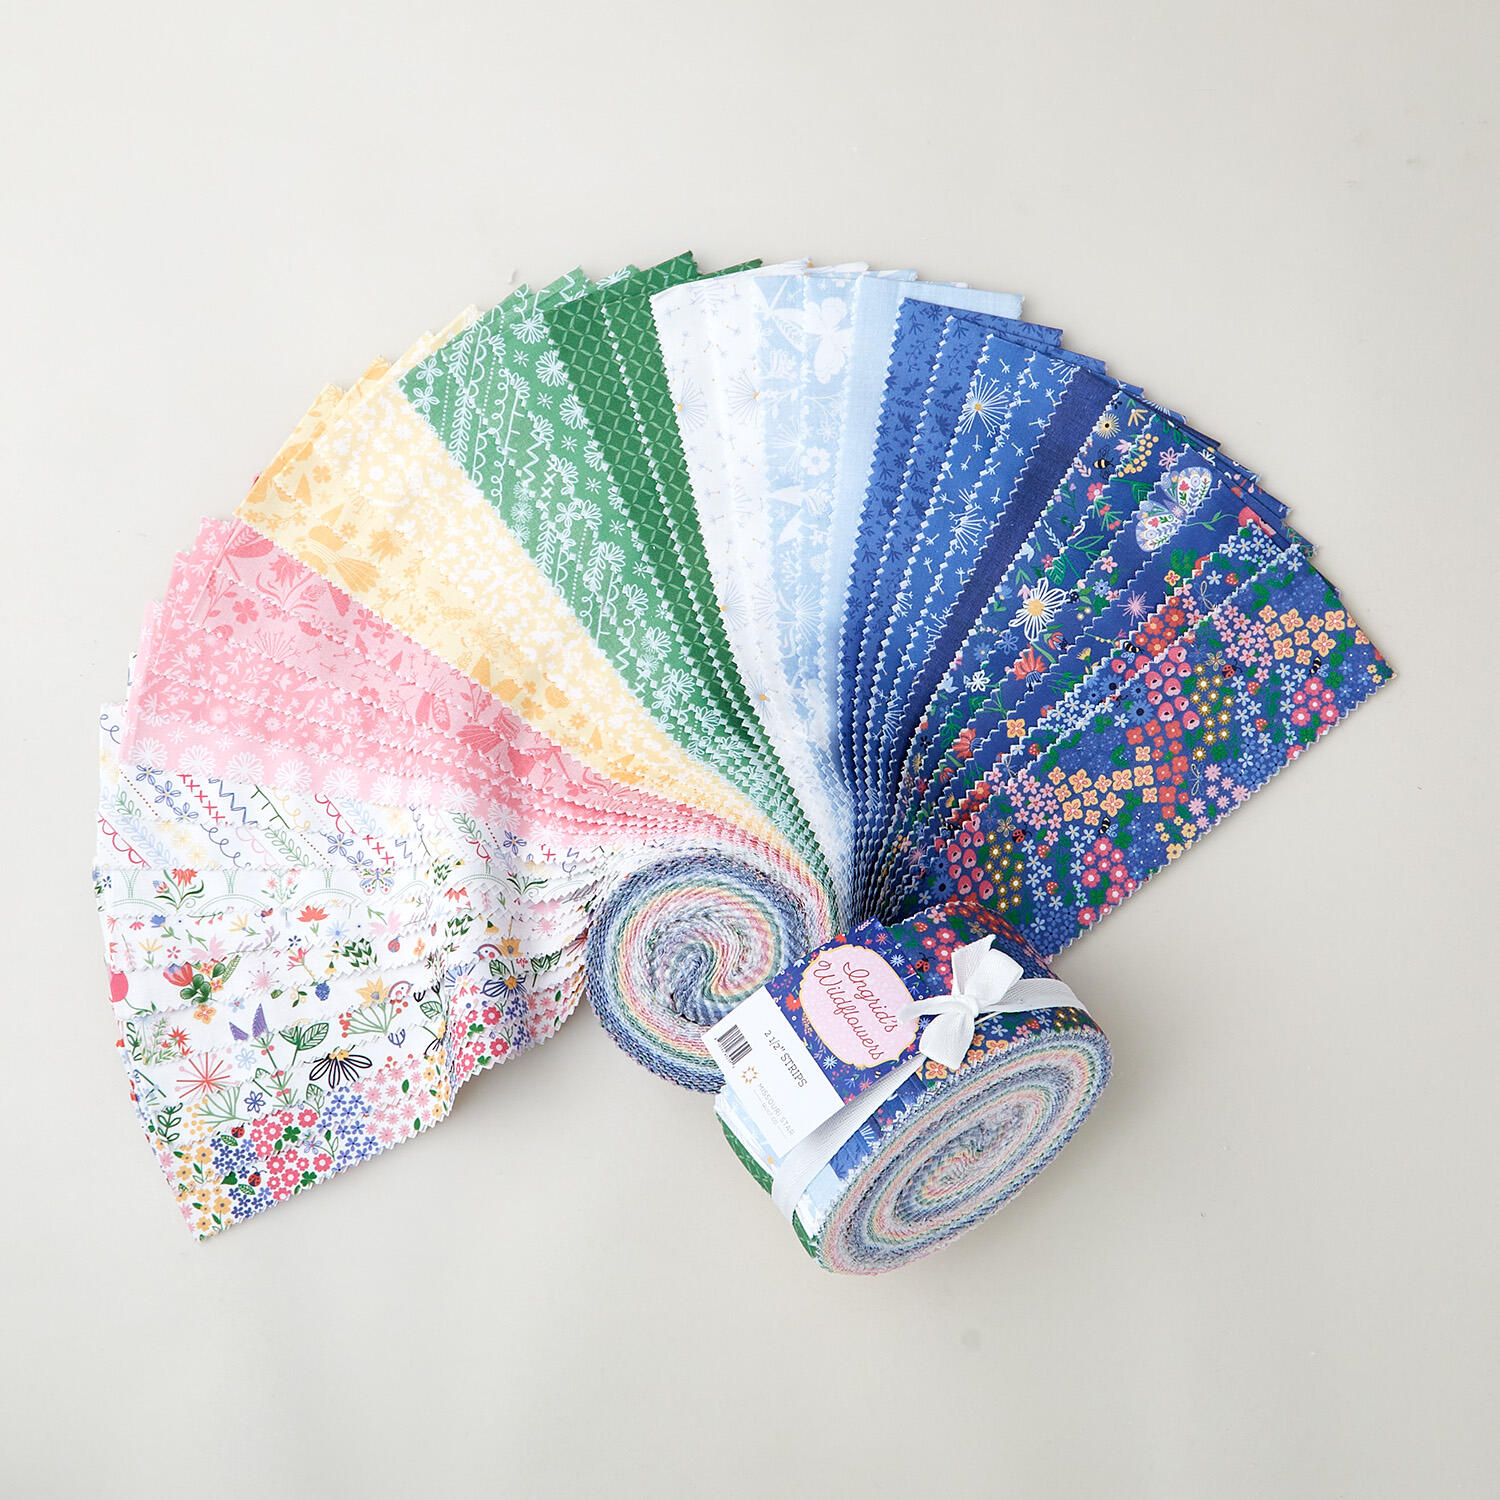 Ingrid's Wildflowers 2 1/2" Strip$45.50Shop →
 Colorworks Premium Solids - Superwhite Yardage$8.96Shop →
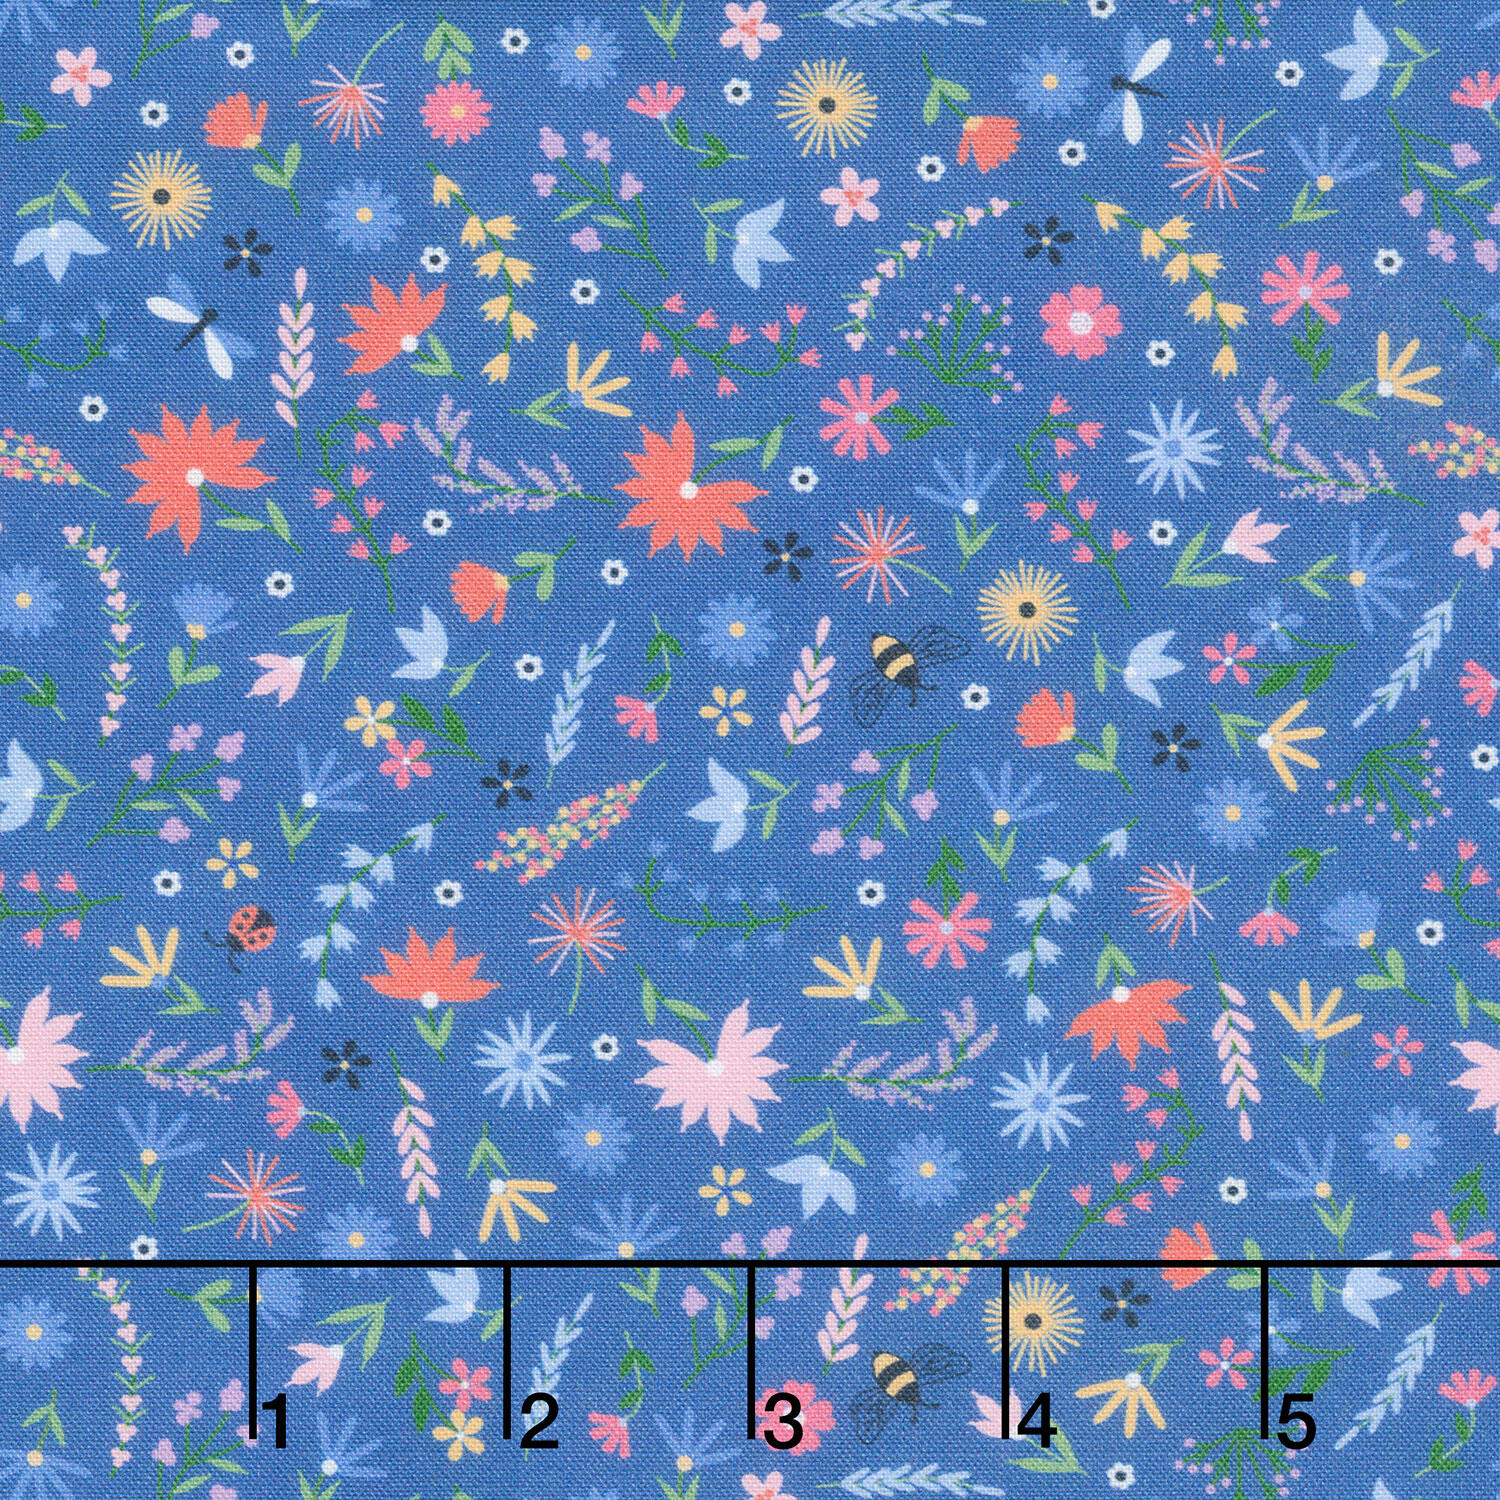 Ingrid's Wildflowers - Small Tossed Flowers Blue Yardage$12.68Shop →
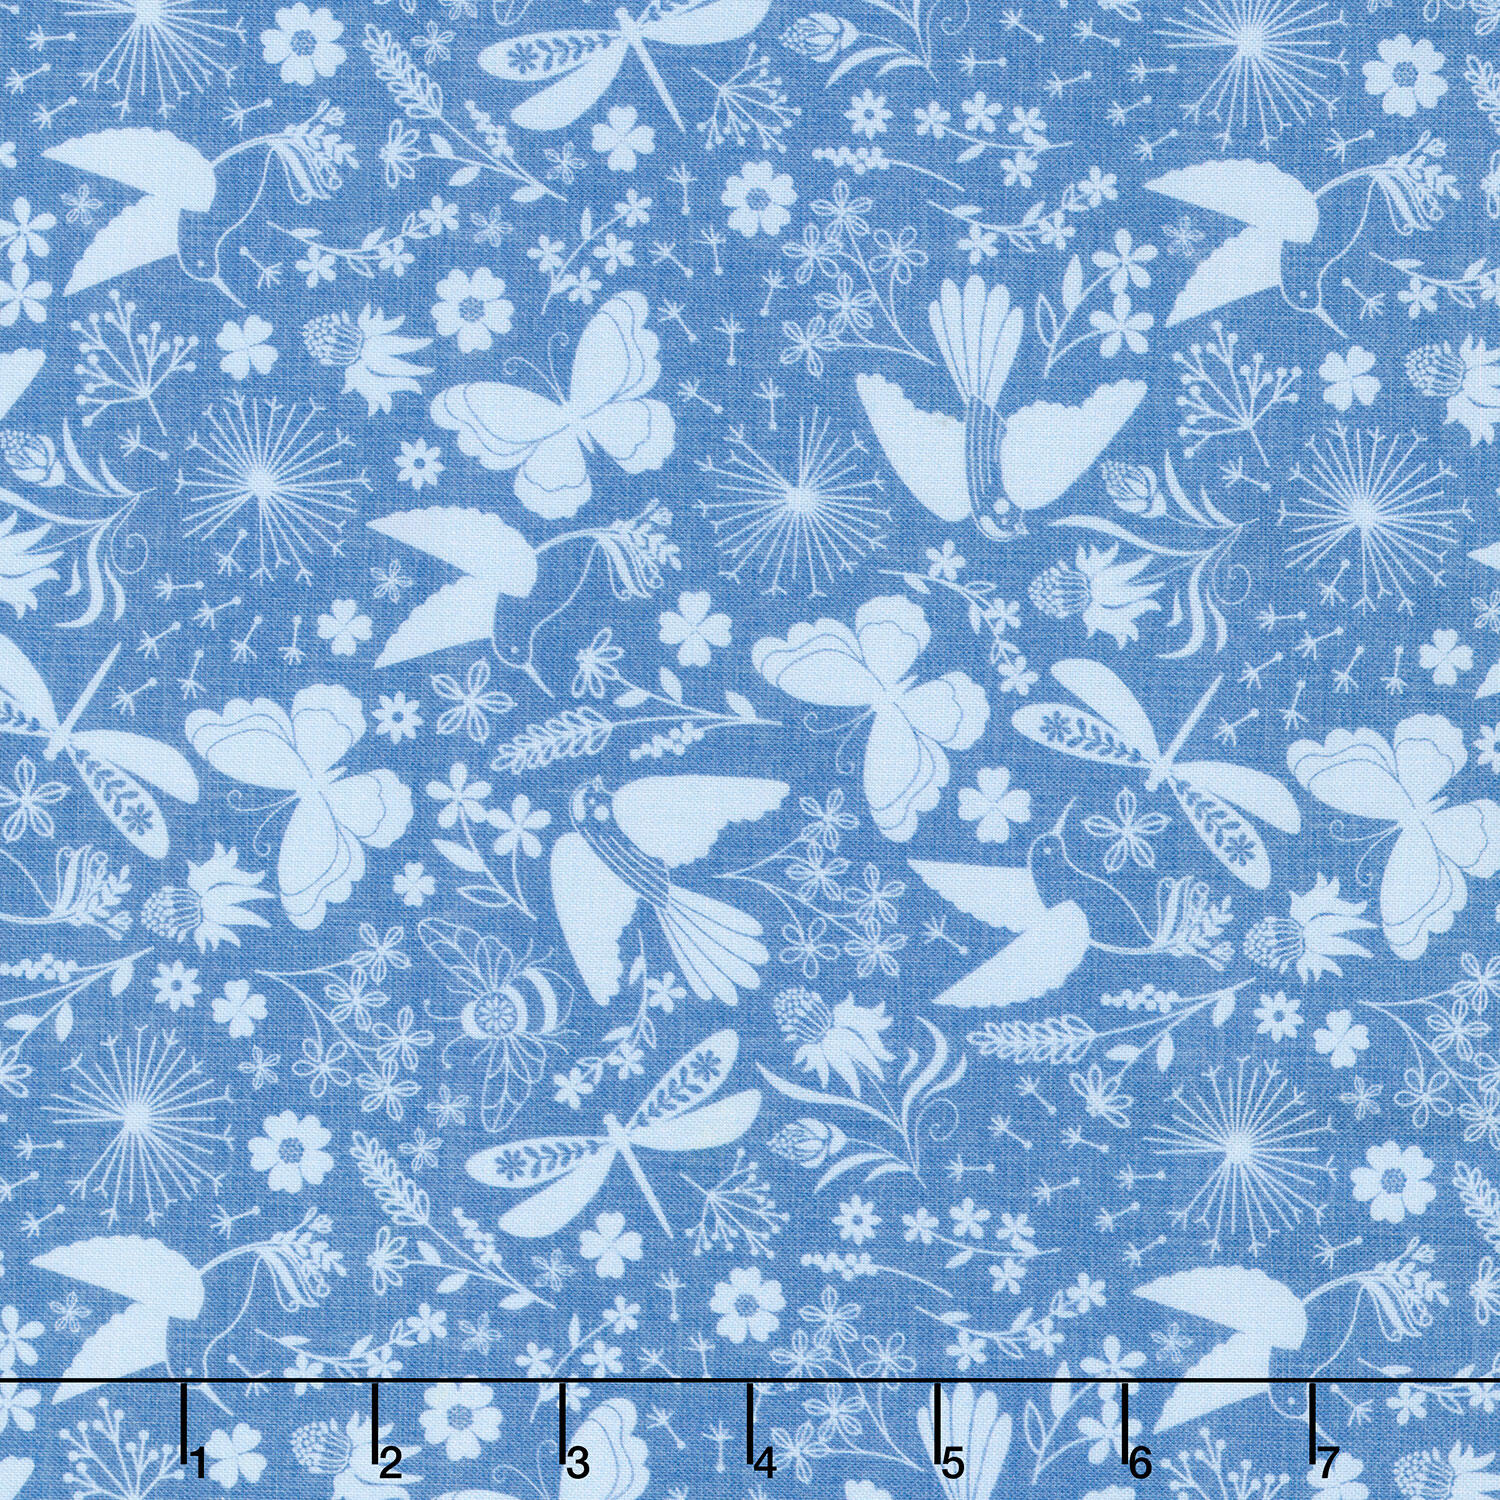 Ingrid's Wildflowers - Packed Tonal Birds and Insects Blue 108" Wide Backing$19.16Shop →
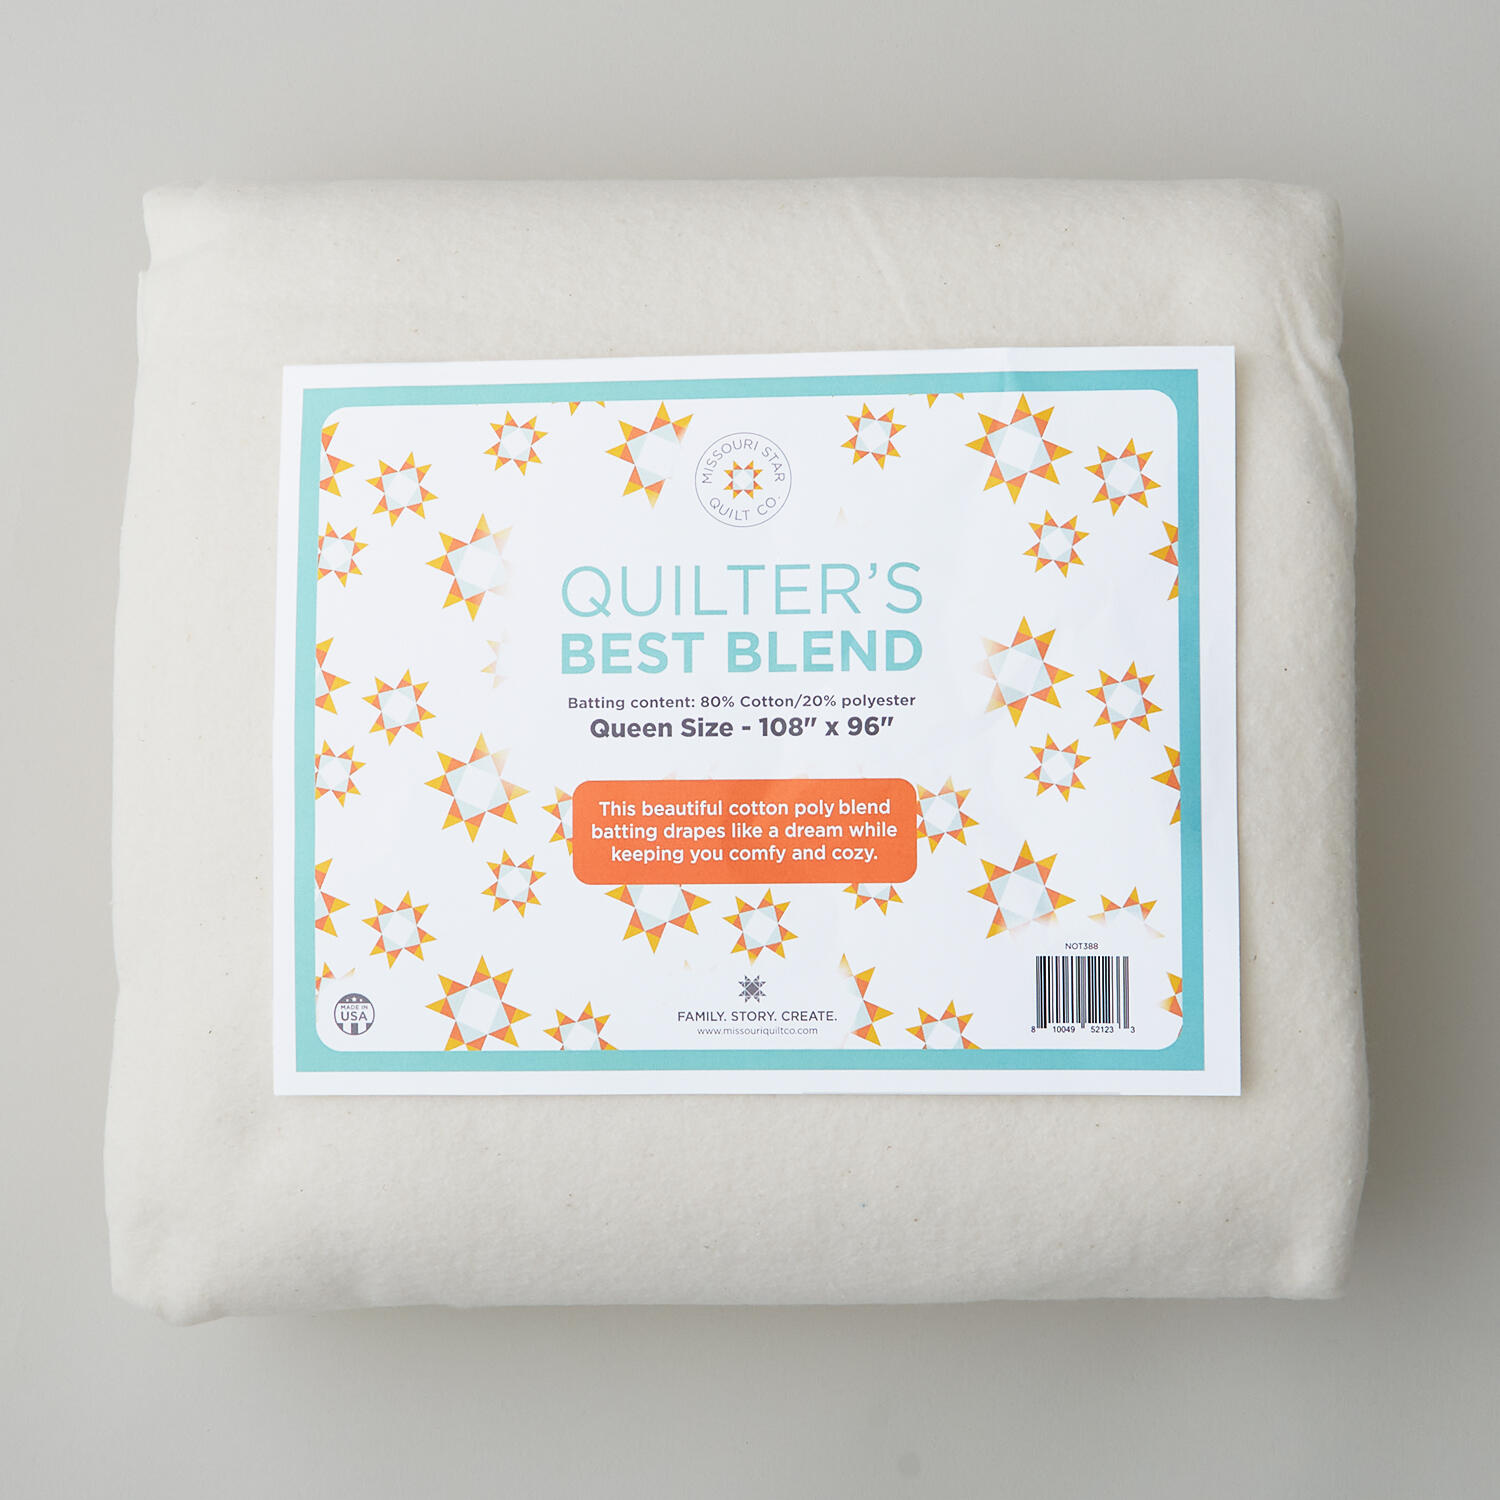 Missouri Star Quilter’s Best Blend Queen Batting$37.95Shop →
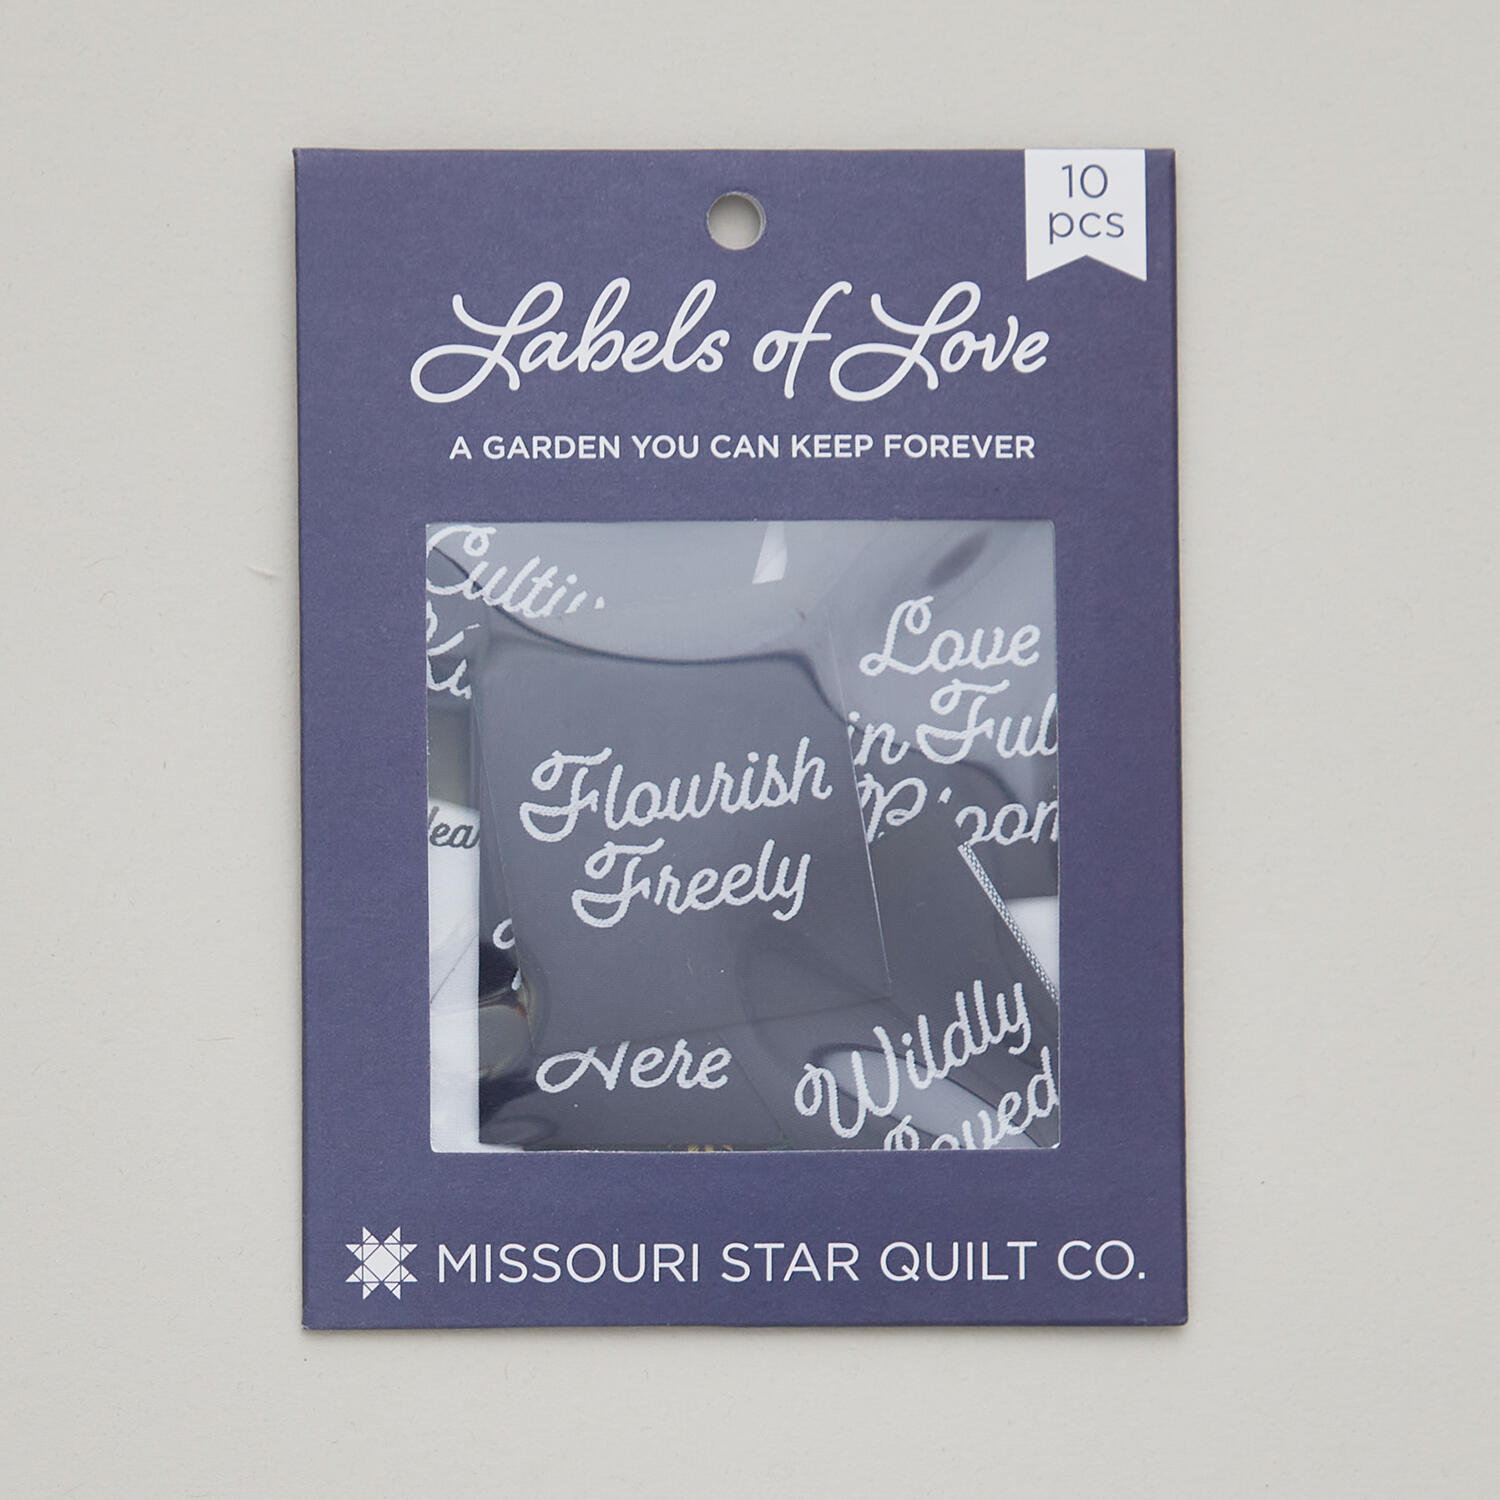 Missouri Star Labels of Love: A Garden You Can Keep Forever$9.95Shop →
 Missouri Star 5" x 15" Ruler$19.95Shop →
 Missouri Star 45mm Rotary Cutter - Olga$19.95Shop →
 Missouri Star 8" Everyday Scissors - Amelia$19.95Shop →
 Missouri Star 50 WT Cotton Thread White$7.95Shop →


