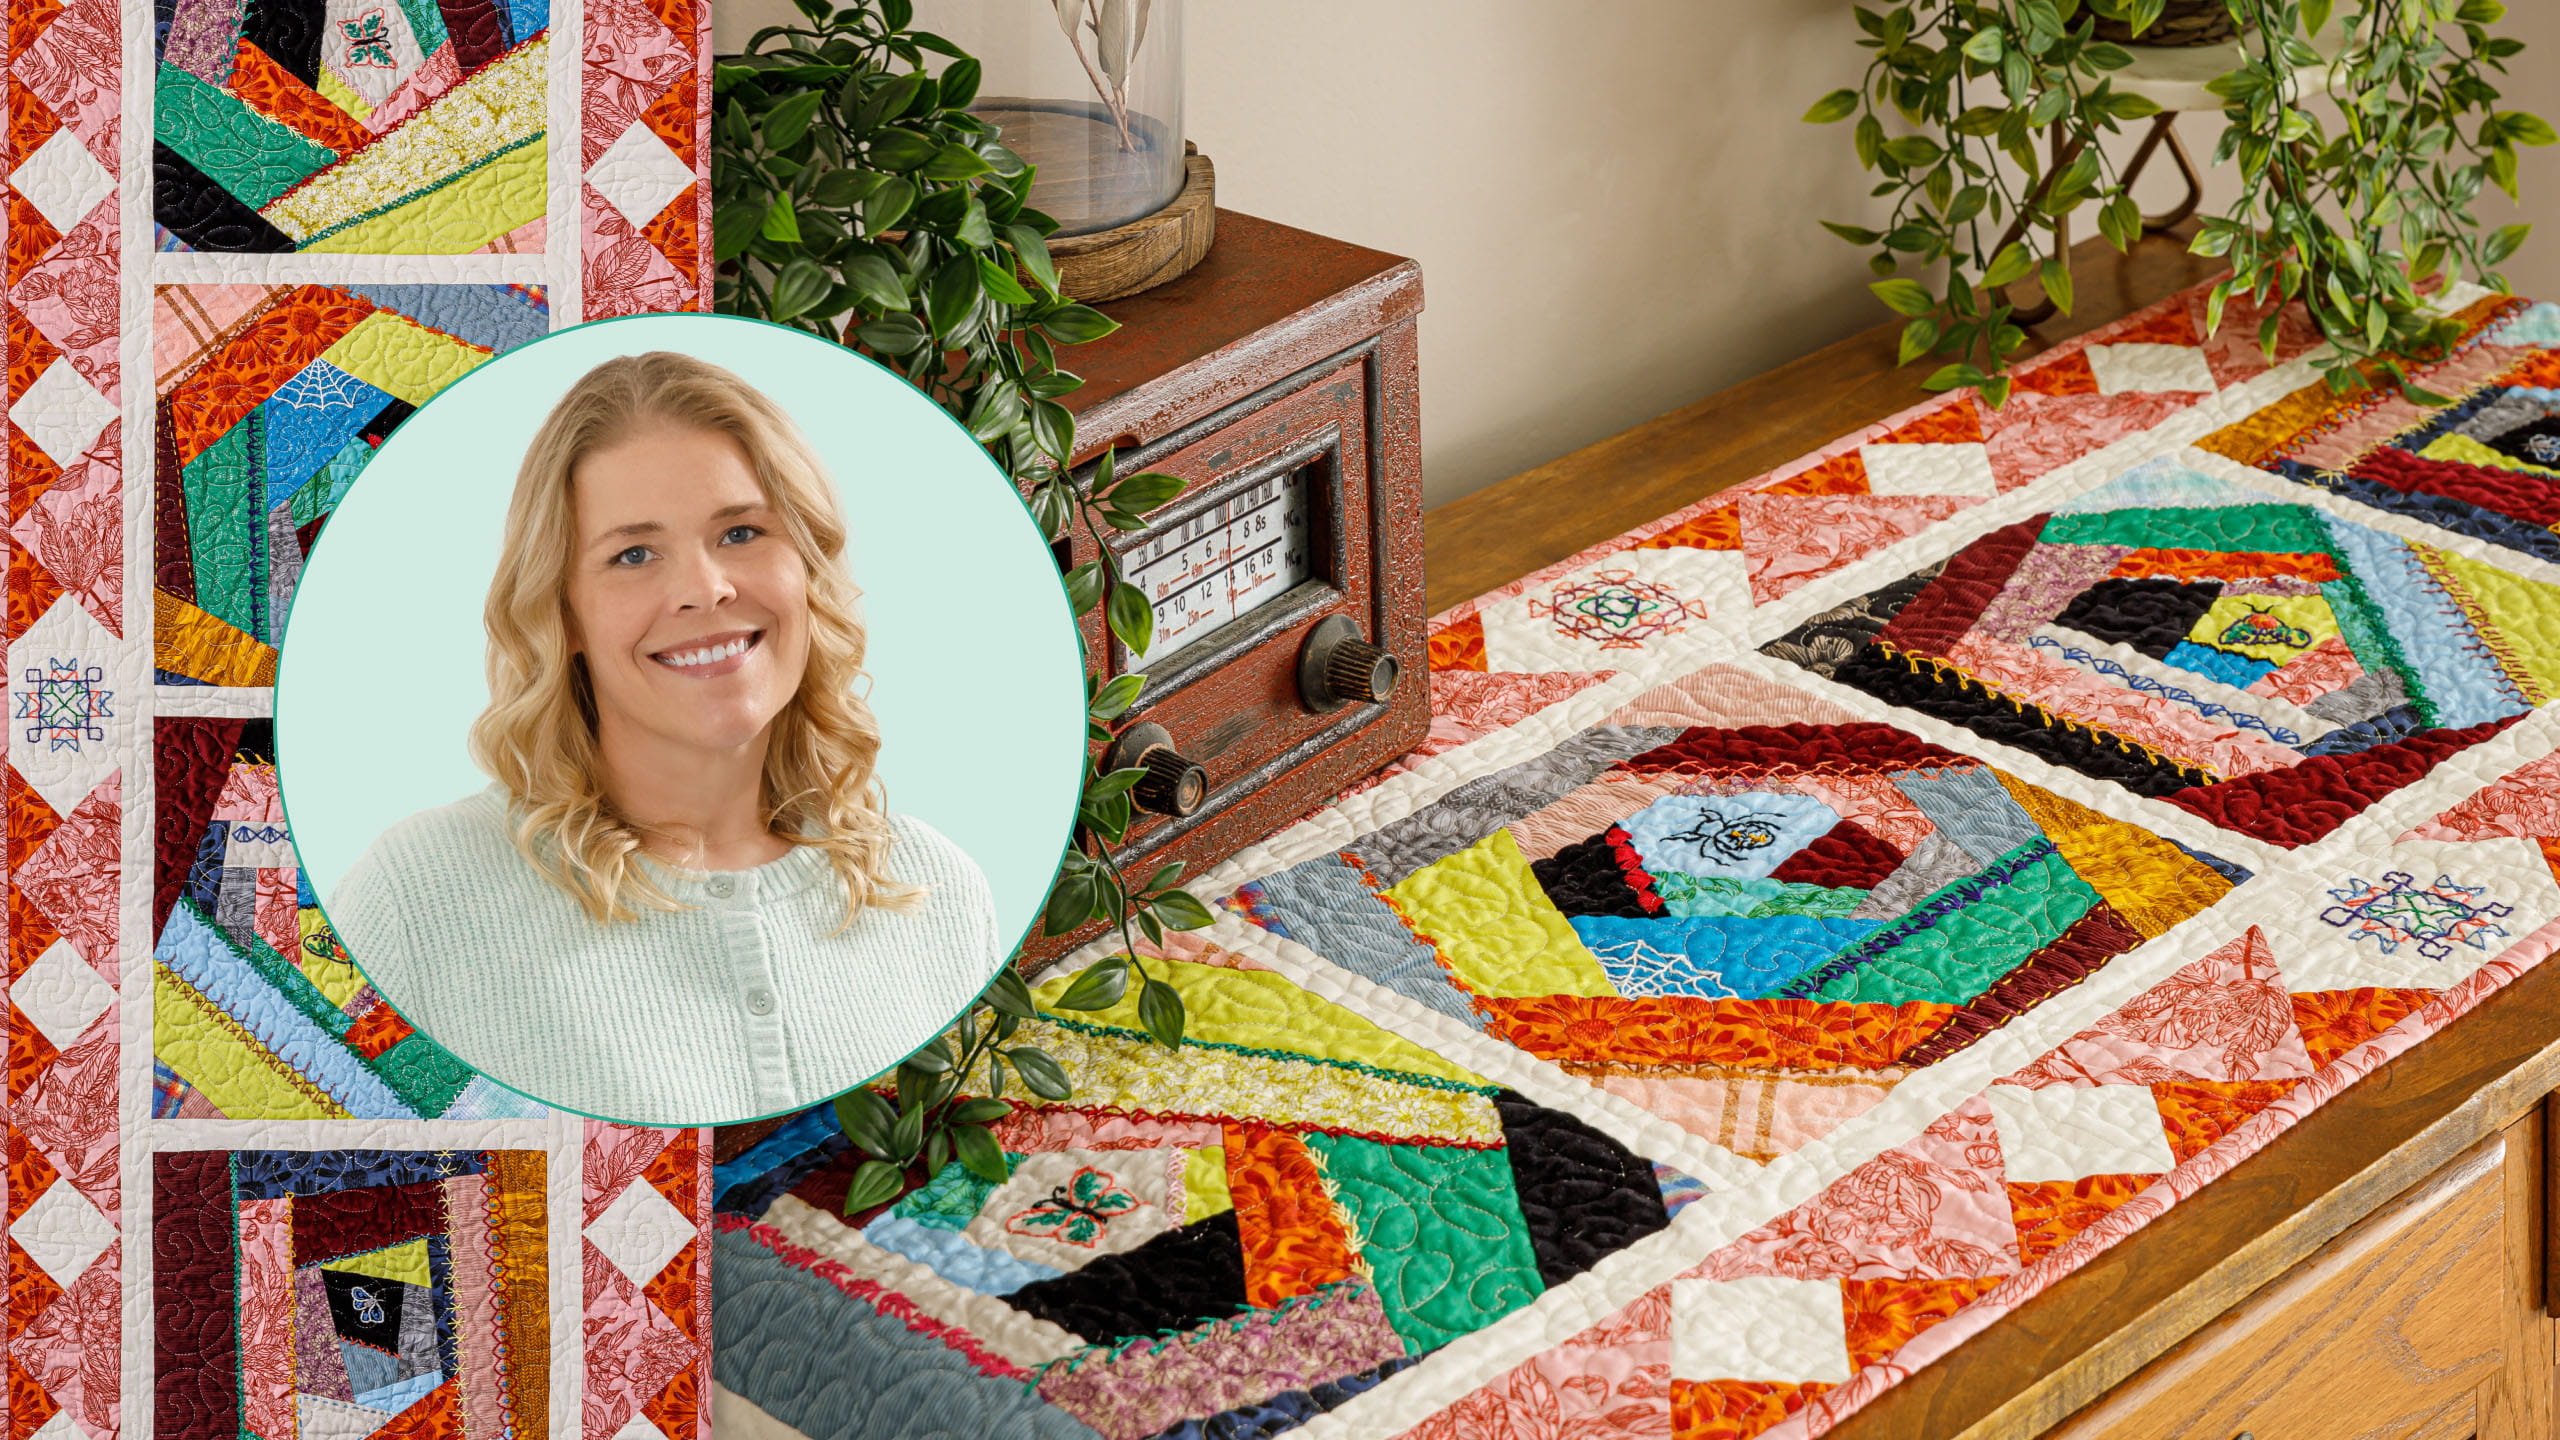
Throw out the rules...it's crazy quilting time! Natalie is back with a small project that's big on fun: the Crazy Quilt Table Runner. Colorful fabric scraps and thoughtful hand embroidery come together fast, giving you a chance to practice your crazy quilting techniques without committing to a whole quilt. It's a bite-sized project that's perfect for this weekend.
Natalie is the host of Quilting 101, Embroidery 101 and the Creative Strategist and Editor of Block Magazine at Missouri Star Quilt Company. She was taught how to sew by her mom, of course, and began quilting when she grew up.
Throw out the rules...it's crazy quilting time! Natalie is back with a small project that's big on fun: the Crazy Quilt Table Runner. Colorful fabric scraps and thoughtful hand embroidery come together fast, giving you a chance to practice your crazy quilting techniques withou...
How long is the tutorial video?
The tutorial video is 00:13:25.
Are supplies listed for this tutorial?
Yes. The tutorial page includes the supplies and materials connected to this project.
Video Transcript
Hi everybody. I'm Natalie with Missouri Star Quilt Company and I have a fun project for you today. We're going to make a quick table runner using some of our crazy quilt blocks and I added a special border that I think you're going to love. Well, you all know that I love my crazy quilt blocks and I thought it might be fun to do a little bit of a smaller project. That way, if you have a few blocks left over, or you don't want to commit to a full-size quilt, you've got something else to work with because it's such a fun thing to do and easy to customize for whoever you want to make it for or whatever kinds of beautiful embellishments you want to add. And I added this really beautiful outer border that I think you're going to love. So, let's go ahead and get started. I will tell you everything that you need to make this runner. Okay. So, to make this table runner, you're going to need some Crazy Quilt blocks. And we do have these beautiful kits. This one has um the Crazy Quilt stash, which gives you tons of beautiful fabrics that are all different if you wanted to add those textures and maybe you don't already have them in your stash. And then we have this really beautiful um finishing and embroidery kit that comes with templates to get started for your crazy quilt blocks and also the embroidery uh floss and patterns that the peel and stitch that you would want to use on your line work. It makes it so simple and easy to do. Um and then for this runner, you're going to need some background fabric, 2/3 of a yard, and I've used this beautiful cream that includes your sashing and your inner border. You're going to need some accent fabrics to make this outer border. And I've used this pink 5/8 of a yard and the orange is a half yard. And then for your backing, you'll need a yard and 5/8 with one seam or 7/8 of a yard if you have a 108. You could probably stack a several um table runners if you're using 108, by the way. That's a that's a big piece of fabric for a table runner. Um the other thing that you might need is uh your Clearly Perfect slotted trimmer B. And that's just because I love to use this particular trimming tool for squaring up my quarter square triangles. And then additionally, you'll need four blocks that at least have the crazy quilt pieces all put together um to make your table runner. And there was a few things that I did a little bit differently this time. So I made my whole runner before I added any of my embroidery. Um, so this was all put together and finished. And then I put my peel and stitch on my seam lines and I went ahead and did my embroidery on the entire runner. Um, and I added lots of fun things. Some of these are from our other downloadable projects, our beginner kit. You know, you can pretty much put whatever you want on as far as embroidery goes. You could embroider names and dates. You can do, you know, cute little quotes or family symbols, books you've read, whatever kinds of cool things you want to put on your runner. Um, the stick and stitch is amazing for that. And one of the things because I didn't uh because I didn't do the embroidery on the blocks individually. I went ahead and left that peel and stitch on and sent it to the quilter and she quilted right through it and then we added the binding and then just rinsed and put the whole thing right into the washing machine and it came out beautifully. So that saved me the extra step of rinsing each block individually and then having to wait for them to dry and then pressing them and then resquaring them. So, just so you know, that is kind I don't know if it's a hack or just a different way to do it, but feel free to try that out and see if it works for you. I loved it. I thought it was great. So, um again, you're going to need four crazy quilt blocks. And if you need more detailed instructions on that, I have a great video that you can refer to where we talked about making this whole quilt behind me. And so, there's lots of detail in that. But today, we're going to talk about the runner. So, let's go ahead and get started making those blocks. [music] All right. So, this is a really fun border and it is just made up of these quarter square triangle blocks. So, I'm going to show you how to do that. It's really easy. We're going to start with 5 in squares of each of our fabrics. Oops, I got a little extra there. And then the first thing we're going to do, we'll we'll draw a line on our background fabric because that's got the lightest color and easiest to see. And we're going to line that up. Hang on. Let me draw that line first. Oh, that didn't even draw. Try it again. Press a little harder this time. There we go. Got it. Okay. And I'm going to line this up right sides facing with my orange, the smaller of the colors. So, when you're picking colors, you don't have to use these exact same ones, but whichever one you want to be your smaller fabric, the smaller triangle, that's the one you're going to start with. So, oops. We're going to um it doesn't matter which direction you line it up because they're half square triangles. And we're going to get two that go opposite directions from this set. So, I'm going to stitch on both sides of this line. All right. Then we'll go ahead and cut them apart. And we're not going to square anything yet because we're going to continue making this block. So, I'm going to go ahead and set my seam and then roll this dark fabric back. So, pressing to the dark side. Then I'm going to pick up my larger half square triangle fabric, which in this case is the pink. And we're going to put these right sides together. Stacking those up. And you can see that this 5- in block, the pink, is a little bit big. I left it big because I like having the extra space. But if you're tight on fabric, you could cut this down to 4 and 1/2 and you'd still have plenty of room to square and get these blocks. And so when I have a block that's a little bit bigger, I also um just center it. I don't worry about lining up any corners. I just center that block right on the back. And then what we're going to do is draw a line from corner to corner that crosses our seam. So that that way make sure that we get this little T-shape with our seams. So there, I'm going to do that. And then I'm going to draw another line. And then I'm going to stitch on both sides of this line just like we did before. This is a just this is a fun border for so many different quilts. I I love it. I love all the different things you can do as far as the the patterns and the color play and all the things that come out. One of those fun shapes to play with. All righty. All right. So, now we're going to go ahead and cut these apart. And I will say it it is somewhat important to slow down a little bit here and kind of make sure that your seams are pretty straight because we're lining up two different directions. We got to make sure that we get pretty good straight lines. So just take your time. But what we're what we're going to do next, we're going to take our crazy quilt or sorry, [laughter] our clearly perfect slotted trimmer B and we're going to line this this line that goes right down the middle with the center seam of our little quarter square triangle. And then our 4 in line is going to go on the other seam. So we've got our little our little crosssection here that we're going to try and line up. And that's going to help us keep all of those points and square these blocks with just with ease. Okay. So 4 in there. Line that up. And you can just see there's there's plenty of room. And there you go. You've got your little quarter square triangles. So this side is going to give us these blocks. And then this other side will give us this set. So let me go ahead and square this one as well. So we can play with them. Just line up those seam lines and make sure that your your little cross section matches up with that little seam cross in the middle. Here we go. I'm going to go ahead and give these both a press. We'll set our seams. I do I do like to keep my blocks kind of in separate little piles so that I have them going the directions that I need them to go. And I went ahead and just laid this out. I once I figured out where everything was going to fit, then I was able to sew it together in sets of two. But um for the most part, I wanted to make sure that all of my colors would line up the way I wanted to and I could get the the pattern. So you'll see here that, you know, this one is going to land like that. And then you need this one to create that second that second set that makes this cool little like almost like an overlapping envelope or something like that. All right. So, I'm going to go ahead and pull this corner in so we can talk about the layout of these borders a little bit more closely. And I'm going to move some of this stuff out of the way. Give us some room to play. Okay. So, these these long side borders, we can go ahead and lay out our Wait, I got to figure it out. Lay out our blocks so that they match up. Oh, these are all that side. There we go. It helps to keep them stacked and sorted exactly how they need to be and and keep everything kind of facing the direction you want it to be. So, I was able to put these together in sets of two for my long sides. And then for this end border, because we want to add this in first, you can do one in the middle like this. But then you've got to have these extras on the sides. And I wanted these to match up. So continuing on like that, we'll put one of these down on this end because they continue. And then you just stitch your stitch your sides together and add them to the sides of your border. And then all of the long border you're going to put together until you get sort of to this middle, which is kind of why I would I would do your layout first. And then you're going to want to kind of measure this because mathwise, this should be 4 in by 4 and 1/2 in. But if your seams are a little fat like mine are, you might just be able to use a 4 in block. So that that's where you know your seam allowance and your particular preferences to how things come together. It's going to be um quilters's preference, but the math says this should be 4 in wide or sorry, 4 in wide this way by 4 and 1/2 in to make it fit on the table runner. Um, but adjust that as needed depending on the size of your particular seam allowance and how your borders are kind of coming together. And that's that's pretty much it. So, this is a 1 and 1/2 in sashing. So, 1 and 1/2 by 12 and 1/2. These I'd use 12 and 1/2 inch blocks from my template in the in the kit. So, one other thing I would highly suggest because this outer border has so many little points going into the edge, I would go ahead and add a little stay stitch just all the way around the edge of your quilt within a quarter of an inch. And I think your machine quilter will thank you for that because that'll keep all of those points in place and keep the it it also sort of gives a little bit of stabilization to any bias edges that you may have. Um, so the machine quilting here, I went and used this Chantelli lace and it's absolutely beautiful. And this quilt or this table runner ends up being 21 by 60 in. And I just think it's fun. I think it's a beautiful heirloom that's uh a lot quicker to put together than a full-size quilt. So, I hope you enjoyed this tutorial on the Crazy Quilt Table Runner from the Missouri Star Quilt Company.


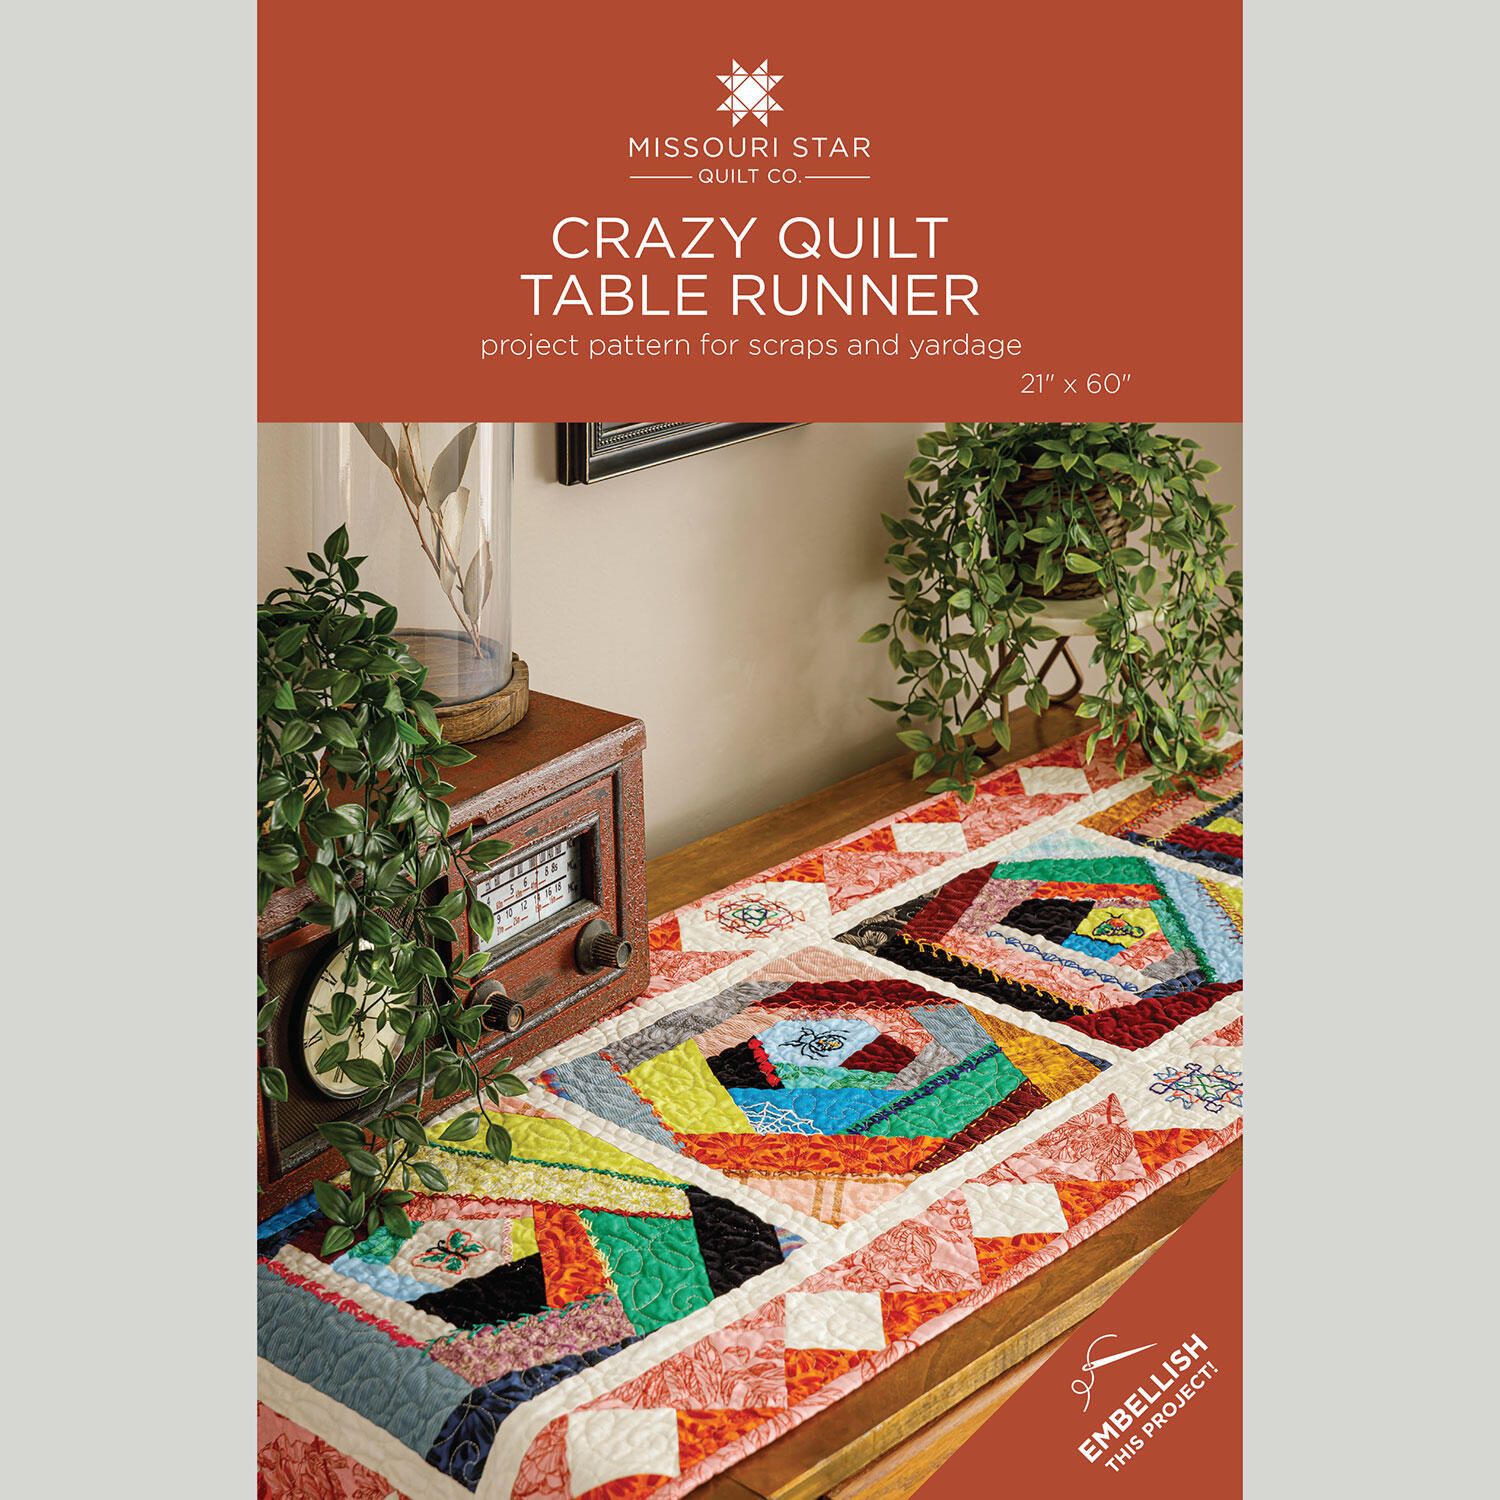 Crazy Quilt Table Runner Pattern by Missouri Star$8.50Shop →
 Digital Download - Crazy Quilt Table Runner Pattern by Missouri Star$6.95Shop →
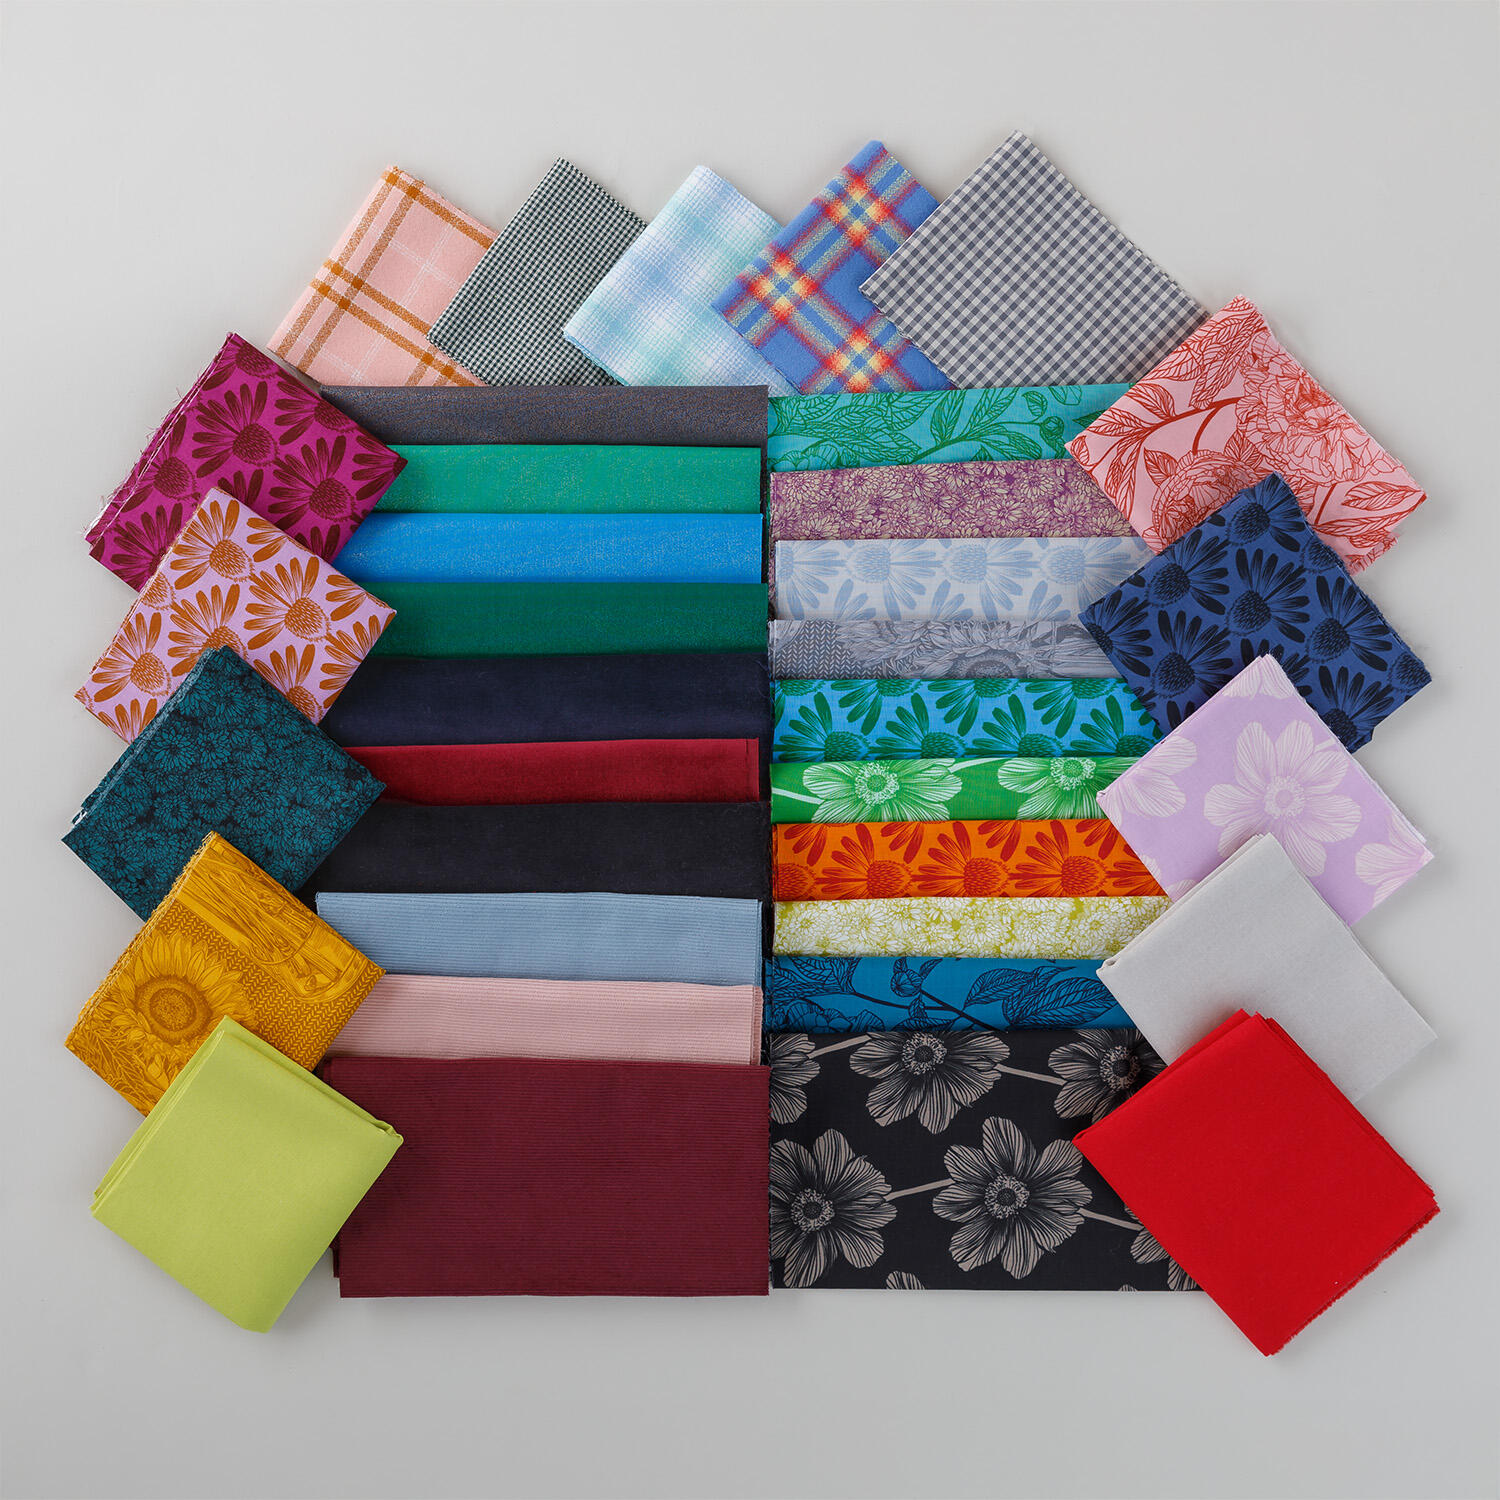 Our History in Stitches: Crazy Quilt Fabric Stash - Fabric Kit by Missouri Star$144.95Shop →
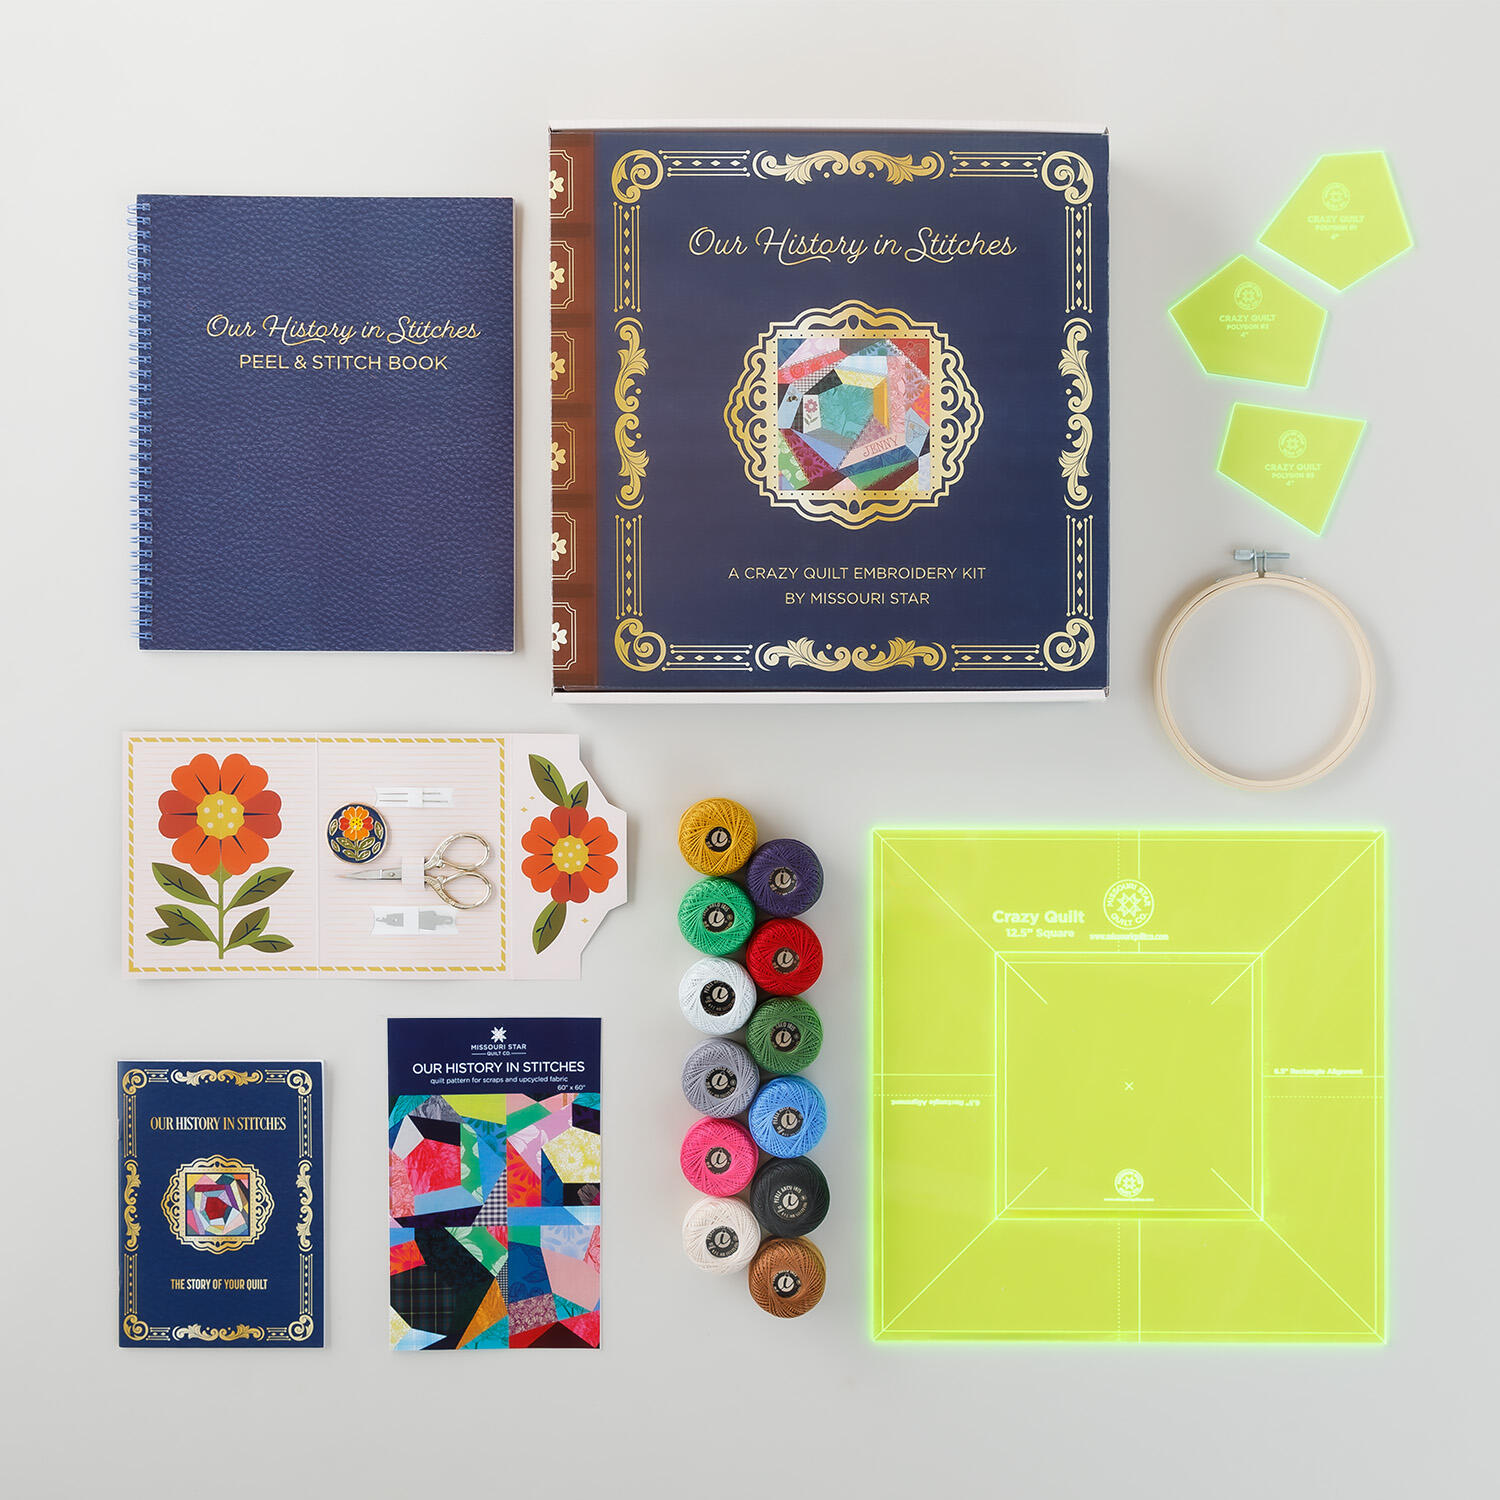 Our History in Stitches: A Crazy Quilt Embroidery Kit by Missouri Star$64.95Shop →
 Colorworks Premium Solids - Eggshell Yardage$8.96Shop →
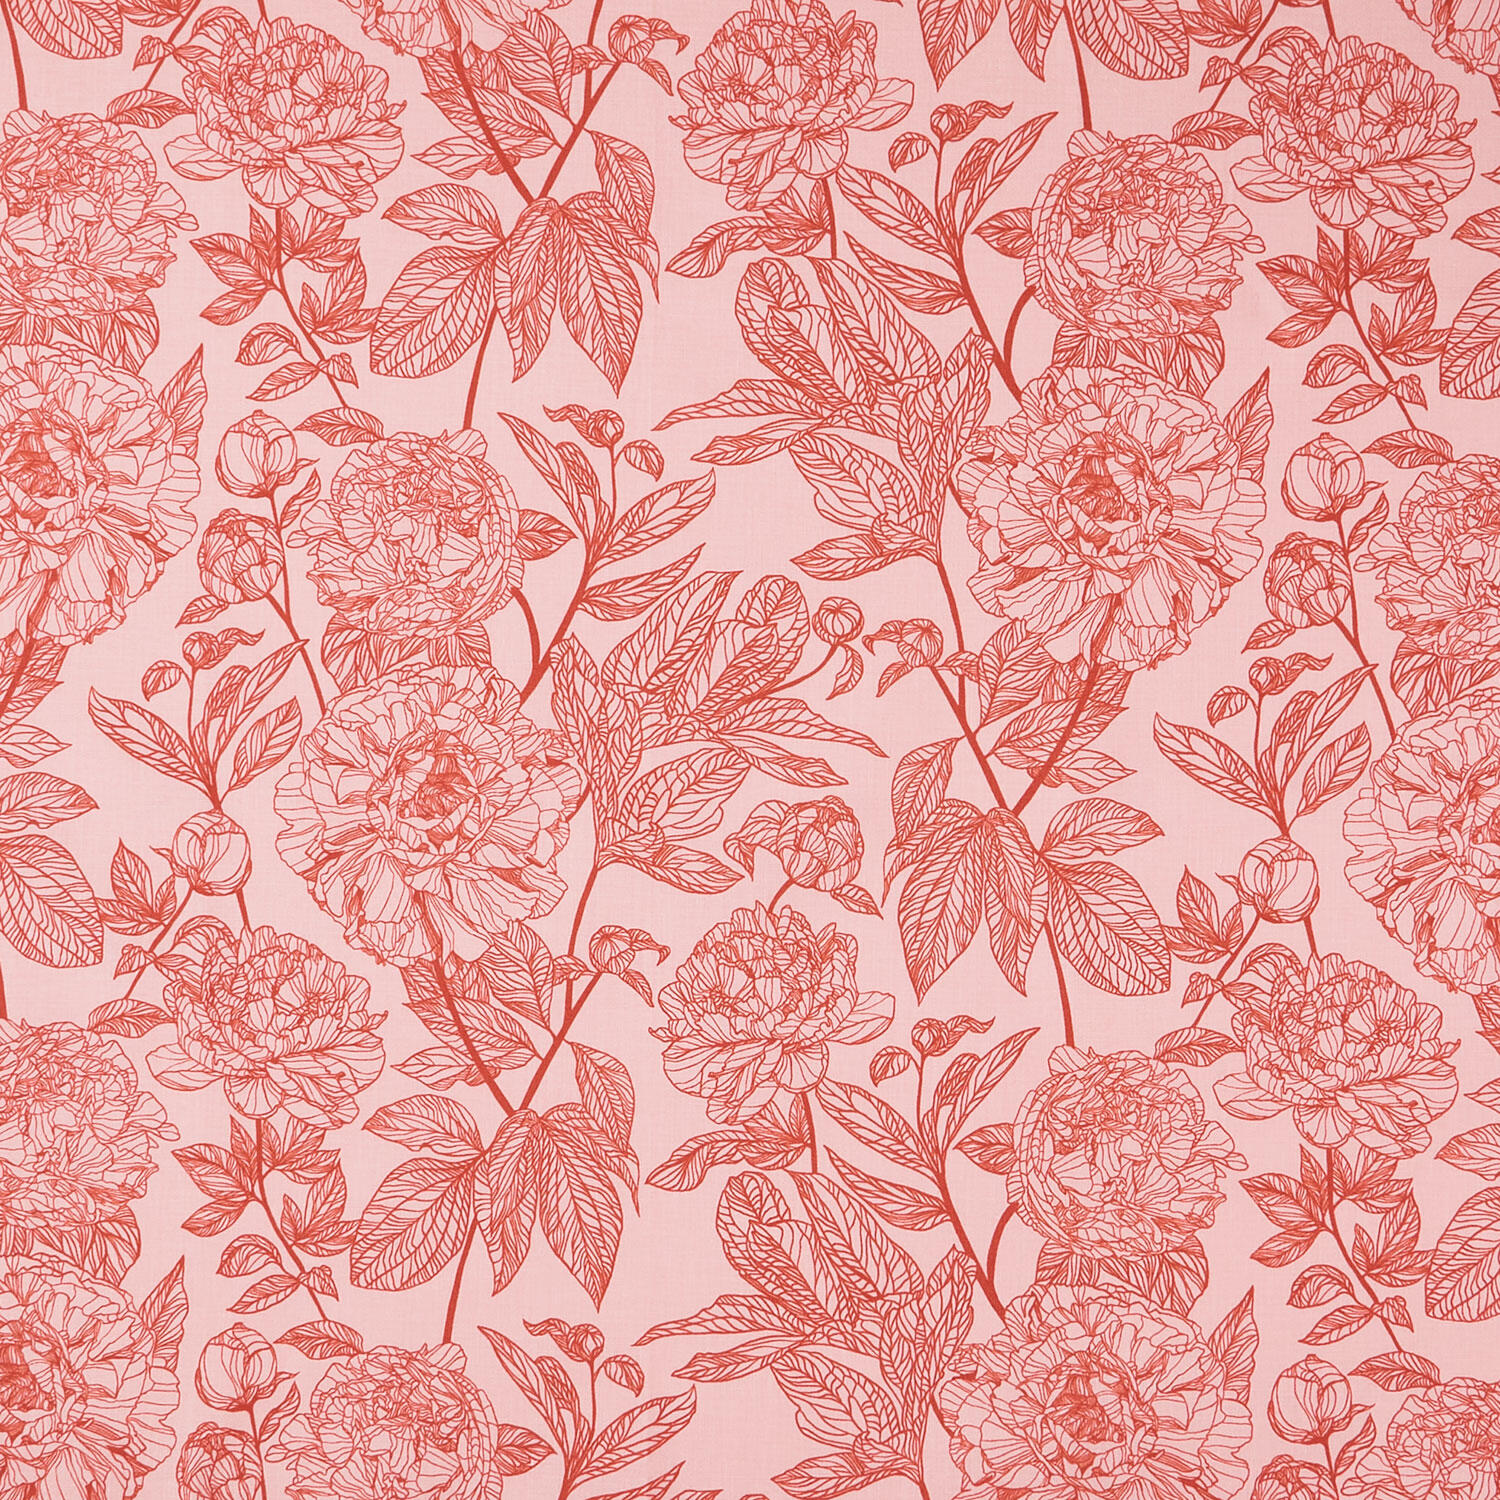 Indelible - Peony Rouge Yardage$11.28Shop →
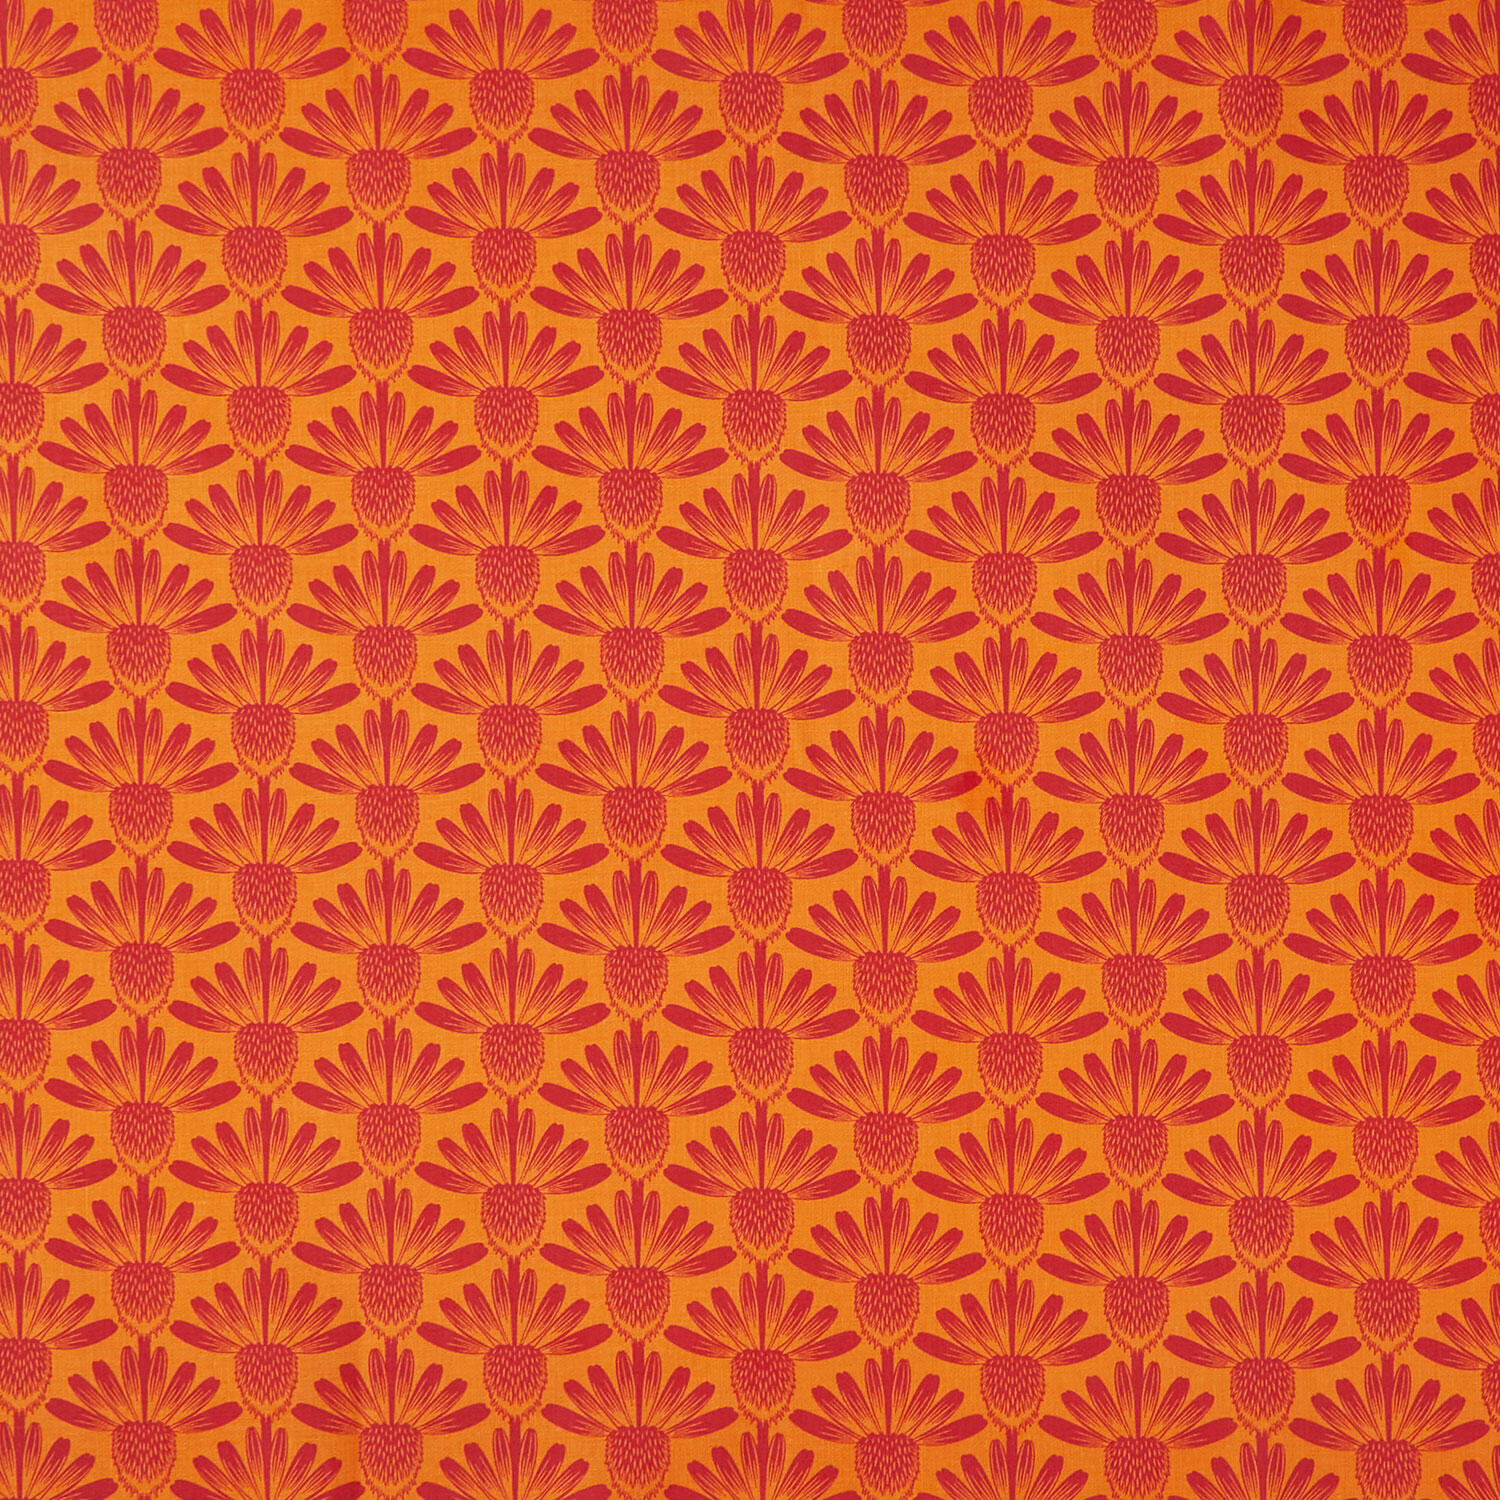 Indelible - Coneflower Tangerine Yardage$11.28Shop →
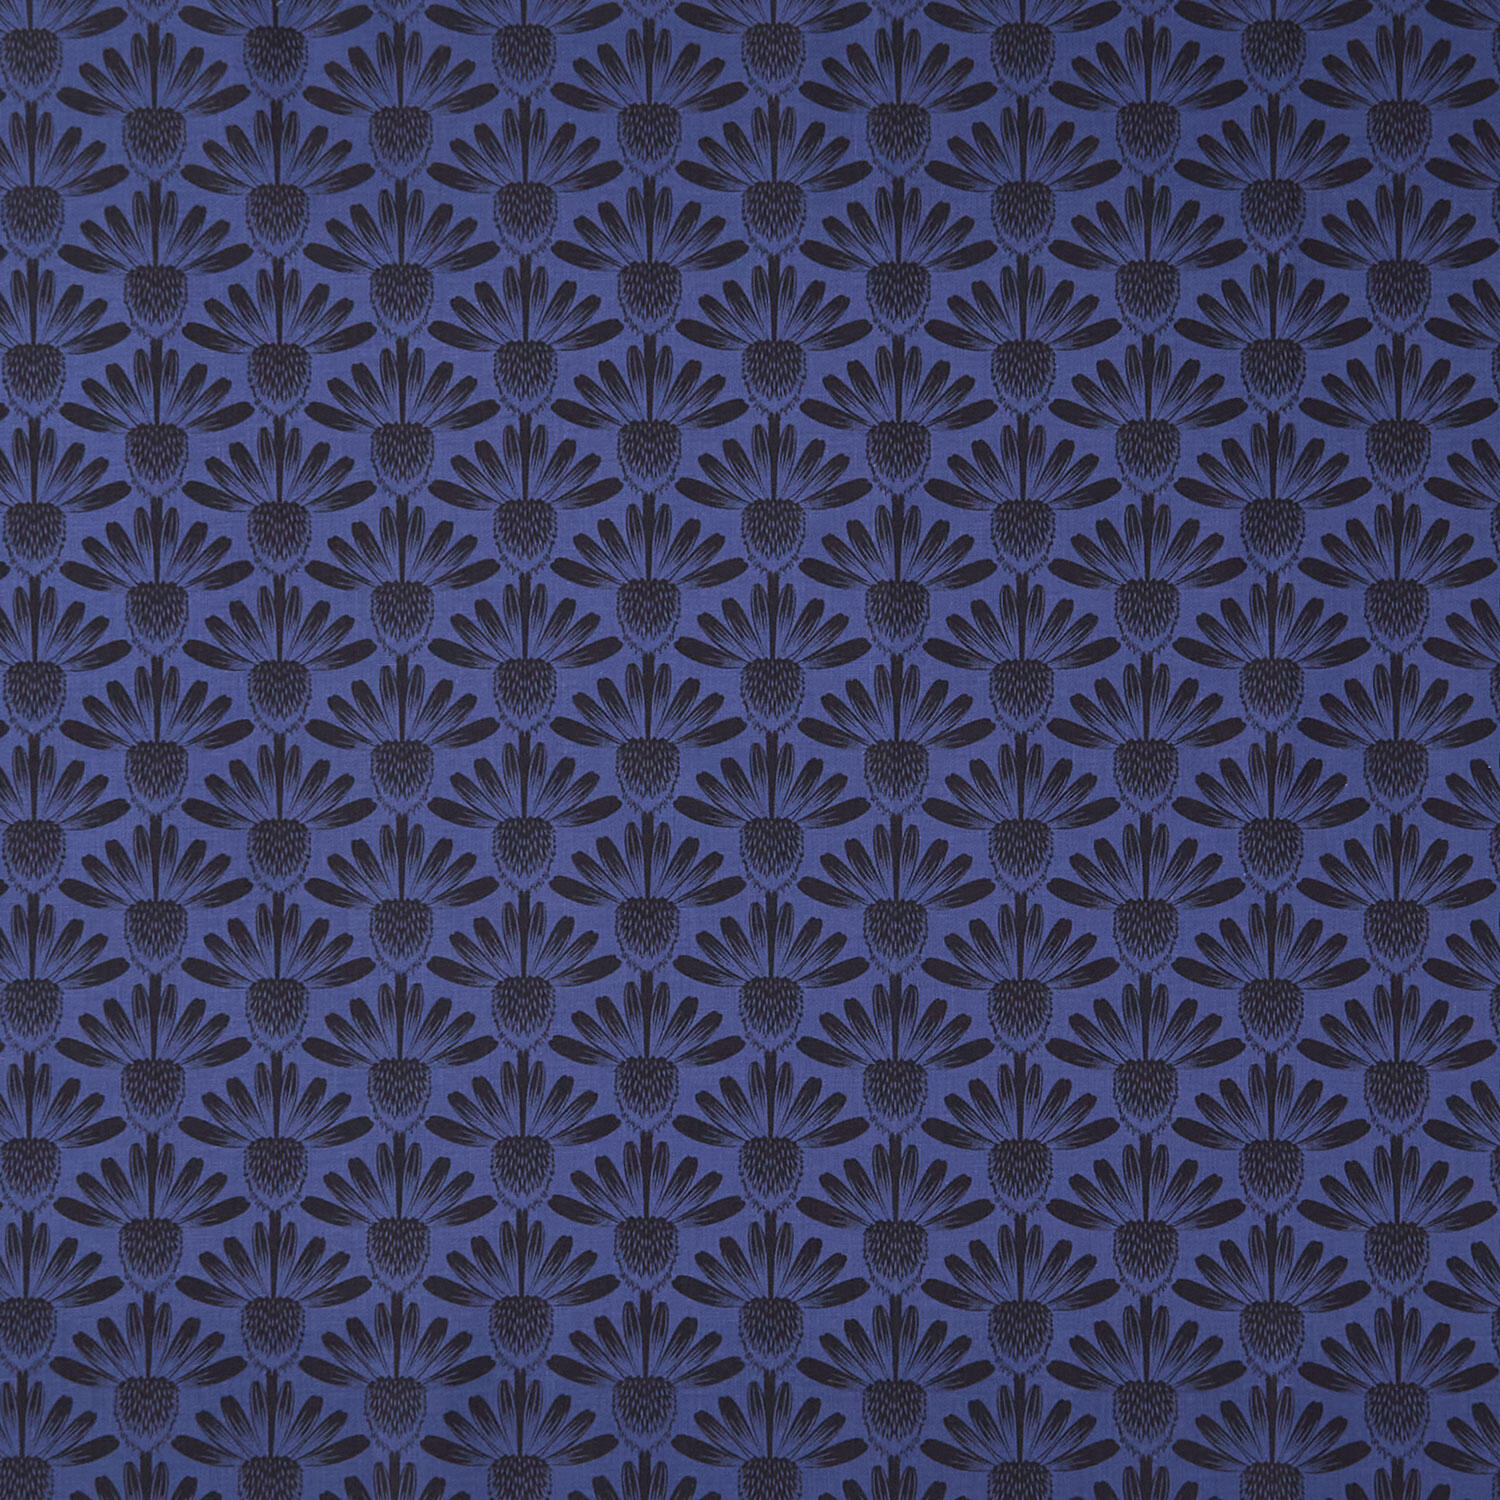 Indelible - Coneflower Night Yardage$11.28Shop →
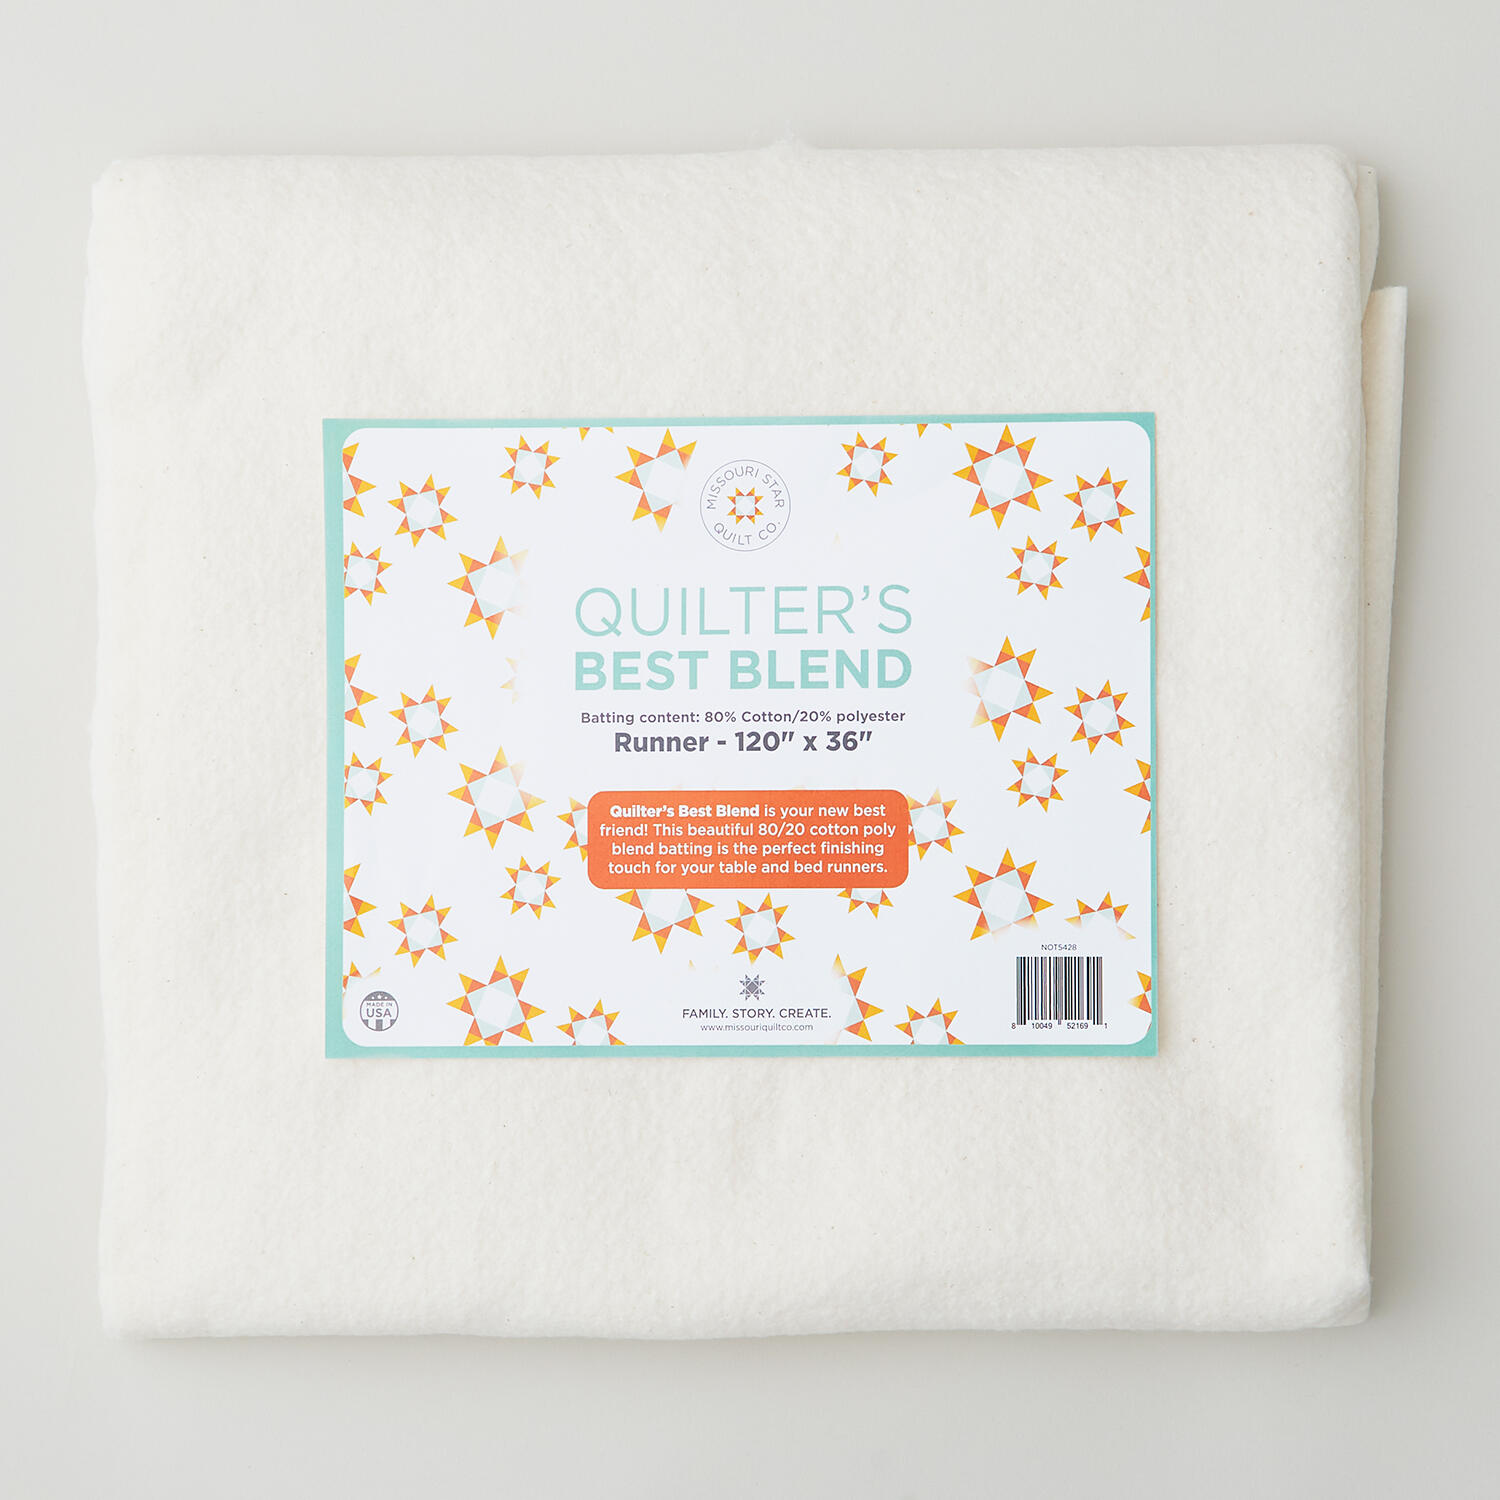 Missouri Star Quilter's Best Blend Bed/Table Runner Batting$14.95Shop →
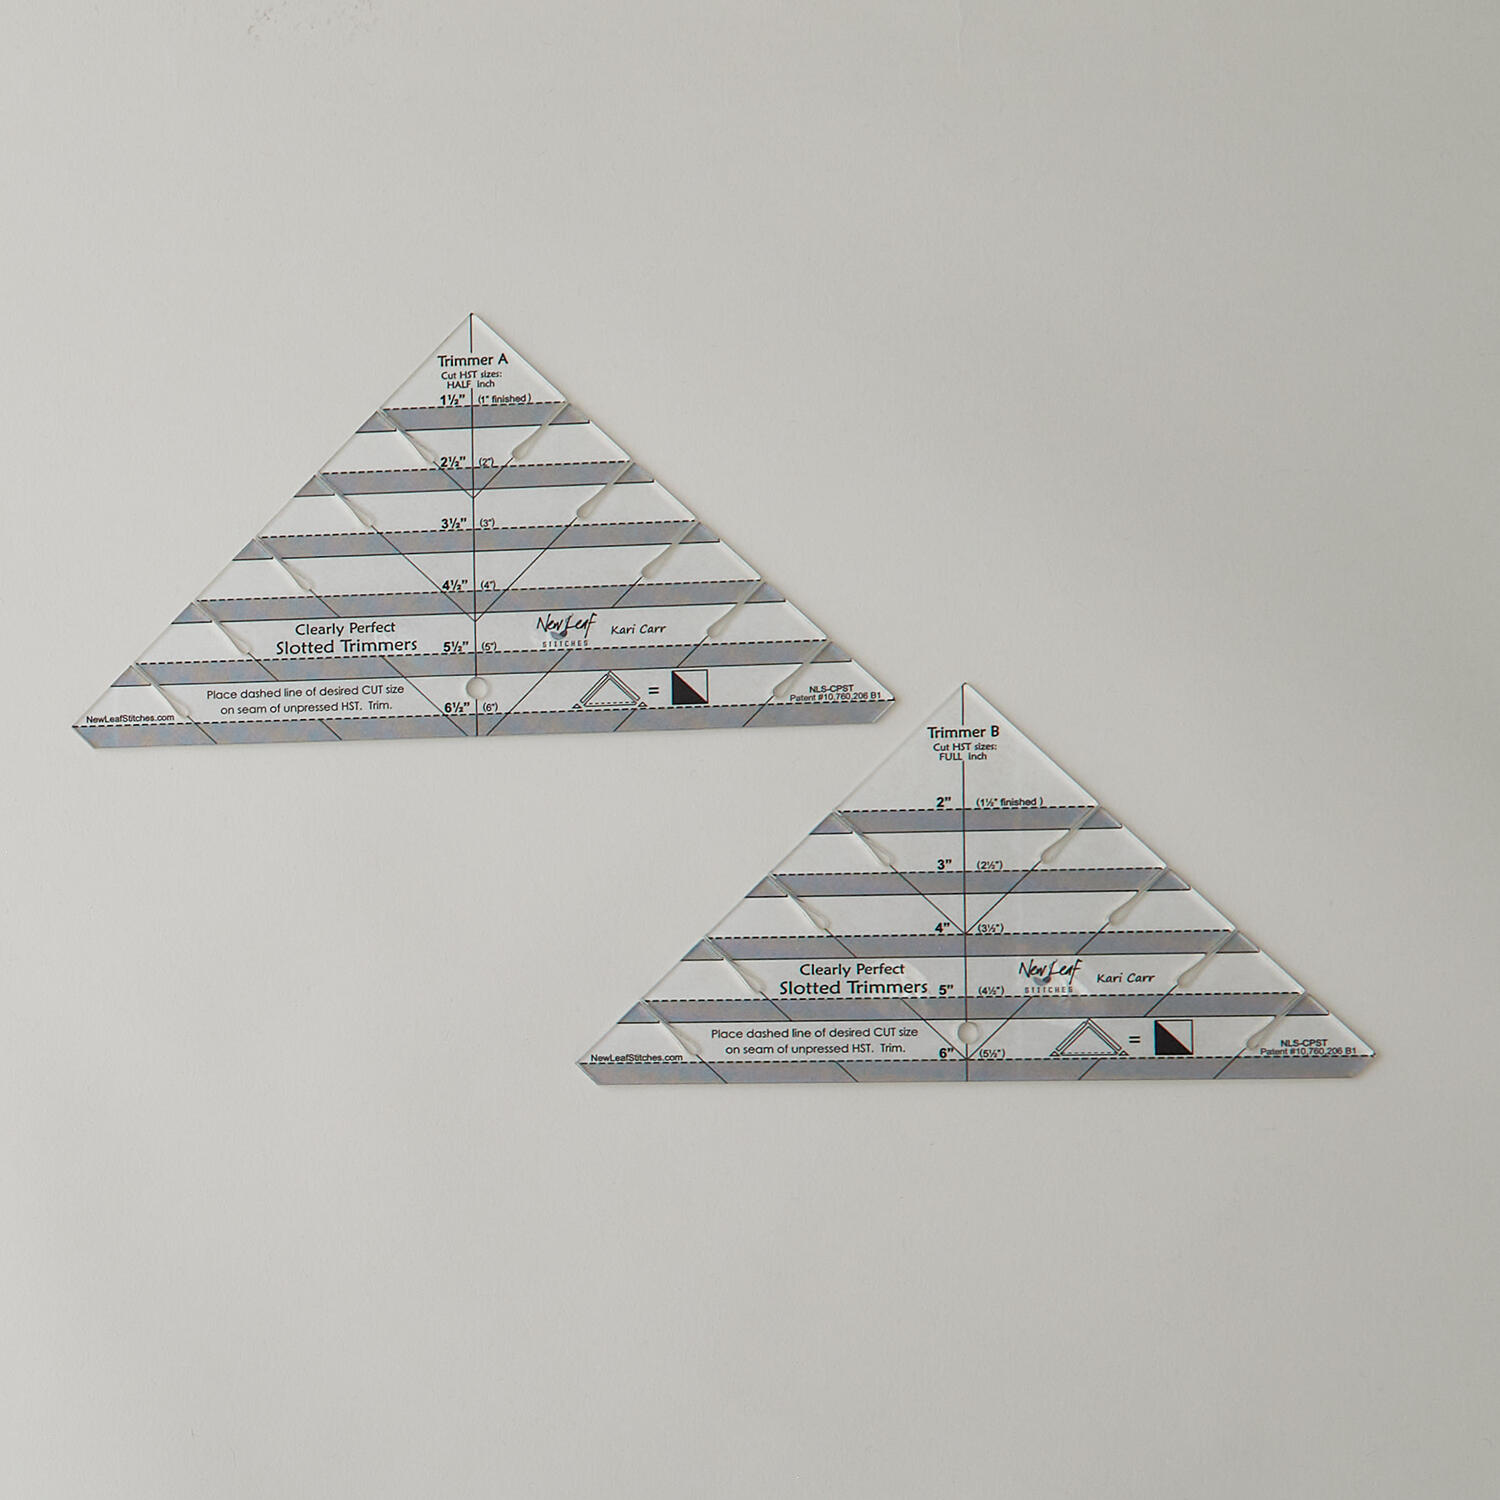 Clearly Perfect Slotted Trimmers$33.95Shop →
 Missouri Star 5" x 15" Ruler$19.95Shop →
 Missouri Star 50 WT Cotton Thread White$7.95Shop →
 Missouri Star 45mm Rotary Cutter - Olga$19.95Shop →
 Missouri Star Seam Ripper - Frida$9.95Shop →
 Missouri Star + Oliso TG1600 ProPlus Iron$209.95Shop →
 Bernette 77 Sewing and Quilting Machine$1699.00Shop →