Skip to content

Free quilting video tutorials from Missouri Star

Quilting Tutorials
Creating for Kids: Spell it with Fabric Letters

Creating for Kids: Spell it with Fabric Letters

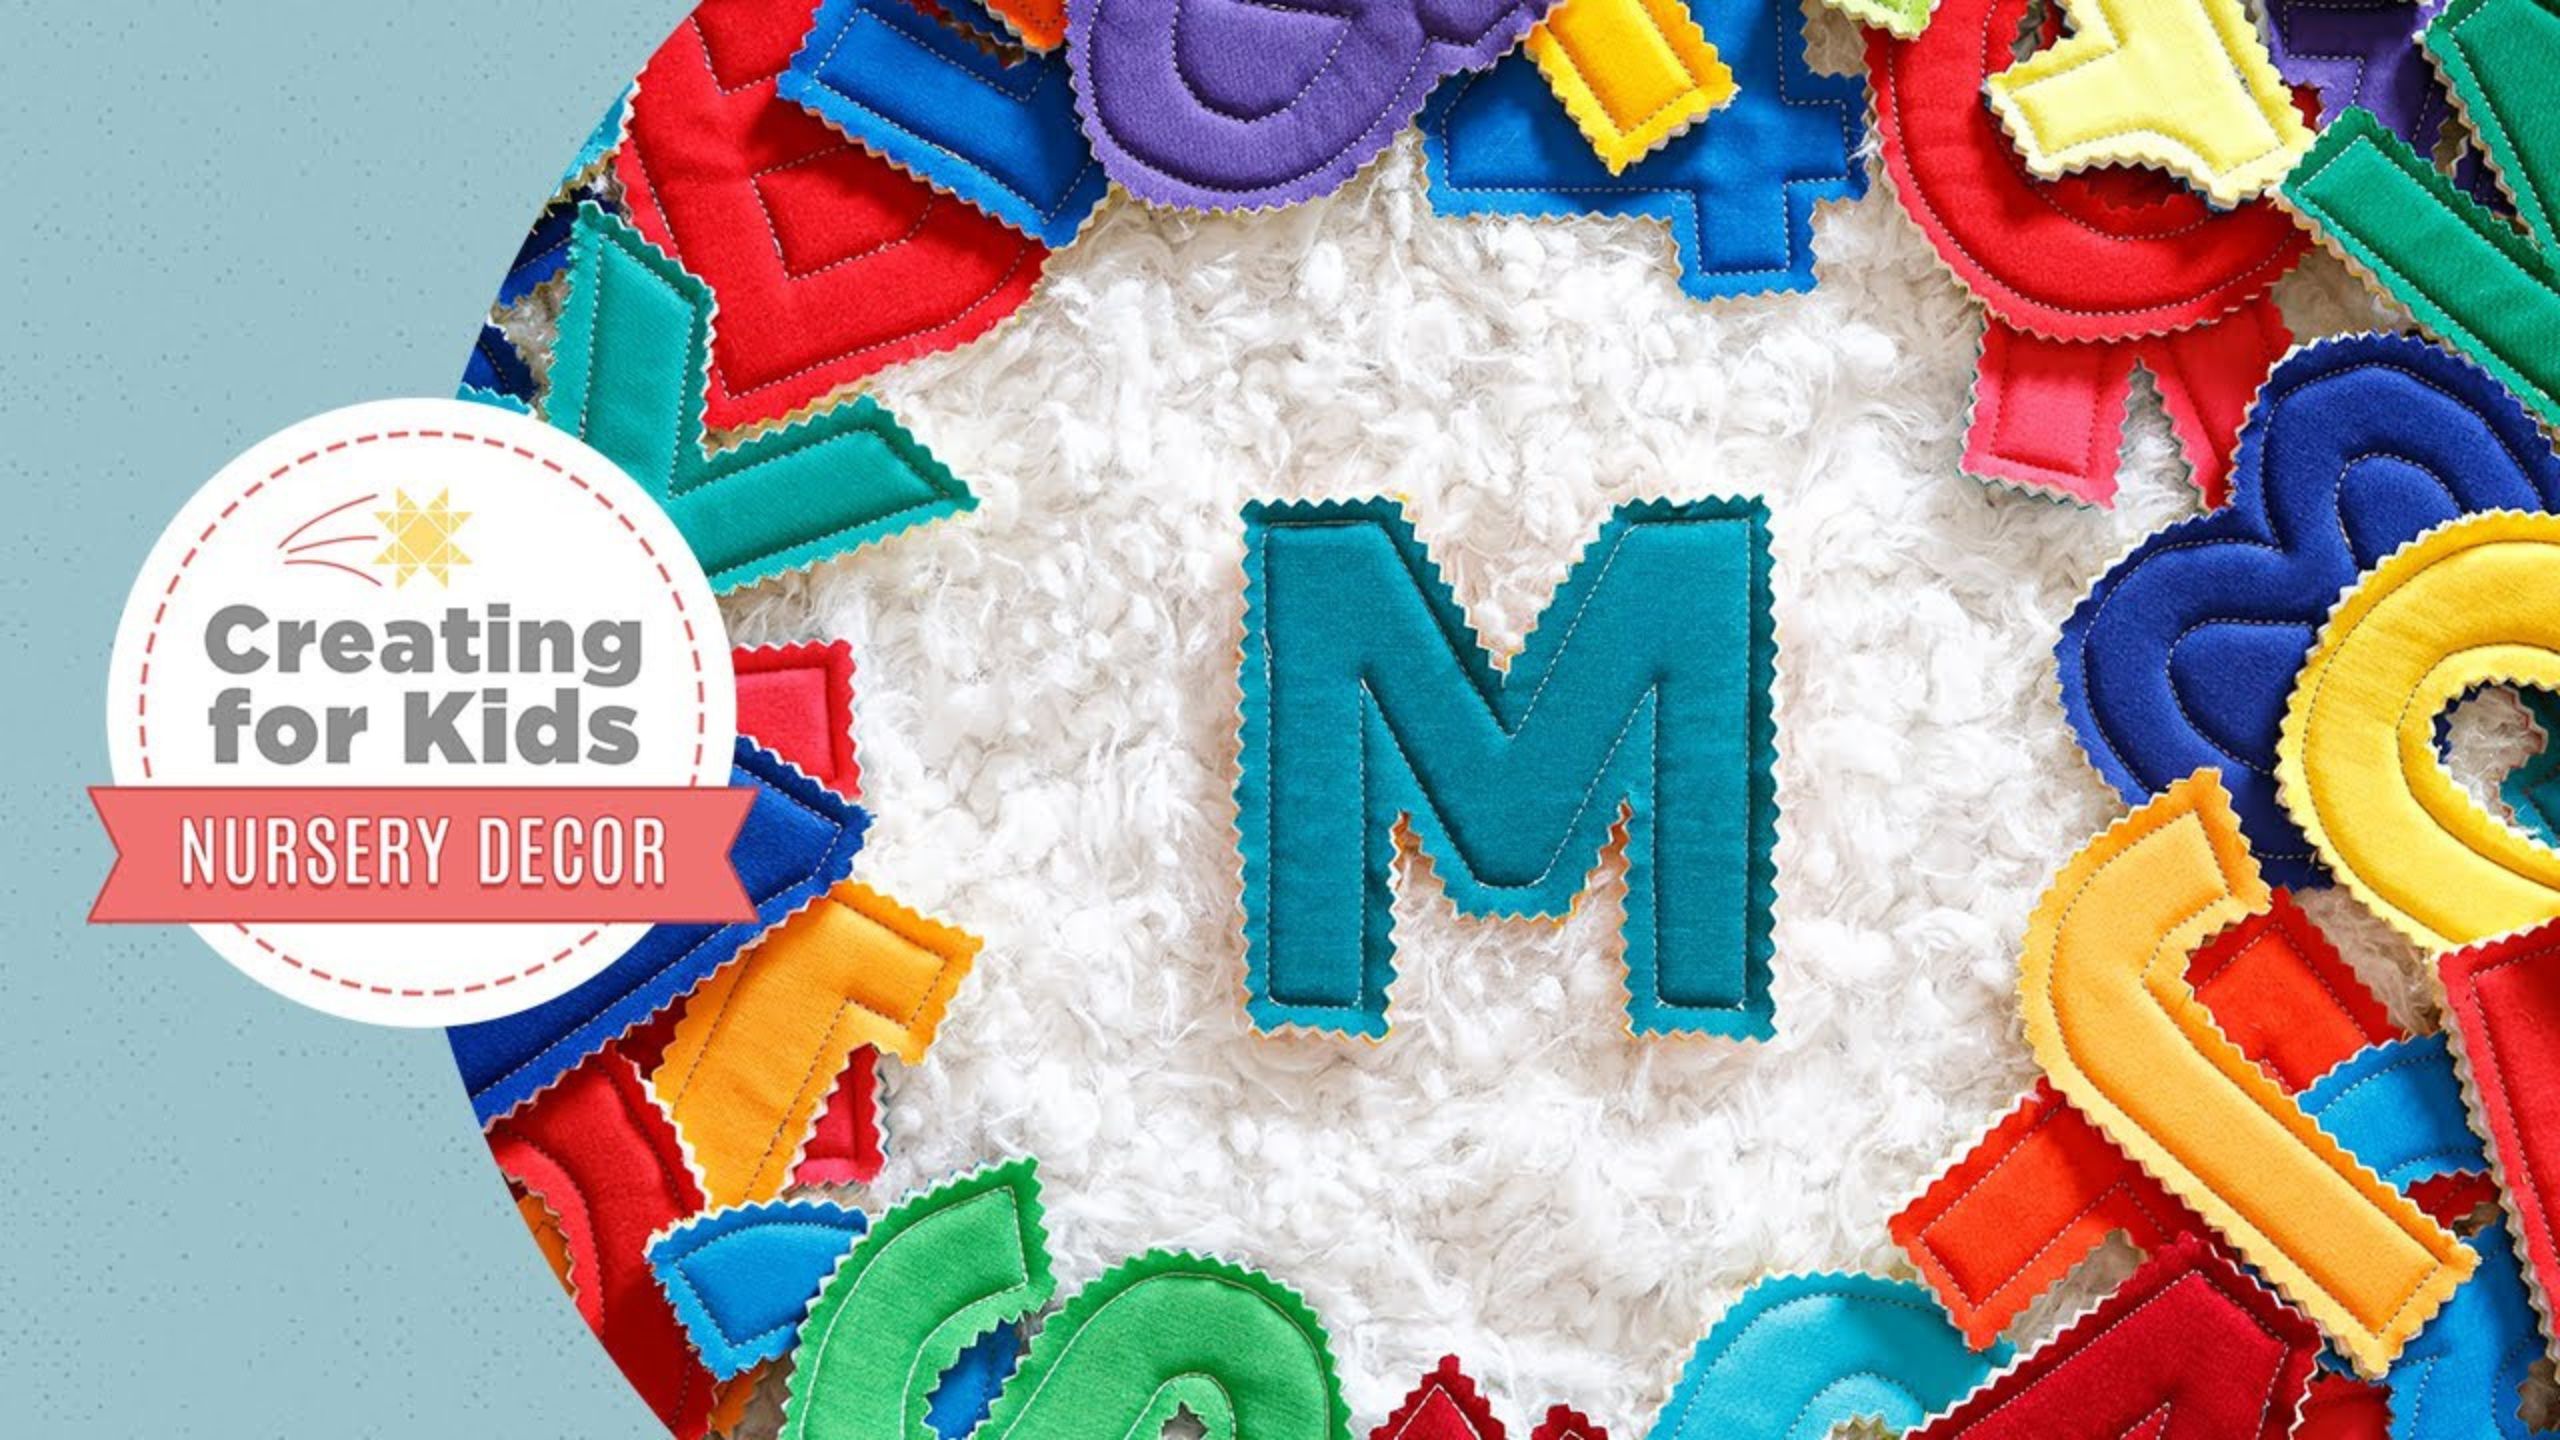
This cute kids' project is easy as A-B-C- and 1-2-3! Create a set of fabric letters and numbers to teach your tots the basics of spelling and counting. Learn how to create this charming set of fabric letters when you stitch along with Laura Piland on this episode of Creating for Kids.

Instructor

Laura Piland

Laura is a quilter, pattern designer, and homeschooling mom of three boys. She's also an ex-math teacher - and with a last name like Piland - there's a strong love of pi in her house! She shares her new projects, designs and love of quilting at <a href="https://www.sliceofpiquilts.com/">Slice of Pi Quilts</a>.

Common Questions

What is covered in Creating for Kids: Spell it with Fabric Letters?

This cute kids' project is easy as A-B-C- and 1-2-3! Create a set of fabric letters and numbers to teach your tots the basics of spelling and counting. Learn how to create this charming set of fabric letters when you stitch along with Laura Piland on this episode of Creating f...

How long is the tutorial video?

The tutorial video is 00:14:13.

Are supplies listed for this tutorial?

Yes. The tutorial page includes the supplies and materials connected to this project.

Video Transcript

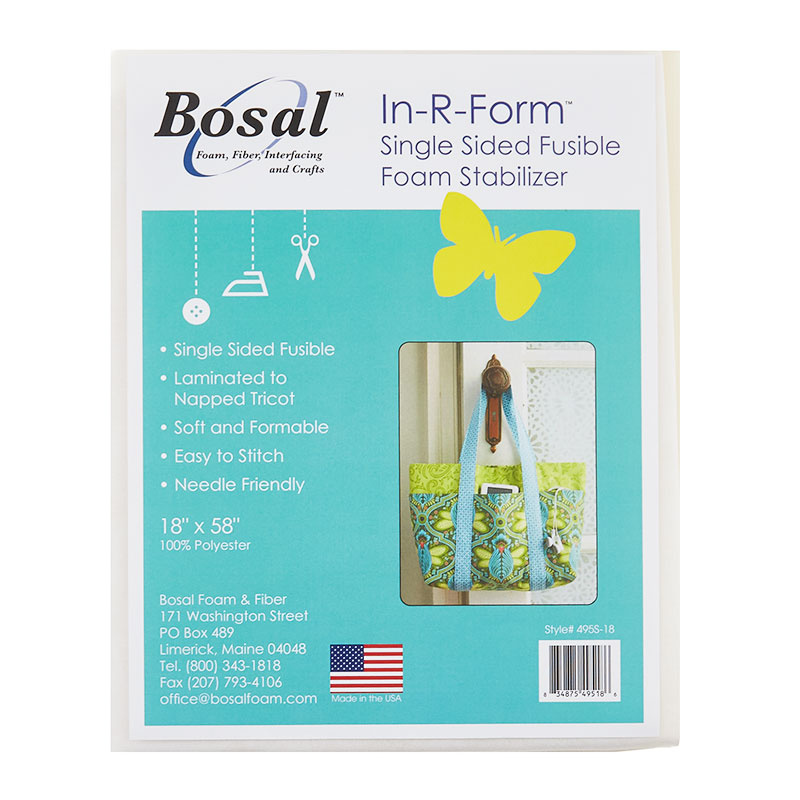
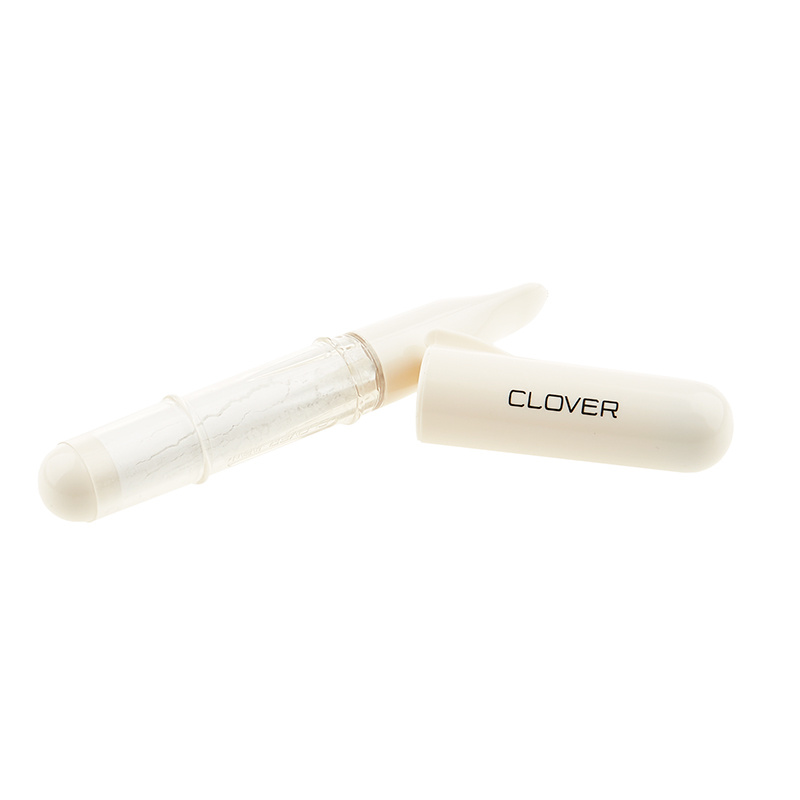
i'm laura of slice of pie quilts in this video series we'll be making projects for a nursery remember to use the hashtag msqc kids when you post a photo let's get sewing with missouri star i'm laura of slice of pi quilts here at missouri star let's make fabric letters and numbers and symbols i've made a rainbow alphabet and used one color for the backs so you know which side is the front and which is the back this is a fun and easy project to do let's get sewing to make the fabric letters you'll need five inch squares for the front and yardage for the back a package of fusible foam fabric scissors pinking shears and scissors for paper a marking tool like an air erasable pen or chalk pen i'll be using a light pad you'll need to print the letter templates there's a link in the video description the first thing we need to do is fuse our yardage to the fusible foam remember to feel on the foam which side has the glue on it it's usually a little bit rough the other side is really smooth so make sure that you don't put it the wrong way or you're going to have a mess [Music] after you finish fusing the fabric to the foam next we're going to trace the letters onto the five inch squares the first thing you want to do is choose which five inch squares you want to use for the letters that you plan to make i'm going to make hashtag msqc so i'll pick out the fabric for that now take the printed letters and find the letters that you want lay it on the light pad and put the fabric right on top now it's easy to trace with your marking pen if you don't have a light pad you can use a window or you can use fabric scissors to cut out the letters and then use your marking tool to trace them once you have the letter traced do the next one i like to center the square over the letter and then trace it i really like this air erasable pen the markings last for just a little bit of time it's just long enough to sew the letters and then they disappear completely now i have all my letters traced so we're ready to layer it with the foam remember if you don't have a light box you can just lay the letters on top and trace them that way now let's layer it with the foam i like to cut my foam pieces into five inch strips just to make it easier to handle now take one of your fabric letters lay it right on top and now we're going to stitch right on the line that you already drew i don't use any pins for this but you might find it helpful to pin or clip the corners i'm going to use white thread today so you can see it but feel free to use a color that matches your fabric when you get to a corner of the letter stop with the needle down lift the presser foot and pivot the hashtag has a lot of corners so you'll get to see me do that a lot just fold the extra foam up and out of the way if you need to or you can trim it off when you get back to where you started just stitch a little bit past where you started and then backstitch to secure the threads the hashtag has this center square too so i'm going to stitch it and stitch around it as well once you have that one done you can use scissors to trim it off of this piece and then add the next letter you want to make sure you're trimming about a half of an inch away and then just place the next one on top i like to start stitching on a straight section of the letter some of the letters are curved and i'll show you how i do that in a minute but on this m it's all straight stitching so i start in the middle of one side i stop at the corner with the needle down and then turn i'm stitching my letters with a two and a half inch stitch length it works really well for me but you could increase it to like three or three point five if it works better on your machine when you get back to where you started stitch just a few stitches past the where you started and then back stitch now i'm going to trim off the extra foam so i can start the next letter on the letter s there's a lot of curves to sew i like to start stitching on the straight section of the s to sew the curves just take a few stitches then you can lift the presser foot and turn it just a bit and take a couple more stitches slow and steady will win this race on the bigger curves you might be able to just use your fingertips to turn the piece without having to start and stop when you get back to where you started stitch a couple stitches past where you started and then backstitch to secure the threads i'm trimming about a half of an inch away from that letter and now i can do the next one i'm starting here on the straight section of the cue and i'm going to stitch all the way around the outside and then i'll stitch on the inside too remember to backstitch whenever you stop [Music] [Music] remember to start on a straight edge and then sew slowly around the curves sometimes i don't have to stop the machine when i sew the curves and other times i need to lift the presser foot and go slowly around them [Music] now we have all of the letters sewn and so now we're going to use pinking shears to cut them out you want to cut about a quarter inch away from the sewn line just start off the edge and cut carefully around the edge pinking shears can be hard to open and shut so take your time and do a few letters at a time when i'm cutting i cut as much as i can open the scissors and then i line up the jagged edge again with where i stopped so that way i get a nice consistent look to the letters when you get to the corners just turn and keep going on the inside you might have to use your hands a little bit to pull on it to get it to curve around so that you don't cut through the threads then you can just trim off the threads and that letter is finished [Music] some letters i don't like to cut the center out like on this hashtag the center is really small and it'll be really challenging to cut so i just leave it but on the bigger letters like this cute i think i'll try to cut the center out i'm going to use fabric scissors and fold the cue in half and make a little snip where i can insert the pinking shears now i can just cut around the center the same way i did on the outside you come into the smaller areas like on this inside of this s you want to work really slowly and just cut a little bit at a time and then i use my other hand to kind of pull the fabric around so i can cut around the curve without cutting into the stitches you can always cut more off but you can't put it back when i'm cutting into a corner like on this m i stop about a quarter inch away from the stitched corner and then i can pivot and cut along the other side as well that way i stay a quarter inch away from those stitched lines i'm using pinking shears so that the edges don't fray as much when the kids play with them you can use regular scissors too just know that the fabric will fray and it'll create a different look i like to use the foam for this but you could use batting too foam does not fray the same way so it's not as messy but your batting scraps are great for this project this hashtag has a small section in the middle and it's too small for me to cut away so i'm going to leave it now you've cut out all the letters you can make a whole alphabet or you can spell your kid's name just have fun with it and spell whatever you want you did it you made fabric letters i can't wait to see what you spell now you know how to make fabric letters use foam to give them structure and pick out some fun fabrics in five inch squares when you make your own remember to stitch on the traced lines and use yardage on the back so you know which side is the front and which side is the back you can make the whole alphabet names of people phrases or your own symbols i made a pie symbol remember to use the hashtag msqc kids when you post a photo on social media i hope you enjoyed this tutorial from missouri star we hope you enjoyed watching this video if you are not already part of the missouri star quilt family you can hit the subscribe button below so you won't miss a thing and if you click that bell it'll notify you every time a new tutorial comes out see you next friday you

More Charm Pack tutorials

See all