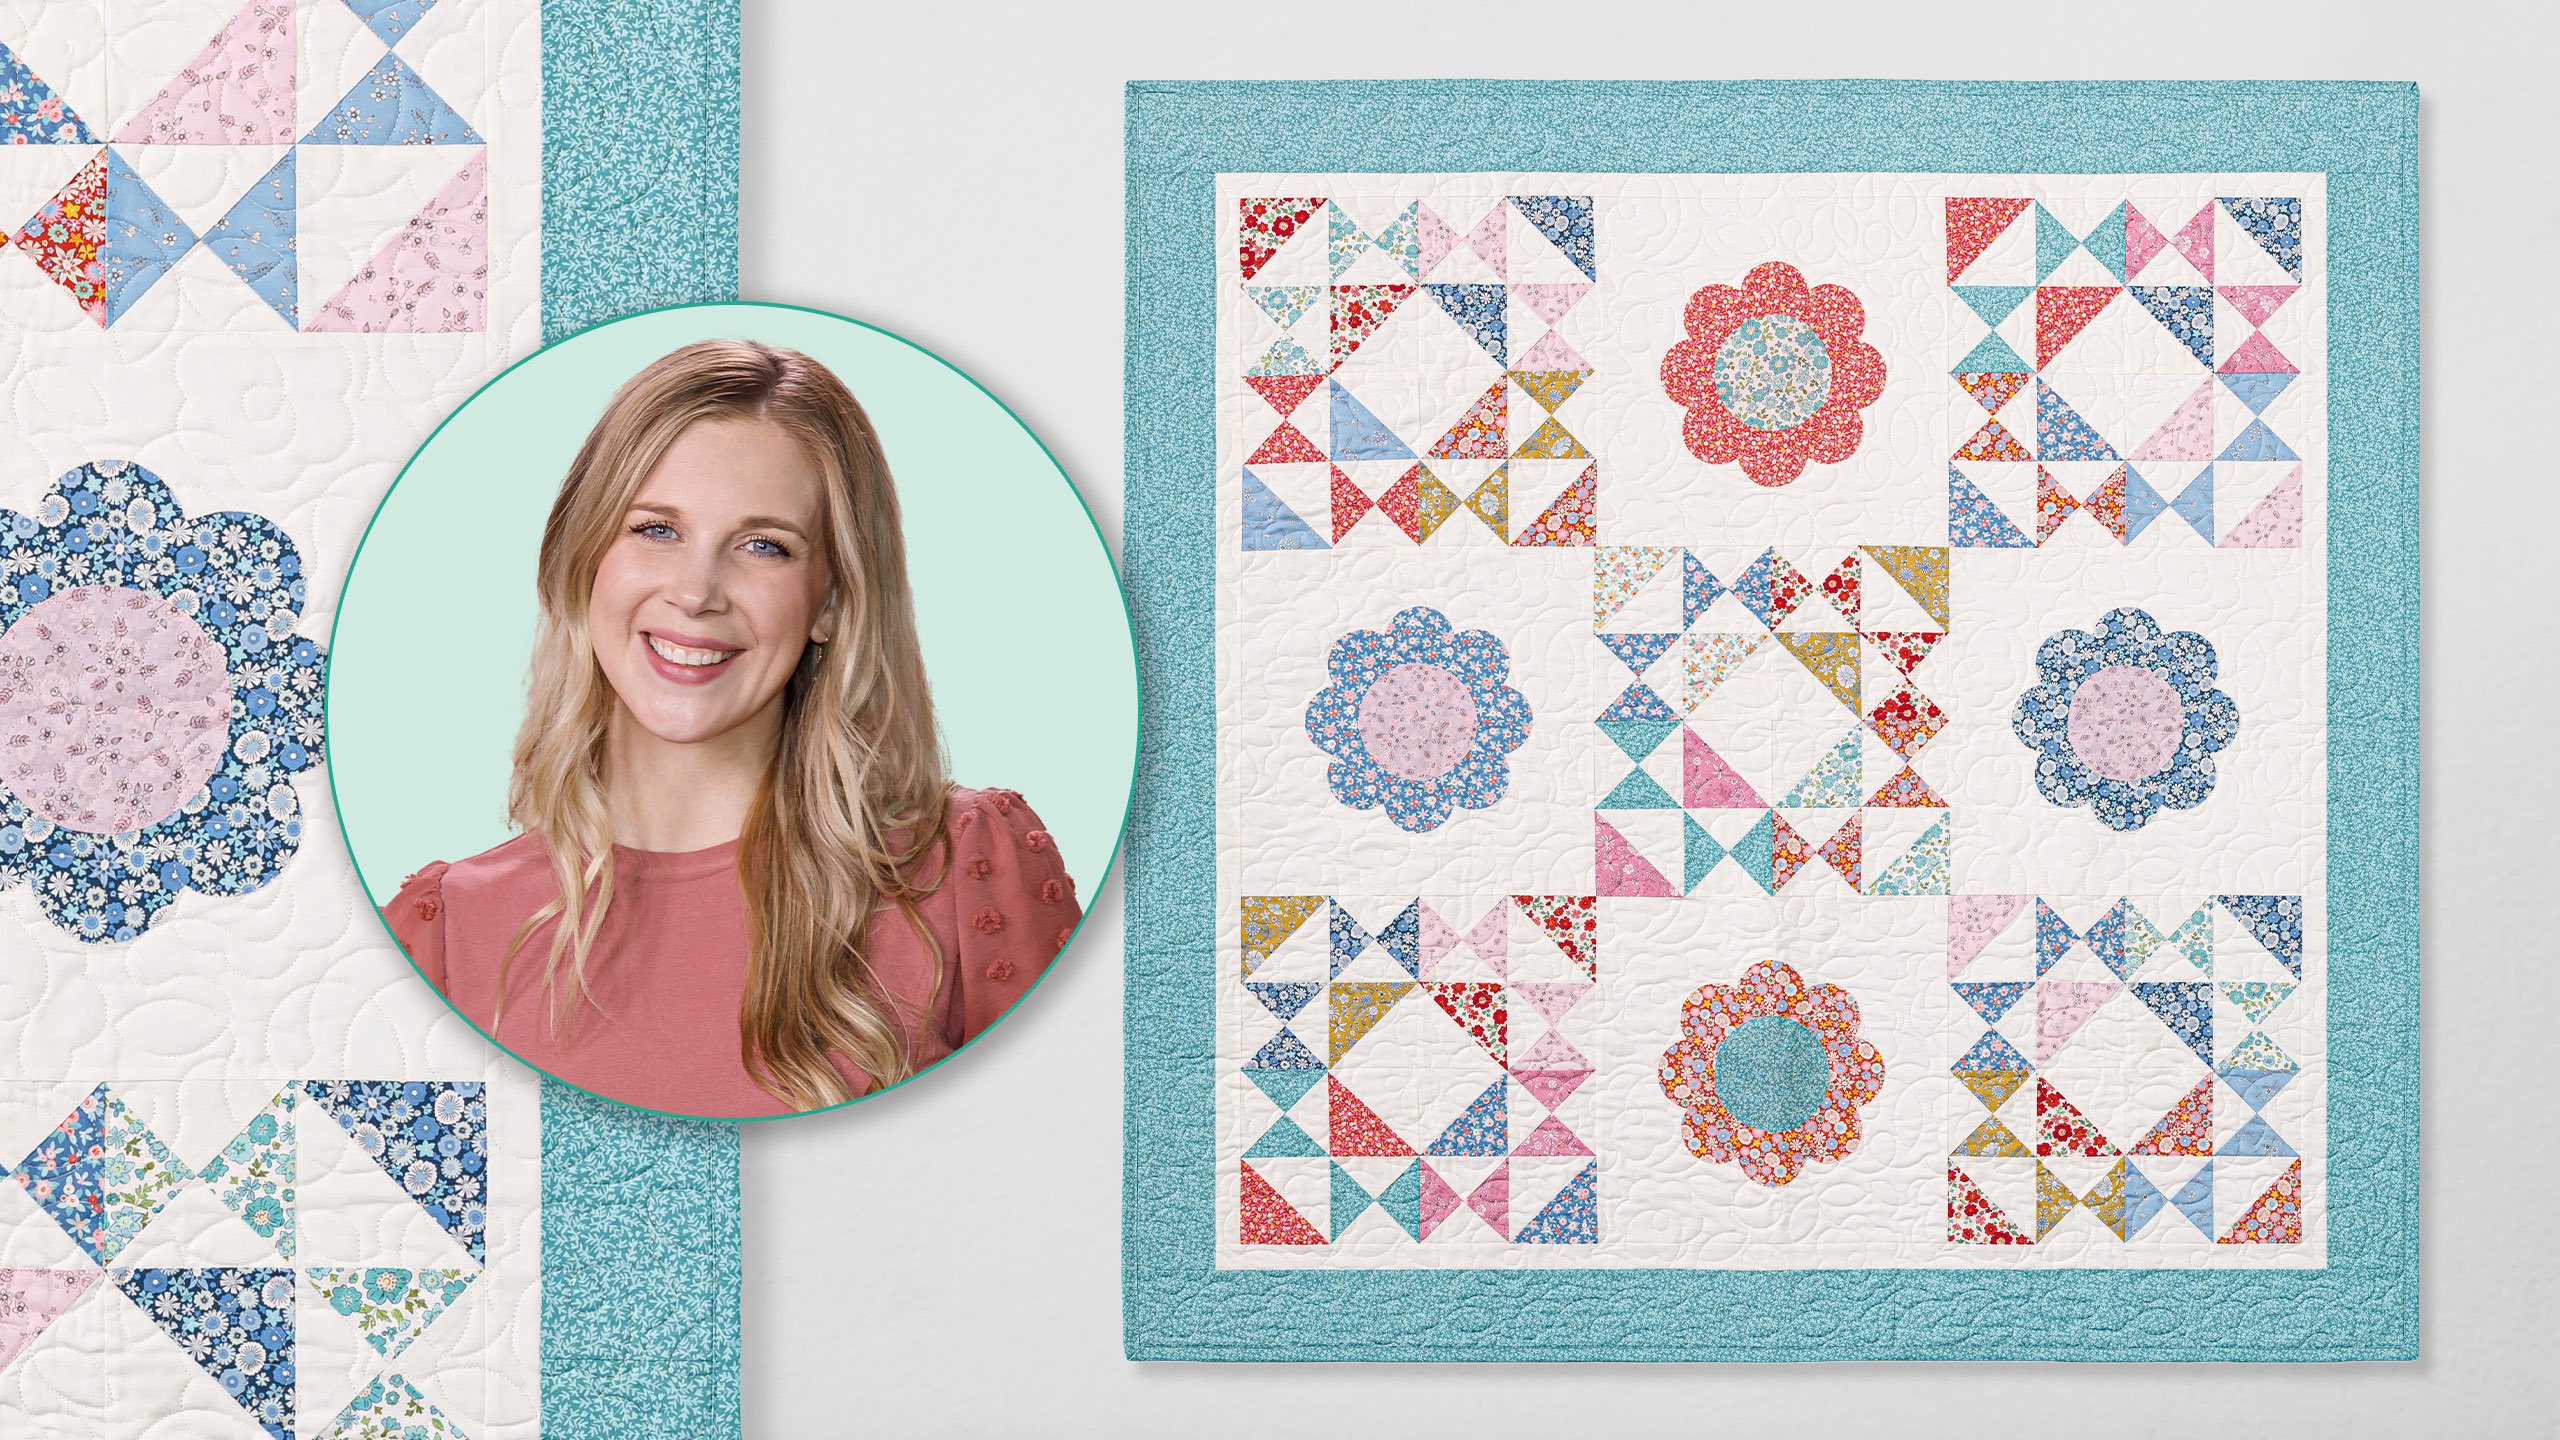
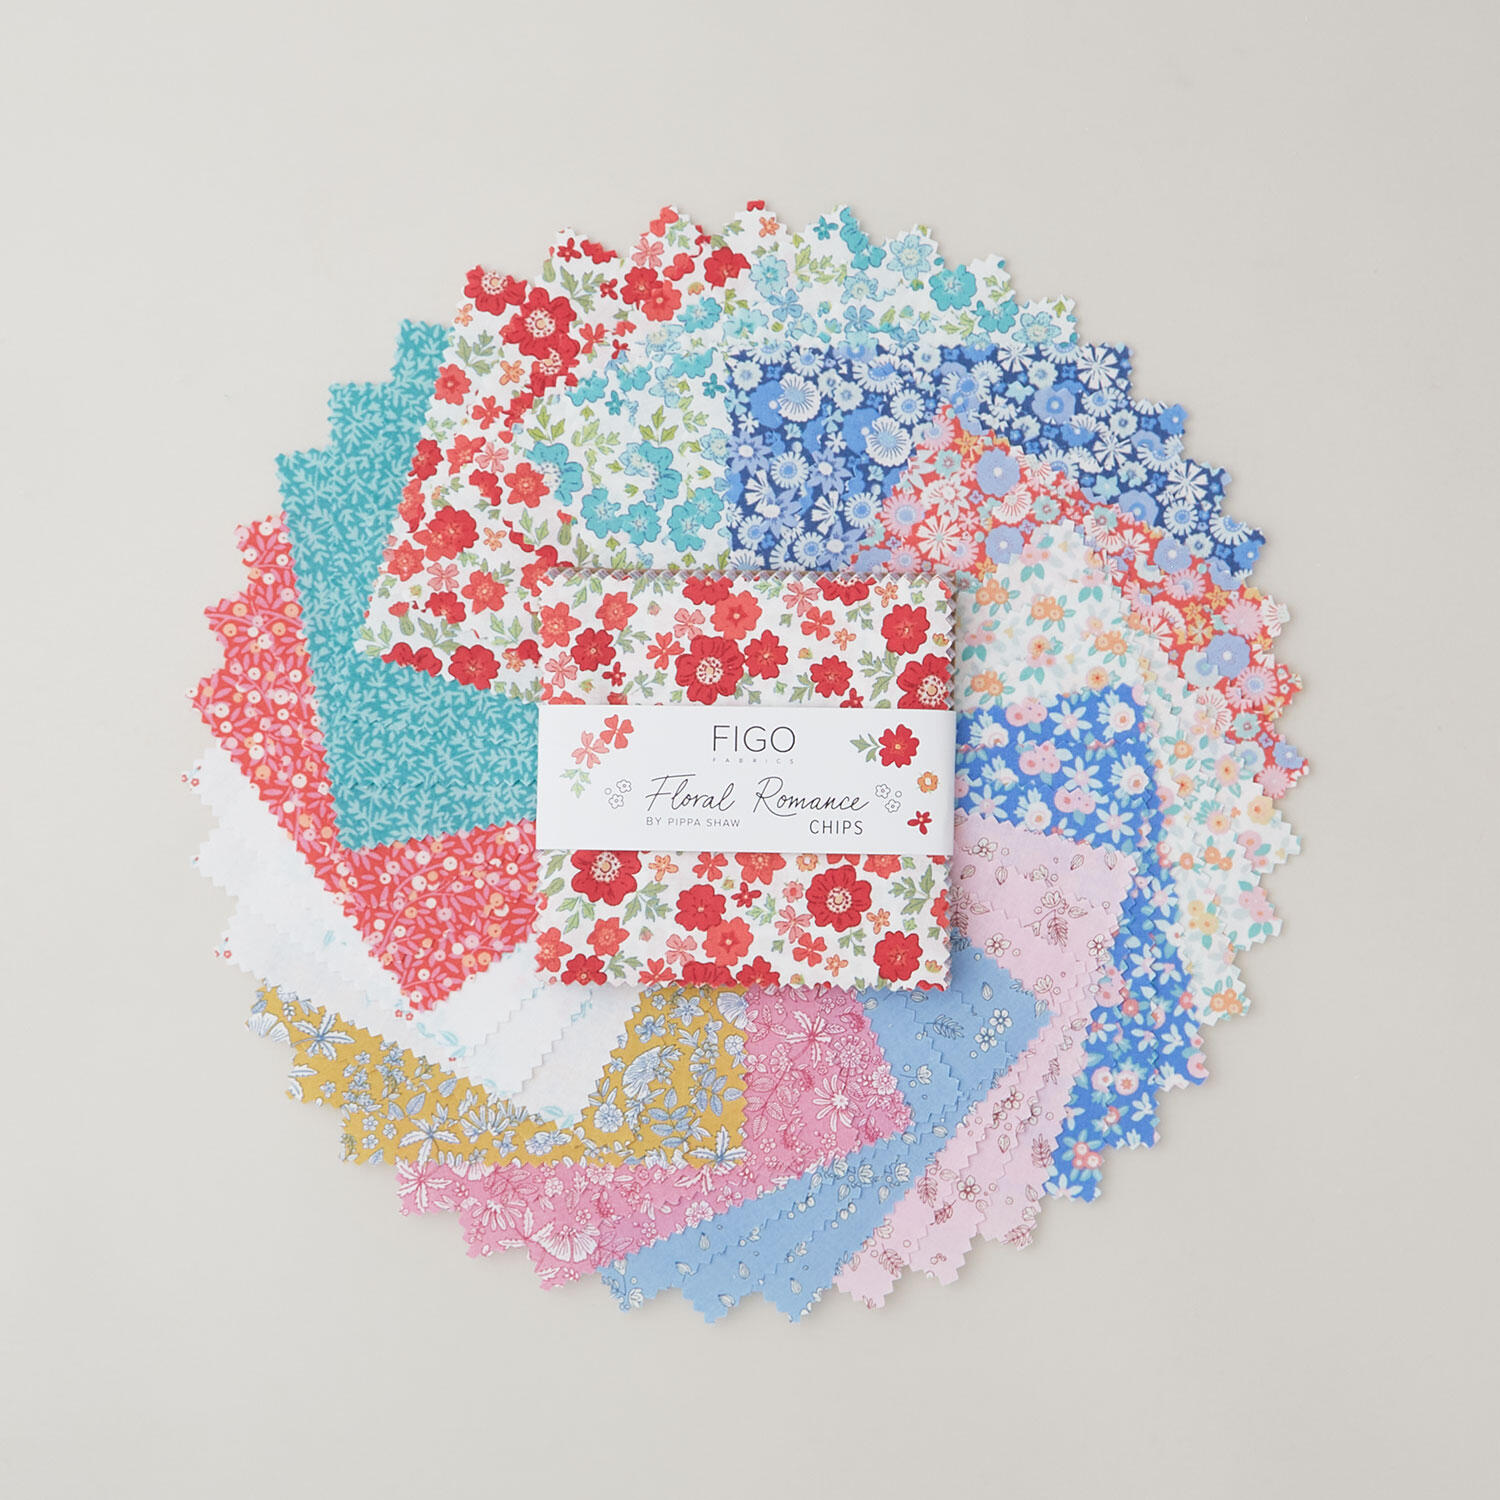
We love it. We love it not. We LOVE it! Appliquéd daisies pop up among a garden of half-square triangles in the Daisy Dreams quilt. Misty shows you how to use the MSQC Nesting Flower Template Set to get perfect petals with ease. A charm pack of FIGO Fabrics' Floral Romance 5" squares means the HSTs are not only pretty, but they're easy, too!
Misty Doan grew up surrounded by sewing and quilting. She loves spending time sharing tutorials each week each week, and when she’s not stitching up one of her fun sewing projects for home decor, most likely you’ll find her hanging out with her husband and three awesome kids or working on a house project.
We love it. We love it not. We LOVE it! Appliquéd daisies pop up among a garden of half-square triangles in the Daisy Dreams quilt. Misty shows you how to use the MSQC Nesting Flower Template Set to get perfect petals with ease. A charm pack of FIGO Fabrics' Floral Romance 5"...
How long is the tutorial video?
The tutorial video is 00:16:12.
Are supplies listed for this tutorial?
Yes. The tutorial page includes the supplies and materials connected to this project.
Video Transcript
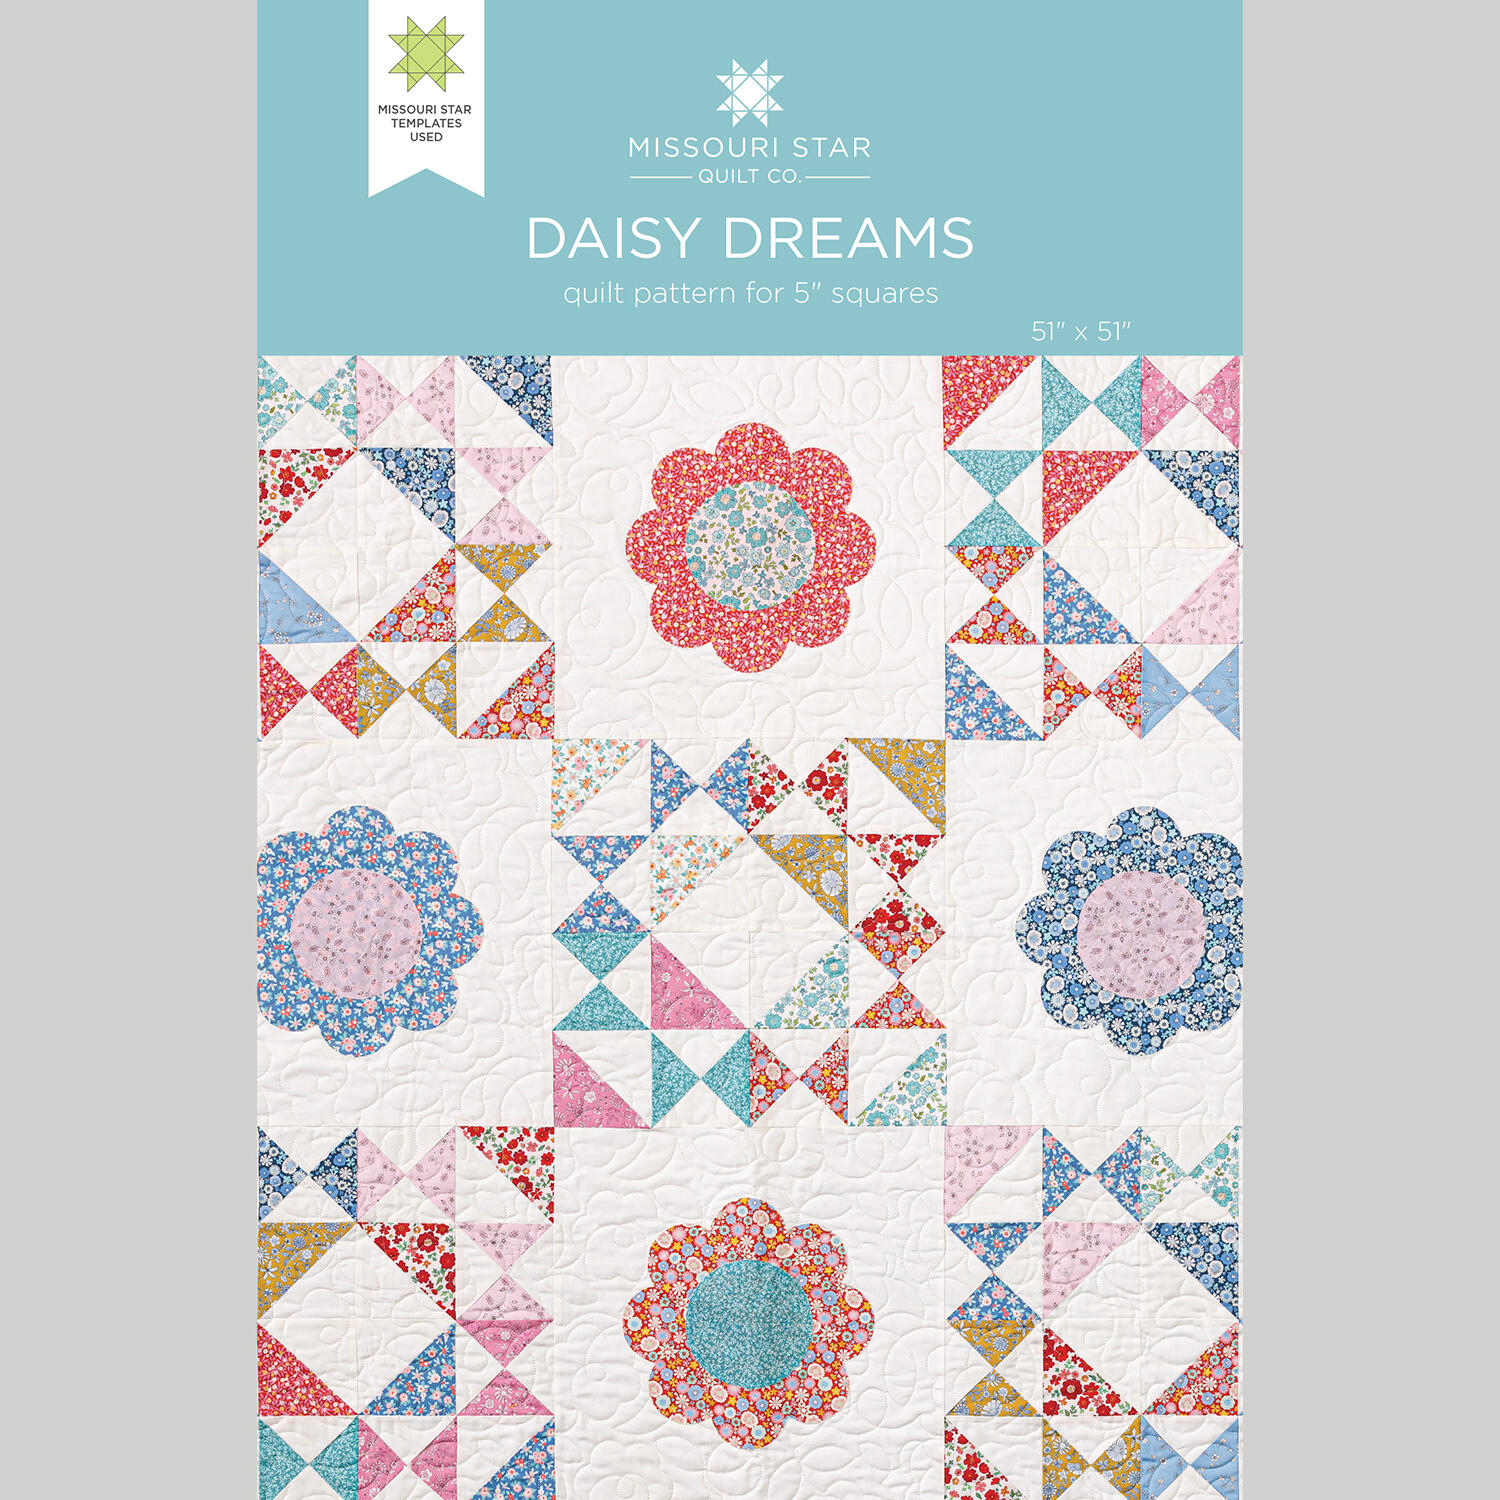
Hey everyone, I am Misty and welcome to At Home. Today we're going to be making this really cute Daisy Dreams baby quilt. It comes together really fast. It involves piecing and applique. So, let me show you how to make it. All right, so let's go ahead and check out this quilt. I love this block that is kind of the uh foundation for this quilt. And so you will make five of those big blocks and then we'll set in between those with these fun flower appliques. And I just finished it off with a little border. It comes together really quick. So let me show you how to make it. Up first you're going to need a package of 5 in squares. And I use this collection called Floral Romance by Pipa Shaw for Figo Fabrics. In addition to that, you're going to need some coordinating fat quarters. I used four different ones. Those are for your flowers. So, if you don't mind some of those matching, you could get away with just two, but I went with four. For your background fabric, I used color works snow. And you are going to need 2 and 1 eigh yards of that. That includes your first little inner border. For your outer border, you need 2/3 of a yard. I use this cute green. And I use the same color fabric for my binding. And for the binding, you need 5/8 of a yard. And then this cute floral is my backing. and you need three and a third yard with horizontal seams. In addition to that, there's some other tools that you're going to want to grab. You want to get some so light fusible. You will need a good pair of scissors. This cute little spring flower template is really handy. If you don't have the template set, the pattern does include the outline for this flower. You'll also need a squaring tool and something to mark and of course your rotary cutter and ruler. So, let me show you how to make it. [music] All right. So, up first we're going to begin with our block that you see here. And this is made up of four identical quadrants. And so, let's walk through one of those first. So, to begin, we're going to take two of our print 5 in squares and two background 5 in squares. And we're going to pair each of these together. If both of them are prints, be sure to put them right sides together for this. And then I'm going to draw a line corner to corner here on both of these. And then we're going to take these over to the sewing machine and we're going to sew a quarter inch away on both sides of those drawn lines. And so I'm just going to chain piece and feed one of these in after the other. Keep in mind if you're doing the whole quilt, you could just follow along with the number in the pattern. And it's really simple to chain piece these and have it go quickly for you. And so that just means I'm going to slide this one in right behind the other. And then I can swing this around and go right back down the other side. Okay, I have both of those done. And so now I'm just going to trim them apart. And then we'll use our ruler and we'll cut in between them. And there we go. And so then I'm going to go ahead and press both of these open. So I'll set that seam and roll it back. And I'm going to roll that seam behind the print side since it's a little bit darker. We'll do the same thing with this set here. And one more. All right. So now I'm just going to choose one of these matching sets for this next step. And I think I'll use these blue here. And so I'm going to place these right sides together again. And I'm going to make sure that opposites are touching. So my background is touching my print. and vice versa on the other side. And I want to make sure this is lined up and that seam is nesting nicely in the middle. And then I'm going to take my ruler and I am going to draw a line that's intersecting with that first seam. And then just like we did before, we're going to stitch on both sides of this one. I'll fold this around. Okay. And so now we will cut this apart again. And we'll give these a press. If you were using the Clearly Perfect slotted trimmers, of course, we would square these up before we press, but I'm going to use the block lock today. So, we'll just give this a press till it lays nice and flat. And do the same with this one. Okay. And so now these are our units that we're going to use to make up our little quadrant. But first, we're going to square each of these to 4 in. And so I'm going to lay my ruler on here. And I want the 4 inch number to be intersecting these seams. And so that's what I'm looking for. So, one, two, three, four. And here it is. I always double check. So, we'll cut these two sides first. And then I can spin this and slide it down. And then now my 4 in will be right on the edge that I cut. And we will square this up. And there's our little squared up hourglass unit. I'm going to do the same thing with each of these. Always making sure that that measurement is going right into my point in the corner. There we go. And then I'm going to trim these half square triangles down to 4 in as well. That way all of our pieces will match up. Go. And one more. That's a nice straight edge. So, I think I can get away with just cutting two of these here. And then I'll just get rid of that little notch. There we go. All right. And so now we get to make this little unit. And so I'm going to begin by placing my half square triangles so that they're both pointing in the same direction. And then I will set in my hourglass units. And for these, I always want the print to be touching the background. And so, every single quadrant is made exactly like this. So, we're going to go ahead and sew these together. Now, we'll take it to the machine. Always take a few stitches and then line up my ends. And then I can slide this one in right behind. Now I can open this up. Make sure I stitch them together correctly. You can always check because the background and your colors are going to alternate there in the middle. So that is right. So now we can place this together. Take a few stitches. And then of course make sure those seams are nesting in the center going opposite directions. Okay, there is our little quadrant. Let's go ahead and bring this over here and give it a press. We will just roll that back. There we go. Just like that. And so we're going to make four of these for each block. So I have some other ones done here. And we are just going to spin these so that the white point of our half square triangles will come together in the center just like so. And so then when you stitch that all together, it's going to look just like this. That is your block A. And you're going to make five of those for the quilt. And so now we can move on to our applique flowers. So block two is this adorable applique flower that you see here. And so what you're going to want to do is measure your finished A blocks. They should finish at 14 and 1/2 in. And so you're going to cut a background square that measures that. So I have mine ready to go. I did go ahead and fold it in half in both directions just because I like to have these press lines as kind of a guide when I go to add my applique later on. So this is a 14 and 1/2 in square that I have pressed in half both directions. So we'll set that aside for now. And then we're going to take whatever fabric uh remember this is from your fat quarter that we chose to use for our flowers and we're going to cut those into some 10in squares. And so I have a 10in square of fusible as well that I'm just going to go ahead and press to the wrong side of this fabric. If you've never used this before, there's a sticky glue side and a paper side. So you want the paper side up towards your iron and the glue towards the wrong side of your fabric. And now we're just going to use a nice hot dry iron to fuse that in place. Looks just like that. And now we can set our template on here. And I'm just going to use a pencil to trace all the way around that. Whoops. Missed a little spot there. Okay, there we go. There is our cute little flower shape. One thing I do want to point out, if you don't have the template and you opt to use the uh paper version that is included in the pattern, before you fuse it to your fabric, you will actually fold your fusible in in half and in half again. So, you have your quadrants. And then you'll cut this out and you'll trace that onto your template and then cut that out and that's going to make your flower shape. So either way you'll get the same result. But I love using these acrylic templates. They make the whole process very easy. And so then you're just going to cut that out with scissors. And it's going to look just like this when you have it all done. The other thing you're going to want to do is use a contrasting fabric uh that you cut to 5 in. and you're gonna cut out that four and a half inch center circle that we'll use for the middle of our flower. So, I have both of those ready to go. So, now that I have my pieces, we can bring our background over here. I'm just going to make a little bit of room. Press set my iron down there. There we go. So, I will lay this on my pressing mat. And so now we're going to peel off that paper backing. And you can just kind of crease that and it will lift that away and leave the glue behind on your fabric. And so then I like to line these up and I kind of center it on my petals just like so. And so you can see those press lines really help. And if you want, you can even bring a ruler over and measure down. It should be about two and a half inches from each edge. That one can come down a smidge. But that looks really nice. All right. And so now I'm going to go ahead and add my circle to the center. We're going to do that same thing. Just peel away our backing if I can get a hold of it. There we go. And same thing, I just eyeball it, but feel free to measure if you want to. And so now I can hit this with that nice and hot iron. One thing you want to keep in mind when you're doing fusible applique is you press and lift. You don't want to go sliding your iron all around because it could accidentally flip up that glue side and it will stick to your iron and be a mess. So just press and lift and move that way. There we go. All right. And it is really as simple as that. And now you just finish this off with whatever version of top stitching you like. You could do a little blanket stitch, a zigzag, even a straight stitch. I do want to show you here on my finished block. I used invisible thread and a little blanket stitch. And I love doing that because then it just blends in with the fabric and you don't need to change your thread as you're going along. And there is your cute little block. You make four of these for the quilt that you see behind me. And so you'll see I just alternated between those. Nine blocks total. Then we have a little inch and a half inner border that comes from your background fabric. And this is a 4in outer border. And so here is that backing. It's that really cute blue floral. And we put some little handmade tags in there as well. I think it turned out so cute. I quilted the whole thing with a pattern called Posies. Just a fun floral that kind of mimics the shape of our applique. And it finishes at 51 inches square. So, I hope you guys enjoyed this and you'll give it a try. And I will see you next time on at home.

 Misty Doan
 Daisy Dreams Quilt Pattern by Missouri Star$8.50Shop →
 Digital Download - Daisy Dreams Quilt Pattern by Missouri Star$6.95Shop →
 Floral Romance Chips$13.50Shop →
 Colorworks Premium Solids - Snow Yardage$8.96Shop →
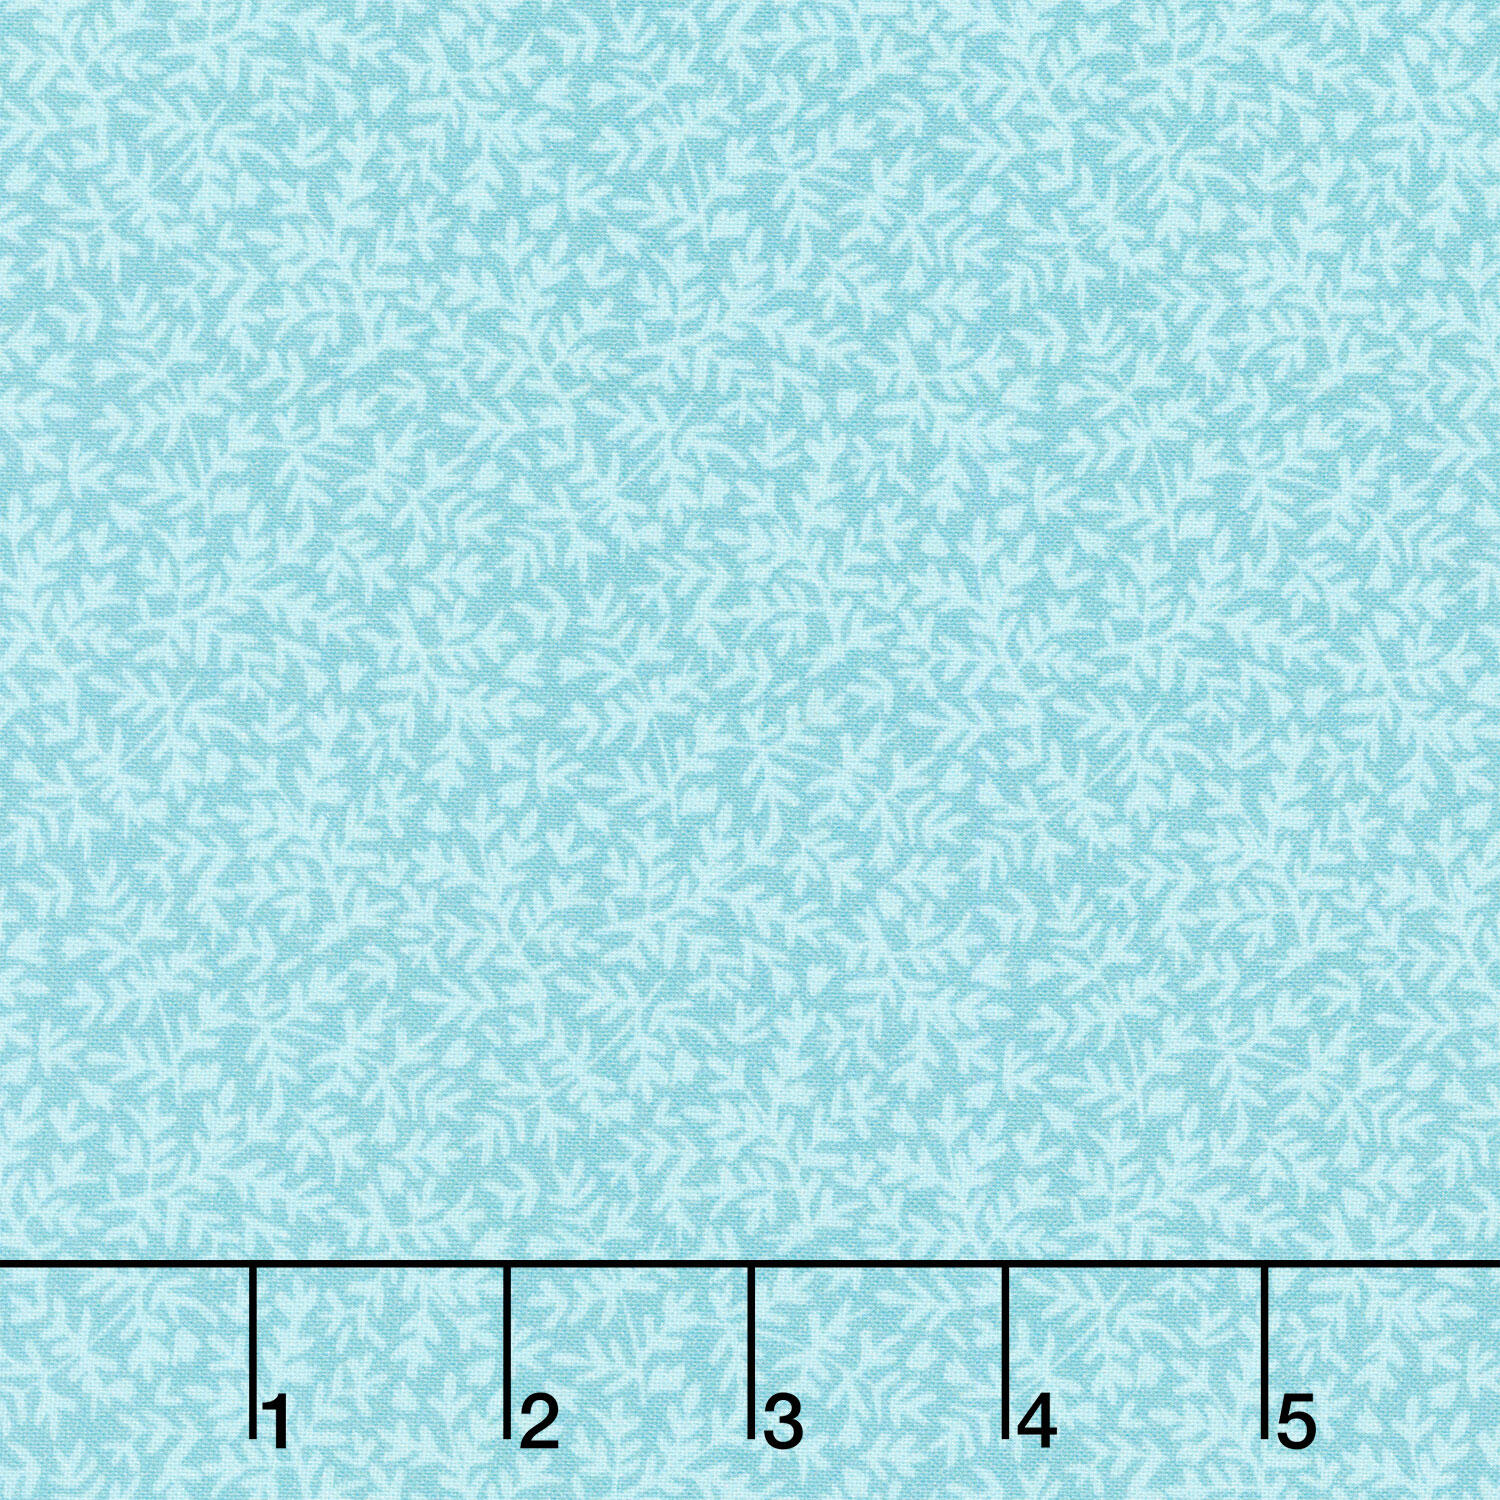 Floral Romance - Fronds Teal Yardage$12.80Shop →
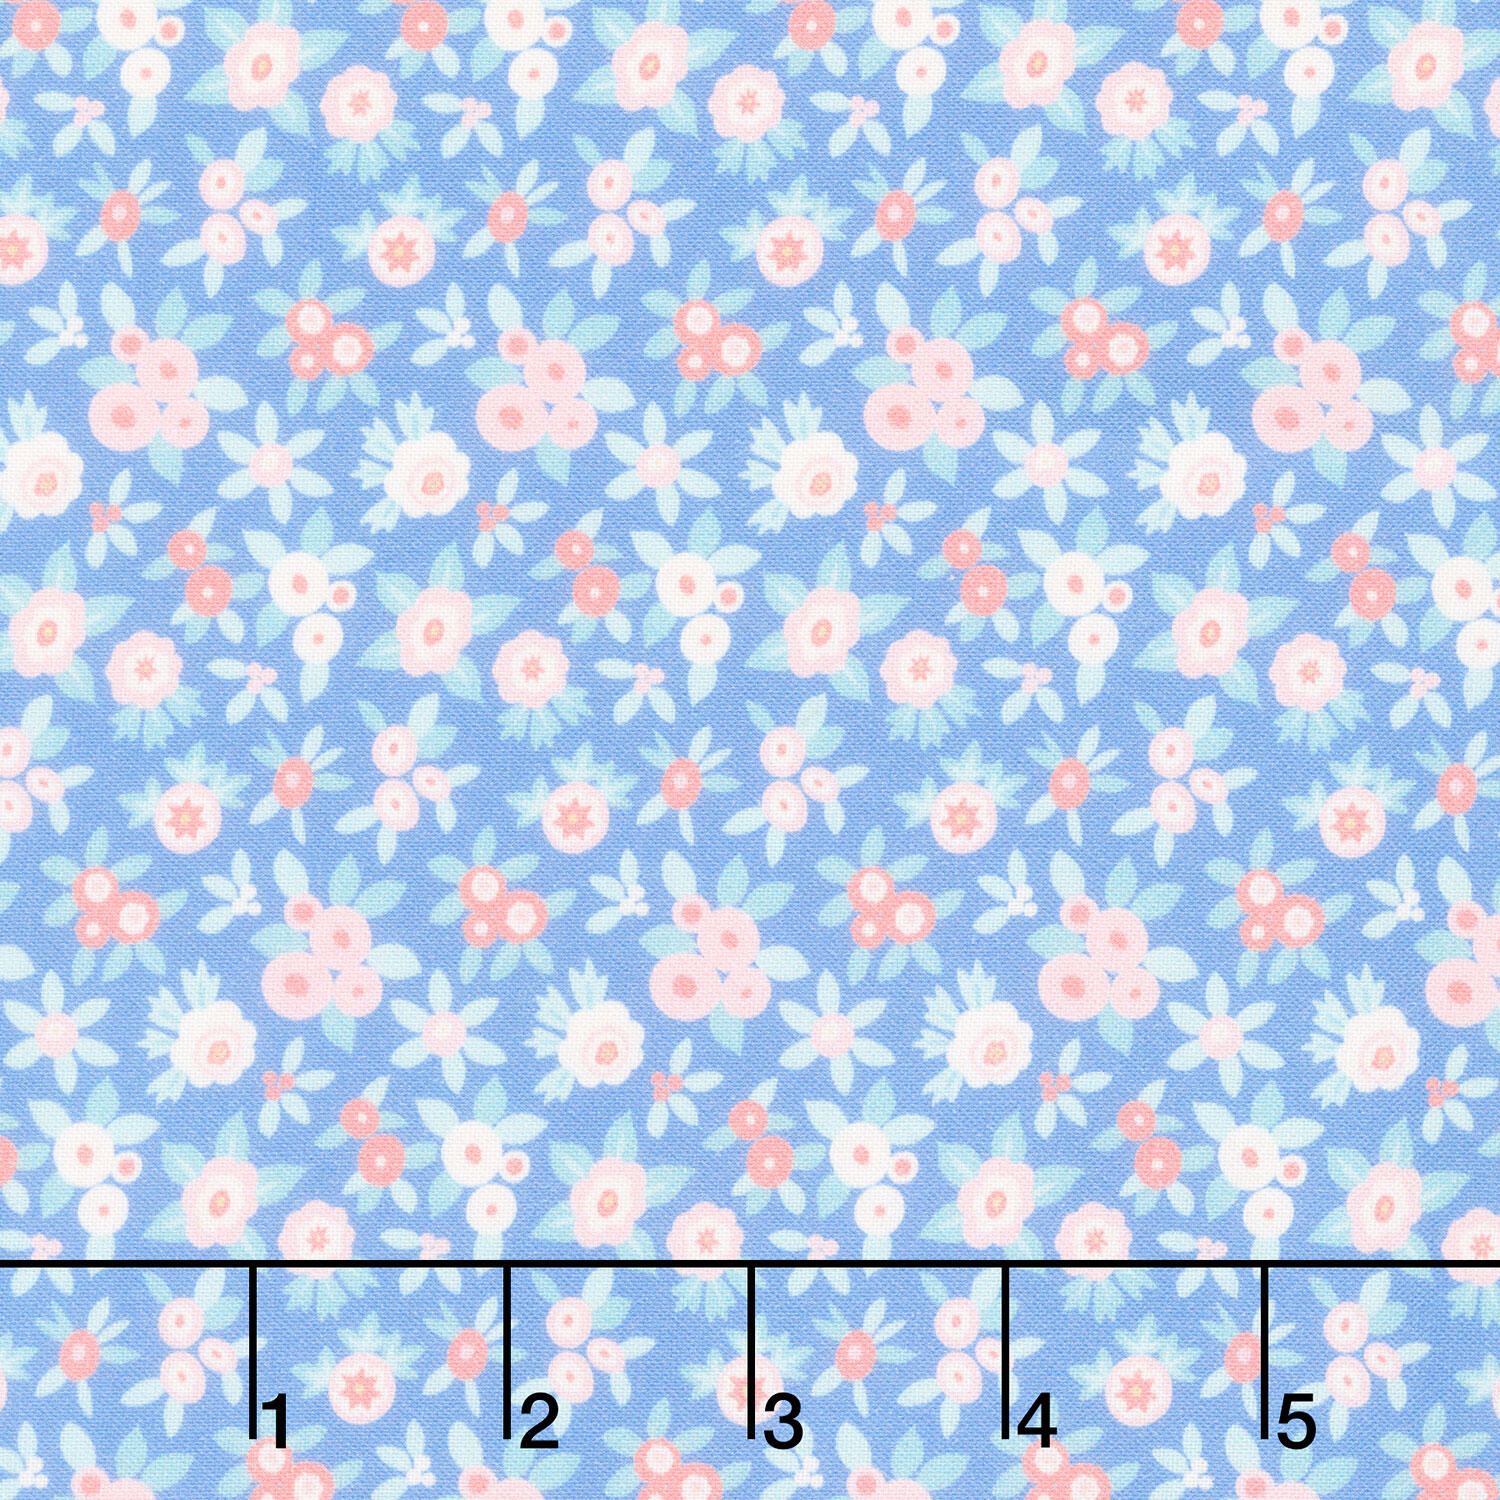 Floral Romance - Japonica Blue Yardage$12.80Shop →
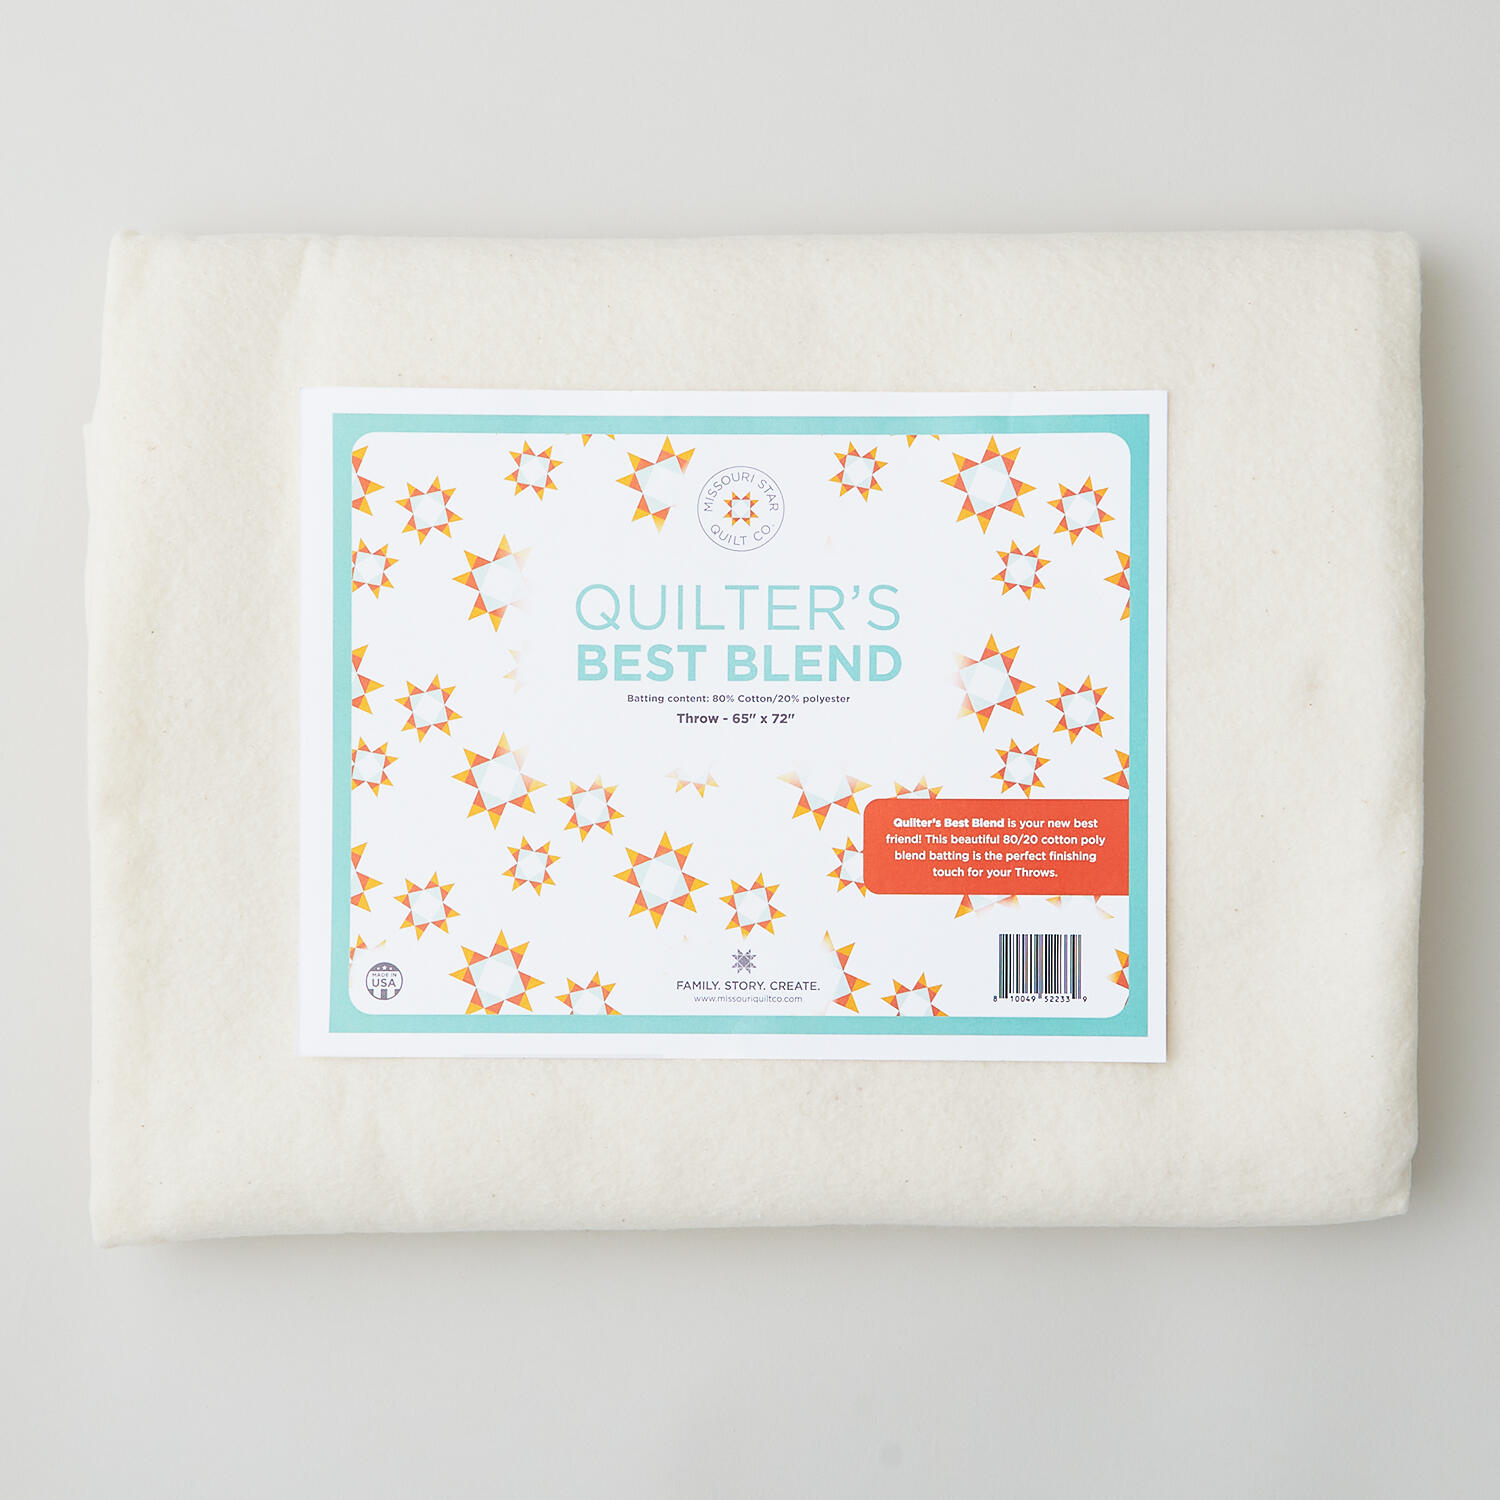 Missouri Star Quilter's Best Blend Throw Batting$21.95Shop →
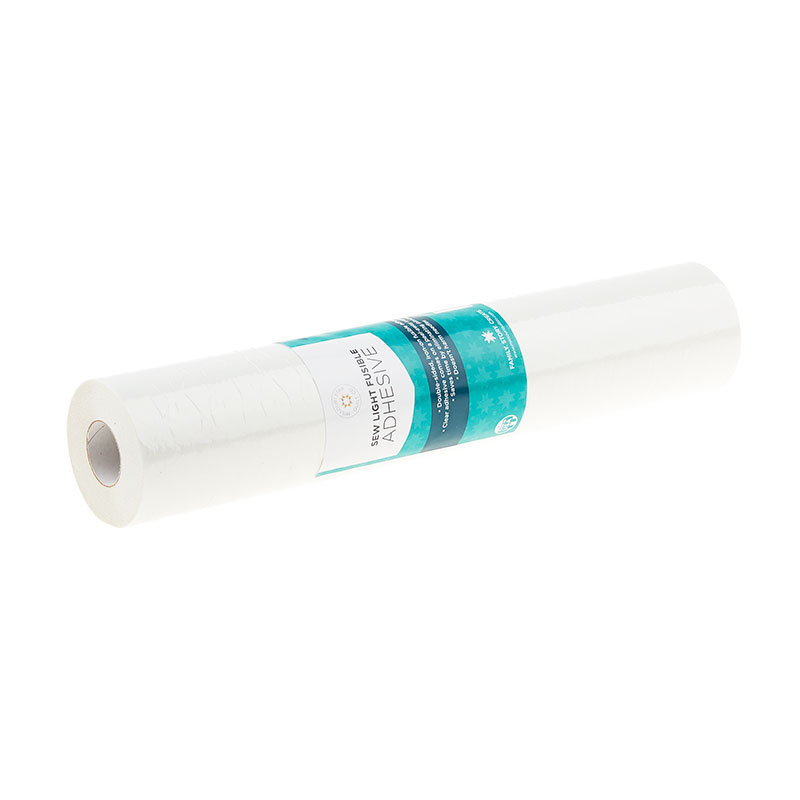 Missouri Star Sew Light Fusible Adhesive - 12" x 15 yards$28.95Shop →
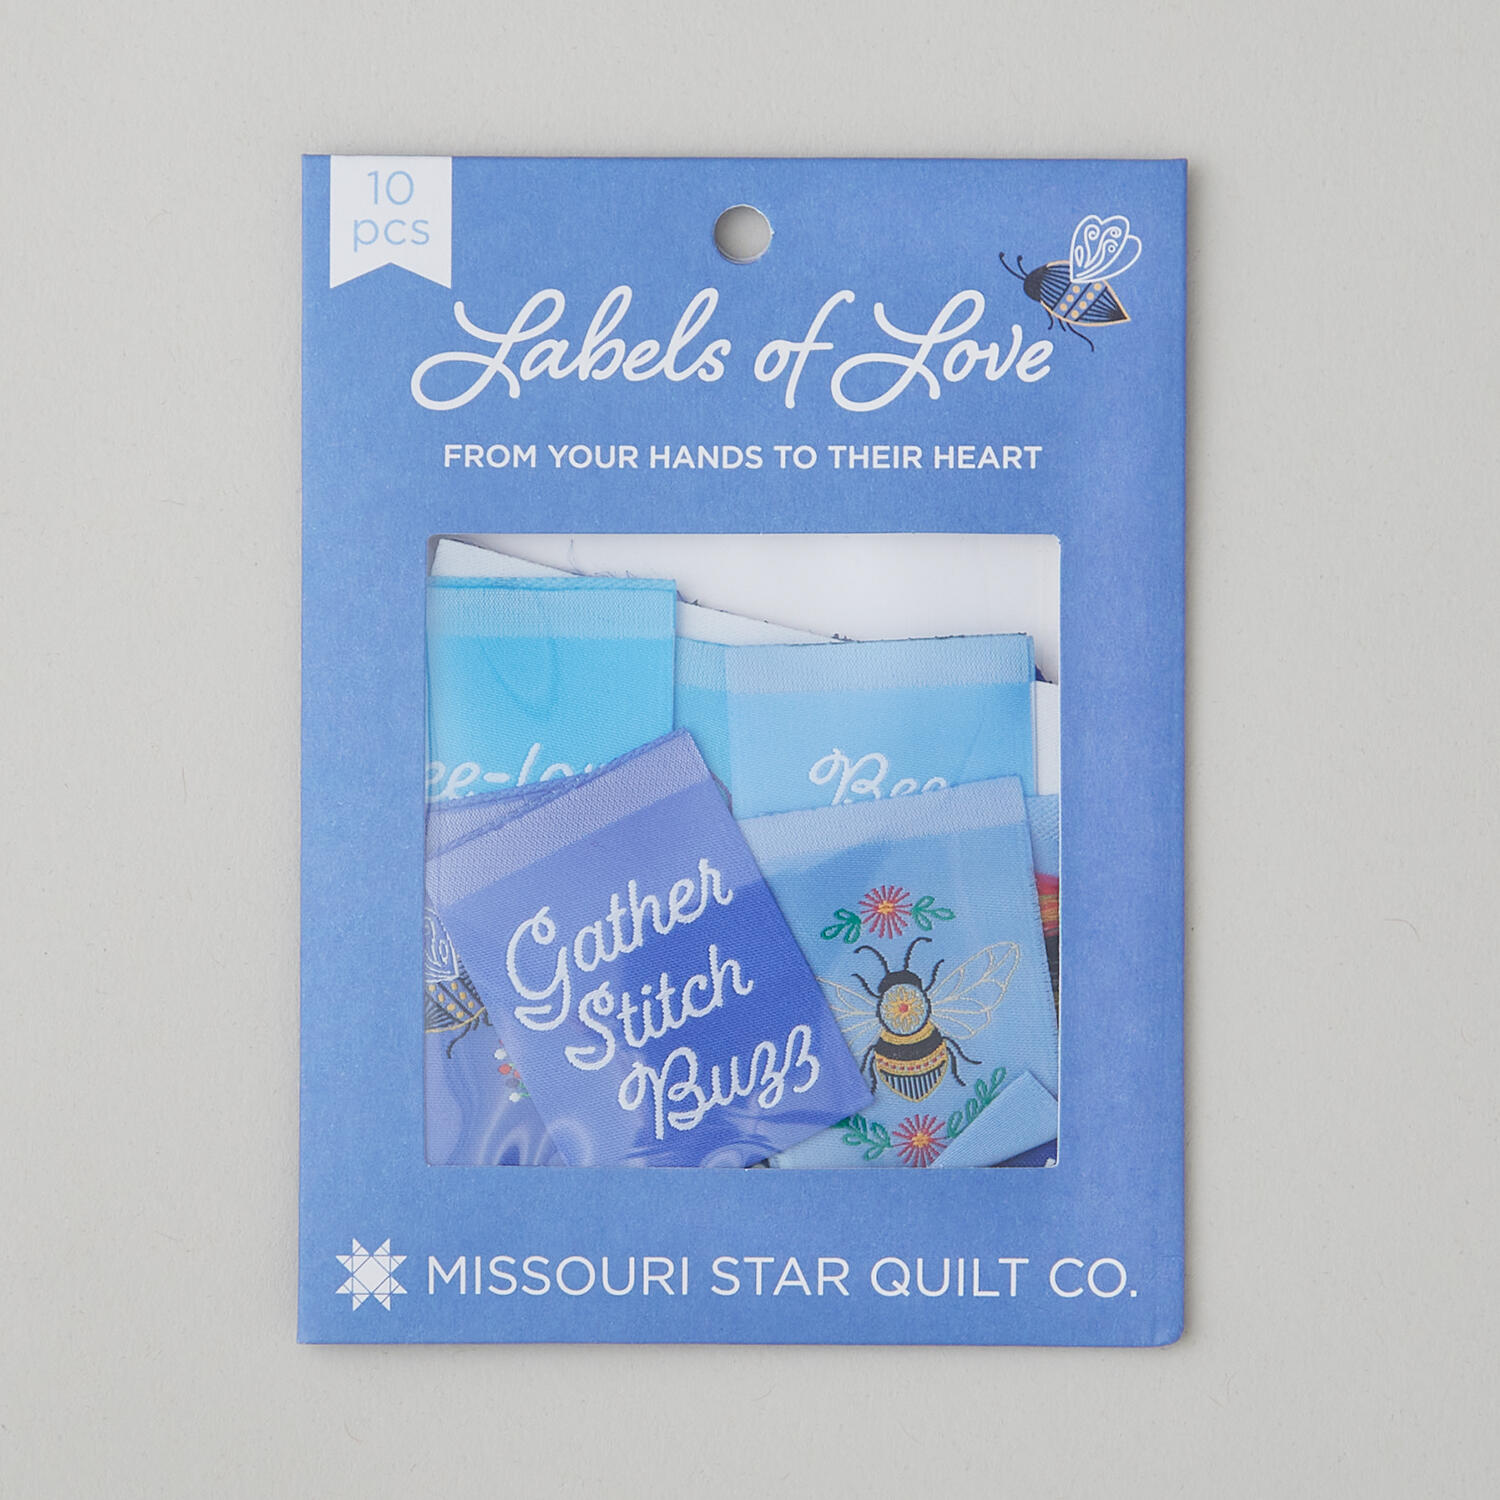 Missouri Star Labels of Love: Together in Every Stitch$9.95Shop →
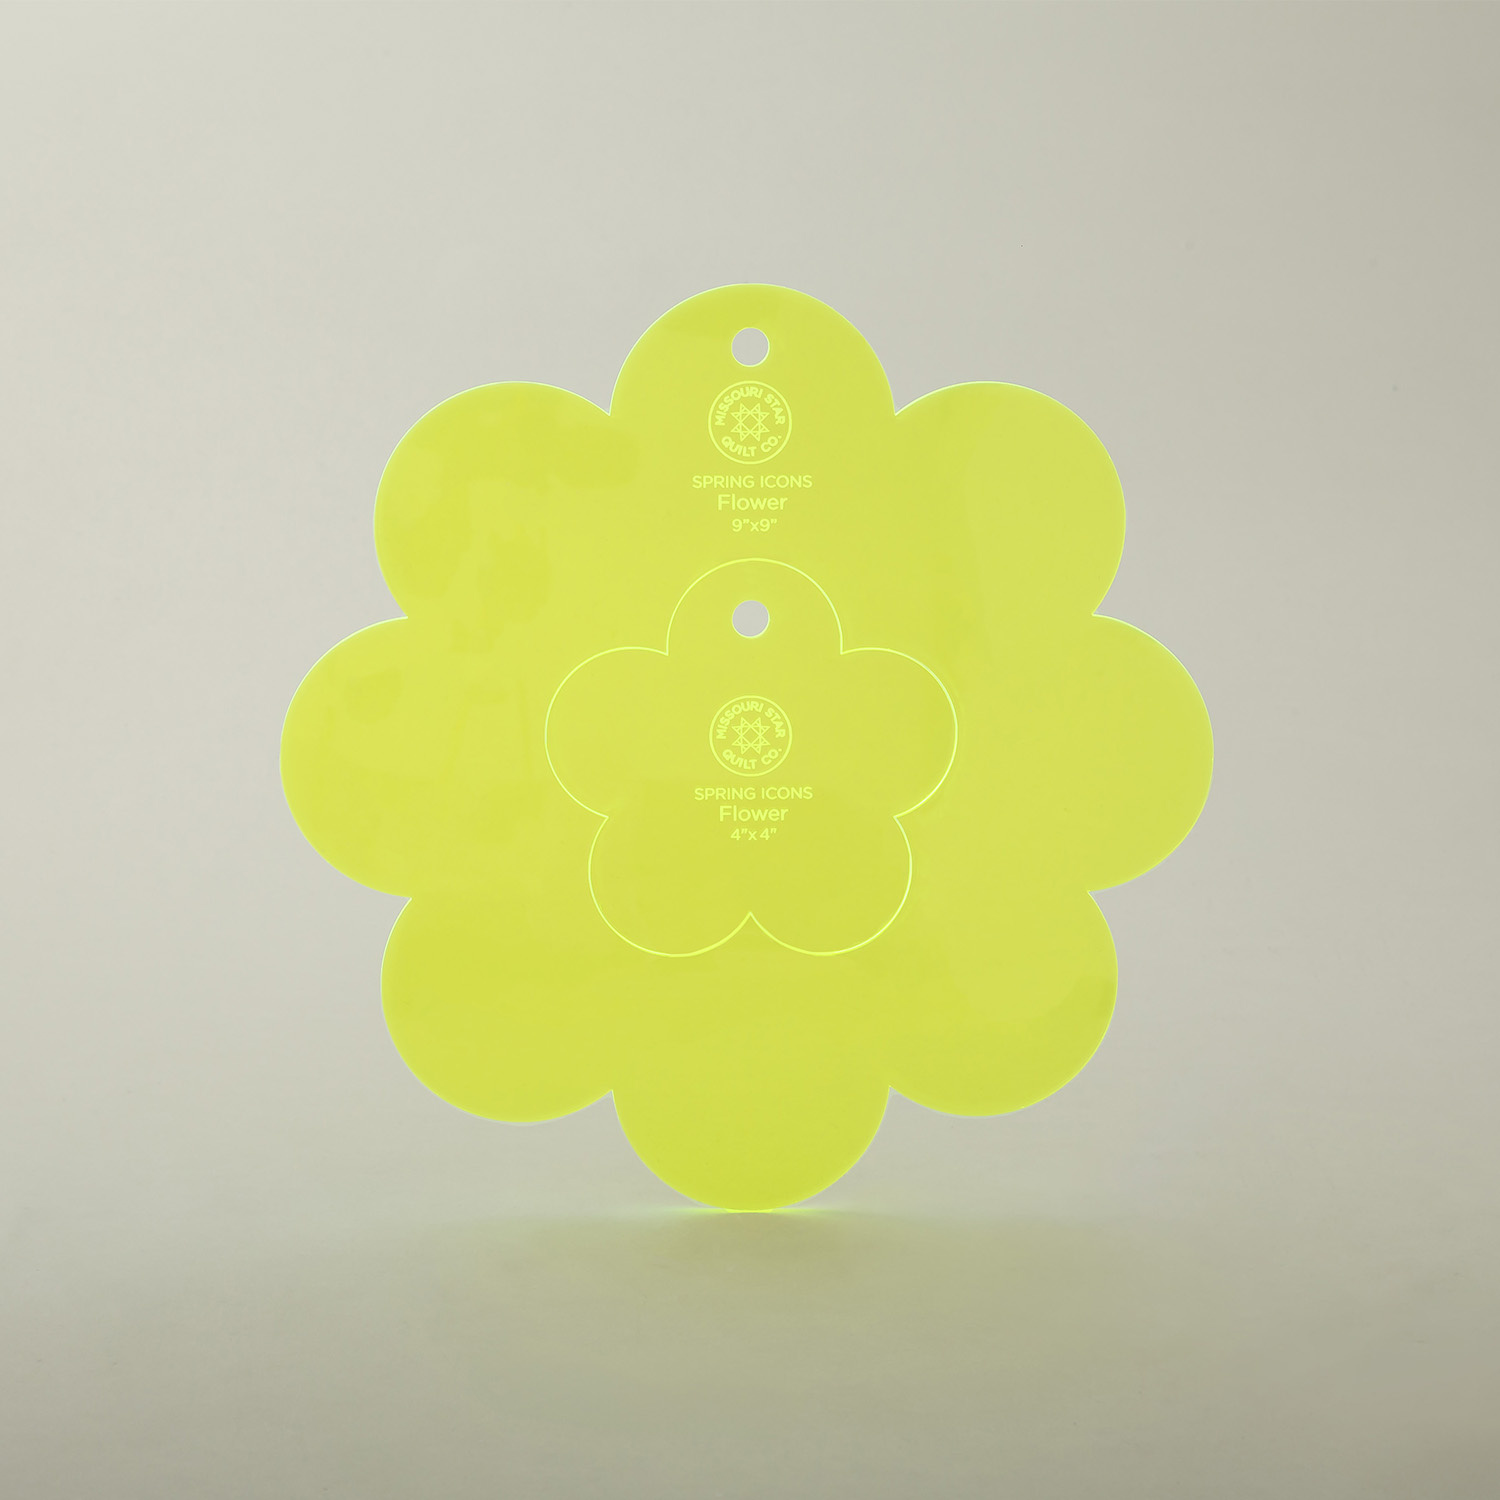 Missouri Star Nesting Flower Templates$12.95Shop →
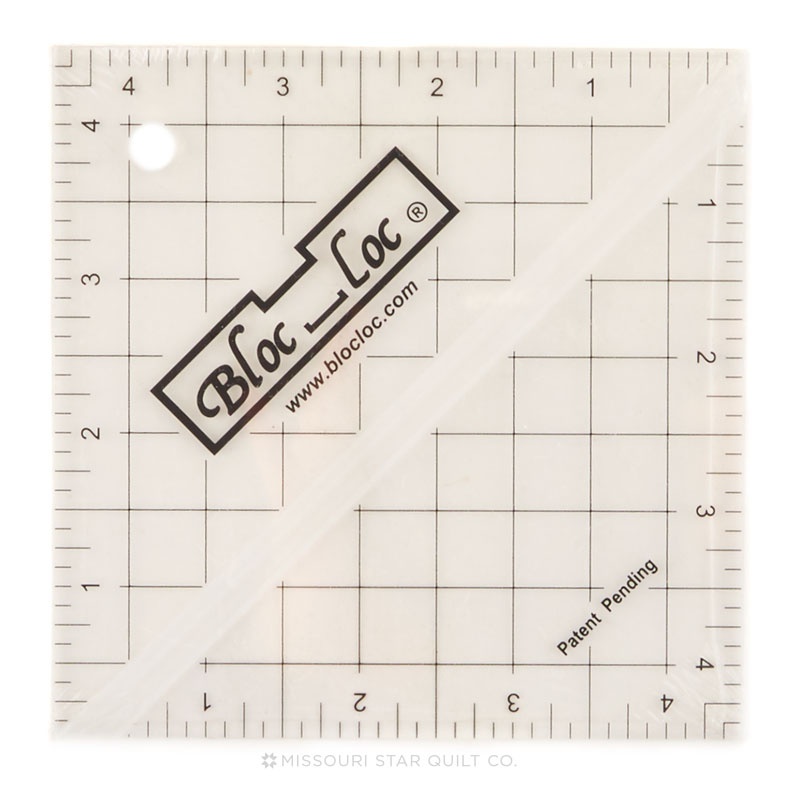 Bloc Loc 4 1/2" Square Up Ruler$32.50Shop →
 Missouri Star 5" x 15" Ruler$19.95Shop →
 Missouri Star 45mm Rotary Cutter - Olga$19.95Shop →
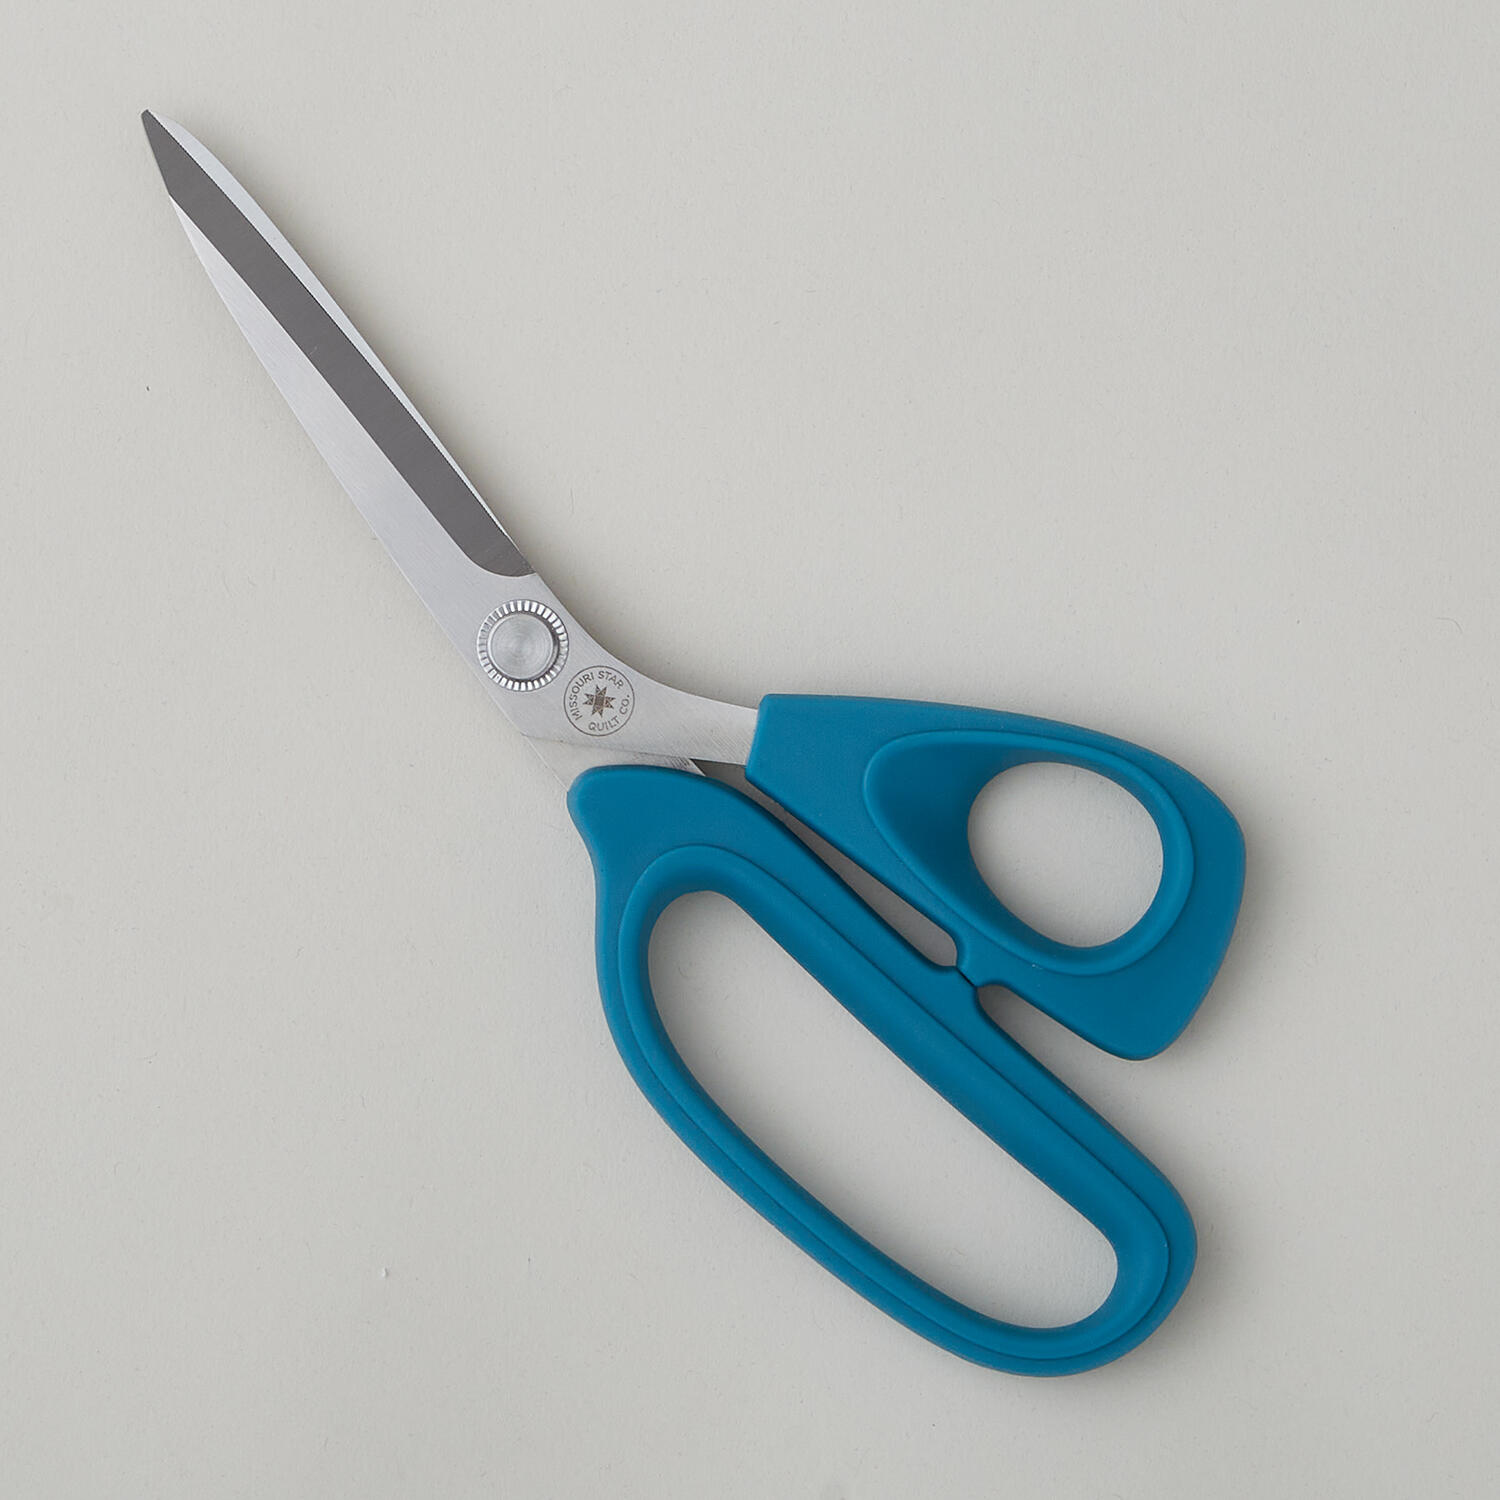 Missouri Star Ultra Soft Grip Scissors 9" - Alva$24.95Shop →
 Missouri Star 50 WT Cotton Thread White$7.95Shop →
 Missouri Star + Oliso TG1600 ProPlus Iron$209.95Shop →
 Bernette 77 Sewing and Quilting Machine$1699.00Shop →


