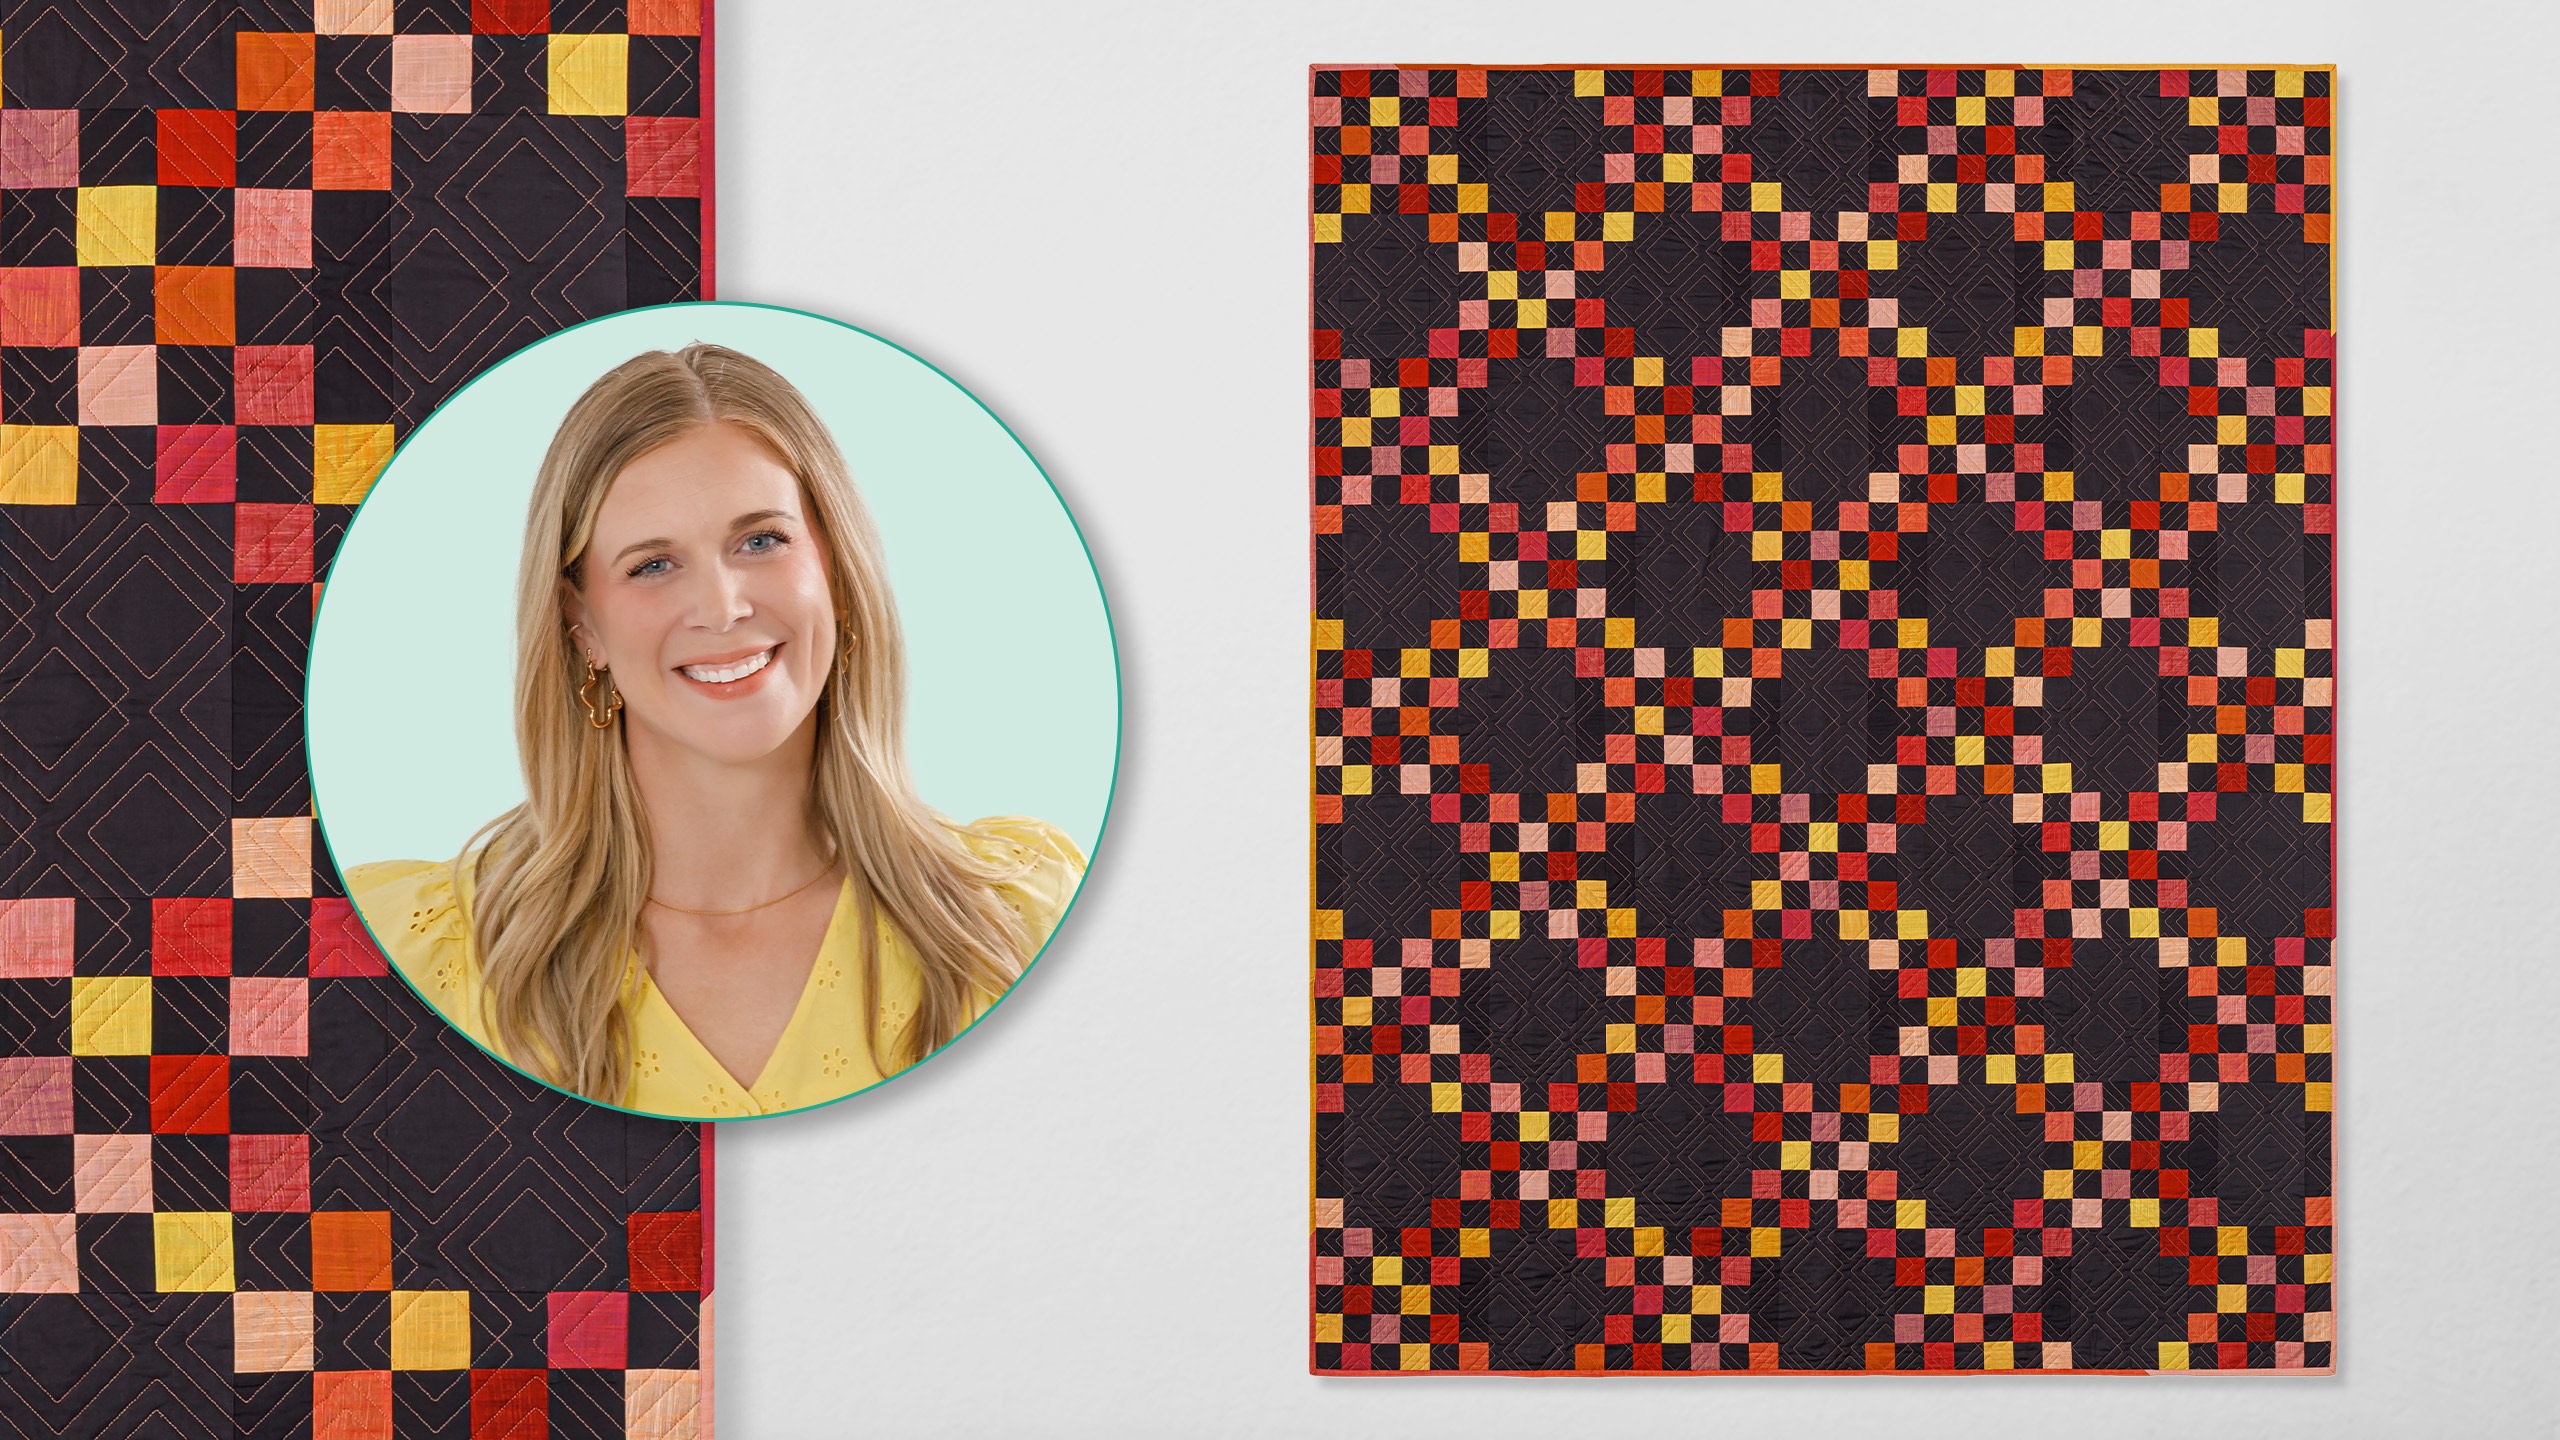
Make the classic Irish chain twice as nice! Join Misty as she sews the Double Irish Chain quilt. Clever placement of blocks made with simple squares is the secret to creating the trellis pattern that makes Irish chains so popular. You get the look of an on-point design while laying out your blocks in straight rows! This timeless pattern could easily be made with pastels for spring, primary colors for a youngster, or any colorway that suits your décor!
Misty Doan grew up surrounded by sewing and quilting. She loves spending time sharing tutorials each week each week, and when she’s not stitching up one of her fun sewing projects for home decor, most likely you’ll find her hanging out with her husband and three awesome kids or working on a house project.
Make the classic Irish chain twice as nice! Join Misty as she sews the Double Irish Chain quilt. Clever placement of blocks made with simple squares is the secret to creating the trellis pattern that makes Irish chains so popular. You get the look of an on-point design while l...
How long is the tutorial video?
The tutorial video is 00:10:46.
Are supplies listed for this tutorial?
Yes. The tutorial page includes the supplies and materials connected to this project.
Video Transcript
Hey everyone, I'm super excited to share today's quilt with you. It is called the double Irish chain. It's a wonderful classic quilt and it goes together really quick. So, let me show you how to make it. I have wanted to make this quilt for a really long time. I absolutely love the look of the traditional double Irish chain and it goes together really quick when you make it with strip sets. So, this is actually just made up of two blocks and I think you're going to love how simple it is. So, what you're going to need to make this quilt is one roll of 40 2 and 1/2 in strips. I use this beautiful collection called Hand Loom for Terafonin for Windom Fabrics. It has this incredible linen-like texture. I loved working with it. You're also going to need four yards of your background fabric. I used charcoal. In addition to that, because I didn't use the whole roll, I actually used some of my extra strips for my binding. But if you don't want to do that, you could just get 3/4 of a yard for your binding. And then for the backing, you need 5 1/2 yards with vertical seams or 2 and a/4 of a 108. I use this beautiful 108 on the back. I love this texture. I really like to use a bold backing uh when I have solids on the front of the quilt. It just goes together really nicely. So, let me show you how to make this. It's so easy. So, like I mentioned before, this quilt is made up of two blocks. The first is this one. It's a 20 patch block, and this is all made with our strip sets. And this is block two. Keep in mind, this entire quilt I made scrappy, so I just mixed up all of my prints as I went along. Um, but let me show you the strip sets that we'll be making today. So, of course, you're going to have your 2 and 1/2 in strips from your roll. And then from your background, you're also going to want to cut some 2 and 1/2 in strips and 6 and 1/2 in strips. And so, once we have these, we can start laying them out into those strip sets. So, let me move this around here. So, the first one we're going to use three of our background strips. And in between those, we're just going to place two of our print or color. And of course, you can just mix these up however you'd like. And then you're going to sew it together. Once they're all sewn together, it's going to look something like this. And of course, we're going to subcut these, but I'm just going to set it aside for now while we work through these other sets. And so then now on the next one, I'm just going to remove one of these background strips. And on this opposite side here, we will place another print. And so it's the same idea except for this one has three prints and two backgrounds, and the other was reverse of that. So here's that one. sewn together. And then for the last one, this is where that six and a half inch strip is going to come in. And I am just going to place that in between two of our print strips just like so. And so then that is sewn together like that. And so these are the three strip sets that will make up the majority of this quilt. So, let me clean these up out of the way. And now we can bring these in. I'm going to start with these two alternating strip sets. And we are going to find my straight edge that I've already trimmed some from. And we are going to cut this entire strip set. Whoop. That actually needs to be straightened up a bit. So, let's go ahead and do that first. There we go. And now we're going to cut this whole strip set into two and a half inch segments. So, I'm just going to measure over with my ruler. And there's a couple things that I'm looking for. I want to make sure my seams are running straight or as straight as possible across this as I go. And so I'm just checking that as I cut into these little units. So we'll cut a couple off of each one. And I have a bunch more already ready to go. And so here I can just add those to my stack of this variety. And so we'll do the same thing with this strip set. Now again measuring over 2 and 1/2 in checking to make sure things are all lining up so that they will look nice and straight. And you of course will just make your way all the way down the strip set as you go. There we go. And here are these ready to rock and roll. And then we'll do the exact same thing. 2 and 1/2 in units from this last one. There we go. Alrighty. And so we're going to set these strip side strip sets, excuse me, aside for now. And all we need to do is we are just going to alternate between these two strip sets. And so they're going to start and end with this uh version right here. That is our background strip. And we're just going to set these in. And I just like to kind of flip them back and forth to make sure I have some variety in the colors. But you can see the whole thing is just done to be scrappy. I'm actually going to move this one over here so we can mix up that yellow a bit. There we go. And so now I can just sit and sew these together. So I'll place them right sides together. And I do want to point out if you're always pressing towards your background, then these seams will nest really nicely when we take these to sew them together. So, let's go ahead and do that. So, I always just sew to that first little seam and then I can line up my next one as I go along, making sure that each of those are nesting the way I want them to. Okay, so now I have these first few strips all stitched together. And so I'm just going to go ahead and take the rest of these and sew all of my five strip sets together here to complete my block. And I will meet you back here when it's done. Remember just to nest each of those seams as you get there. And this is going to just turn out perfect. Here we go. All right, our block is all stitched together. So, let's go ahead and give this a press now. So, I'm just going to gently roll these back from the top. Make sure I don't have any tucks or pleats along the way. These fabrics are just so fun. I love the texture of them. All right. So then once we have that all pressed, there is our block A. You're going to go ahead and make 32 of these to use in the quilt that you see behind me. And now we can move on to block B. And so remember that is going to use these strip sets that you see here. And so in addition to that, we're going to cut some 6 and 1/2 by 10 and 1/2 in rectangles from our background. So I went ahead and did that here. And then we are just going to take a strip set and add to each side here just like so. And so let's go ahead and sew these. Now we'll just place these right sides together and we'll sew with a quarter inch seam. Just line that up. We don't have any seams to nest on this block, so they go really quick. Okay, there we go. Now we can give this one a press. Set those seams and roll them back. And do the same on this side here. All right. And there is our block B. It is all complete. You're going to need 31 of these. And let's go ahead and just lay out a couple here because we're just alternating between the two blocks. And so you can see I'll start one row with the 20 patch and the other with this B block. And as we set those together, when you see in the quilt behind me, you get this beautiful double Irish chain effect. It finishes at 70 in across by 90 down. So, a really great size. I quilted it with a pattern called diagonal plaid in this soft kind of peach color. And I just absolutely love how it turned out. I love this quilt. I think it would be beautiful in any fabric. And I hope you'll give it a try. I'll see you next time on At Home.

 Misty Doan
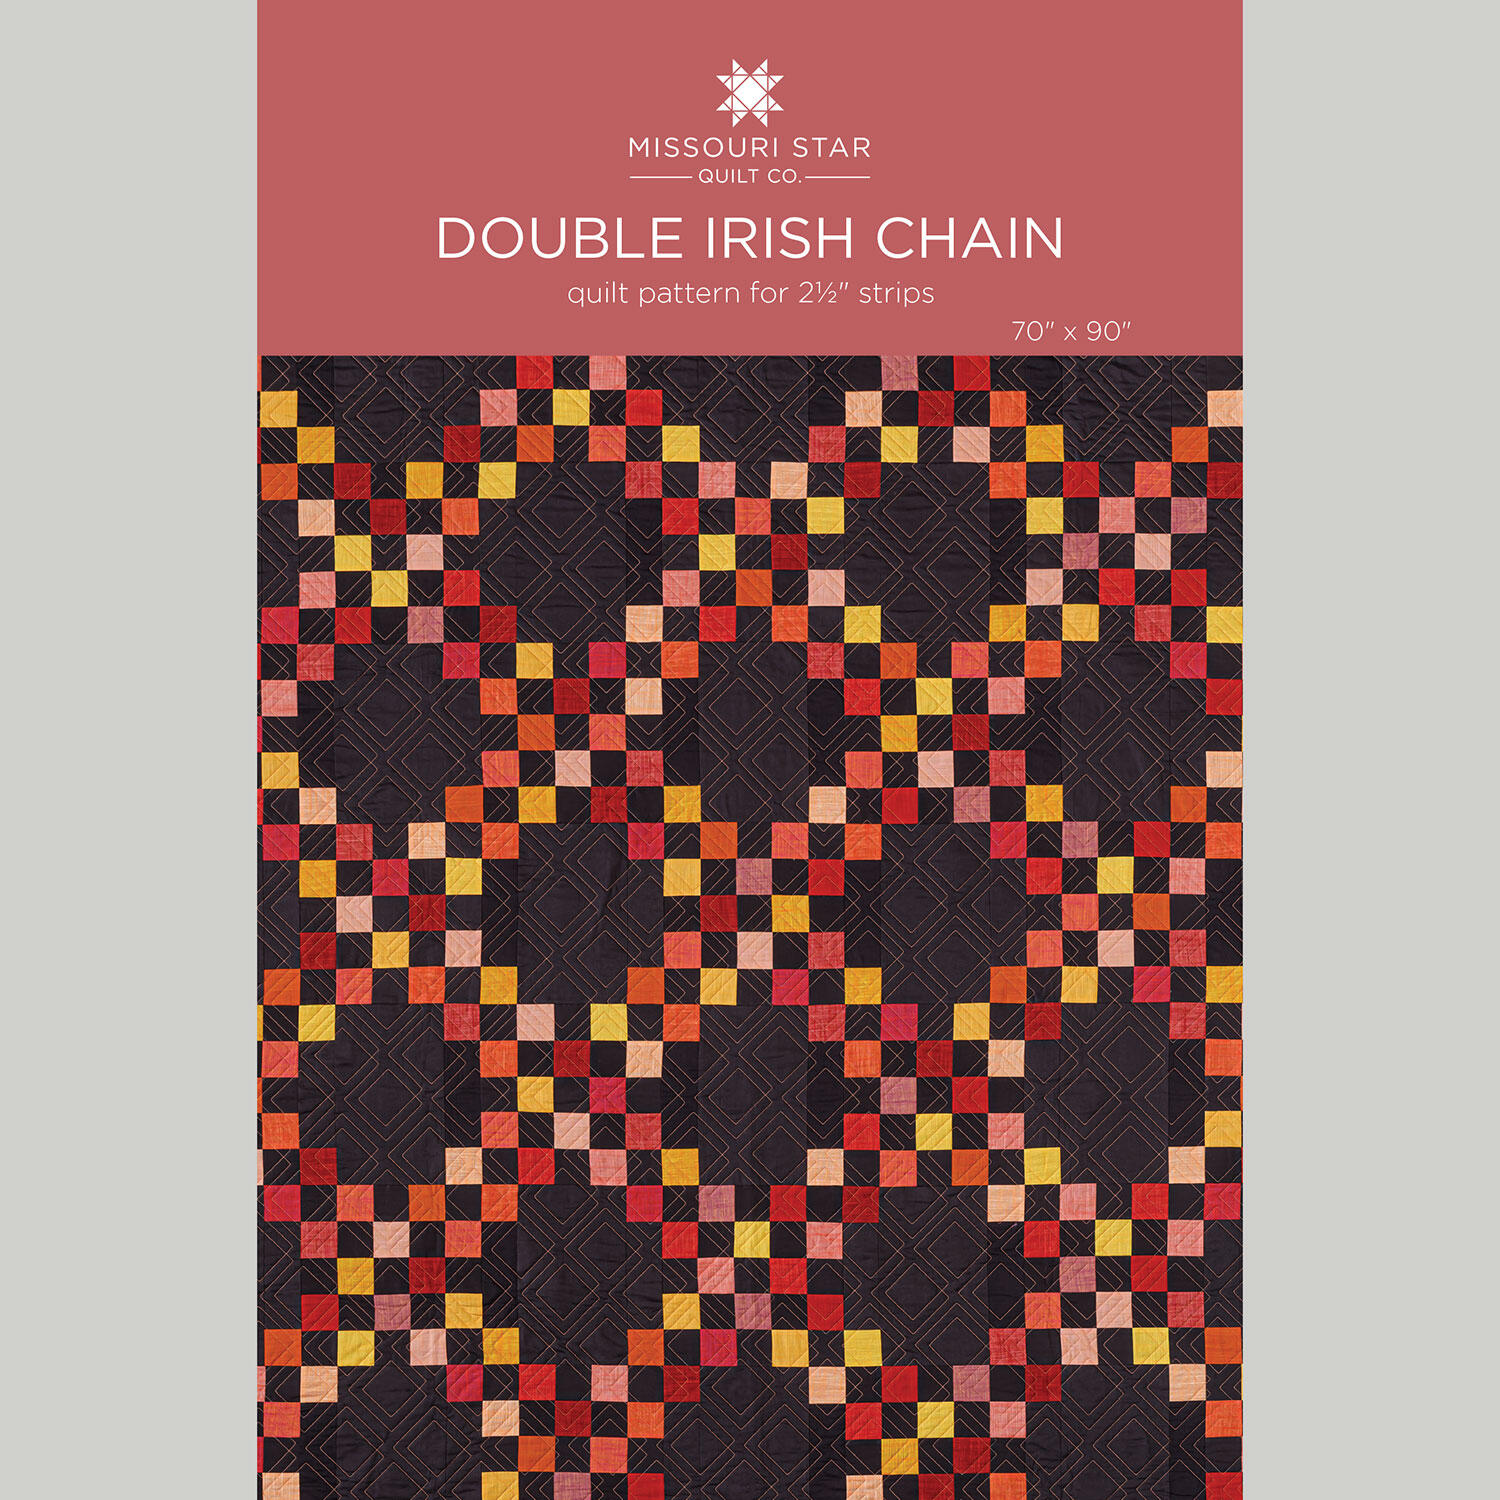 Double Irish Chain Quilt Pattern by Missouri Star$8.50Shop →
 Digital Download - Double Irish Chain Quilt Pattern by Missouri Star$6.95Shop →
 Kona Cotton - Charcoal Yardage$8.48Shop →
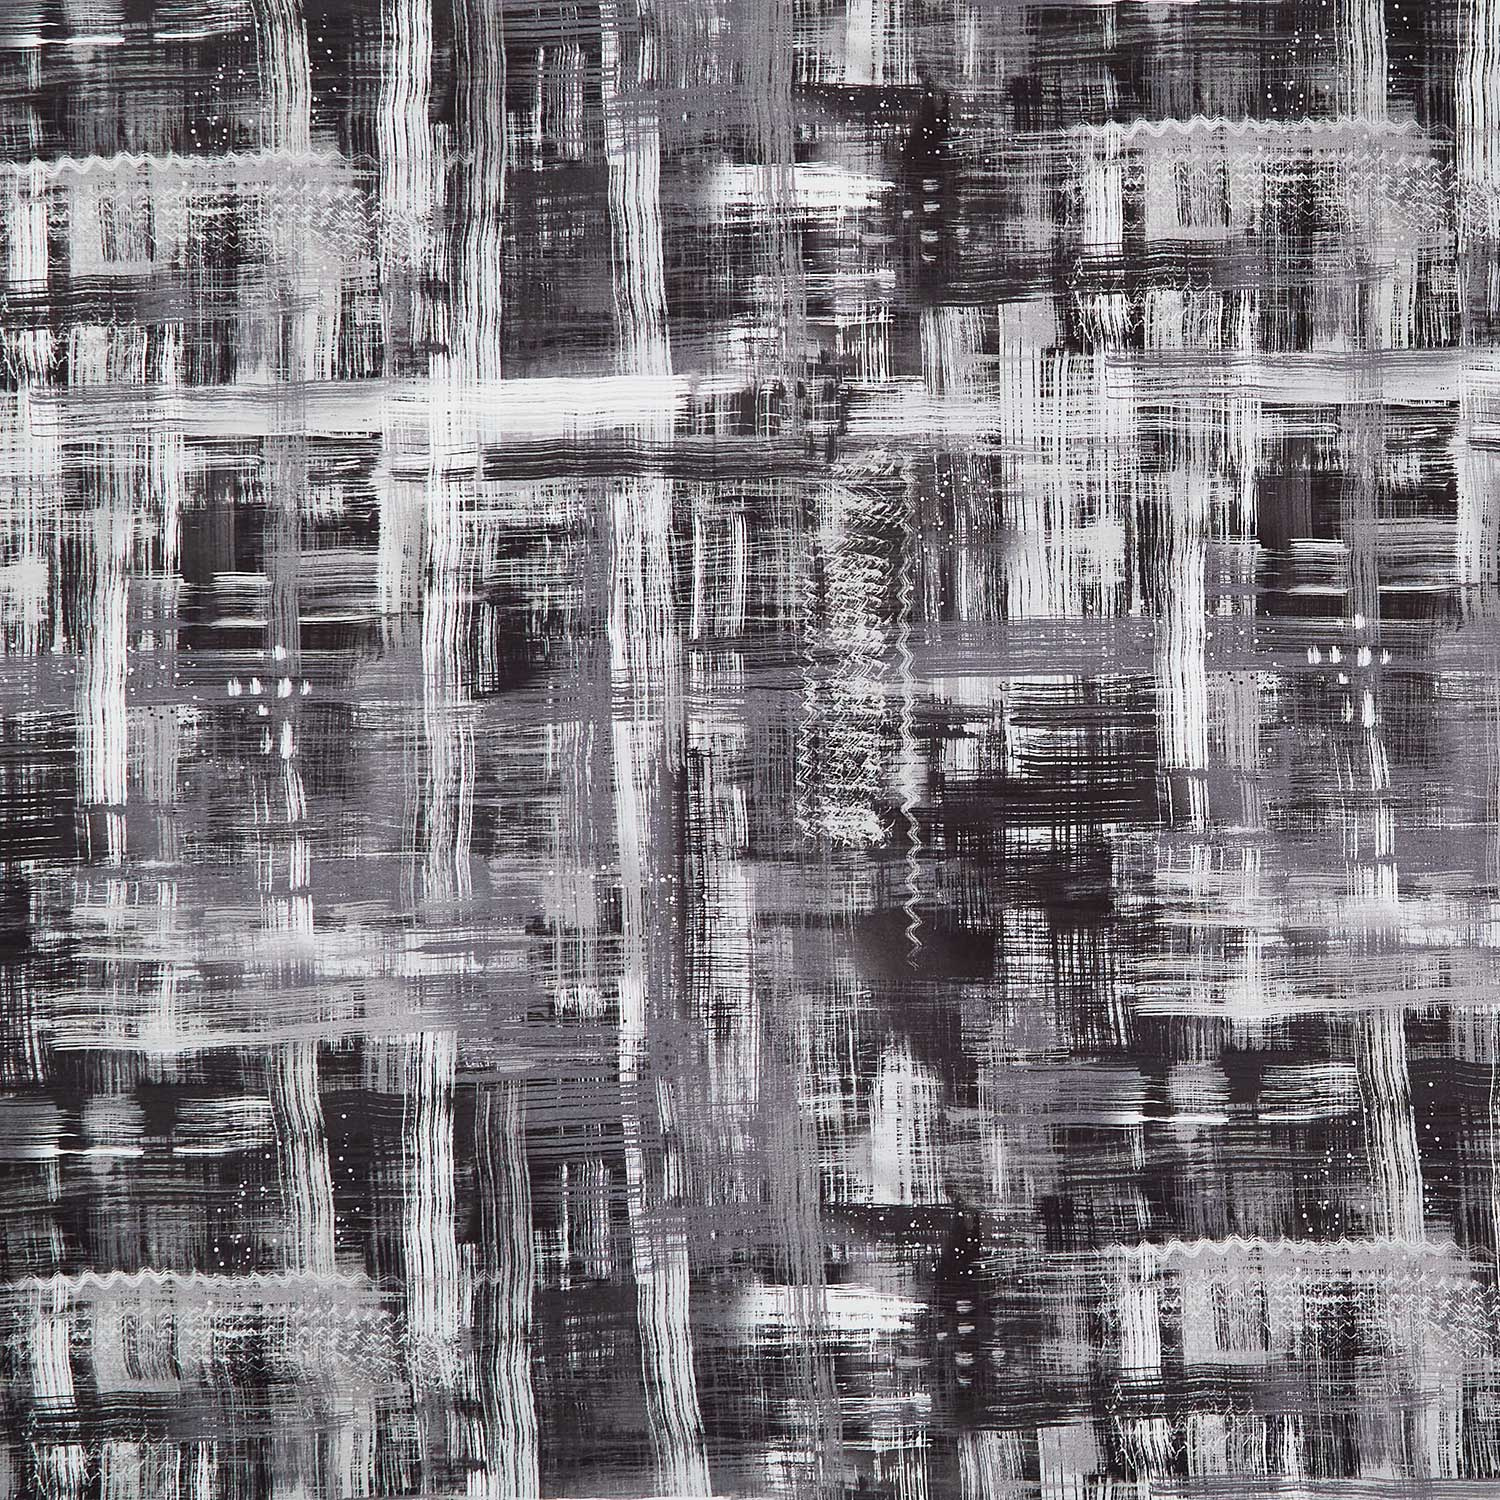 Colorfield Quilt Backs - Black Grey 108" Wide Backing$20.00Shop →
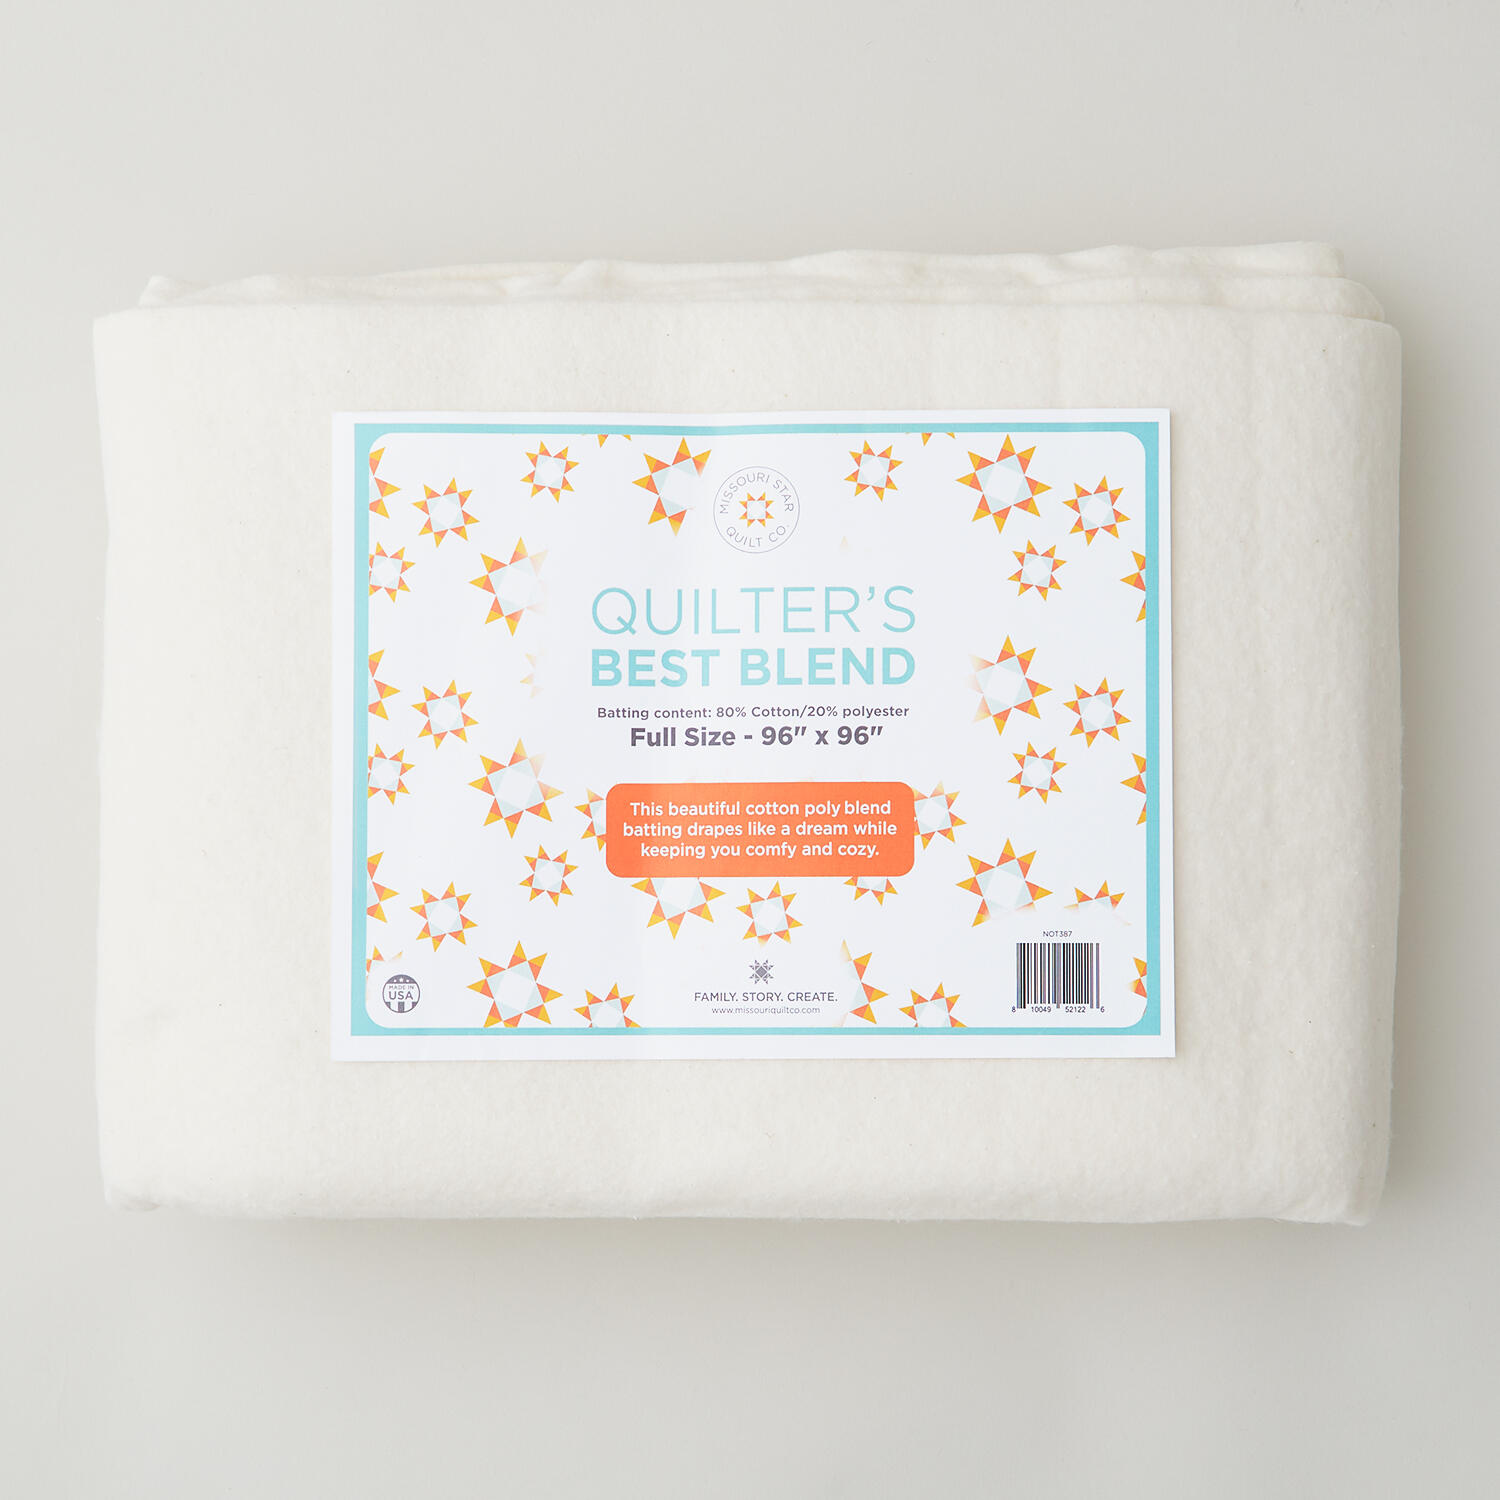 Missouri Star Quilter’s Best Blend Full Batting$32.95Shop →
 Missouri Star 5" x 15" Ruler$19.95Shop →
 Missouri Star 45mm Rotary Cutter - Olga$19.95Shop →
 Missouri Star 8" Everyday Scissors - Amelia$19.95Shop →
 Missouri Star + Oliso TG1600 ProPlus Iron$209.95Shop →
 Bernette 77 Sewing and Quilting Machine$1699.00Shop →
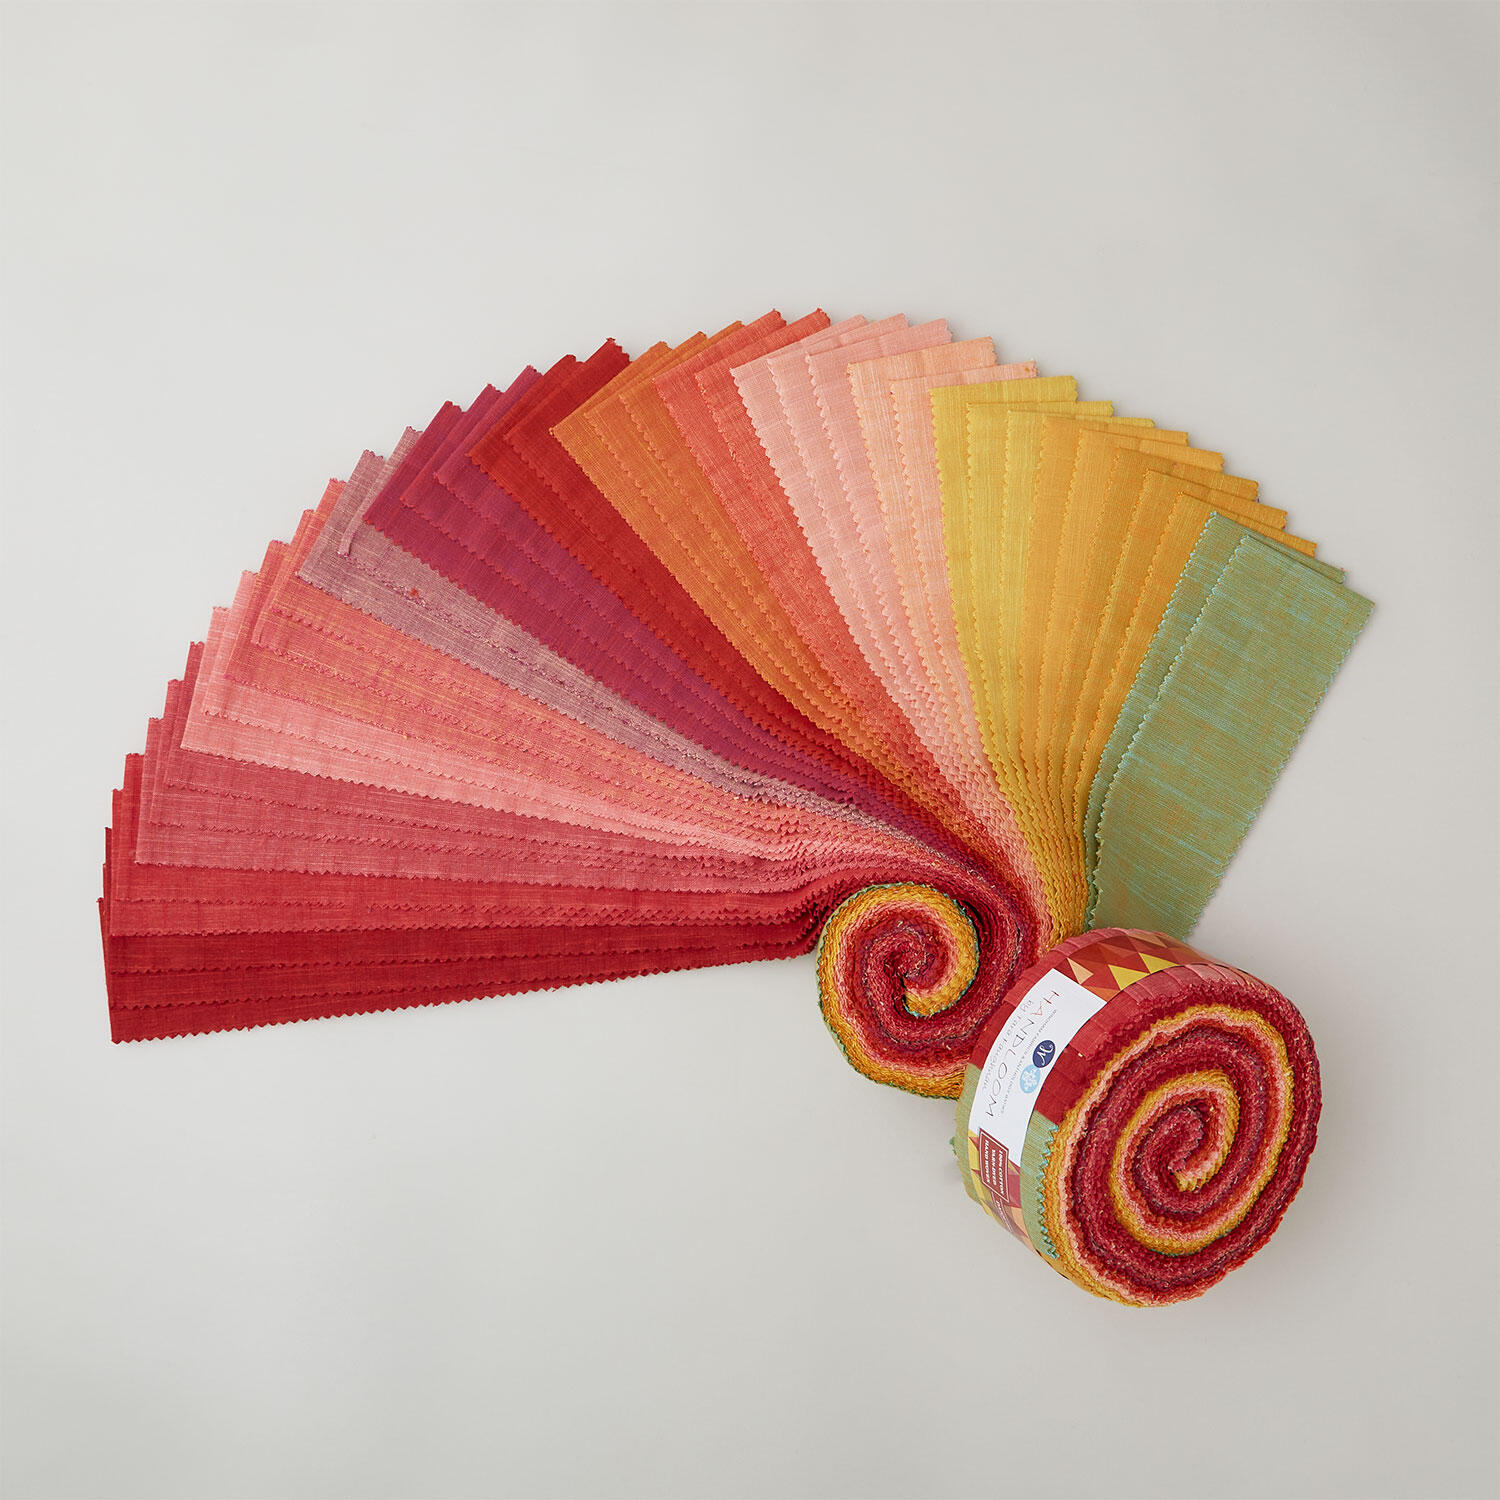 Handloom Daiquiri Colorstory 2 1/2" Strips$51.95Shop →


