
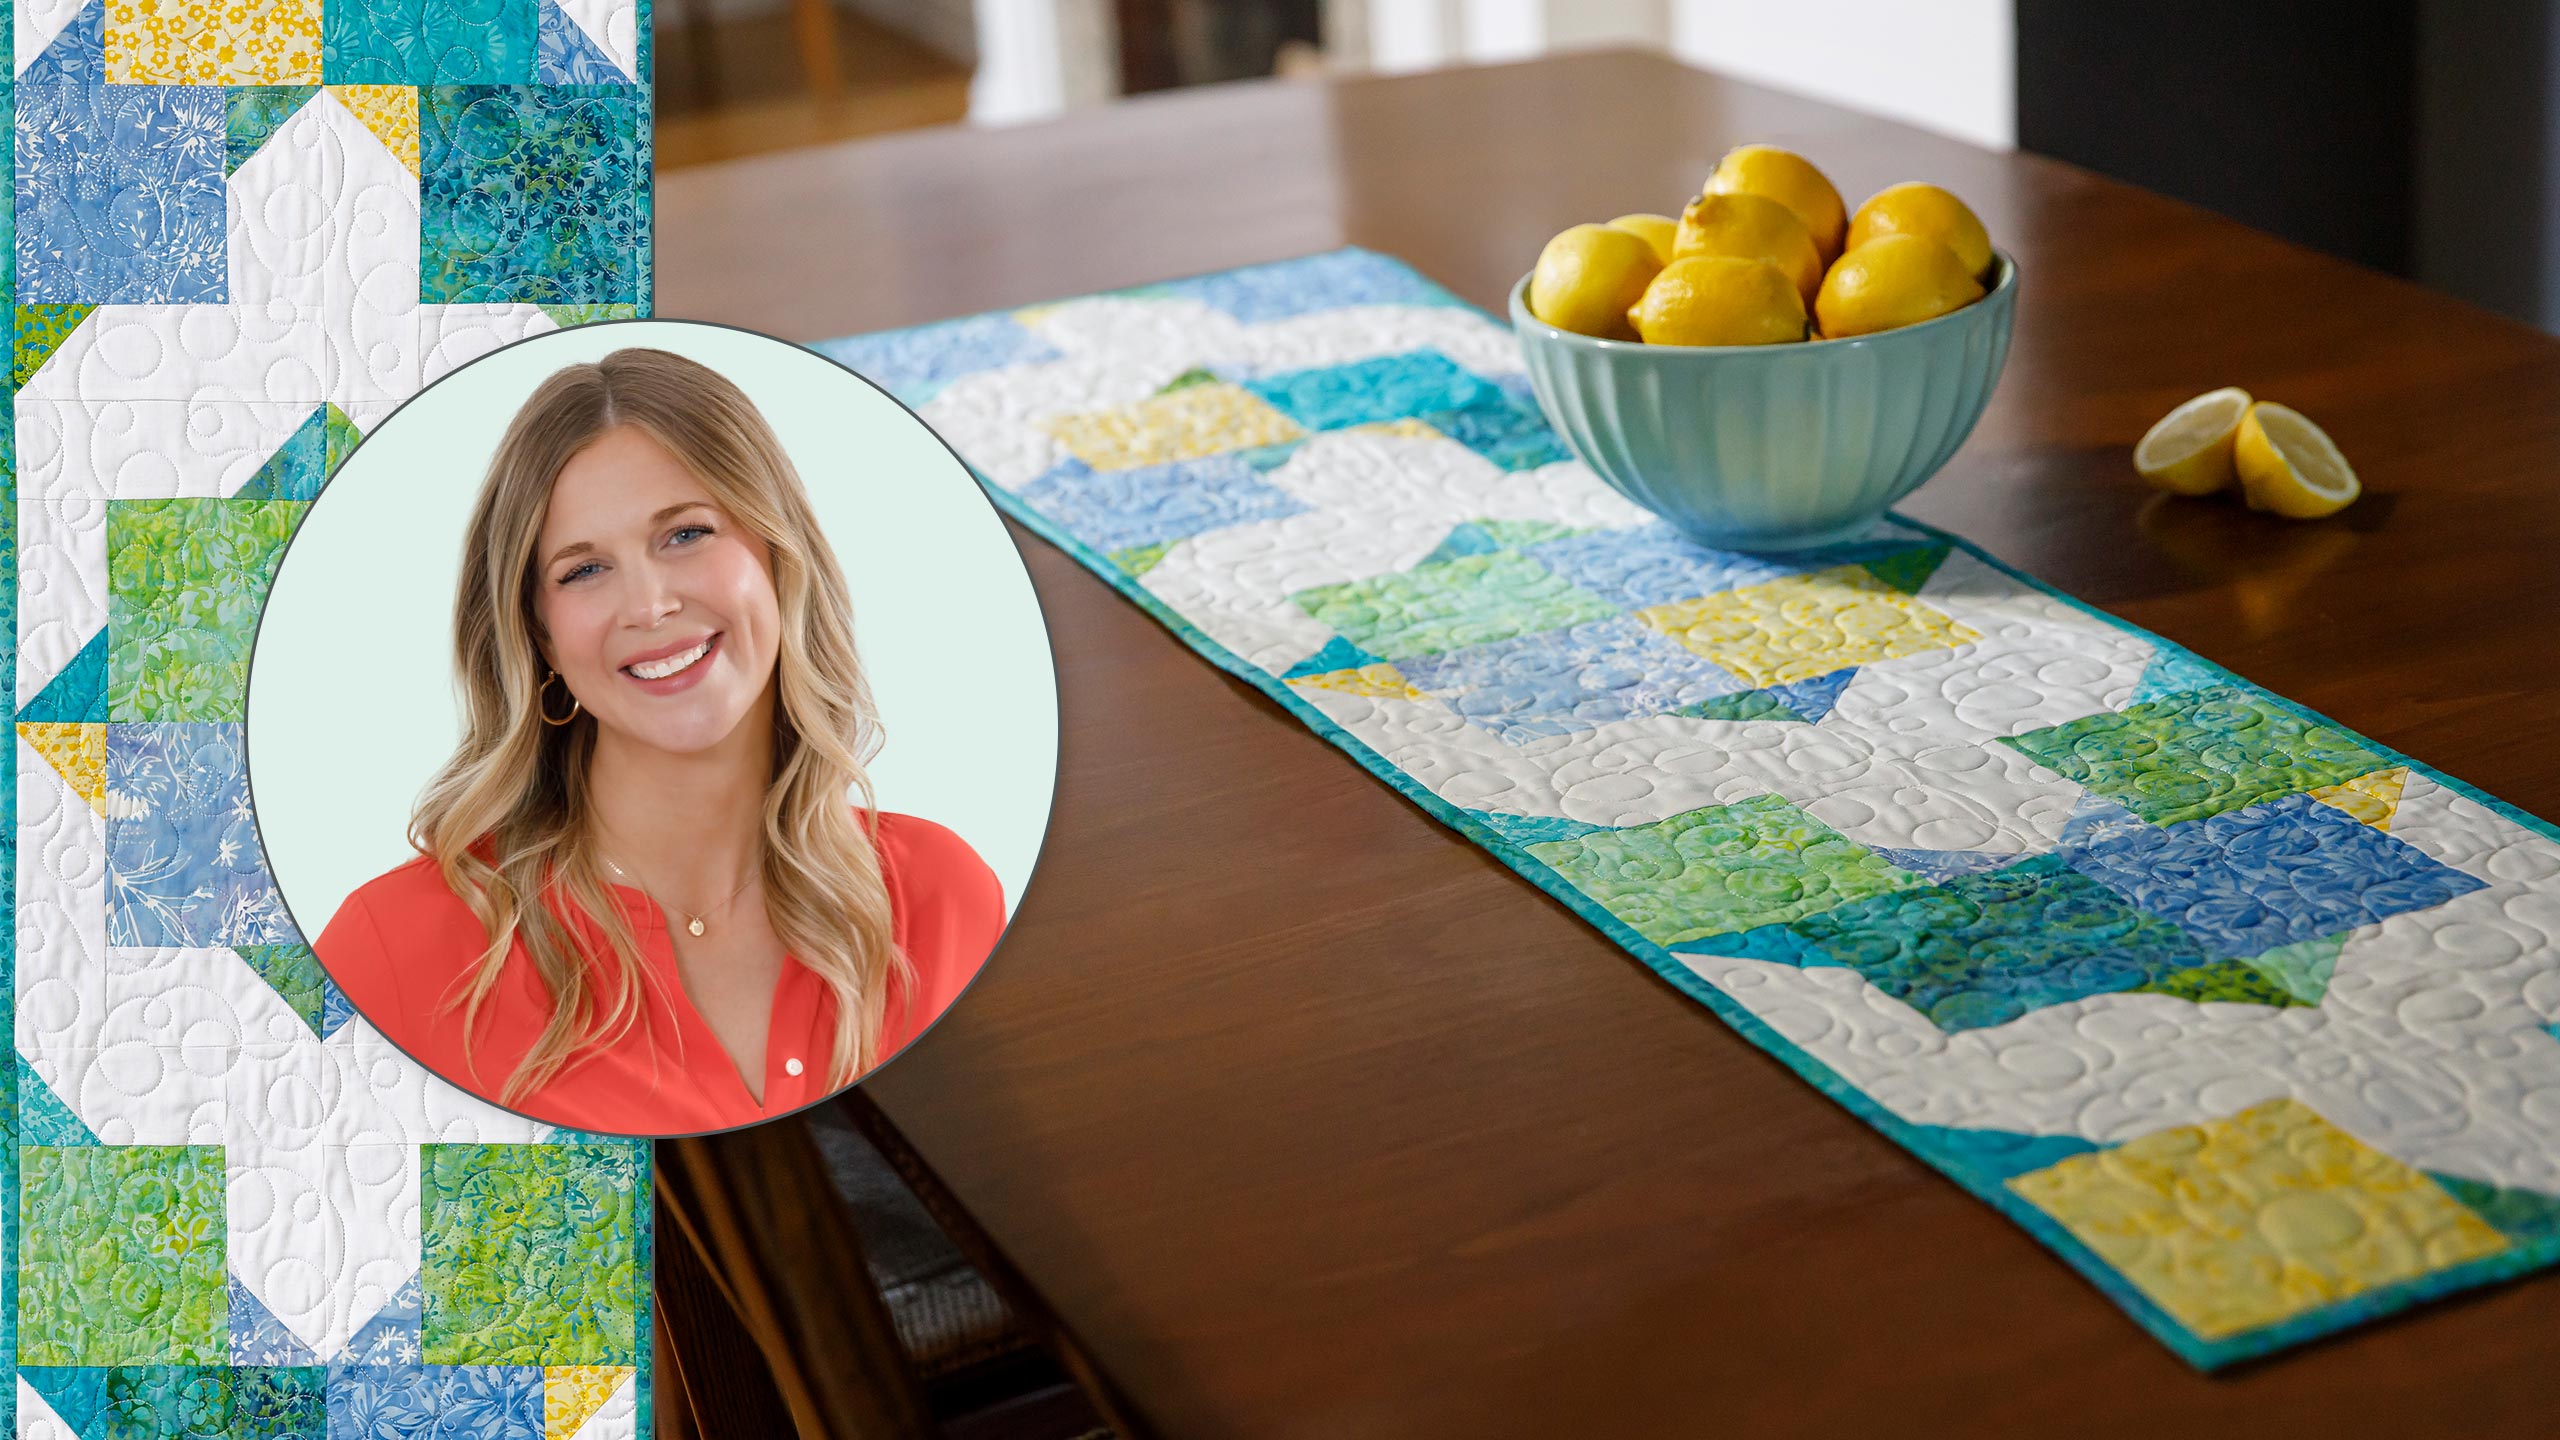
Double Square Star Runner 2.0
 Misty Doan
- Charm Pack
- Traditional
- Table Runner
- Intermediate
- Quilt size 13" × 52"
Bring the tranquility of beautiful batiks into your home! Misty uses calming colors from the Island Batik Tranquil Batiks collection to create a gorgeous and easy-to-make table runner. Even the construction is stress-free!
Instructor
Misty Doan
Misty Doan grew up surrounded by sewing and quilting. She loves spending time sharing tutorials each week each week, and when she’s not stitching up one of her fun sewing projects for home decor, most likely you’ll find her hanging out with her husband and three awesome kids or working on a house project.
Shop this tutorial
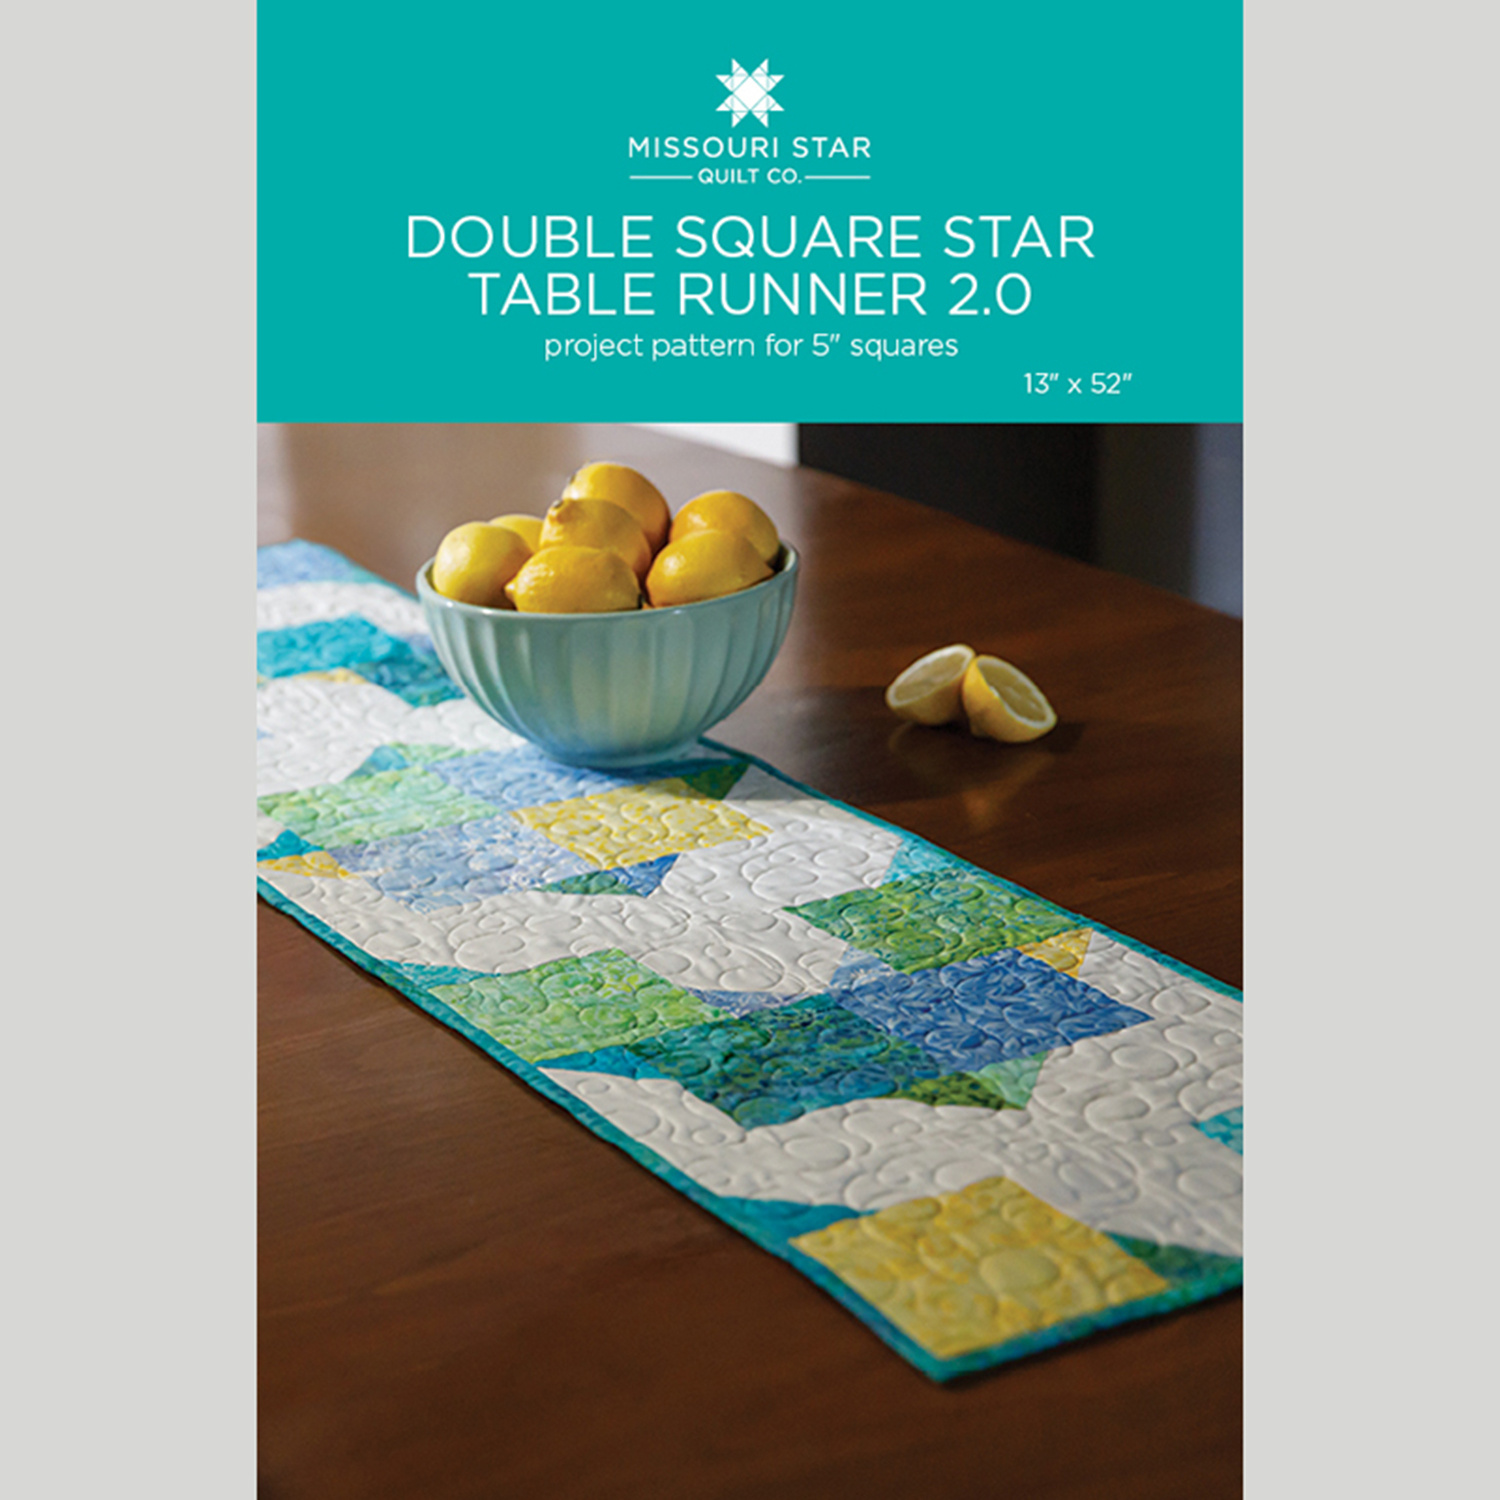 Double Square Star Table Runner 2.0 Pattern by Missouri Star$8.50Shop →
 Digital Download - Double Square Star Table Runner 2.0 Pattern by Missouri Star$6.95Shop →
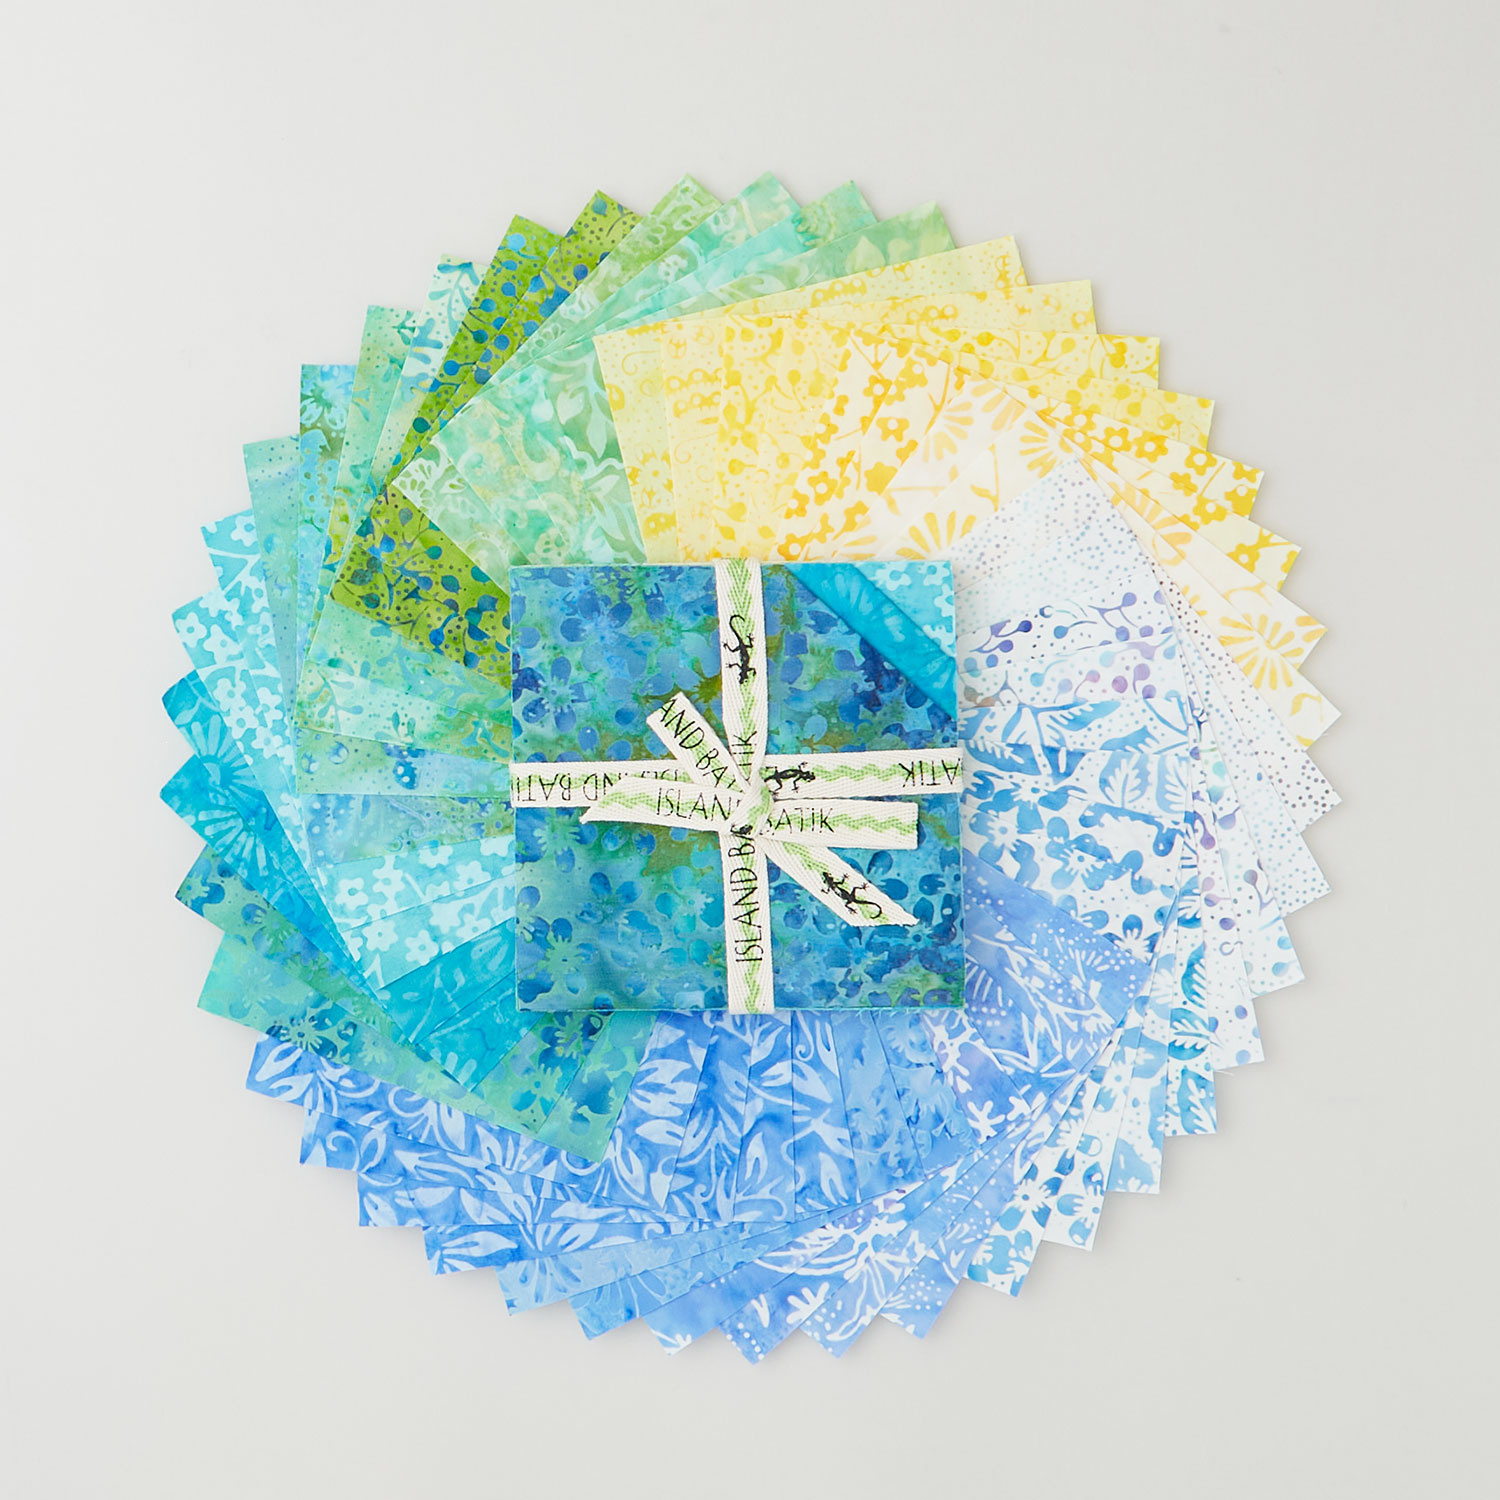 Tranquil Batiks Stamps$12.45Shop →
 Kona Cotton - White Yardage$7.48Shop →
 Tranquil Batiks - Mini Floral Multi Turquoise Yardage$11.96Shop →
 Missouri Star Quilter's Best Blend Bed/Table Runner Batting$14.95Shop →
 Missouri Star 5" x 15" Ruler$19.95Shop →
 Missouri Star 45mm Rotary Cutter$19.95Shop →
 Missouri Star 6" Everyday Scissors$12.95Shop →
 Missouri Star 8" Everyday Scissors$19.95Shop →
 Missouri Star Seam Ripper$9.95Shop →
 Missouri Star 50 WT Cotton Thread White$7.95Shop →
 Exclusive Missouri Star Jenny TG1600 ProPlus Oliso Smart Iron$199.99Shop →
 Missouri Star Wooly Betty Board - 17.25" x 25.5" Orange Border$99.95Shop →
 Bernette 77 Sewing and Quilting Machine$1499.00Shop →
Common Questions
What is covered in Double Square Star Runner 2.0?
Bring the tranquility of beautiful batiks into your home! Misty uses calming colors from the Island Batik Tranquil Batiks collection to create a gorgeous and easy-to-make table runner. Even the construction is stress-free!
How long is the tutorial video?
The tutorial video is 00:08:19.
Are supplies listed for this tutorial?
Yes. The tutorial page includes the supplies and materials connected to this project.
Is a transcript available?
Yes. A written transcript is available on the tutorial page.
Video Transcript
So while I was cleaning my sewing room at home the other day I found some old step outs from a Triple Play we did on the Double Square Star
block. And all a sudden I saw them with new eyes and realized that it's
essentially a half square triangle and you can do all kinds of fun things with the layout. And so I just designed a simple runner we're calling the Double Square Star Runner 2.0, because Natalie did a version in that Triple Play. I can't wait to show you how to make this.
So like I said, you're going to need one package of 5 inch squares and I use these beautiful Tranquil Batiks by Kathy Engle for Island Batik. Then you're
going to need a half yard of background fabric. And then for your backing you need 1 ¼ yards. So let me show you how to make this - it goes together so fast!
So we're going to start by opening up our pack of 5 inch squares. We'll just
take them all out of here. And I wanted this to be scrappy. In a lot of the other designs where we use this block, we kind of match light colors
together, but I wanted to see what it would look like scrappy. I think it's
just really beautiful. And so I'm just going to mix these up. I've got this blue and we'll grab a yellow and some of this green. Just trying to make sure I get a few different prints in here and then also how about a teal? There we go, all right.
So I'm just going to press this so it lays flat and then from some of these I'm going to cut them in half both directions so that they measure 2 ½ inches square. One and two, then we can just stack these up. So you're also going to need some background pieces that are cut at 2 ½ by 5 and 2 ½ by 7. So I have those ready to go, and then now we can start kind of assembling our block.
So we'll begin with just our solid 5 inch square and then we're going to take our 2 ½ by 5 inch rectangle and one of our 2 ½ inch print squares. we're going to snowball this and I want to make sure that the line is going the right way. And so I like to just lay it against my square to begin with and then you…this is a great project that you can just sit and chain piece one after the other, once you know they're going the right way. And so we've got this one, it's going to go just like so. And then on the other side we're going to use our 2 ½ by 7 inch piece and we've got this little color here. And same thing we want to go corner to corner and draw that line. We're going to stitch right on the line, there we go. And so one way to know that you can get it right is these are going to be going in opposite directions. So as long as you make them go in opposite directions it'll all work out in the end.
So let's go ahead and take these to the machine and we can sew right on those lines that we drew. Make sure that they're all lined up, there's one and I can just slide this one in right behind. And when I was making the runner, that's what I did. I just kind of went back and forth between the two sizes and just continued to chain piece for the total amount that I needed for this project and it makes it go really fast.
And so now we can cut these apart and trim off our excess. There’s that
one, and this little guy. Now let's go ahead and press these. So we'll just roll back that snowball that we added, so one and then the other, there we go. Oh that one got a little wonky - I must have missed some stitches. So that is good to know. I'm just going to press that again and we will stitch it one more time. See it didn't go all the way to the end? There we go, that should be much better. All right and now we can press that back, much better.
All right, so there are our two snowballed strips going in opposite directions. And so we are just going to lay this right against our 5 inch square and we'll start by sewing this one on. So let's go ahead and do that. I just thought the colors in this collection of batiks were so pretty. So a few stitches there to anchor it. Line it back up, and zoom all the way down. And then I'll roll this back and then we'll do this one. We want to make sure that our print is touching the print. Put this right sides together. Again take a few anchoring stitches, line it up and then zoom all the way down.
All right, give that a press, make sure it's going to lay nice and flat for us. And there is our block! It is that simple. So in the original quilt that Jenny taught, you're going to put four of these together to create the double square star. And the reason it's called that is because it looks like you've got one square turned this way and one square turned this way to give you this fun eight-pointed star look.
And so in the runner I started with that traditional block in the middle and then I just built out just like a half square triangle and turned my pieces. So let's slide this over so you can see. And I just rotated them in order to
create this fun chevron effect that goes from the middle, which I just
think is so fun. And as I started laying this out there are so many possibilities, because it's essentially just a half square triangle. But you get this fun extra shape because of that block.
So I really encourage you guys to play with it. I think you'll really enjoy all of the layouts you can do. But for this runner that I made here, we have just two in a row and then one, two, 3, 4, five, six, seven, eight blocks across. And so it is really cute. It finishes out at 13” by 52,” so it's a great size and that doesn't use a whole charm pack. So if you wanted to make it bigger you absolutely could.
So I hope you enjoyed this tutorial. I can't wait to see the versions that you
make and I'll see you next time on At Home.


