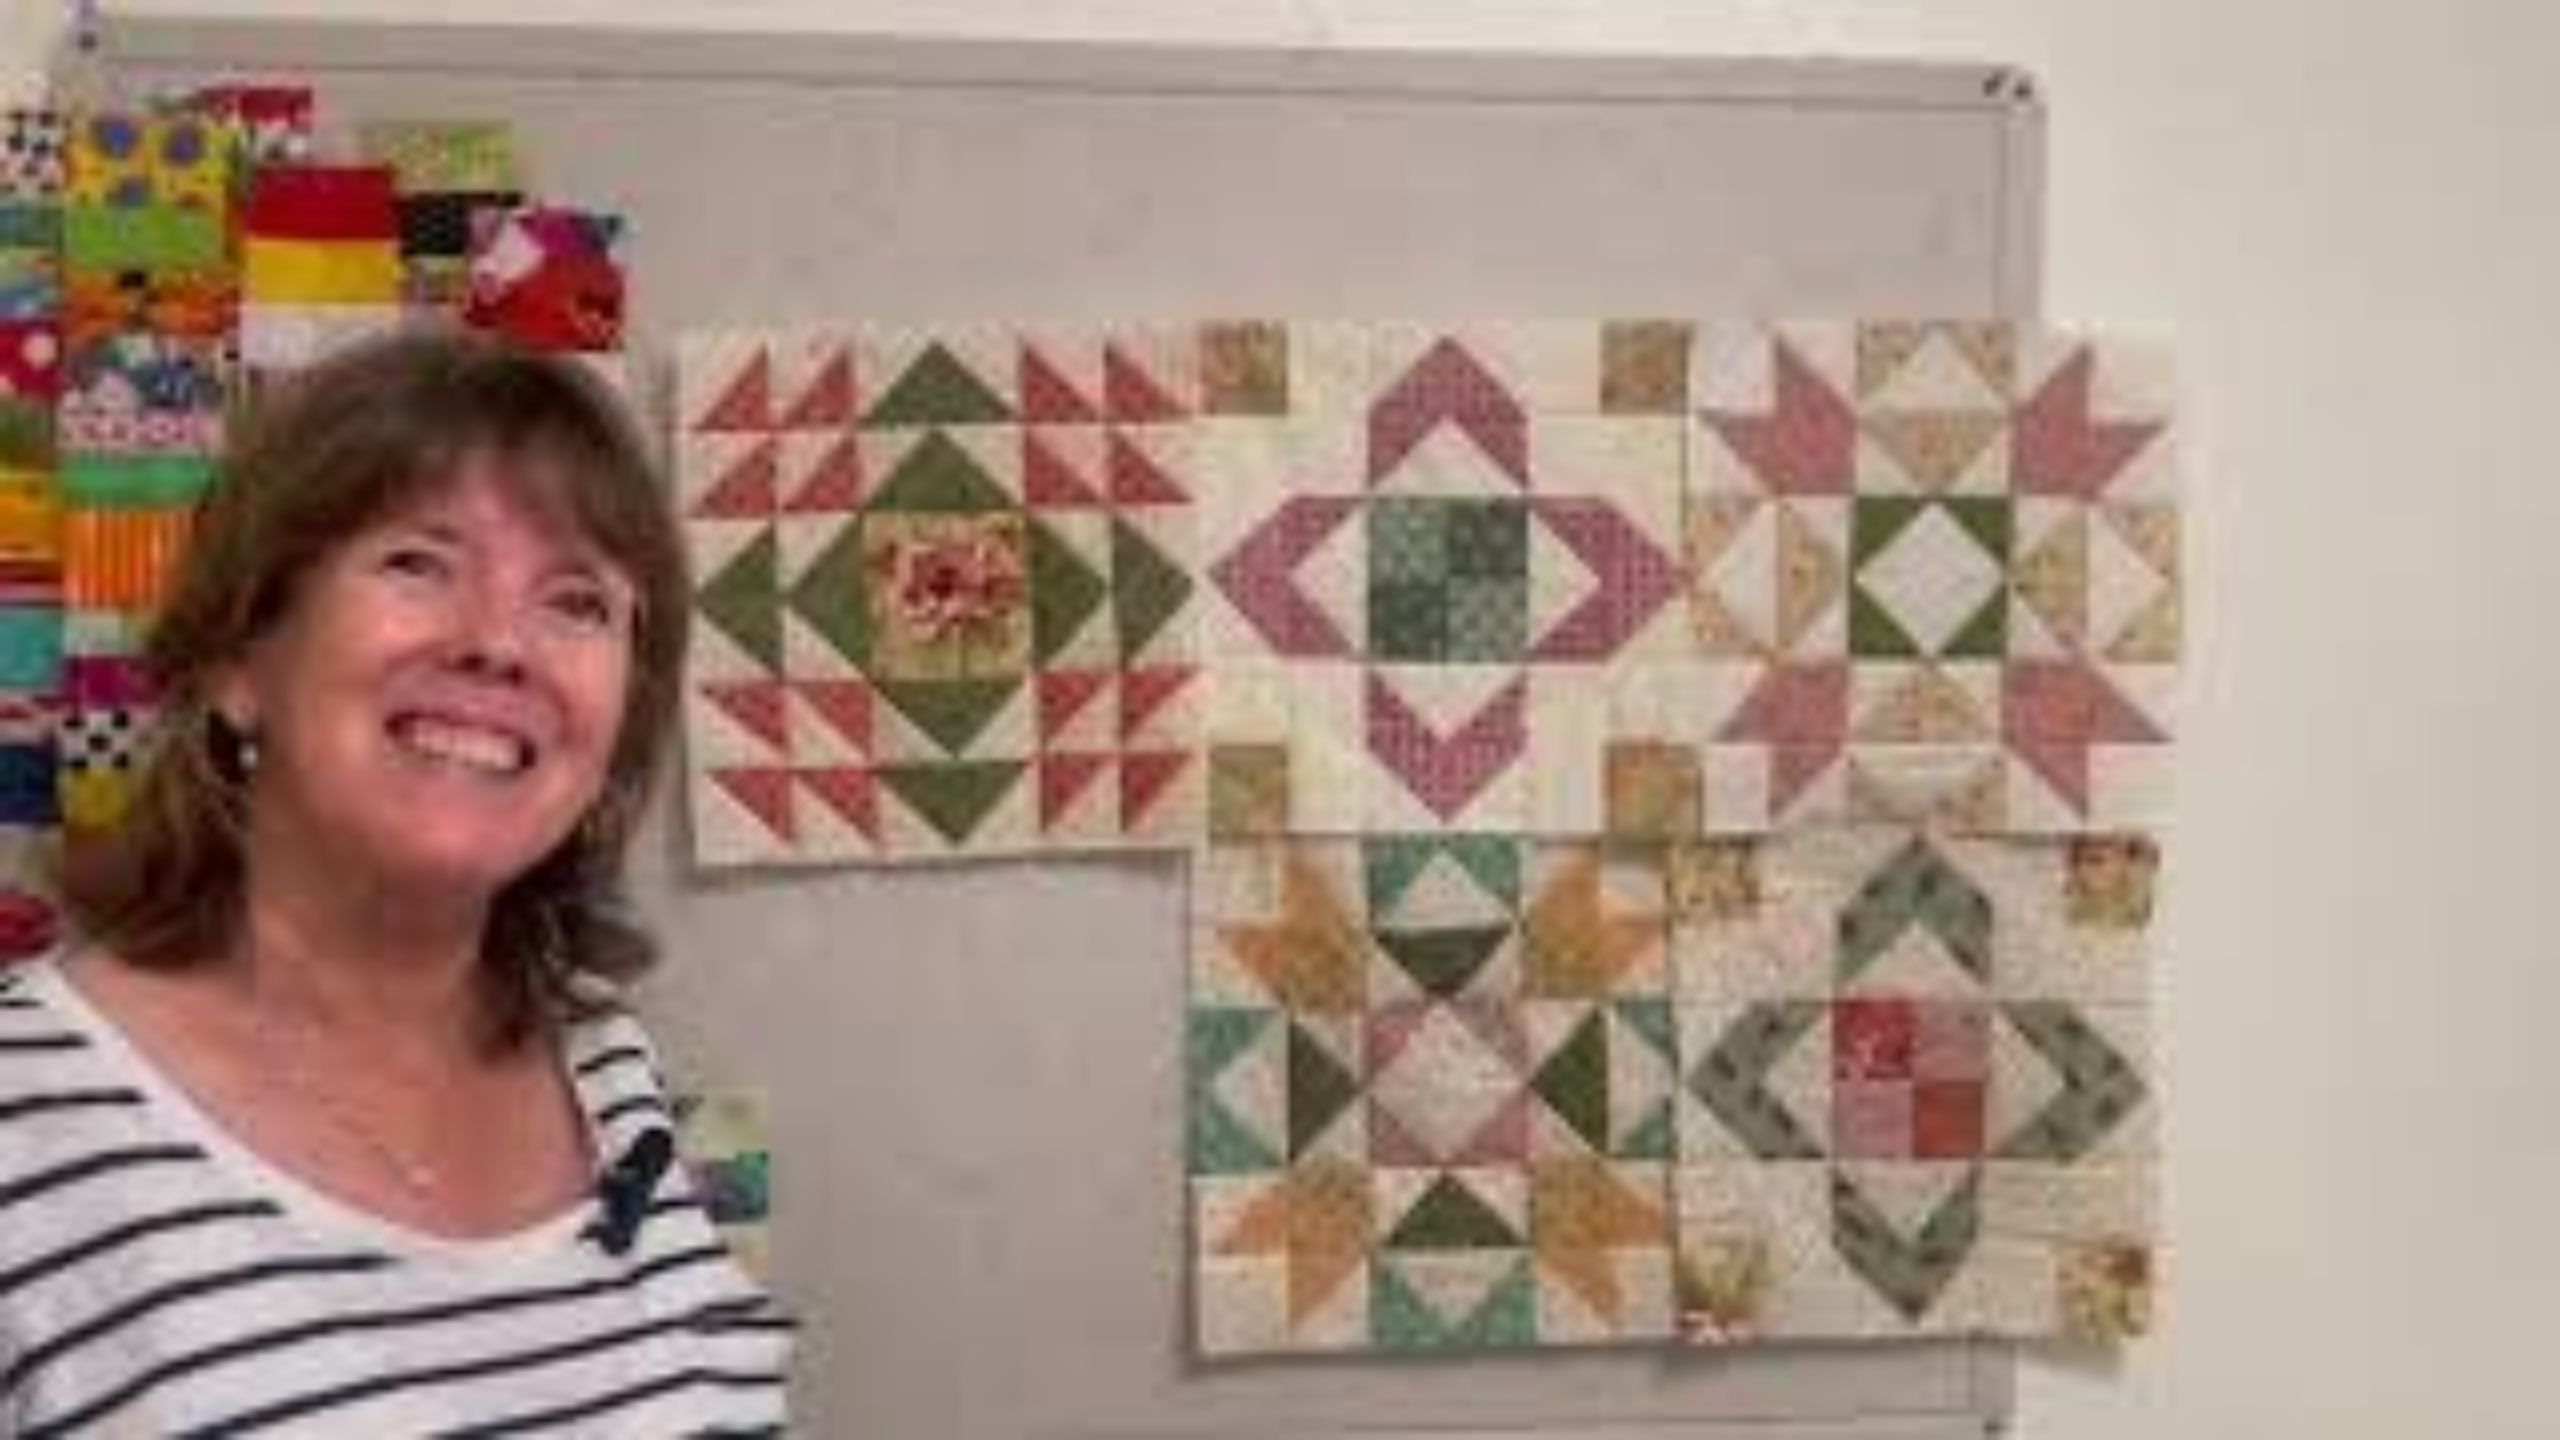
It's time for a Double Take! Natalie and Misty are taking on the classic Bear Paw quilt block. Natalie's version gives the block an extra layer of dimension with vibrant, textured prints from the Nitty Gritty collection from Andover. Meanwhile, Misty's version is a playful and energetic take on the block, using the bright florals and cheerful prints from the Bright Side collection from Blank Quilting.
Natalie is the host of Quilting 101, Embroidery 101 and the Creative Strategist and Editor of Block Magazine at Missouri Star Quilt Company. She was taught how to sew by her mom, of course, and began quilting when she grew up.
Common Questions
What is covered in Double Take: Bear Paw?
It's time for a Double Take! Natalie and Misty are taking on the classic Bear Paw quilt block. Natalie's version gives the block an extra layer of dimension with vibrant, textured prints from the Nitty Gritty collection from Andover. Meanwhile, Misty's version is a playful and...
How long is the tutorial video?
The tutorial video is 00:26:50.
Are supplies listed for this tutorial?
Yes. The tutorial page includes the supplies and materials connected to this project.
Video Transcript
Hey there guys, it is time for another double take. That's right. Double take is one of my favorite weeks of the month. And this month we are focused on the Bearpaw block. I love the Bearpaw. You can do so much with it. I think we both came up with some really cute ideas and I can't wait to see. I think so, too. And I get to go first. So, this is my quilt. I'm calling it Meadow Trails. And I really love how it turned out. It's just this one simple block. But one of the things I love about it is you get this kind of secondary effect when you put them together. So you get this diamond that forms and also this little star. It's very cute. Thank you. I am excited to show you guys how to make it. It's really, really quite simple. So to make this quilt, you are going to need one package of 10in squares. And I use this fun collection called The Bright Side by Jessica Dayton for blank quilting. And then for your background, you are going to need 3 and 38 yard. That includes your first little inner border. For your outer border, you need one and a quarter yards. And for your backing, you need four and a quarter yards with a vertical seam or two and an eigh with a 108. And a squaring tool will be very helpful. That's right. So, I'm going to use this little block lock. And let me show you how to make it. So, to begin, we're going to start by cutting our background fabric. and we're going to cut most of that into our squares. And so you need 5 in squares, 3 and 1/2 in squares, and 2 in squares. So just go ahead and get that out of the way. And we'll set those aside for now. And then we're going to cut all of our 10in squares the exact same way. And so we'll begin by taking our ruler and we're going to cut this in half both directions so that we have four five inch squares just like this. And with the first one, I'm going to pair this up with a 5-in background square. And I am going to draw a line corner to corner because we are going to make two at a time half square triangles with this one. Okay. So, you will sew on both sides of this drawn line quarter inch from the the line. All right. You want me to do that right now? Yes, please. Okay. Just swing it around and go down the other side again. That's right. Perfect. Thank you, Natalie. You're welcome. And now I will come back and just cut right on that line that I drew corner to corner. And I'll go ahead and press these open. Roll it back towards the dark side. And we are going to square these to three and a half. And so that we have plenty of extra on these. Lots of space there. So you don't have to worry too much about it. But on the block lock, if you've never used one of these before, the words, if you've pressed to the dark side, are going to go on your background fabric. And so I'm just going to slide this because I have a nice square edge here. And I'm just going to trim this off so that it measures three and a half. There we go. I like to spin that around, slide it down here, and go ahead and get rid of that little edge. Just trim a bit more. There we go. And we'll do that one more time. Looking for three and a half. One, two, three. Sometimes I just have to confirm that my brain is seeing the right thing. Better to check than cut it wrong. Right. Yeah, I get that. And then spin it around. And if your edge is not straight, if it's wonky for any reason at all, you can totally just float this in the middle and then you'll have plenty of room to have a nice square half square triangle. All right, so we have those two ready for our block. And so now with our next one, we're going to do something similar. We're going to put these together, but we're going to actually do an easy eight with these five inch squares. So many tiny triangles. So many. And so we're going to draw a line corner to corner in both directions. This does make it so easy though to get a whole bunch all at once. Yep. And it's such a cute block, so it is worth it. Here we go. Just make sure we're nice and straight here. And so she will sew on both sides of both lines. Got it? Yep. There we go. All right. The race is on. One set done. Next side coming up. Perfect. There you go. Awesome. Thank you so much. So, when you do the easy eight, it's tempting to go back in and cut on those drawn lines first, but don't do that. You will be glad if you don't. And so we're actually going to measure over 2 and 1/2 in. And we're going to cut this in half both directions first. And we can turn this. Here we go. And then now we have all these individual ones. So if they don't stay perfectly lined up, now you can just cut. And with with small pieces, they do tend to slide a bit. Exactly. And so this just gives you a little bit of freedom. Nice. Do you want me to iron? Sure. If you want to. I have some of them ready. So, if you want to just do a couple of them for because we've got some squaring to do on top of that. That's right. We'll do one more here. Beautiful. All right. So, now she has pressed this open. And just like before, we can still use our little block lock. And these will be squared to 2 in. So you can see this is much closer to the finished size we're looking for. And so I'll just begin by trimming off a little bit on this side. And then I can spin it around. Slide it down. And I want the edge of that fabric, that straight edge to be right on the 2-in mark, just like so. And I'll do that one more time so you guys can see the block lock goes towards the background fabric. That bottom edge looks nice and straight actually. So I'm just going to square this one side. That's always nice. And then trim that little dog ear. You can save cutting one whole side. Exactly. All right. And I have some other ones squared. So we'll just set these aside. Let me grab those so I have them ready to go. We'll need those later. And so then with our last two 5 in squares, we're going to do the them the exact same way. So you repeat them. Okay. And so we'll take our three and 1/2 in squares. And I'm going to lay it on one corner. And I like to draw the line point to point. If you have diagonal seam tape or something, obviously you could use that. Yep. You could press it or whatever. And then I'm going to go ahead and measure a half inch because this is quite a big piece. So, I'll measure half inch over just so I can save this for another project. So, if you want to stitch on both of those, I'll get this one ready, too. And it's a great opportunity to chain piece. We'll do. There we go. There's that one, too. And I'm going to go ahead and mark these other ones because we're going to do the same thing on the other side. There we go. Okay. So, now she's finished that first side. Do you need me to cut them apart for you? There we go. And now we can add these back in. Sometimes you kind of just want to finger press it out of the way. And then we'll set this in here and do the exact same thing. Sew on both lines. Okay, there we go. All right, I'll give you this one. Perfect. So then once we have stitched both of those, I'm just going to cut right between those two drawn lines. That leaves our quarterinch seam allowance on both of those pieces. This little outer piece, you can just throw that in your stash, use it for later, different project. Cute little half square triangle. Make a little bonus something or another. There we go. And now I will roll these back. Perfect. Sorry. You're great. Natalie went for the scissors. Do it either way. Yep. Either way works. All right. Perfect. All right. So, now we get to start assembling our blocks all together. And so, to make our little bear paws, we are going to start by placing our print fabric down. And then we're going to bring in our little uh kind of claw shapes. Yes. And we'll have two of these on either side. Just like so. Wait, is that right? Color down. There we go. Thank you. You got it. This one always tricks me a little bit. It's so easy to get them turned the wrong just slightly wrong. You know, like one one turn. Exactly. And so then we'll finish with a little solid twoinch square in the middle. So if you want to sew these little sets together for me. Of course. When you're working with these small pieces, you do want to make sure you're taking kind of a scant quarter inch just so that everything will match up because sometimes when you take a bunch of these little seams and once you get really in the hang of it, you might want to shorten your stitch length. That's true, too. Just because that makes for a tighter seam and um when you have tiny pieces, you don't want them to pull apart. No, you don't. I'm hoping that I didn't turn that one. Well, you know, if we did. So, we'll find out if we did. It's just part of the process. So, let's look. I don't know. Well, that one looks correct. Nope. No, that's right. Okay. So, that one's right for that way. And that one is right. They're both correct. Good. Okay. So, let's press these. When you set it down, I wasn't for sure which side I was supposed to sew on and you know. All right. And so, now we'll sew this one to this guy. That I can do. And then I'll press these and we'll be ready for the next one. Okay. Yeah. I don't know why this one in particular, it like your mom always talks about being angly challenged. Yes. I struggle with this one as well. It reminds me a lot of like the tree of life or the lady of the lake. All of those blocks that have little half square triangles in going in different directions, they can get so tricky. They really can. So, just double check the diagram as you go. There we go. And that you want me to press it or I can just All right. A little finger press and then those will go together just like that. Perfect. One of the things that mom often says and does is just make one block first and then use that as your guide for the rest of the quilt. It will make your I feel like this would be an ideal quilt for that. Well, you'll notice I had this one out front the whole time so I could reference back to it. Yes. There we go. Perfect. And we can give this a press. And one of the things I love so much about this little bear paw block in particular is this measures 5 in. So now you can match it back up with a, you know, a charm square. You can you can do so much with it. And so then for this block, we are just going to place these with the prints going in. And we will match it up with our secondary block. Ah, that's so cute. And that is it. You sew it together, it looks just like this. So, so simple. And so, let's look at the quilt behind me. It is six blocks across by six down. And this line did have some lights. So, I picked the ones that I felt like had still a decent amount of contrast. And those are the ones I put in the outer corners, which I thought was fun because it just kind of rounded out the whole pattern. And then there is a little 2 and 1/2 inch inner border. That's just your background fabric. And a 5 inch outer border. I quilted it in a panto that's called dollop. Just a nice curvy pattern. And here is our backing. That fun happy floral. So pretty. I really love it. It ends up 67 in square. Super easy. Just one block. So excellent. I hope you liked it. Well, I think it's my turn next. So perfect. I can't wait to see what you did. Okay. All right. Well, this is my quilt behind me. I'm calling it woven grace and it's made up using two different blocks. We've got our Bearpaw block and then a block that's very similar to a Jacob's ladder block. And when you combine them, it just creates this really beautiful design and it's a lot easier than it looks. It's beautiful, Natalie. I love it. Well, I'm excited to show you all how to make it. So, to make this quilt, you're going to need one package of 10in squares. And I've used Nittygritty by Jordan Fabrics for Andover. You're going to need some background fabric, about four and 2/3 yards, and you're going to need a quarter yard of an accent for cornerstones. Um, for your backing, you're going to need 7 and 78 yards or 2 and 5/8 if you have a 108. So, you another thing that's super helpful is your favorite half square triangle trimmer tool, whichever one that is for you. We're going to be trimming some half square triangles, but they're big, so not a big deal. Awesome. All right. Well, let's get started. All right. So, this quilt, like I said before, is made up of two blocks. This is our Bearpaw block. Awesome. Nice and simple. And then we've also got this lovely sort of a Jacob's ladder style block. So, what we're going to do, we're going to need some pieces of our back background pre-cut. So, we'll need to cut some 10in squares. And we'll also need some 4 and 1/2 in squares. So, I'll have those cut and set aside. I've cut some 2 and 1/2 in squares for my cornerstone. So, that's just something that you'll want to do ahead of time. Some of our um 10in squares. We're going to cut down into four and 1/2 in squares. And you'll just make a stack because we want everything in this quilt to be very scrappy. Perfect. I thought it would be the easiest way to get the best use out of our fabric. and then also give us not too much to think about ahead of time. So, I'll cut a few more of these four and 4 and 1/2 in squares. Get those cut and set aside. And then we'll get to our half square triangles. And the great thing about both of these blocks is they use all of the same pieces just in different amounts. Okay. That makes it simple. Yeah. There we go. So, you'll notice um in both of these blocks, we've got half square triangles. We have 1 2 3 4 5 six here and then four in this one. And then we've also got these 4 and 1/2 in or yeah, four and 1/2 in squares that go down the middle. And then these ones. So we've got three here and four here. And then this one is the one that has our little background square. So they really are very similar, but then when combined, yeah, it creates a really cool pattern. All right. So that So we are going to make our um make eight half square triangles. Okay. Similar to yours, but much much larger. these. I would go ahead and put my line probably on my print square. I think it'll be easier to see. Do you have a pin? Uh, no. I don't think so. Thank you. You bet. So, I'll just draw one line going this diagonally and then the other one the other way. And this is where if you wanted to, you could use a white pen or whatever it is that you need to make that mark show up because this fabric is kind of dark. Yeah, it's true. So, stitch on both sides of both lines and then we'll get all of our half square triangles cut out and squared up. And I've got a whole bunch made so we can be very scrappy about our layouts. Awesome. Halfway. Very cool. Very close. All right. Excellent. Okay. So, just like Misty did, we're going to cut our horizontal and vertical lines first. do that vertical cut and then our horizontal cut. Don't want them to slide around too much. And then we'll cut diagonally on lines just to get all of these half square triangles cut apart. And then I'll do one with the clearly perfect and one with the block lock. So, I'm going to put most of these over to the side because I've got lots of half square triangles here. Do you want me to press one? Sure, that would be great. I'll do that. All right. So, when you're using your trimmer, and this is trimmer A because we're using half sizes. The They come in a set, an A and a B. The B is for whole sizes, and the A is for halves. So, we're going to do a 4 and 1/2 in triangle. And we're going to line the dashed line on the template with the seam line on our half square triangle. So that gets set right on top of that. And then we'll trim off the excess and trim our little corners off here. And then this one is ready to be pressed open. It's perfectly squared. Now for the block lock, we're going to do our block lock tool. And this is right at four and a half. So close. Unless it's I pressed to the dark. So it should be the other way. Yeah. Perfect. So this is just really really close. So I'm going to go ahead and trim off my corners and a little bit of that edge there. And then there's just a tiny bit down here. And that one is perfect and ready to go. Okay. One other thing that I neglected to mention, we have some negative space in the quilt. And we're going to need 12 and 1/2 inch squares for those. Oh, perfect. So, that's just another cut from your background that I almost forgot, but it is part of the design. It's just really, really easy and something you'd want to cut and have ready to go for later. Perfect. Okay, so we can start by assembling our block. So, let's do this one. So, we're going to grab some of our squares and we'll just mix them up. We'll do a four patch using all solid variety of squares, whatever you think looks good together. And I like them all to be different and scrappy. We'll stick our little background square up in the corner. And then our half square triangles can go all around the edges. Oh, I think I'll put that green one there. A little more contrast. Yes, I like contrast. Me, too. I happen to have that brain that wants things to really kind of stand out. And again, the color um color touches the color and then the backgrounds. It's just the same as yours. Uh with, you know, the minor exception of the middle is completely different. So, exactly. But that's the fun thing about the Bearpaw block and these quilts. They're similar but different. And that's it. That is our Bearpaw block. So cute. So then you would just stitch it together like a nine patch. And it looks just like this when it's all stitched together. All right. So then the next one comes together just as easily. But what we're going to do is put our our three solid squares down the middle. And then the half square triangles are going to point in and touch those solid squares just like so. And then we've got two more half square triangles out in our corners. So one out here and one out here. And that is our secondary block. So once you stitch that together, also just a nine patch, you get a bunch of blocks that look like this. And then we get to put them together in the quilt. So So essentially, if you include this one solid, we've got three blocks, but really it's two. and they're just going to come together with our um with our cornerstone. So you'll see I've got Bearpaw blocks. I kind of started this design sort of as like a middle out. So we start with our four in the middle and then we do some Bearpaw blocks that go around it. And then I started adding these diagonal blocks to kind of create this diamond that goes around that medallion in the middle. And then of course four blocks in the corners. And I will tell you honestly, the reason that I didn't finish it out is I ran out of print fabric. Okay? I just, you know, this is the amount that you get maximized from the pre-cut that we had to work with. So, I filled in these spaces with some negative space and I think it looks really great. I love the negative space. It's so beautiful. Yeah. I think and I think sometimes like people don't know like why you do a thing the way you do and a lot of times for me it has to do with how much fabric I have to work with. That's exactly right. So that's that's how that ended up. It's beautiful. And I think it turned out really great. I hope I hope you guys like it. And so how the finish? Well, this quilt ends up being 86 in square. And don't forget, I've got 2 and 1/2 in cornerstones and sashing that's also 2 and 1/2 in by the width of the block, which is 12 1/2. Okay, so we put all of our sashing in there. We've got a beautiful 2 and 1/2 in outer border, and I just thought that gave it a really nice frame. Our machine quilting is Darlene's all over texture which is one of our newer patterns and I think it's really fun. Um the backing we just used a a beautiful fabric from the line. It's pretty and yeah, it's a really pretty fabric. I feel like this fabric is very versatile and would be great as you know backgrounds and it's got that really great texture. Well, and such beautiful jewel tones, too. Very pretty. Yeah. And that's it. I think that's everything you need to know about my quilt. and your quilt turned out great. Here's my little block. Hopefully everybody enjoyed our tutorial or our double take. That's right. On the Bearpaw block. Yeah. I hope you guys had as much fun as we did. We love this block. It's such a fun one. One of my favorites for sure. So, thanks for tuning in and we'll see you next time on our double take. Bye. Hi everybody. I hope you enjoyed today's video. We're trying super hard to get to a million subscribers. So, if you enjoyed it and you want to see more, just hit subscribe and share with your friends and encourage them to do the same. And I will see you next Friday with a brand new tutorial.