Skip to content

Free quilting video tutorials from Missouri Star

Quilting Tutorials
Double Take - Orange Peel

Double Take - Orange Peel

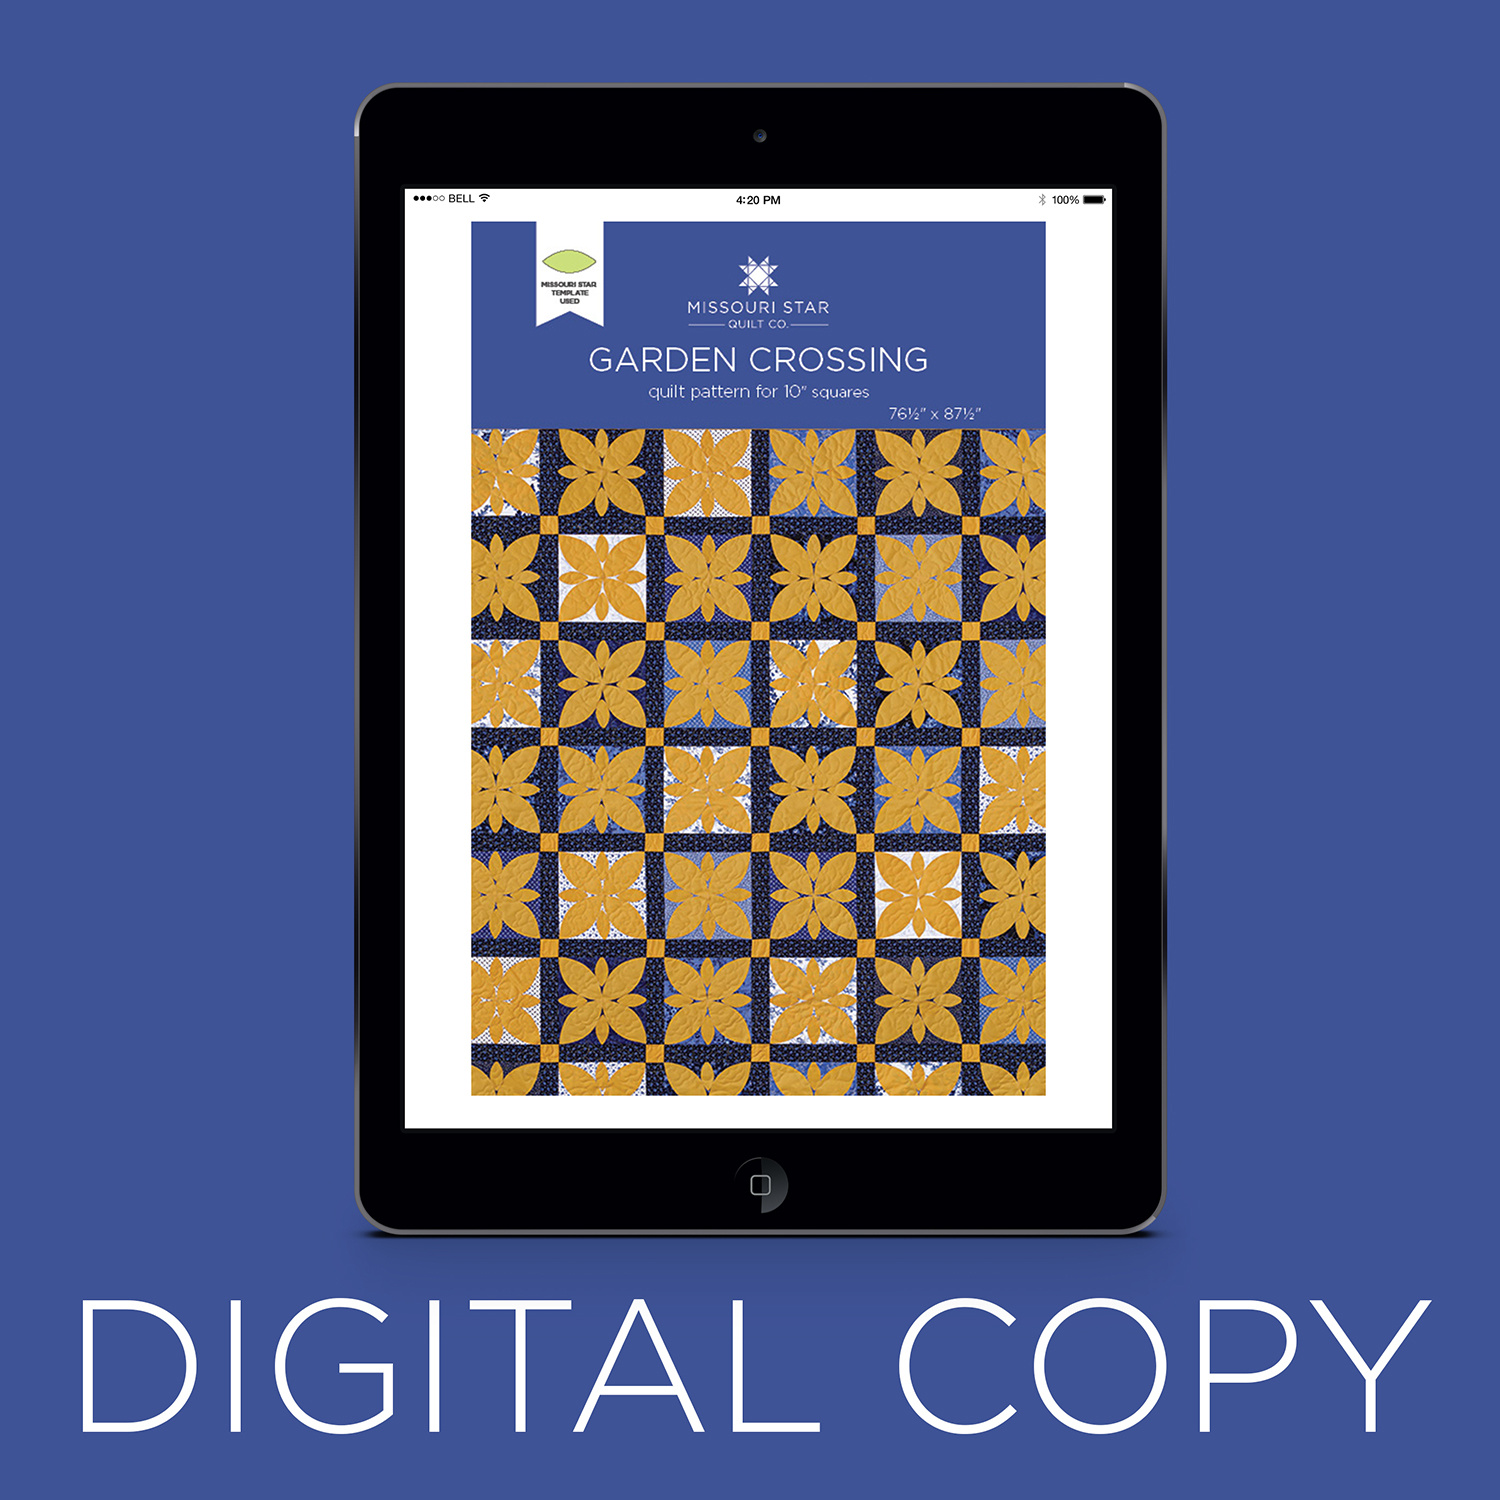
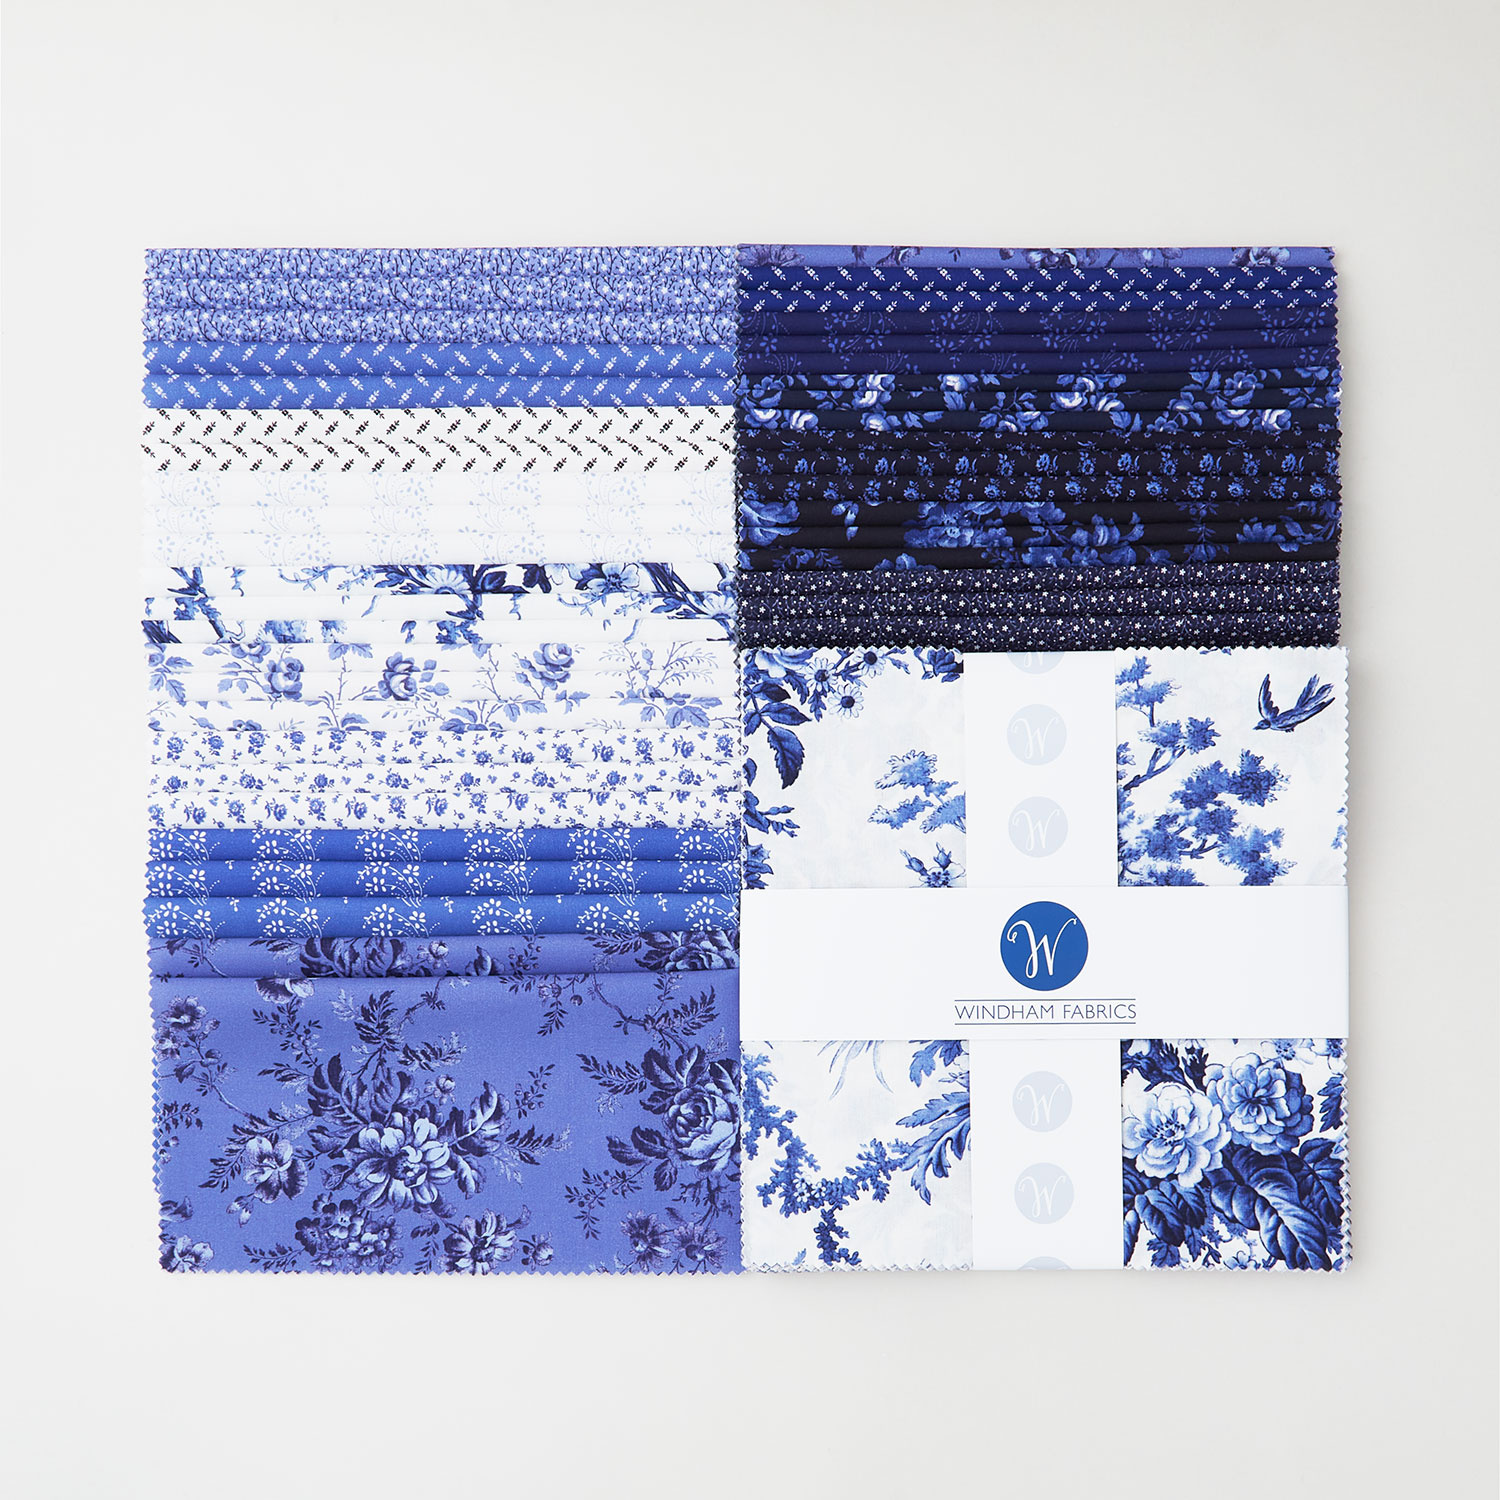
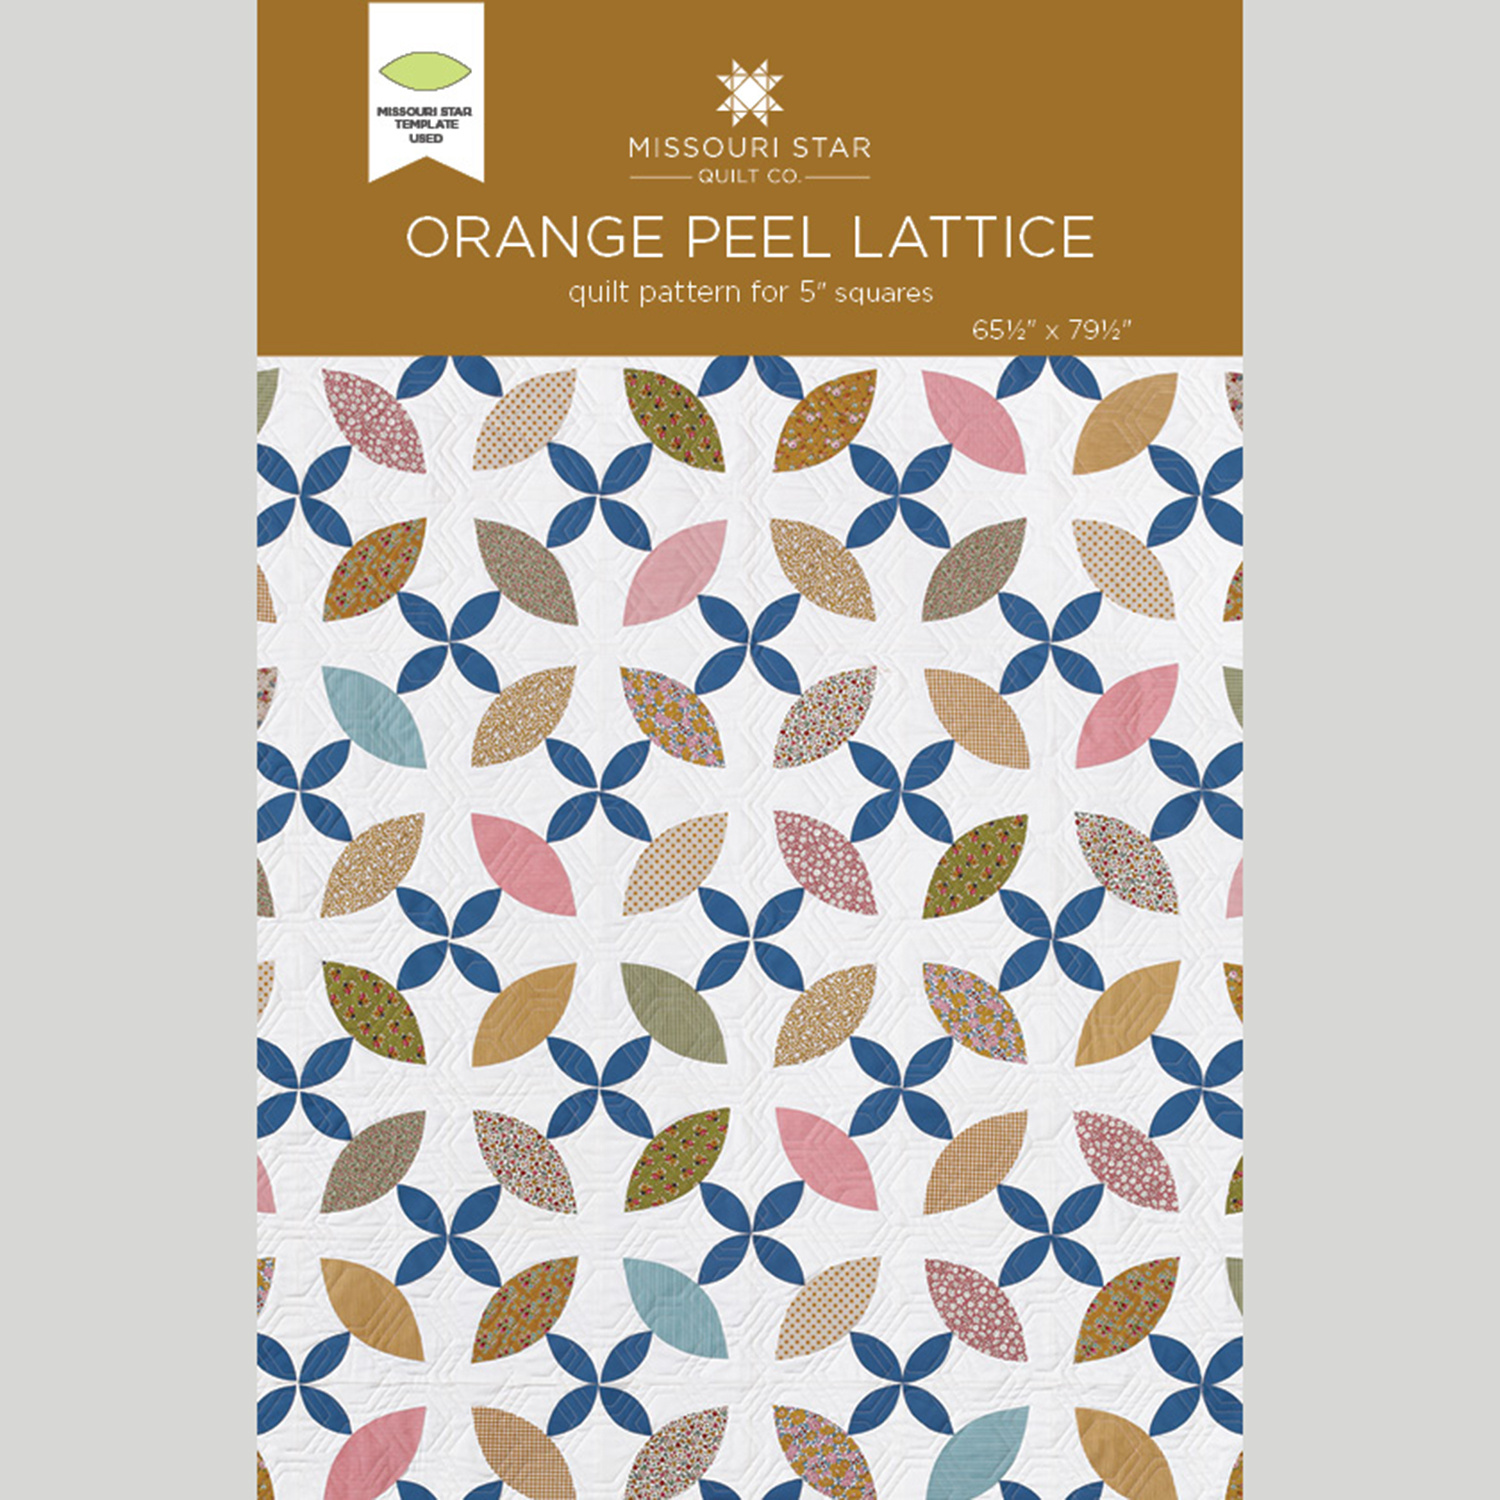
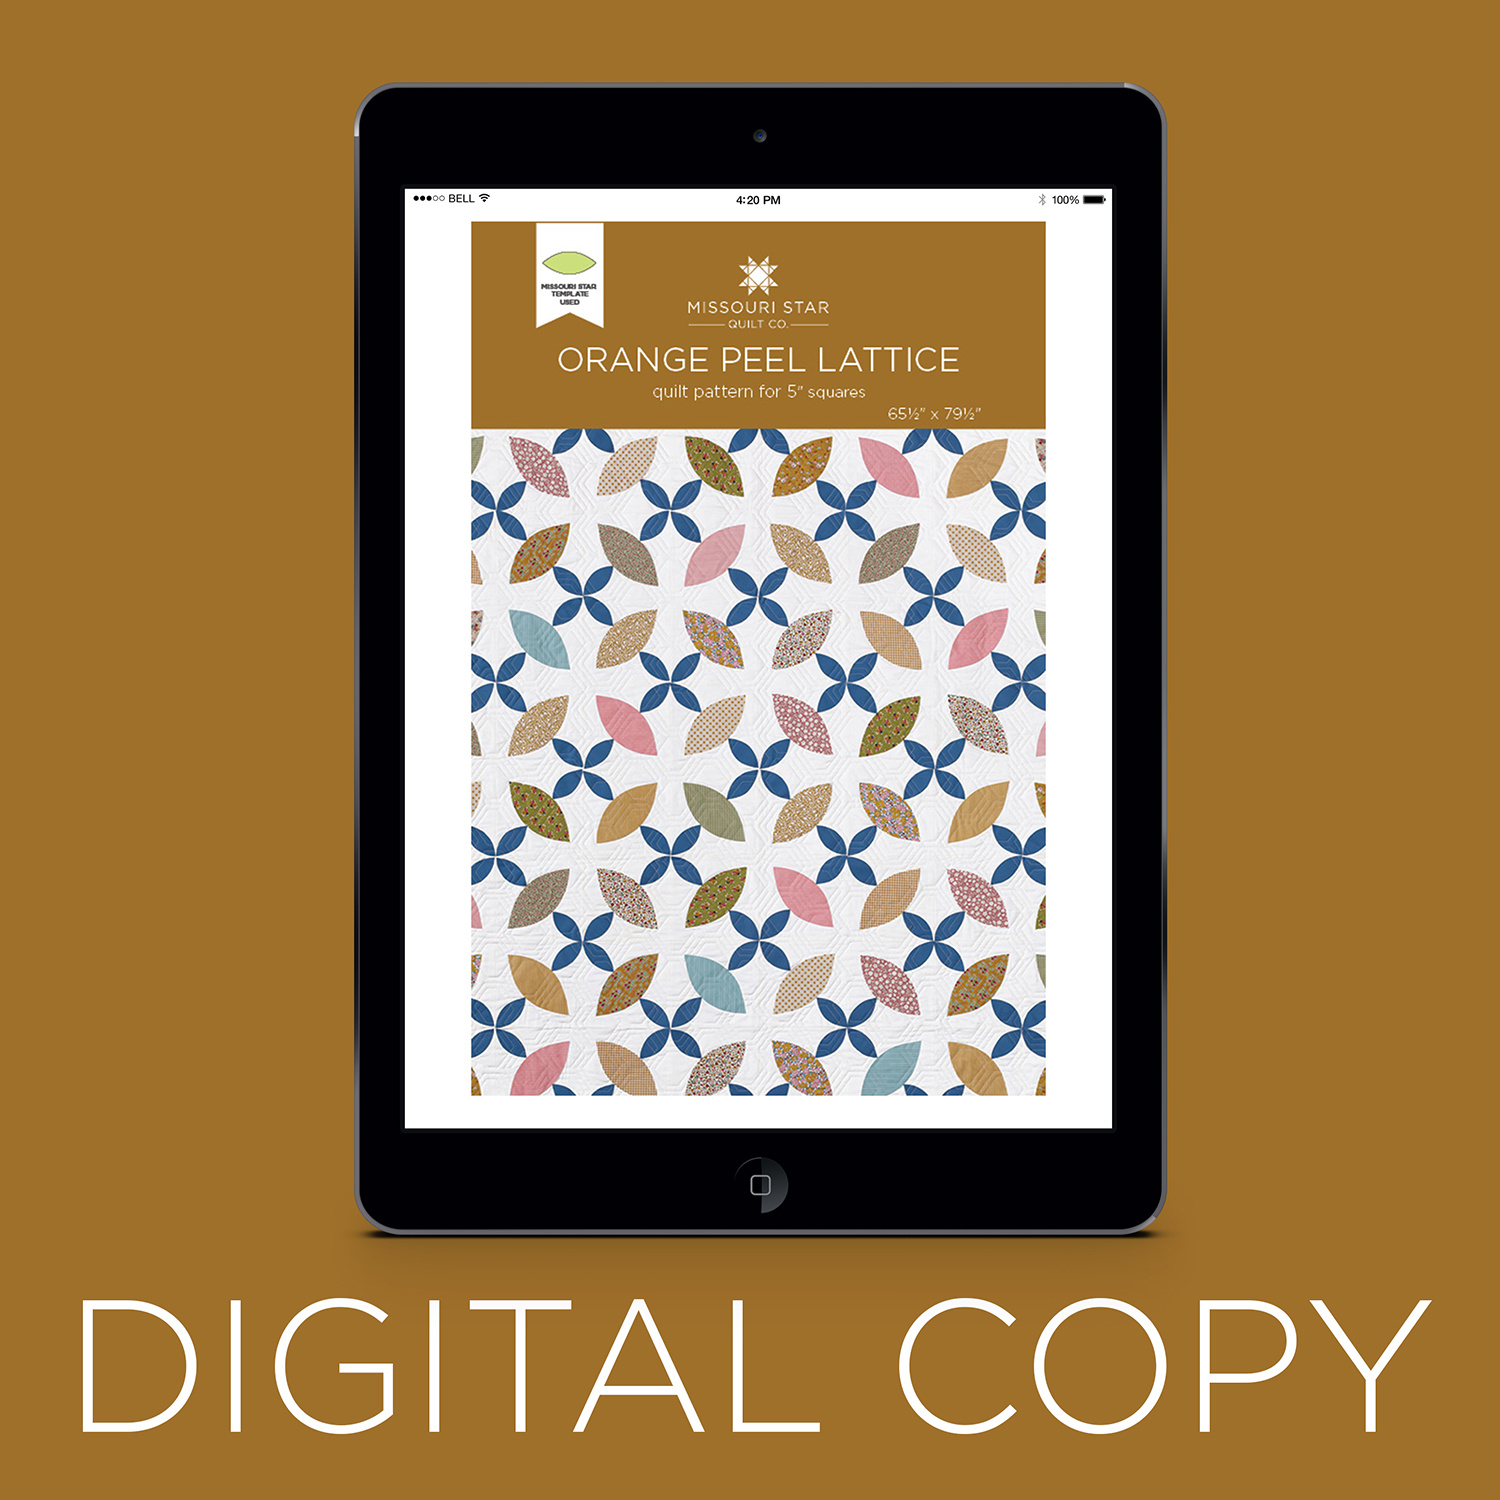
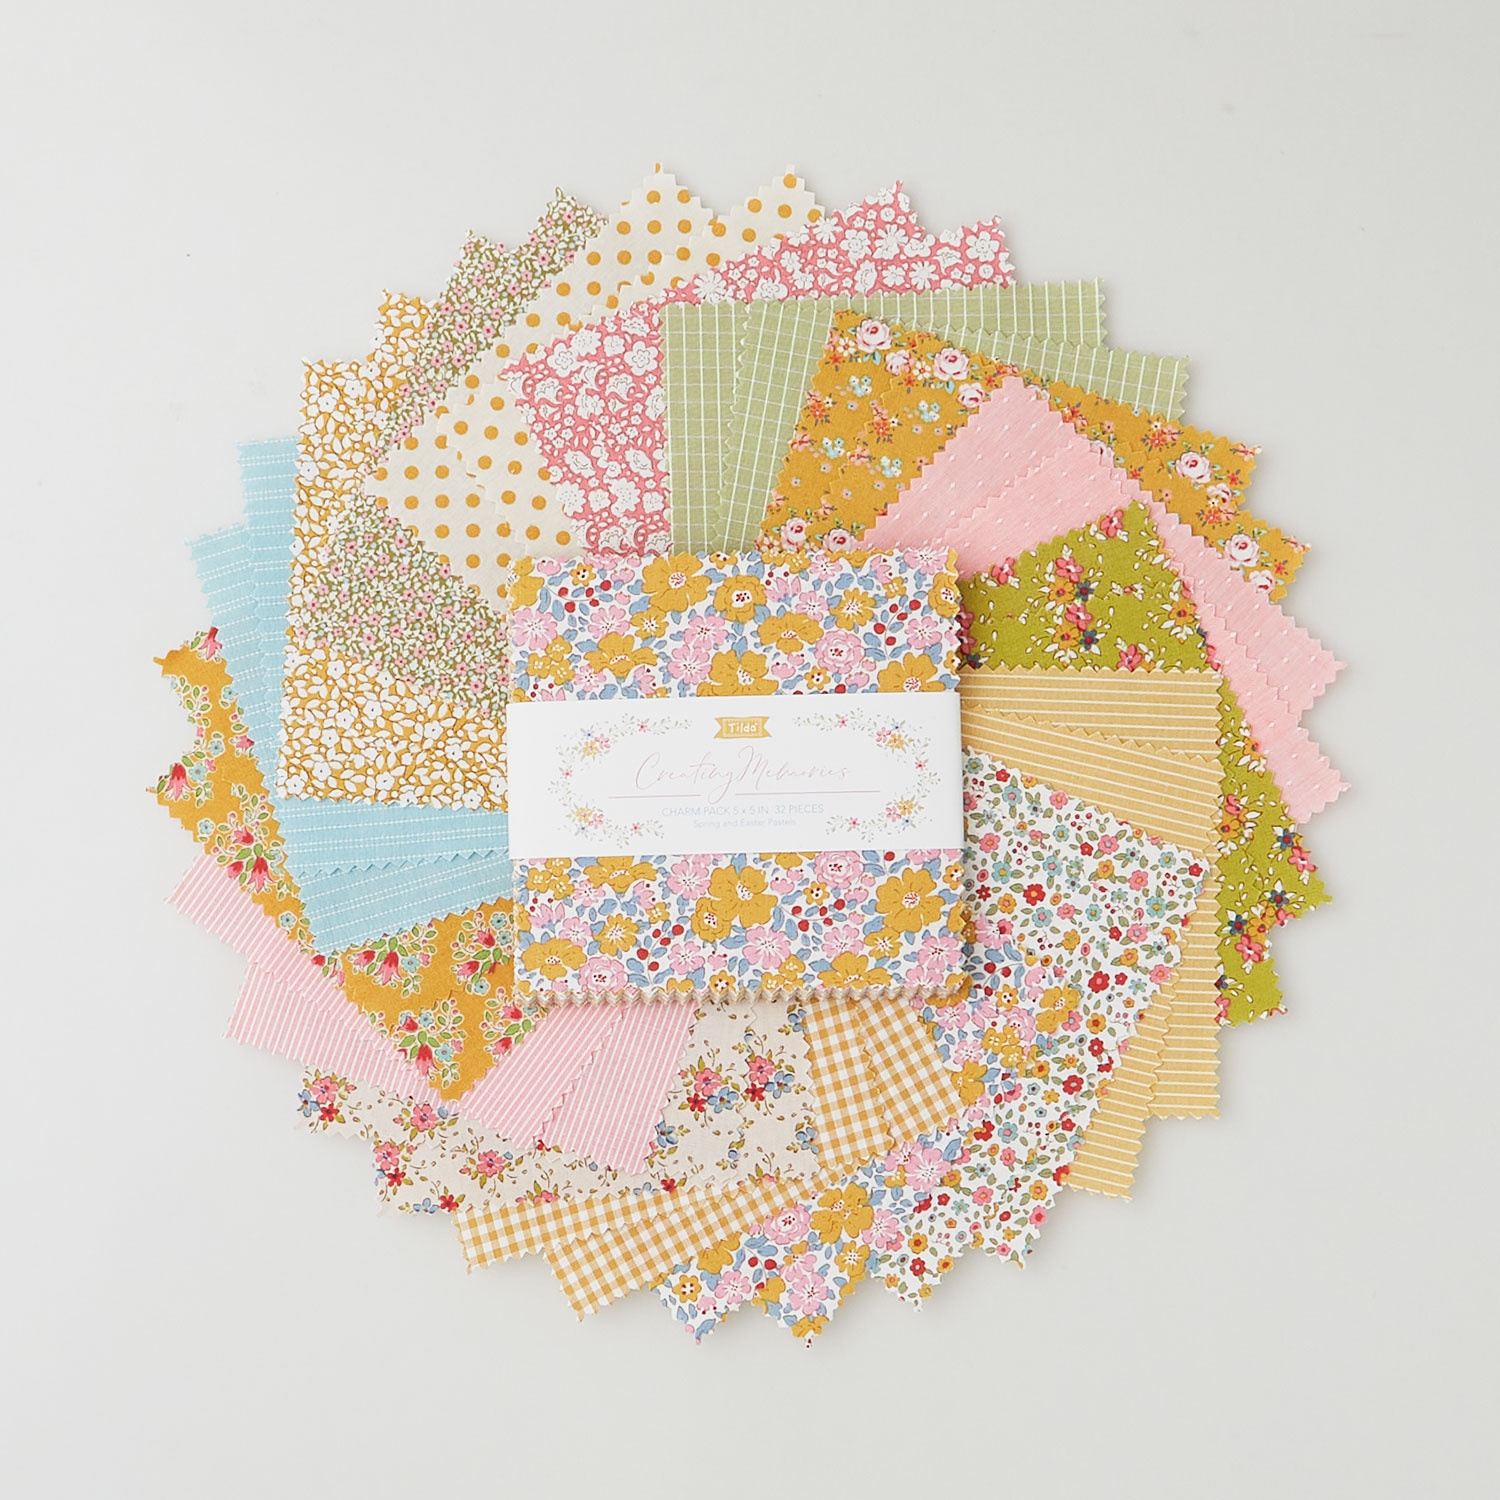
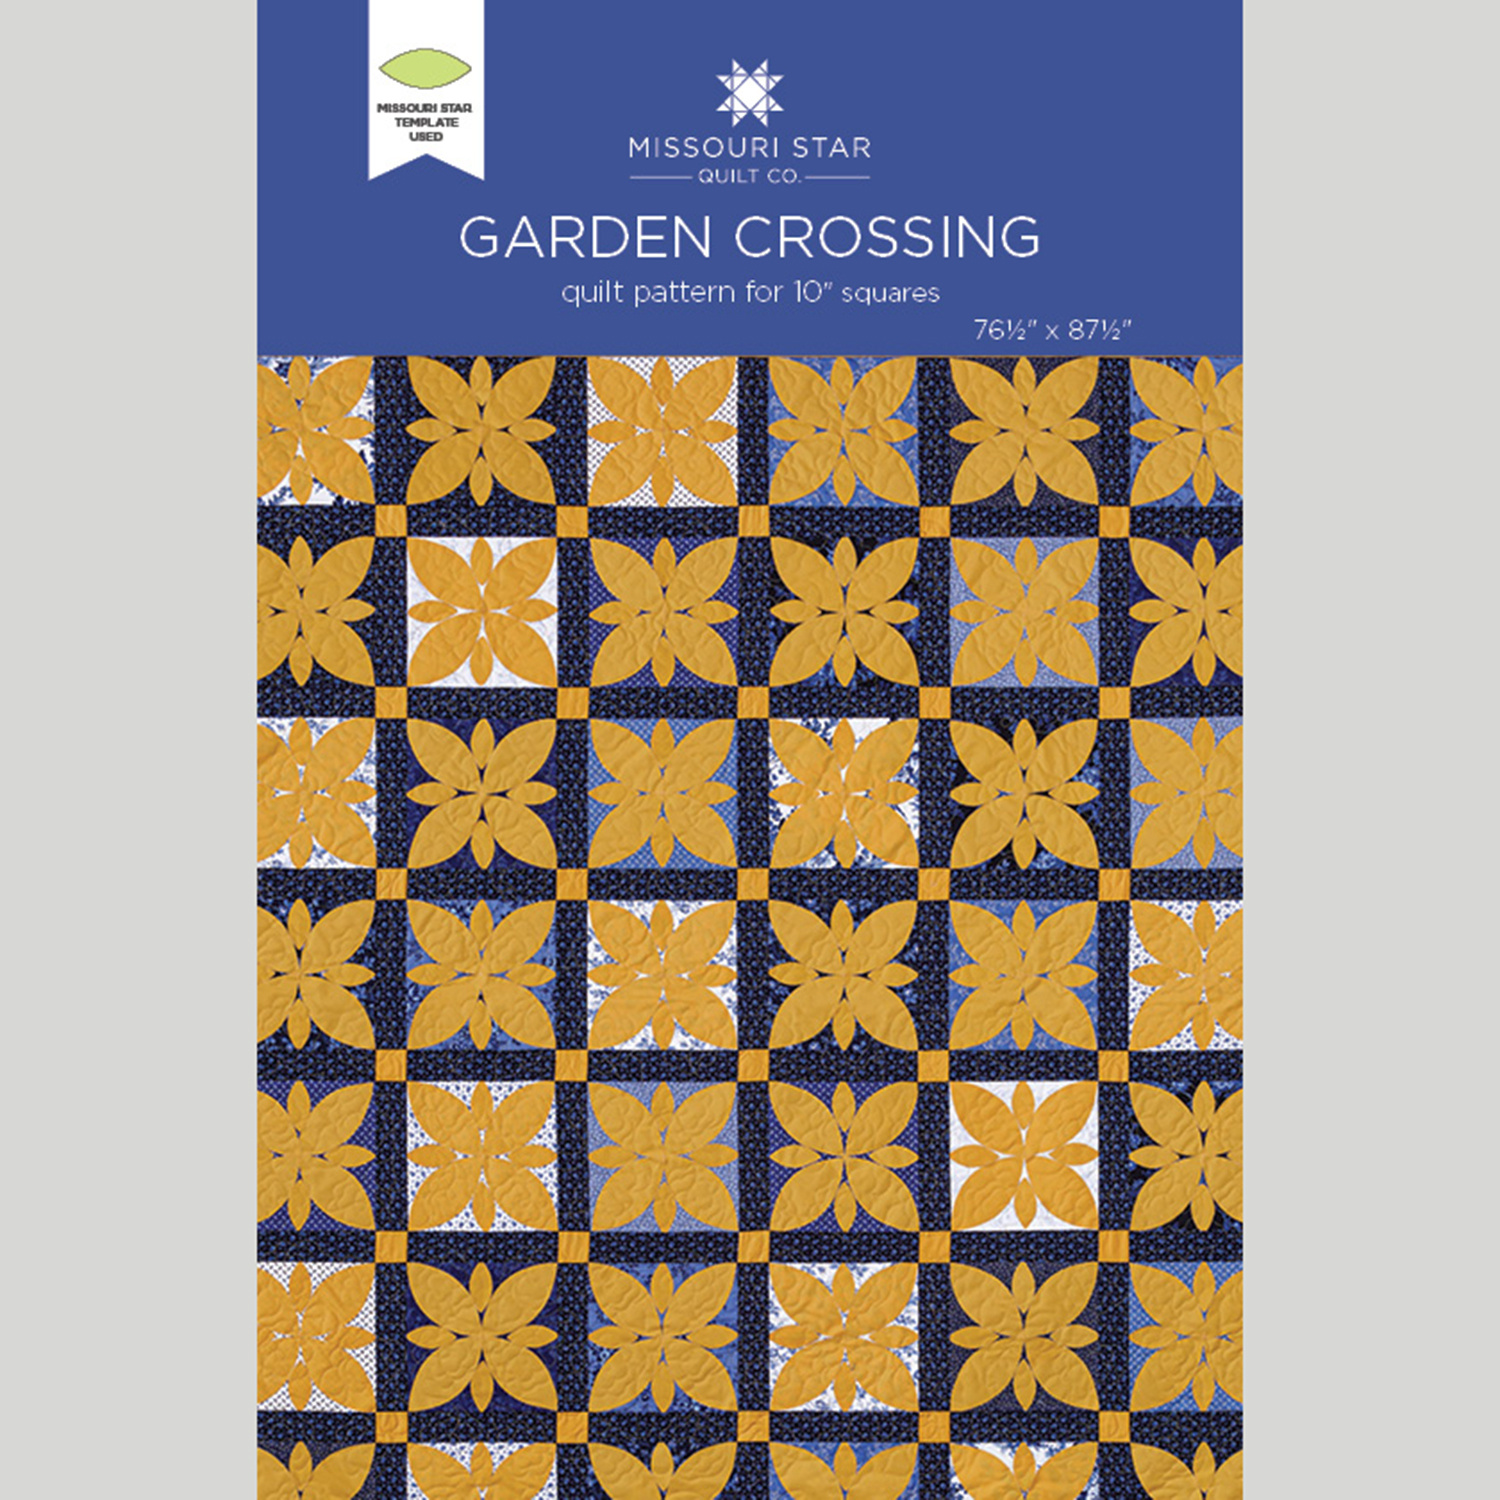
Orange you glad it’s Double Take day? The Doan girls are back with two fresh-squeezed Orange Peel quilts! Natalie's Garden Crossing quilt—inspired by decorative pavers—is an applique dream made with Ochre Kona Cotton and a Jasper Blue layer cake by Whistler Studios. And Misty's Orange Peel Lattice quilt is a dainty delight with crisscrossing petals in two sizes: small and mini. It’s made with Creating Memories Spring charms by Tilda. (Don’t miss the itty bitty flowers on the back!)

Instructor

Natalie Doan

Natalie is the host of Quilting 101, Embroidery 101 and the Creative Strategist and Editor of Block Magazine at Missouri Star Quilt Company. She was taught how to sew by her mom, of course, and began quilting when she grew up.

Shop this tutorial
Common Questions

What is covered in Double Take - Orange Peel?

Orange you glad it’s Double Take day? The Doan girls are back with two fresh-squeezed Orange Peel quilts! Natalie's Garden Crossing quilt—inspired by decorative pavers—is an applique dream made with Ochre Kona Cotton and a Jasper Blue layer cake by Whistler Studios. And Misty'...

How long is the tutorial video?

The tutorial video is 00:14:01.

Are supplies listed for this tutorial?

Yes. The tutorial page includes the supplies and materials connected to this project.

Video Transcript

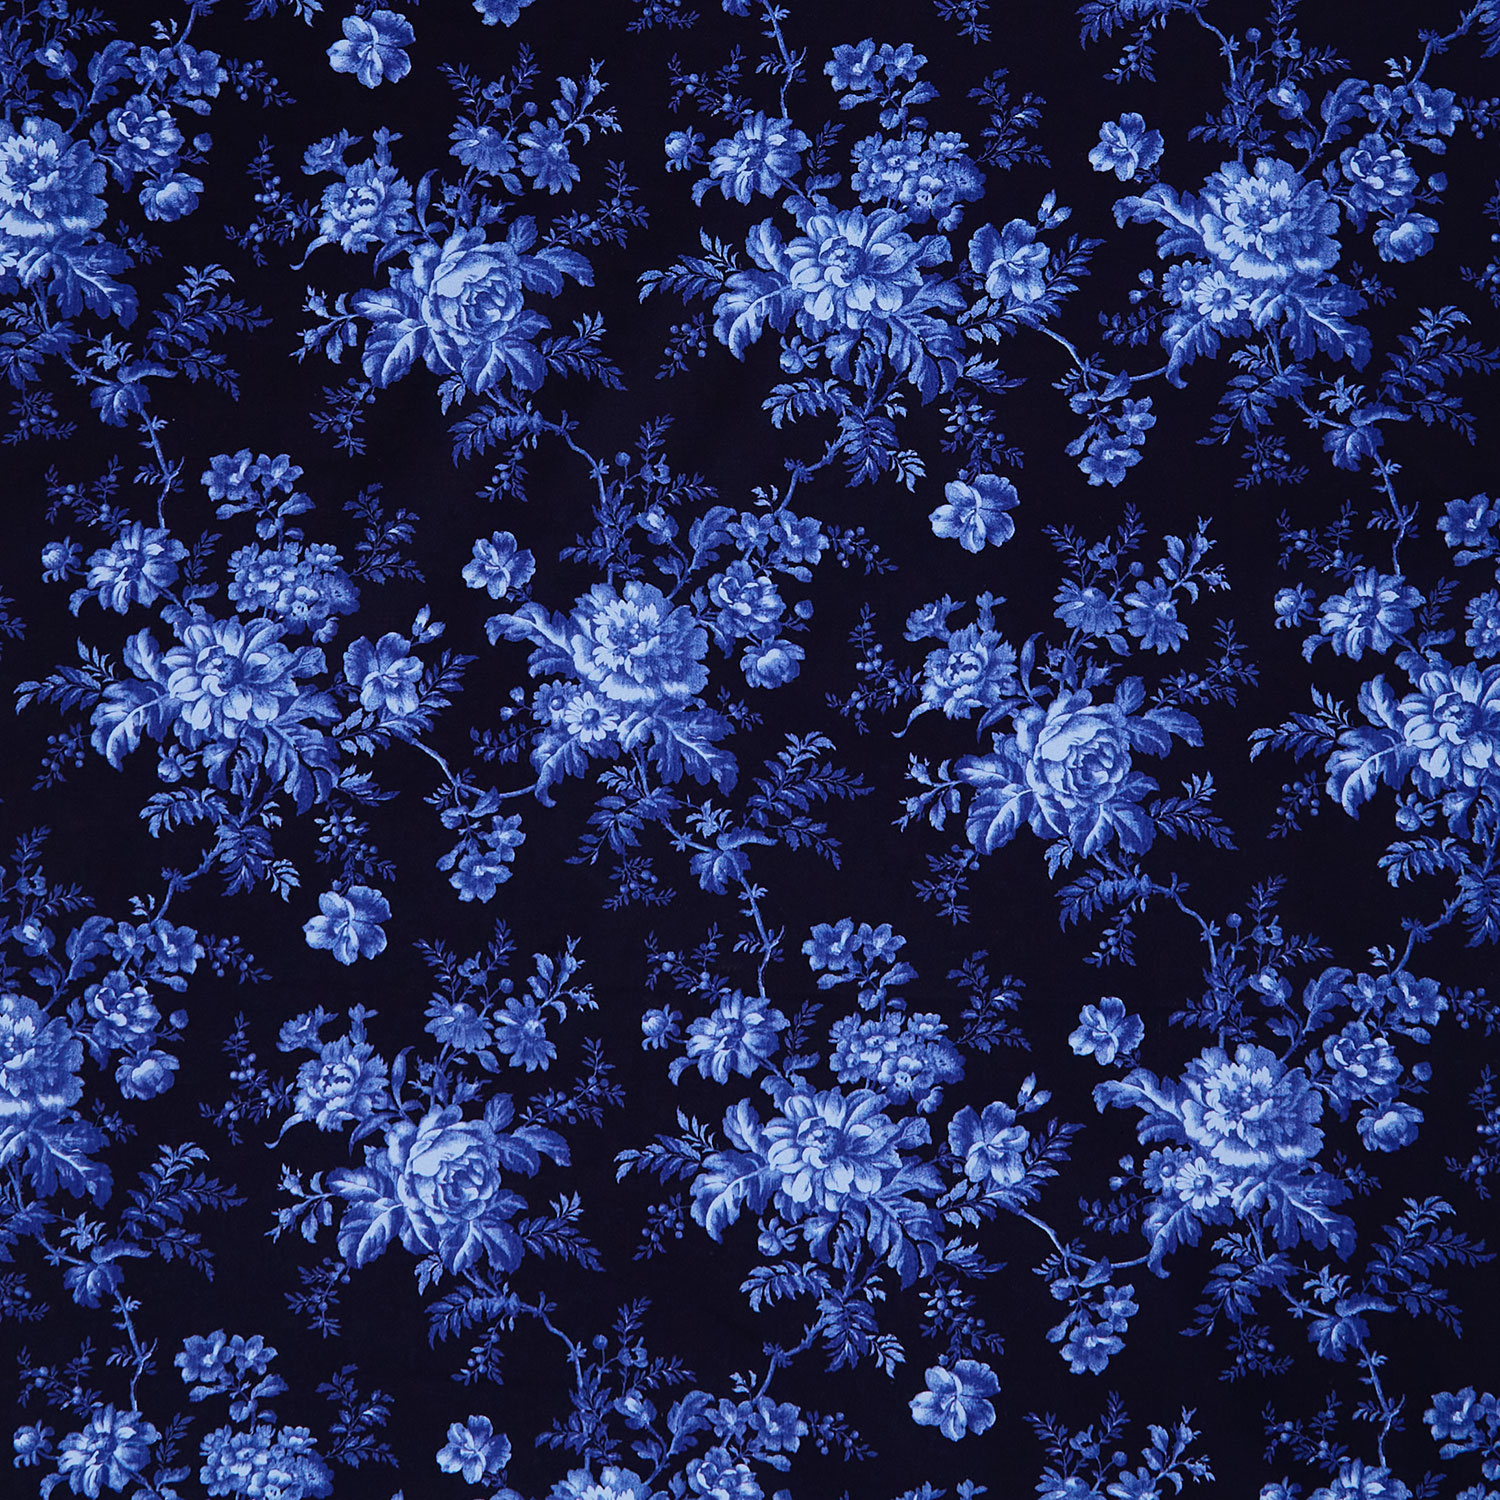
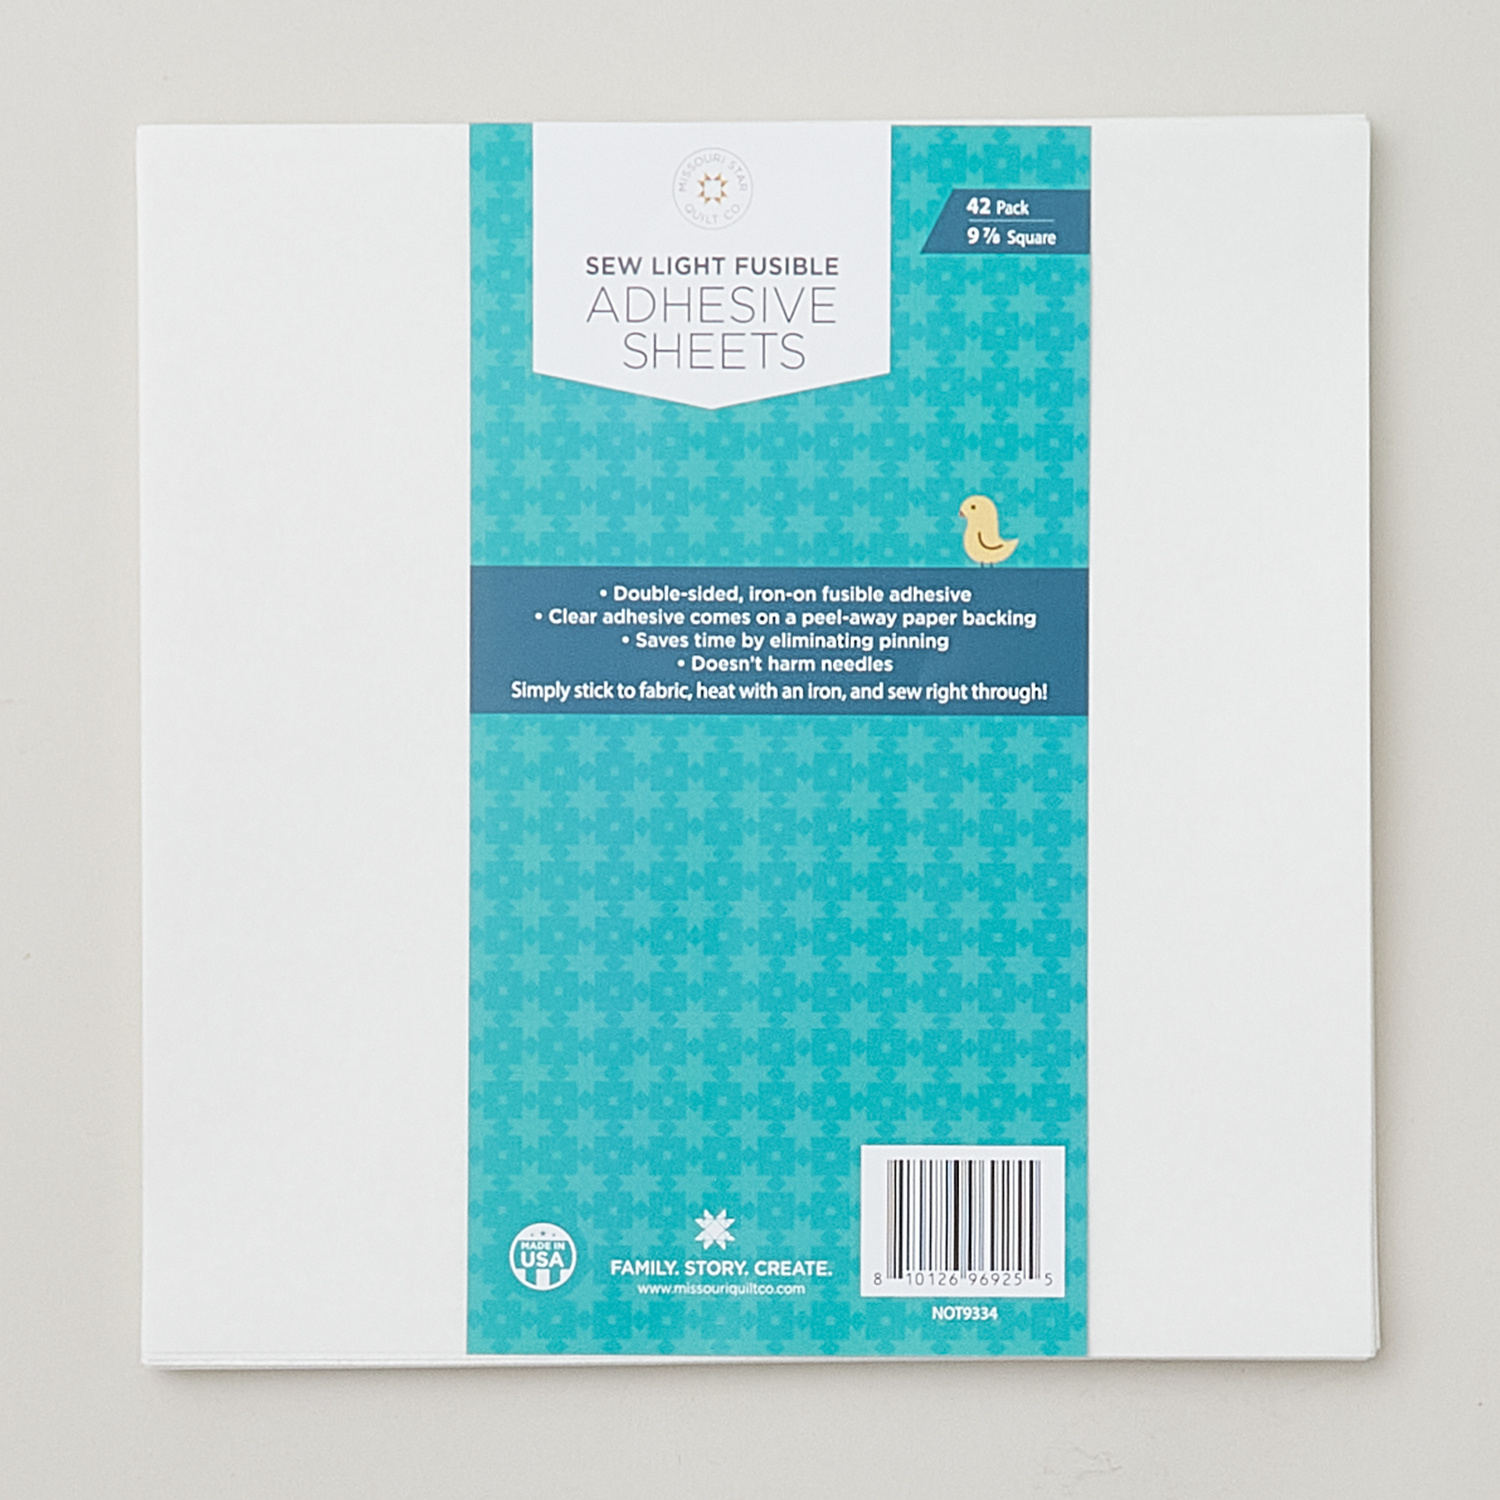
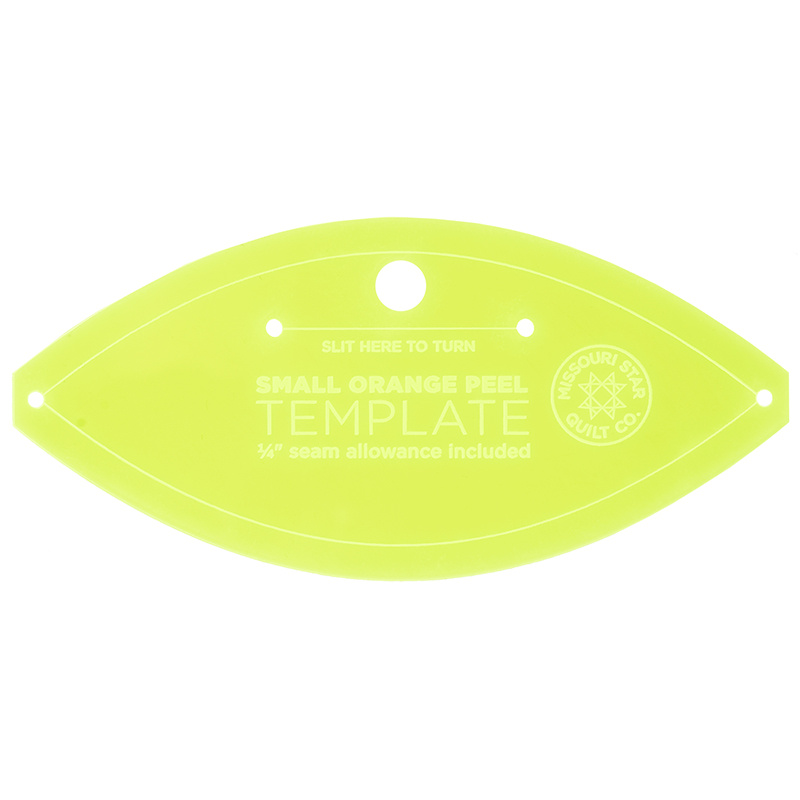
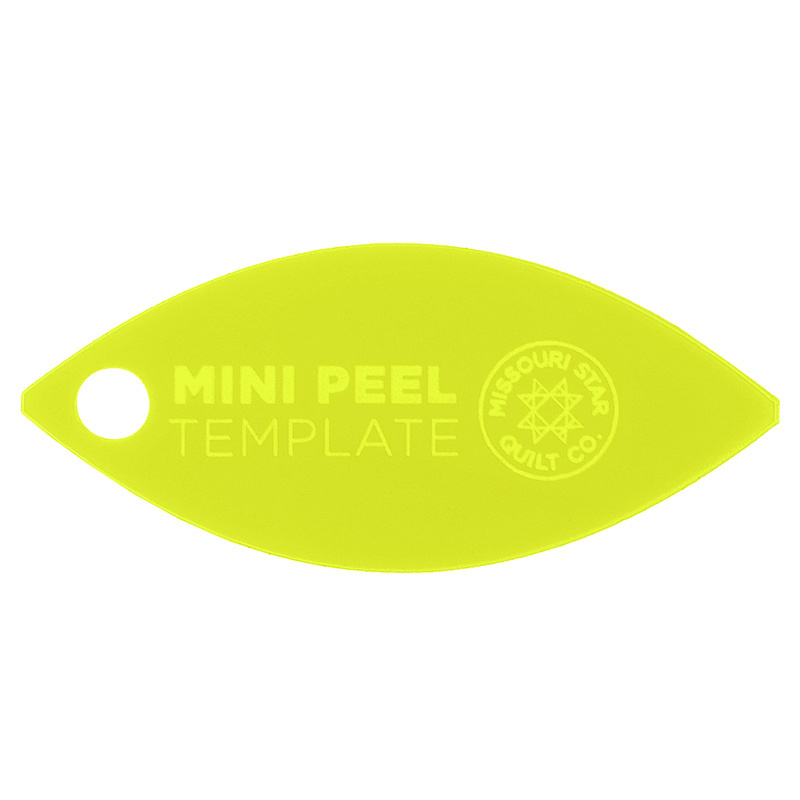
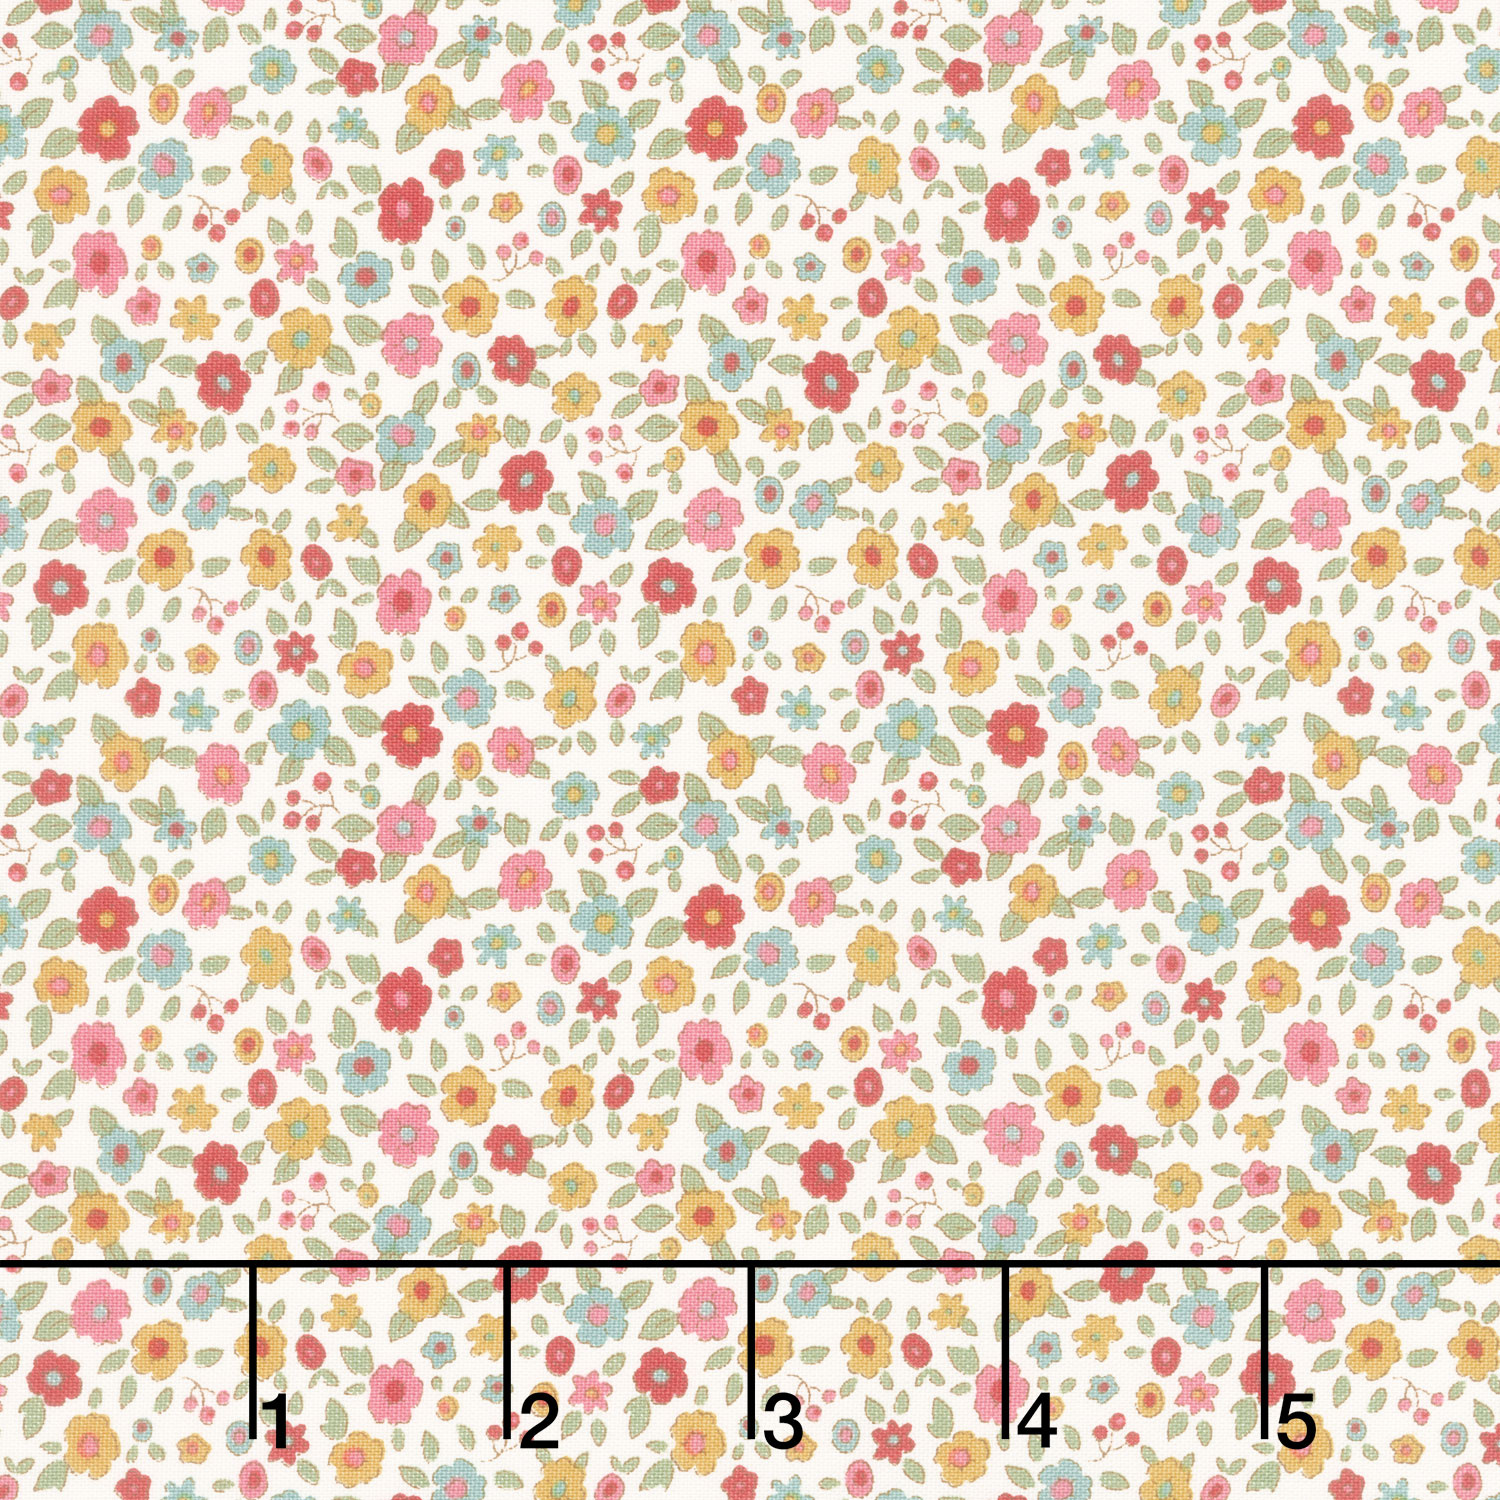
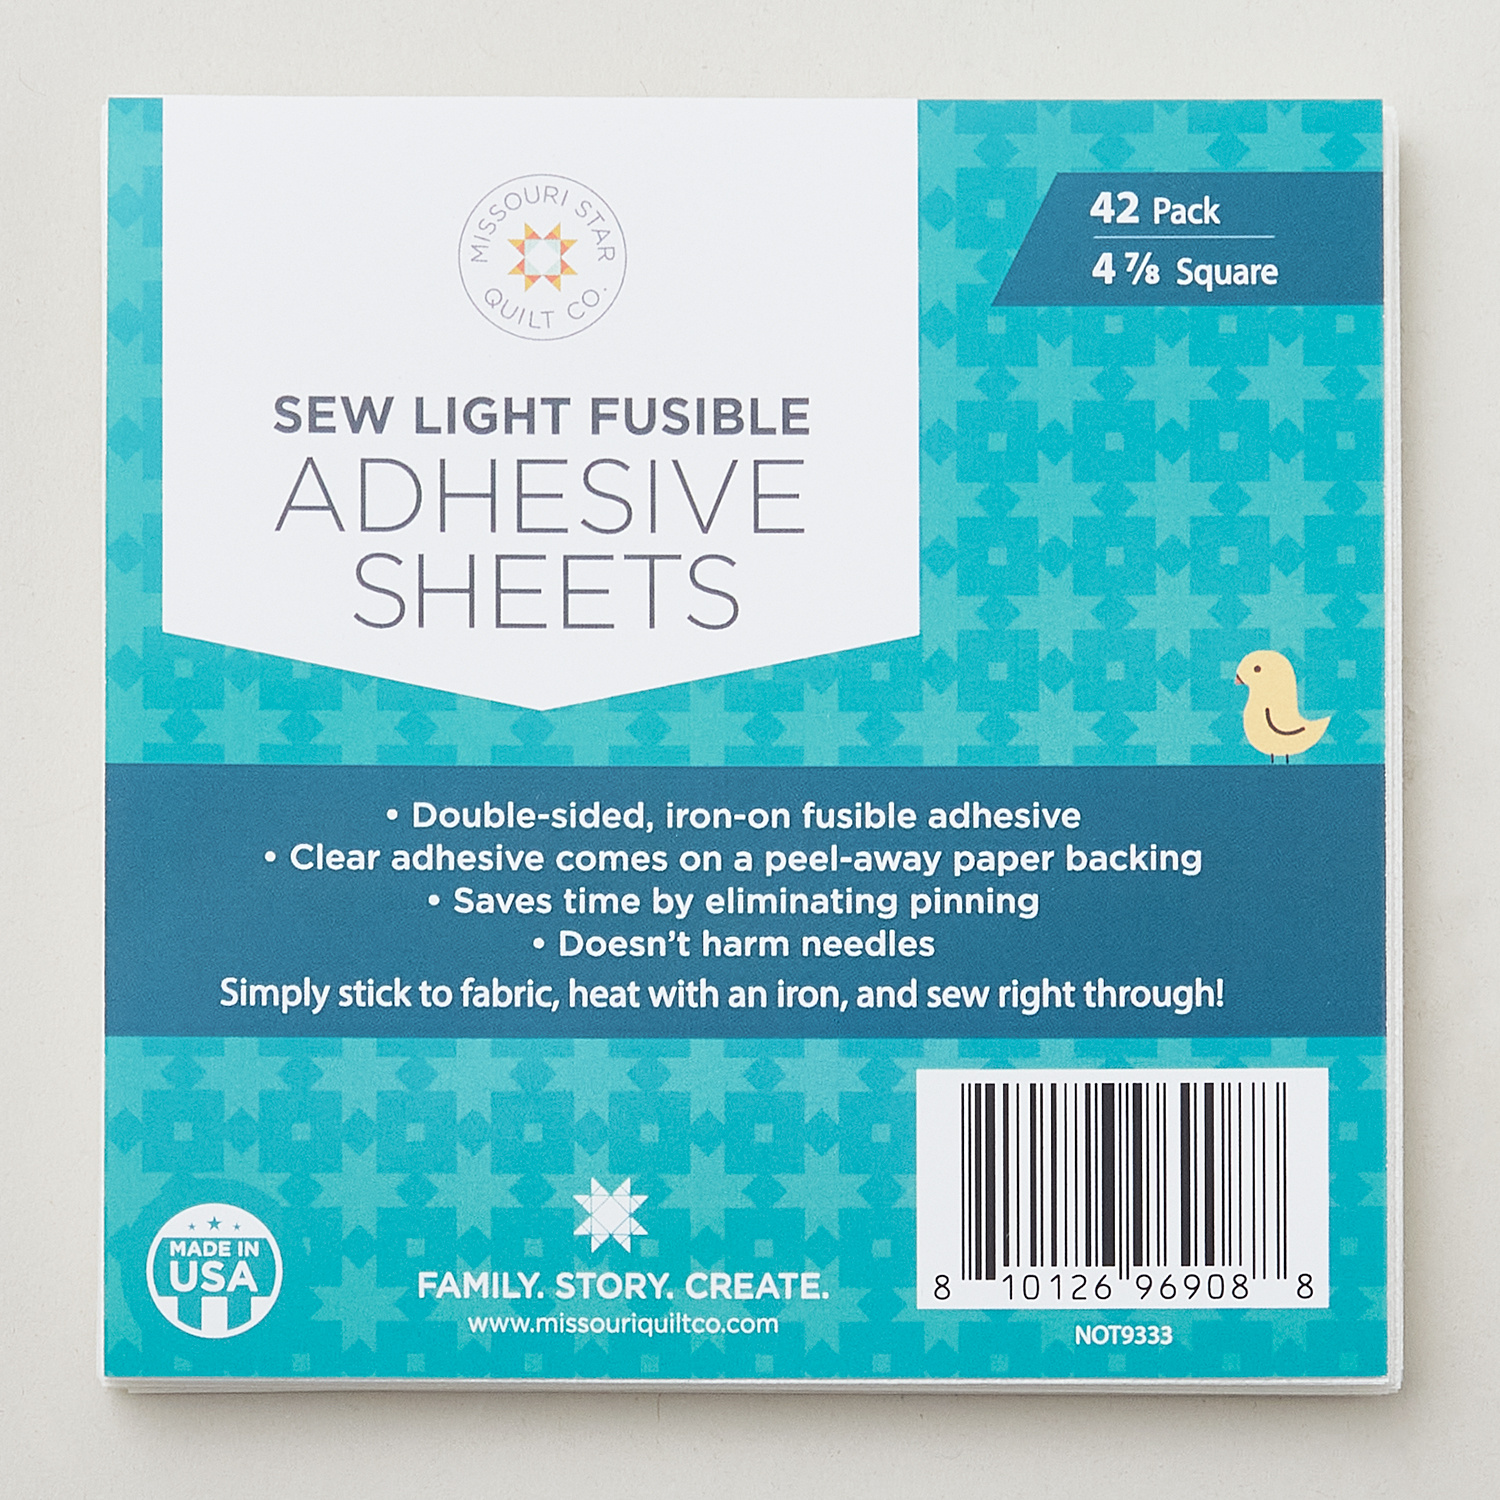
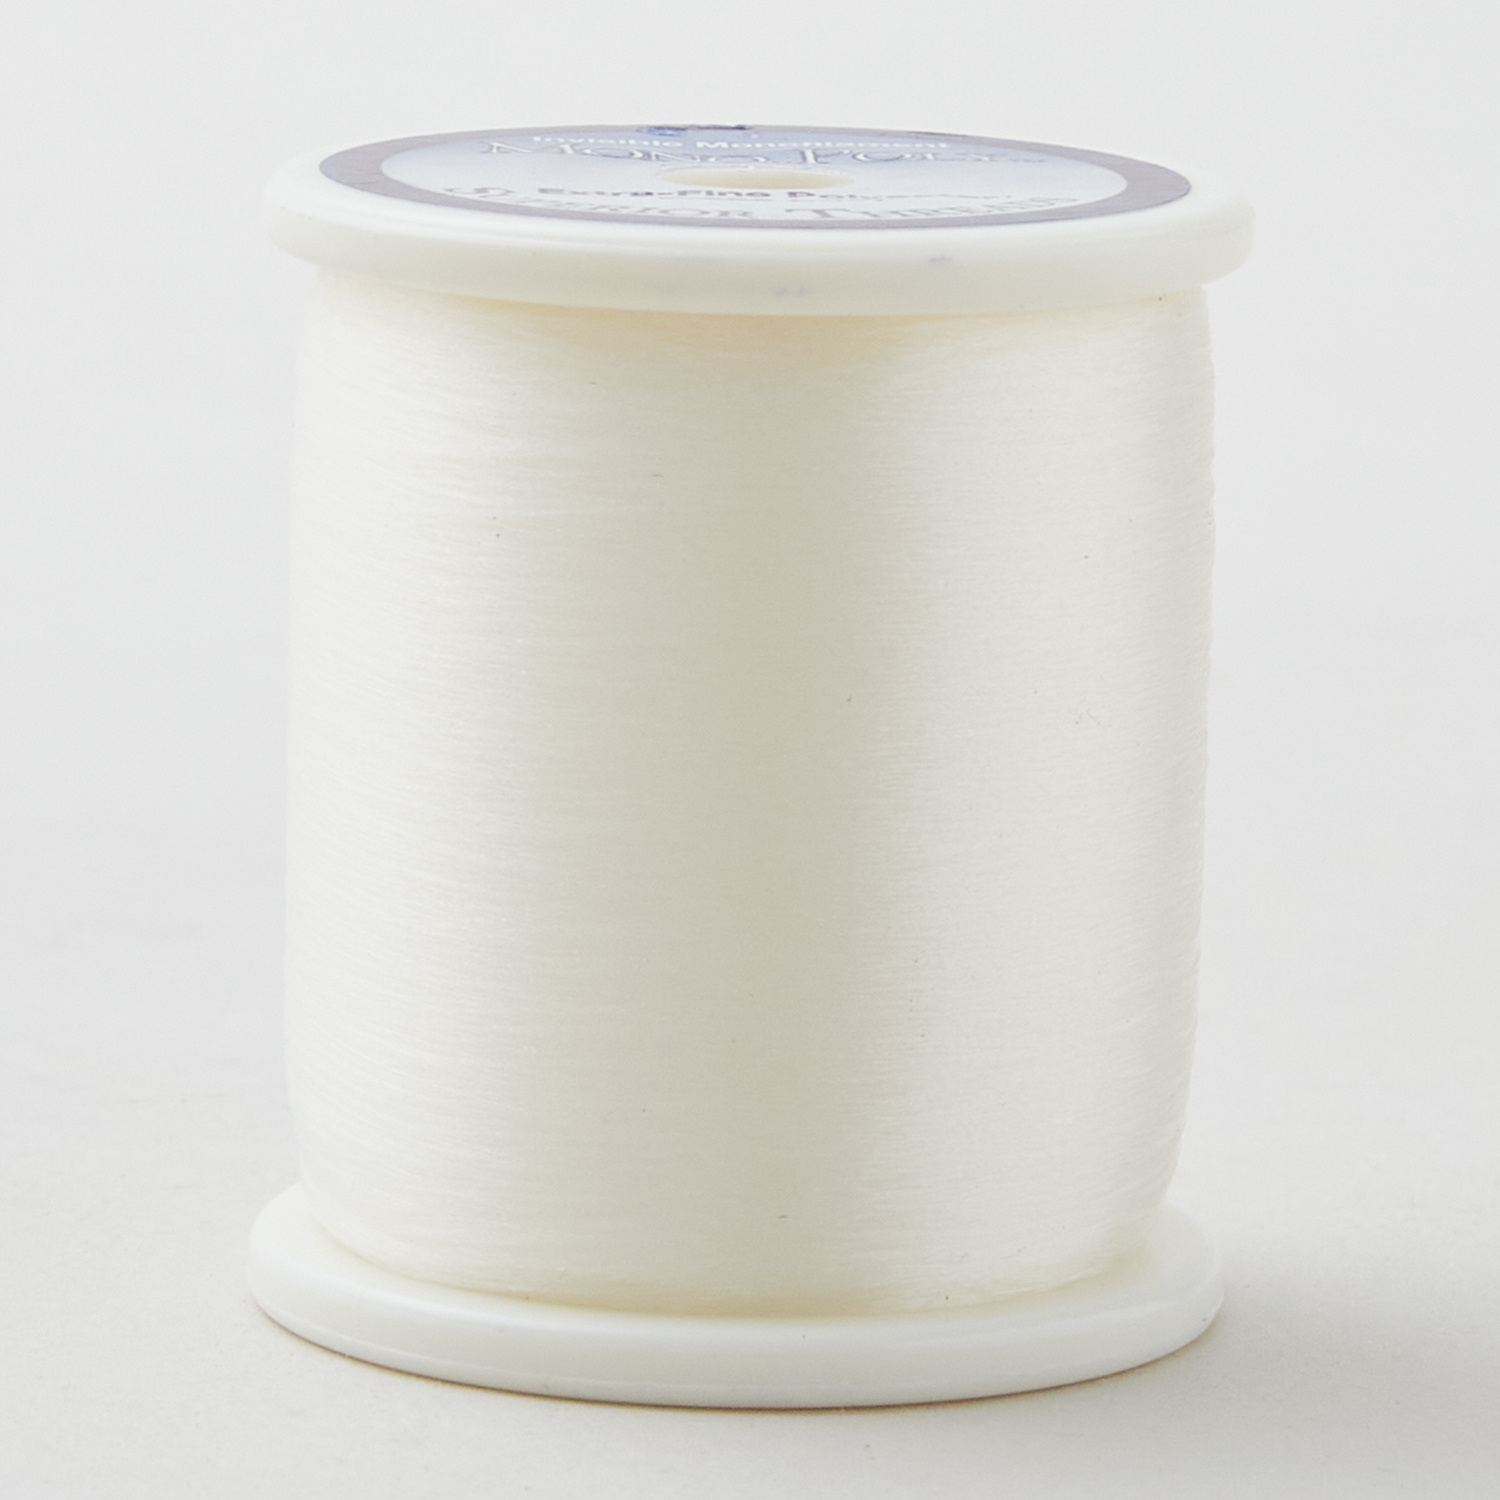
hi everybody I'm Natalie with Missouri Star Quilt Company and I'm here today with Misty hey guys it's double take day that's right super excited we've got a couple of fun ideas for you yeah we're using the orange peel today so we can't wait to show you our newest Double [Music] Take okay so I'm going to go first today my quilt is behind us it's called Garden Crossing because I don't know if you guys um remember those pavers that they make for some landscaping or garden walls I thought these looked so much like them it's beautiful I love the blue and yellow I do too any you know the Navy cheddar it's just it's a great combination all right so to make my quilt you're going to need one package of 10in print squares and I've used Jasper Blue by Whistler Studios for Windam Fabrics so you're going to need some accent Fabric and we've used this lovely cheddar color four yards and that includes your cornerstones and your inner border you are going to need a yard and 3/8 for sashing and a yard and 38 for your outer border our outer border is 5 in and it's just this lovely floral print for backing you're going to need 5 and 1/2 yards and I'll show you we use the same fabric for our back as we did for our our sashing strips but it's really beautiful I love it and I love how you can see the quilting on there with the yellow stitching yep yep I've been loving using a little bit of contrast in my machine quilting lately uh the machine quilting pattern is simply roses and it just turned out really beautiful it's gorgeous so let's get started this is a really easy [Music] one all right so this quilt is very easy it's just made up of this block over and over and then of course you know sashing in cornerstones but that's fairly self-explanatory at this point if you've been watching us at least a little bit true if it's your first time it's not and we'll go through it real quick but anyways okay so we are going to take our accent Fabric and we're going to put some fusible some of the soite fusible adhesive and uh then we will get to cutting out some orange peels awesome so I always press this to the wrong side of the fabric if you're using a solid there's not really a right or wrong side but if it's a print you want to do it on the wrong side and then these are great because you can cut these out with your rotary cutter very easily yeah they're super simple to cut yep so and there's there are quite a few um you'll also notice on the small orange peel we have this little Notch here and I think that is for when you Stitch around the edge and then flip it right side out yes so I tend to just ignore it and just cut right across that way I have pointy orange peels cuz I like the way they look so that is the reasoning there and really it's just not a big deal they don't have to be you know it's nothing to measure or freak out about just kind of ignore that little thing and perfect so we've got a bunch of these large ones and then we we cut the same amount from each one and technically just so you know you can get all of these cuts out of a 10in square so if you have an accent Fabric 10in Square pack that you want to use you will be able to get them all oh that's a great tip yeah just so you know and the little ones cut just about as easily as the big ones the little minis although if you go to cut around and it feels a little backwards just um spin your fabric M better or use a spinning mat or whatever you want to do but we always say if it feels a little awkward rethink what's happening cuz you don't want to get injured all right so now we just start laying these out and I started with my large pieces if you're worried about finding that Center I would suggest folding it in half and just doing a little finger press right there in the middle fold it in half again the other direction and then you've got a nice little crisscross um spot and you can put your points to the middle perfect and I don't worry too much about these things um you know they're going to get you're going to get your points in your corners and these points will be in your seam I'm just not that worried about it I don't get too hung up on it and then these guys just fit right here in the middle of these ones pretty the little minis y they go in between and it does kind of give you like a little bit of negative sort of like a little star yeah this little starry thing I I think it looks kind of cool I like it right so now all you do is peel off your heat and bond or so lighted fusible adhesive whatever it is you've got there we go that's so much better for me so we'll press all of those down down put that one out I'm help you peel some yes okay please I can do that I wasn't sure if you were going to peel them all or not I might as well if I'm going to iron it um I might as well have them all pressed down okay so I would assemble these I'll move it but I'm I'm going to just double check it at the ironing board before you press them make sure you're happy with where everything is Yep this stuff has a little like static effect where it wants to stick to my hands can't get a hold of this one come on there we go you can score it if you want to I did we get them all yeah oh almost I'm going to move this over to my ironing mat dressing mat and our last one goes right here now we did our top stitching with um that Superior Invisible Thread I really like that product it works great uh especially if you have multiple colors on your quilt so then it just it just Blends right in it tends to take on the color of whatever fabric you're using exctly it just kind of settles in yeah you don't don't see it it's invisible which is what you're going for and that's it I love it so easy so this one is the darker it's got its top stitching on and then we would go ahead and top Stitch that one so now they just go up here in this layout I did 6 by seven so 1 2 3 4 five six across and then one two 3 four five six seven down so we use the entire preut um and then you're going to join them with a 2 and 1/2 inch sashing so these are 2 and 1/2 by 10 which is the the width and height of your layer cake square and then we have 2 and 1/2 in squares for our cornerstones and so those go in between all of the blocks and then we just finished it off with an inner border and an outer border our inner border is 2 and a half our outer border is five it's beautiful it ends up being 76 by 87 so it's a great big quilt it's you know almost I don't know maybe close to Queen you could probably Queen it if you made bigger borders borders yeah so but that's it it's just that simple and I think it turned out really sweet and it looks a little bit more complicated than your average everyday ABS quilt absolutely it's beautiful Nat thank you all right so I guess I'm up next that's right all right so this is my quilt I called it Orange Peel lattice it's so pretty thank you I really love how it turned out I think it has a nice kind of soft vintage feel which is great I it turned out awesome it's beautiful thank you and so let me show you what you need to make this so because we use tilt Fabrics you will need three charm packs because there's only 32 squares in each pack if you're using Tilda so keep that in mind but if you're using a a different manufacturer they usually have 42 and you'll only need two okay so three if you go with the same print as me otherwise you know two packs will do two packs will work then you're going to need one yard of your accent Fabric and I use this beautiful blue you need three and 58 yard of your background one and a/4 yards of your outer border and 4 and 78 yard of your backing and of course our cute little orange peel templates and some fusible and some so light that's right so let me show you how to make [Music] this all right so this is pretty much exactly like Natalie's as far as you know putting the fusible on the fabric cutting your shapes fuse it cut it out stick it on EX and so from my 5in squares I just went ahead and cut these 5 in squares of our fusible ironed it to the back and then cut out my large orange peels those are all from our print and then all of the small or mini orange peels these are actually small these are mini okay um come out of the accent fabric so you're just going to cut two of these uh accent orange peels for every single block and then we have 7 and 1/2 inch background squares that these set on and I did go ahead and just press kind of a corner to corner line so let's go ahead and do that on the pressing mat that's so smart it just helped me to line everything up yeah so we'll do that and then I'll go ahead and fold it this way and just finger press it to give me that true Center yeah nice all right and then we are going to float our large orange peel and actually if you fold this in half too it helps if you're real particular about having everything centered that gives you a middle line which I mean it's not necessarily about like particular it's more about how the fabric ends up looking in the end you kind of do want them to line up a certain way that's exactly right and to look level and all those little things just help you get a better result in the end yes yeah so so then I can line this up with the little finger presses and make sure my points are on on those that diagonal line it's funny because you look at it too and you think it's like perfectly straight and then you're like oh it needs to tilt a little bit this way or that exactly and so there is my first one and then we're going to add these little accents see if I can peel these off R back roll it back I got it and so then these I just kind of float and I put them as close to my um Center Orange Peel as possible okay so I like but them up right next to it and so it gave me just a little bit more room to keep those points on the outside edge it's not perfect every time but you know we're not going to they're so cute they look like it looks like a little bee or something like a little fluttering bee I agree so we'll carefully move it over here I probably should have lined it up on the mat well we all have our things and so then you just want to press straight down to fuse that there we go all right and that is really it and then just like you now I use that Superior Invisible Thread which was really handy since we do have the different colors you don't have to change your thread at all that's so nice and so here's what that looks like all top stitched and I just went here to here to here to here and I just so I never had to stop and I could go all the way around I love doing that too I like to figure out like what is the path exactly where this can all be connected yep and it just made it go really quick because I just rotated that under my machine and got all the way done with one block at a time and so let's talk about the layout so there is one 2 three four five six seven eight across by one two three four five six seven8 nine 10 down and then all I did was just sew those straight together there's no sashing no inner border I love it and we just added this 5 in outer border super easy and so let me see the Finish size on this 65 by 79 so it's a great size and I use this diagonal plaid hexis for the quilting pattern which is one of our newer ones I love it it turned out so great I love it so much it's beautiful and so then for the backing I use this sweet little floral so Prett so cute I love those little Calico flowers I do too and so that is it it comes together super quick and easy that's excellent yeah and I I hope you guys enjoyed it well this was so fun I really enjoyed these quilts they're both really cute and super simple I agree I love that they're so so easy to make and hopefully you guys enjoyed these two ideas on the orange peel template so we have my orange peel lattice and Natalie what was yours called again Garden Crossing Garden Crossing two great quilt patterns using the orange peel so thank you guys for watching our Double Take yeah see you next time bye bye

More Charm Pack tutorials

See all