If you love Double Wedding Ring quilts, but they seem too time-consuming to make, Misty has the perfect solution! Create a Double Wedding Ring Runner! You'll get the look of the classic quilt in a fraction of the time. This runner would make a fantastic gift for a wedding, Christmas, or for any reason–even if that reason is adorning your own table! The MSQC Double Wedding Ring Template Set makes it easy to create the blocks.
Misty Doan grew up surrounded by sewing and quilting. She loves spending time sharing tutorials each week each week, and when she’s not stitching up one of her fun sewing projects for home decor, most likely you’ll find her hanging out with her husband and three awesome kids or working on a house project.
If you love Double Wedding Ring quilts, but they seem too time-consuming to make, Misty has the perfect solution! Create a Double Wedding Ring Runner! You'll get the look of the classic quilt in a fraction of the time. This runner would make a fantastic gift for a wedding, Chr...
How long is the tutorial video?
The tutorial video is 00:19:36.
Are supplies listed for this tutorial?
Yes. The tutorial page includes the supplies and materials connected to this project.
Video Transcript
Hey there friends. I have a fun project using our double wedding ring template set. We're going to make this adorable double wedding ring runner. And it is way easier than you think. So, let me show you how to do it. So, to make today's project, you are going to need two packages of 5 in squares. And I'm using this really fun kind of blue and cream collection called Swatchbook by the Iowa Quilt Museum for Windom Fabrics. In addition to that, you're going to need two different backgrounds. Uh I'm doing this kind of medium blue and this navy of the lighter one. You're going to need 3/4 of a yard. You're going to need half yard of your dark accent. And then I use this great little plaid for both my binding and my backing. For the binding, you need a half yard. And for your backing, you need one and a half yards with a vertical seam. In addition to that, of course, you're going to need that double wedding ring template set that we designed with our friend Eddie Walker. So, let me show you how to make this. So, this is the block that we're going to be making today. I actually just kind of call it a half block since it's not a traditional square. And let's go ahead and come back to the runner and see how that would set in. You'll notice that the light background is always going to go towards that center. And then as we rotate these, it's what gives us this beautiful round effect. And by only using this partial side, it gives us this beautiful kind of scalloped edge that is so traditional to a double wedding ring. So, let me show you how to make it. It is really, really fun to put together. The first thing we're going to do is prep some of our background fabric. So for the navy, we are going to use that to cut all of these inner wedges that you see. And for this kind of medium blue, that's going to cut these outer arcs that we're piecing together. And so those templates come from our set that you see here. And let's start with this medium blue. So what I've done here is I've cut each of these fabrics at 8 and 3/4 in by the width of fabric. And now I'm just going to open this up. And for this one, I'm going to align this straight edge along the top of my fabric. And I'm going to trim off my salvage using this other straight side. So, let's go ahead and do that. There we go. And now, because I'm right-handed, I'm going to flip this around again. Just making sure those straight edges are running straight along the edge of the fabric. And then we can trim here and along this gentle curve. Whoops. Sometimes I missed that little end piece there. There we go. And so that is our shape. And just to show you guys, the best way to get the most fabric or the most out of your fabric, I should say, is by flipping this around just like this. And so again, we'll cut off that straight side and then rotate this around. Line up those edges and make sure everything is straight. And then you can trim off that excess in the center. Whoop. Must have a little nick in my blade. There we go. All right. So, you're going to need 12 total of these little arcs. You're going to need 12 of your centers as well. So, just keep cutting until you have all of those ready to go. And so, let's move on to this kind of orange peel shape. Now, you can keep these stacked if you want. They're a little bit less tricky, I would say, to cut. If I can make sure my fabric is laying smooth. There we go. Beautiful. And so now our orange peel is just going to be slightly at an angle here. There we go. Perfect. Then I can flip that around. I should say on the template set they actually call this a melon because we have another orange peel template and it is slightly different. So this is your melon shape. There we go. And so now that is the inside of all of our little blocks. And so now we can move on to piecing. So let me clear all of this up and we'll move on to the next step. All right. So now we're going to prep all of our wedges. And those are going to come out of our two packs of 5 in squares. And so I'm just going to start by cutting this in half just like so. I'm going to go ahead and flip it around. It looks like I have a little bit of extra. So I'll just trim away some of that PKD edge. And then now I can set this little wedge shape. That's uh template D from the pack. And I should point out also that for this design, we won't be using the B template. So you can just set that aside, but there are all kinds of fun things you can do with that later. And so now we'll just spin this around. Just make sure it's nice and straight and trim off our excess. And you're just going to do this with your whole pack until you have a nice big stack of a bunch of these wedges ready to go. And I have a bunch that I've already cut out. And so you can see my little stack here. I've got a good variety. And so the first thing we want to do is just find a mix of these so that I just have a bunch of different prints. And we need I believe it is nine. Let me double check. One, two, three, four, five, six, seven, eight, nine. I was right. We need nine of these to make our ark. Let's just make sure we have some different prints. There we go. Three, six, seven, eight, nine. All right. And so now I'm just going to take these to the machine and I'm just going to sew one after the other. And I am not going to press it. That is was one of Eddie's little tips for making this block. You wait to press it until the very end. So, we're just going to stitch each of these together, one after the other, and I'll meet you back here when we have it all done. So, I'm matching up those straight sides. And I'm always going to have the wider part of the wedge at the top. If you were sitting and working on this whole project, you could sew them in sets of two and then sets of four. There's lots of little tricks to save you some time along the way. All right, so I have all nine of those little wedges sewn together now. And so the next step is we're going to take one of our little melon shapes. And I'm going to press that in half and finger press the little center mark. And then I'm going to do that same thing with this little wedge. And it should fall in the center since we have an odd number. It should fall in the center of one of these. So I'll just finger press that as well. Whoops. Helps if I finger press the right side. So, I actually need to do this opposite inside edge because that's where it's going to meet up. So, we will finger press that. And so, then now I'm going to take my pins or clips. I don't always love to pin, but I like to pin this center at least. And we're just going to hold that in place. So, I've just matched up those two finger press points. And then we're going to start by attaching this end, making our way gently around this curve, and matching this one as well. And so if you want to pin, you absolutely could. So I would line up my my start and stop, of course. We'll just go ahead and pin it so you can see the process. There's that. And then you'll notice how it just kind of settles in there and it's just, you know, right next to that wedge. So, I'm just going to line up those two little edges. I'll put one more pin in the middle here. And then do the same thing on this side. You just got to get the bulk out of the way and it just kind of nestles in there. All right. So, now we're going to stitch down this side. If you have a little stiletto or, you know, a tool to help guide that end under, that's always really helpful. Sometimes even just using a straight pen that's nice and long to keep those lined up because you never want to actually stitch over those pins. So, let's go ahead and take this to the machine now and stitch it down. There we go. So, when you're sewing curves, you just want to slow down and take your time. This is a really gradual curve, so just try and make sure that your quarter inch stays consistent. And then just gently guide it underneath your presser foot. get closer to the end here. Just making sure all my seams are laying down nicely. And then I've taken out that last pin. And I'm going to just use that very tip to hold the point of my fabric ends together as I approach that under the machine. And there we go. We have stitched that first curve and it looks great. And so now in that exact same way, same idea, we're going to add that outer arc on the outside edge of that curve. So again, we're going to find that little middle point of these two here, finger press, and finger press this one as well, just like so. And so then we want to match those up right sides together. We're going to line up those two finger press points. Pin. Match up those ends as well. All right. We're just going to add a few more pins here. Just gently matching these together. Because we have those bias edges, there is a little bit of stretch, so you don't want to tug too crazy. But now that I have all of this pinned in place, we can just take this to the sewing machine, and we're going to use that same quarter inch seam all the way along this curve. So, let's go ahead and take care of that. And again, just slow down a little bit. Actually, I like to see my curve. So, I'm going to flip this over so I can see this curve piece. I don't know why, but my brain likes to see that part. So, do whatever works best for you. So, I'm just gently making my way around this curve, taking my time, keeping the fabric as smooth as possible. pull to try and prevent any little tucks or pleats along the way. Now we're down to this final little stretch here. Okay, there we go. So, I know you might be tempted to press again here, but we have one more piece that we need to add. So, we're going to wait to press it because we just don't want to distort this block at all. And so all that we're going to do for that is on this other side, I've gone ahead and sewn this arch together. And it's the same nine wedges that we had on this side. But then on each end, I've just attached a normal 2 and 1/2 in square. And so we're going to line up these seams first because I want this 2 and 1/2 in square to match up with the wedges on the opposite side. Hopefully you can see what I'm doing there. So, we'll place a little pin there. And then again, we have that center of our middle wedge that's going to match up with the center of our little melon shape. So then we'll set that in just like so and match up here as well. All right. So now I'm going to go ahead and take this to the sewing machine. Remember, we're going to square this up at the end. So, if my ends don't match up perfectly, I'm way more worried about these seams lining up. So, that's what I'm checking for. And I'm probably going to have a little bit of overhang that I'll trim up when we square this at the end. So, let's go ahead and take this to the machine now. And just like we did before, we're getting lots of practice working with these curves. And it really isn't hard. You just need to take a little bit of time, be patient with yourself, and just slow down a little bit. So, as I got to that first seam, I'm just going to make sure all my fabric is staying lined up how I want it. And then gently make my way around this curve. There's my midpoint. Make sure those little seams nest like I showed you before. And then we can just sew off this end here. There we go. All right, that looks pretty good. I'm happy with that. And so now I now that we have all of these sewn, I can give this a press. And so again, I don't want to distort it, though. So I'm just going to press it from the top first. Make sure everything's going to lay nice and flat. There we go. That looks lovely. And so now I have this little 10 in square ruler. And so I can take I want to make sure this 45 line is going to run right through the points of that melon shape. And you'll see it's just going to have a little bit for me to trim off here. So, I'm just going to make sure that I'm kind of watching. And I've got as much as possible of my outer corners. My 45 is going right from corner to corner of this melon. And then we can take our rotary cutter and trim away any of this overhang. There we go. I'm just going to spin this slightly here so it's easier for me to get these last two little cuts. Just that bit there and that little bit there. And that is how we make our little half block unit. You're going to make 12 of these for this runner that you see behind me. And I have a few more of them done so I can show you how they come together. So, let me just move this out of the way. Like I mentioned before, we're gonna place that lighter blue towards the center. And then we are just going to sew it essentially like a four patch then. And so we'll just lay these together until we get this unit. So let's go ahead and take a look at this runner. You'll notice that you join those units just by these few little section of the wedges and those little four patch in the corner. So you're going to match those up so you kind of get that little four patch effect. And then you're sewing three of those units together to make this adorable runner. Of course, you could keep going if you wanted to make it a bed runner or if you have a giant table, make it to suit whatever you have. This version here that I made finishes at 19 by 57 and I quilted it up with diagonal plaid. The only other thing I want to mention is because we've left this scallop, you are going to need a bias binding. So keep that in in mind when you're making your binding. But other than that, it is super quick and easy to make. And I hope you enjoyed this tutorial on the double wedding ring runner. I'll see you next time.

 Misty Doan
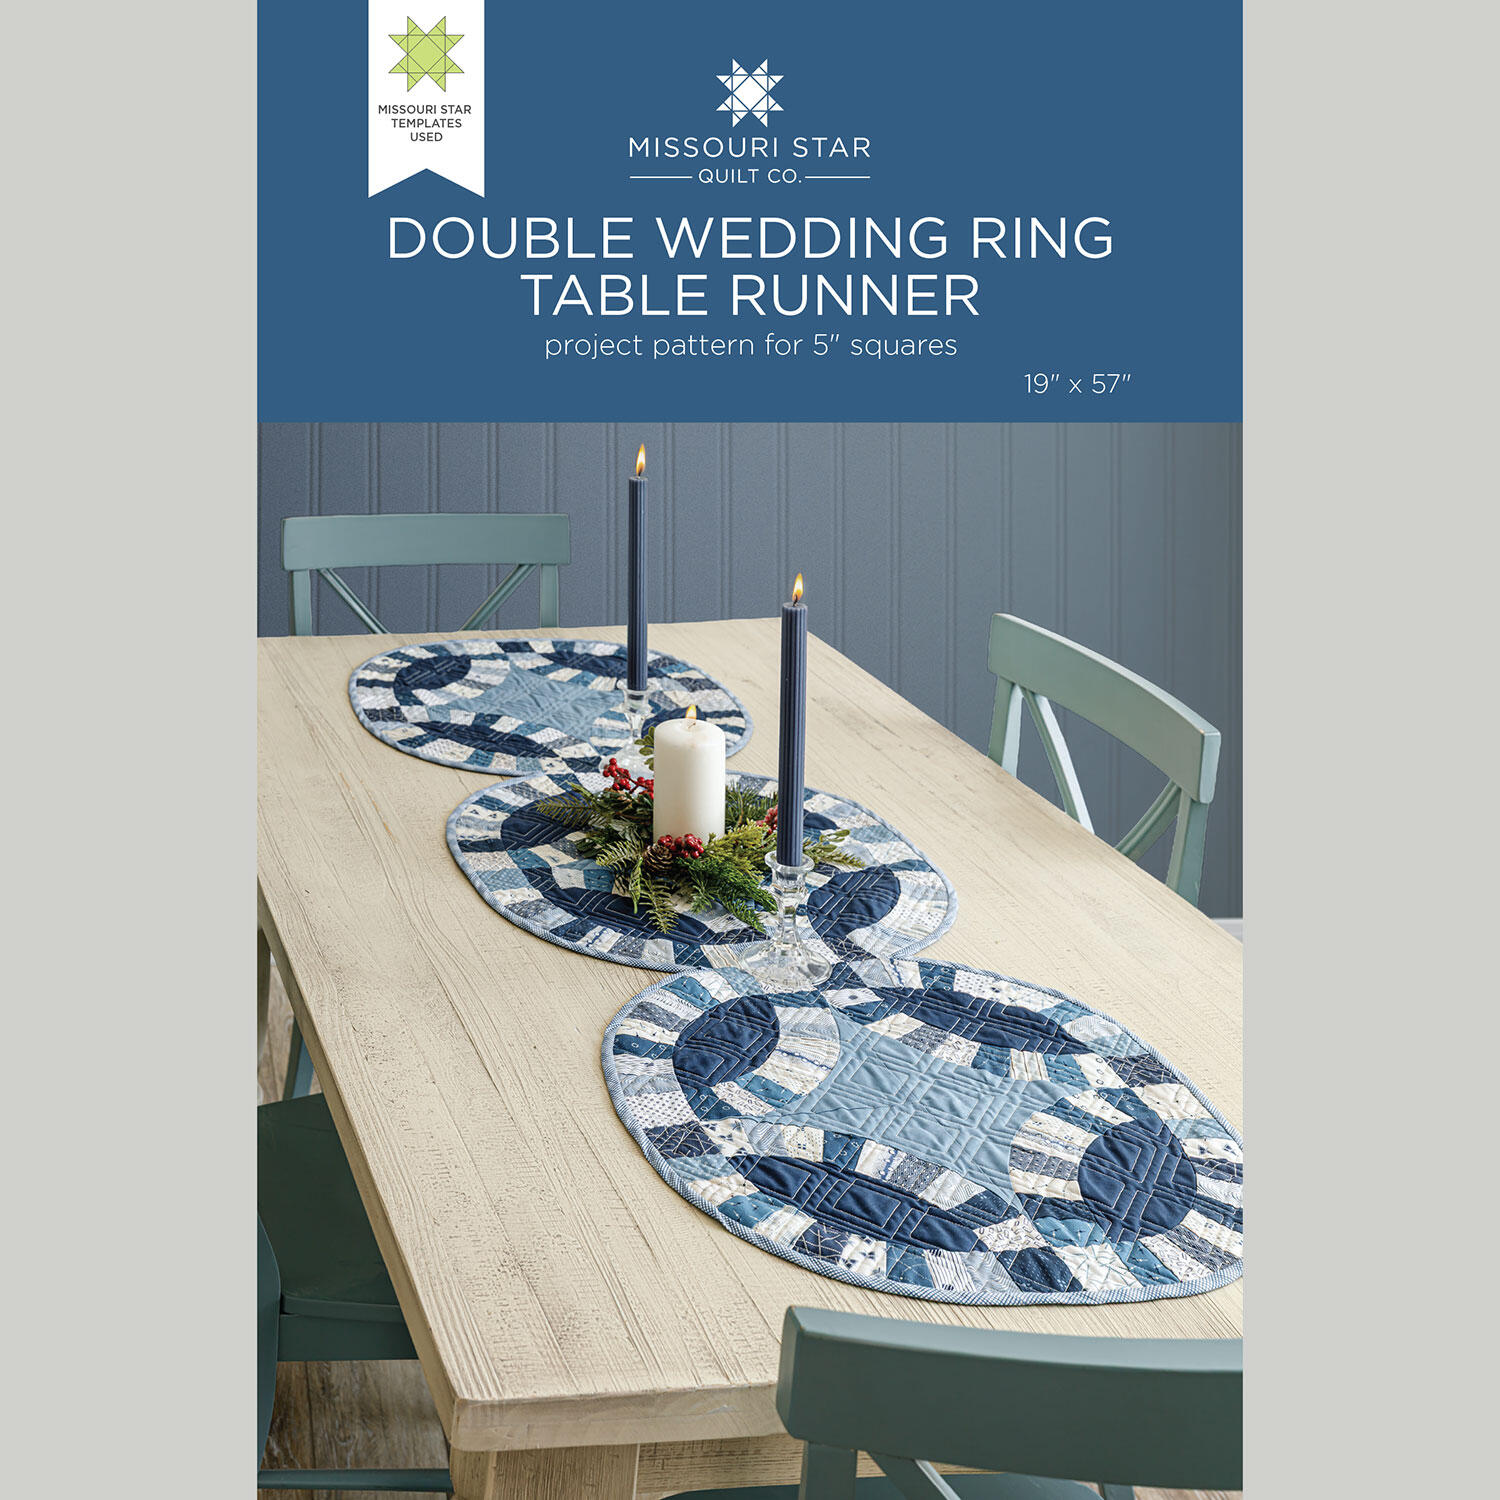 Double Wedding Ring Table Runner Pattern by Missouri Star$8.50Shop →
 Digital Download - Double Wedding Ring Table Runner Pattern by Missouri Star$6.95Shop →
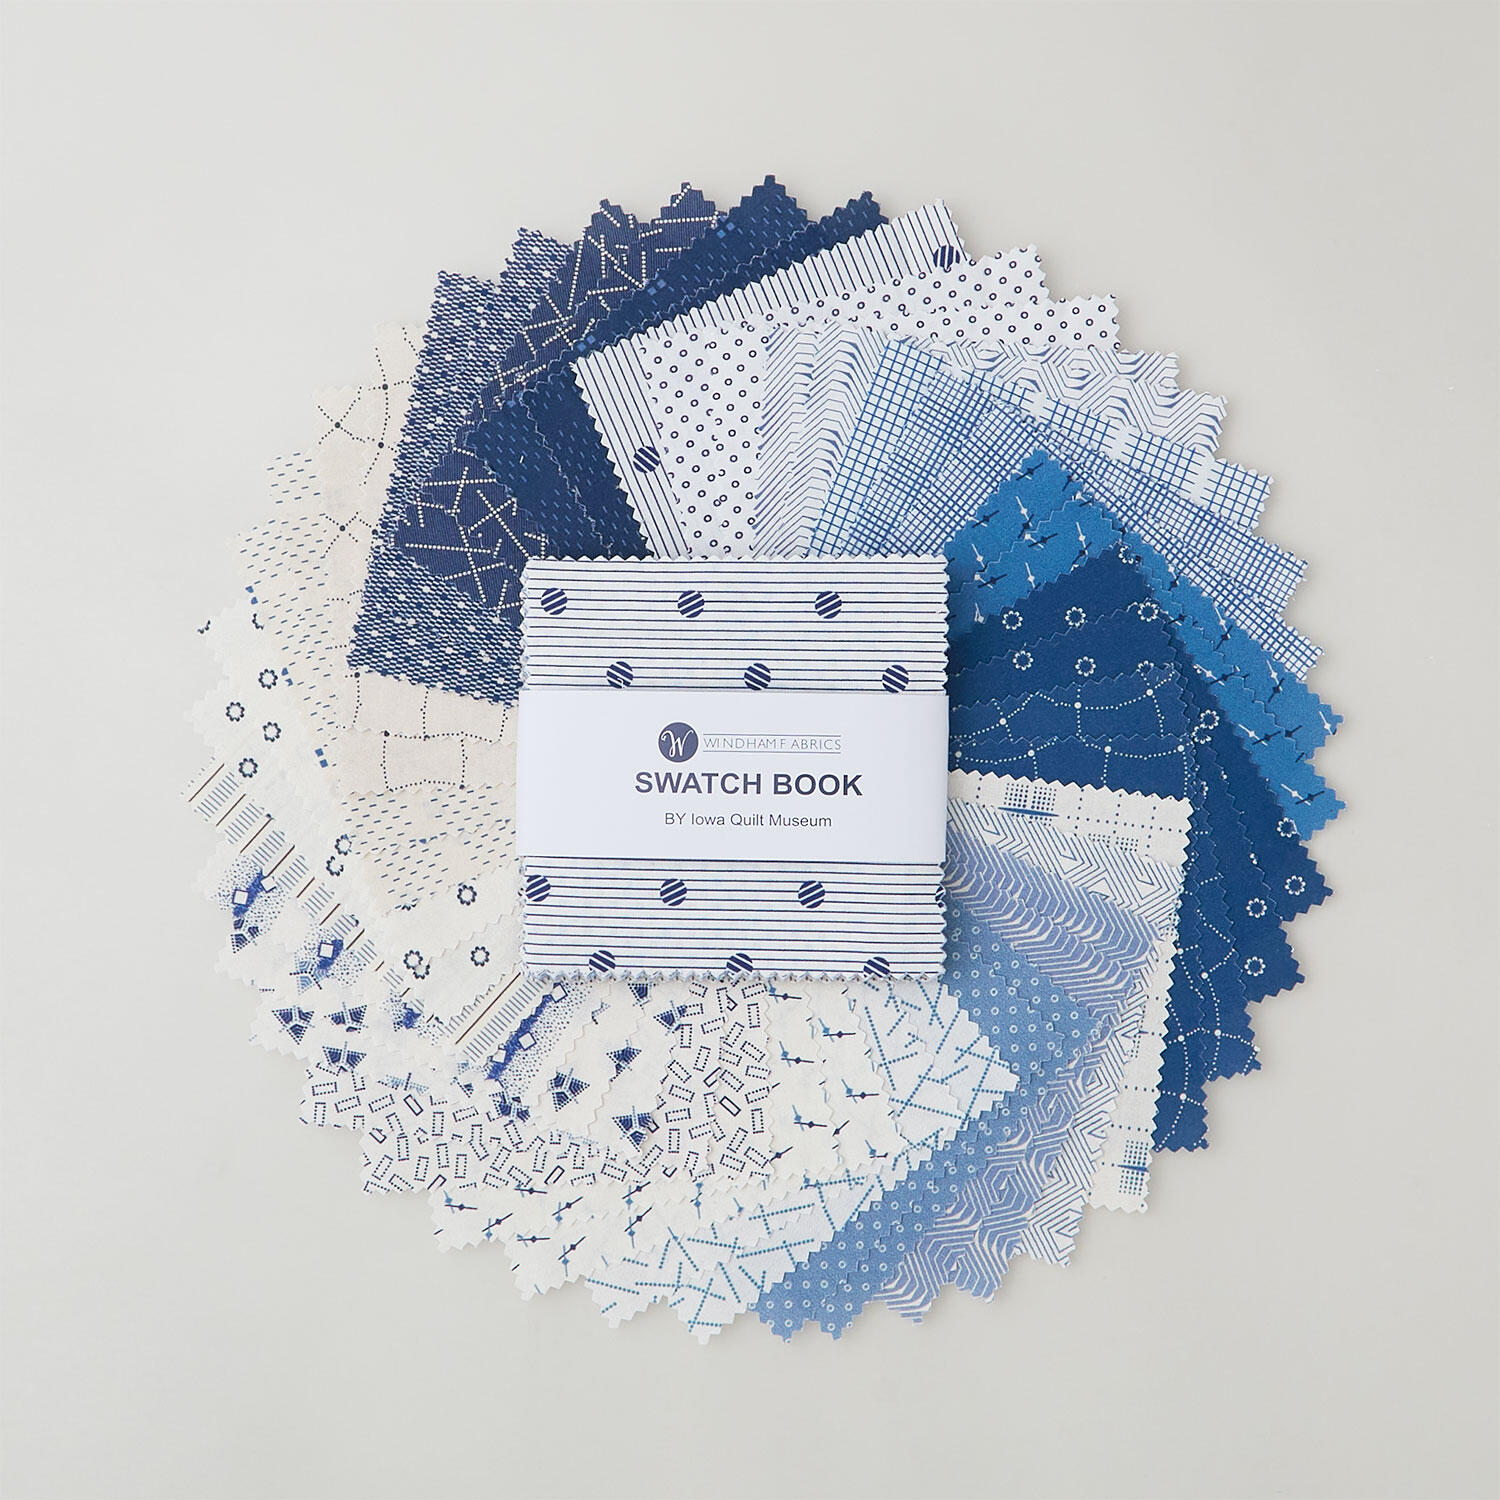 Swatch Book Charm Pack$14.50Shop →
 Colorworks Premium Solids - Newport Yardage$8.96Shop →
 Colorworks Premium Solids - Liberty Blue Yardage$8.96Shop →
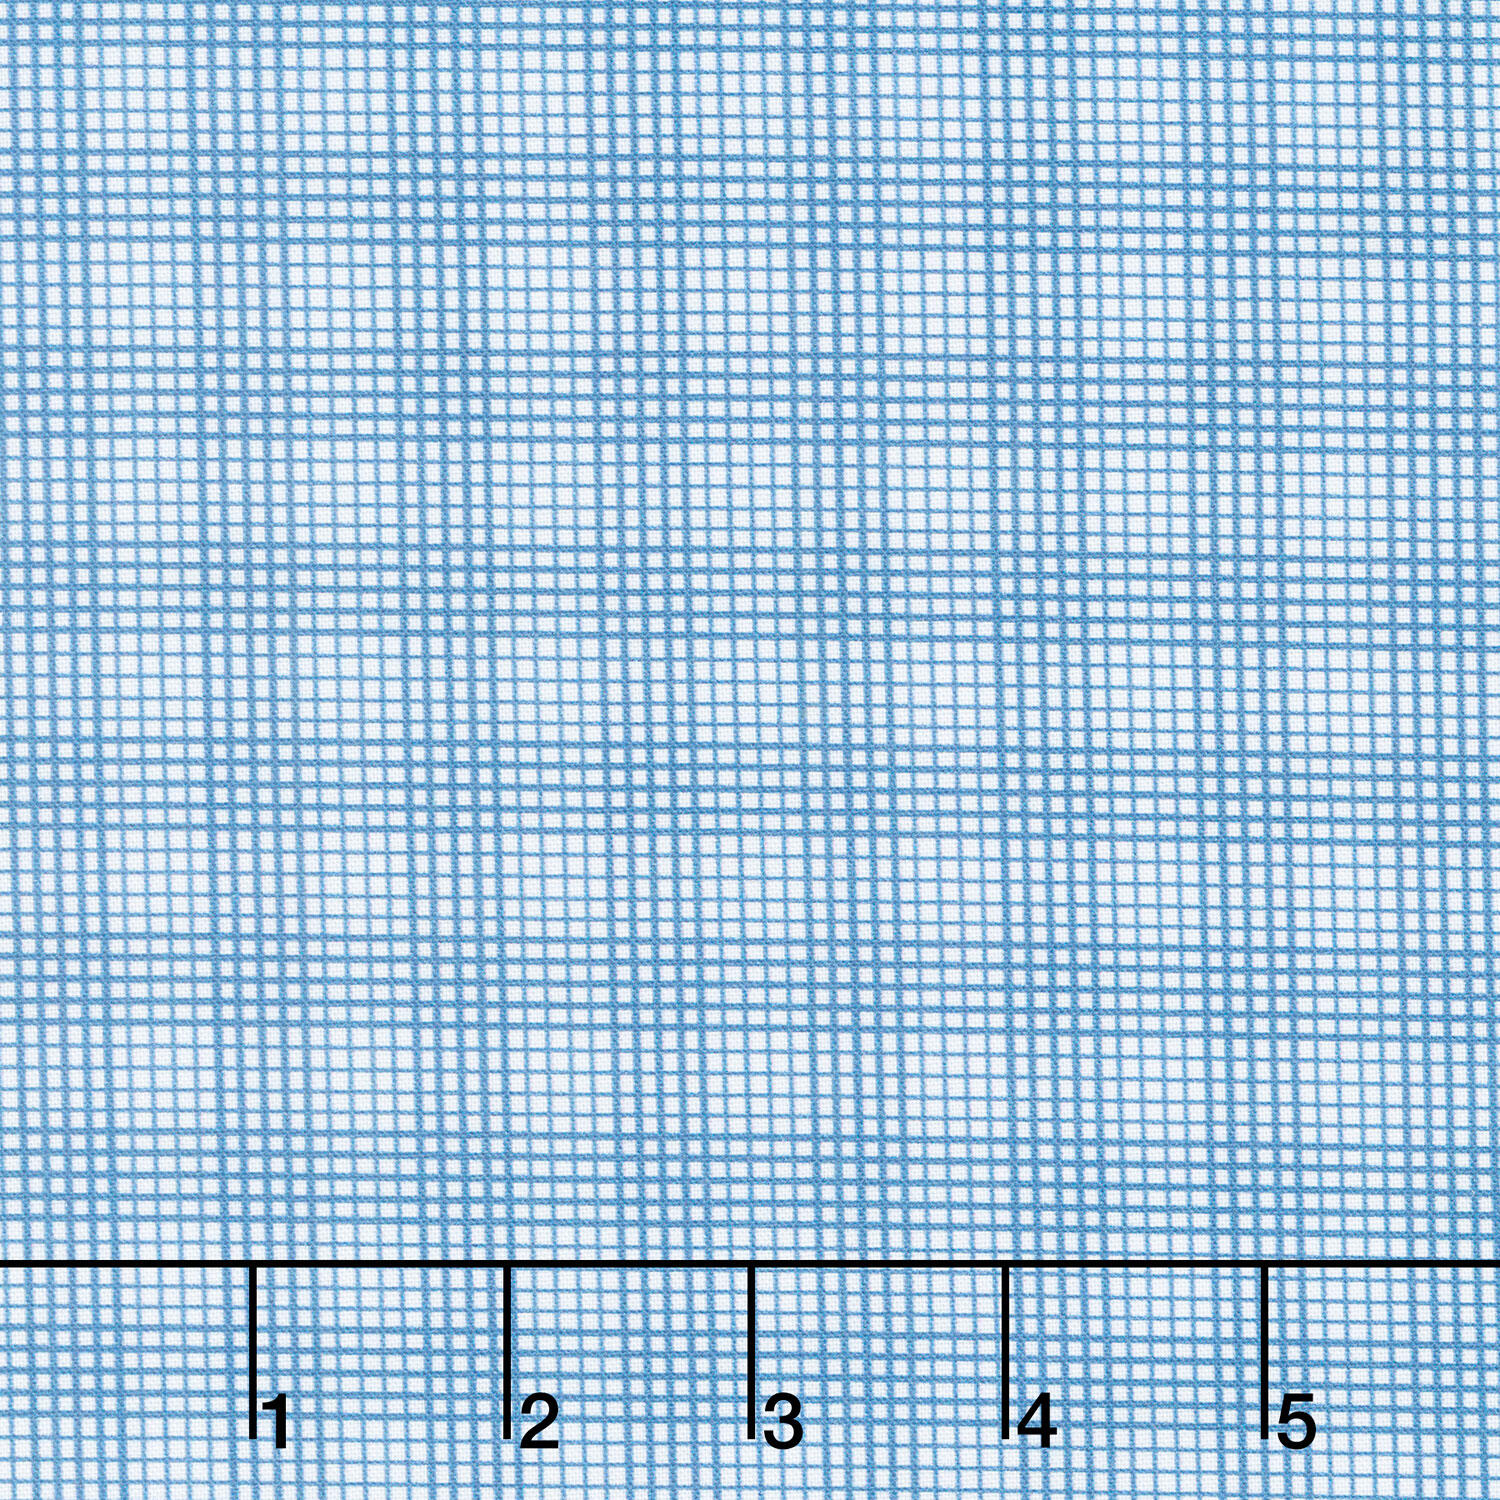 Swatch Book - Graph Azure Yardage$11.56Shop →
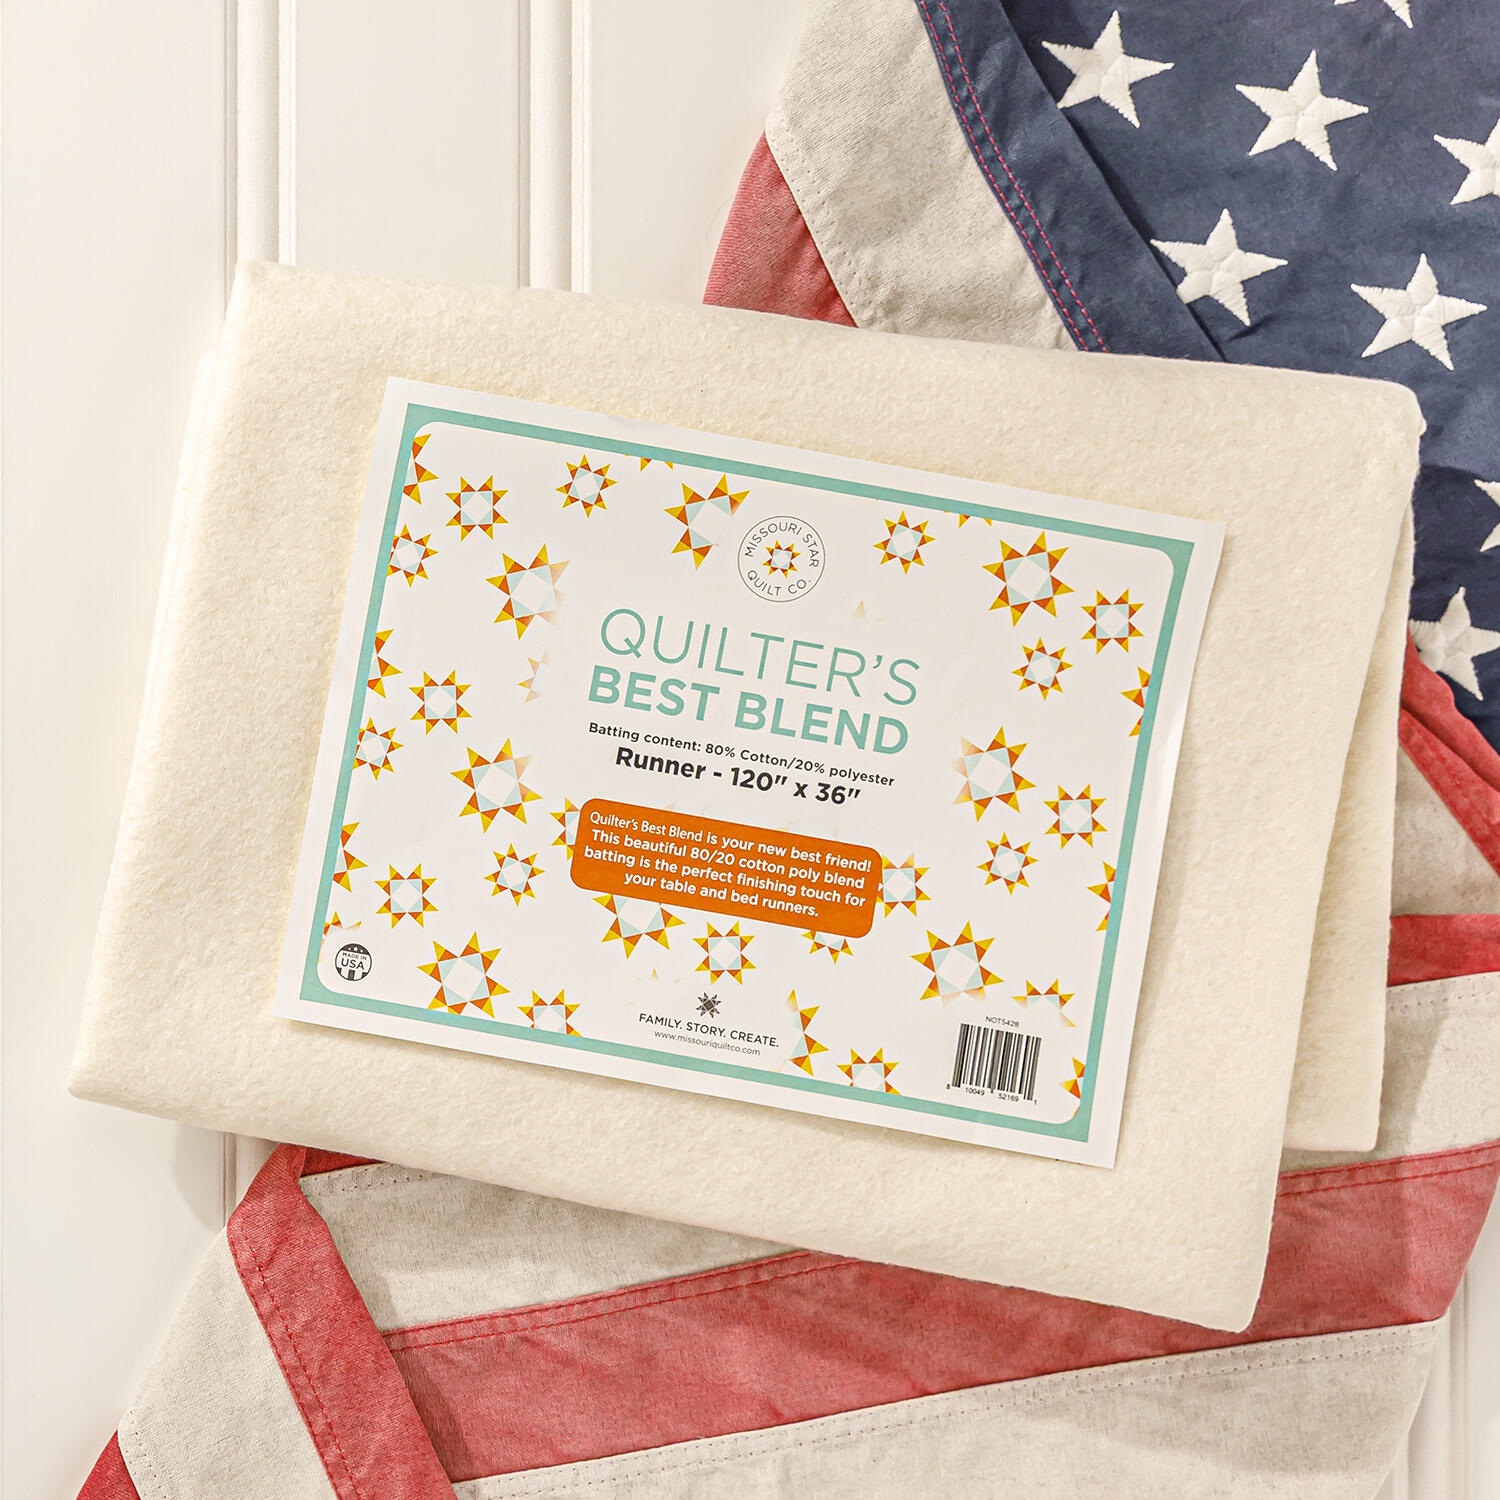 Missouri Star Quilter's Best Blend Bed/Table Runner Batting$14.95Shop →
 Double Wedding Ring Template Set$24.95Shop →
 Missouri Star 45mm Rotary Cutter - Olga$19.95Shop →
 Missouri Star 8" Everyday Scissors - Amelia$19.95Shop →
 Missouri Star 50 WT Cotton Thread White$7.95Shop →
 Missouri Star + Oliso TG1600 ProPlus Iron$209.95Shop →
 Bernette 77 Sewing and Quilting Machine$1699.00Shop →


