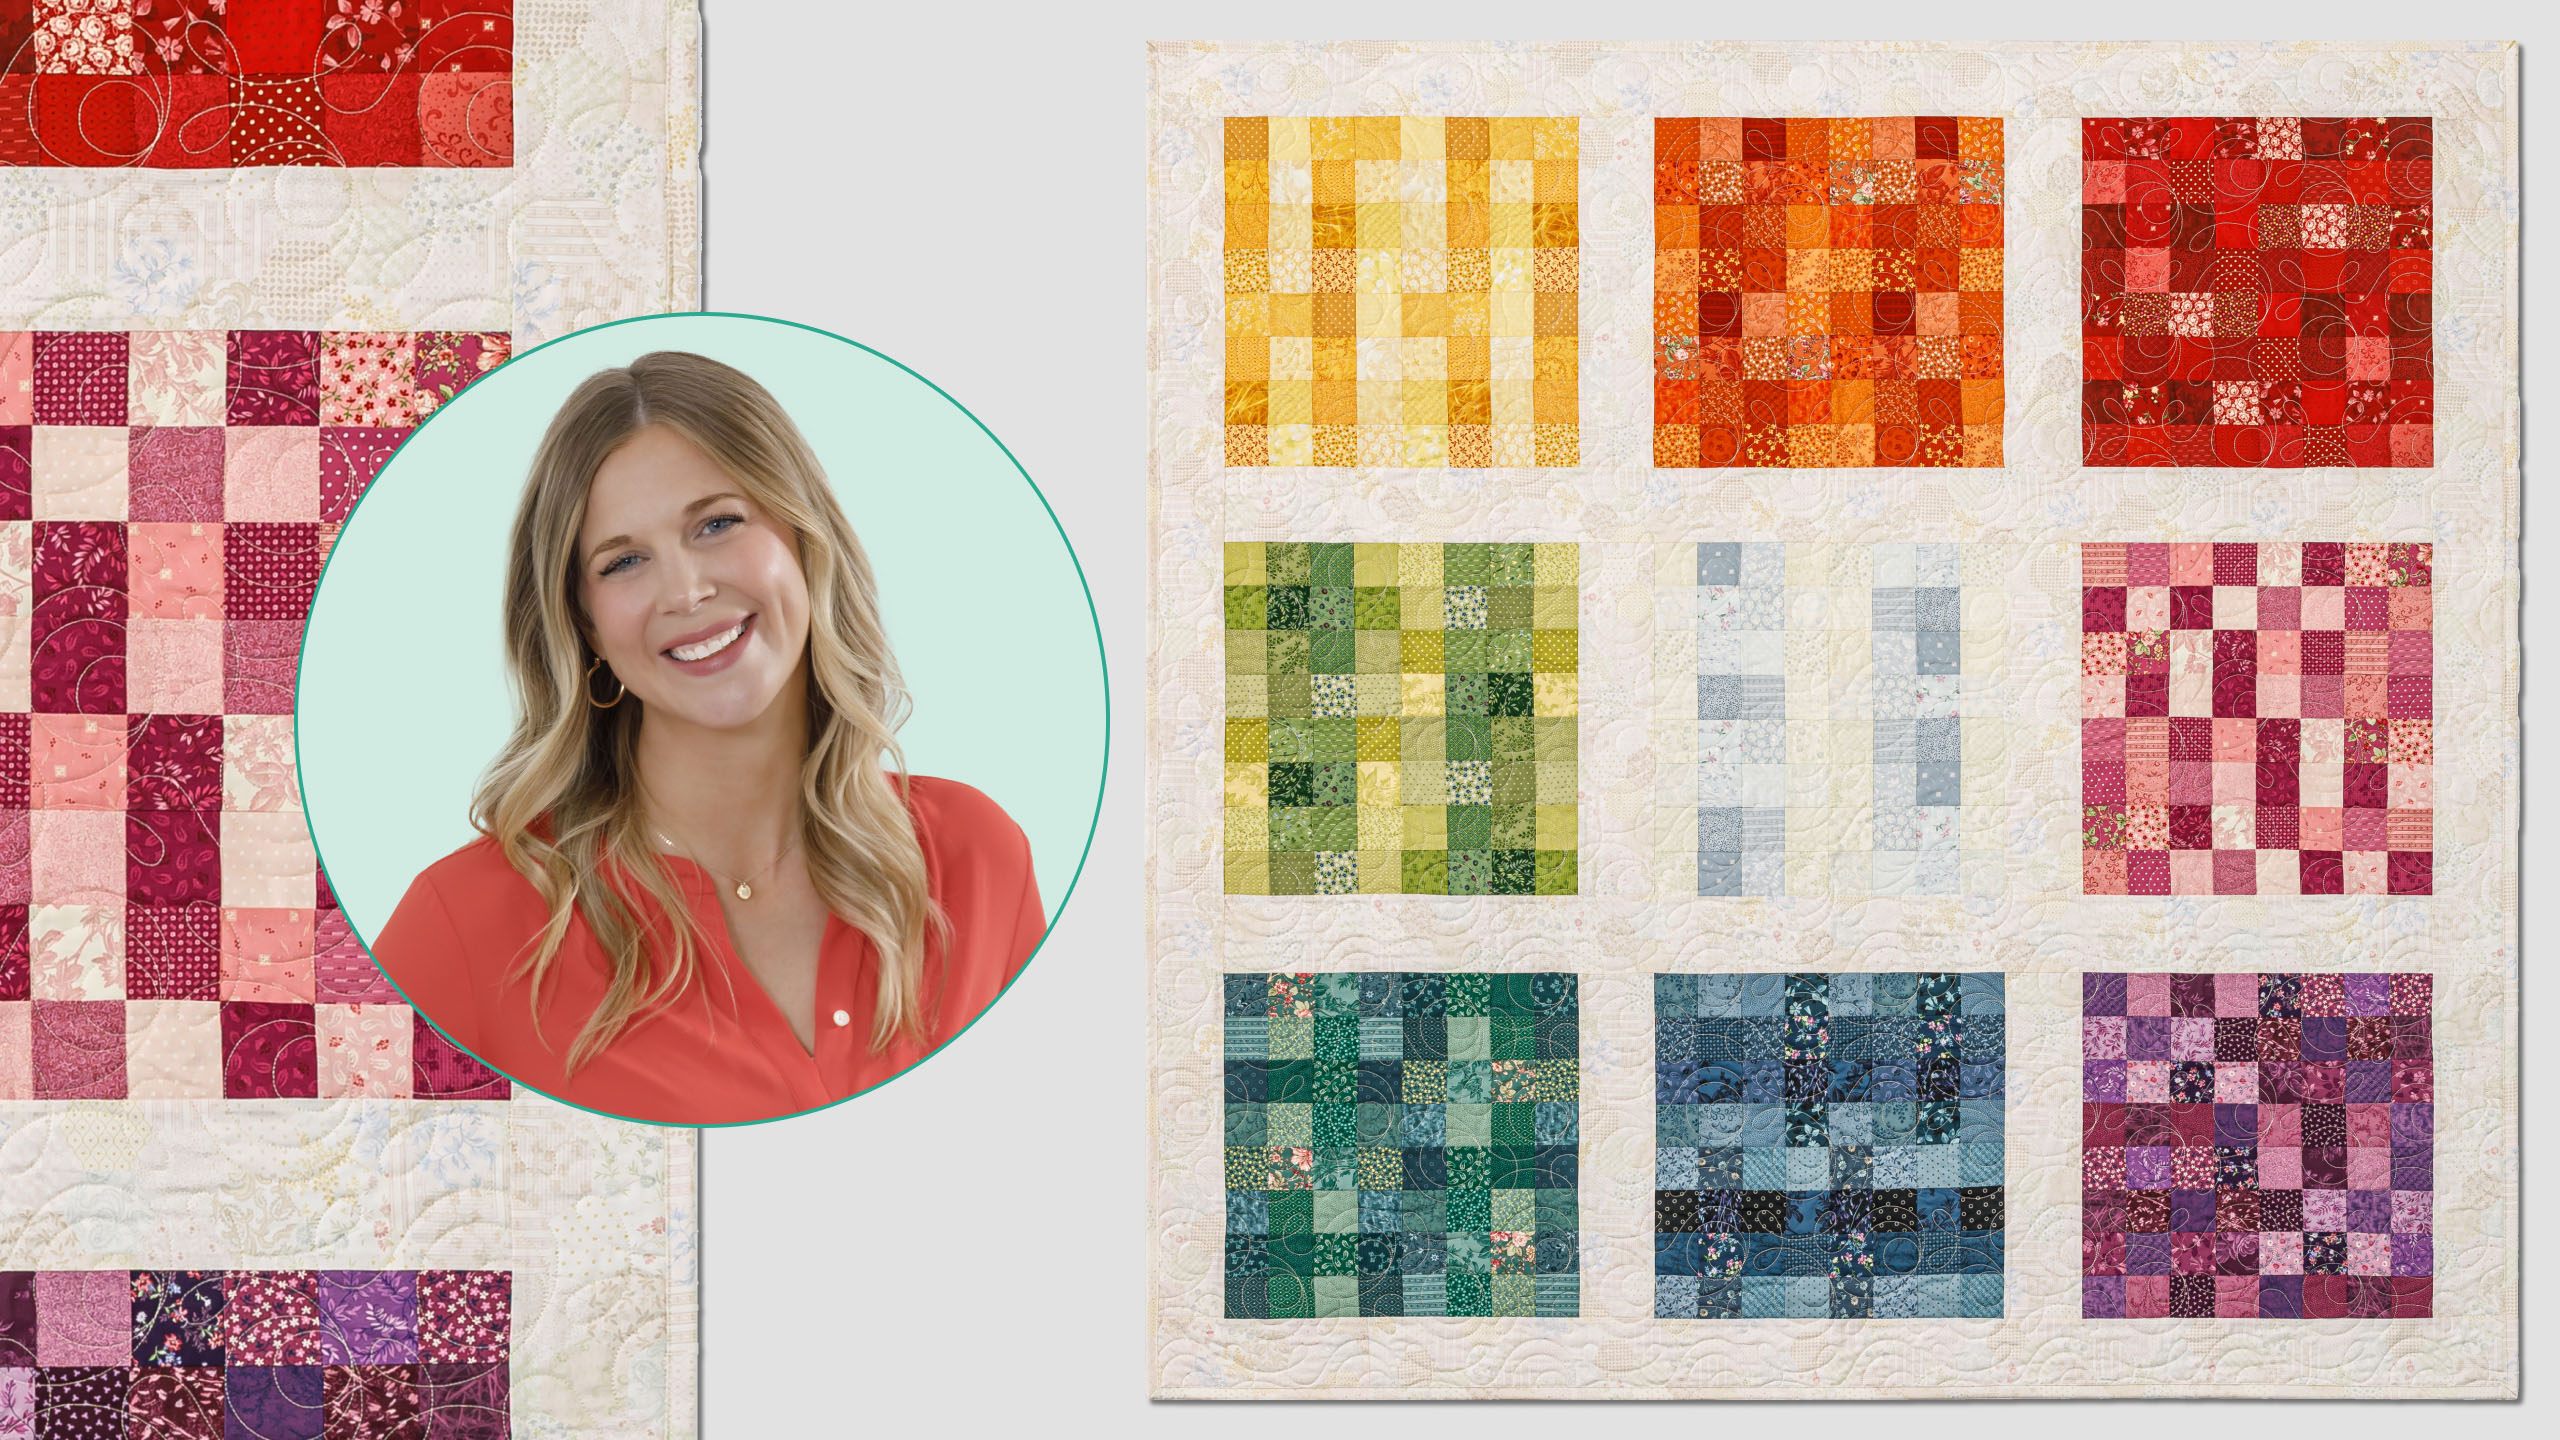
When it comes to simplicity and charm, this quilt gets the stamp of approval! The Easy Postage Stamp Quilt is made up of simple squares that even beginners can feel confident about cutting and assembling. Charming small prints in various color stories from the Patrick’s Promise collection provide lots of visual interest. Worried about making a difficult quilt? Don’t be. With the Easy Postage Stamp Quilt, you’ve got it licked!
Misty Doan grew up surrounded by sewing and quilting. She loves spending time sharing tutorials each week each week, and when she’s not stitching up one of her fun sewing projects for home decor, most likely you’ll find her hanging out with her husband and three awesome kids or working on a house project.
Hey everyone. Today we're going to make this easy postage stamp quilt. It goes together really fun because the fabric has a fun little twist. Let me show you how to make it. So, this quilt is so much fun. We're just making these simple postage stamp blocks, and I think you're going to be really surprised at how easy they are to put together. I've used this fun fabric collection called Patrick's Promise by Chris Schulty for Marcus Fabrics. And when it's all rolled up, it looks like your regular old package of 2 and 1/2 in strips. But I want to show you what makes it unique. When you open it, there are actually eight different prints on every single strip. So, it's a great way to build your stash to get a lot of variety and scrainess. And that's how we achieve this fun uh postage stamp look. So, in addition to that roll of strips, you're also going to need one and a half yards for your sashing and border. And this is a fun kind of cheater print that's also part of the collection. For your backing, you need four yards with a vertical seam. Another great cheater from the line. And let me show you how we're going to make these blocks. All right. So, you should have two identical strips of each fabric in your roll. And I only used 36 of the total strips. I left out the absolute lightest. I know there's still some lights in this middle block here, but besides that, I just paired up sets of four of the closest color. So, yellow, orange, red, pink. And we're going to make a pink block today. So, I have this one that's kind of more fuchsia and this softer pink. You can see here. And we're going to pair these together, one of each set. And I'm going to place them right sides together. And what I want to do is I want those little breaks in the fabric to line up as best as I can. So, I'm actually going to lay this here. Hopefully, I can show you. And if you want to put some pins in those little joints, that might be really helpful. And you can just kind of fold it back. It doesn't have to be 100% exact because we do have some room to trim it later, but just keep it as close as you can. So, we'll fold that, put a pin in there, and make our way down this strip. So, this just takes a little bit of time. All right. And here is our final little place that we're going to line that up. with a pin or a clip. And now I'm going to take this to the machine and I'm going to sew straight down this long side. So, let's go ahead and do that. And just be sure to remove those pins before you get to them. You don't want to stitch over the top of them. Okay. So, we have made it all the way down that side. You're actually going to do this same thing to the other set. So, you're going to make two strip sets just like this. And then I'm going to go ahead and press this back now. And you can see by pinning those, all of my little fabrics are lining up, starting to checkerboard here in my strip set. There we go. And so I went ahead and I already sewed the other one of these. So that that's ready to go. And so now I'm going to place these right sides together. And in the same way, if you want to pin, you'll line those up and match them. I'm just going to really watch while I have it under the machine. And I will meet you back here once I have these sewn together. Okay, so we have sewn our strip sets all together. I'm going to go ahead and press this really fast so it'll lay nice and flat. I'm just kind of feeling under there to make sure my seam is going how I want it. Pressing those to the dark side. and a little bit more here. All right. So, now we have these nice large strip sets. And the next thing we're going to do is we're going to find this center seam here. So, you'll count over four and we are going to cut this in half. So, I'm just going to make sure my ruler is nice and straight and I'm right on that divider line between where the prints change on the strip. We'll just cut that like so. And so then now I can turn this and I'm going to sew these together. But I think I'm going to flip this one around. There we go. And so this is where you're going to want to watch because you also want to make sure that you're going to match up those breaks. And so you're going to have a little bit of staggering here. So I'm going to fold this over and I'll put just a few pins. Now it's fewer as we start getting some of this stitching done. So we'll line those up. One. Two. And one more little joint here. Here we go. Now, let's go ahead and sew this seam. So, you have a lot of longer seams that we're going to subcut, and it's going to give us the illusion of all these little squares. Saves us a lot of time in the end. All right. So, we will press this as well. Isn't it fun to see how all these different fabrics are coming together just from those rolls of 2 and 1/2 in strips? I just think it's so fascinating. And so now we're going to use our 5x5 ruler or a longer one if you need. I don't mind sliding this up. And we are going to trim these into four 5 in rectangles. So, let's do that first. There's my first straight side. Then I can lay this on my cutting mat and measure over five. And you can see why you want to be careful to line it up because you have a little bit of give here, but not a lot. So, you're going to want to use as much of that fabric as possible. There we go. There's my first little strip. I'm going to go ahead and continue and cut out each of these. And I'll meet you back here. Okay. So, I have cut each of my 5 in strips across the strip set. And you have four of those. And then the next step is to go ahead and cut this in half so that you have two 2 and 1/2 inch segments. I went ahead and did that with some of these, but I wanted to save one to show you. And so, I'm just going to lay my ruler here, measure over two and a half, make sure it's nice and straight. Sometimes with these strip sets, you want to just adjust the fabric and make sure it's straight all the way down your strip because it can have a little give to it. All right, there we go. And so now I have my four little piles of 2 and 1/2 in squares that looks like I've sewed together every single one of them. But we're going to go ahead and we're now going to take one after the other. And I'm just going to reverse these back and forth. See here? I might need to switch this one over. The goal is to not put the prints right next to each other. So sometimes you just have to slide it down one more. Here we go. And you can see how this is coming together and starting to look so nice and scrappy. I just think it is so fun. Maybe that one. Maybe not. [laughter] Sometimes it's just a little bit of figuring it out and testing it as you go. There we go. That looks pretty good. And so now I have all of this fun scrappy 2 and a half inch squares that I can stitch together. And so we're just going to sew those in sets of two. I like to lay them just like this, but I'll just do one at a time and put it right back where I found it. And so then you're just going to sew all of those strips together until you get your finished blocks. They look just like this. There's 64 patches in there, which is pretty pretty awesome. It goes together really fast. And so I just made nine of those big blocks. I kind of did a little rainbow motif all the way around the outside. And then I had some of those lights in the middle. I also thought you could do an applique or embroidery here in the middle would be super super fun. All of the sashing and the outer border is cut at 3 in and it ends up at 62 in square. So, a great little throw size. I hope you enjoyed this easy postage stamp quilt and I'll see you next time on At Home.

 Misty Doan
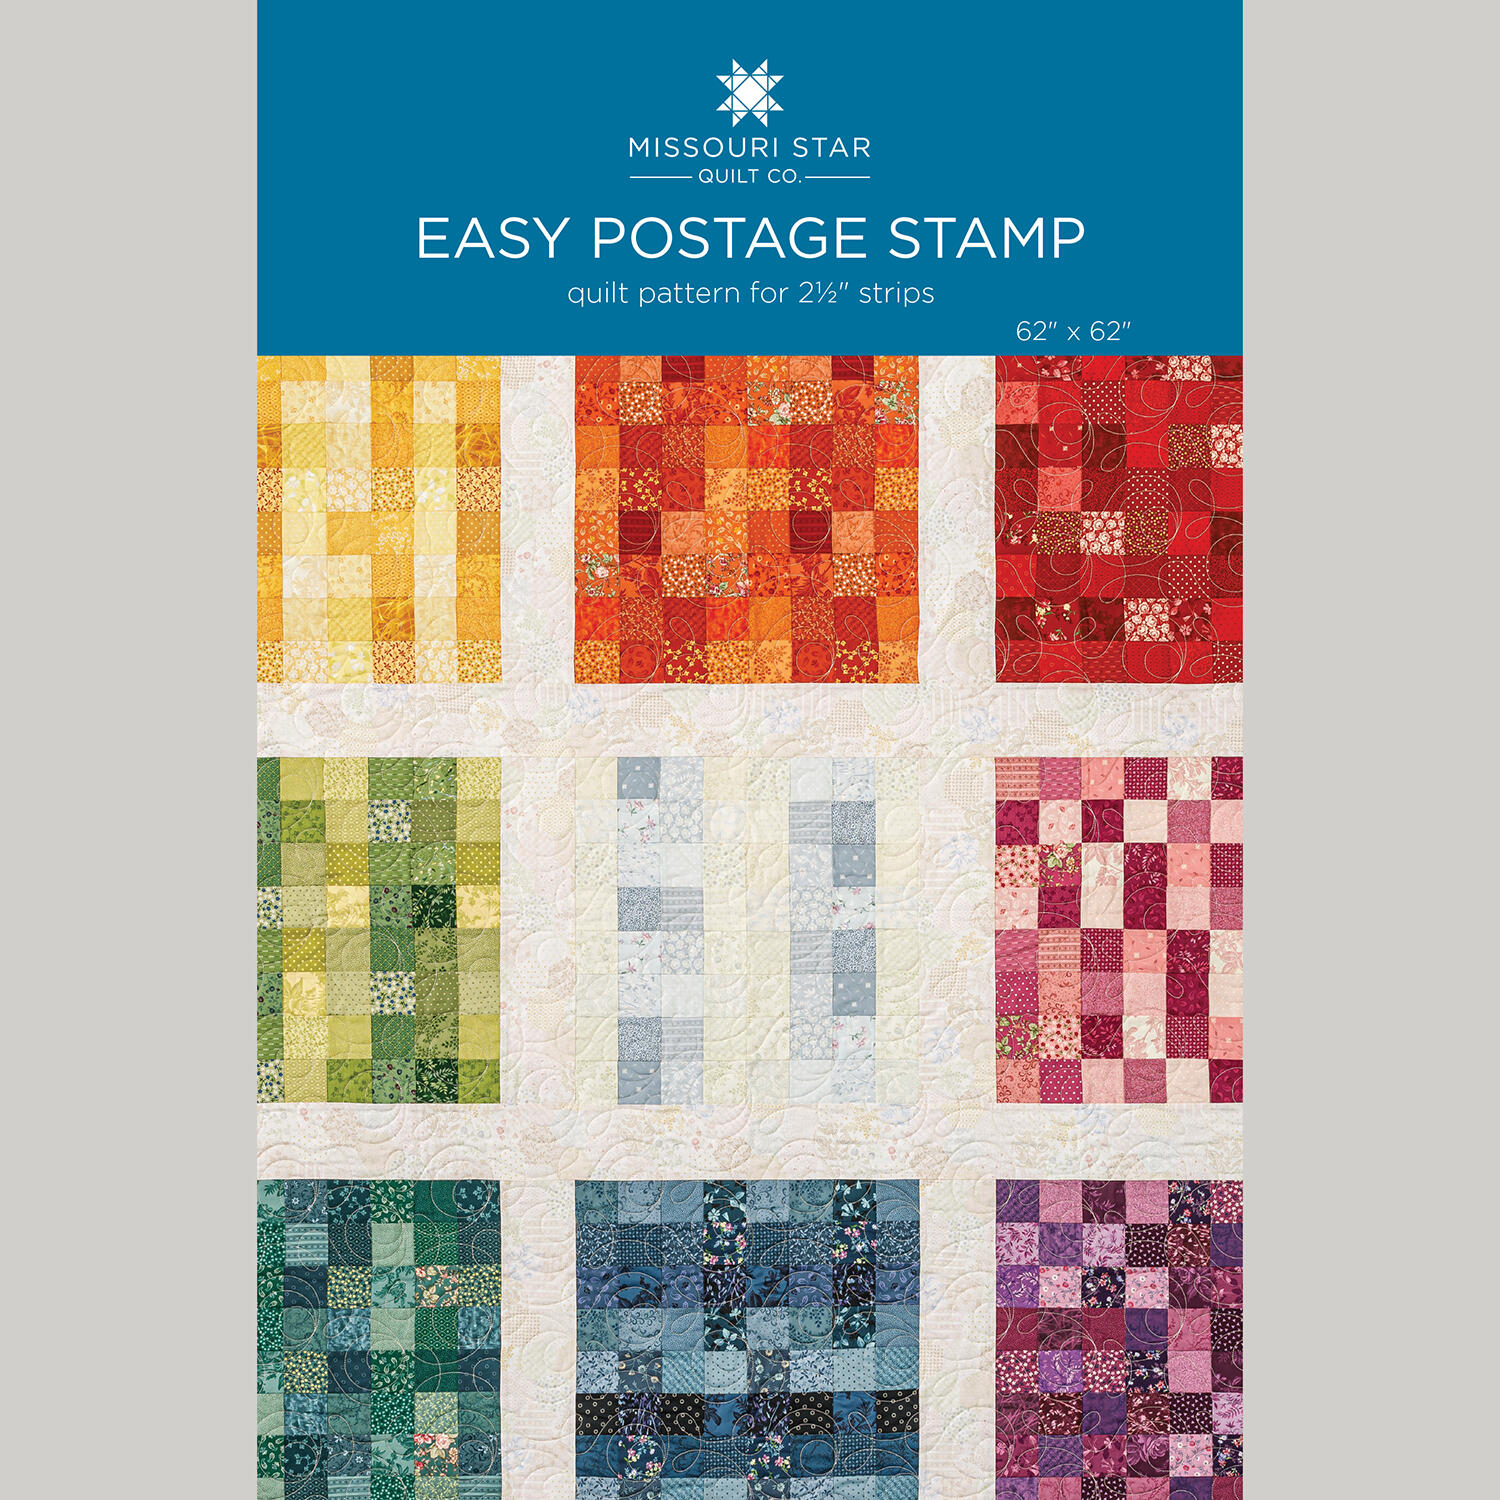 Easy Postage Stamp Quilt Pattern by Missouri Star$8.50Shop →
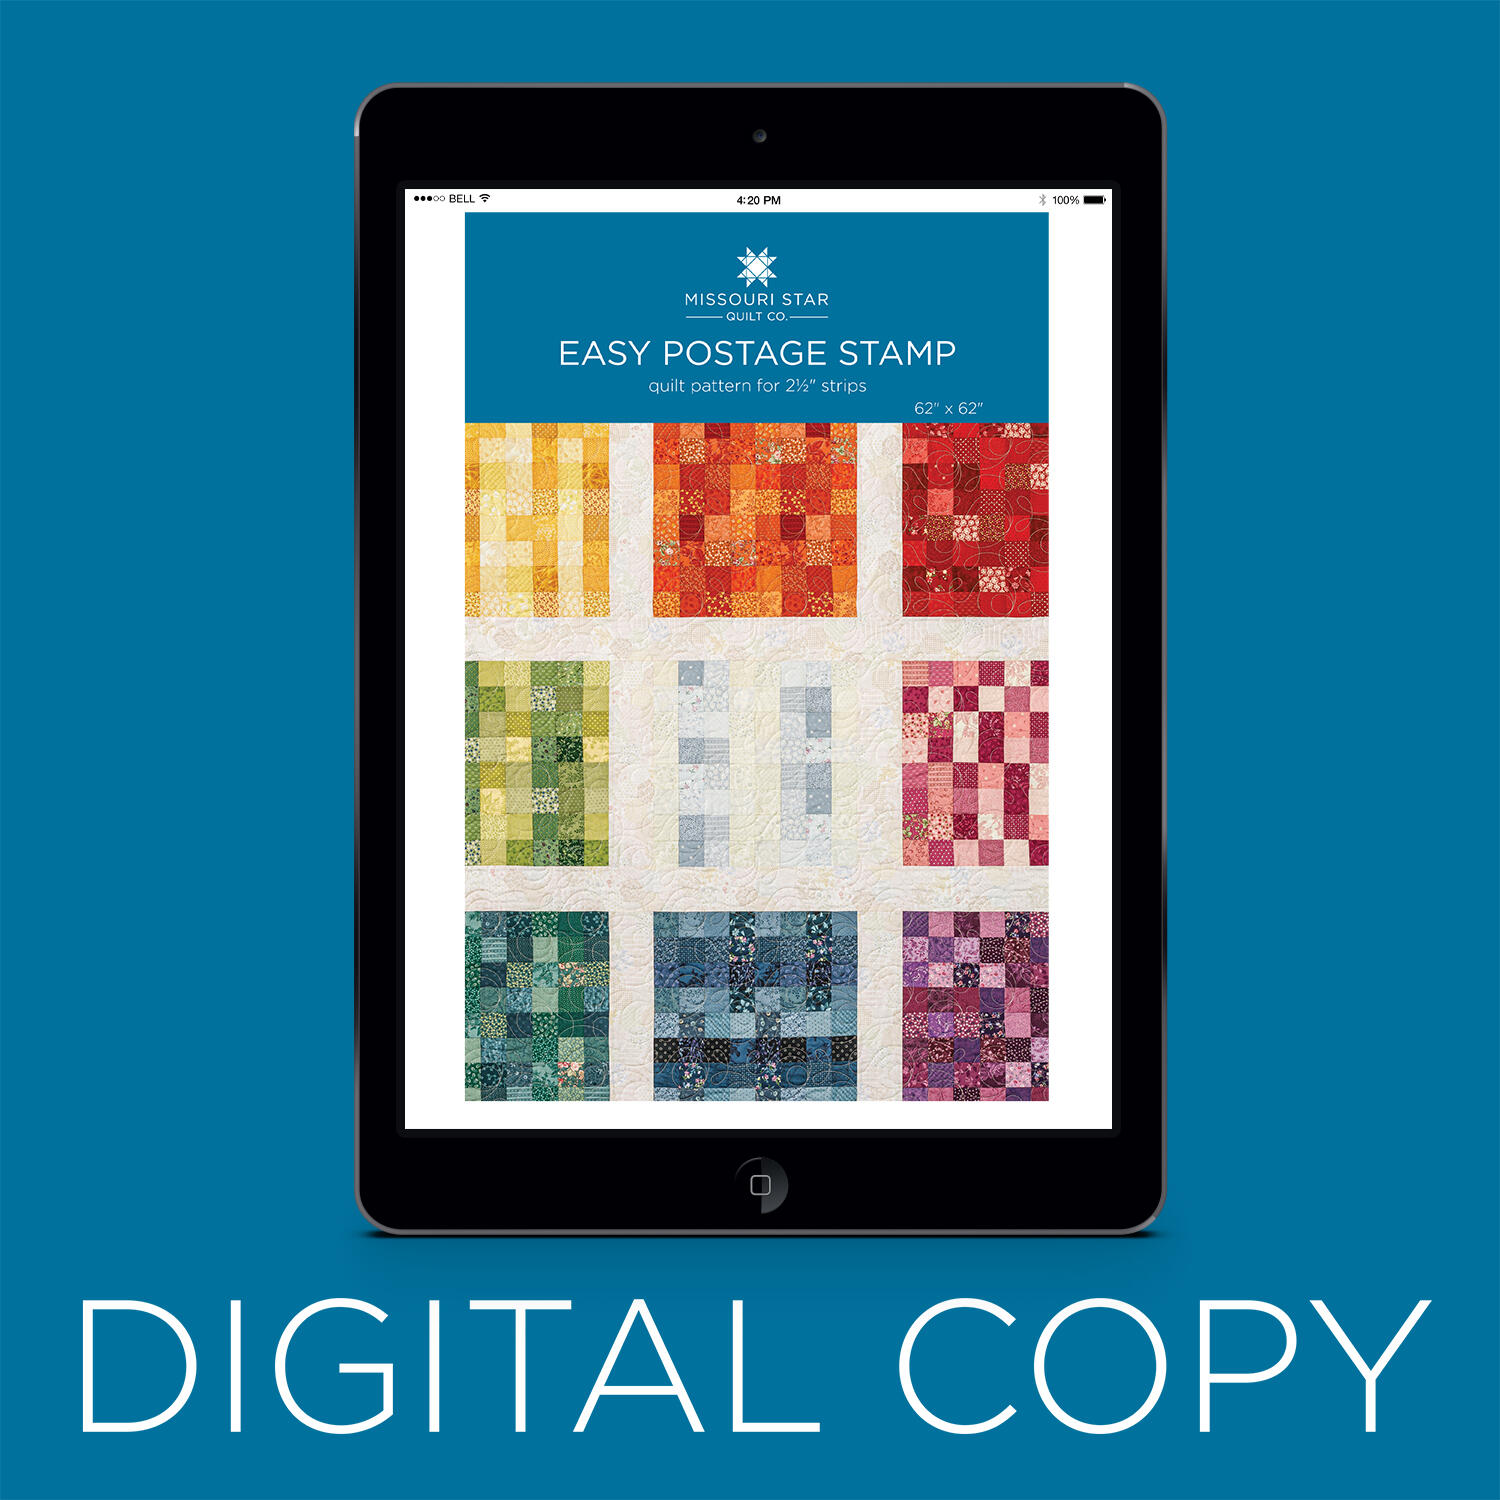 Digital Download - Easy Postage Stamp Quilt Pattern by Missouri Star$6.95Shop →
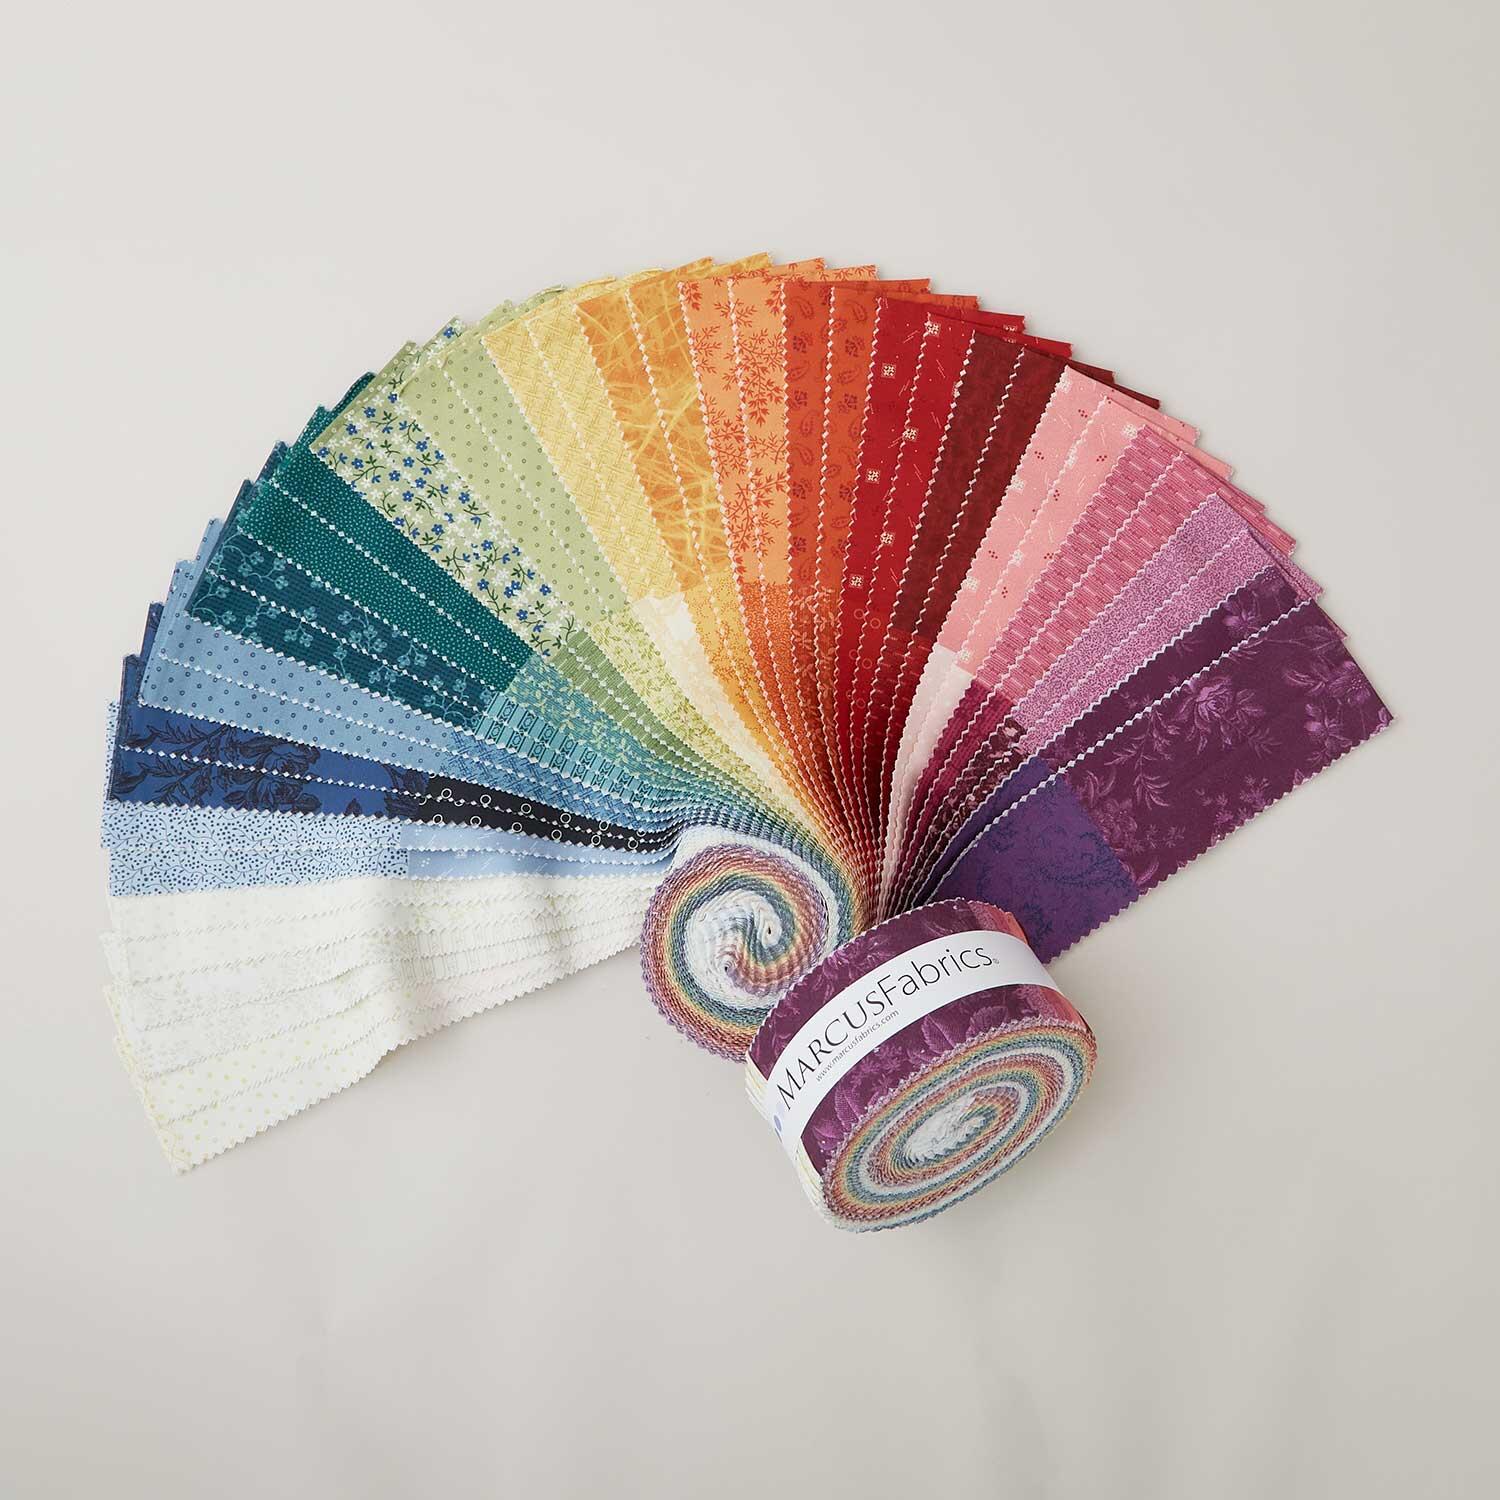 Patrick's Promise - 2 1/2" Strips$50.25Shop →
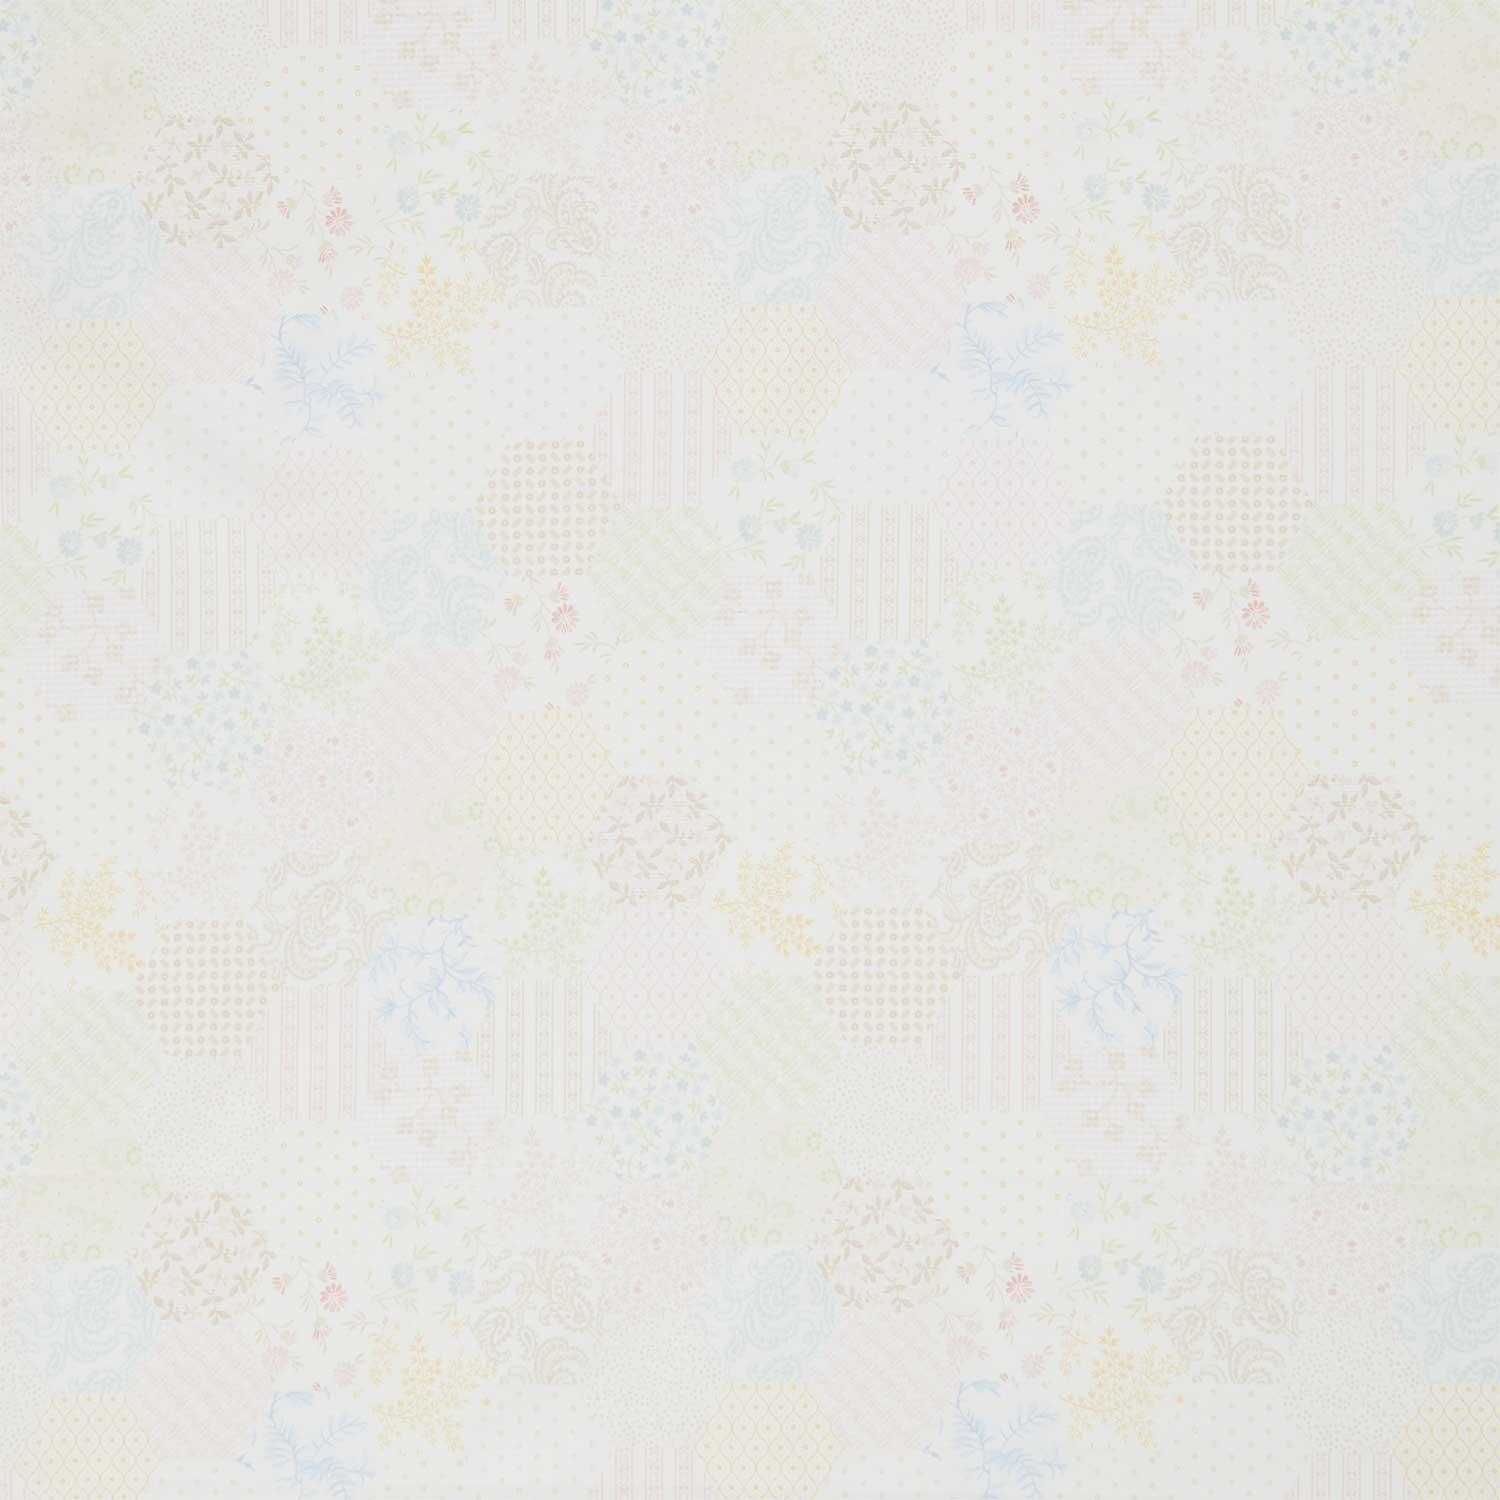 Patrick's Promise - Honeycomb Vanilla Yardage$12.16Shop →
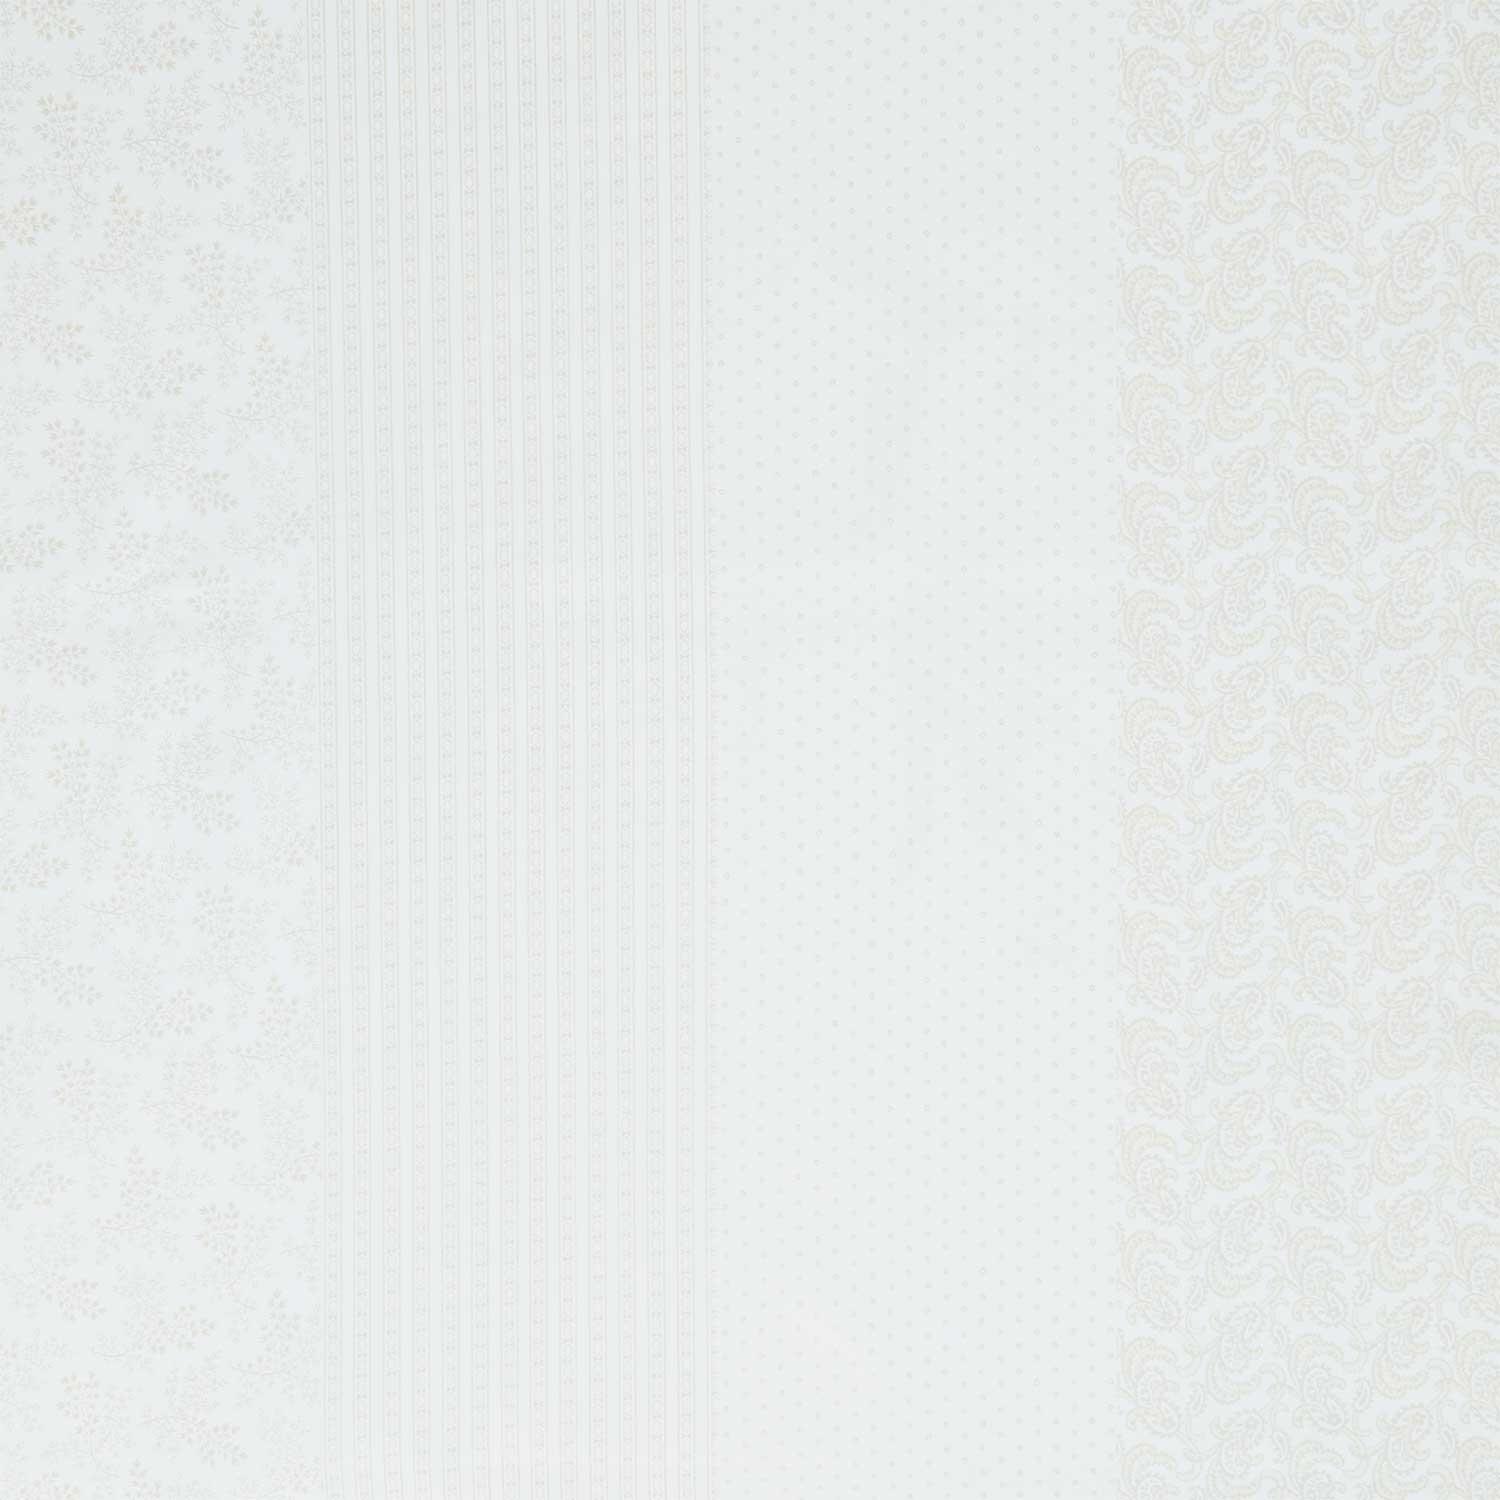 Patrick's Promise - Strip-It 5 1/4" Cream Yardage$12.16Shop →
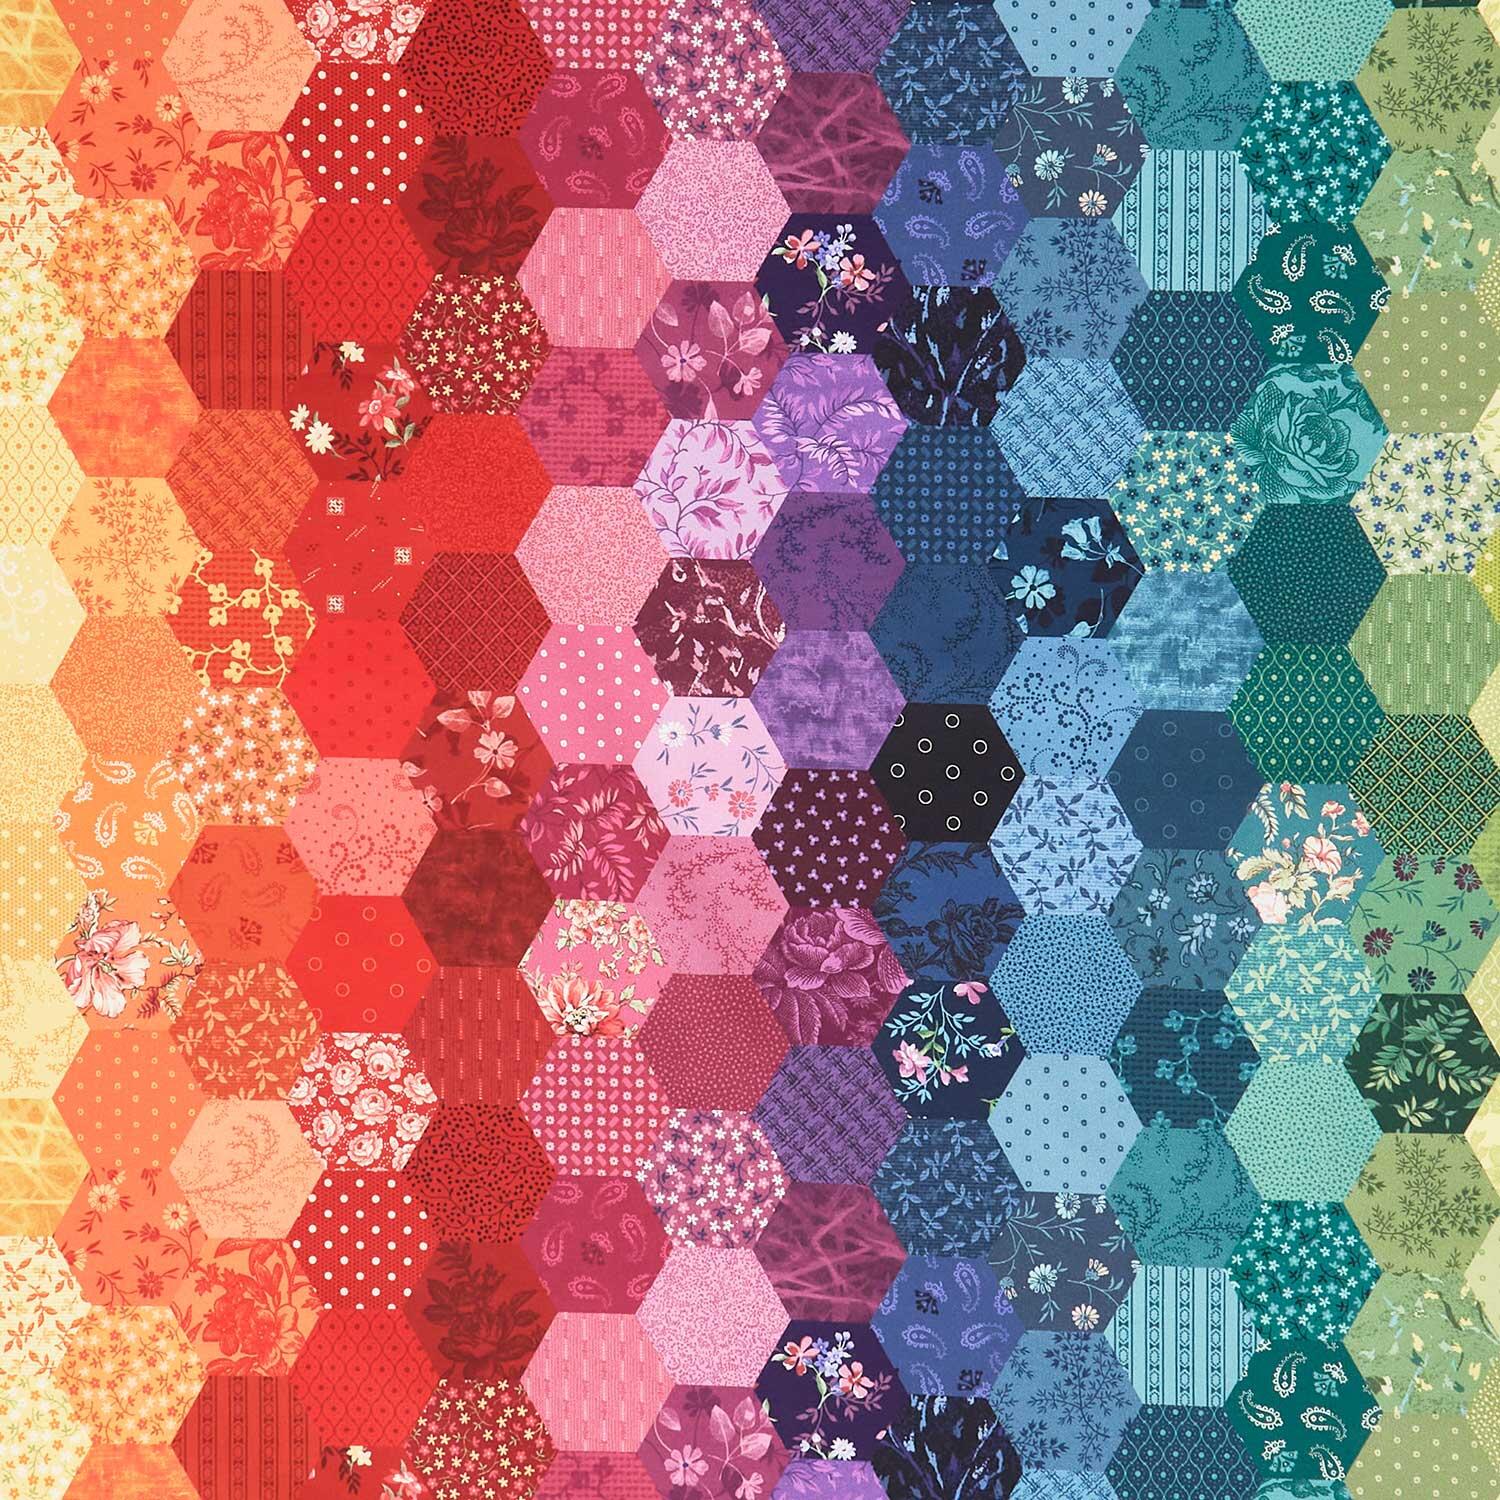 Patrick's Promise - Hexagon Multi Yardage$12.16Shop →
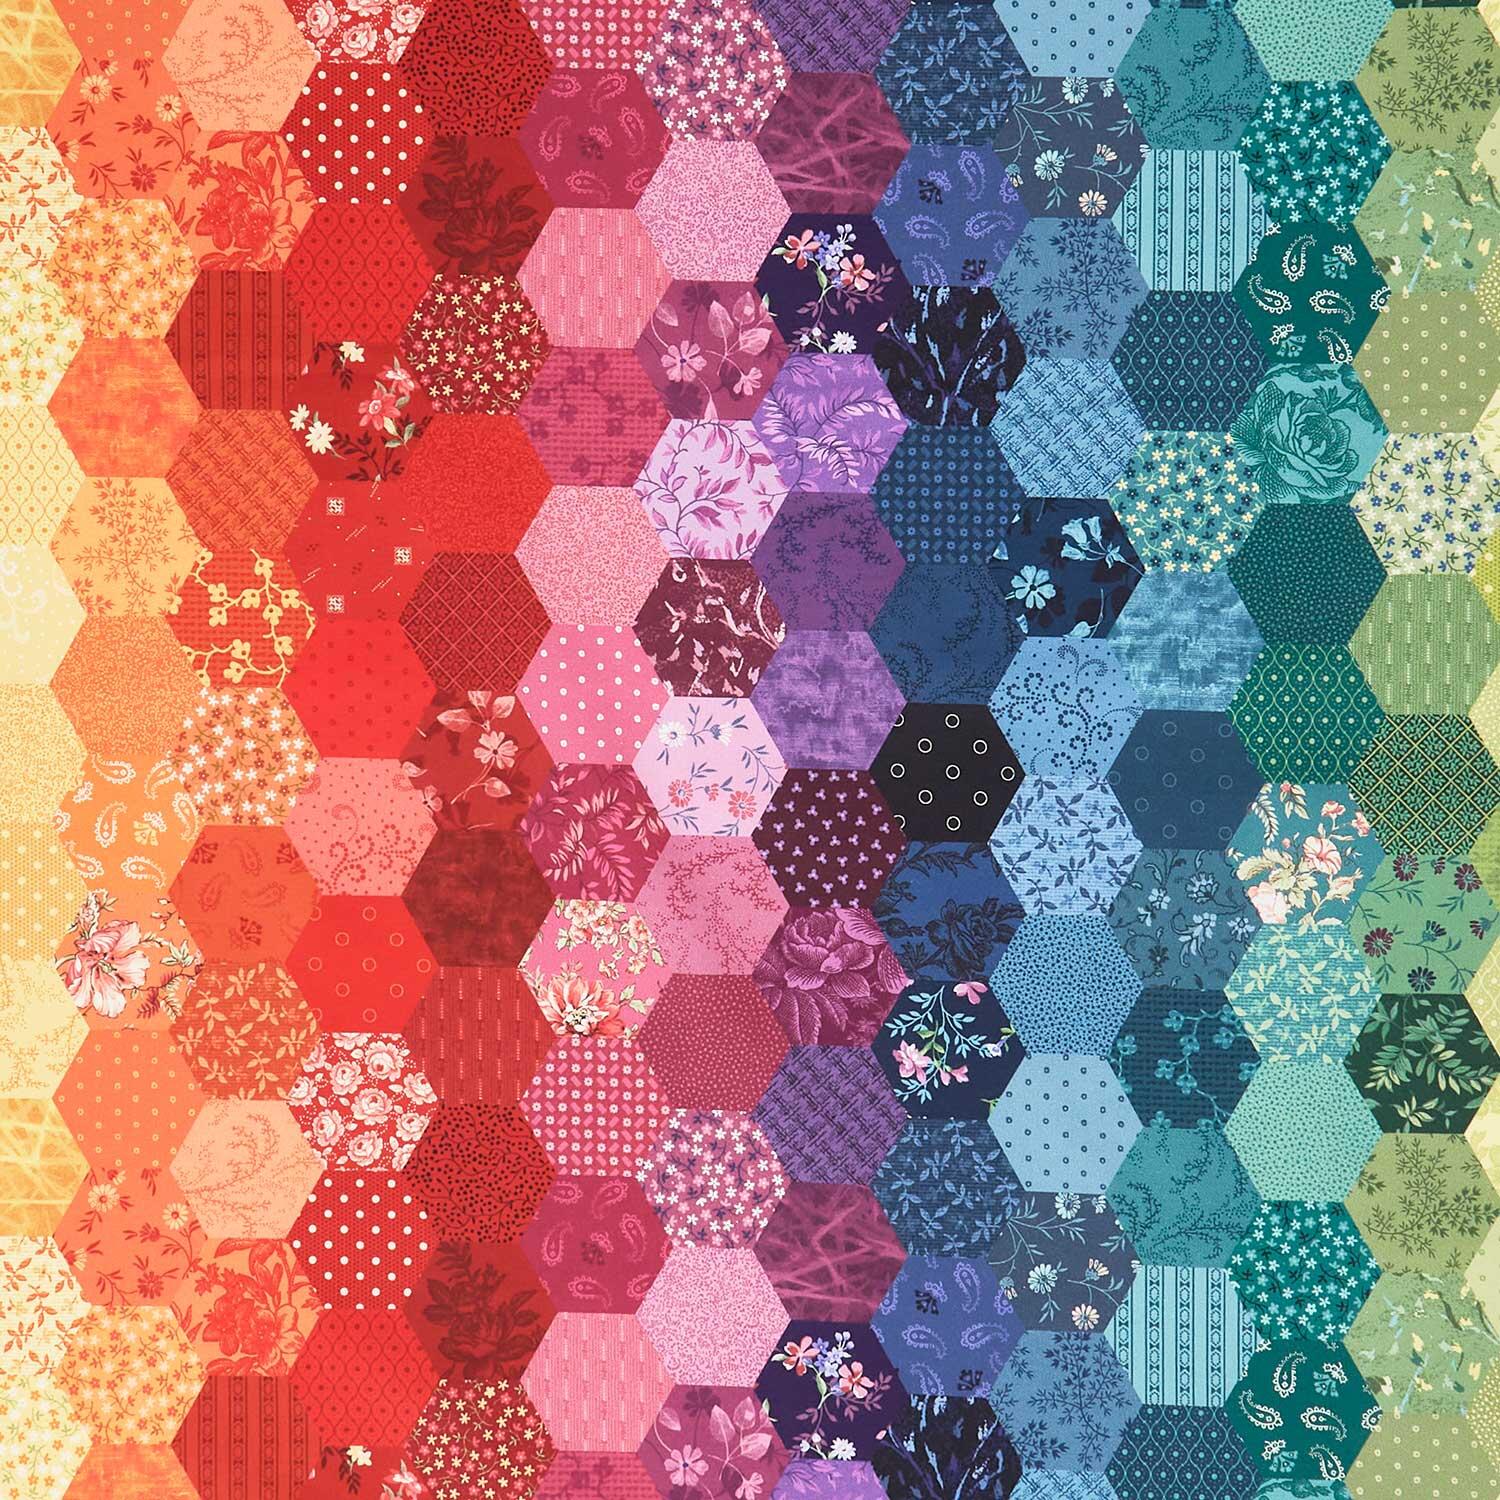 Patrick's Promise - Hexagon Multi 108" Wide Backing$21.00Shop →
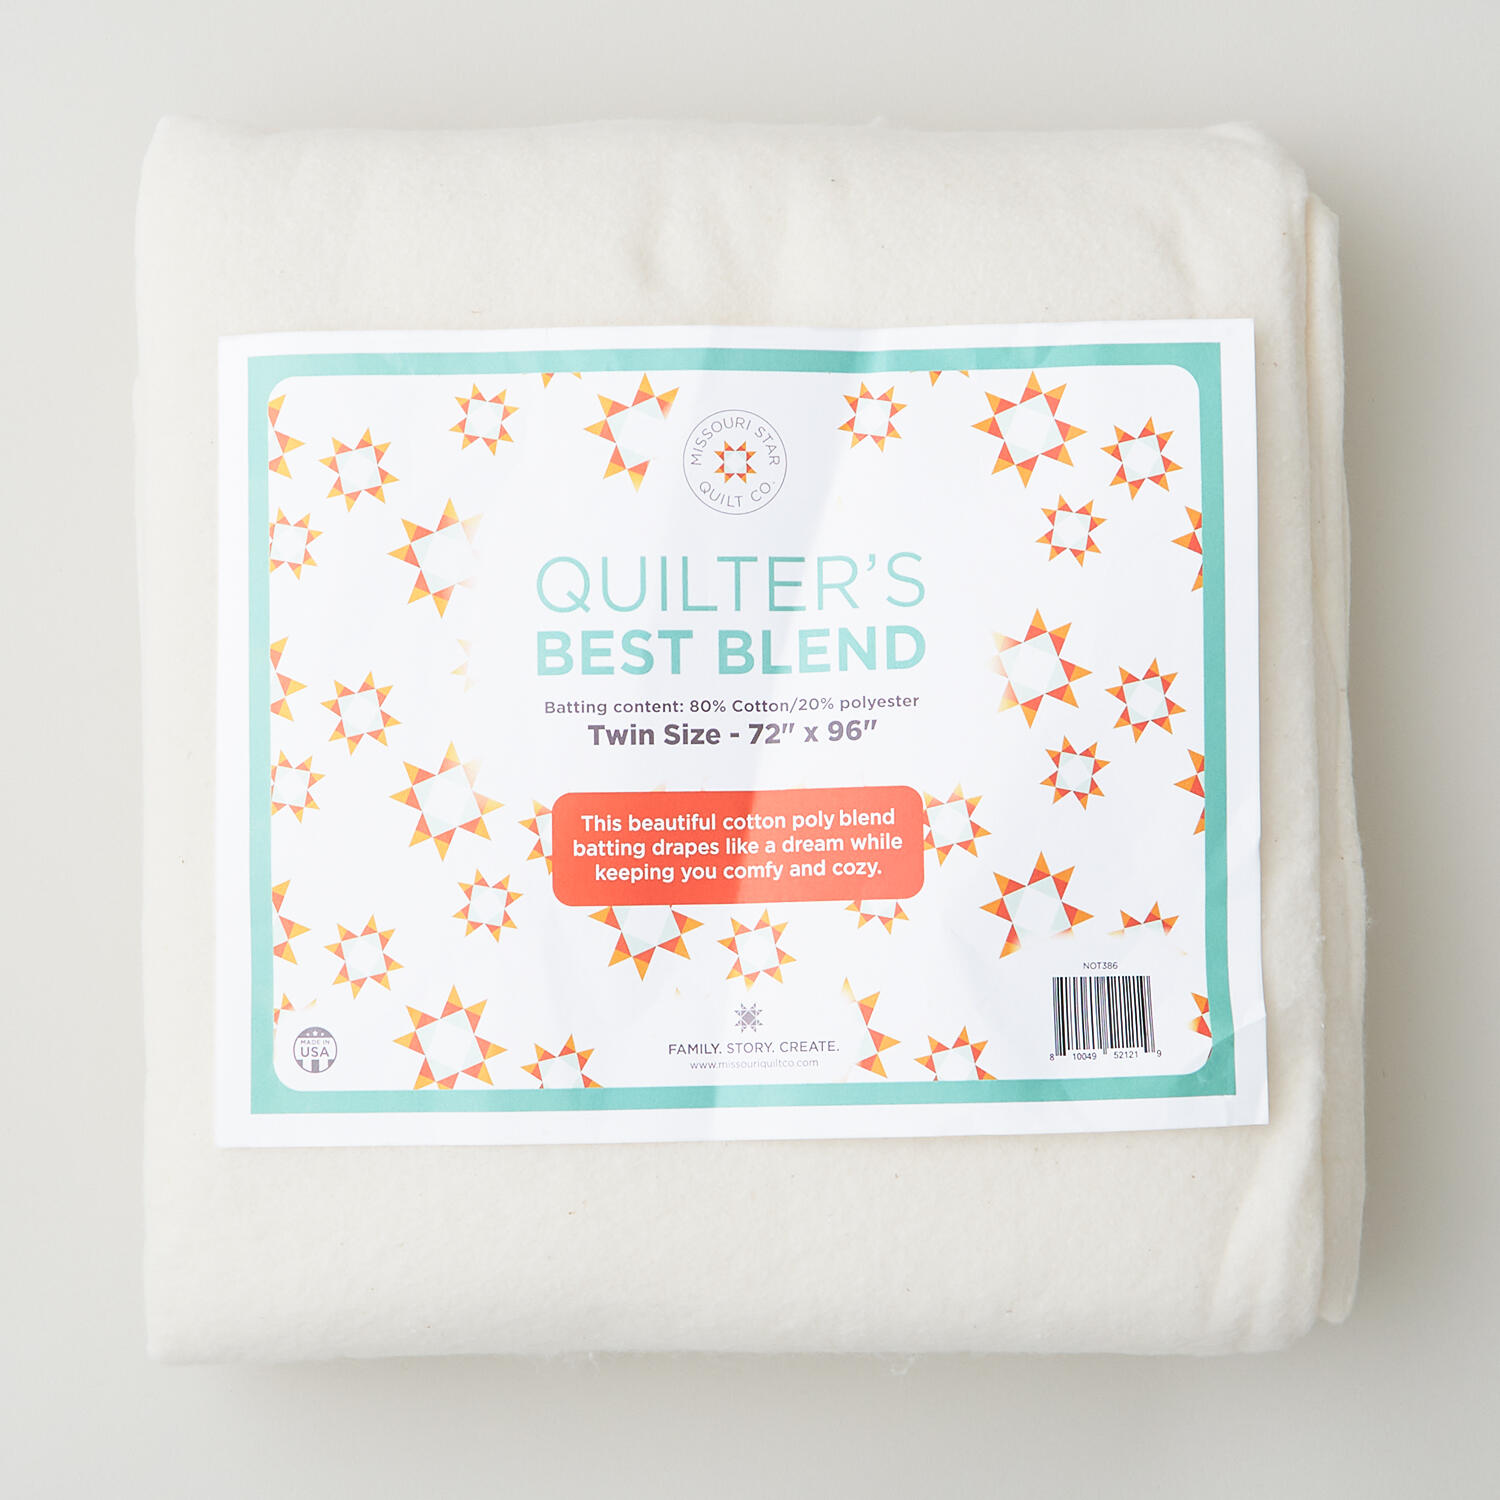 Missouri Star Quilter’s Best Blend Twin Batting$26.95Shop →
 Missouri Star 5" x 15" Ruler$19.95Shop →
 Missouri Star 8" Everyday Scissors - Amelia$19.95Shop →
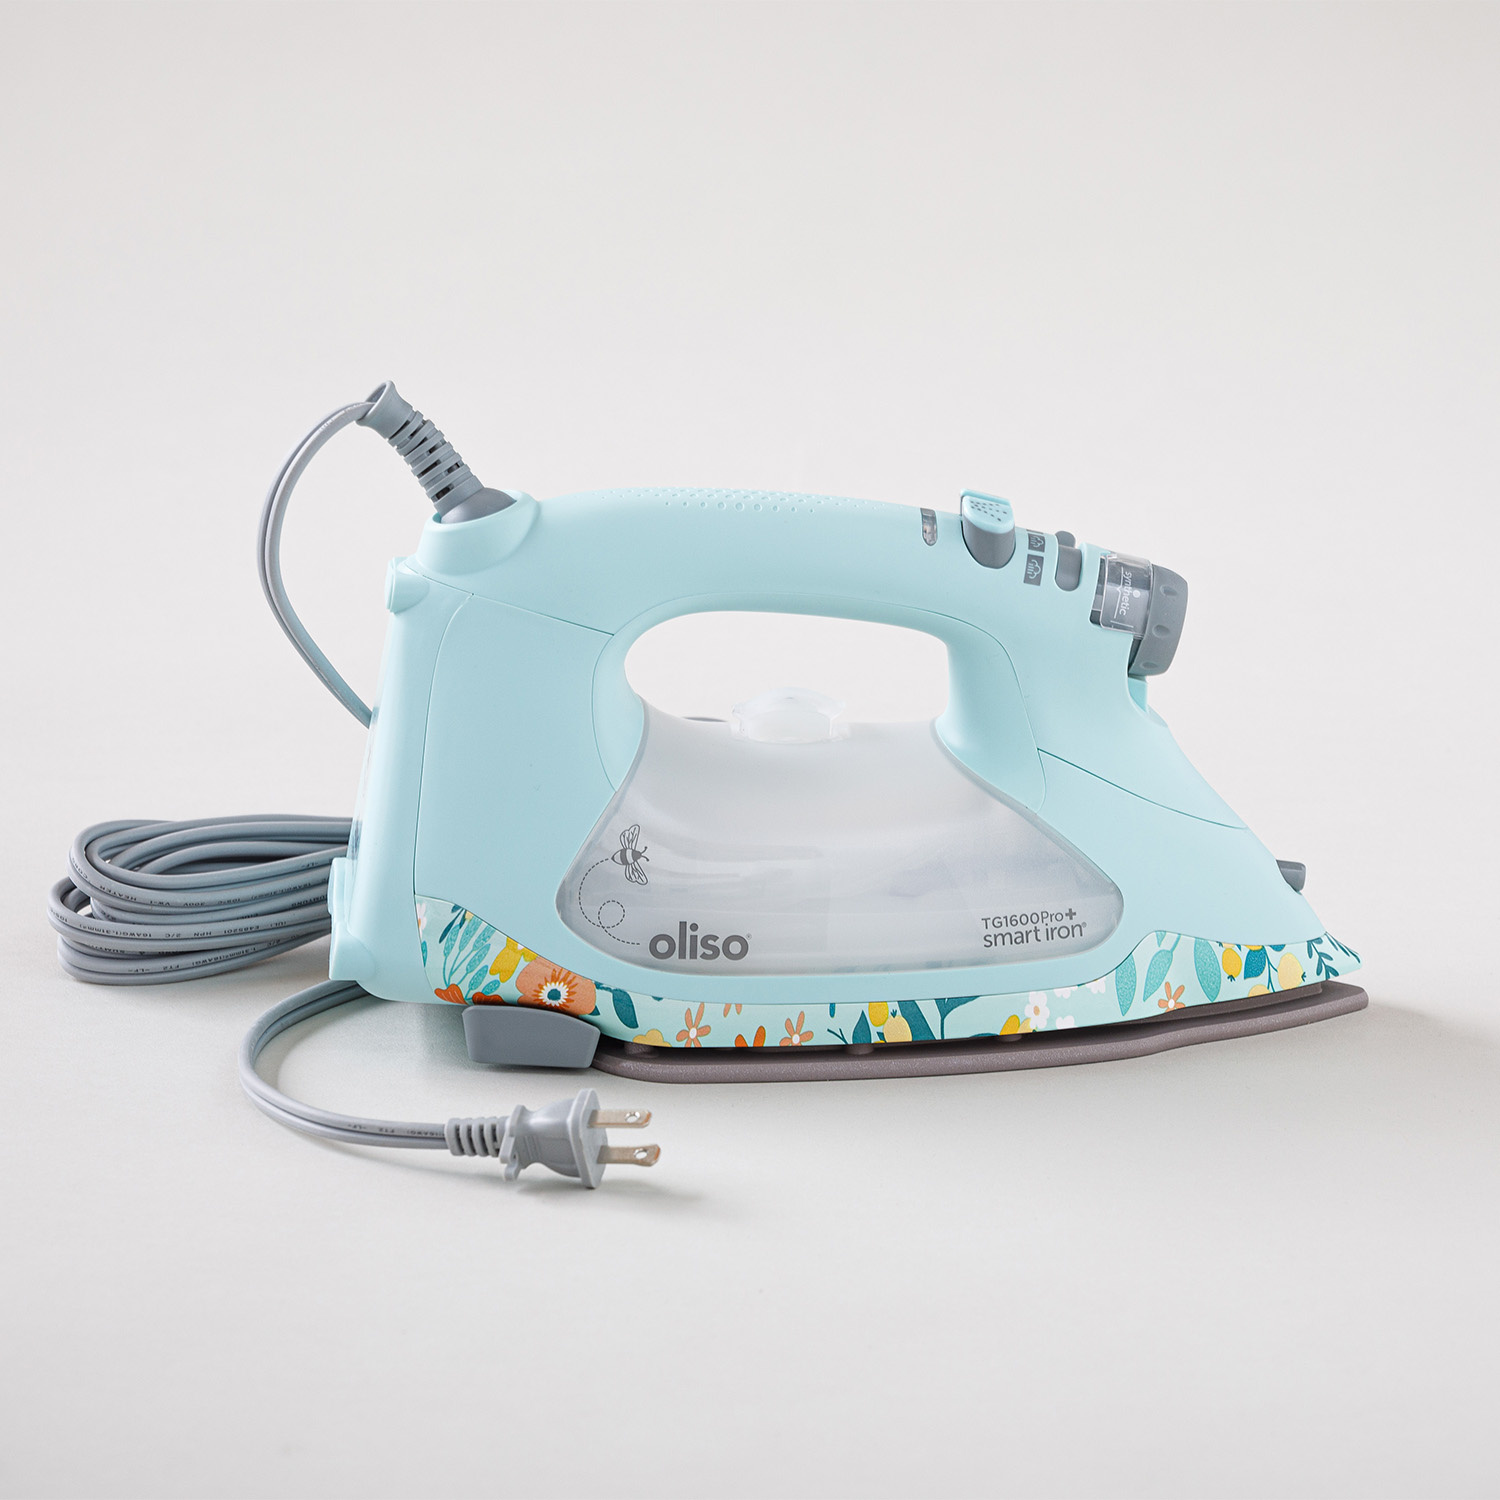 Missouri Star + Oliso TG1600 ProPlus Iron$209.95Shop →
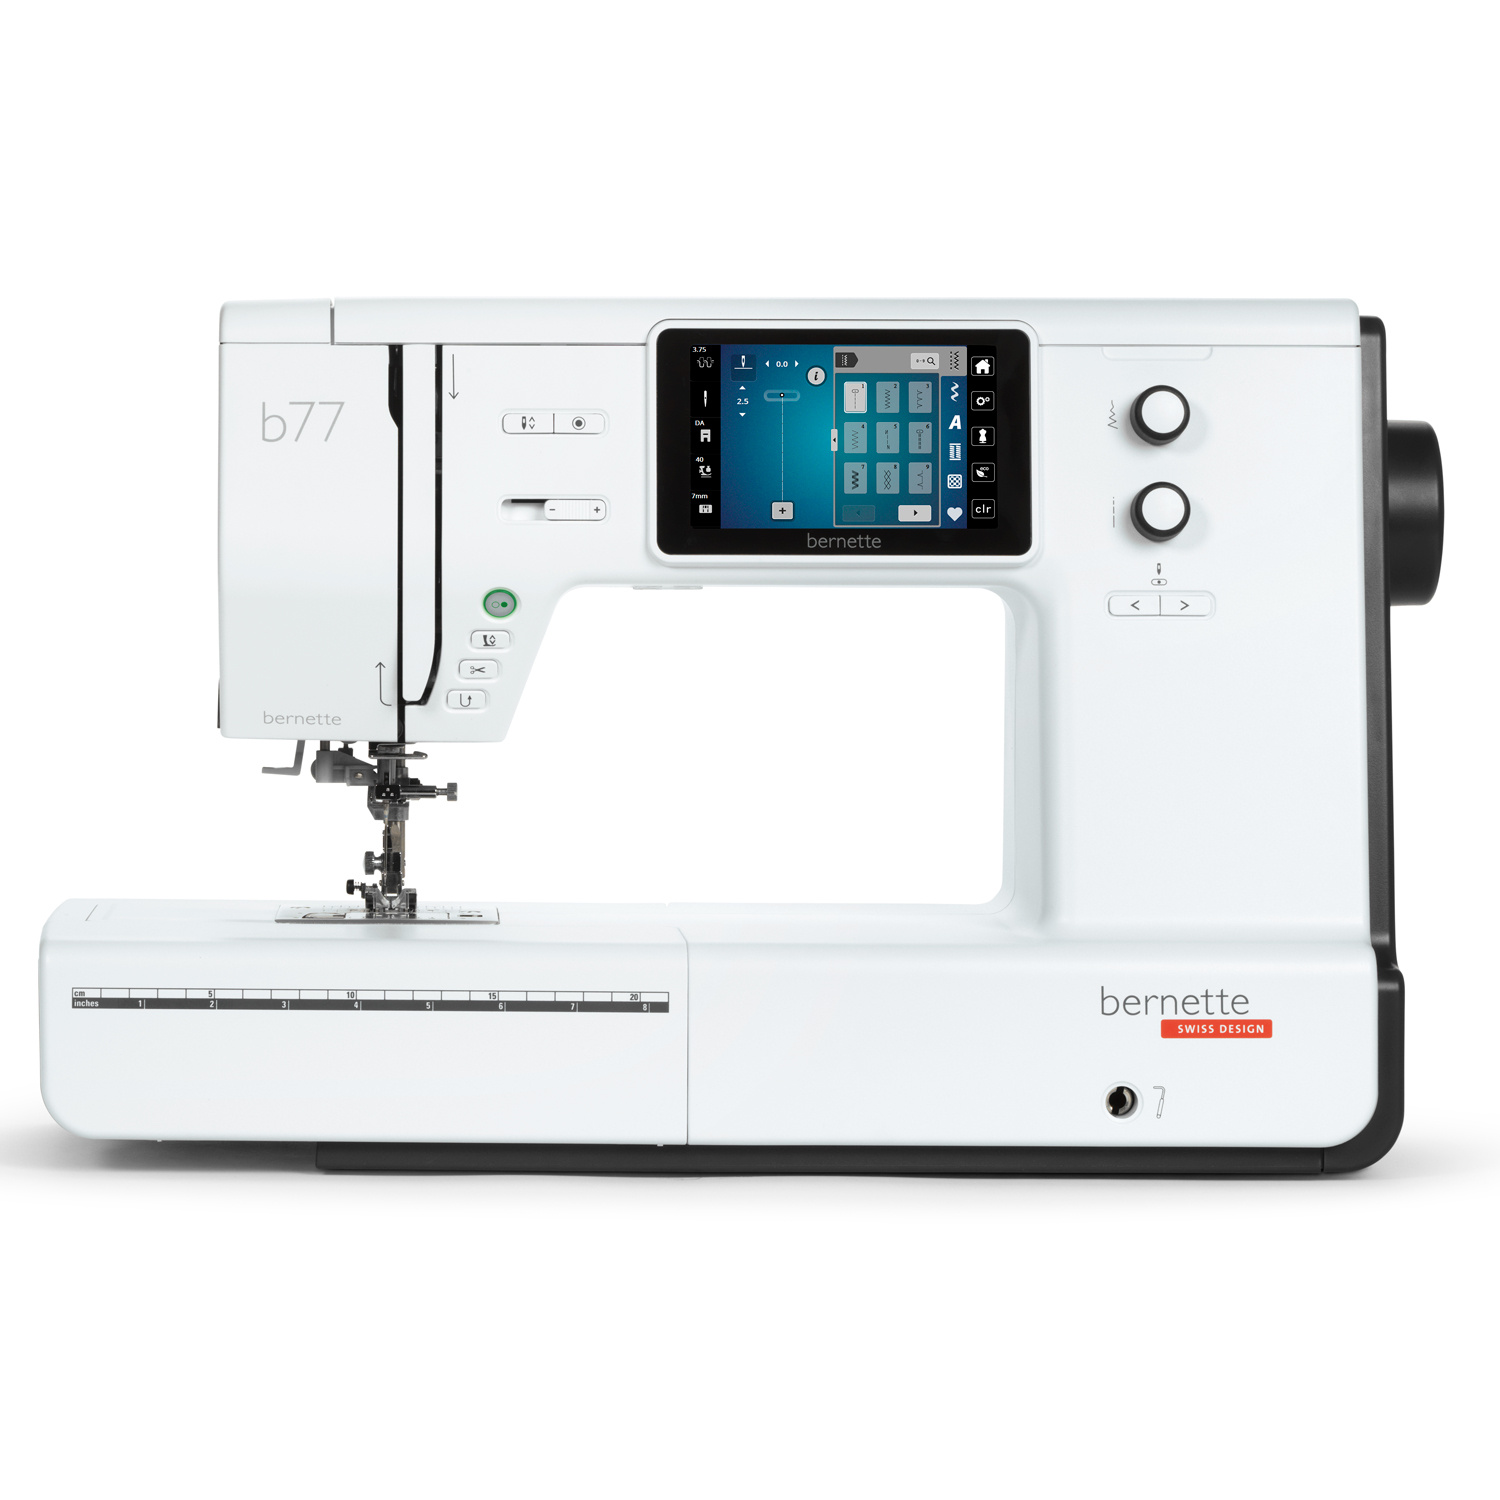 Bernette 77 Sewing and Quilting Machine$1699.00Shop →


