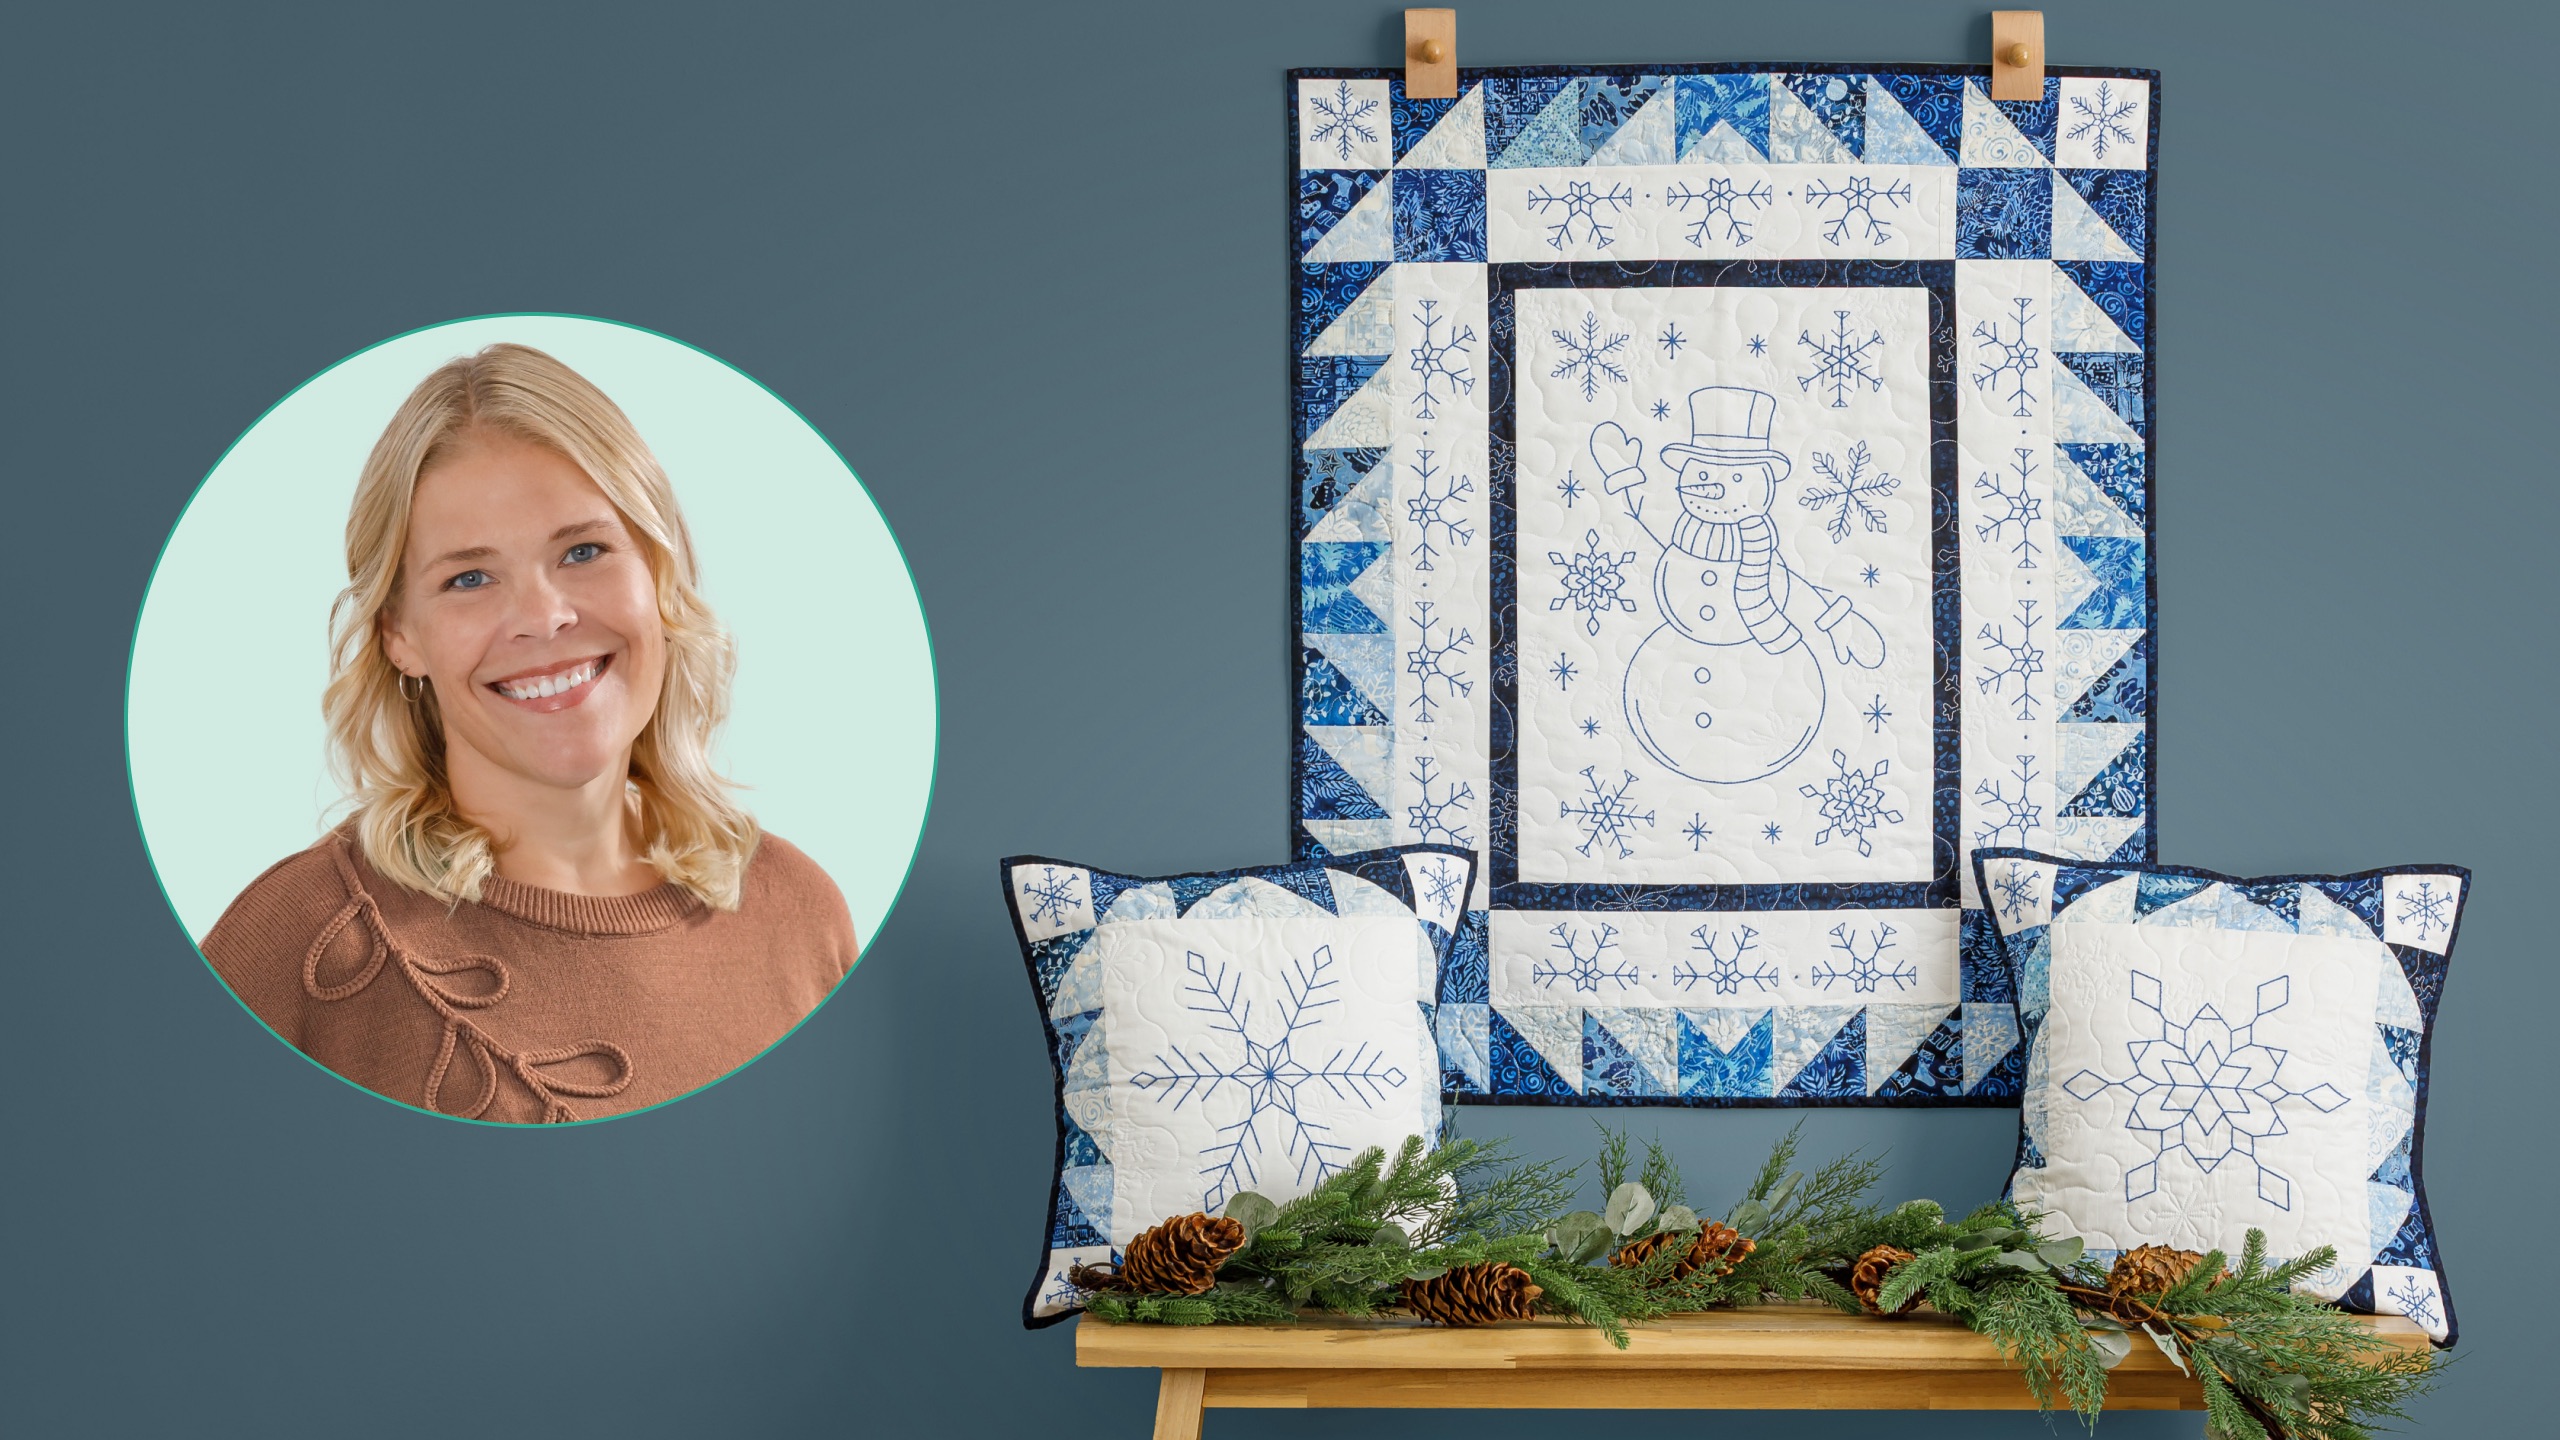
Learn how to stitch up a wintertime dream with the Easy to Embroider Panels project. Natalie will show you how to add hand embroidery with Perle Cotton to these preprinted fabric embroidery panels from Missouri Star Quilt Company featuring a snowman and snowflakes. You can create cute winter quilting projects like a mini quilt wallhanging and throw pillows.
Natalie is the host of Quilting 101, Embroidery 101 and the Creative Strategist and Editor of Block Magazine at Missouri Star Quilt Company. She was taught how to sew by her mom, of course, and began quilting when she grew up.
Learn how to stitch up a wintertime dream with the Easy to Embroider Panels project. Natalie will show you how to add hand embroidery with Perle Cotton to these preprinted fabric embroidery panels from Missouri Star Quilt Company featuring a snowman and snowflakes. You can cre...
How long is the tutorial video?
The tutorial video is 00:19:10.
Are supplies listed for this tutorial?
Yes. The tutorial page includes the supplies and materials connected to this project.
Video Transcript
Hi everybody. I'm Natalie with Missouri Star Quilt Company and today I have a fun project for you. We're going to make some half square triangles and add them to this really beautiful embroidered panel. Um, and I think you're going to love it. So, let's get started. Okay, so take a look at this quilt hanging on the wall here. It's so beautiful. It's an embroidered panel. We've got some half square and quarter square triangles. We've got two beautiful pillows that it comes with. And it's pretty easy to make. So, let me show you what you need. So, to make this quilt, you're going to need one of our Frosty Friend embroidered wall hanging panels and pillow sets uh from Missouri Star Quilt Company. You're going to need two packages of 5 in print squares, and we've used Frosted Wishes by Jerry Keefe for Island Boutiques. You'll need a little bit of inner border fabric, a quarter of a yard. Your backing, you'll need three and a half yards, and that's enough to back your pillows and bind your projects. Um, you're also going to need some embroidery supplies. is you'll need a a hoop probably 4 to 6 in. Um some good embroidery needles, your floss. We've used um Missouri Stars Pearl Cotton in Imperial Blue and Blue. And then you're going to need your favorite half square triangle trimmers. And I'm going to be using the Clearly Perfect slotted trimmers A and B. Um and that's pretty much it. So, let's get started. Okay, this is really fun. So, in your pattern, there's going to be um an embroidery uh chart that kind of tells you like where we put our colors. But the cool thing about this is you could really do whatever you wanted to. We've used a light blue and a bold blue, but you could make Frosty's nose orange. You could do fabric for his mittens or a little cuddle where the the little fluffy stuff would go on his scarf. And you could use any stitches you want. You could add beads and applique. So really the creative possibilities are completely up to you. And and so that's one of the reasons I think these projects are so fun. I love it. Um all right, let me show you what this panel looks like. So they're nice and big. They've got cut lines on them. Oh, I thought I maybe had it upside down for a minute. So you can see where like the corner pieces and the borders. There's the two big pillow panels. There's even a quilt label on here. And there are some instructions down in the corner that show you or tell you pretty much what to do with this panel, but let's just walk through it together a little bit. All right, I'm going to set this one aside because I've got one that I'm actively working on. All right, so this is the one that I've been working on and you can see it's not quite finished. I've got a ways to go still, but I wanted to bring it in so that I could demonstrate a couple of stitches for you. Um, we try to keep it really simple and just we're just working with stem stitch and French knots, but I have a little sampler here that has several outline stitches on it. You could use stem stitch, back stitch, chain stitch, split stitch, running stitch, whipped back stitch, or whipped running stitch. I love the whip that that all that means is that you're taking a straight piece of thread and twisting it around the stitch that you've previously done. And so you can do that with double colors and it looks really pretty. Um, again, you can use any colors that you want to do your panel. It's absolutely up to you. The creative options are all in your court. You could add fabric, you could add cuddle, you could put buttons for eyes, although don't add buttons until after it's quilted. But, um, but yeah, there's just a ton of really great options for dressing this up and making it uniquely yours. The uh the panel is laid out with these really great dashed lines that give you the places where you need to cut. And the instructions say go ahead and cut it apart before you start embroidery, which might make some of it easier, but I wanted to keep a lot of it together because I thought some of these spaces might be really little and I didn't want to embroider in a tiny area. I wanted to have more space so that I didn't have to move my hoop as often. So that's also user preference. you know, decide when you want to cut it. Um, I recommend going ahead and cutting it apart and then putting it together with your pieces and then if you want to wash it, this uh all of this ink is water soluble and will come out in the wash. So, you don't have to be absolutely perfect if you don't want to be, but I would recommend not getting it wet while you're working on it because the colors might uh they might bleed and your lines might disappear. you might not be able to see them to finish your project. So, try not to get it wet. But when you're done and you've got your top pieced, if you want to remove those lines, go ahead and put it in the wash. We did several different tests with different things, and we found that Synthropol works the best and color catchers, so you won't have any um any issues with staining or ink running. Uh let's see what else. I feel like there's a few other things that I wanted to say. Um, oh yeah, I was going to demonstrate a couple of stitches. So, let me get my needle and thread and my hoop. I'm going to go ahead and hoop it up. I've already got my needle threaded with some floss. I didn't follow the color in instructions cuz I'm really bad at following instructions in general. I like to mix it up, but we do have a chart that tells you we did dark blue here and light blue here, you know. So, if you wanted that kind of direction, that is totally in your in your power to do whatever you want. All righty. I'm going to go ahead and get this hooped and tightened. And I do have detailed videos. Uh, embroidery 101 is where you can go to see little demos of all of the stitches that I was talking about earlier. All the line stitches are shown. The stem stitch and the French knot are also on there. I've got a knot in the end of my thread and I'm just going to come up on the line and I do my stem stitch. Maybe it's a little different than the one you do. This is just how I know how to do it. So, I go back and come back up on the line a little bit farther down. And then I come back in the middle of my pre previous stitch and come up a little bit farther down. Oops. I don't I try not to do that. So that is how that looks. I'm going back in the middle and coming up a little ways out. So it's it's pretty simple stitch and you just follow all the lines until you're done. Whoops. All right. Because this is white and you don't want your um your knots or your strings to show, I'm going to put a knot in this and show you one of my little tricks that I like to use. So, I'm going to go through and do a knot [snorts] and tie that down. You can do it twice if you're worried about it, but I'm going to show you how I just weave my thread backwards along. And I just go in and out, you know, just sort of it's this is what you would do if you were doing a whip stitch, too, by the way. But it's it's a it's called um weaving your threads in. So, I'm going to weave that end in, and then I'm going to trim it. I need a little little trimmers. And then I'm going to trim that off. And then my my long threads aren't going to be showing through my white fabric as much. It hides it a little bit better. All righty. Let's do a French knot. Some of these spots are a little bit chunky, so you're going to want to wrap your thread several times. The other thing you could do is do a set of three. If you like your French knots tiny, you could just do three French knots or four in a little cluster almost like a flower. All right, so we're coming up from the back. And then what we're going to do is wrap the thread around our needle probably five or six times depending on how big you want it. And then I I push the needle in. I hold this thread with my thumb. And I usually will hold it against the side of the hoop if I can because that helps it to stay into place. You want to give it a good amount of tension so that that doesn't unravel as you pull it through. And then you let go, pull it, and you've got your French knot. Now, one of the hacks I get asked this question a lot, like, what if my French knot is loose? What if the the threads are weird? So, let me show you a little hack. One thing that I like to do when I'm um working with French knots, I will put in a second stitch just to secure it. And then you can grab any threads that are like hanging out and looking where they don't they don't maybe don't look how you wanted it to or maybe your French knot is just like over a little bit and you want to pull it to a certain area. So what I do is I I bring my thread back up from the back and then I'm going to grab the spot that I want to put wherever I want to move it to. I'm going to just use my needle and tuck into it and push it back through. And that just adds oops an extra um it adds an extra bit of security. So you're then securing it with an extra stitch. So that that works for those. All righty. Then you're just going to put a little knot in the back and call it good. All right. So we've done a few stem stitches and a few French knots and any of the other stitches that you'd like to see again you can check out on YouTube. So, I'm going to put this away and we're going to make some half square triangles. So, the whole quilt, um, we've got some squares in the corners here that go next to our borders. We've got some half square triangles, and these are our quarter squares. So, let's do some of those. We're going to take lights and darks from our line, and we're doing the make two. So, you're going to stack them together, right sides. And biques are just great. They don't even really have a right or wrong side. Sometimes you can tell the difference, but if you can't tell, it doesn't matter. You can use whichever side you like. We're going to go ahead and draw a line, and we're going to sew on both sides of that line. And because we're sewing and we're cutting through it, you can use whatever pen or pencil you have on hand. Super super forgiving, easy way to do this. All right, so I'm going to go down one side, then I'll flip it around and come back up the other. All righty. Going up the other side. Okay. So now we are going to cut this AC across the middle right on that drawn line. And oh, there it is. I don't know why I didn't see it there. Okay, we're going to square one of these. So, so all of the ones that you make for your half square triangles, they're going to get squared to 4 in. So, just like so. I'm going to slide that over to that straight edge because it lines up nicely. And just trim this off using my trimmer tool. And we're going to go ahead and set the seam and press it back. You can choose whatever color combinations you like for your quilt. They're just mostly lights and darks. So, we're going to make a big stack of those half square triangles and have those trimmed up and ready to go. Now, to make our quarter square triangles, we're only going to need four of them. But what you're going to do is take some of your half square triangles that you have not trimmed yet. We're going to we're going to press them open. And then what we're going to do is layer a fabric on top. And it can be um it just needs to be, you know, one of the it can be contrasting. They can be light, dark. I'm going to use a a medium one, I think, for this one. So that Oops, I don't need two. So what I'm going to do is put this down here. Here, I'm going to put this on top of it, kind of centered up so that I'm sure to get all the fabric that I need. And then we're going to draw a line right down the middle. And we are going to corner to corner sew on both sides and get two quarter square triangles. All right. So now I'm going to take this to the machine. The only thing on this that you have to remember is that your line needs to cross your seam so you get that beautiful quarter square look. All right. So, I'm going to flip this around and stitch down the other side of that line. Okay. And now we'll go ahead and cut this apart. Cutting right on the line in between our two seams. [snorts] And then we'll take these over and give them a quick press that seam or set that seam I mean. And then we're going to I like to flip them over and roll back towards the side that doesn't have a cross seam. I feel like it just works easier. Oh, actually, let me show you a trick. So, if you leave it un unpressed, this is where our half square or clearly perfect trimmers come into play. They're so good and easy. So, we're going to put the four here on this one. And we're going to line up the center line with a center seam line that is on our quarter square triangle. So, this is a way to square up, keep all your points, and keep it very simple and easy to do. So, then we're going to trim it like this and like that. Oops. Cut our little corners off. And then we're going to stitch it or I mean press it. Sorry. So many words. I do like to flip it over though and use the other side. And that is how you make a quarter square triangle. So, if you don't have your Clearly Perfect trimmers, which they're a great tool and I highly recommend them, but um let me show you how to do this with your regular ruler. So, it gets a little bit trickier. U one thing I would note is this one has already got its point in the corner. So, I'm going to line up with my other point and I'm still going to pay attention to that. But, we're looking for a 4 in square. So when I get that all lined up, I'm looking at one, two, three, four. So you want it to go into that corner. And then we've got one, two, three, four into that corner. And this line then keeps this corner in both corners. So I'm going to go ahead and trim this off the little excess. And then I'm going to spin my fabric. I'm going to line that up again and keep my 4 in here. four inches there. And you can see I still have my seams in the corners. That one's in that corner. And it's all lined up still. It's just a little bit trickier than having the line on the back of your perfect trimmer tool. So there you go. Two ways to square up quarter square triangles. And once these are all done, all we're doing is cutting out our embroidery to the sizes on the pattern. We're going to add a 1 and 1/2 inch inner border. This is the border from the panel. And then we've got some cornerstones that are 4 in. Then we've got our half square triangles and our quarter square triangles. And those are also 4 in. And then up here in the corner, we've got some more cornerstones from the panel. And it comes together really easily. It's so cute. These pillows are absolutely darling. They have a nice envelope flap that you can make. And the fabric recommendation does cover the backings and the bindings. And then I also have some really fun projects to show you. There's a whole bunch of different embroidery panels that I just love. They cover holidays and other fun things. So, let me show you some of this stuff. They're so cute. So, we've got this one. Whoops. I got to get it all undone. This is our peacock and it's crooked. There it is. Got the beautiful peacock embroidery wall hanging panel and pillows. I believe. Yes, there's little peacock pillows. Look how cute they are. I love these little flowers in the bottom corners. Oh, look. They're absolutely darling. So cute. We've also got this one that looks like poinsettas. Oh, it's the cardinal cheer wall hanging. So pretty. We've got some metallic thread on there for quilting. That's beautiful. All right. And then of course I I love a Halloween panel. This one is so cute. It's called Midnight Magic Wall Hanging. And they're all just about as easy as pie. I think they're so darling. So yeah, lots of options. There's probably even more that I haven't shown you that you could do. This quilt comes out to 31 12 by 38 1/2. The pillows are 18 in. And we machine quilted this one with meandering snowflakes. But we have so many great uh machine quilting patterns. You could really pick whatever you wanted to. So hopefully you've been inspired and you can go home and have fun doing some embroidery projects. And I hope you enjoyed this tutorial on the Frosty Friends wall hanging and pillow set from the Missouri Star Quilt Company. See you next time. Hey quilty friends, we are so excited. We have something really special to [music] share today. That is right. Believe it or not, we have a million subscribers here on the Missouri Star YouTube channel and we are so excited. Yes, it really is unbelievable. [music] I know when we first started our YouTube videos years ago, we never imagined that we would have a community [music] this size and this wonderful. From the bottom of our hearts, we just want to thank all of you for being a [music] part of the Missouri Star family. That's right. Thank you so much for joining us on this wild ride. We are so excited to have reached a million subscribers and we are going to have so many more quilts and so much more fun in the [music] future. I can't wait to see what happens next. I can't either. And we hope that you will join us for the ride. We'll see you later. Bye.

 Natalie Doan
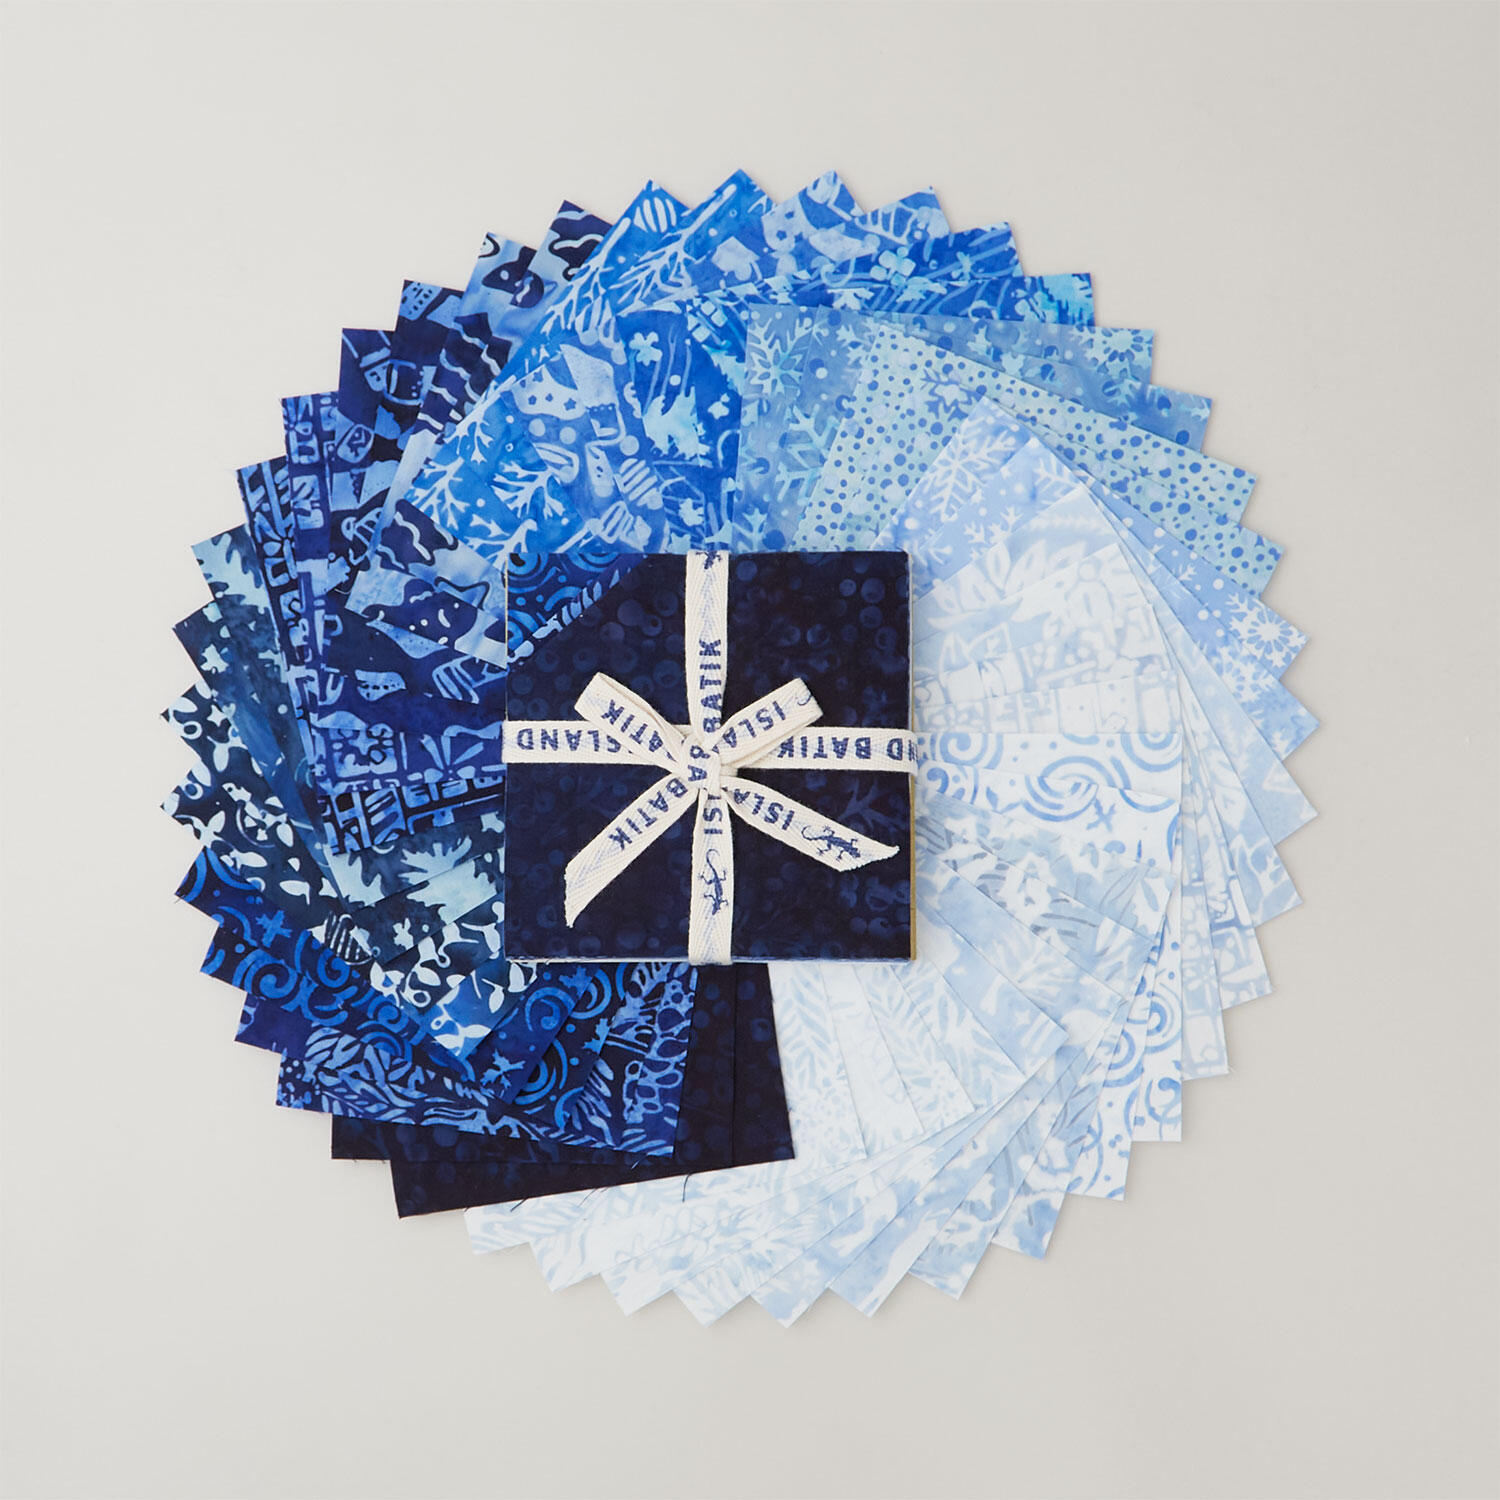 Frosted Wishes Batiks Stamps$13.95Shop →
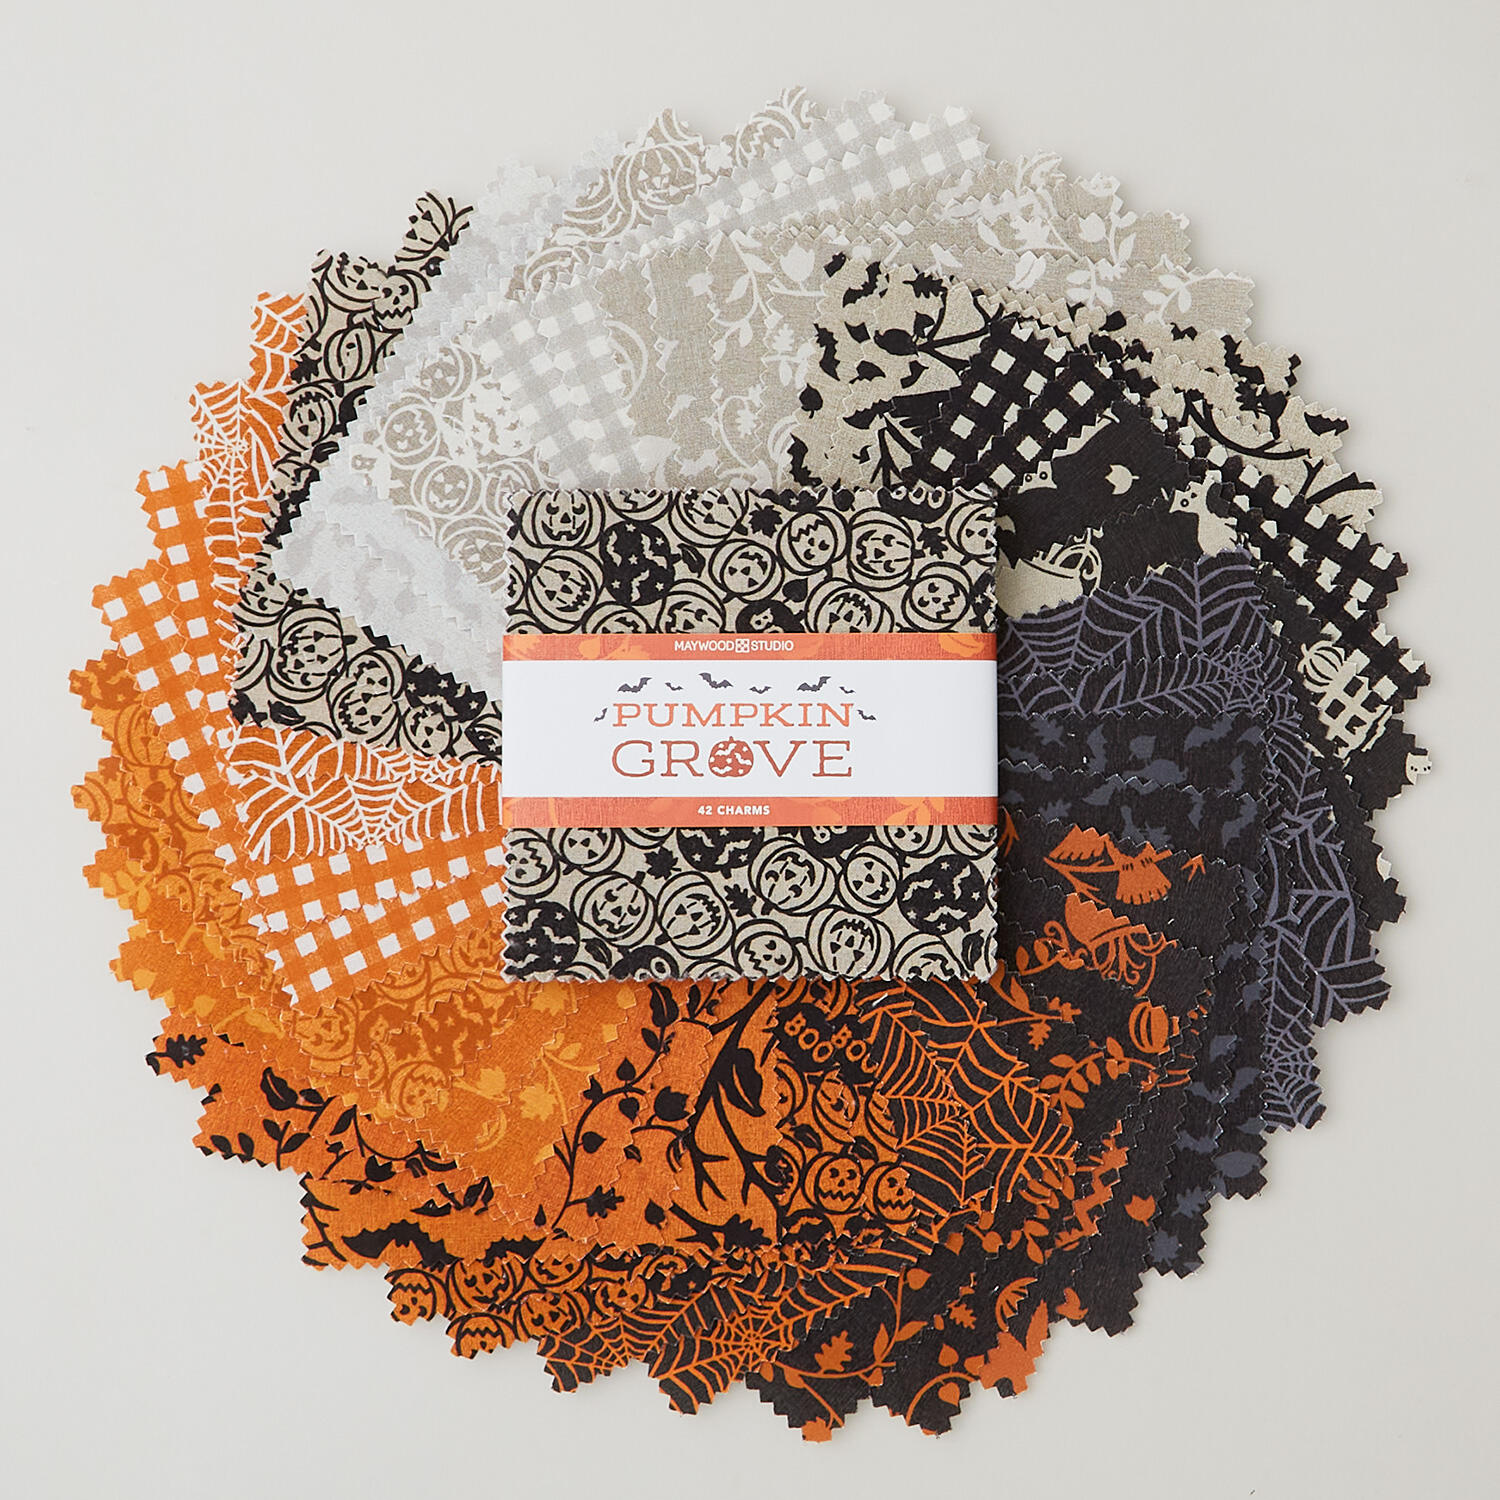 Pumpkin Grove Charm Pack$13.25Shop →
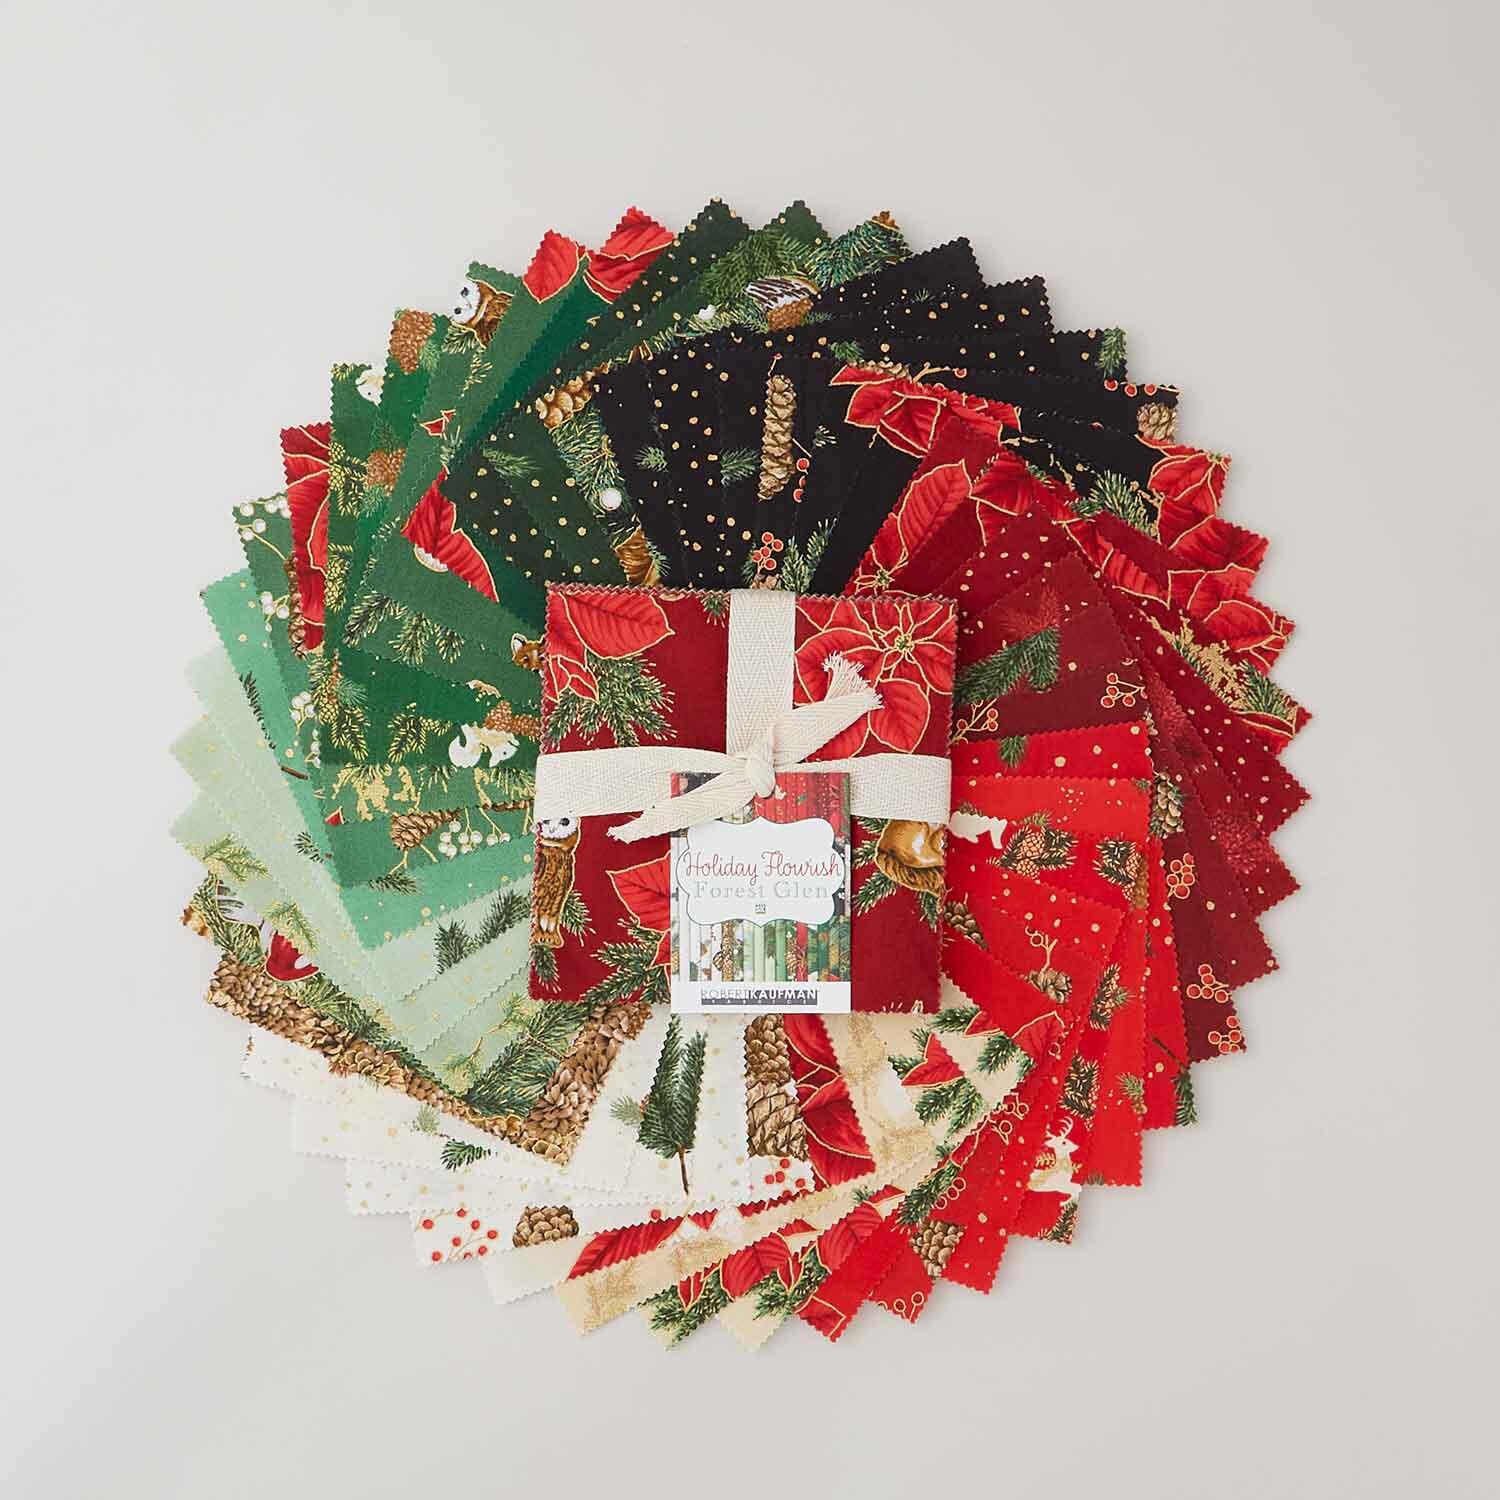 Holiday Flourish - Forest Glen Holiday Colorstory Metallic Charm Pack$16.50Shop →
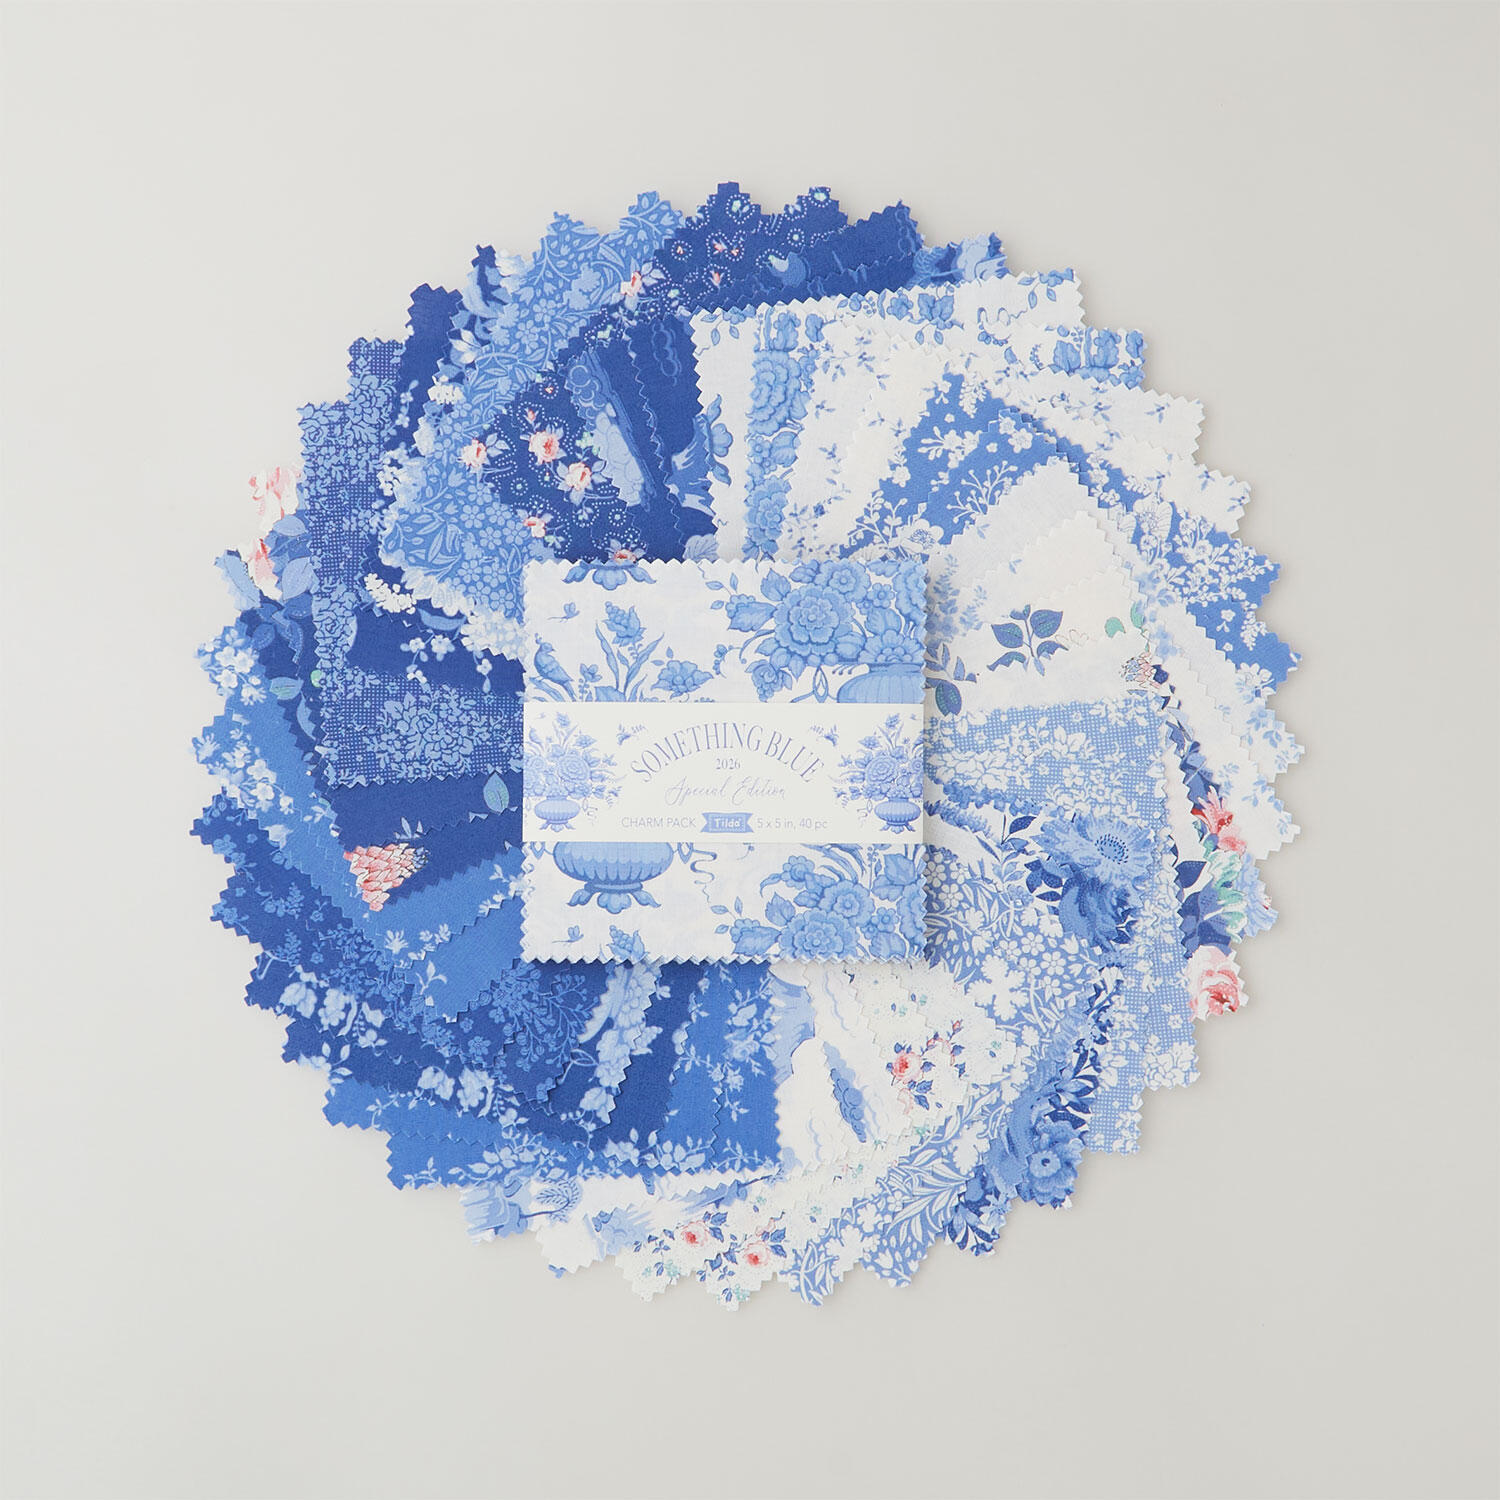 Something Blue Charm Pack$23.20Shop →
 Colorworks Premium Solids - Air Force Yardage$8.96Shop →
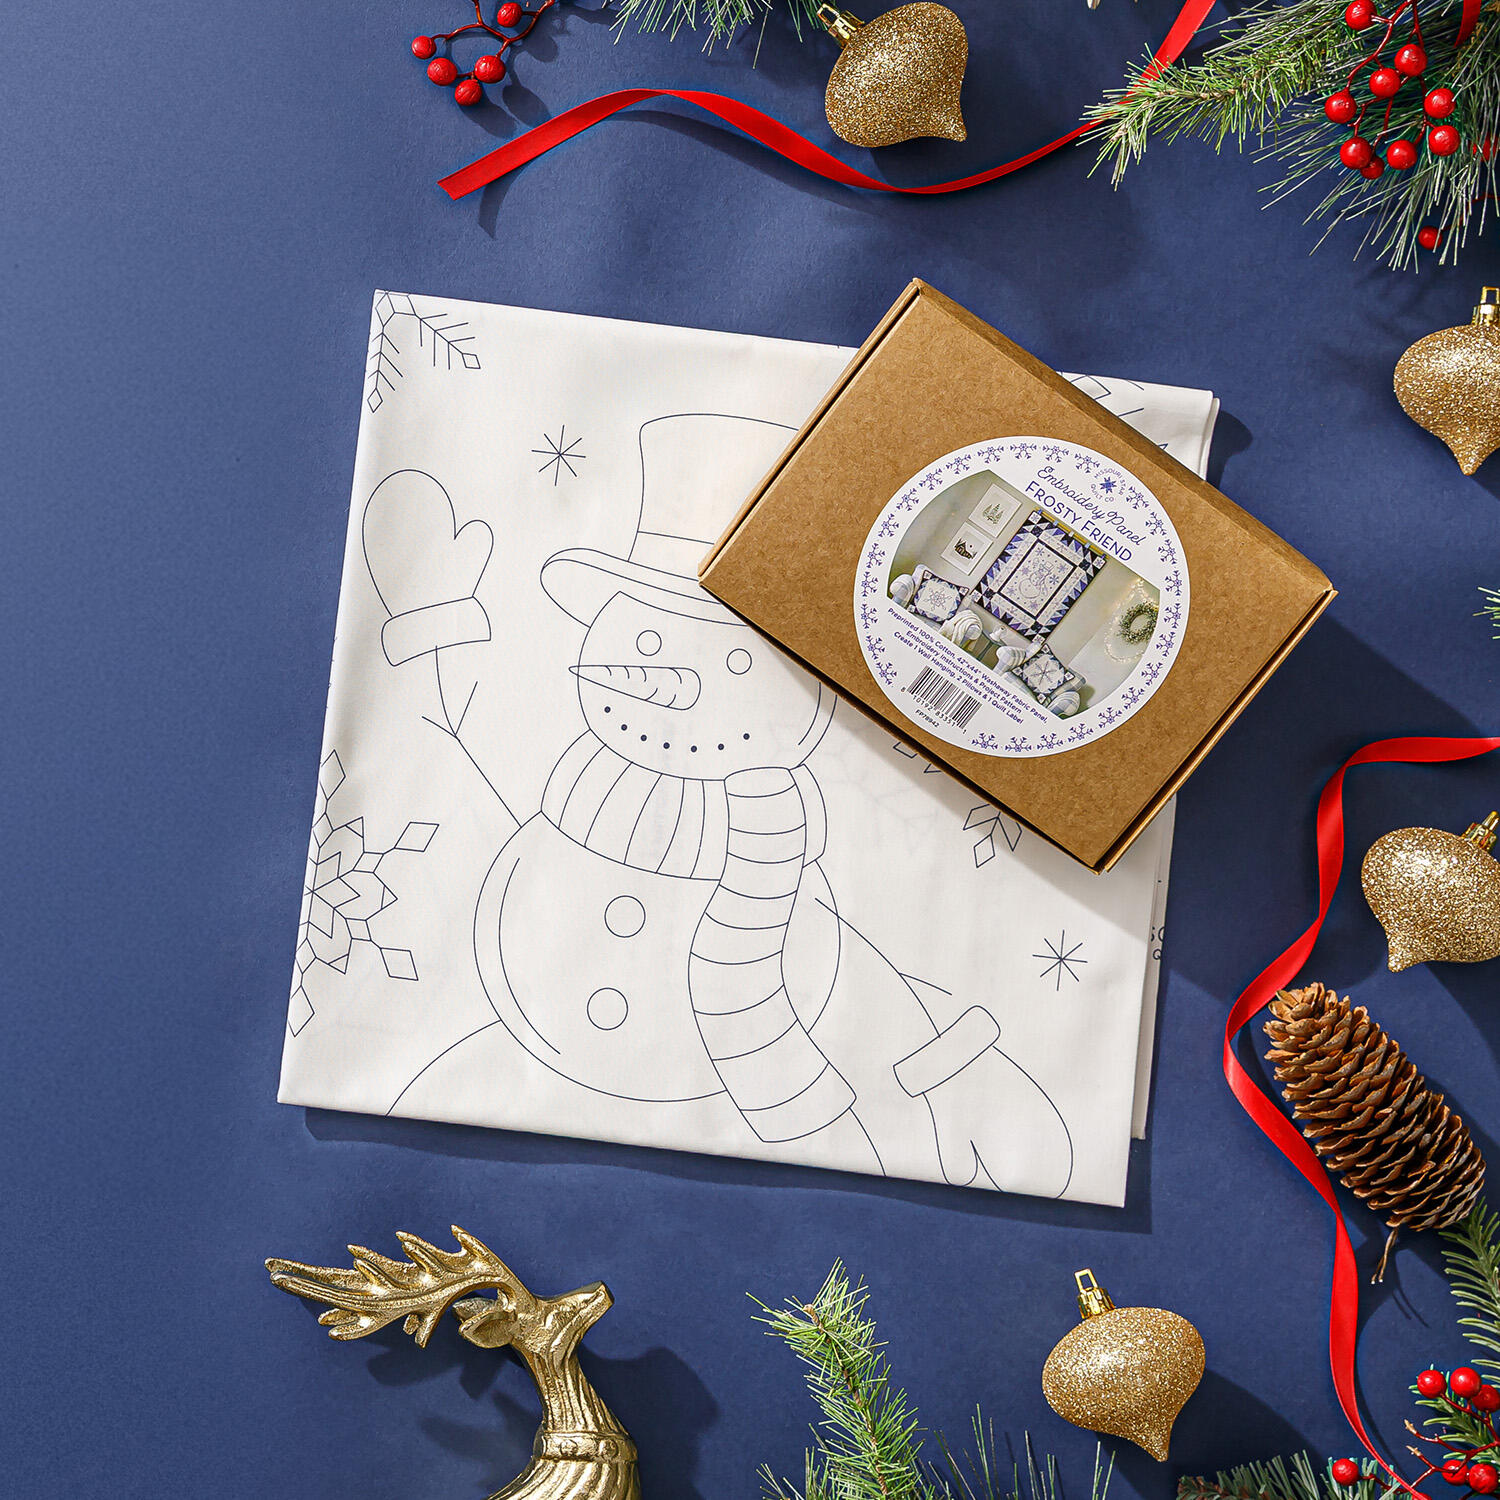 Missouri Star Embroidery Panel - Frosty Friend$19.95Shop →
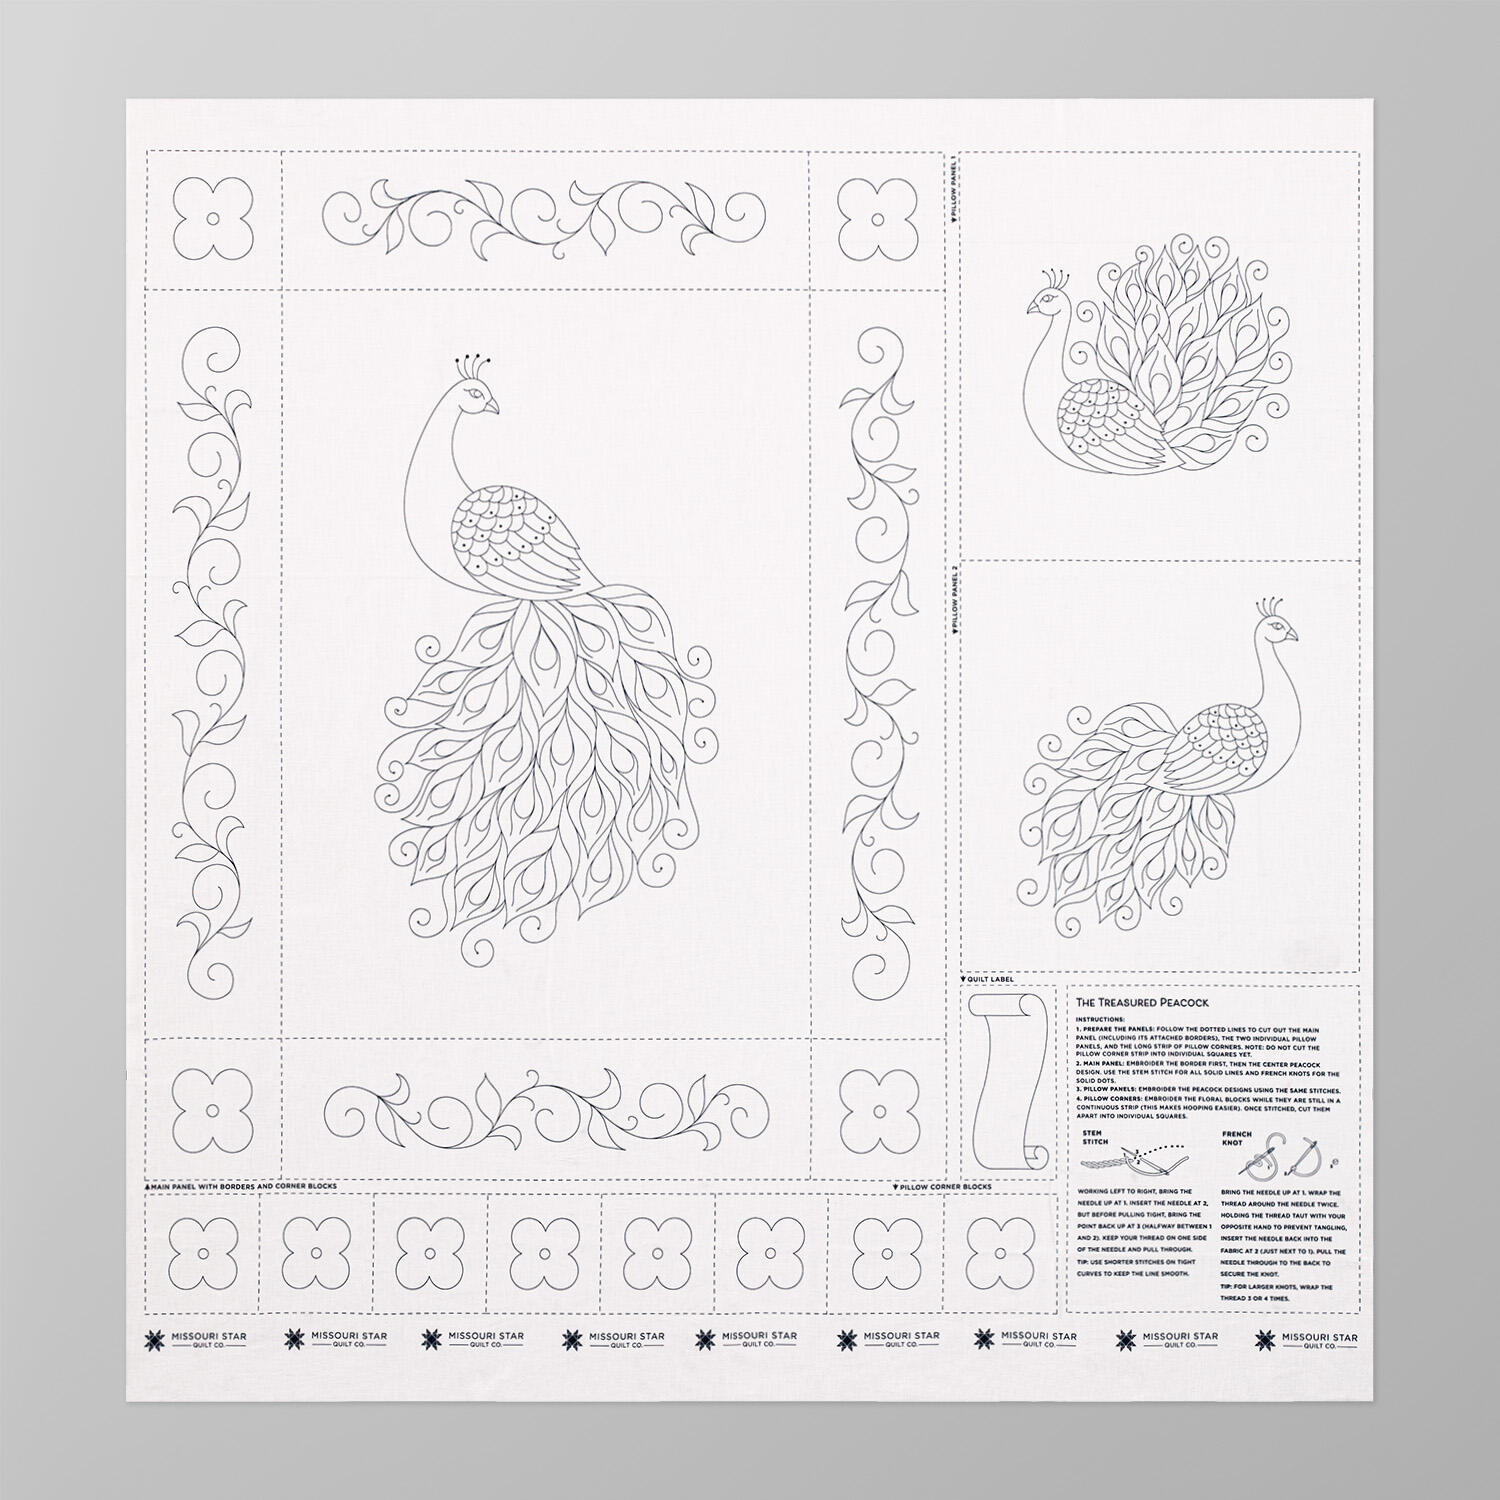 Missouri Star Embroidery Panel - Treasured Peacock$19.95Shop →
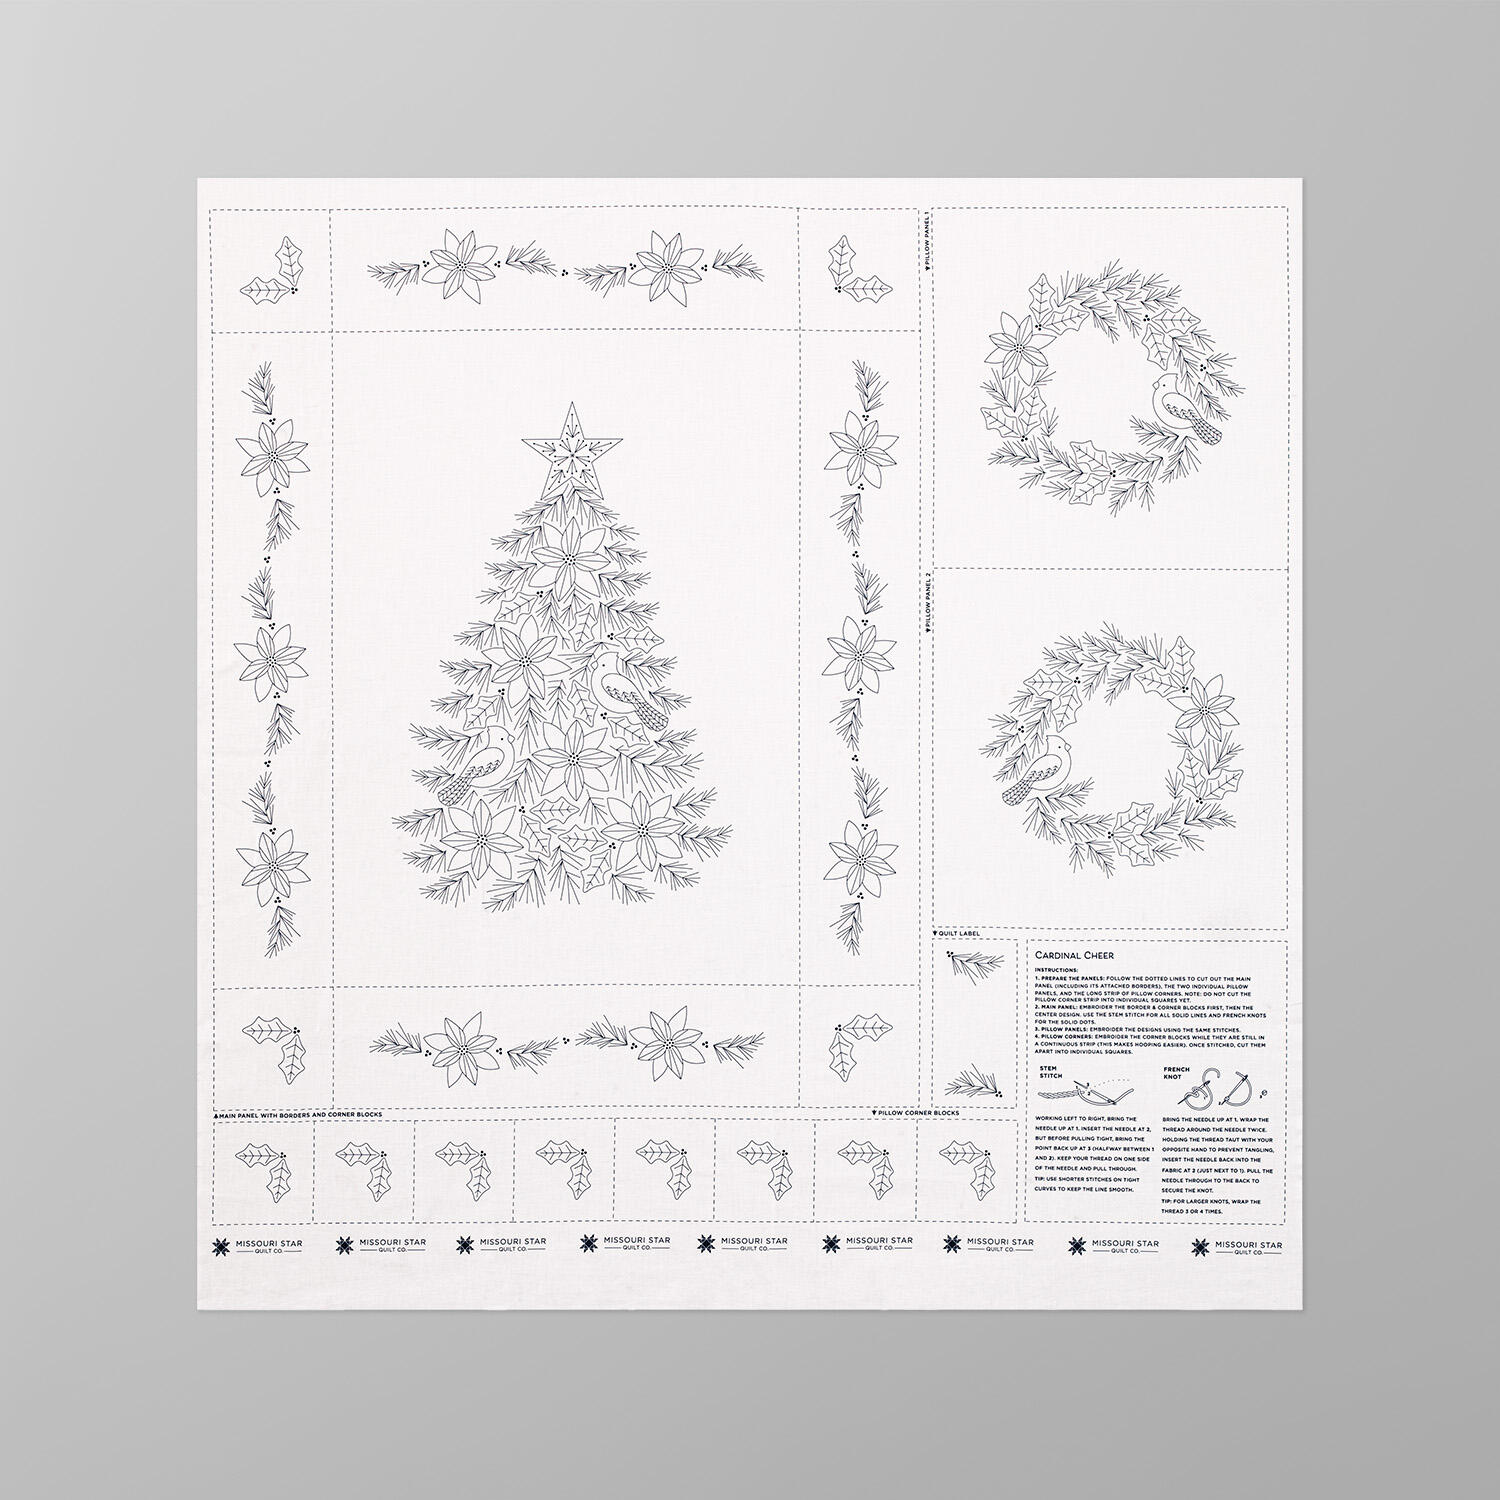 Missouri Star Embroidery Panel - Cardinal Cheer$19.95Shop →
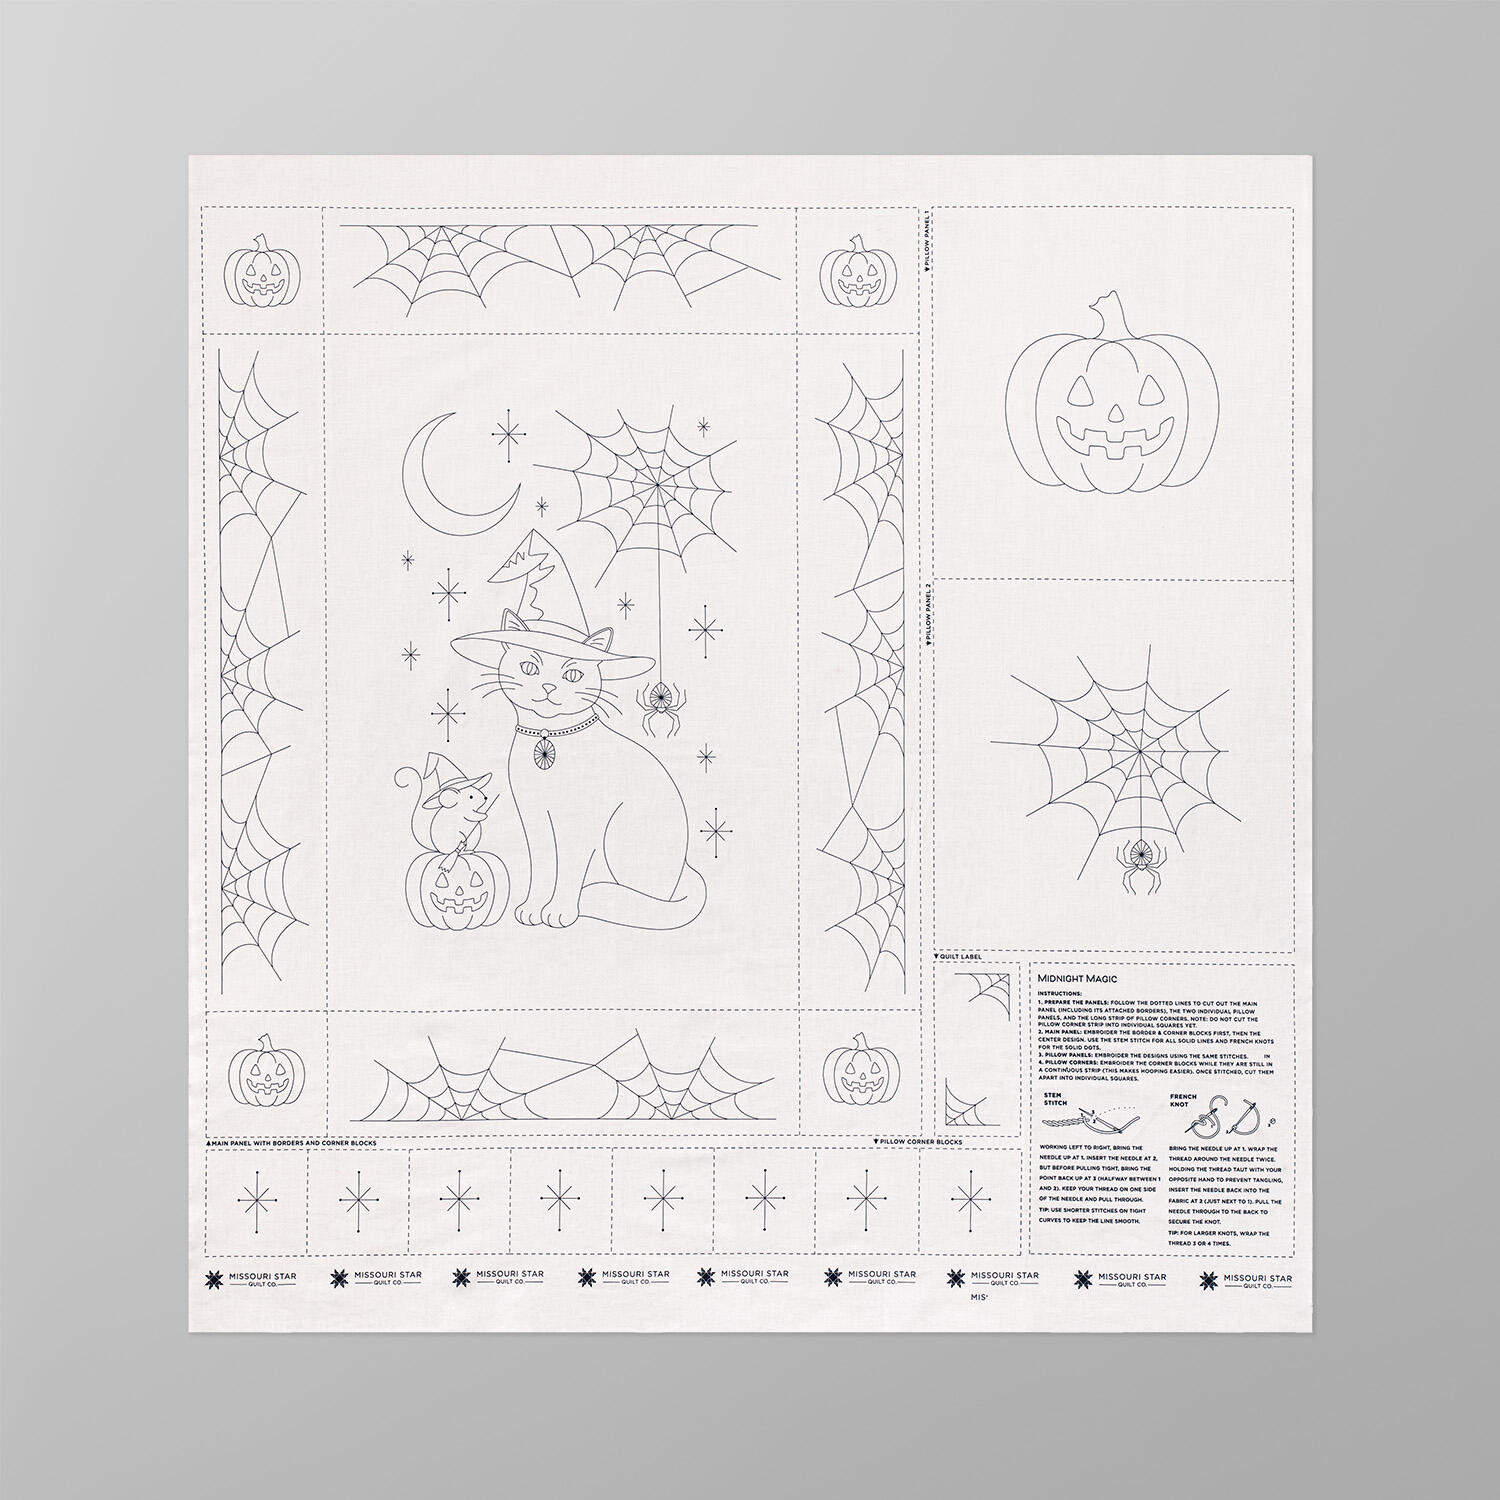 Missouri Star Embroidery Panel - Midnight Magic$19.95Shop →
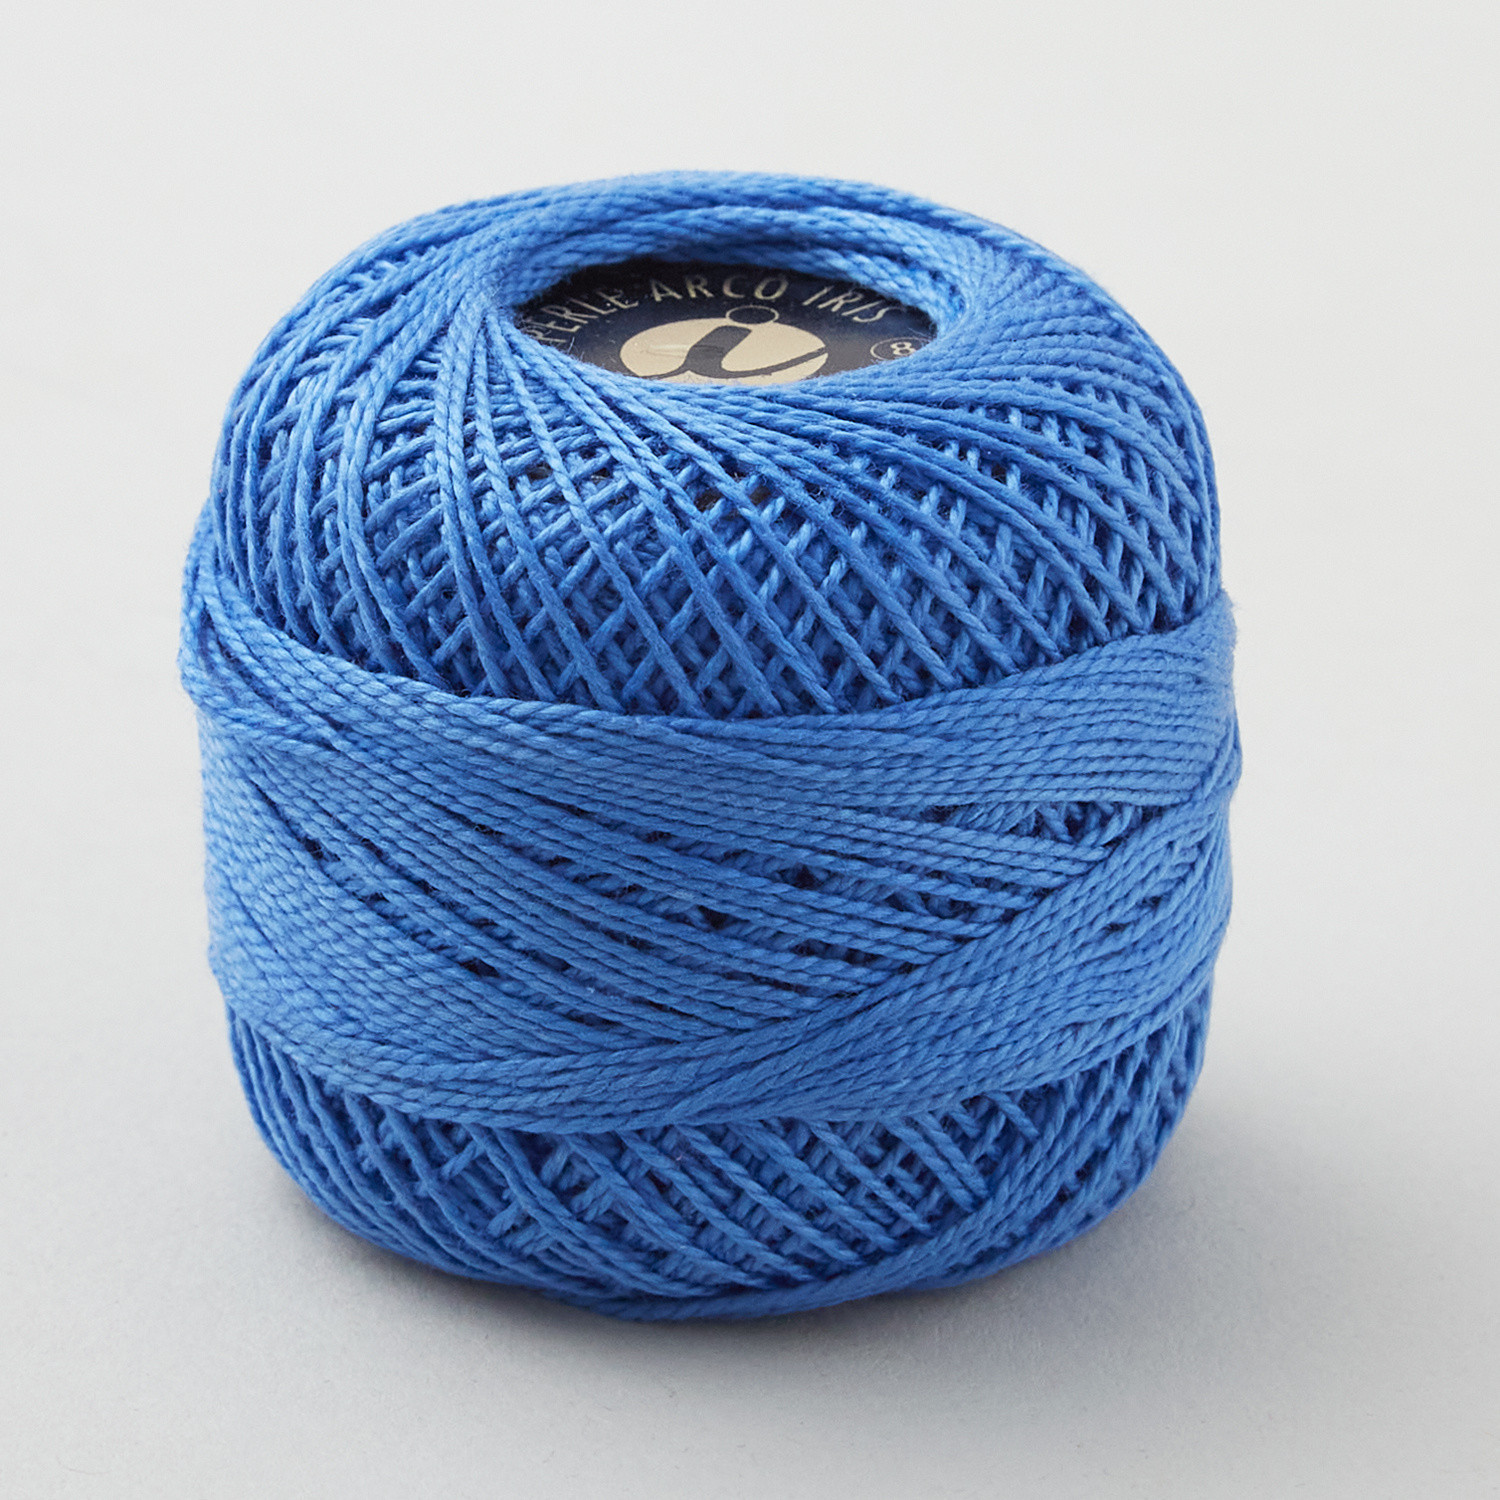 Missouri Star #8 Perle Cotton 10 Gram Ball - Imperial Blue$3.49Shop →
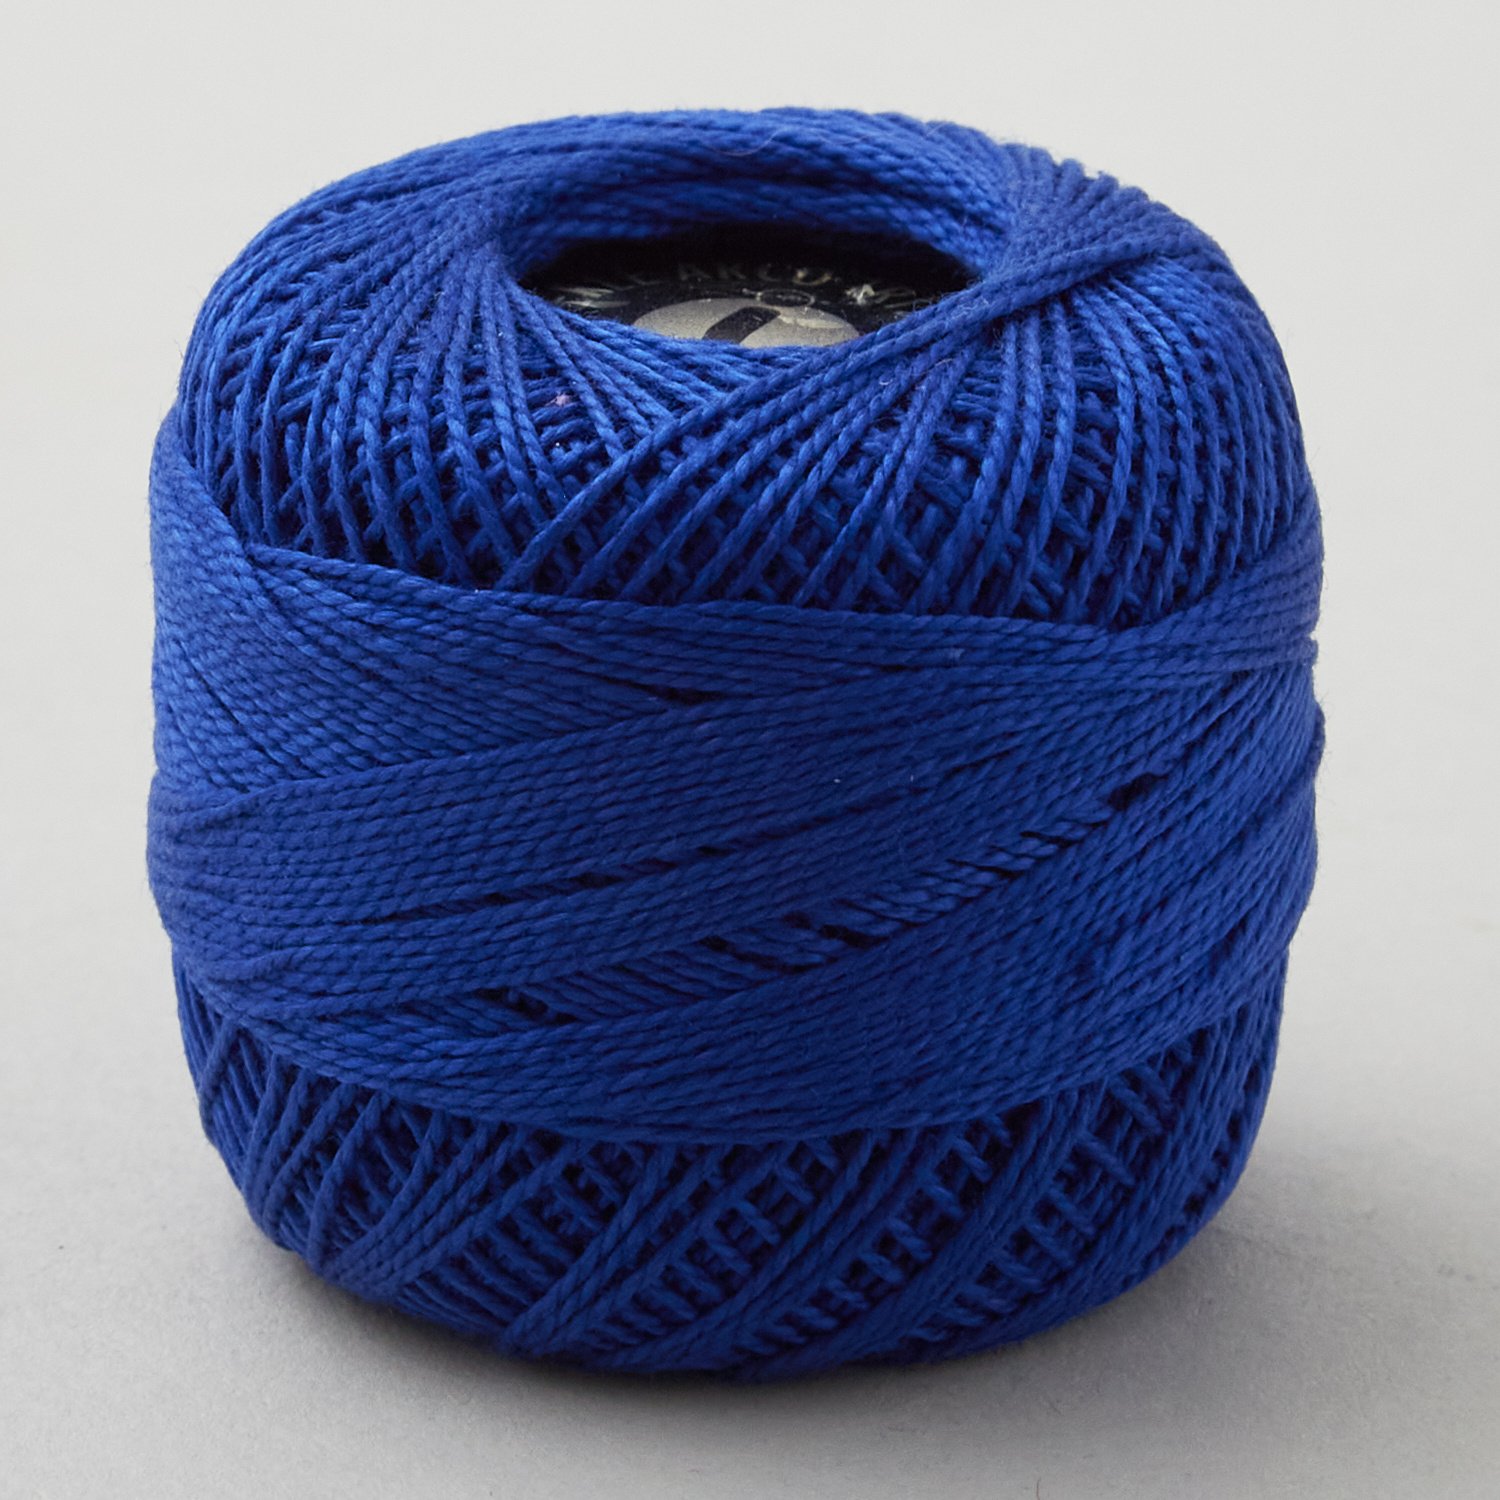 Missouri Star #8 Perle Cotton 10 Gram Ball - Blue$3.49Shop →
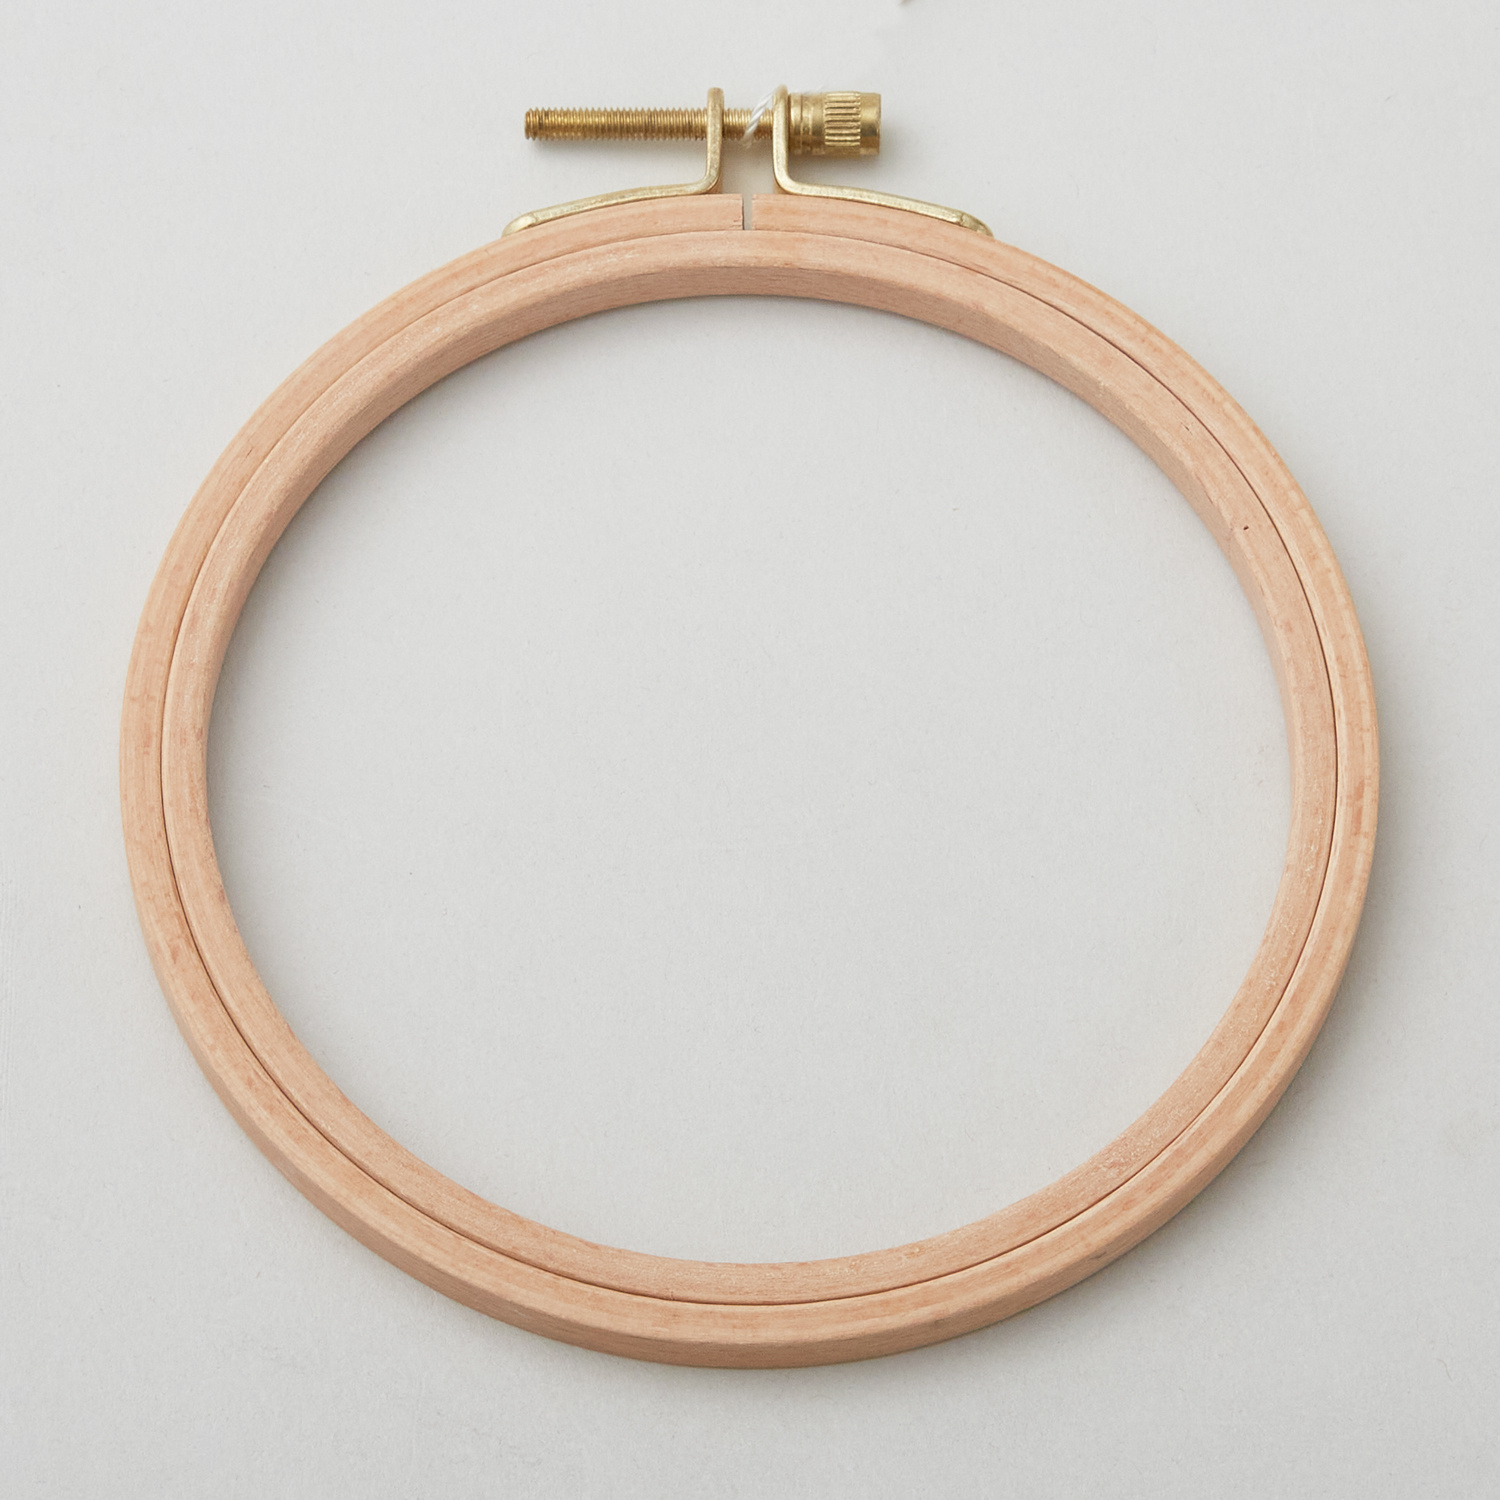 Beech Wood Embroidery Hoop - 6" Diameter$9.75Shop →
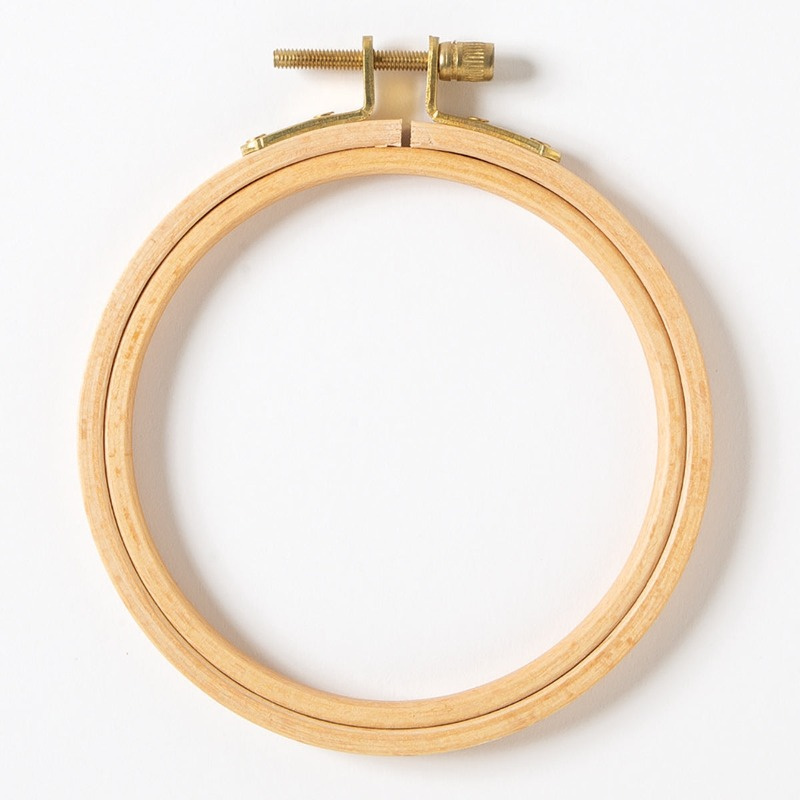 Beech Wood Embroidery Hoop - 4"$9.25Shop →
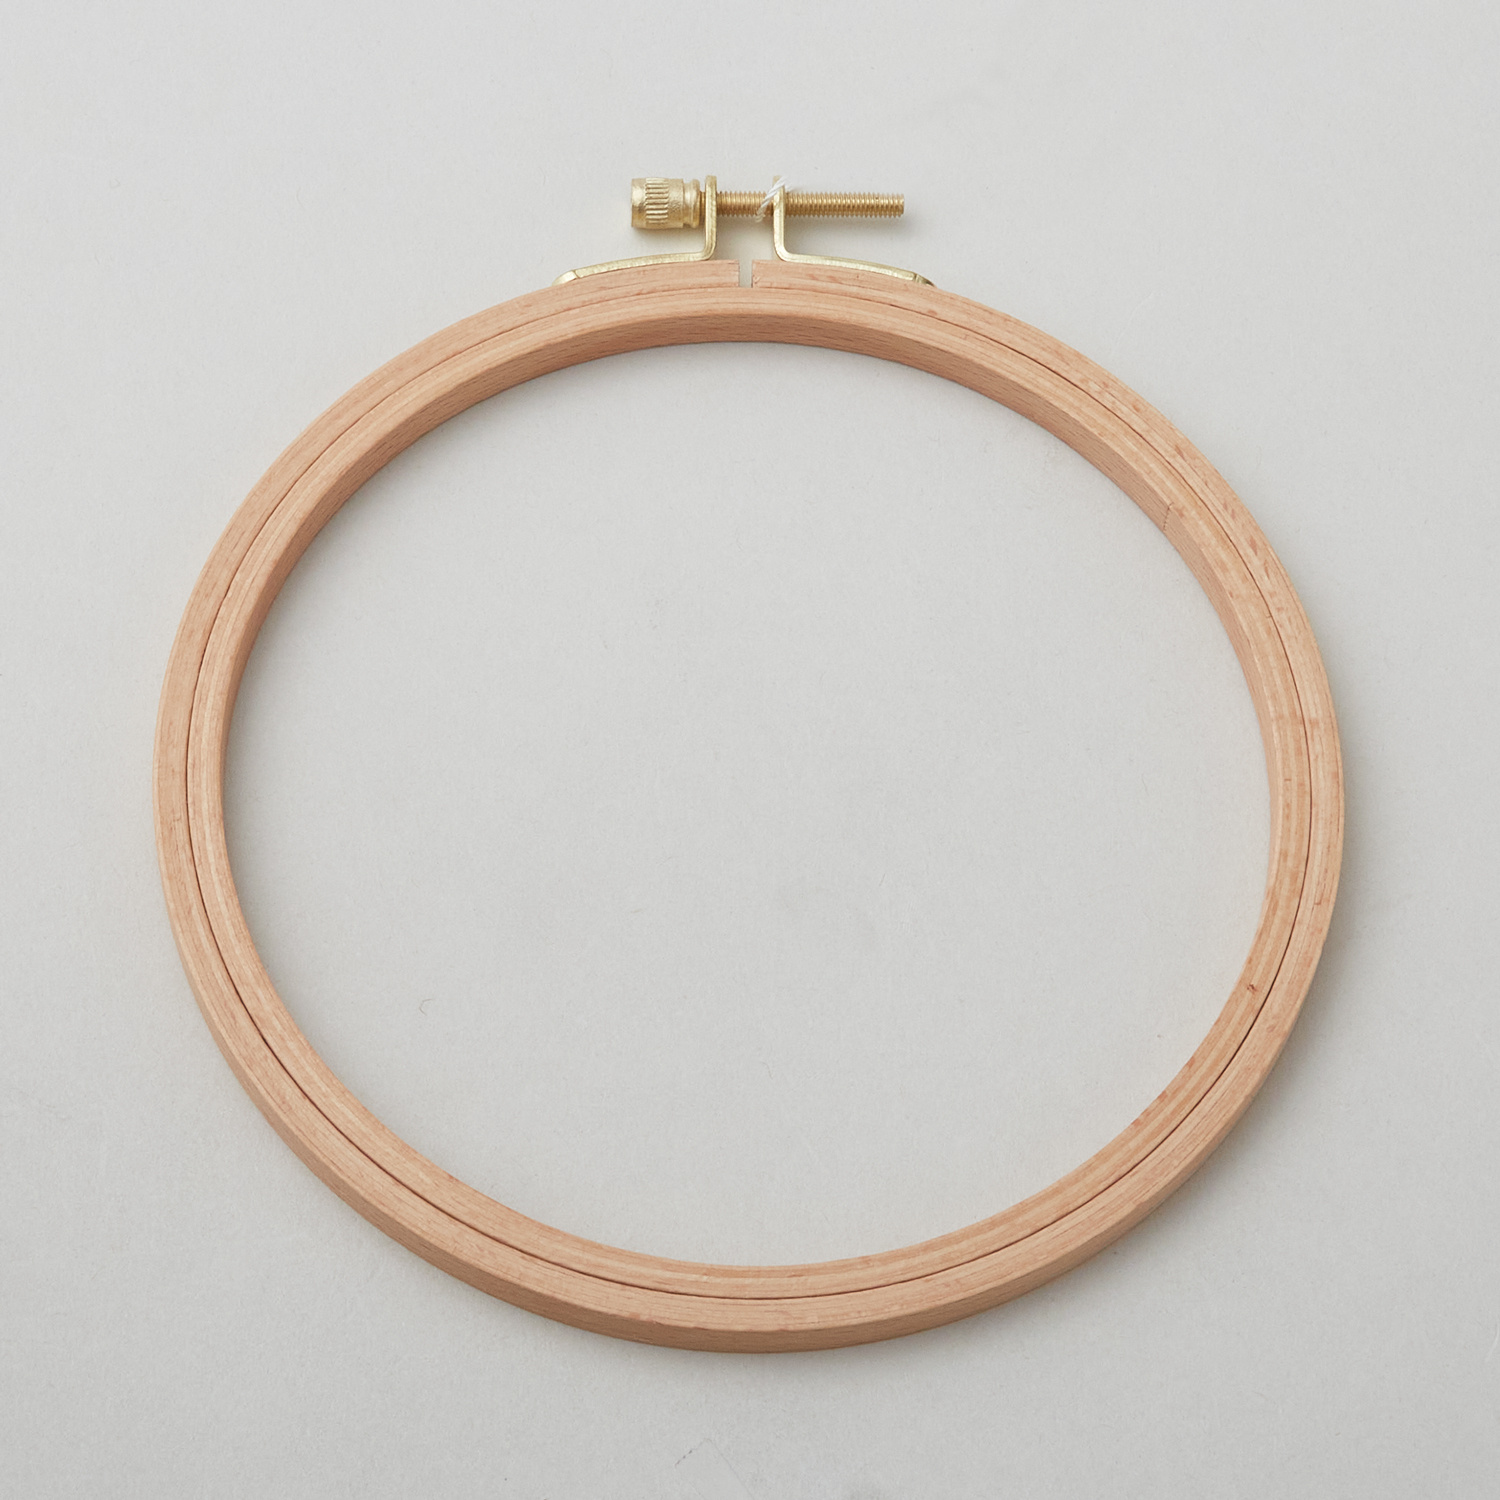 Beech Wood Embroidery Hoop - 5" Diameter$9.45Shop →
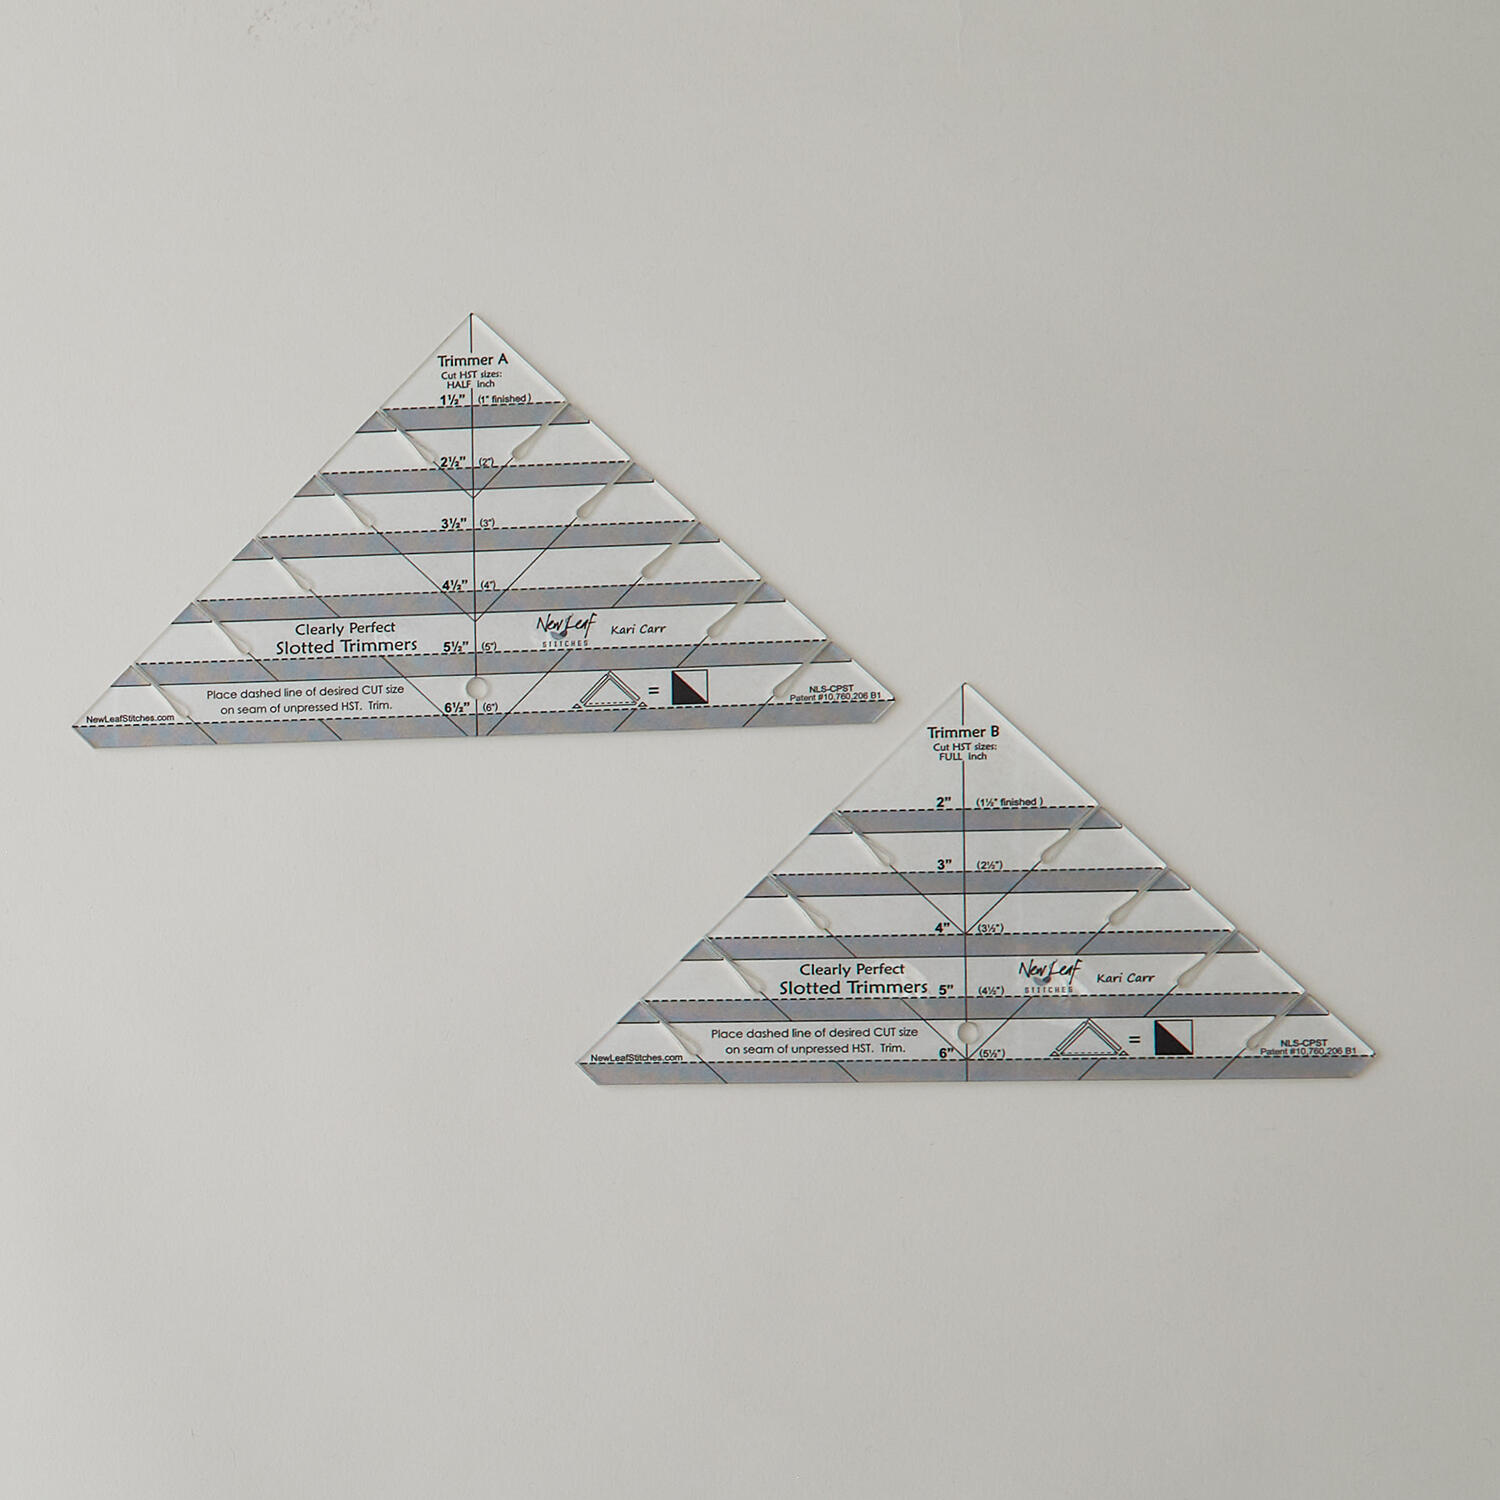 Clearly Perfect Slotted Trimmers$33.95Shop →
 Missouri Star 45mm Rotary Cutter - Olga$19.95Shop →
 Missouri Star 8" Everyday Scissors - Amelia$19.95Shop →
 Missouri Star + Oliso TG1600 ProPlus Iron$209.95Shop →


