Skip to content

Free quilting video tutorials from Missouri Star

Quilting Tutorials
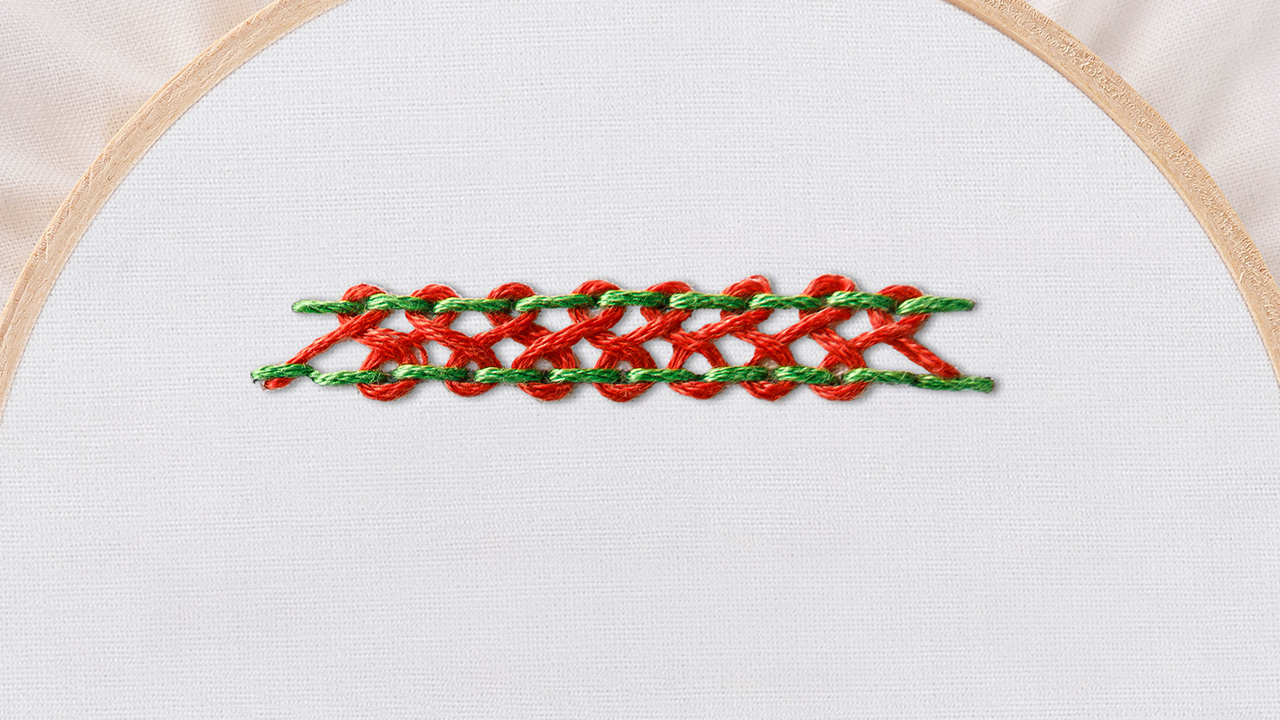
Embroidery 101: How to Embroider a Herringbone Ladder Stitch

Embroidery 101: How to Embroider a Herringbone Ladder Stitch

Are you ready to dive into the enchanting world of hand embroidery? Join us on this exciting journey as Natalie, a passionate embroidery enthusiast, guides beginners through the fundamentals of this timeless craft. Whether you're new to embroidery or looking to master a different stitch, this series can help enhance your craft and have you stitching like a pro in no time! Today's video will cover how to embroider a herringbone ladder stitch.

Instructor

Natalie Doan

Natalie is the host of Quilting 101, Embroidery 101 and the Creative Strategist and Editor of Block Magazine at Missouri Star Quilt Company. She was taught how to sew by her mom, of course, and began quilting when she grew up.

Common Questions

What is covered in Embroidery 101: How to Embroider a Herringbone Ladder Stitch?

Are you ready to dive into the enchanting world of hand embroidery? Join us on this exciting journey as Natalie, a passionate embroidery enthusiast, guides beginners through the fundamentals of this timeless craft. Whether you're new to embroidery or looking to master a differ...

How long is the tutorial video?

The tutorial video is 00:05:32.
Video Transcript

[Music] hi everybody I'm Natalie and today we're going to learn the Herring bone ladder stitch all right so for hering bone ladder we're going to come up from the back and we are going to do a little back stitch all the way across coming up at each of the little dots and going back down to create this straight line of stitches [Music] all right so we want these two lines of stitches to be offset so they almost look like bricks and this is just because of how you want your your little Herring bone Stitch to weave in and out so these these two lines need to they just need to be offet this is a pretty stitch for um embellishing around edging I think it would be cute as like an underline or something that you added to a collar or cuff it' be pretty on a little girl's dress [Music] and we're going to do this in the second um Stitch the second part of the Stitch we're going to do in a different color but you could do them in the same color it's completely up to you I think I'm going to go with this blue okay so now that you've got your two rows of back stitching in we're going to go ahead and add our second um color thread to show the decorative part which is Some Loops that Loop through these stitches we'll start in the middle of this Stitch that's down here on the um bottom right pull our thread through it has a knot in it we're going to go over one stitch and under to bring to start our first Loop then we'll go backwards and cross that thread skipping a stitch to the left and going under that one and then that's kind of just what how you do it so you're going to put your Loop through skip a stitch go over and then it goes backwards through the loop that you just skipped or the Stitch you skipped you skip another one and you're going to just keep making these little loopy loops and you can adjust them as you go you can make them tighter or looser um obviously if you're uh initial back stitches are closer together and smaller you'll get a smaller Herring bone ladder look but if you make them farther apart you can see the loop a little better it's entirely up to you this one I think is purely decorative it's rewarding to do because it's so pretty and I've seen it on like um little girls dresses I think it would be cute on just about anything [Music] and there you have it and then to lock it I'm just going to go back down in to the middle of that Stitch and I'll put a knot in the back and that's it that's the Herring bone ladder stitch [Music]

Recent tutorials

See all