Skip to content

Free quilting video tutorials from Missouri Star

Quilting Tutorials
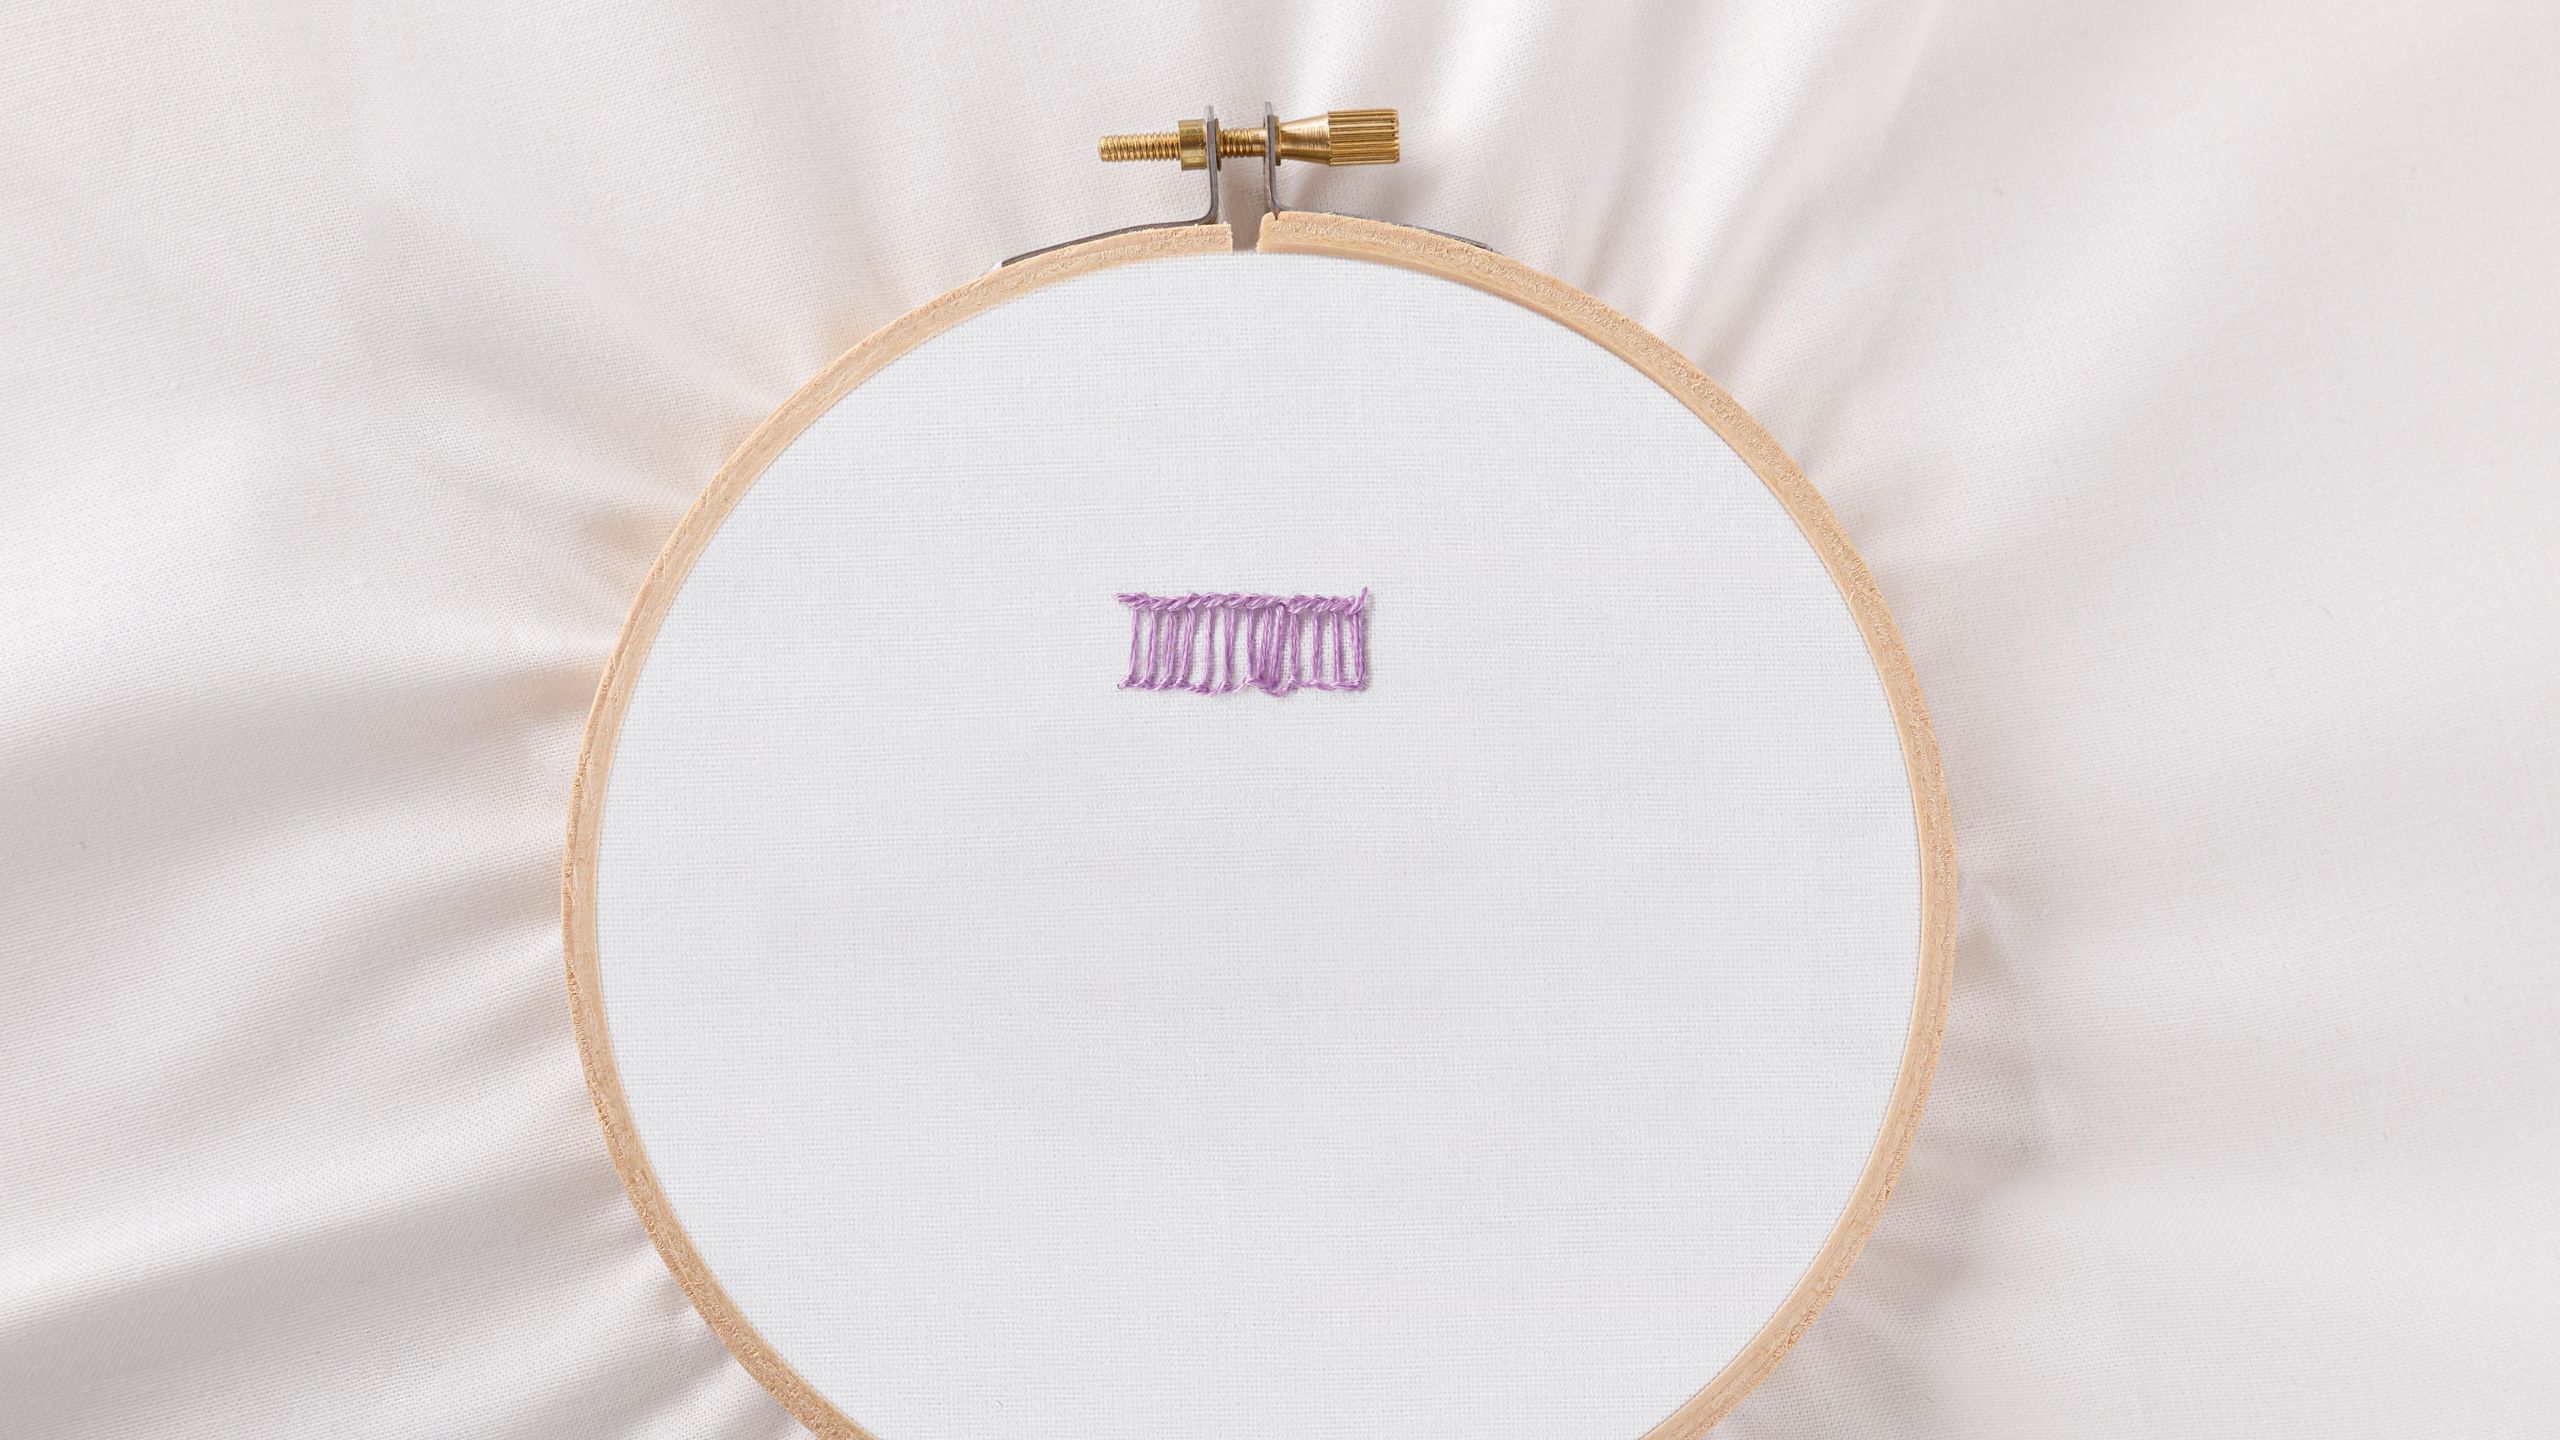
Embroidery 101: How to Embroider a Ladder Stitch

Embroidery 101: How to Embroider a Ladder Stitch

Are you ready to dive into the enchanting world of hand embroidery? Join us on this exciting journey as Natalie, a passionate embroidery enthusiast, guides beginners through the fundamentals of this timeless craft. Whether you're new to embroidery or looking to master a different stitch, this series can help enhance your craft and have you stitching like a pro in no time! Today's video will cover how to embroider a ladder stitch.

Instructor

Natalie Doan

Natalie is the host of Quilting 101, Embroidery 101 and the Creative Strategist and Editor of Block Magazine at Missouri Star Quilt Company. She was taught how to sew by her mom, of course, and began quilting when she grew up.

Common Questions

What is covered in Embroidery 101: How to Embroider a Ladder Stitch?

Are you ready to dive into the enchanting world of hand embroidery? Join us on this exciting journey as Natalie, a passionate embroidery enthusiast, guides beginners through the fundamentals of this timeless craft. Whether you're new to embroidery or looking to master a differ...

How long is the tutorial video?

The tutorial video is 00:08:40.
Video Transcript

[Music] hi everybody I'm Natalie with Missouri Star Quilt Company and today on embroidery 101 we're going to learn the ladder stitch so it's a little bit of a trickier Stitch maybe a little more advanced but we're going to go through it one step at a time and I think it's going to be really fun all right so we've got these two parallel lines to work from we're going to start in the lower on the lower line in the bottom left corner we'll create our first stitch by going straight straight up to that other line and then we're going to go back down and make a little Stitch across the top kind of looks like um like you're putting a a te up there and then we'll come back up next to our other Stitch so we're making another parallel line the back of my thread popped through just going to pull that out and then what we're going to do is bring this down from the top and create a little Loop this is the beginning and and your needle needs to go through that Loop CU we are creating the very beginning of the ladder stitch here now we'll go back up to the top we go underneath that Stitch and underneath the rung so we have two rungs on our ladder now we're going to continue down this way making another little line along our top parallel line and then we're going to come back up down here making another rung for our ladder and what we're going to do is go in between these two rungs and we're going to come out through the loop to create another loop so that should pull it down a little bit separate those rungs just a tiny bit you kind of want to work them with your needle then we're going to go back up to the top here go into that Stitch and under the rung in between those two so we're creating another loop and we are going to separate these rungs real quick and then put another stitch in right here as we go along that line create one more Loop one more latter rung I guess and then we go in between these two and out out in between or under that Loop of the last um the last rung that we made pulling that through oh sometimes I I forget to get it looped there but that is what we're going to do okay so now we're just going to repeat this process a bunch of times so we go back up here under this Stitch and also underneath in between those two rungs so you're just going in in between the last two that you made pulling down to create another Stitch going back across and then you go in between these two these last two rungs on this side and come through that Loop the last Stitch that you made it almost looks like a little bit like a braid on this side it actually looks like a braid on both sides so you're just kind of weaving your way through so you go under that stitch in between these two rungs just like that then you go down and create one more rung on your ladder so I'm going to put a few more stitches in here and we're going to go over to the hoop so you can see it a little bit Clos closer all right so here's our closer look can you see that pretty braid right there I like that I think it looks really nice and you can see it on both sides because of the way that we're weaving the threads so we're going to go under this Stitch and then under the rung in between the last two rungs that you made to create our next little rung in our ladder then this thread goes down through this Fabric and under through the back it comes back up no you don't want to have a knot there so let me pull that out sometimes that just happens they get caught up all right so now we're going to go through in between the rungs on this side and through the loop that we just made this needs to go through that Loop so that you create the next little braid on your side of the ladder and then you go back up through that Stitch behind and in between the rung and then across and under and then back in between these rungs and through that Stitch through this Loop and we just keep right on going it's just kind of a process but it's pretty when it's done in between the rungs and through the loop loop it through there back up under the Stitch and under the rung [Music] [Music] [Music] and I am just going to end it by going back down in here and putting a little knot in the back so I found Stitch to be a little bit tricky it was complicated and it um caused me to have to slow down and really concentrate I think it turns out really beautiful I love the braids on both sides of the ladder but feel free to take your time take a deep breath pause rewind and just practice it's one of those ones that you'll be proud that you did it um it may frustrate you a little bit like it did me but I think it'll be a good one to add to your embroidery um projects in the future and I hope you enjoyed this video on the ladder stitch from the Missouri Star Quilt Company [Music]

Recent tutorials

See all