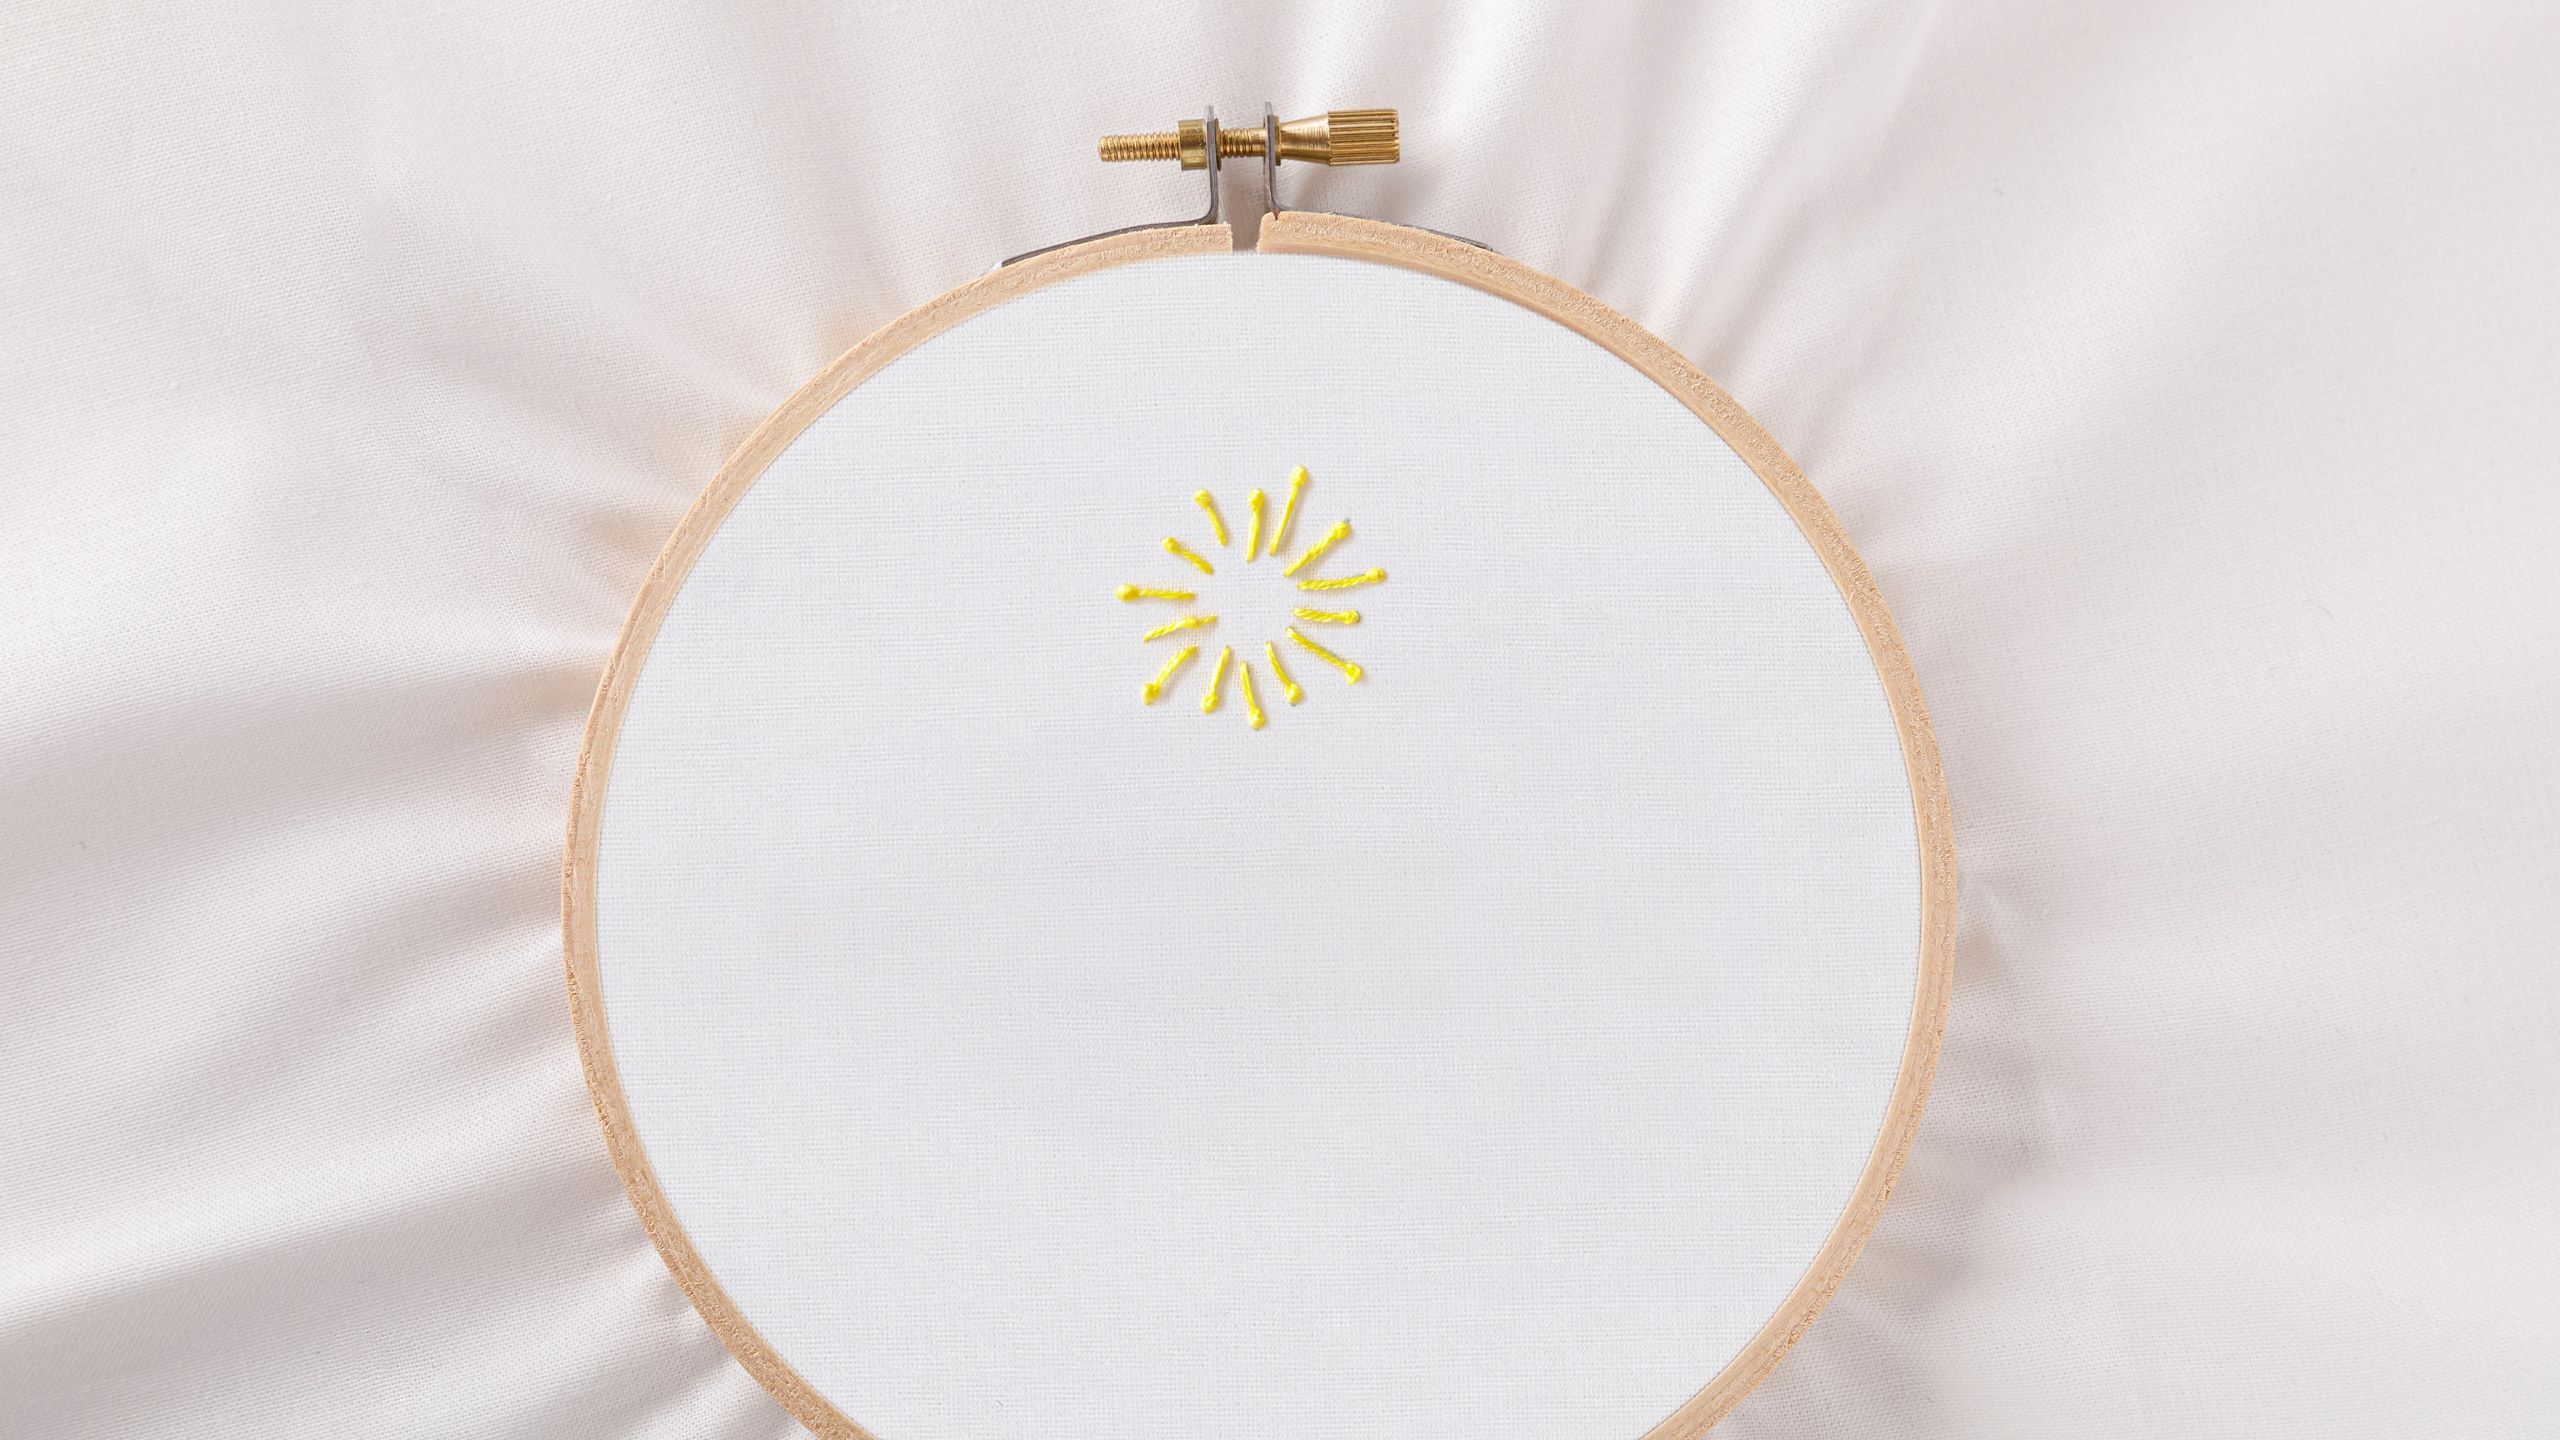
Embroidery 101: How to Embroider A Pistil Stitch
Are you ready to dive into the enchanting world of hand embroidery? Join us on this exciting journey as Natalie, a passionate embroidery enthusiast, guides beginners through the fundamentals of this timeless craft. Whether you're new to embroidery or looking to master a different stitch, this series can help enhance your craft and have you stitching like a pro in no time! Today's video will cover how to embroider a pistil stitch.

Instructor
Natalie Doan
Natalie is the host of Quilting 101, Embroidery 101 and the Creative Strategist and Editor of Block Magazine at Missouri Star Quilt Company. She was taught how to sew by her mom, of course, and began quilting when she grew up.
Shop this tutorial
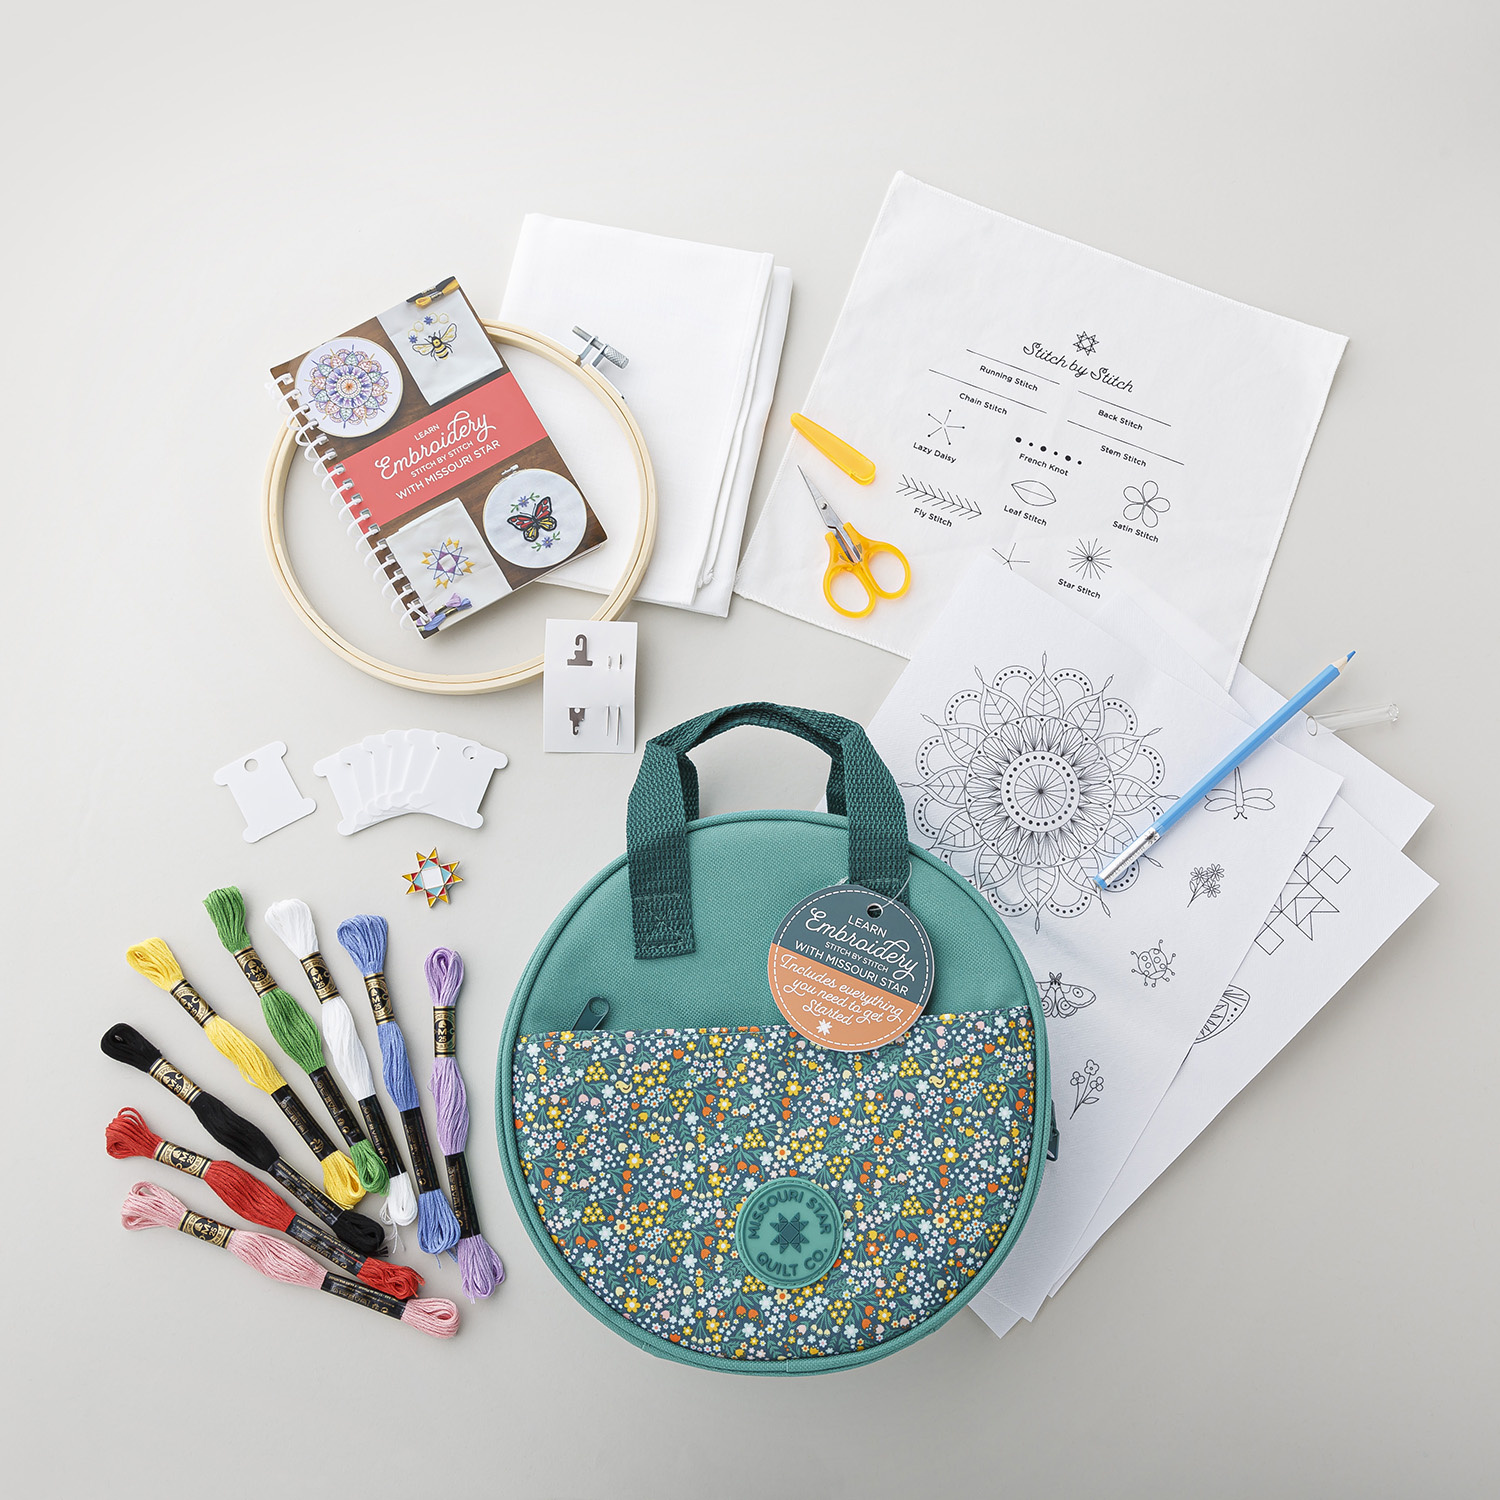 Learn Embroidery Stitch by Stitch with Missouri Star$34.95Shop →
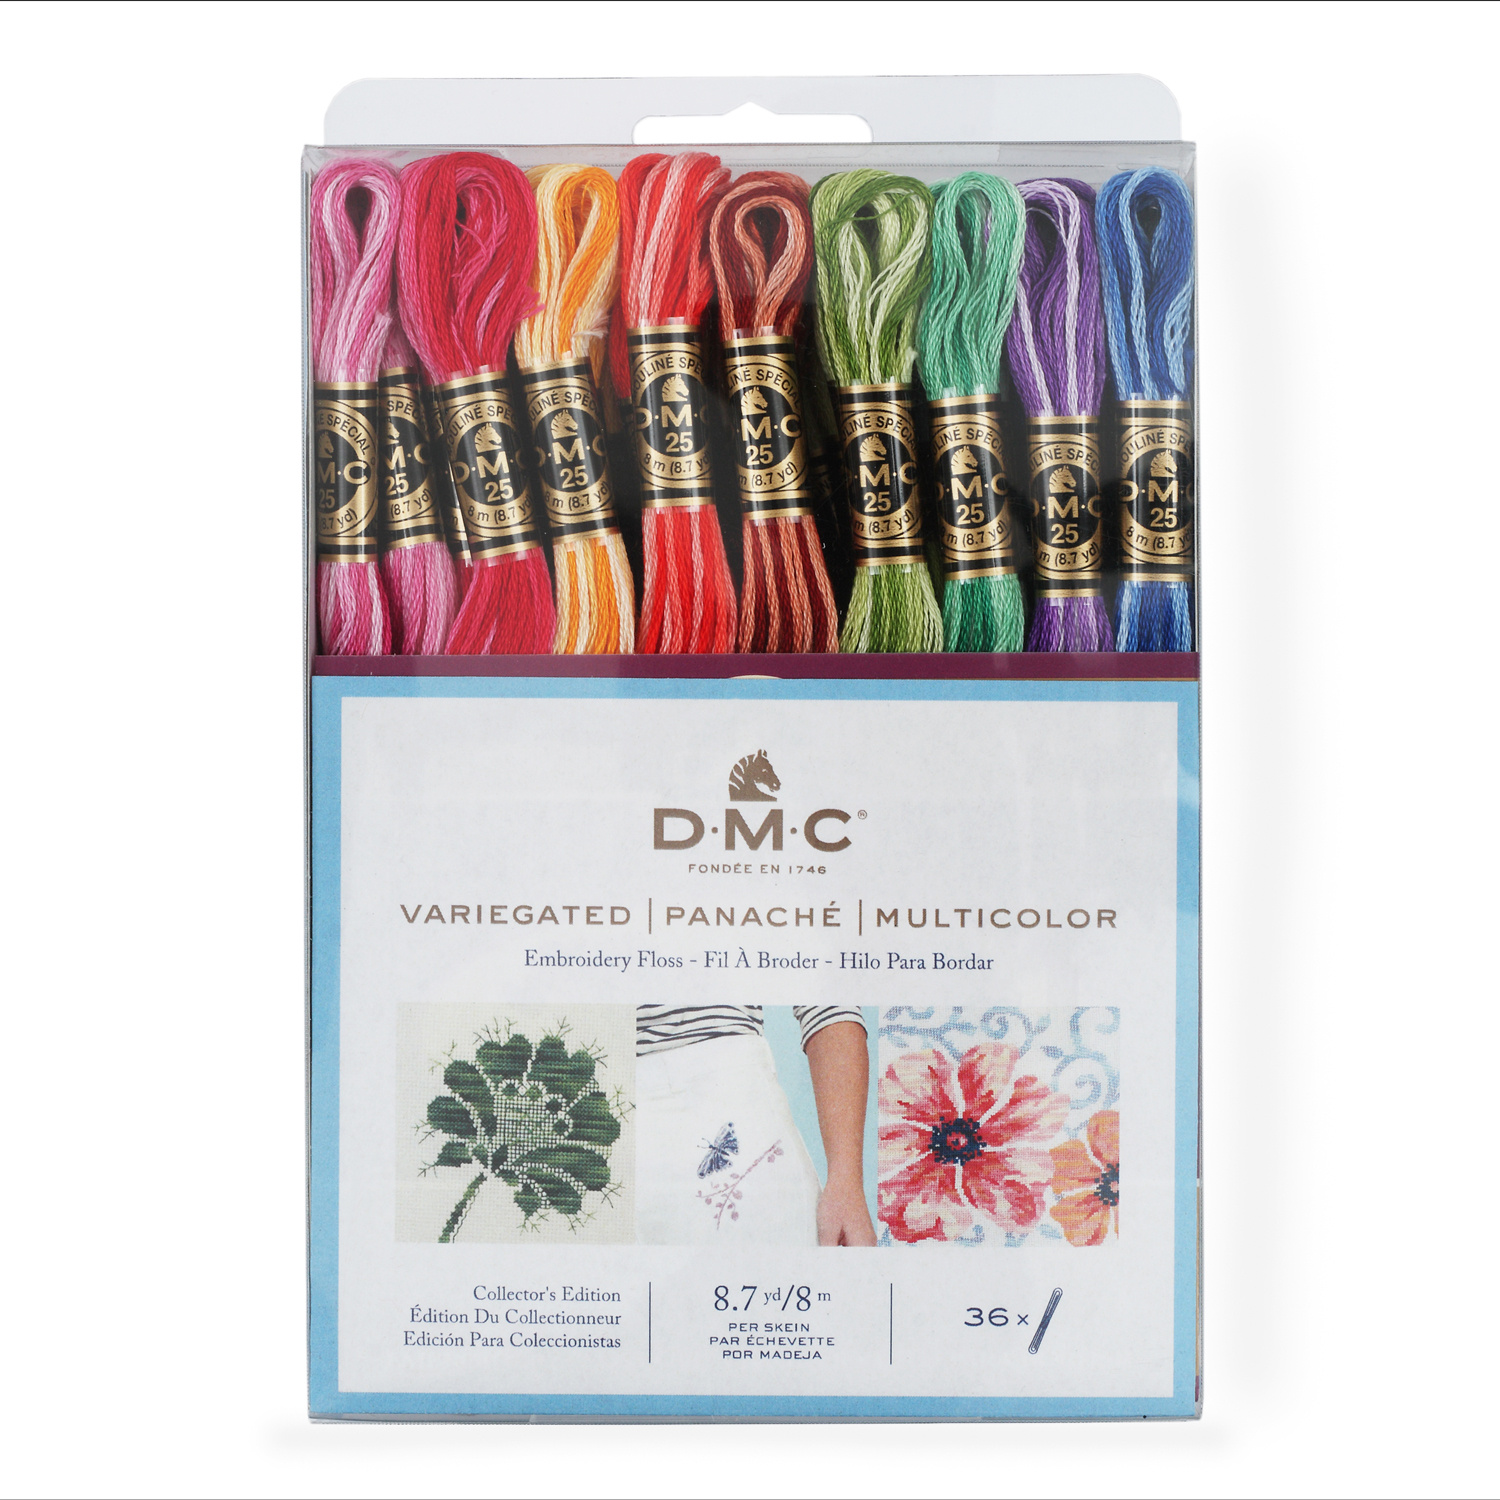 DMC Collector's Edition Variegated Embroidery Floss Collection$37.95Shop →
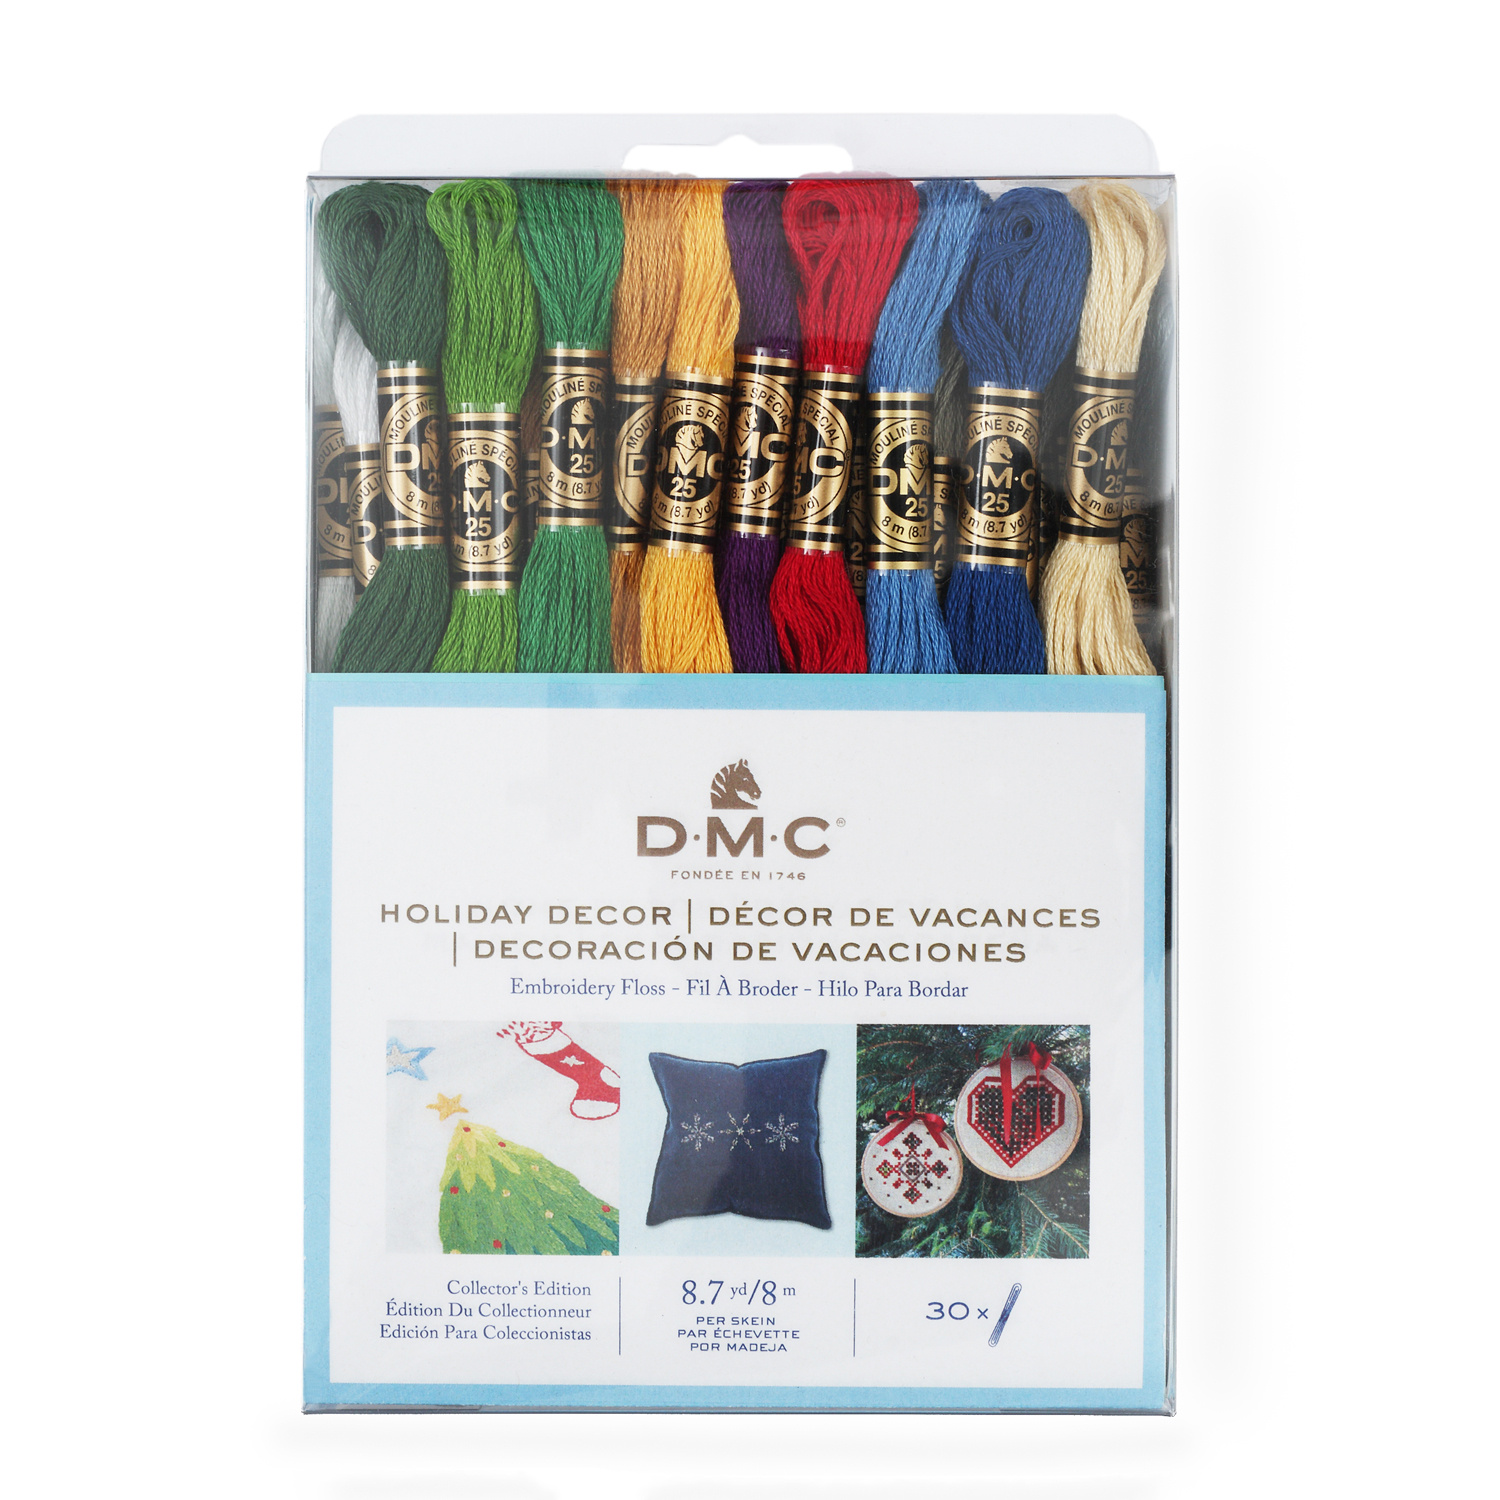 DMC Holiday Decor Embroidery Floss Collection$31.95Shop →
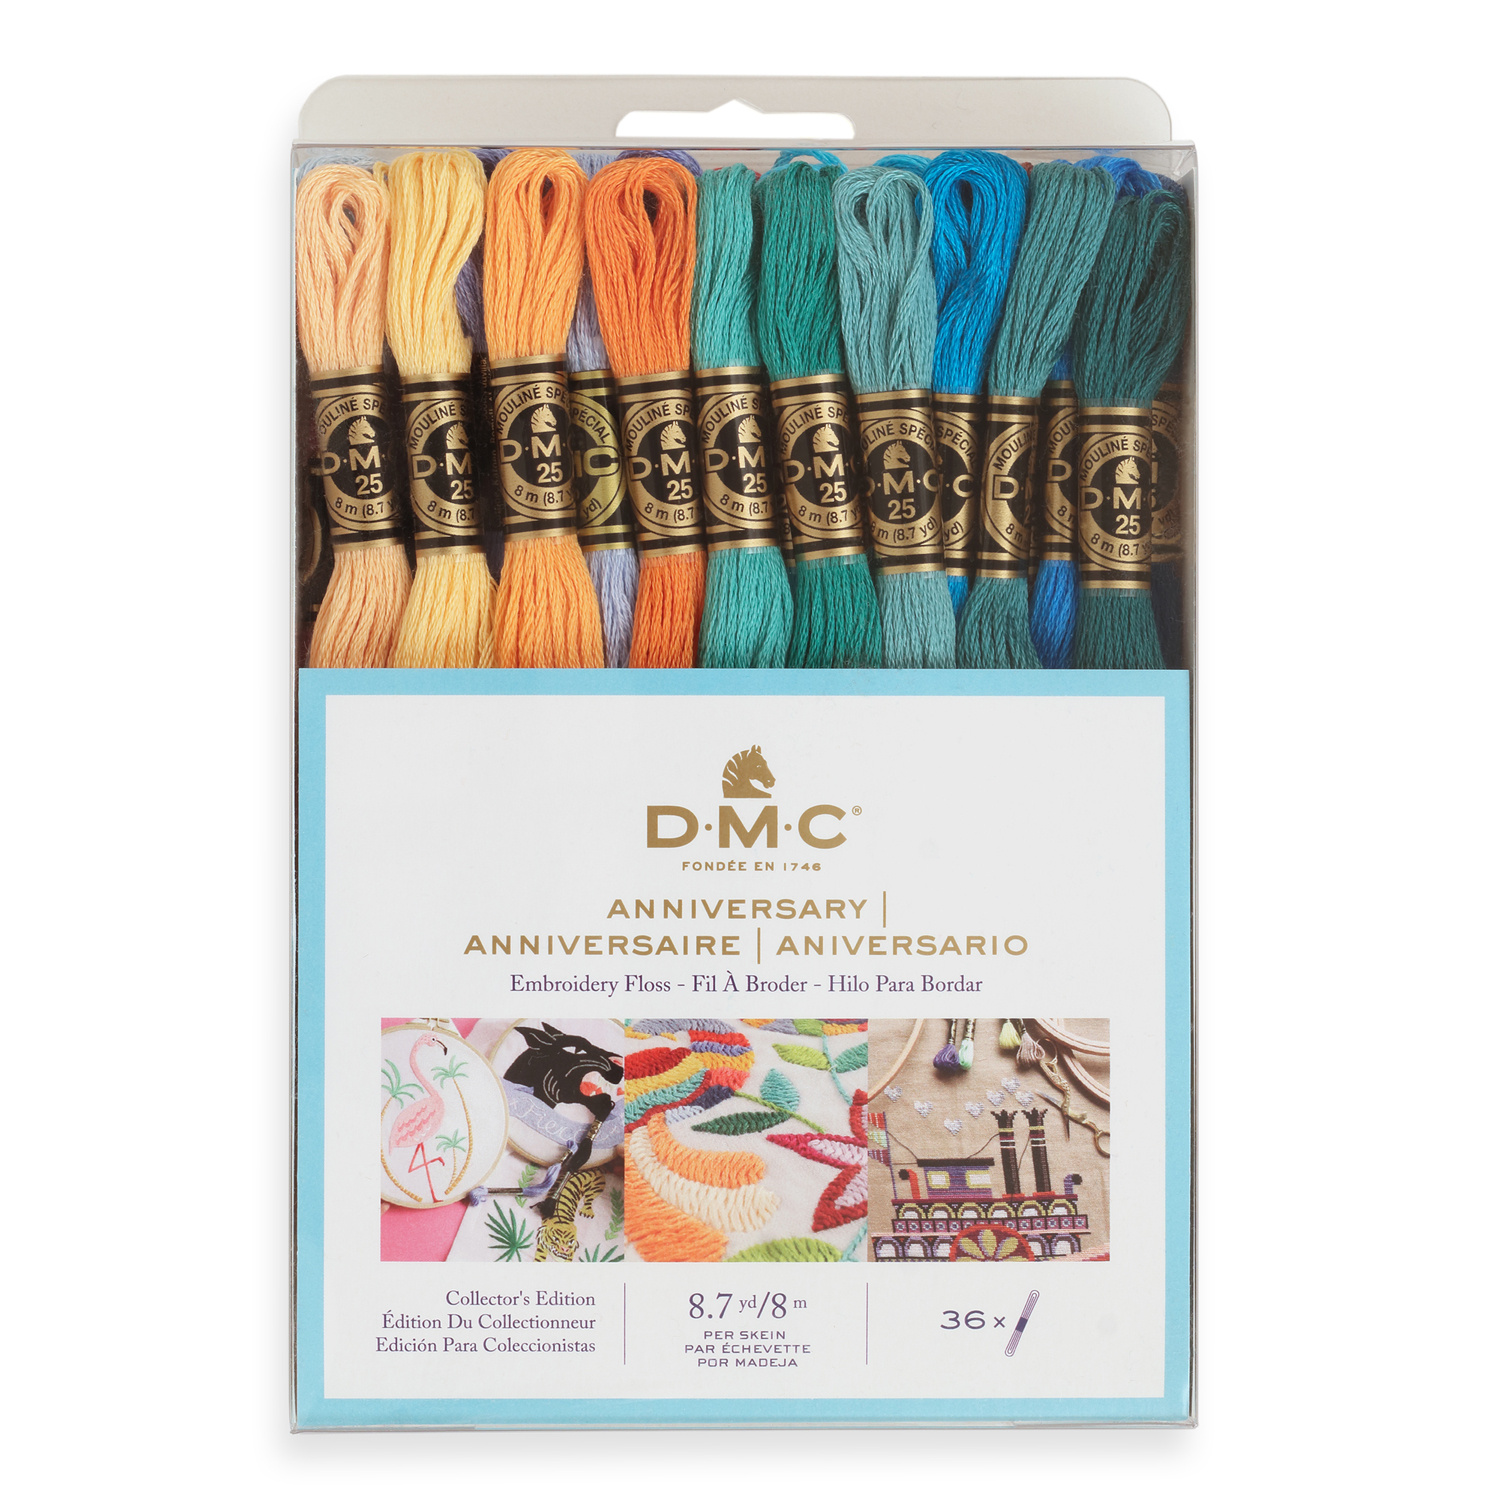 DMC Anniversary Embroidery Floss Collection$37.95Shop →
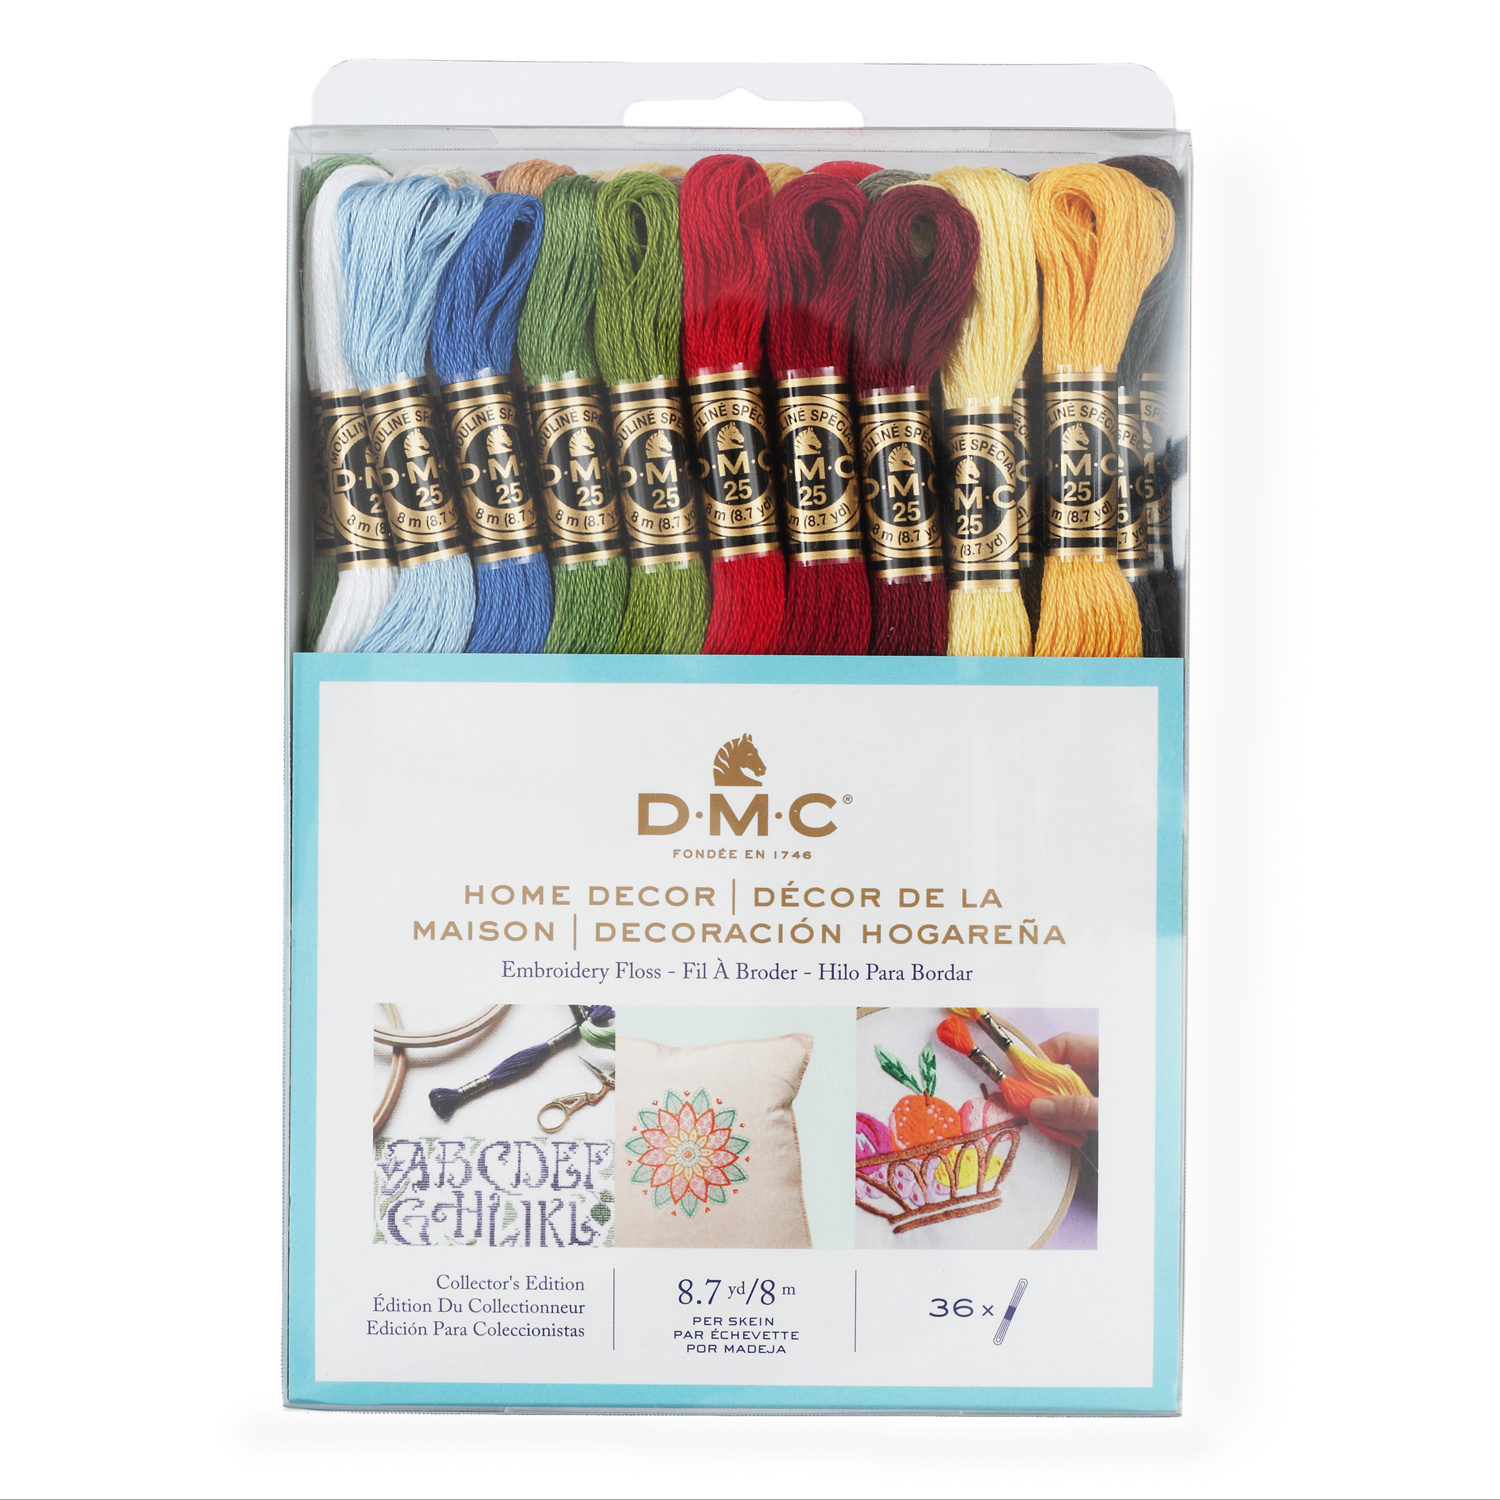 DMC Home Decor Embroidery Floss Collection$37.95Shop →
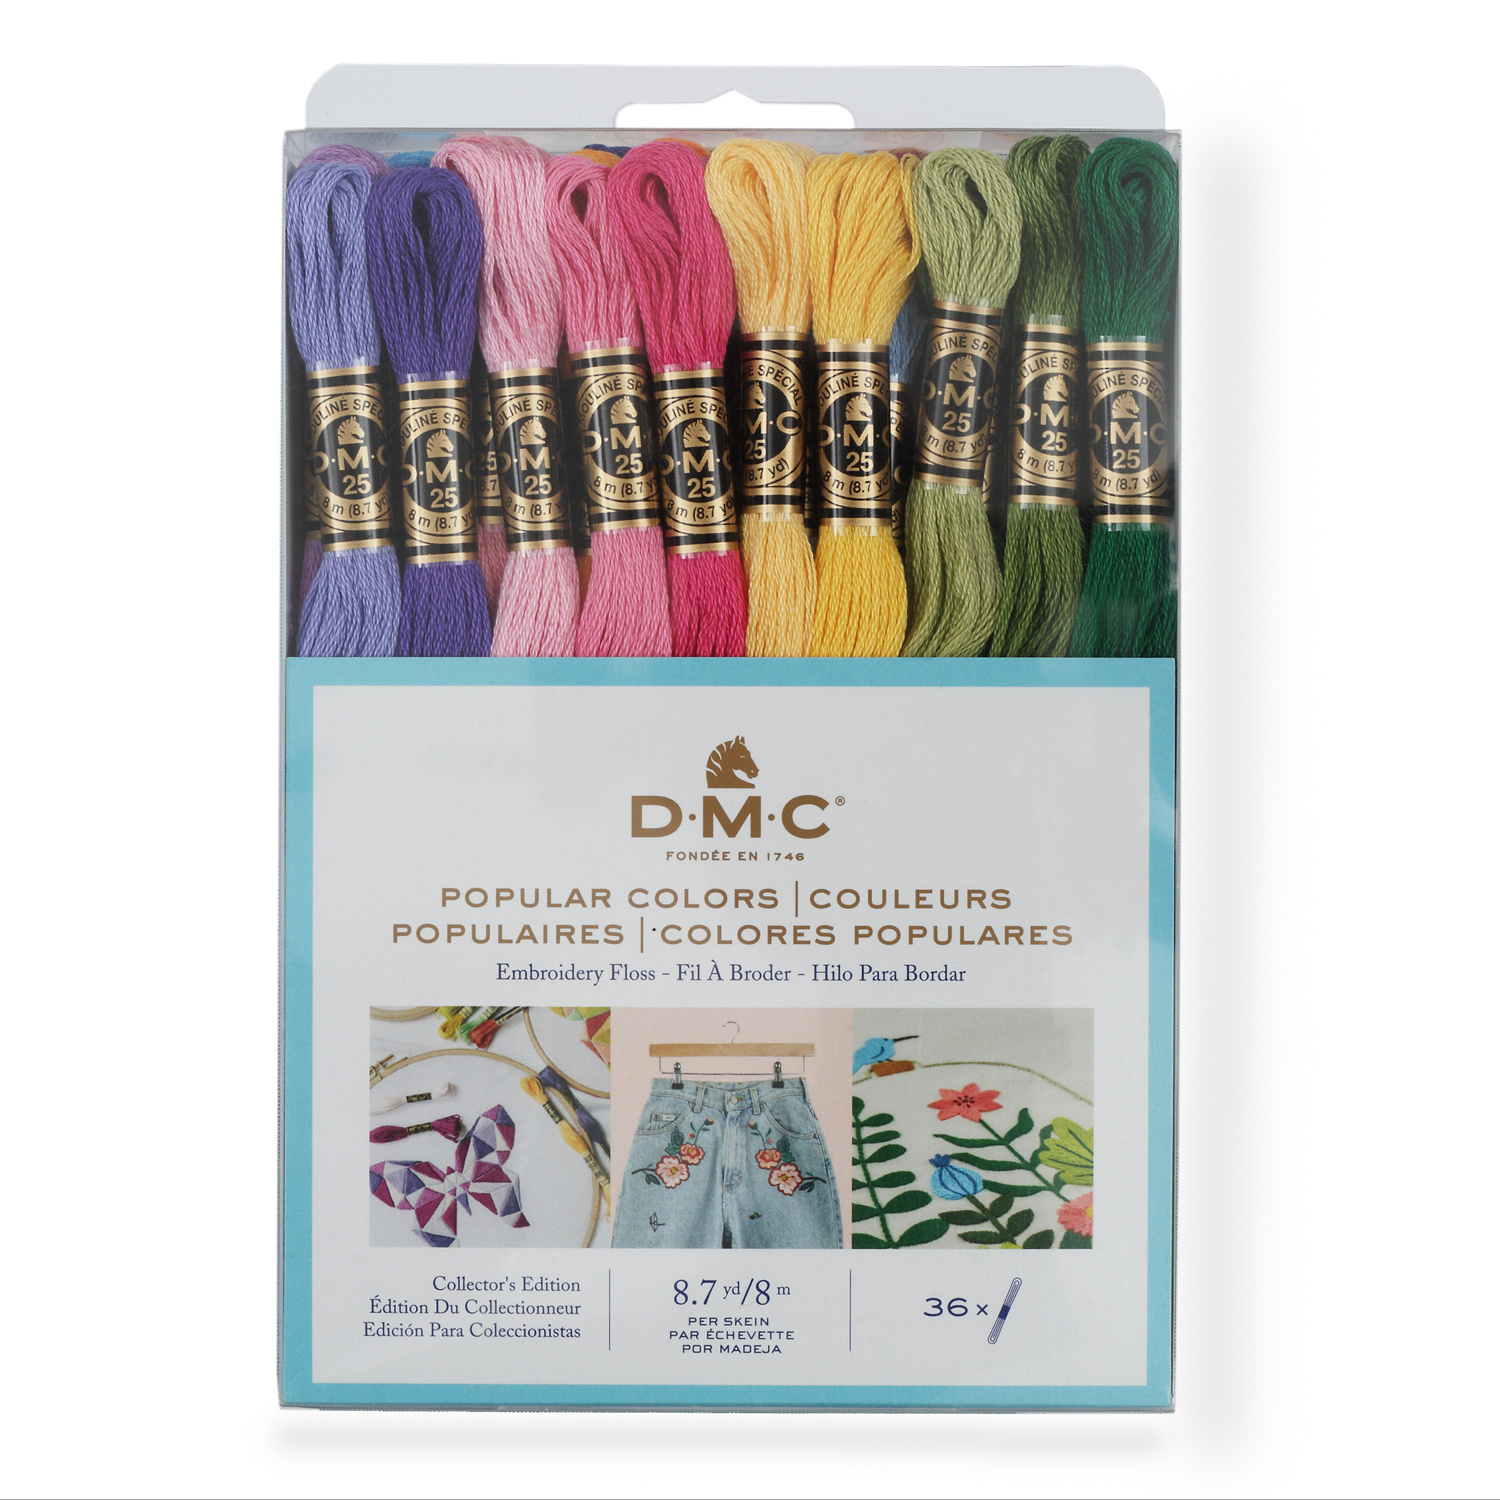 DMC Popular Colors Embroidery Floss Collection$37.95Shop →
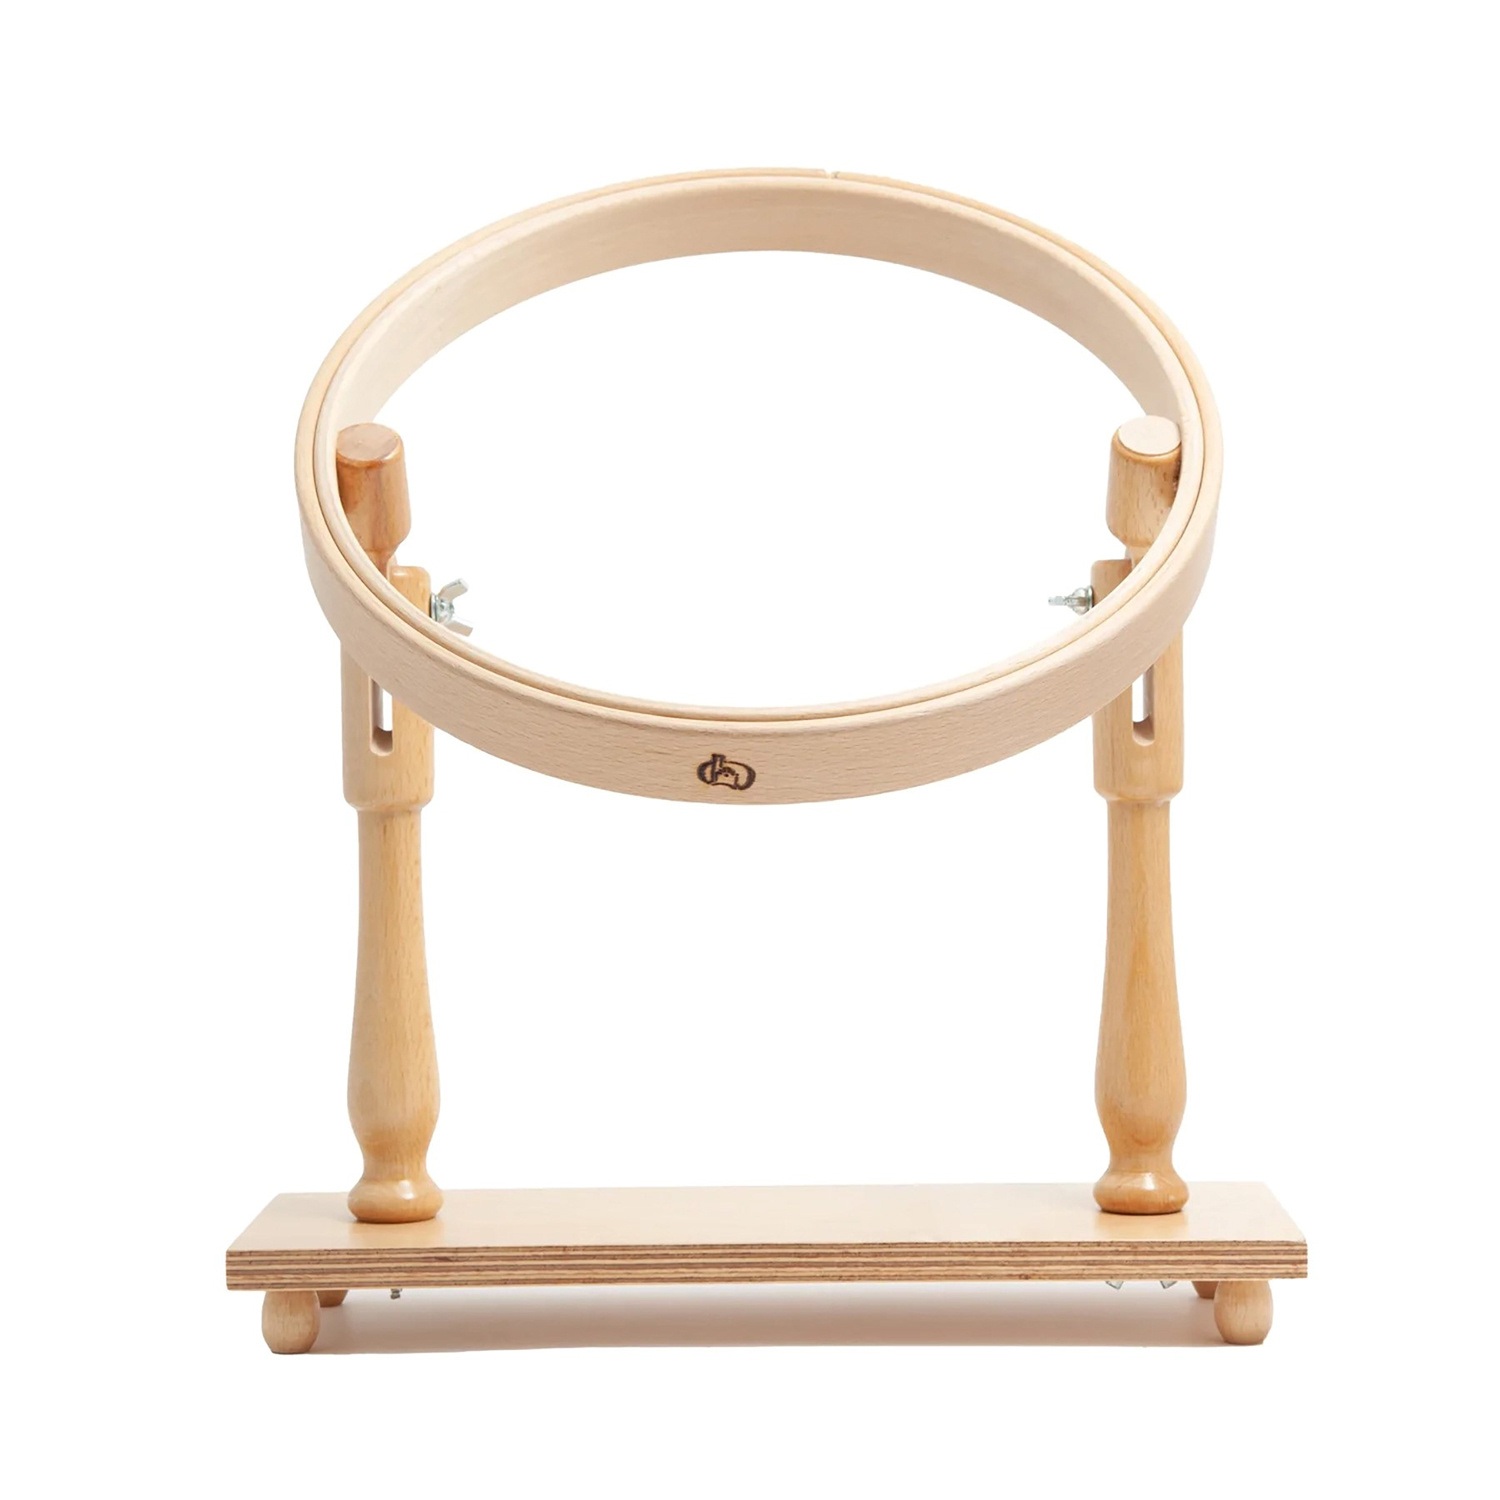 Tabletop Embroidery Hoop Stand - 8.5" Diameter$89.95Shop →
 Wood Embroidery Hoop - 10"$6.25Shop →
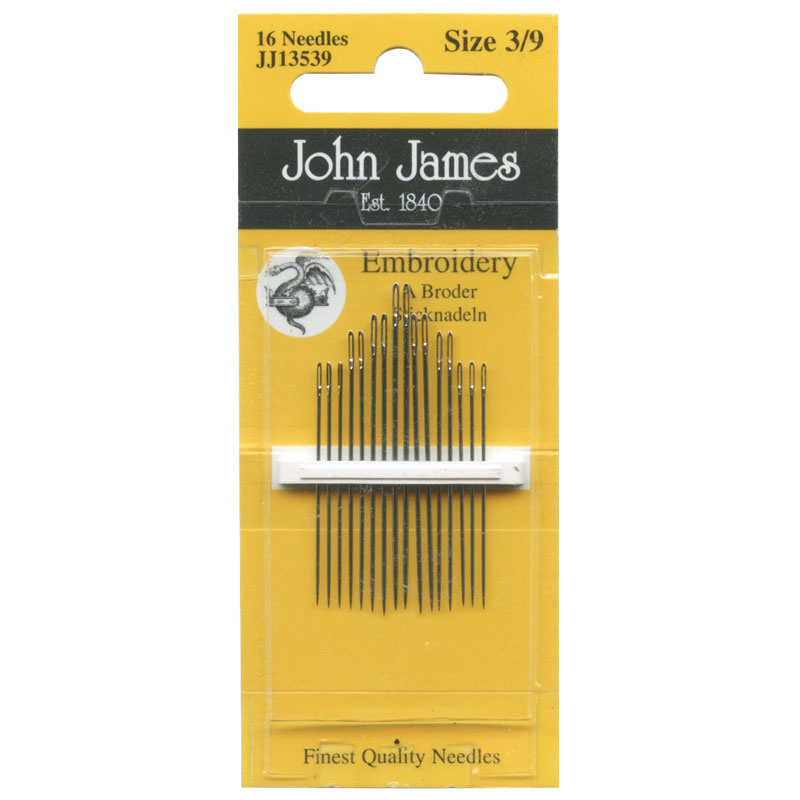 Embroidery / Crewel Needles - Assorted Sizes 3/9 (16 ct)$2.95Shop →
Common Questions
What is covered in Embroidery 101: How to Embroider A Pistil Stitch?
Are you ready to dive into the enchanting world of hand embroidery? Join us on this exciting journey as Natalie, a passionate embroidery enthusiast, guides beginners through the fundamentals of this timeless craft. Whether you're new to embroidery or looking to master a differ...
How long is the tutorial video?
The tutorial video is 00:03:45.