Skip to content

Free quilting video tutorials from Missouri Star

Quilting Tutorials
Embroidery 101: How to Embroider a Turkey Stitch

Embroidery 101: How to Embroider a Turkey Stitch

Are you ready to dive into the enchanting world of hand embroidery? Join us on this exciting journey as Natalie, a passionate embroidery enthusiast, guides beginners through the fundamentals of this timeless craft. Whether you're new to embroidery or looking to master a different stitch, this series can help enhance your craft and have you stitching like a pro in no time! Today's video will cover how to embroider a turkey stitch.

Instructor

Natalie Doan

Natalie is the host of Quilting 101, Embroidery 101 and the Creative Strategist and Editor of Block Magazine at Missouri Star Quilt Company. She was taught how to sew by her mom, of course, and began quilting when she grew up.

Common Questions

What is covered in Embroidery 101: How to Embroider a Turkey Stitch?

Are you ready to dive into the enchanting world of hand embroidery? Join us on this exciting journey as Natalie, a passionate embroidery enthusiast, guides beginners through the fundamentals of this timeless craft. Whether you're new to embroidery or looking to master a differ...

How long is the tutorial video?

The tutorial video is 00:08:45.
Video Transcript

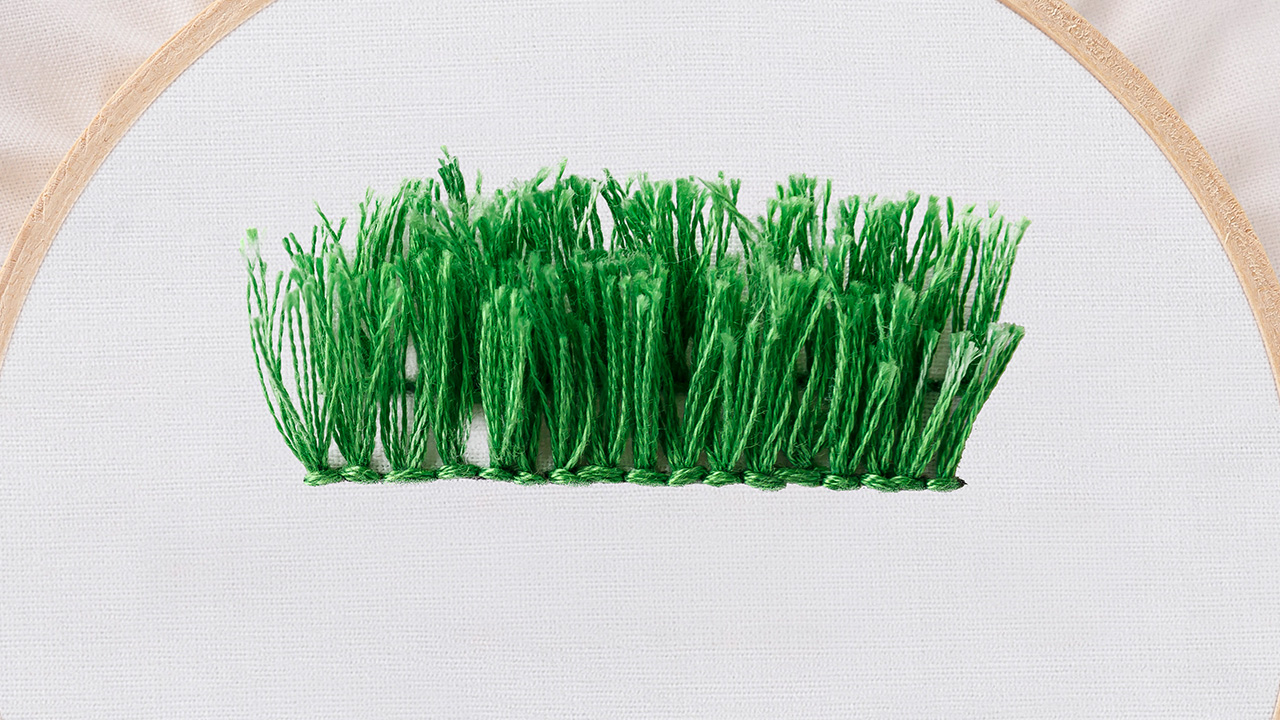
[Music] hi everybody I'm Natalie with Missouri Star Quilt Company and today we're going to learn turkey Stitch all right so when I first saw the the phrase turkey Stitch I thought that it referred to the stitches that kind of look like turkey footprints that are kind of triangular and um and I've learned since then that turkey Stitch refers to Turkey work which is all about Fringe and fluffy fluffy loose stitches so what you're doing is you're creating a series of Loops that are held together by little tie down stitches and then you cut those Loops to make The Fringe thick and fluffy and you you can do them in tight little rows close together you can do them in circles you can you know a lot of people use turkey work to make flowers or grasses or braids for hair like whatever it is that you're working on um turkey work is great for fluffy loose threads that look really fun so I think it'll be good for us to learn how to do this so we're going to start we're going to start from the top and leave our thread without a knot in it and come straight down and leave a little bit of an end sticking out so and this end can be just just a long or or as long or longer than how long you want your Fringe okay and then what we're going to do is create a little locking stitch by coming up right next to our thread and basically stitching over the top of it just to making a little a little locking Stitch then we're going to come up right next to it next to that Stitch and make another loop so this will come up and loop around and you kind of just keep those Loops held together with a finger and this will go back down right next to where you place that Stitch so that you can keep both of your both of your threads there and then this is going to go from right to left and we're going to create another Stitch just like that so you can do them all in this manner where you you have them um the little Loops are kind of separated or whoops almost lost my Loop there pull that back out put in our little Stitch to lock it up and because you're creating Fringe you usually want to keep these kind of close together and um and you may want to do several rows really close or you may also want to overlap them a bit to keep things looking nice and fluffy oh this one's a little bit twisted but I think that'll be all right got to remember to come up from the back oh no I let go of my loop again so don't worry if you're just starting out and these things happen to everybody no big deal just loosen it up or whoops see we caught it right on my scissors that time all right and it's okay for this Loop to be a little longer than the other ones they all just going to get clipped to whatever length they need to be unless you're leaving them whole which is also a thing people do and then you do want to watch and make sure that your Loop tops are all the same height and you can see mine is clearly not so I will be cutting these threads and creating a cute little Fringe border I'm going to keep going for just a few more stitches and then I'll switch to the other line so I can show you a little bit more overlap on it's not a variation but it it's just another thing to do with turkey Stitch [Music] I could choose to leave the loops or trim it as Fringe and I think I'm going to go ahead and trim mine but first I'm going to show you this second row I'm going to start from the top and let my little fringy thread hang out as an extra string we'll keep that right about out there put in our lock our first locking Stitch oh gosh let me try again I'm going to put that in and hold on to it so it doesn't come out put in our little locking Stitch and then we're going to bring up our Loop and in instead of going back down right next to the loop we're going to go into the middle of the Stitch before and this is going to overlap our loops and we're still going to secure it with the Locking Stitch and then with this next one we'll put our Loop in and again instead of going straight down next to our loop we're going to go into the middle of the previous Stitch so that these Loops overlap Oops I meant to keep that loopy there we go and then we'll add our little our little locking Stitch [Music] there's turkey stitch for you

Recent tutorials

See all