Skip to content

Free quilting video tutorials from Missouri Star

Quilting Tutorials
Embroidery 101: How to Embroider A Whipped Back Stitch

Embroidery 101: How to Embroider A Whipped Back Stitch

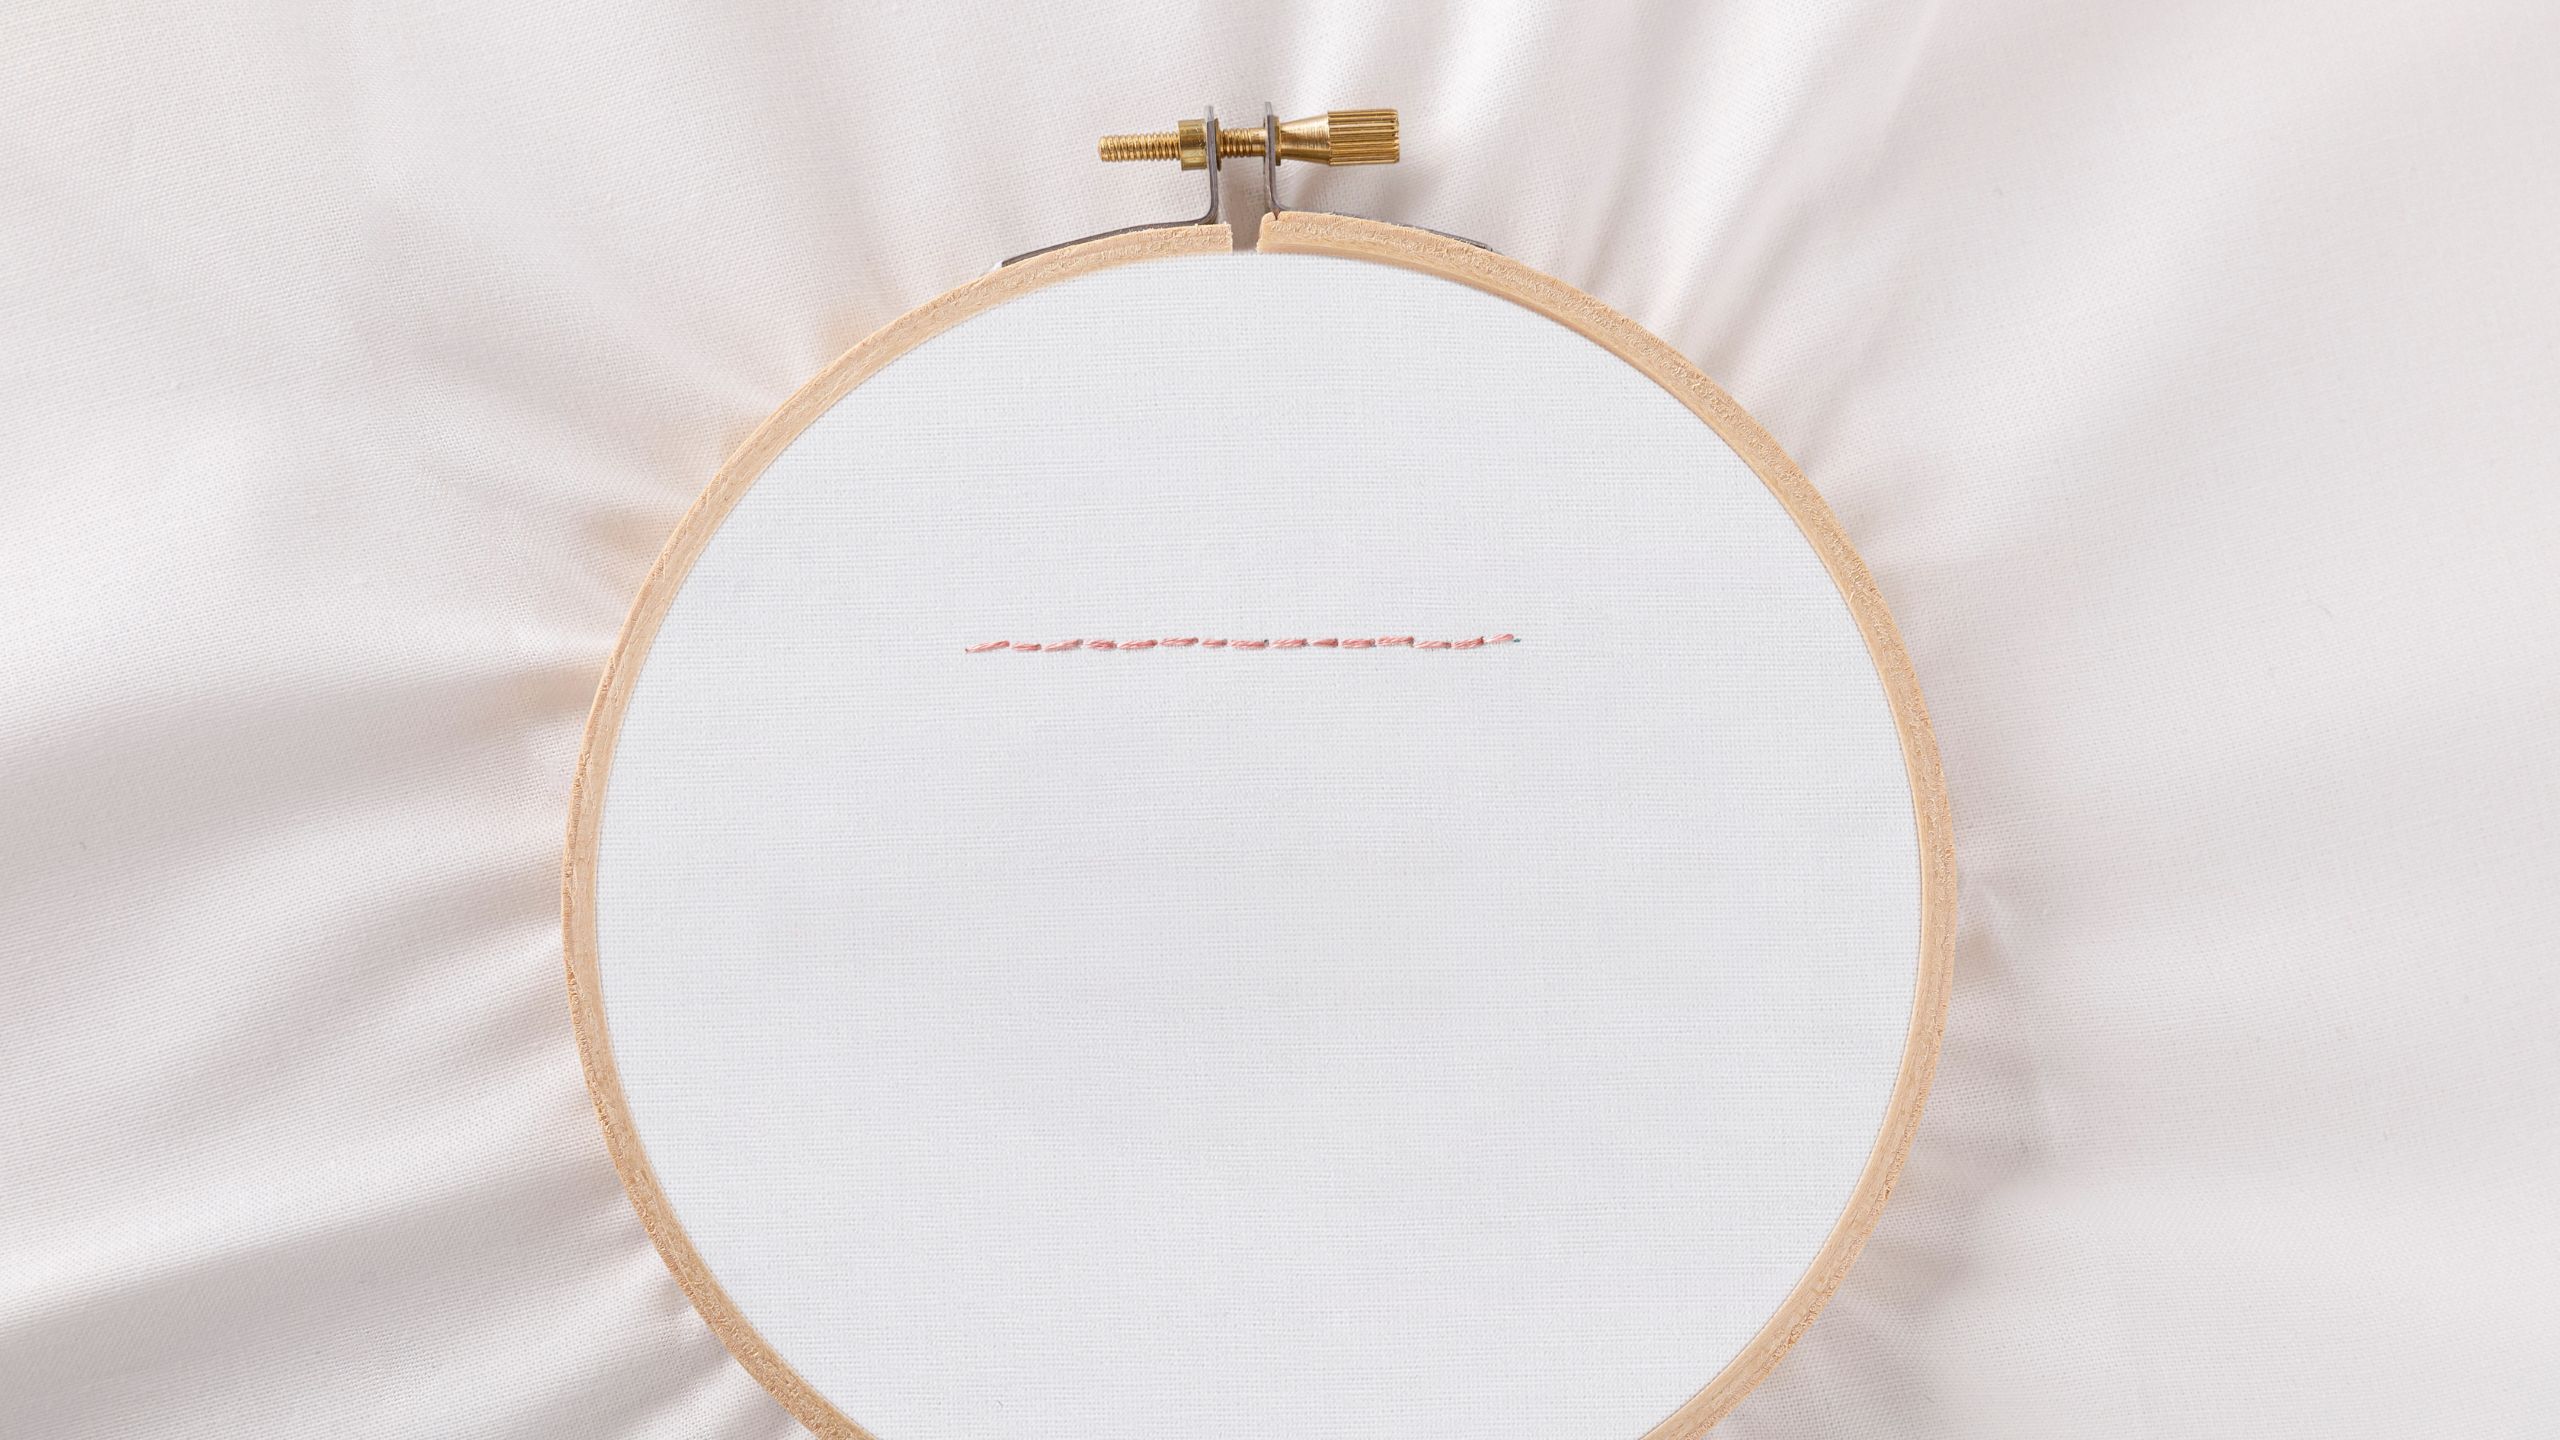
Are you ready to dive into the enchanting world of hand embroidery? Join us on this exciting journey as Natalie, a passionate embroidery enthusiast, guides beginners through the fundamentals of this timeless craft. Whether you're new to embroidery or looking to master a different stitch, this series can help enhance your craft and have you stitching like a pro in no time! Today's video will cover how to embroider a whipped back stitch.

Instructor

Natalie Doan

Natalie is the host of Quilting 101, Embroidery 101 and the Creative Strategist and Editor of Block Magazine at Missouri Star Quilt Company. She was taught how to sew by her mom, of course, and began quilting when she grew up.

Common Questions

What is covered in Embroidery 101: How to Embroider A Whipped Back Stitch?

Are you ready to dive into the enchanting world of hand embroidery? Join us on this exciting journey as Natalie, a passionate embroidery enthusiast, guides beginners through the fundamentals of this timeless craft. Whether you're new to embroidery or looking to master a differ...

How long is the tutorial video?

The tutorial video is 00:05:38.
Video Transcript

[Music] hi everybody I'm Natalie with Missouri Star Quilt Company and today on embroidery 101 we're going to learn the whipped back stitch so this Stitch is super simple it's great for lettering and any kind of straight lines that you want to make but it looks a little bit fancy and it kind of weaves everything together so we are going to start with our needle threaded and a knot in the end we're going to come up all the way on the right side of this line our little dots are going to give us some spacing for our back stitches so what we're going to do is go come up on the first dot back in on the second one and then back up on the third one and we're going to do just a simple back stitch where you go back down in the same hole that your um needle came out of and so then you'll come back up the next one over and you're going to create a line of of simple back stitches so we've done this one before I have a whole other video on back stitch if this is difficult you can go back and review that one as well but it's really pretty simple you're um you're putting your needle in right in the same hole that it came out of in the in the last Stitch and then you're going under the under the dot um or where your thread comes out so that it comes out in the middle and so it just makes this nice nice smooth line of connected stitches so that is the first thing we're going to do and we are going to finish this line because the whipped part I'm going to do in a second color thread so you can see how it looks my thread's a little bit funky there see if I can tighten it up a bit it's always fine to make little adjustments while you're embroidering and it's okay to to take your stitches out and do them again it's a it's a process every time we practice we get a little better all righty so to end this I'm just going to go back down into this middle Stitch and I'm going to put a knot in the back to secure that okay we're going to use a different thread color here so that it shows up nice and bright we'll thread our needle and put a knot in it then we're going to go back to the front we'll come right back up where we first started actually I think I'm going to come up in the middle that's what I'll do because then what you're doing doing here is you're weaving this thread in and out of all of the stitches so where the next Stitch is you just go down into that you're not stitching through the fabric you're just winding This Thread around these stitches and so as you go along you want to make sure that you always come down from the top of the next Stitch this keeps everything going in the same direction and looking nice and pretty so let's go over to the hoop and get a closer look at this all right so again our back stitch is just this line of stitches that that sit right next to each other and it creates sort of a dashed look but it's also a solid line so what we're doing with our next thread is just winding it around so I'm always coming from the top and making a little a little twist I'm not going into the fabric at all I'm just winding around in and out of those stitches and that creates this really pretty whipped look so this looks good in um the same color that you've used and it also looks good in multiple colors so I think it's kind of fun um I did a project just the other day that used variegated thread and that looked really pretty so we just keep coming down going in that same direction and that's it so now I'm going to go back down into that into that Stitch to go ahead and secure it I'm going to stick a knot in the back I'm going and that is it that's the whipped back stitch isn't that fun so this Stitch is fun and easy it takes a simple back stitch and makes it just a little bit fancier and I love using it in um words any kind of line work I think it's great and I hope you enjoyed this video on the Whi back stitch from Missouri Star Quilt Company [Music]

Recent tutorials

See all