Skip to content

Free quilting video tutorials from Missouri Star

Quilting Tutorials
Embroidery 101: Kiriki Press Ornaments

Embroidery 101: Kiriki Press Ornaments

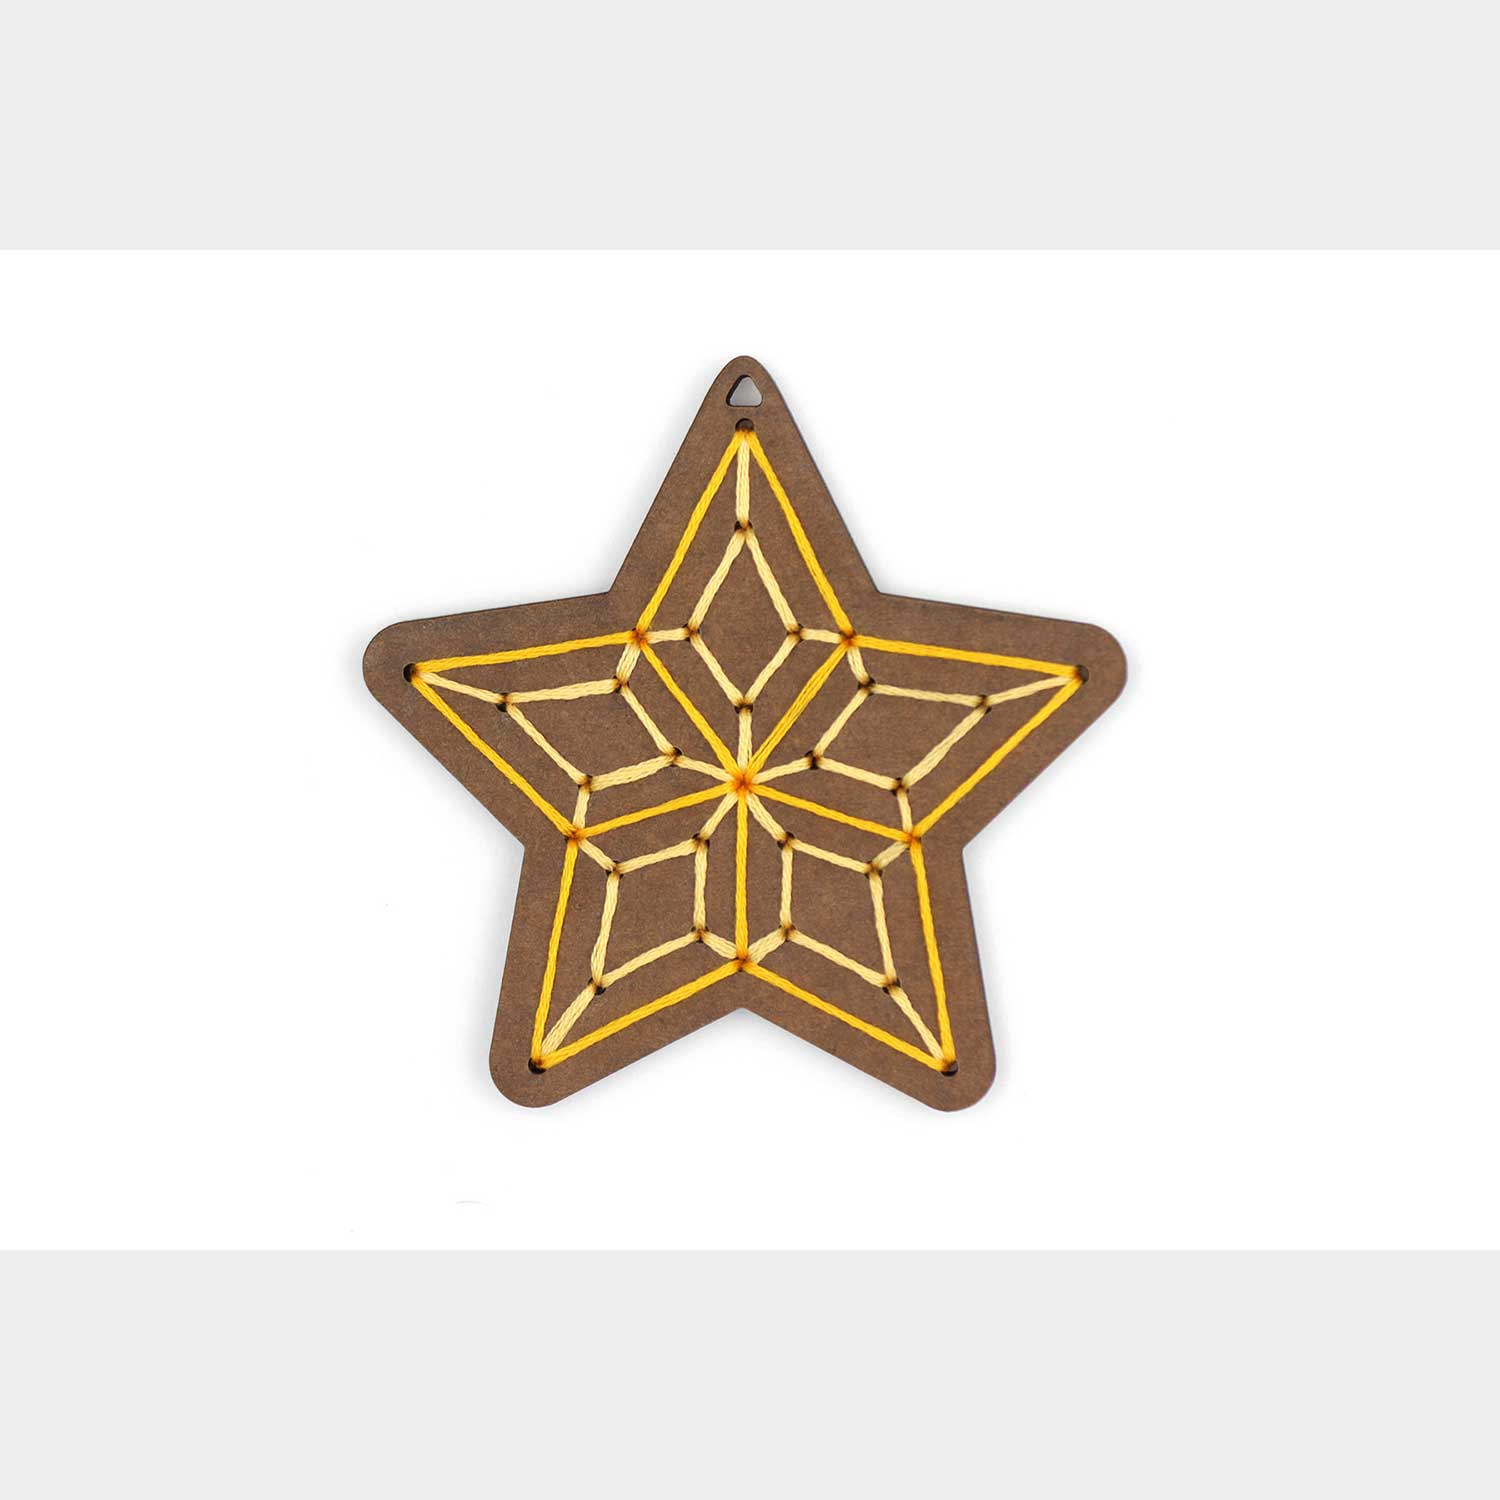
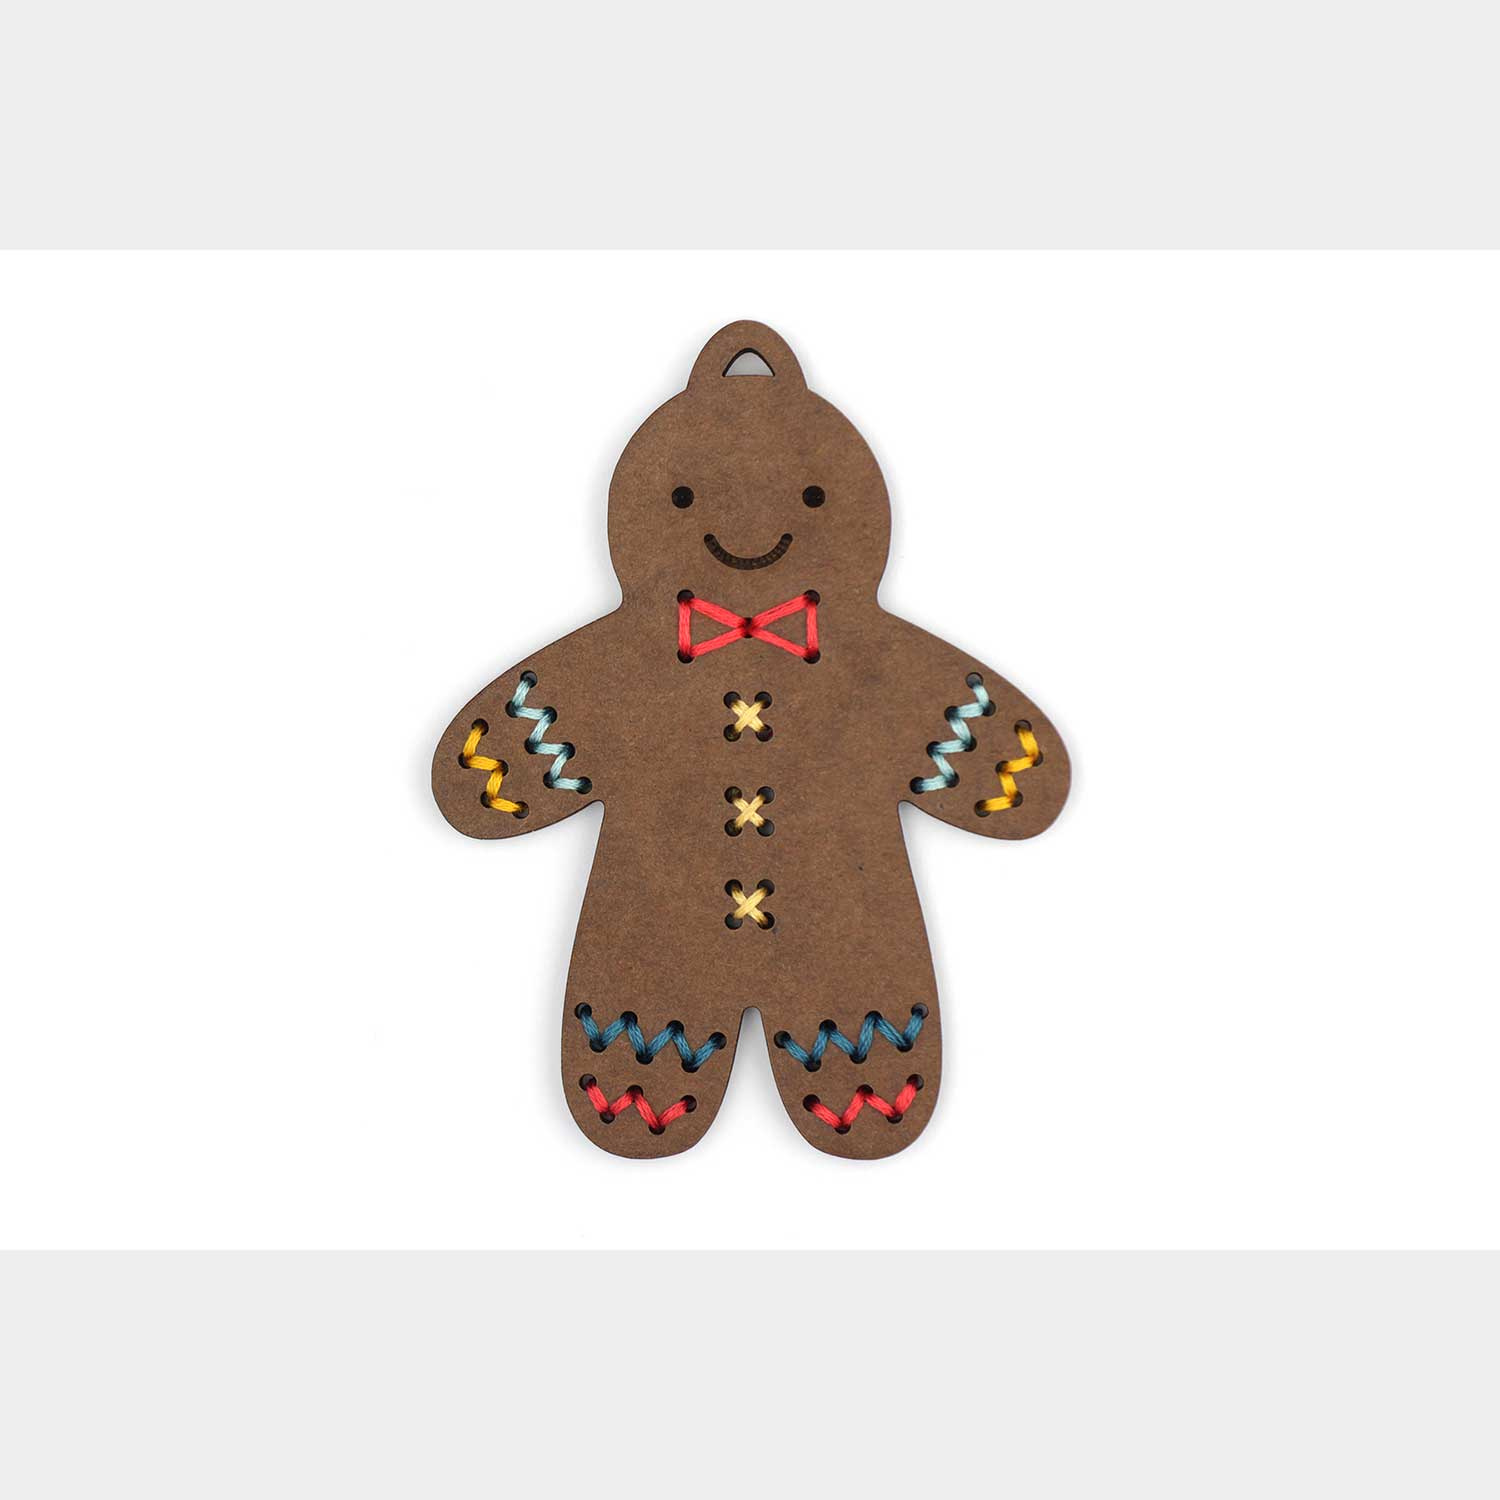
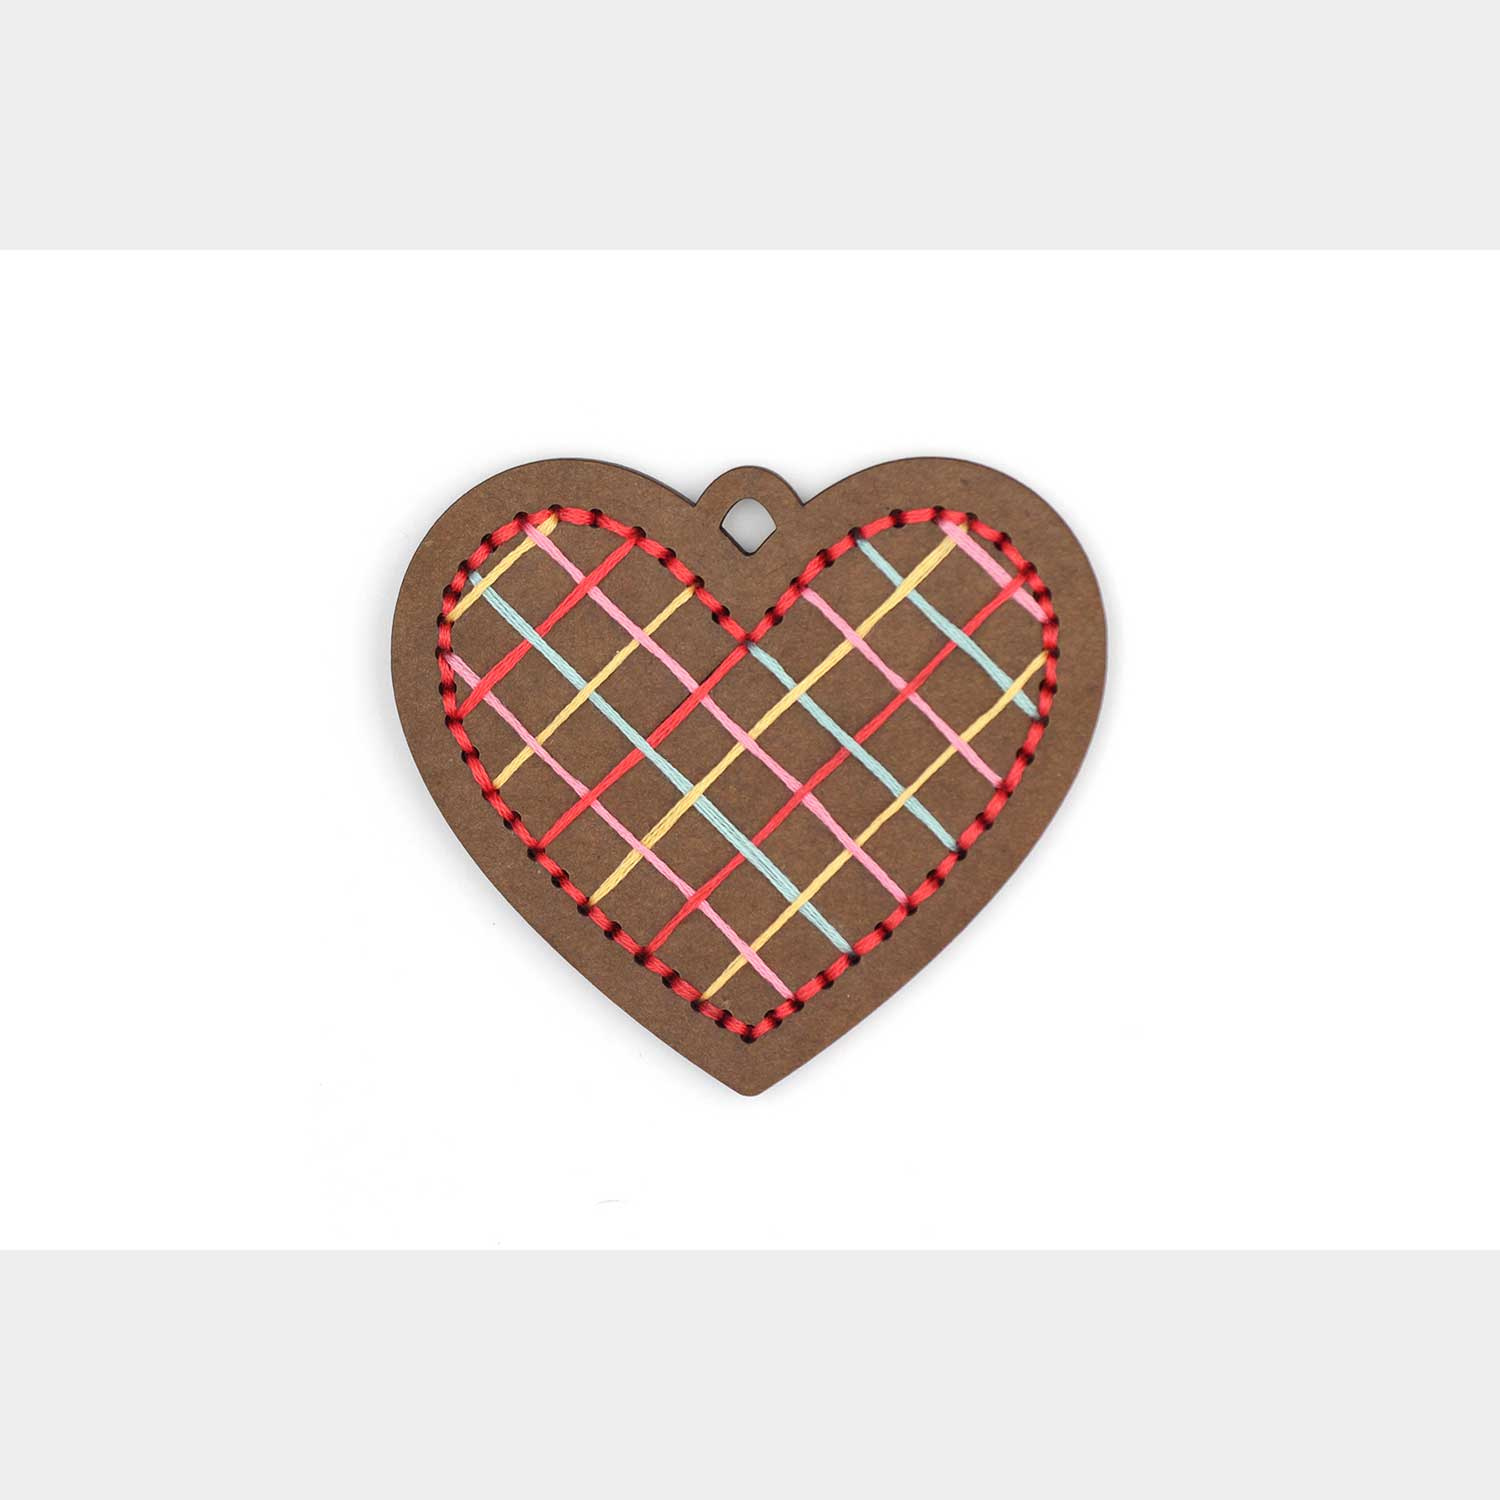
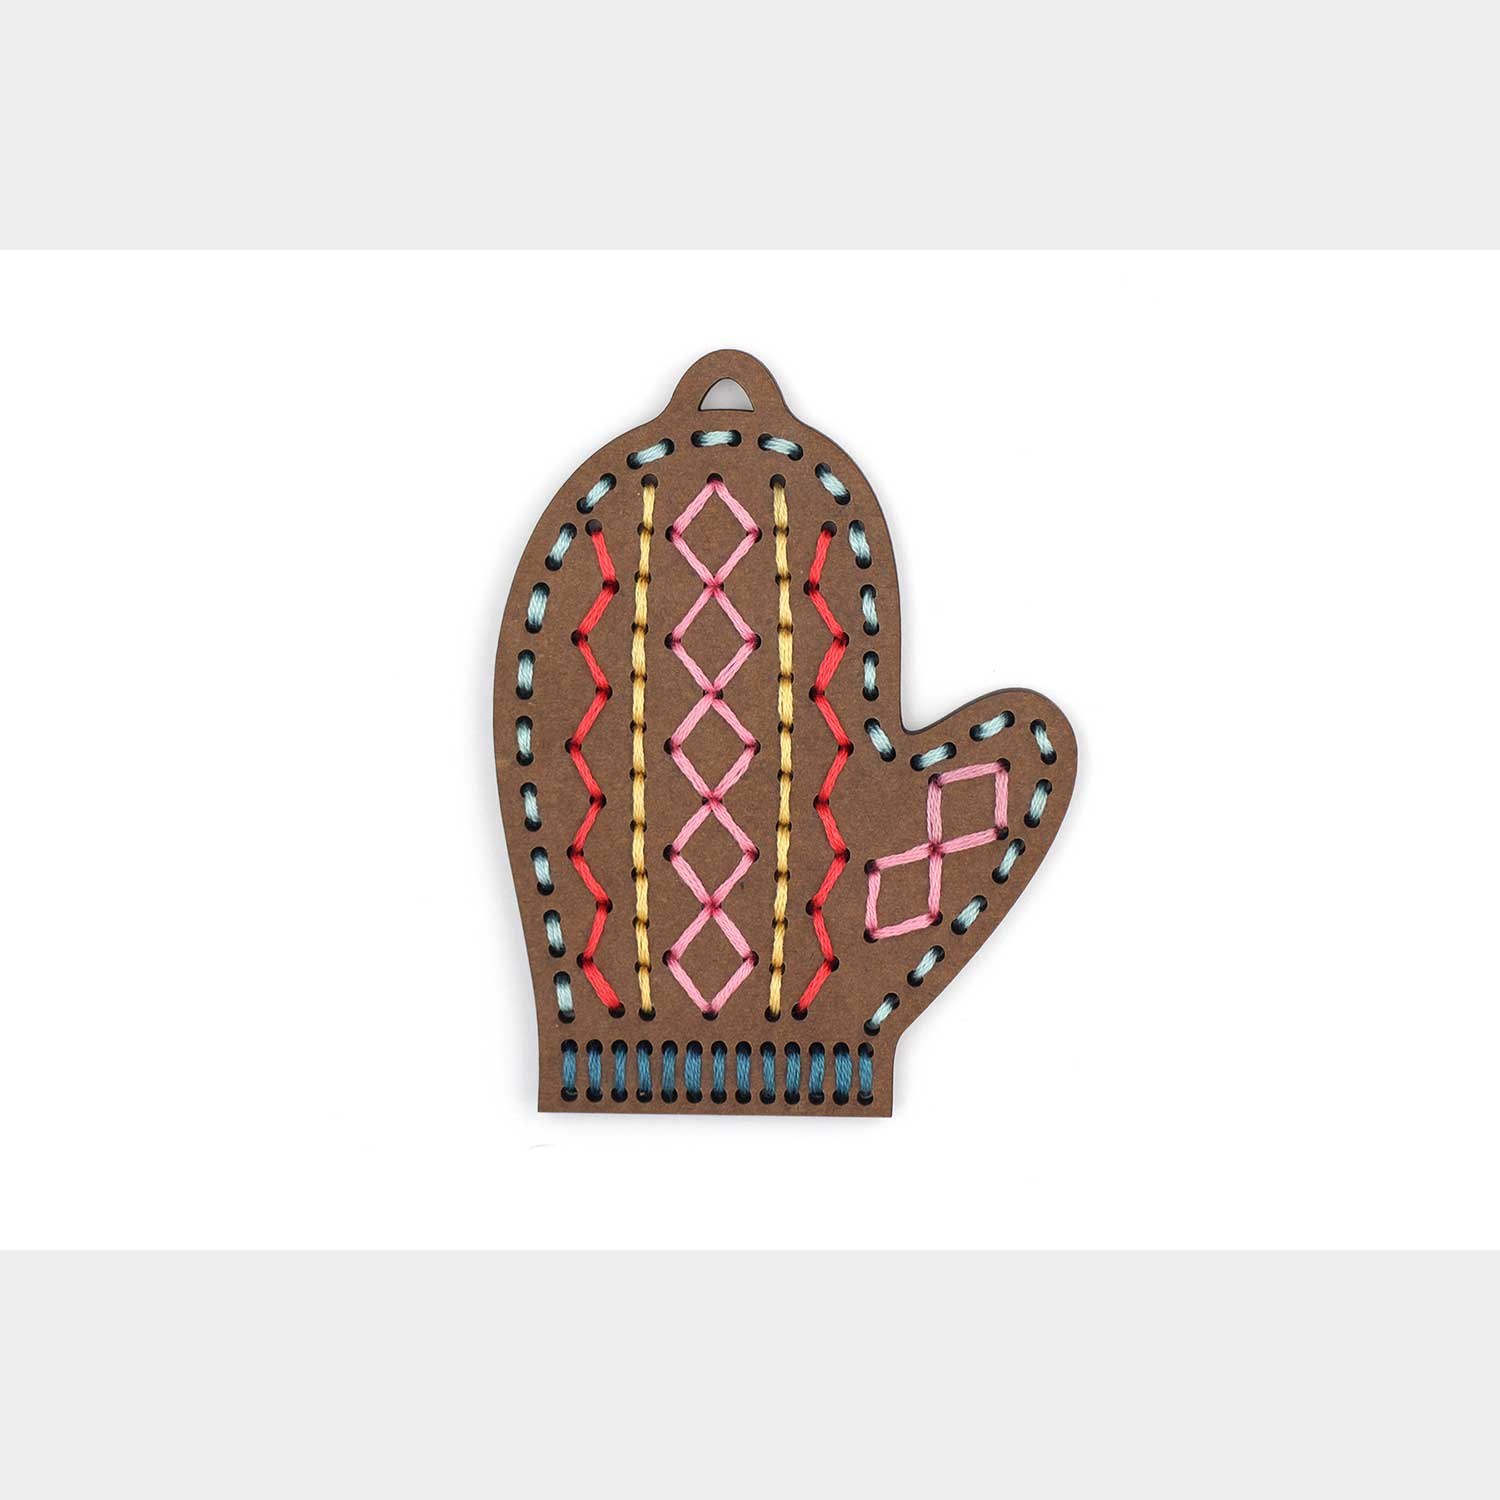
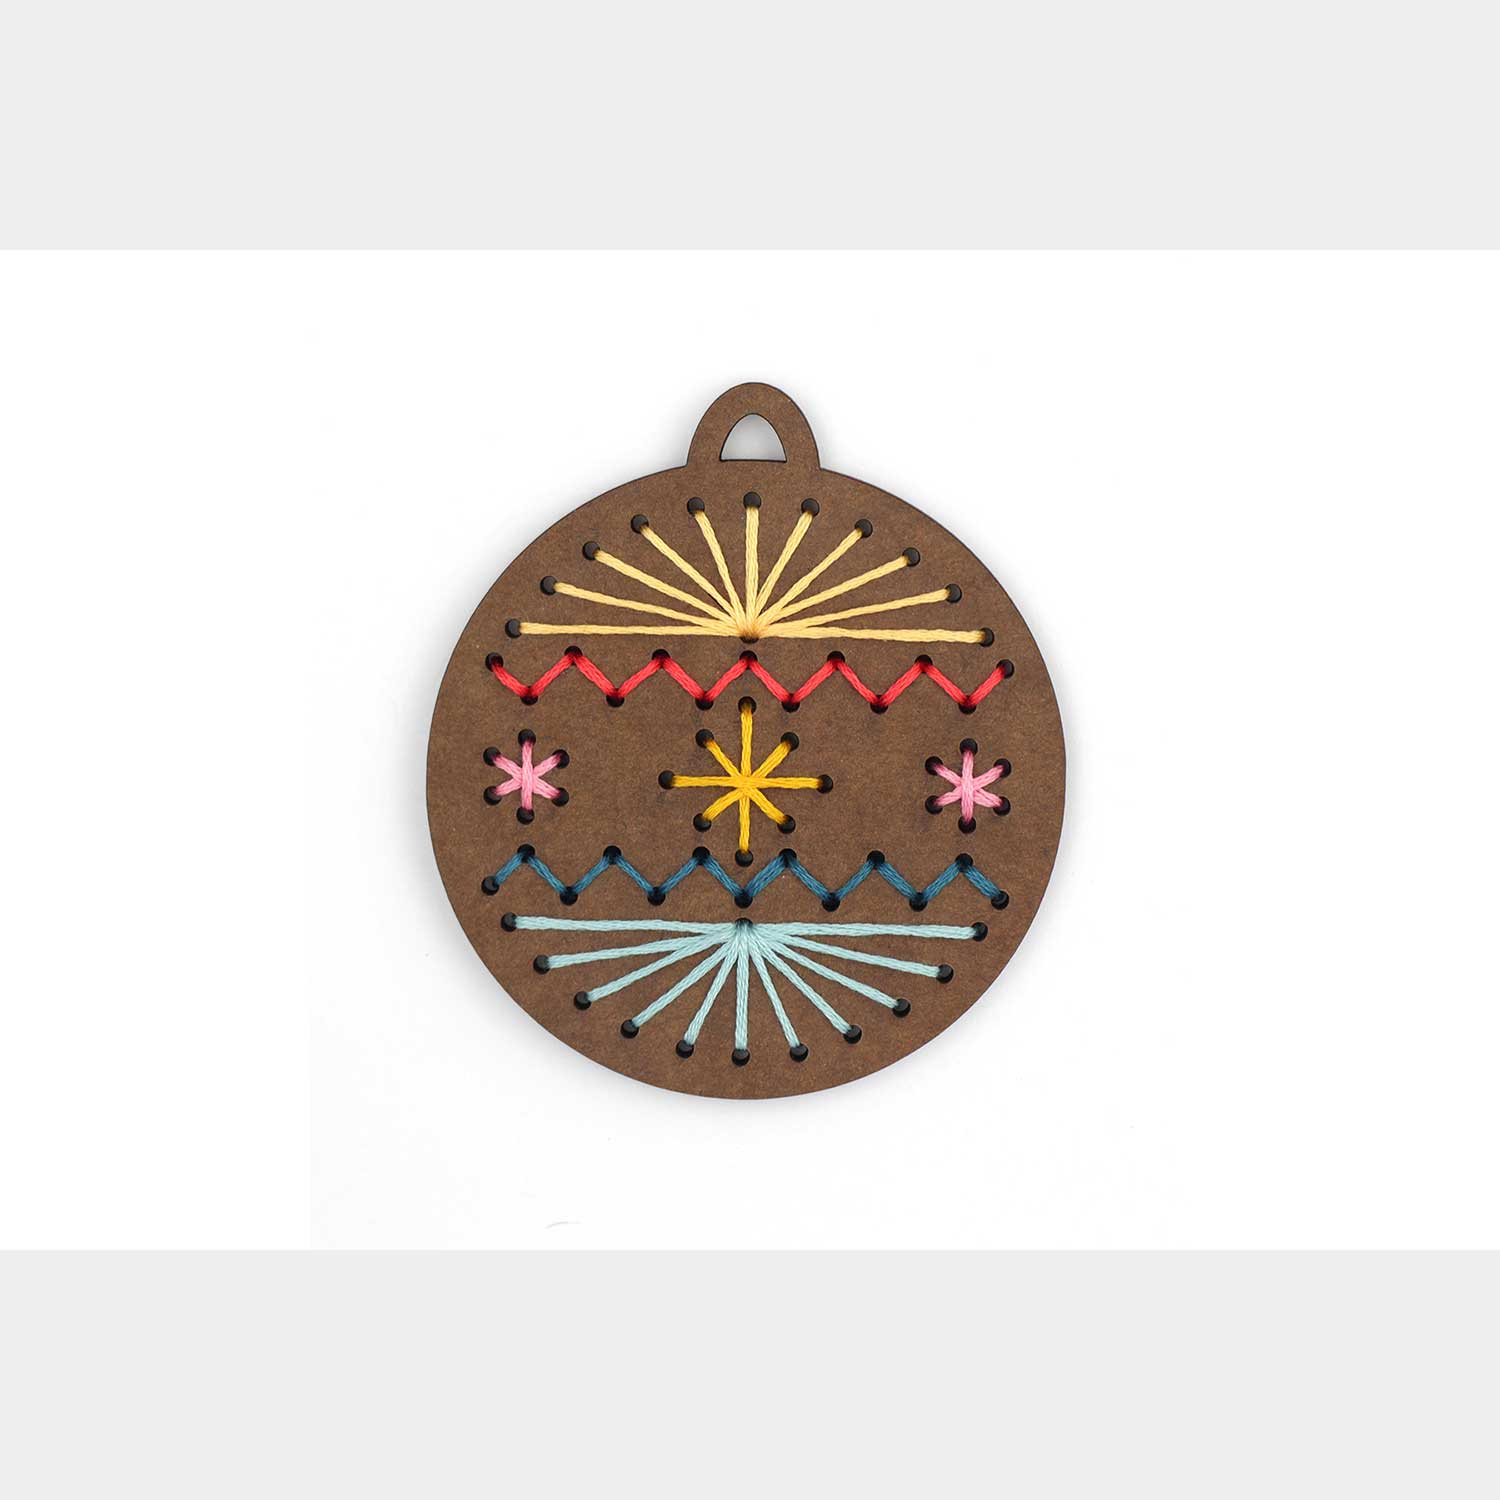
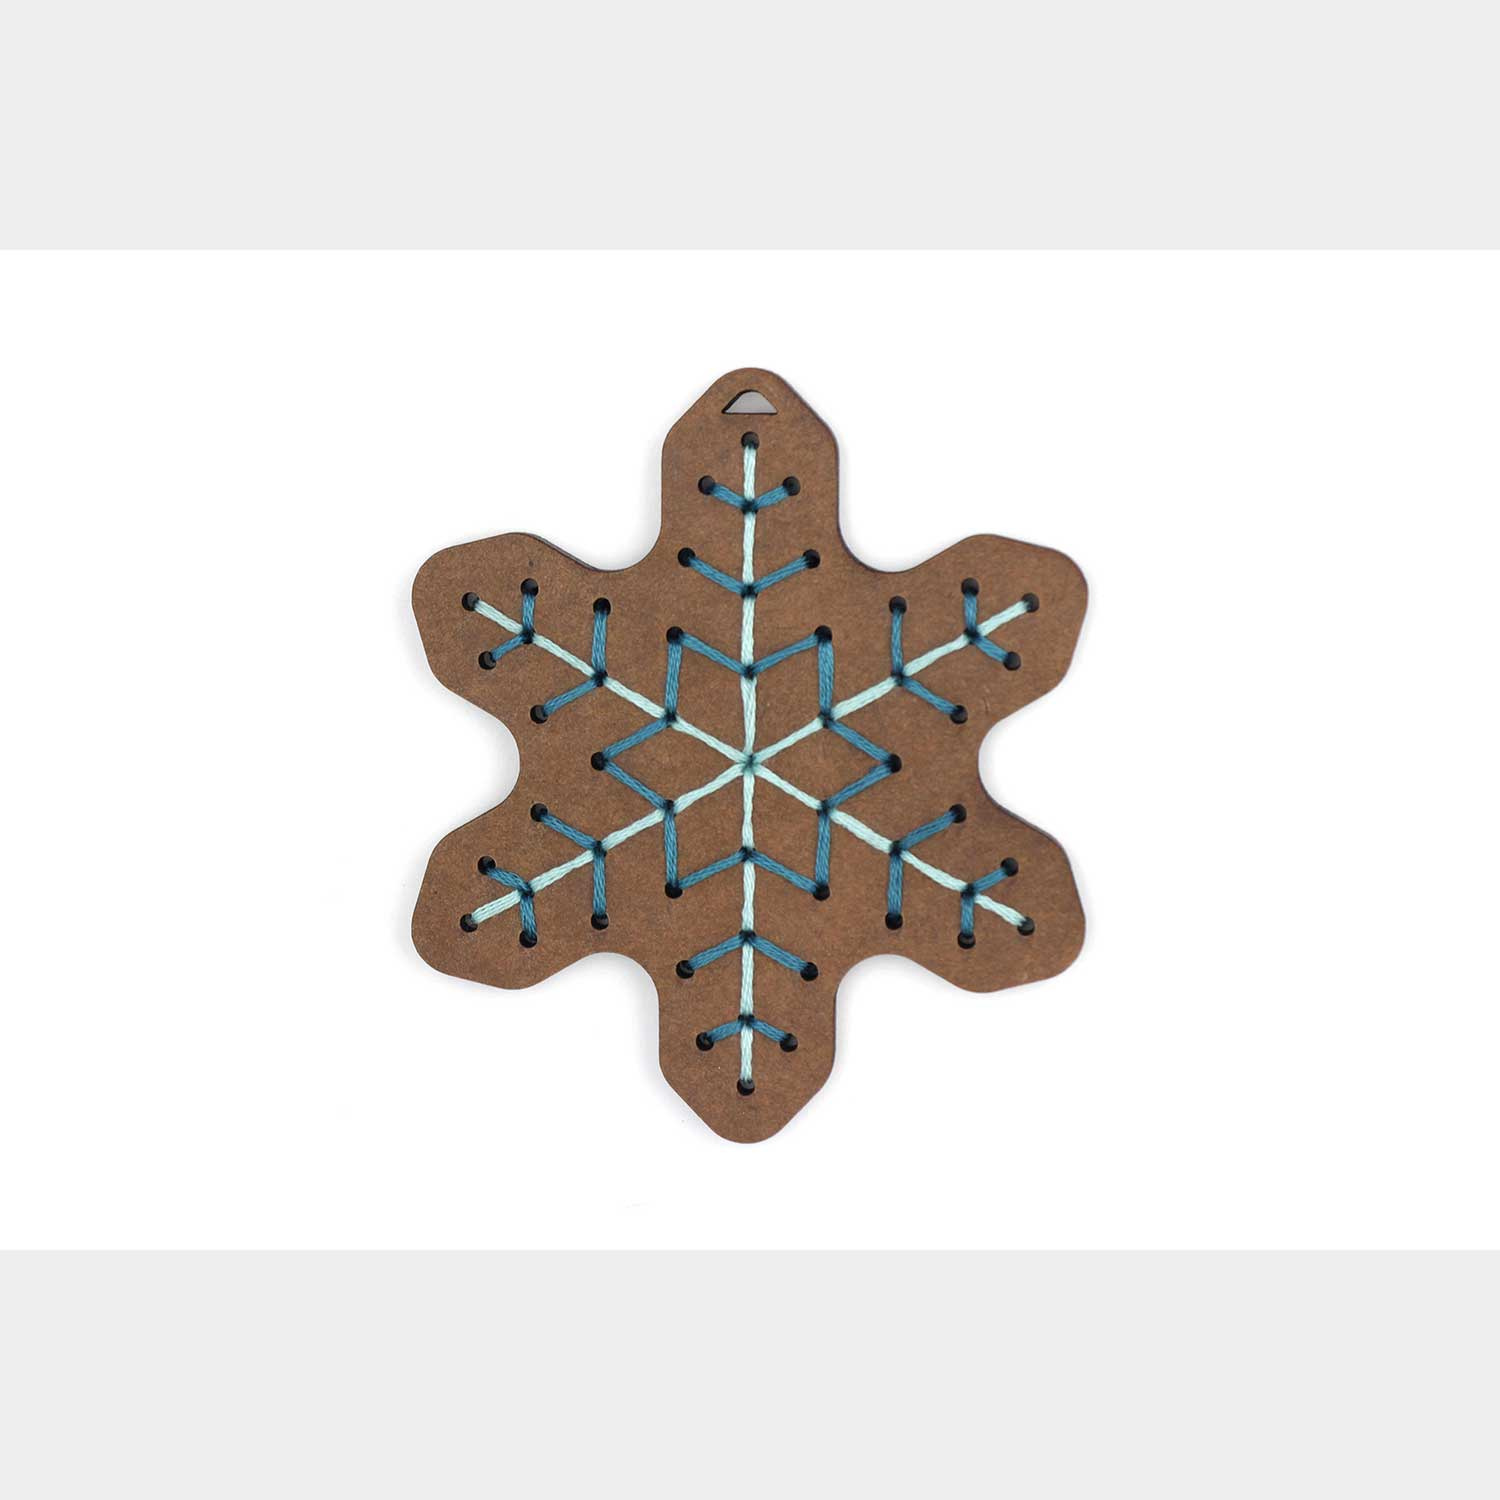
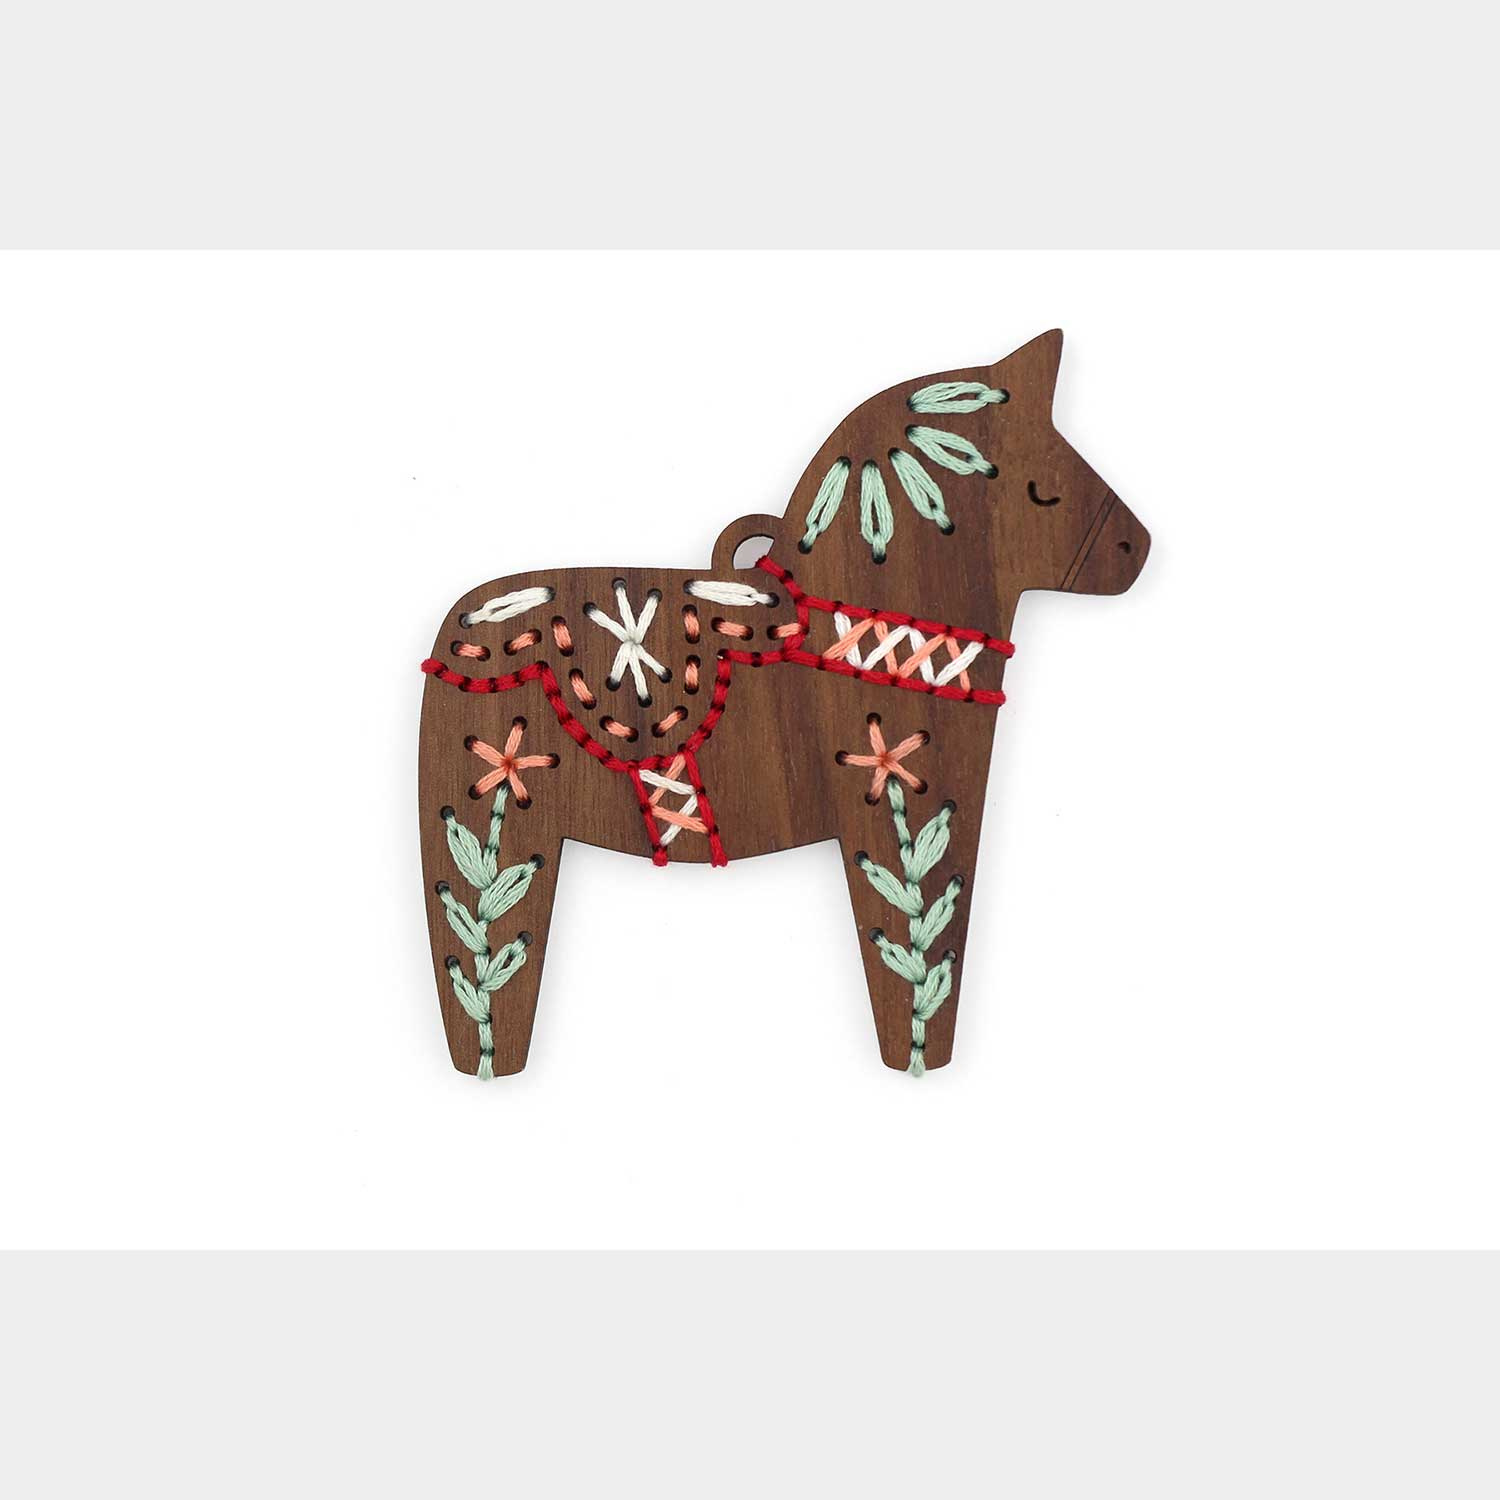
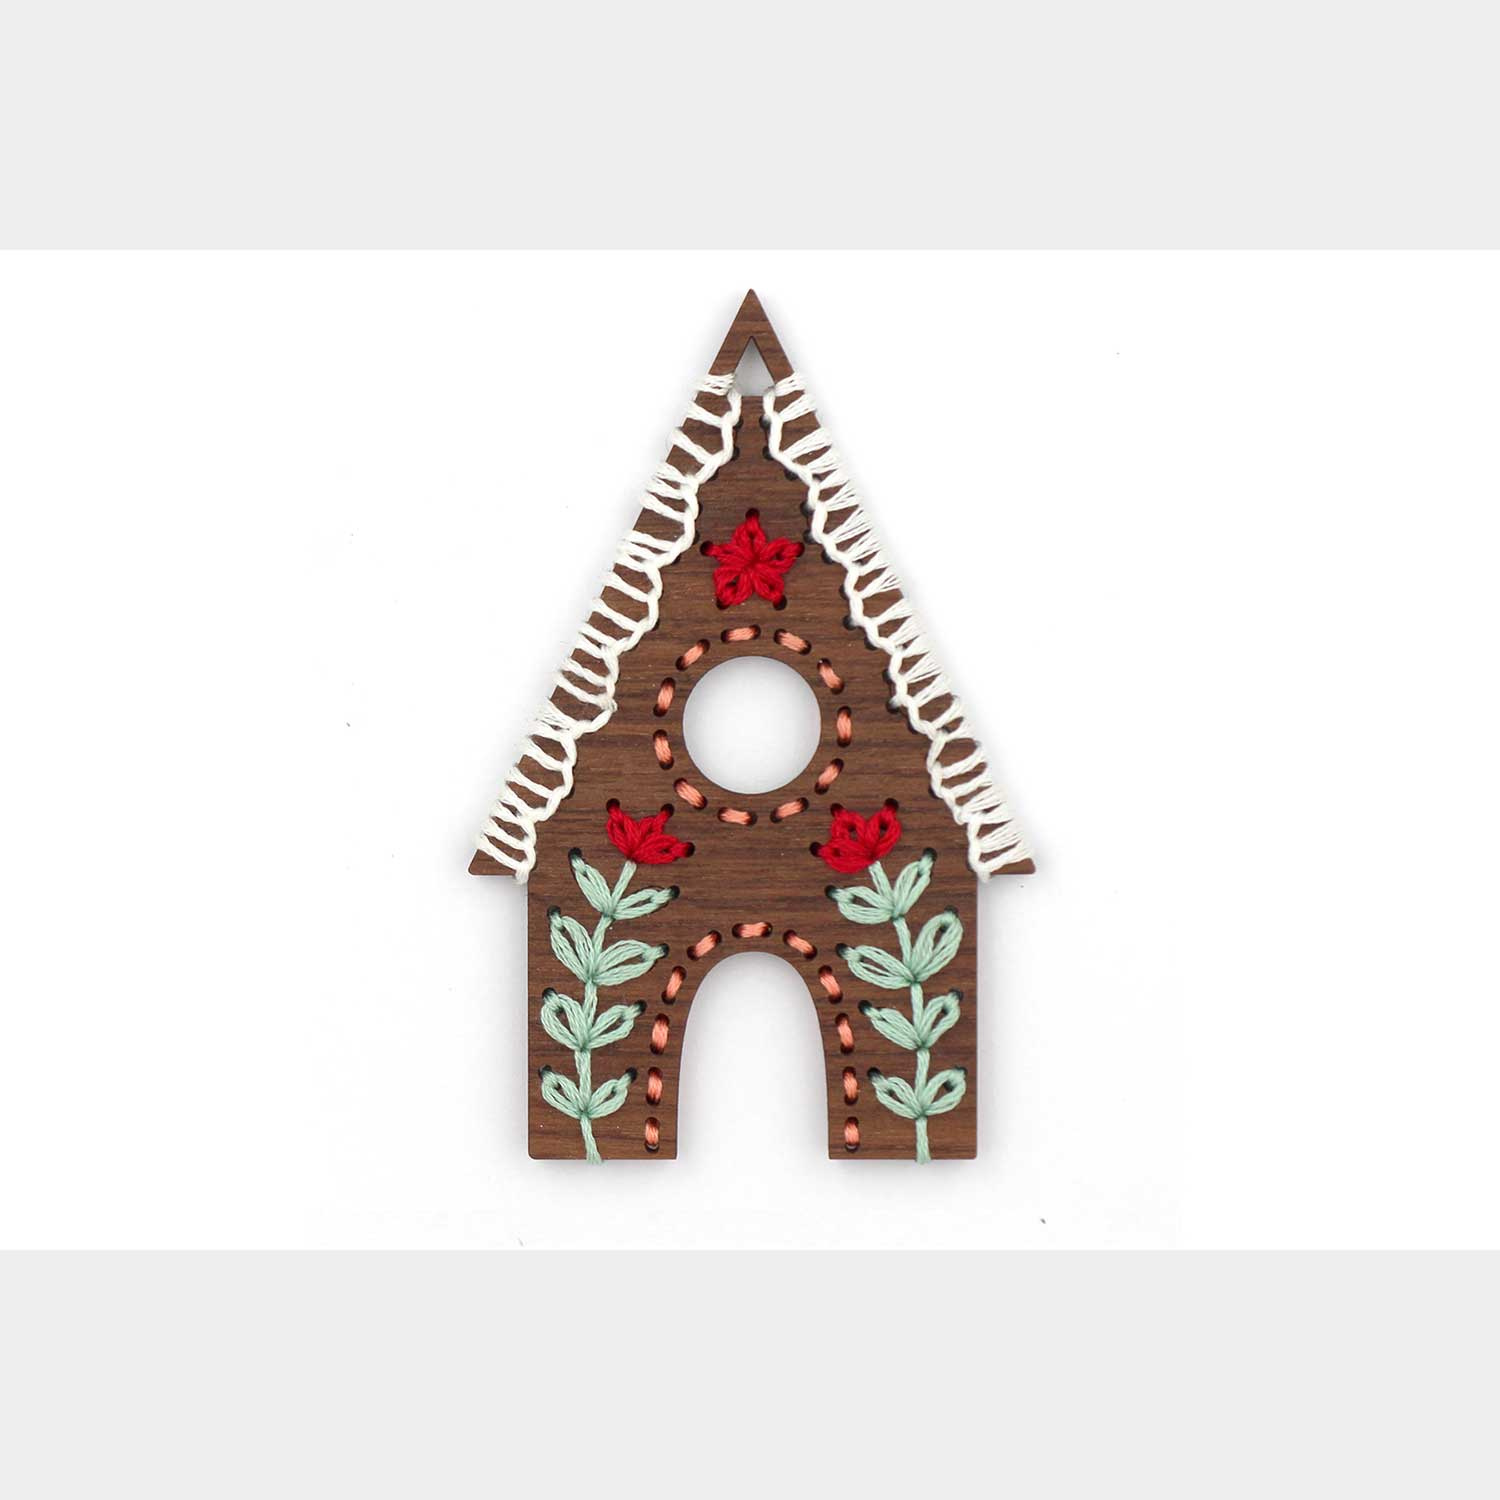
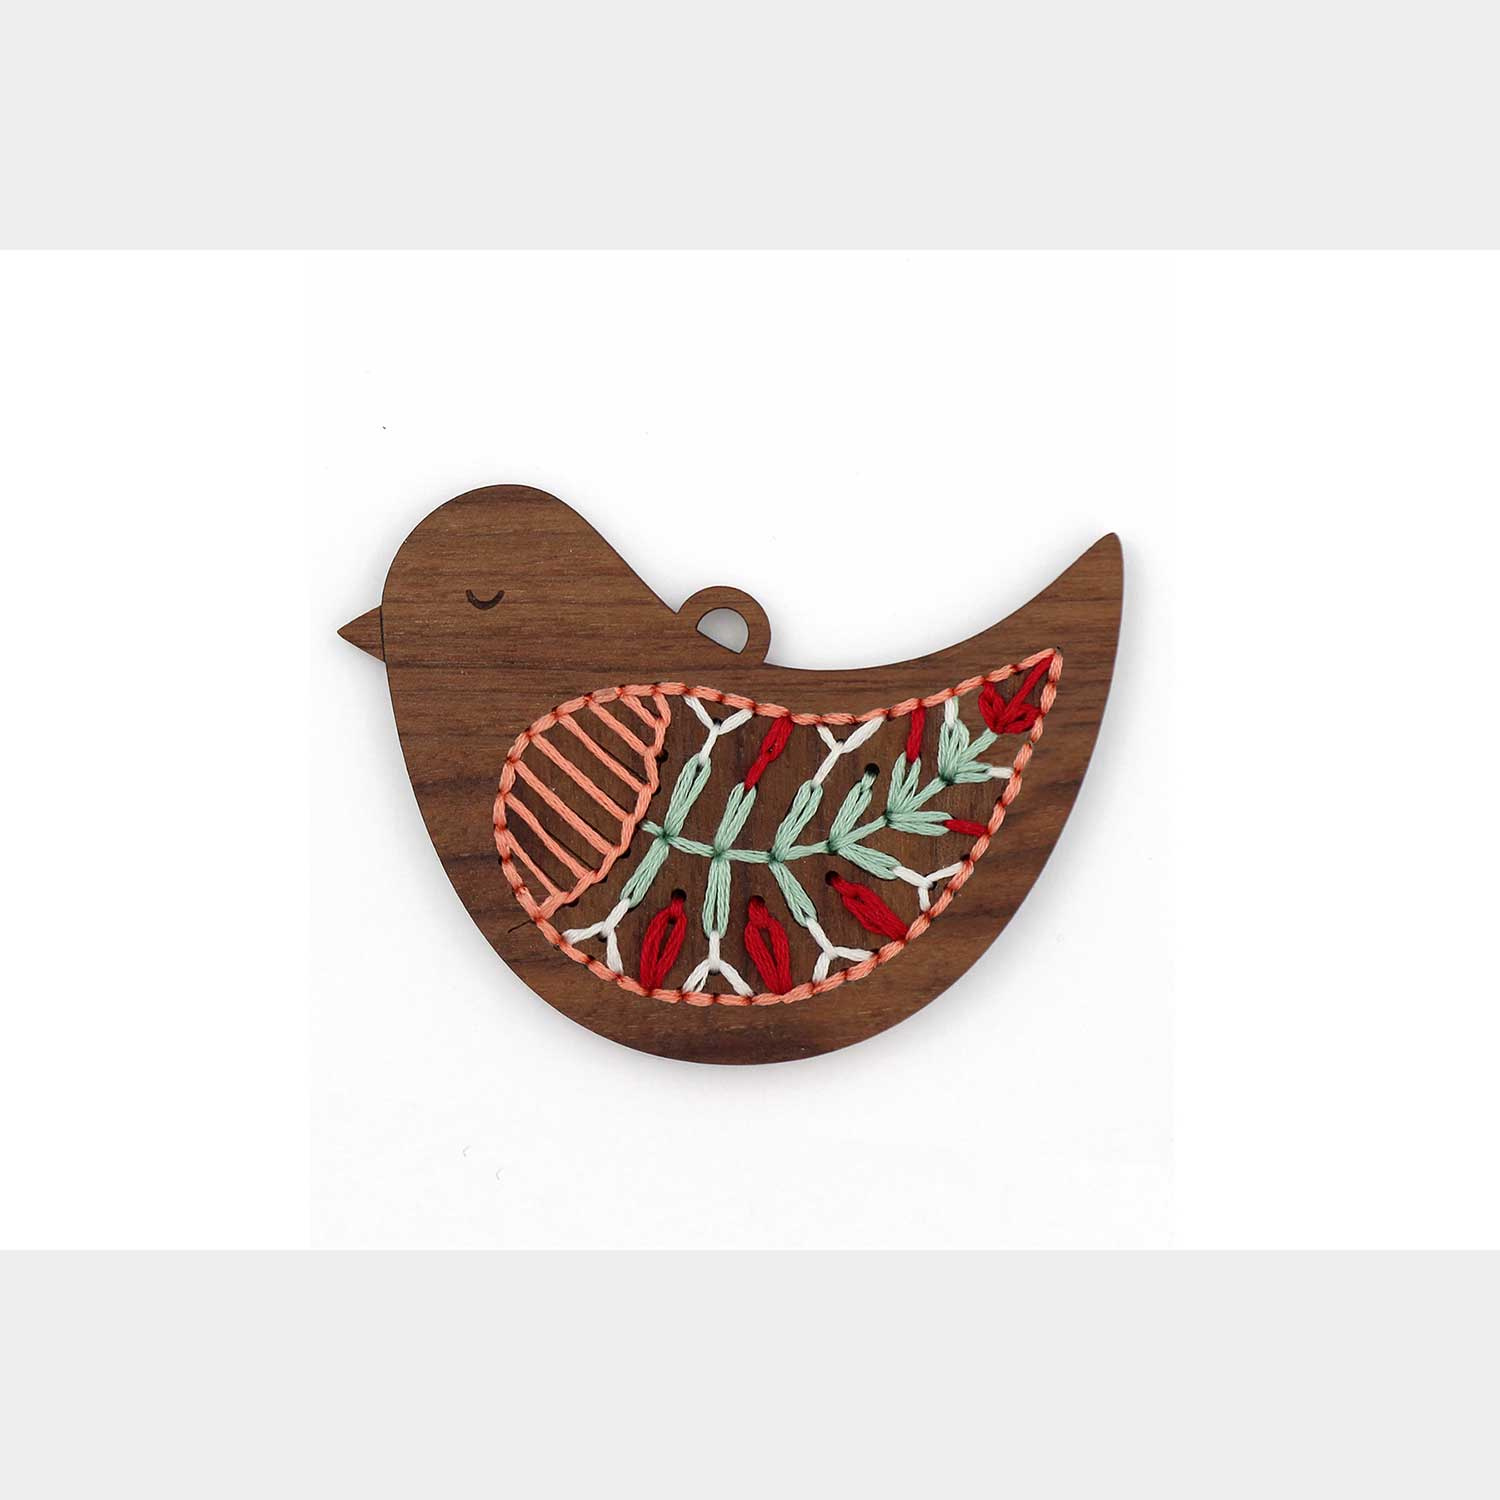
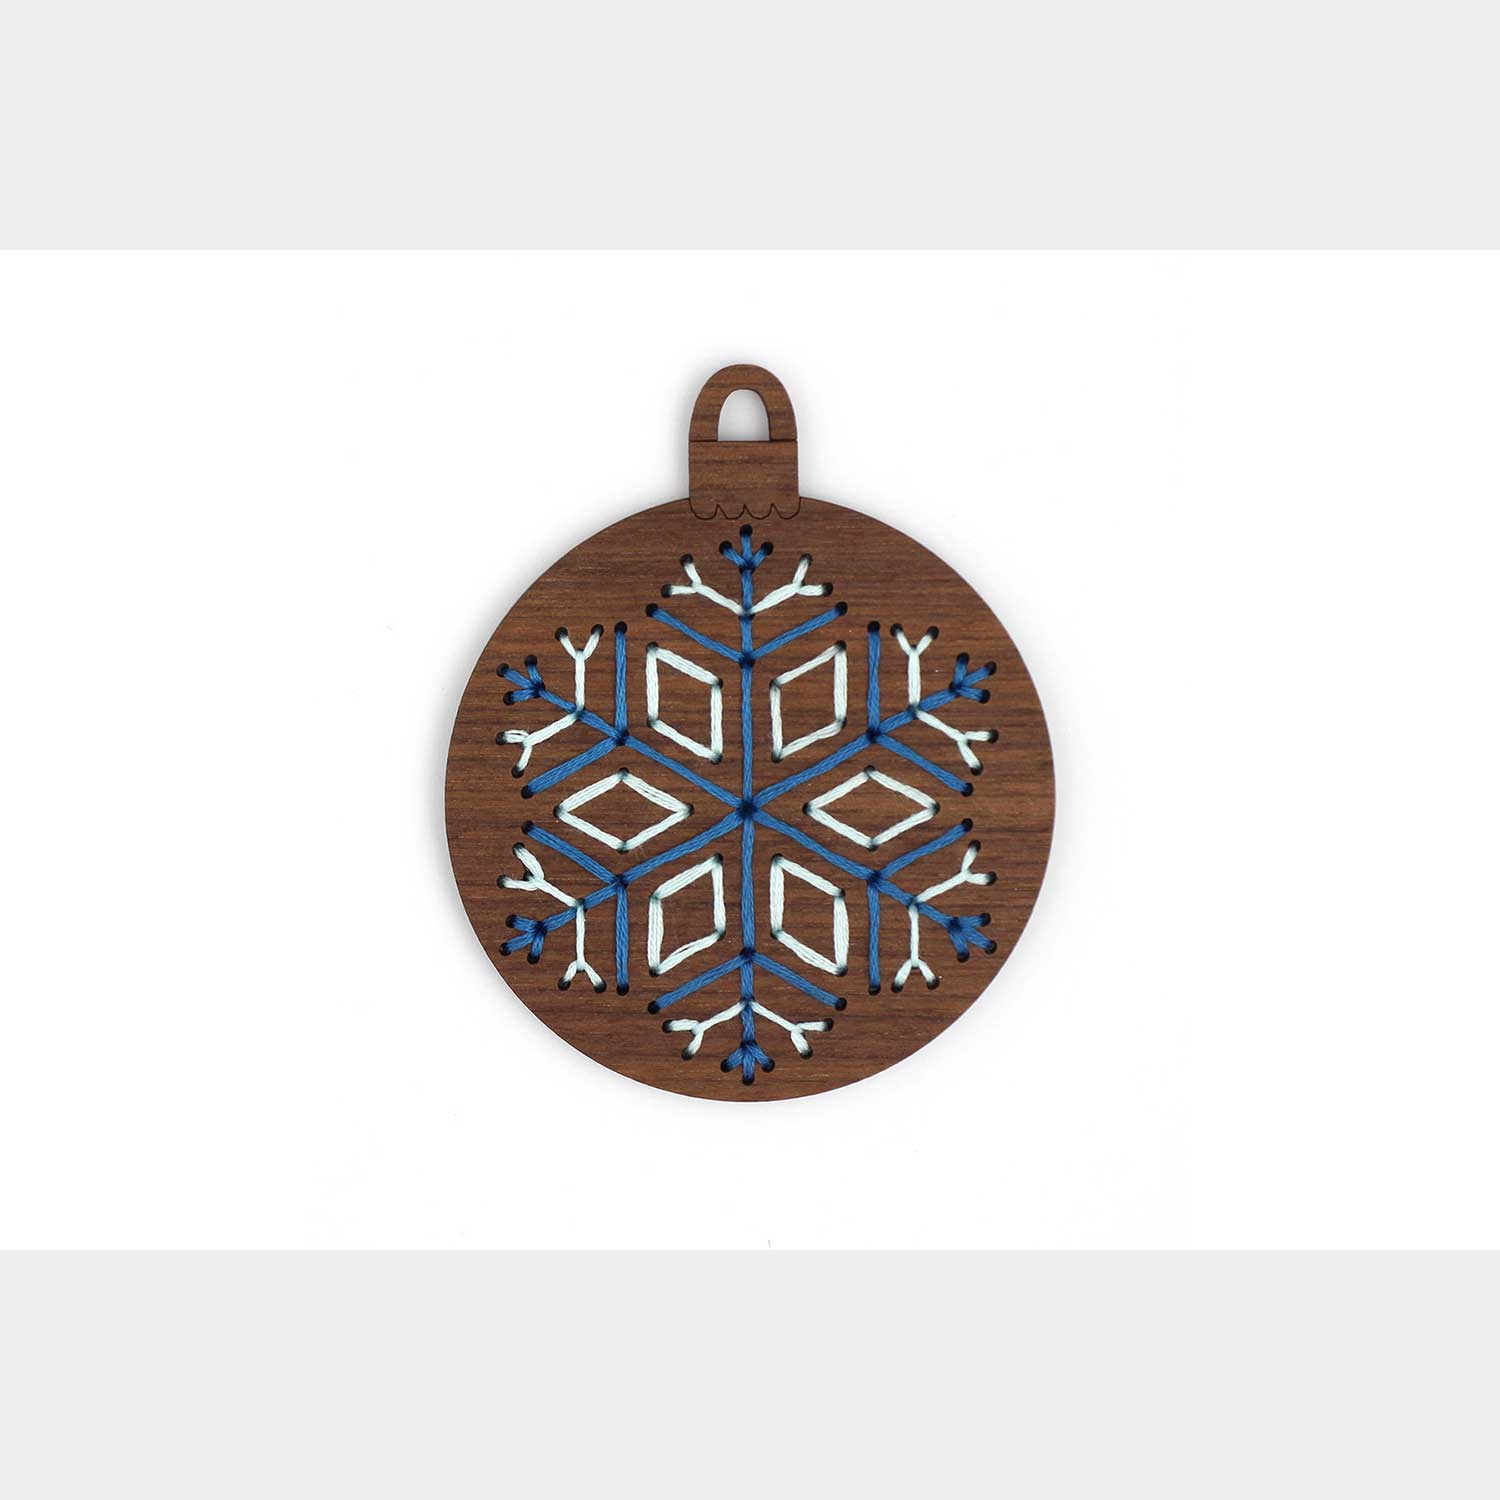
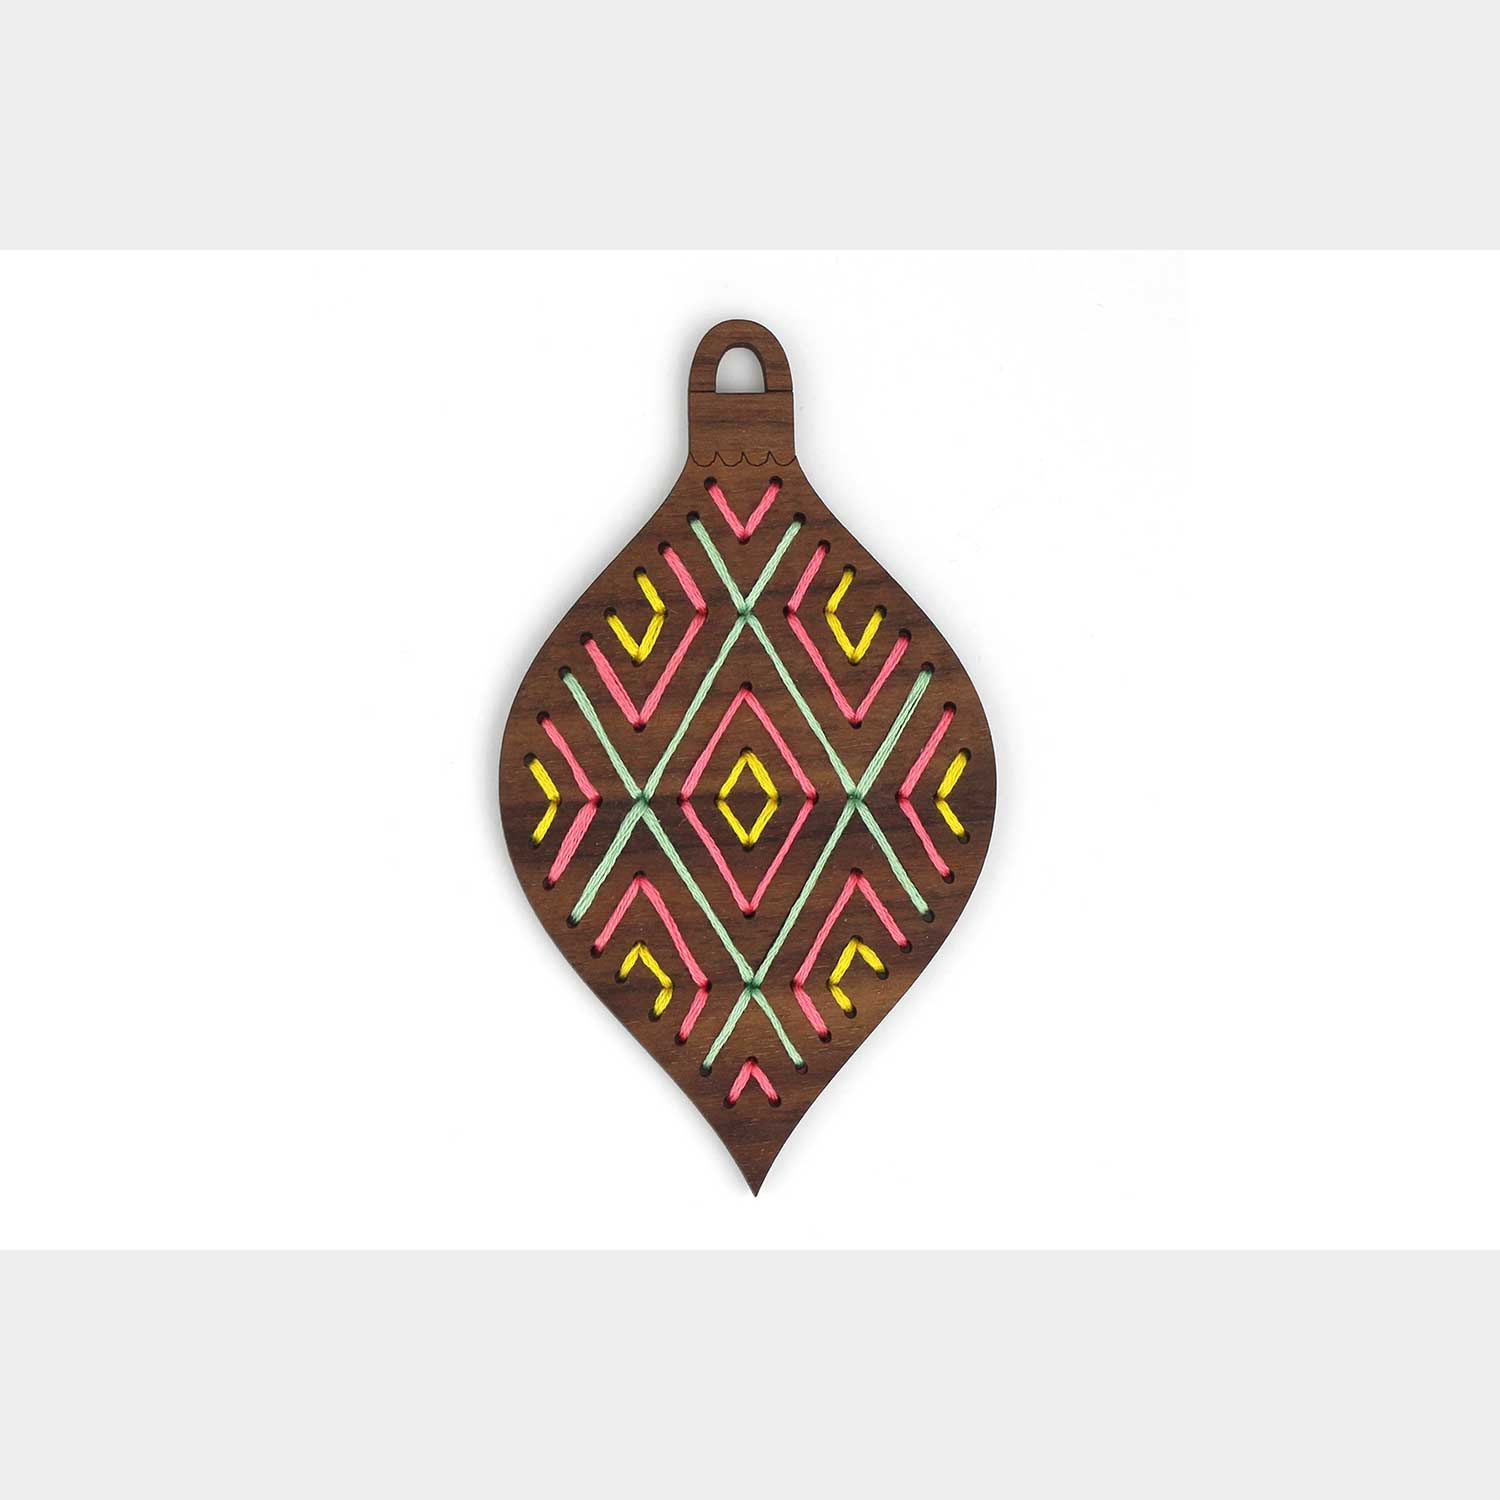
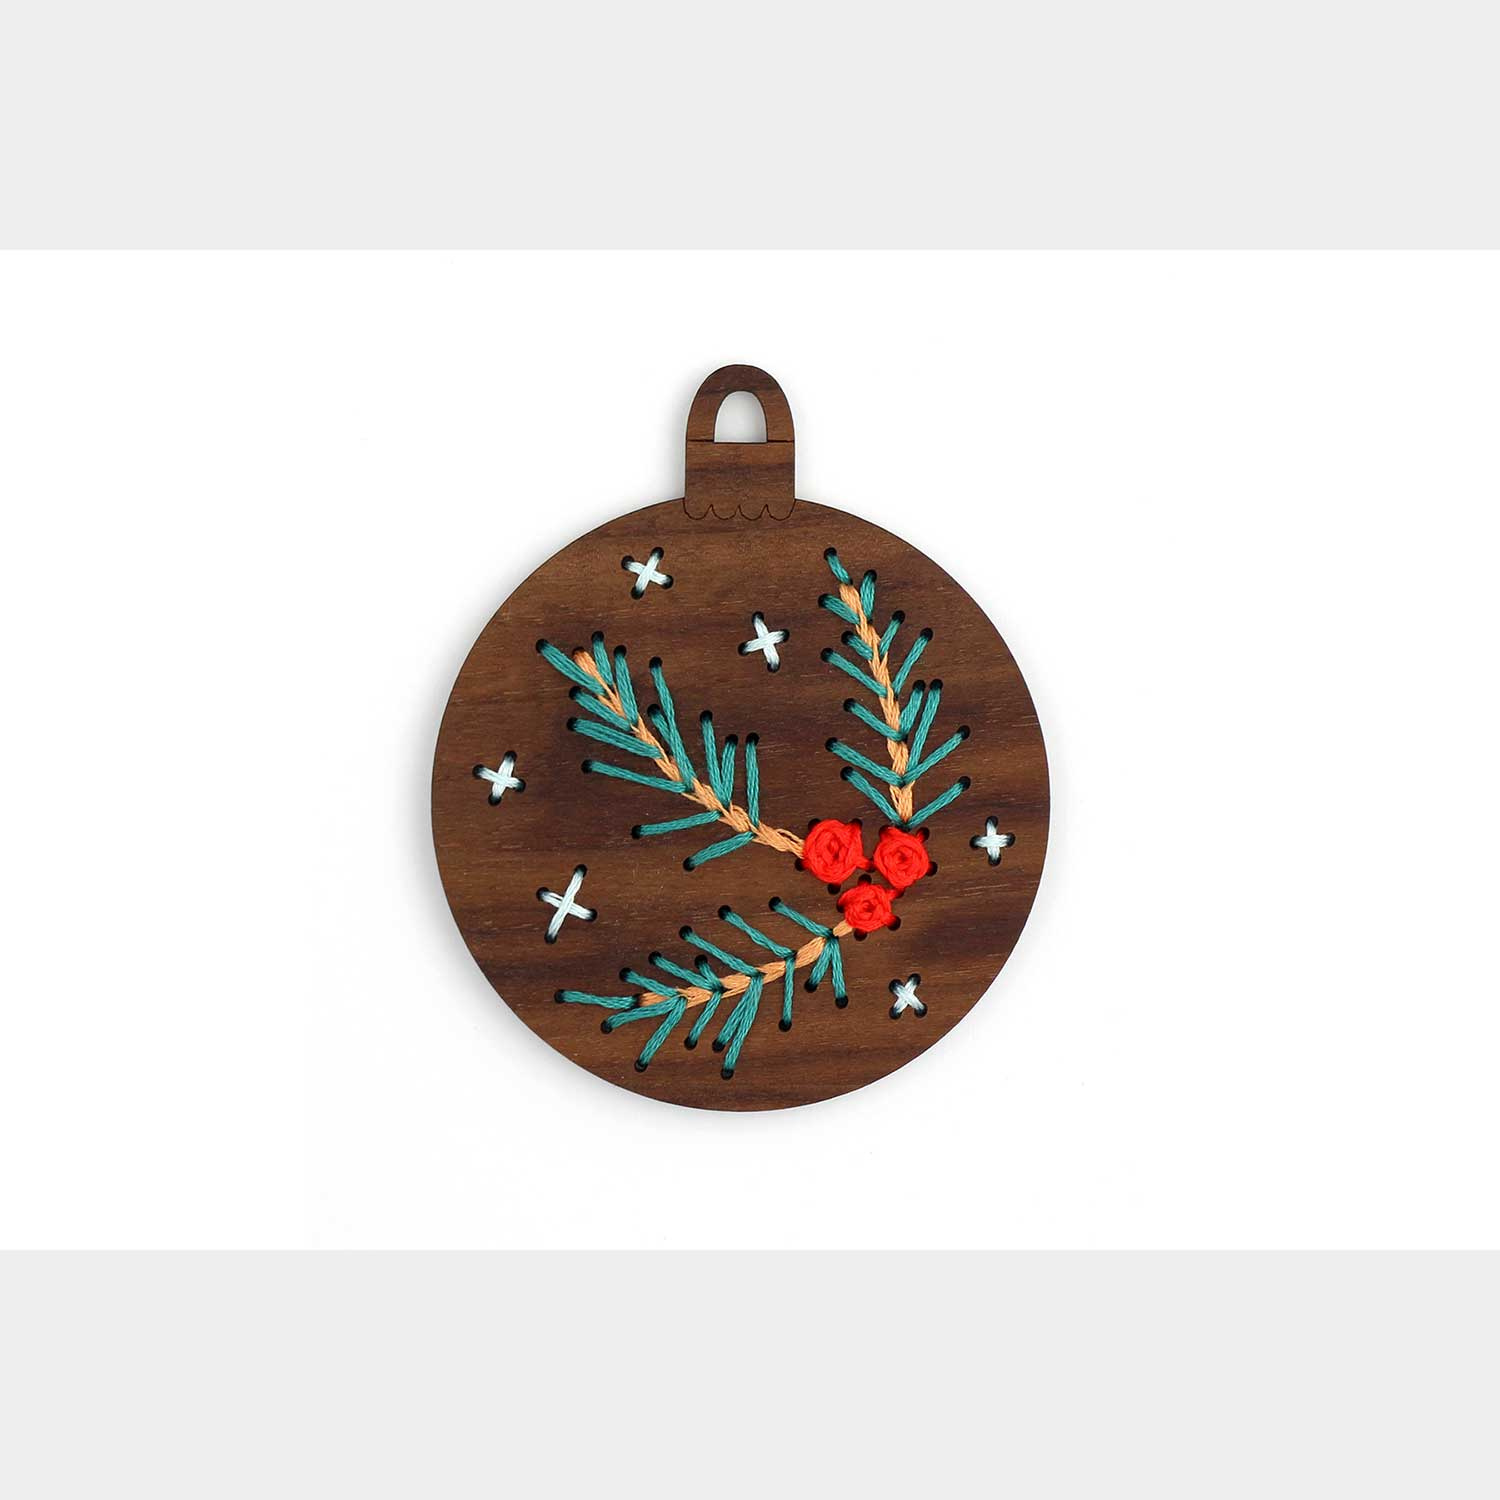
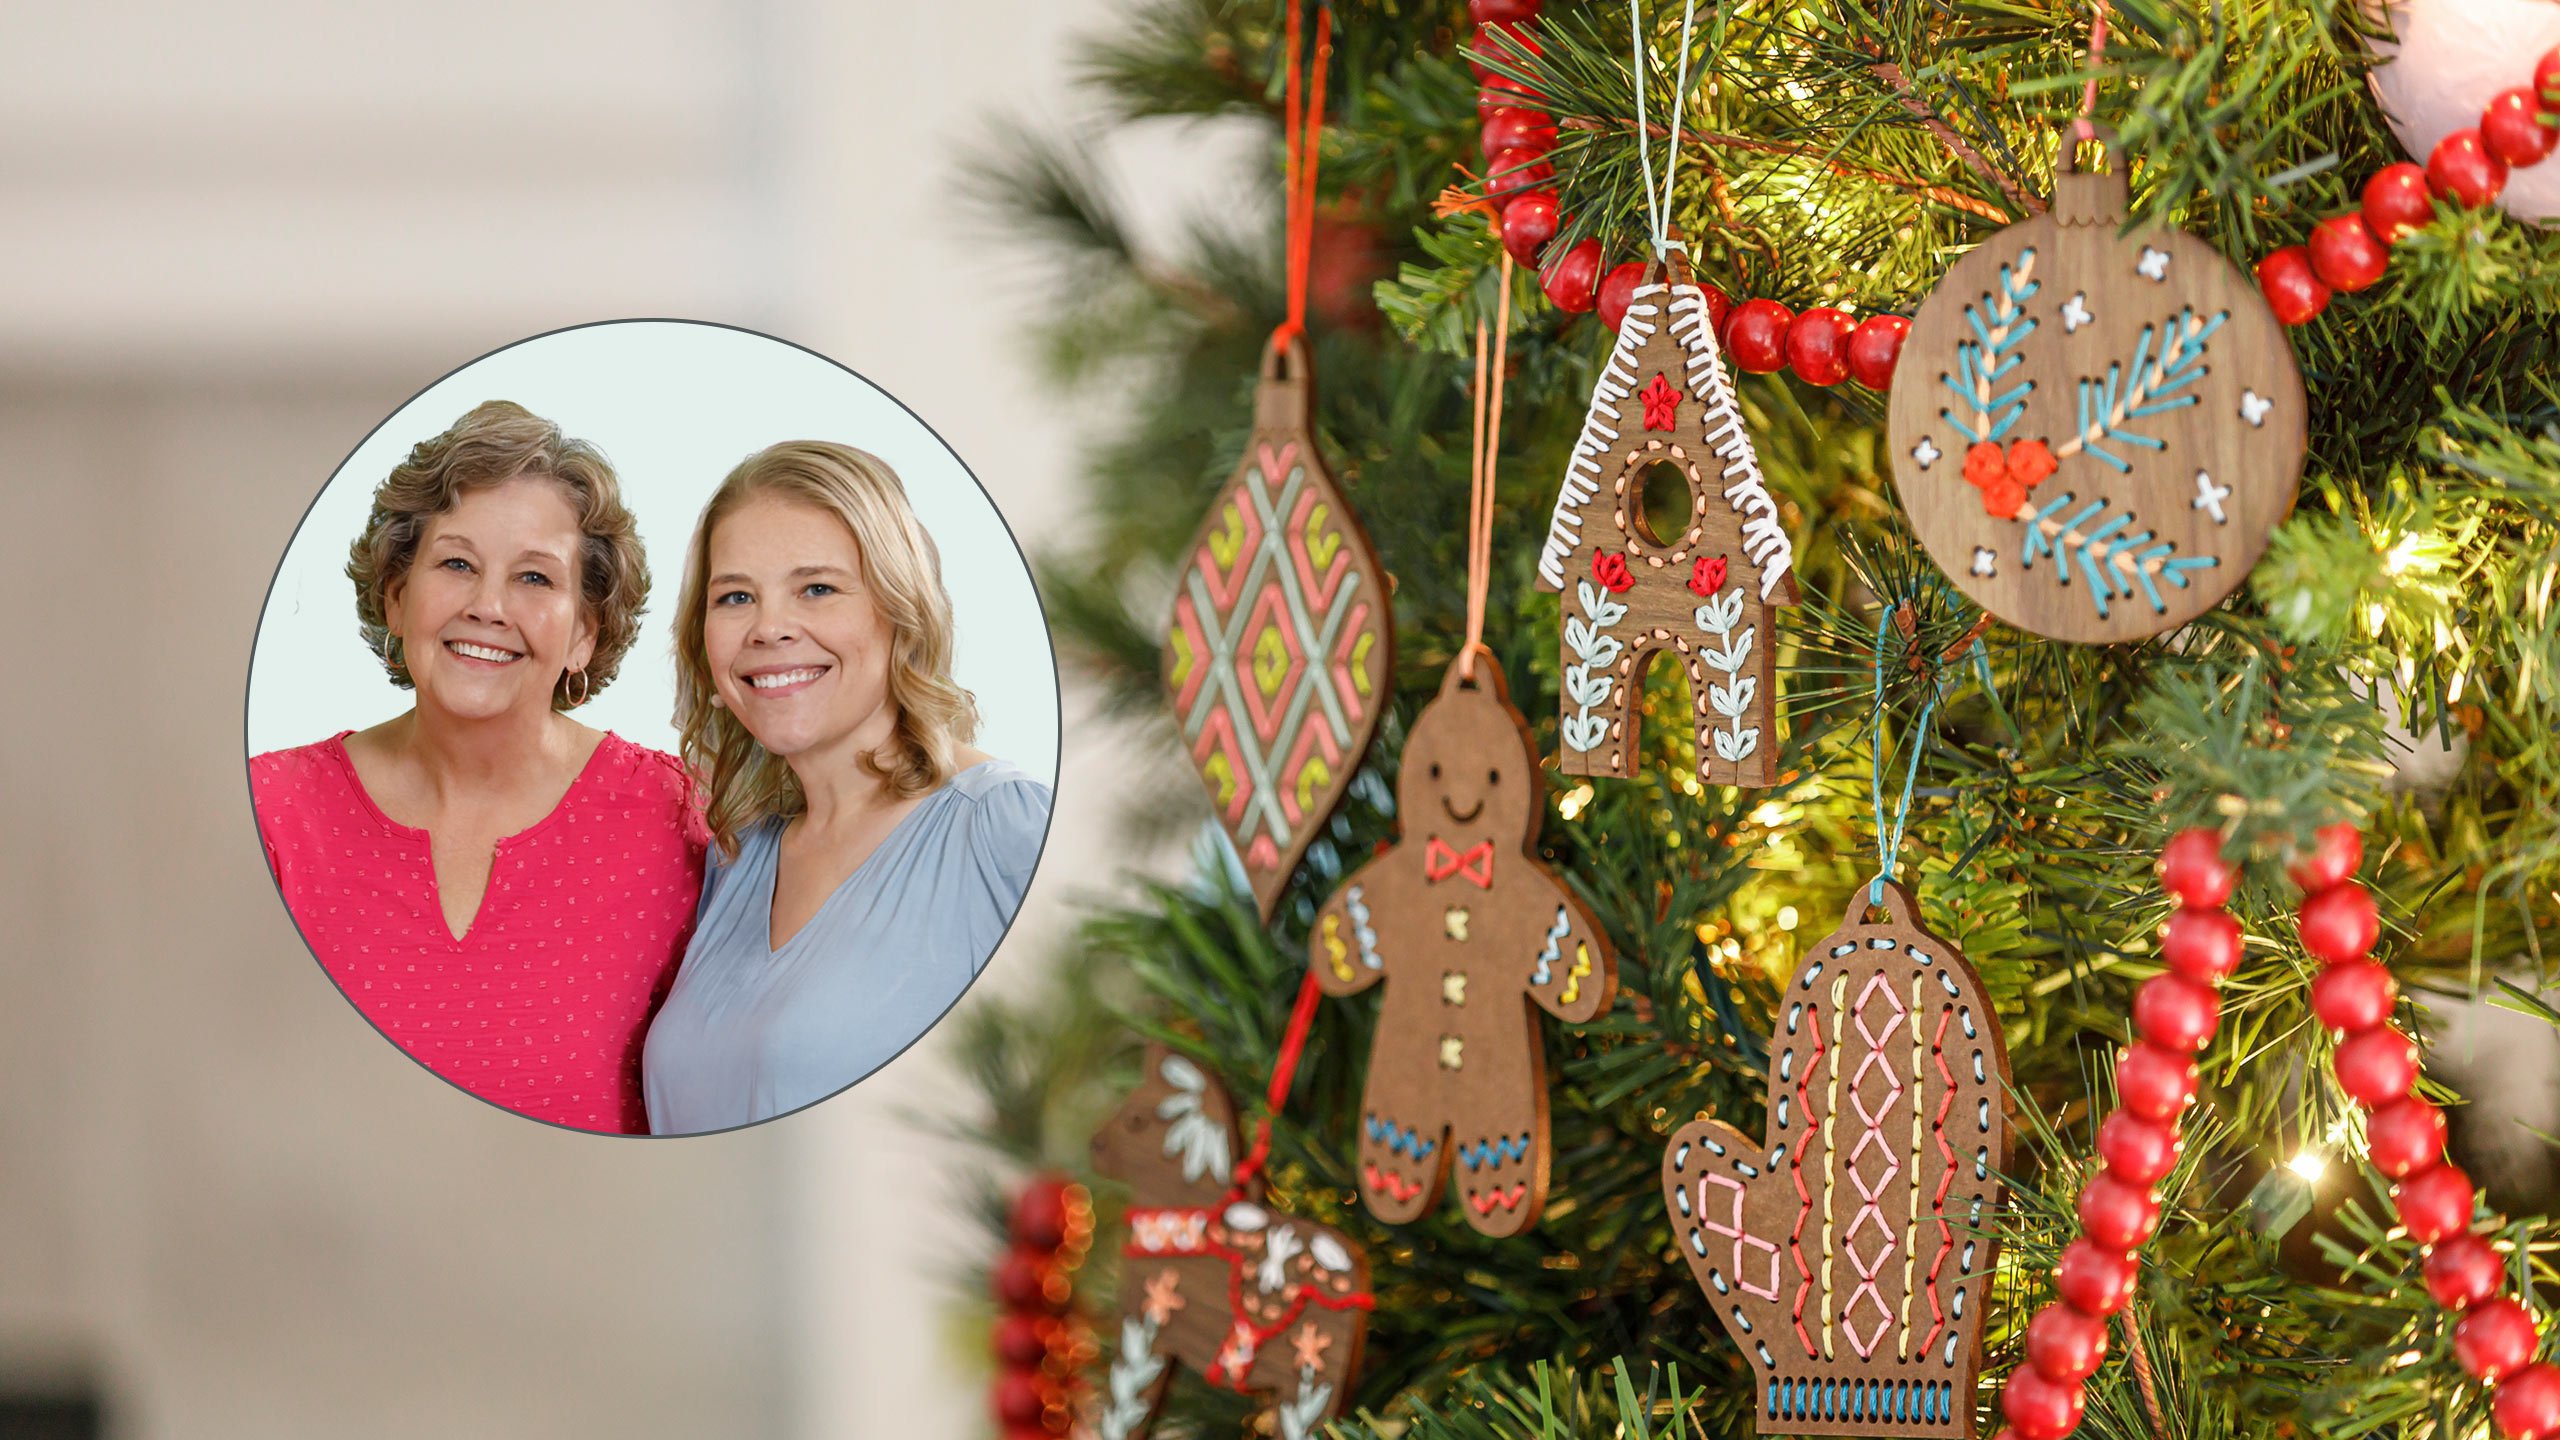
The holiday season is about family, and this embroidery project is one that the whole family can do together. Stitch colorful floss through predrilled holes in kraftwood shapes to create adorable ornaments that look like frosted gingerbread cookies! Easier than baking!

Instructor

Natalie Doan

Natalie is the host of Quilting 101, Embroidery 101 and the Creative Strategist and Editor of Block Magazine at Missouri Star Quilt Company. She was taught how to sew by her mom, of course, and began quilting when she grew up.

Common Questions

What is covered in Embroidery 101: Kiriki Press Ornaments?

The holiday season is about family, and this embroidery project is one that the whole family can do together. Stitch colorful floss through predrilled holes in kraftwood shapes to create adorable ornaments that look like frosted gingerbread cookies! Easier than baking!

How long is the tutorial video?

The tutorial video is 00:13:36.

Video Transcript

[Music] hi everybody I'm Natalie with Missouri Star Quilt Company and today I'm here with Jenny and we have a fun project to show you we do so these are the cutest little wooden ornaments that you hand Stitch with embroidery floss they're so fun they're from kurii press they are so cute they're wooden and look at this one and you a little dollar hole it's a little dollar horse they're so cute so each little package comes with everything that you need to make the the little ornament so well let's just see open her up I haven't done any of these yet and Natalie's like I knew you'd be so excited about the little dollar hor they're so sweet they come with all the little holes punched yep so cute and some thread all the floss that you need comes with a needle so you don't even have to like this is a great project to grab and take on the with you and yeah you can just work on it one thing at a time all you'll need is a little pair of snips scissors awesome but it comes with so this is your backing piece that covers up all your stitches on the back so it ends up looking yeah it looks so pretty it does look pretty my backs never look really great and it comes with an instruction sheet that tells you step by step what to do and how to do it and then you also get you know a little picture for reference so you know what colors to use wear oh that's so cute I love and it does tell you kind of what stitches to use but a lot of them are just a simple straight Stitch because you're going in and out of those holes right so they're pretty simple so do you have to separate the thread um I think you're going to do use the whole thing I think it depends on the kit but let's see it says use the floss at the pre-cut length thread your needle so you don't have to take any you don't have to take this these apart at all these are ready to go the doll horse anyway with lots of thick stitches thick thread here you go cuz I have no glasses on and I know there is an eye there but yep it's a it's a nice fat one too though I'm going to let you do that all your all your threads can go in there and then what you're going to do so there there are very detailed instructions and we're just going to kind of gloss over them a little bit because you'll get all with whatever kit you have but on the back what we're going to do is not um we're not going to put knots in it because we don't want that to be lumpy underneath our little sticker so we're going to tape the end kind of out of the way and then when we're done we'll go back and weave that in oh okay so it kind of hides underneath the edges of your stitches so you'll go in from the back to wherever it is that you're going to start so do you remember when you were a little girl and we had those Stitch cards that you had with shoelaces and things like that I feel like this is just like an advanced model of that yeah very all right so I'm just going to use a little piece of tape and tape down that edge and you just kind of kind of just want to get it out of your way could you tape it like right onto the back of it like down by the stomach you absolutely could yeah you can tape it down here and out of the way there we go and then you can start your little whoa my fing don't want to pick up this needle today you can start your little lazy Daisy you do a lot of embroidery go goes back in there oh that is so fun and then you'll come up here and catch your thread and just make the cutest little lazy Daisy goes back through that way oh my gosh is so cute and then you can go ahead and continue doing the rest of your stitches I have one that I'm working on the little gingerbread flake he's nice and cute and easy I've just kept my stuff um uh do I go back through so you yeah you go back through the the top just like you're doing your just like a lazy D any lazy Daisy y okay but you've got it wrapped around a bit here I'll unwrap it here we go there you go and and then you're going to come up in the first hole and then go back through the loop and into the second hole all right I got it and this one is all just a bunch of straight stitches so kind it's kind of a back stitch really Natalie what a cool thing like AR they fun they're super easy they'd be great for like I feel like this would be a great you know grandkids activity get all the little ones together and let them great gift idea super great oh my gosh now I'm going to be spoiled because I will want these little holes poked in everything so you don't have to even think about it right right I've been working on some more ingrids oh yeah the flowers and they're just it's just so they're so beautiful they really are this she would she would have died over this she would think these are really cool yeah she would I love this there we go oh all right so now I finished all my flowers okay so what do I go on and do some other blue stuff or do I well you're pretty far away so I would go ahead and just weave your end in here both ends just well that one you kind of wo through by stitching over so it's probably fine oh okay so go ahead and just put this one that's loose um up underneath some of that stuff to tighten it down all right and then you can trim those but no knotting and yeah you don't need knots because we're going to we're going to put a sticker on the back there you go so how short should I trim this then I would kind of leave it long for now okay just so things don't come undone and do I cut this one a little shorter too and then I take the yeah I probably would and then just remove your tape and it's just do you just use like Scotch tape you can use any tape I have um painters tape on this one CU that's what I had handy oh okay but yeah you're any tape is fine you're going to remove it pretty quick and then um and then we'll stick that sticker right over the back of it I don't think I'll be finishing this really that fast but you might I might it's going to go together no knots I just made a KN going to go together pretty quick I'm cutting my knot off that is so good idea that is such a habit to make it's a little bit different than what we're used to mhm okay so this one then I'm going to come through it does go pretty fast I just want to like tape this down now yep there we go and just weave those ends in so that they just stay nice and easy I think I I don't know if I'm going to come out of the right there we go there's a couple of starter stitches at the bottom of that one did you get those I did awesome my thread's getting kind of short the little flowers up the leg are so cute mhm they really are yeah and you can just go you can do the next one and then um I would just kind of weave weave let that thread hang loose maybe or weave it in and then get a longer piece you have plenty of floss okay it does you know we're so used to using every little thing up right all right I'm going to try this blind I did it cuz the knot is a nice big hole it is it's a good size needle a good sized hole for all your all your stitching needs oh at first I thought I had make made a knot already oops I'm humming and whistling while I'm sewing that's okay it's good to be in a good mood while you're doing a project you enjoy oops I went around the leg there we go luckily it comes out easy it comes out really easy nice big holes now threading again I am just about about done with this one and then I'm going to weave in all of my ends and put the backing on you guys these are so darling look at this Mitten they're so cute I mean this little house right here look at the snow on the house how cute is that and the flowers yeah they're darling couple of ornaments in here oh all right so so on this right here for this flower do I do I I'm not sure maybe I'm coming up the wrong way first oh I come back up here fine you're fine you're making another little lazy Daisy on here so that yeah that's in that same okay same little hole all right I've just about got these all stitched and woven in and taking off my tape I have quite a bit of floss left over which will be fun for another project yeah and I did split my threads oh you did mhm I think it looks pretty good I I could have done it either way but uh I think that's probably why I have a little bit of floss left over mhm so I'm going to go ahead and trim that then I have some some of these little threads that I'm just going to kind of lay them all down and then what I'm going to do I'm bring this up here so you can see where there's a little hole for the hanger and on your sticker there's a blunt end where it doesn't cover up that hole so that's a good way to like figure out how you're going to line it up oh yeah and then we'll just pull this off it's a little bit of a it's like a felt or like a velvety feeling stuff but I'm just going to stick this right over it and that is going to lock everything in place for me nice and neat and tidy look at that beautiful that is beautiful isn't that pretty look at that so now I'm going to use one of these I'm going to make a little Loop yeah so both my ends are together and I'm going to put them through I like to go front to back okay so I've got I've got a long piece of of floss and I'm just going to make a loop with my fingers and pull that through to create the little the little hang hang tag oh cute yeah and then you can tie the knot wherever you want to uh create your ornament hanger I think I'll go a little farther down actually there we go you can be more conservative with your floss if you want to I just had to hold my floss out of the way yeah but I got it now now I'm on a roll and I think it's the cutest little snowflake they're darling absolutely darling you guys these are the cutest just absolutely cutest you going to take yours with you on the road I am work on it I'm not going on the road anytime soon but I'll probably take it with me but if I did go on the road we just got back from a trip oh yeah and I would have loved to have had all of these with me like times 10 yeah you definitely would have gotten through them at the beach yeah all right well this has been super fun it's a it's a great little embroidery project something you can do in your in your spare time while you're watching kids or watching TV or riding around in the car road tripping such a great gift too so cute yeah I love it so hope you enjoyed this uh little demonstration on the stitched ornament kits from Kiri press and Missouri Star Quilt Company see you later thank you so much for joining me for this video today I hope that you enjoyed it and that it inspired your creativity and guys we're at almost a million Quilters strong in our community so if you know of anybody that you think might like to join us and learn quilting with us bring them on in put your arm around them and tell them to subscribe to our channel so that we can all learn and and and grow together [Music]

More Holiday tutorials

See all