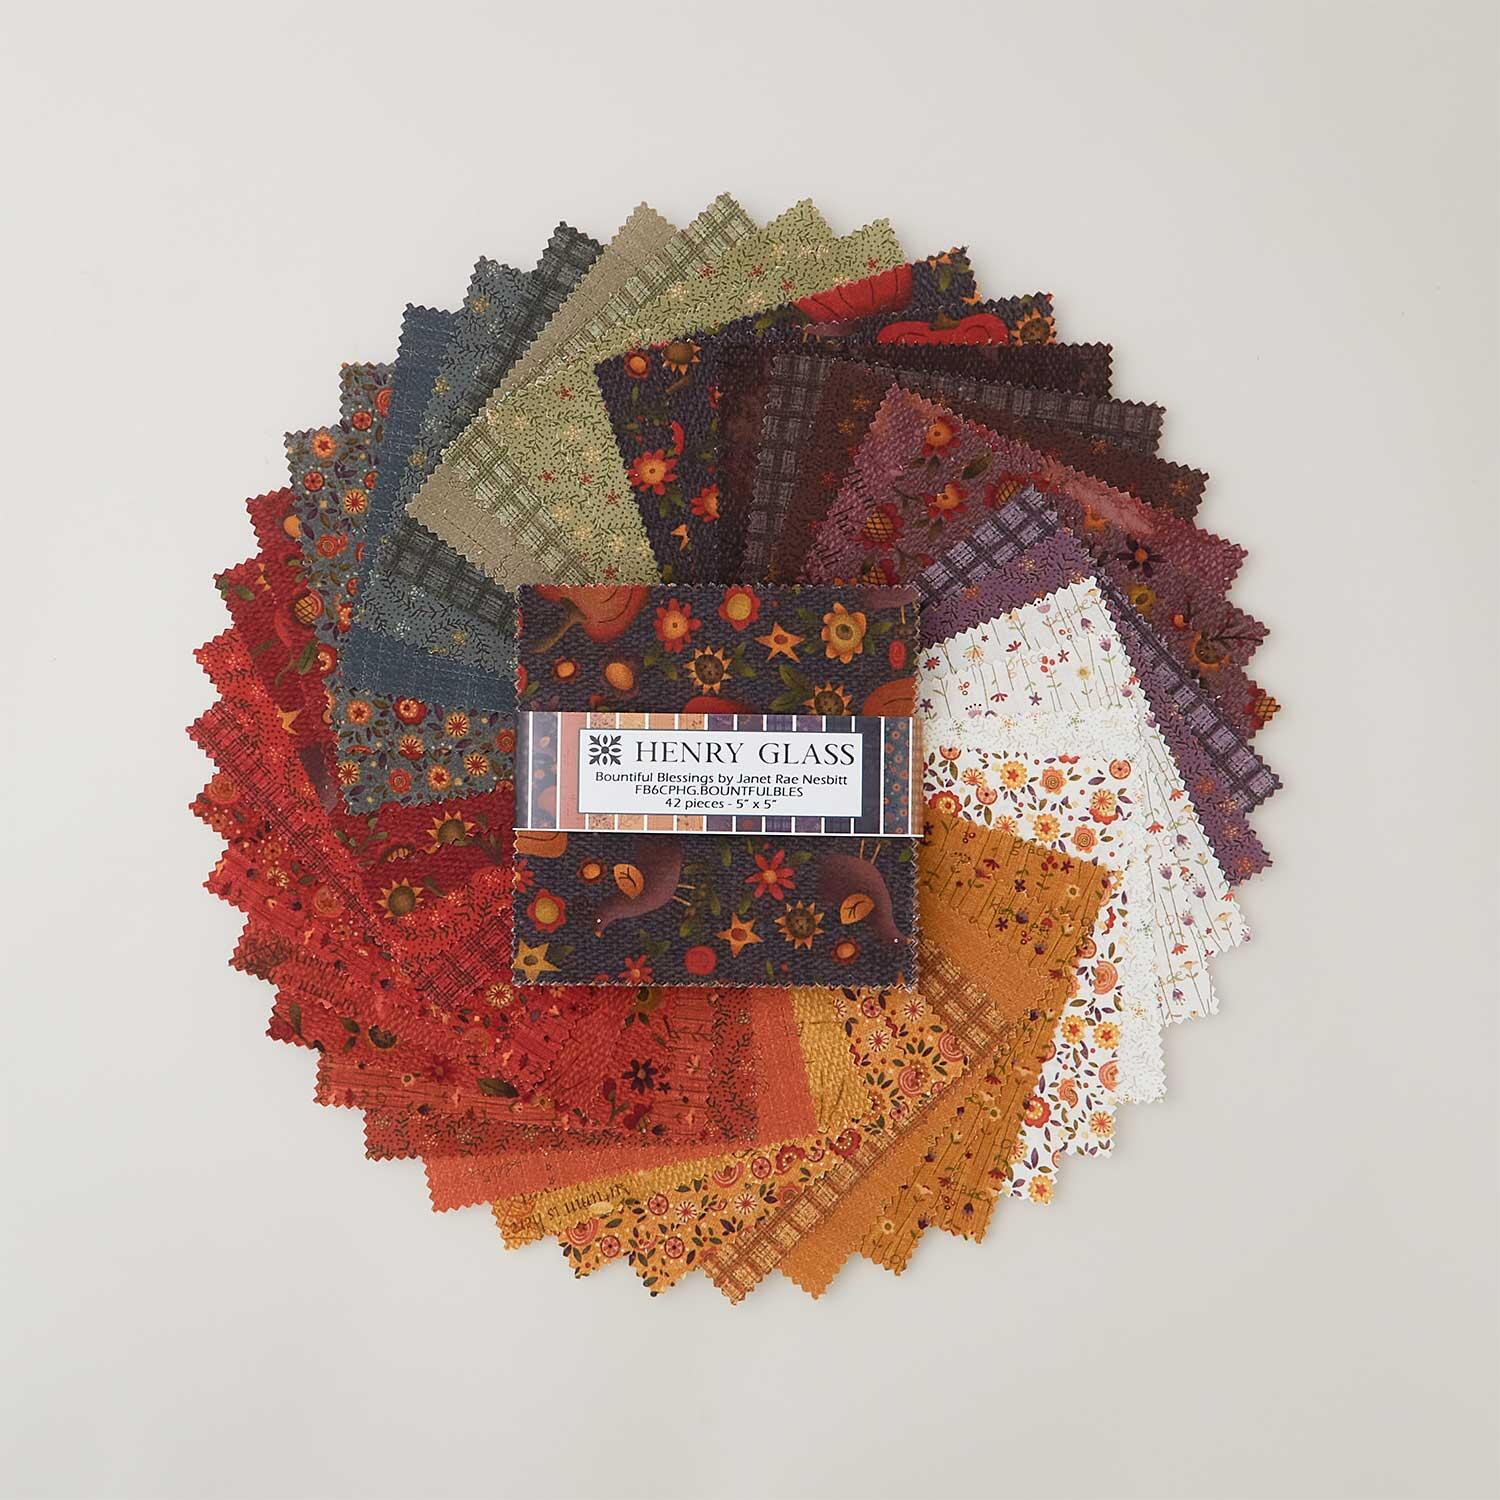
Fall into English paper piecing with an autumn table runner! This EPP project is a fall-tastic way to relax and savor the beauty of autumn leaves. Use diamond-shaped Missouri Star EPP papers and 5" squares from a charm pack to hand-stitch falling leaves that will adorn a runner. We used the adorable Flower Pot Prints charm pack Kim Diehl created for Henry Glass Fabrics. Perfect for your Thanksgiving table and throughout the fall season.
Misty Doan grew up surrounded by sewing and quilting. She loves spending time sharing tutorials each week each week, and when she’s not stitching up one of her fun sewing projects for home decor, most likely you’ll find her hanging out with her husband and three awesome kids or working on a house project.
What is covered in Falling Into English Paper Piecing Table Runner?
Fall into English paper piecing with an autumn table runner! This EPP project is a fall-tastic way to relax and savor the beauty of autumn leaves. Use diamond-shaped Missouri Star EPP papers and 5" squares from a charm pack to hand-stitch falling leaves that will adorn a runne...
How long is the tutorial video?
The tutorial video is 00:19:32.
Are supplies listed for this tutorial?
Yes. The tutorial page includes the supplies and materials connected to this project.
Video Transcript
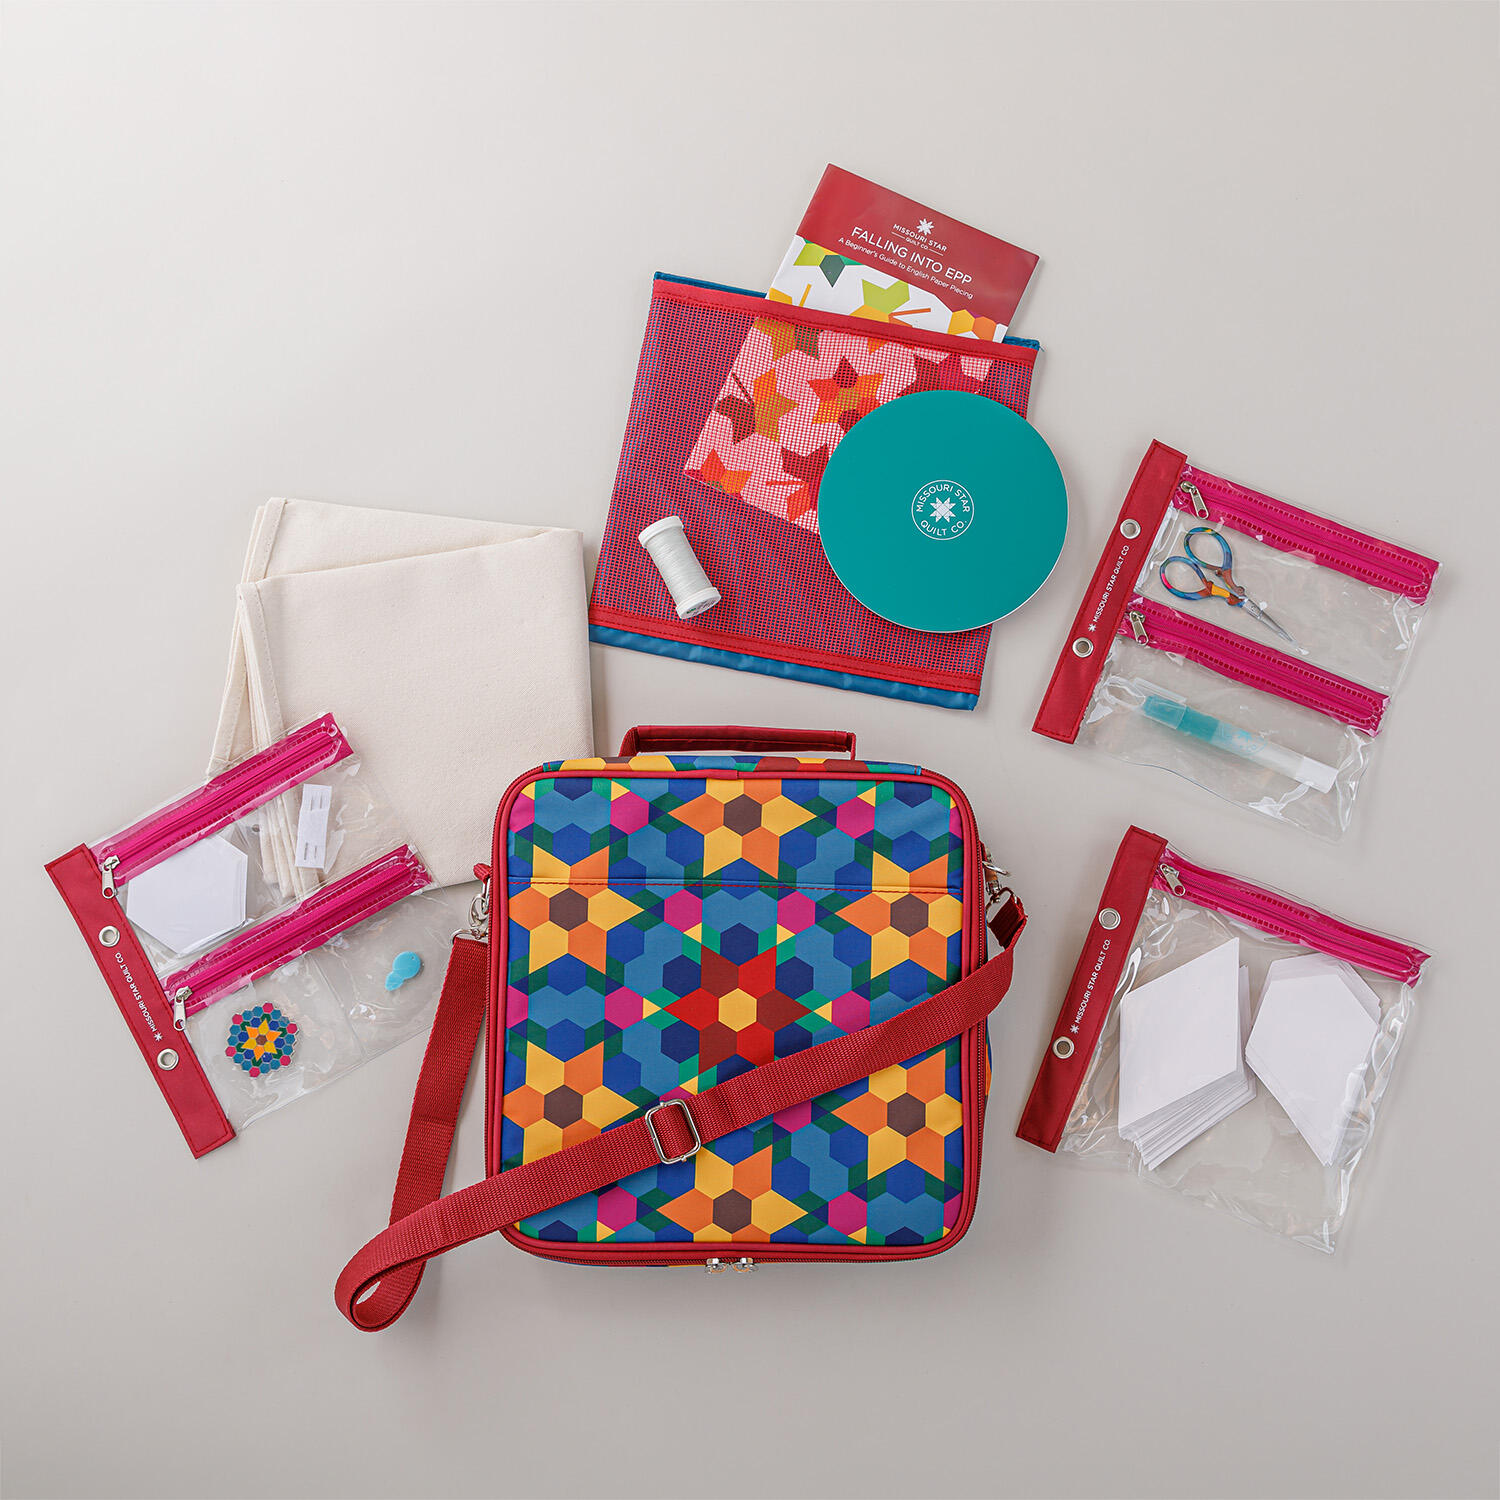
Hey everyone, we have reworked our intro to EP kit and I have some new projects to share with you using it. So, let me show you what's inside. So, I know I have shared our intro to EP kit with you before, but we've refreshed some things and brought in some all new projects. And so for those of you who have not given this a try, I think you're going to be so excited about everything that's in here. So, let's go ahead and open up the kit because today we're going to be making this leaf table runner. And everything you need is inside this kit except for the fabric of your choice. And so I'm using these adorable 5 in squares. They're called flower pot prints by Henry Glass. But of course, you can choose whatever fabric you'd like uh to make this project for yourself. Everything else is all in here. So, let's go ahead and open it up and talk about what all we have. So, first things first, it's this great little carrying case that has all these pockets and organizers to keep your project contained as you're working on it, which I love. It includes the pattern, and this actually has three different projects. both of the runners you see behind me, the leaves, the stars, and then there's also a wall hanging that's included in here. So, you can take your pick and it will specify what supplies you need, exactly how many 5 in squares depending on which project you're making. And then, as we keep going, this little zipper pouch has all of our different paper shapes. And so, there are three in there. We have these diamonds like you see here. We have some little hexis and then this kind of kite or petal shape. Those are the three that come in the kit. And so in your next little pouch, we have your needles and needle threader as well as a needle minder. And I just think this is so cute. Let's go ahead and pull this one out so you can see it. It has this fun uh pattern and you can technically make this using all of the shapes that you have in the kit. So, super fun. You can kind of clip this to your clothes or the fabric that you're stitching on to uh keep your needle handy while you work. So, I'll set that aside. And then our last little pouch has our glue, our thread, and some little snips to use for the project. I'll go ahead and pull out the glue. I've already threaded a needle, so we're ready to go. So then the next thing in our kit is this prefinished canvas runner blank. And so this is what we can use to actually stitch our EP shapes on to make this leaf runner. That's exactly what I've done here. And then the final thing in our kit is this little rotating mat, which makes it helpful if you want to use a rotary cutter to cut out your fabric shapes. So, let me show you how to get started with some EP. So, EP at its core is using paper templates to wrap your fabric around to create different shapes. And so, to make the leaf runner that we're making today, we're going to use just the diamond shapes and we're going to sew them in sets of five like you see here. And so I prefer to glue based. There's also instructions in the pattern if you wanted to thread based and that would look something like this where you would do a running stitch to hold all of those pieces together before you add it to uh your final project. Either way works. So don't be afraid to try it out and see which way you like better than the other. But today we are going to glue based. And so I'm just going to pick one of my fabrics here. Let's use this one. That's pretty. And so I'm just going to use my little rotating mat I have here. It just spins a little bit. And I'll set my fabric on here. And I'm going to use my paper as a guide for cutting out this shape. So I like to have my little 2 and 1/2 by 8 in ruler handy because I want to have about a half inch overhang on all the sides of the template. So, more than your usual quarter inch because we don't want to run the risk of this fraying. And if you are worried about this shifting while you're cutting, you can use your glue stick first. Put a little strip of glue down the middle. You don't need much. And then I can set that back in there. And that'll keep that shape from sliding around as I'm cutting it out. So, now I'll come back in on this side. And we're going to cut on all four sides. leaving about a half an inch. You can do 38 if you want. Just whatever you're comfortable with. Slide that up a bit. There we go. And one more little spin here just to clean off this bottom edge. And another thing I like to do on these sharper points of these diamonds is I like to take my ruler and set it this direction and trim off some of this bulk because I don't need all of that in there. So now I'll just cut this little bit off. And now we have our shape cut out of our fabric and we're ready to use our glue to base around this. So, I'm just going to do a little strip of glue, not all the way out to the edge because I don't want that in the way when I go to hand stitch this later. And so, you can see I'll just press that down. It sticks nicely to these papers. And these papers are a high enough quality that you should be able to reuse these. So, I'm going to go ahead and tuck my little point down and fold those over. There we go. And I'm just going to keep making my way around my shape. I'm going to go back. I forgot to tuck this little point first. So, I'll add that there. There we go. And by tucking in those first little points, then my diamond has nice crisp edges. Whereas you can see on this one, we didn't tuck it in and you'll have those little tabs that hang over, which you can still work with. You'll just fold them under when you go to stitch this in and tuck them out of the way. But if it bothers you, that's a great little technique. um an option to keep them out of the way. So now let's talk about stitching these together because all of your shapes, whether you're using the diamonds or the kites like we mentioned or the hexagons, are basted in the exact same way. You just make your way around that paper. And so I have some more of these little diamond shapes ready to go. And we just need to stitch them in sets of five. And so there's a couple of things you can do here. We're just going to put them right sides together. You can either use your needle minder, which I have here, right on here to hold your shapes together. But for me, that's a little heavier than I like. And so I just like to use these little clips and have that hold my shape together so I'm not fighting with that while I'm stitching. And then I use the needle and thread from the kit. And I like to have just about the length of my elbow. So, nothing too crazy because you don't want to have to be pulling too hard. And so, I went ahead and knotted, whoops, the end of that with a nice double knot. And then to begin, I am just going to tuck this in behind my fabric so that my knot is hidden. And then we are basically just doing a simple whip stitch or ladder stitch. You want to take tiny stitches only grabbing those few threads of fabric that are on the outside edge of your paper and just stitch really close together. I'm using a nice like soft gray silver because I feel like that kind of blends in with everything that's what we put into the kit. But if you feel like you need to match your threads, you could absolutely do that. And we're just going to continue. Whoops. It's harder to do this when I'm trying to show you on camera. We're just going to continue in that same way, keeping our stitches really close together so we don't have gaps in between until we get all the way down the edge. And so I'm going to go ahead and stitch on this a little bit and let you watch and I'll meet you back here when it's done. We're knotting this off. Now I've come to the end of my straightaway. So I'm going to just put my needle in until I have a nice loop that I can put my needle back through. And I'm always going to knot this at least twice. So I'll do that same thing again. Put my needle through. Pull that tight. And then I always kind of tuck my thread back into the back side. Pull this back. And then trim that off. Whoops. Just like so. All right. And so we are now done with that straight away. We've stitched two of our shapes together. And you can see how nice that looks. It is really that simple to do English paper piecing. And once you get the technique, then you get to use all of the different shapes. I'm going to walk you through the leaf runner today. So, all you're going to do next is keep adding until you have five of these diamonds sewn together like you see here. And so, I've gone ahead and done that part. And before I get into making the stem, let's just touch on the different shapes in the kits because that's how you're going to make these uh kind of diamond stars and these kind of petal stars in the secondary runner. And so the same diamonds, you just add an extra one of that to make your solid star like you see here. And then for these petal shapes, you're going to put one of your hexis in the middle. And when you start stitching these, you'll stitch the straight side of your petal to your hexi. And then fold that back. And then you can stitch one after the other after the other. Now, the question a lot of people get when you have these Y seams and you're joining them together, because you have the template paper, you just fold them and make it behave and go where you want it to go and use your clips to hold those in place. So, let's use this one as an example, right? I've already stitched these two. Let's say for some reason I wanted to add a hexagon over here. So, I would stitch this side first. And I'll use my clip to pretend like I've stitched it. And then I'm just going to fold this back and make it behave until it lines up on that other side. And that's what you're looking for. And you'll have to do that a lot as you're working with EP, but that's the process. So, just trust it. And once you get all those stitches in place, you'll be good to go. And so for these, like I said, hexi in the middle. You're adding your petals all the way around. And you'll have six of those until you stitch it together for that beautiful finish. And so you only use those ones in this secondary runner option and the wall hanging. So let's jump back to finishing up our leaf. And to do that, we're going to make our little stem. So I'm going to clear all this off and bring my sewing machine back in here. and I'll show you how to do it. So, you're going to make six sets of these five diamonds for our scattered leaves on our runner. And then the next step is to go ahead and make our little stems. And so to do that, we're going to also use our 5 in squares. And we're going to cut some 2 in x 5 in rectangles. So, I have one ready to go here. And the first thing we're going to do is take this over to our pressing mat. And we're just going to turn one of the ends under a quarter of an inch and press that back. So that is step one. And then the next thing we want to do is turn the two long ends under. Sometimes you have to hold it a little bit so it'll really set that fold that you're pressing in place. We'll turn around and do the other side. And this is going to enclose all of our raw edges so that when we attach this to the runner at the end, it'll be all all finished seams for us. And so now I'm just going to press that in half again. And this will give us our stem. There we go. And so then the thing that we want to do is we're going to top stitch and make like a little U on this. So we'll go down one side, across this bottom, and back up at the top. So, the only place we have raw edges is at this little end here that will tuck under our EP. So, I'm going to go ahead and take this to the machine and we're just going to stitch as close to that edge as we're comfortable. Making sure that we can close up this open end first. And then as I get close here, I'm going to make sure I can put my needle down one more. There we go. Then we'll pivot and then back up this other long side. There we go. You can see how easy that comes together. Super super simple. And so now that we have our stem pieces and our leaves, we're ready to go ahead and add this to the runner that comes in our kit. And so, like I said, this is a finished canvas. So, the edges are already rolled under and hemmed for you. And so I just am going to start in the middle here. Make sure that's the center. It was actually folded straight. Yes. And I'm going to begin by adding my first leaves just kind of every which way there in the middle. And so then I'll tuck my stem under the me middle of that. Slide this down a bit. because on this particular runner, we're just putting them back and forth however we want. There's really no right or wrong. And so once I have a visualization here, one thing I forgot to mention is you actually want to remove those papers from your EP. And so to do that, you're just going to pop that glue and they just slide right out. And because they've been basted so long, they stay folded under and you don't have to worry about that. And so you just go around, take out all those papers, and you can reuse them again if you'd like. I feel like you can usually get at least two projects or two uh shapes out of each paper. Sometimes after two, they get really rumpled. So, we'll just pop these loose here. And one more. There we go. And so now I'm ready to add this to my runner. I'm going to put some pins in place to hold my shape down. You could absolutely just use your glue if you wanted from the kit as a temporary adhesive, but I want to make sure this is going to lay nice and smooth. So, we will just pin this down. And then the last thing is going to be just to top stitch all of this in place. And you can either do that by hand if you want, or you can top stitch it on your machine using either an invisible thread or a contrasting thread, whatever you'd like. Couple more pins here. And one on my stem. There we go. And so then now as I take this to the machine, I just make sure all these little points are tucked out of the way. And I would just start on a stem and go all the way up and around. I'm not going to top stitch it today because we're going to go ahead and look at the finished one on the machine. So I've just used a blanket stitch with invisible thread on my machine. Hopefully you can see that there. But the whole point is it kind of just disappears. And obviously, like I mentioned, you could stitch this by hand if you'd prefer, but hopefully you guys will give EP a try because it is so fun. It's great to take on the go. And I always find it just really delightful and surprising at how quickly these blocks come together. So, hopefully you enjoyed this tutorial on falling into EP. And I'll see you next time on at home.

 Misty Doan