Take your quilting up a notch by adding embroidery! Misty uses our Favorite Things Embroidered Charms to add adorable embroidered images to quilts. The blank spaces on the quilts provide the perfect backdrop for stitched motifs!
Misty Doan grew up surrounded by sewing and quilting. She loves spending time sharing tutorials each week each week, and when she’s not stitching up one of her fun sewing projects for home decor, most likely you’ll find her hanging out with her husband and three awesome kids or working on a house project.
What is covered in Favorite Things Embroidered Charms Quilt?
Take your quilting up a notch by adding embroidery! Misty uses our Favorite Things Embroidered Charms to add adorable embroidered images to quilts. The blank spaces on the quilts provide the perfect backdrop for stitched motifs!
How long is the tutorial video?
The tutorial video is 00:12:23.
Are supplies listed for this tutorial?
Yes. The tutorial page includes the supplies and materials connected to this project.
Video Transcript
Hey everyone. I have a super special project to share with you all today. This is the quilt that was on my bed as a little girl and it's, you know, been well loved through the years. It has all these adorable little I spy embroidery squares on here and I loved it so much. It was given to me by my great aunt Lynn and it was made for her by her mama. And so I thought this would be a perfect project to recreate and share with all of you. And so we have a brand new kit called Favorite Things Embroidered Charms. And I'm going to show you how to make it. [Music] [Music] So this is the new quilt that I designed inspired by that original one from when I was a little girl. I'm calling it Favorite Things Embroidered Charms. And I absolutely love how it turned out. I just can't get over all of these cute little designs. the little bicycle, the rubber duck, the bluebird. It's just all so sweet. And every time I look at it, even though I've seen all of them, another fun design pops out at me. It's just the best. So, to make this project that you see behind me, this is actually the small throw. The pattern has three sizes, a baby, a small, and a large throw, but we're going to talk about this one. So, you are going to want to grab one roll of 2 and 1/2 in strips. And I used this beautiful wallflower by Tilda. It's absolutely gorgeous. You're also going to want to grab two packs of 5 in squares. And of course, you're going to want the favorite things embroidered charms kit. And so that is this. And I can't wait to show you all of the magic in here. I am a child of the '9s, so I love a trapper keeper. And I absolutely love how this came together. So when you open it up, first of all, we have our pearl cotton here in the assorted colors that match our project. And there are grommets here. So the thread just feeds through and it keeps everything nice and organized. This was like a dream for me as something I wanted and we were able to make it happen. And so then also you have your little hoop. I went ahead and put my 5 in square in there. You see how perfectly it fits. You also have a small pair of scissors. a couple needles, a needle threader, and a needle minder. And so it all just fits in here so you can take it on the go. And then when you look at this peel and stitch book, it has basic instructions in the front as well as well as color guides for all of the designs using the pearl cotton that you see here. And then at the back, these are all preprinted on your peel and stitch. So you can just use your scissors and cut out the designs that you choose. So so fun and it's easy to customize for you or for whoever you're making this for. So let's go ahead and get started. All right. So first things first, we are going to grab one of those 5 in squares from our pack and we are going to put that into the hoop so it fits in there just perfect and it's nice and tight. That's what we're looking for. And then we're going to flip through our book and choose one of the 96 patterns to get us started. And I just grabbed this adorable little tic-tac-toe. And so then we will peel off the paper backing. And we are going to just center this up in our hoop. And it has a temporary adhesive on it just like so. And so I went ahead and I just put some black pearl cotton onto my needle and I knotted the end. And so the thing that I love about all of these embroidery designs is they are so beginner friendly. So this is a great project for you to do with your kids or your grandkids and to truly make memories together and create a family heirloom because the majority of these designs are just simple outline stitches. And so you can feel free to elaborate and make this more uh in-depth, add some satin stitching details if you want, but we just wanted it to be approachable and easy. And so let's get started. I am just going to start outlining this little stitch here. And then I will come up and do a back stitch. to outline these lines. And I think because it's all outline work, you will be so pleasantly surprised at how quickly these come together. So, just take your time. I'm getting ready to go on a trip and I'm going to bring this with me and stitch on the plane. It's just so fun and so easy to bring with you and you'll be pleasantly surprised at how soon you have this adorable stack of all these different embroidery patterns ready to go. And so then once you finish your design, you're just going to keep stitching all the way to the end. And then this is super cool because you'll just pop it out of the hoop. And once you do that, you'll actually soak this in water and the stabilizer will wash away and it will leave just the stitches behind. So super cool. I have one that I have already rinsed here. Let me move all this out of the way for now. Look at this cute little jelly jar. Is this not the cutest thing you've ever seen? Like I said, every time I see one, I think I like it even better. And so once we have them uh rinsed and we have just our stitches left behind, now we need to trim up these squares to 4 and 1/2 in to fit into our quilt. And so even with a little bit of shrinkage, when you wash that away, you have plenty of room to trim these. And so I am just going to lay my little ruler on here and clean up the edge to start on these two sides. Beautiful. And now I can rotate this. And I'm going to make sure that I'm lined up on four and a half inches. And then cut out my square. And sometimes those stitches do make your ruler kind of want to pop up in the middle. So you just want to have a good sturdy grip away from where you're trimming so that you don't have any shifting. But there it is. It's all trimmed and ready to go. And so now these blocks are so so simple to make. We are going to take one of our strips. And I decided to use these ombre brights. We have a couple uh different ombre packs that we made up just for this project cuz we thought they'd be cute. We have this brights collection and a pastel. So I'm going to do this one in the brights. And so for each block, you're going to need a 2 and 1/2 by 4 and 1/2 inch rectangle and a 2 and 1/2x 6 and 1/2 in rectangle. So I'm going to start by cutting off my salvage here. There we go. So the first cut is going to be 4 and 1/2 and then a 6 and 1/2. And I would just cut up all of my strips and just mix them up because I want the whole thing to be scrappy. So, I'm just going to cut a few. And I have a few different colors ready to go already here. Me move some of this out of the way. There we go. So, I'll give this little one a press and we'll just add these to my stacks that I already have. There we go. And so now the trick with this quilt is you're making the same block, but you have to orient your strips differently. So, it's like just slight differences so that we can get this kind of spinning effect. So you can see I need one more block that's going to be bordered on this side. So I think I'll add a yellow. No, maybe not yellow because it it's going to match with a yellow here. How about this dark blue and this kind of coraly color would be nice. So we'll start by adding this strip to the bottom. This is our 4 and 1/2 in rectangle. And I'll just finger press this back. And then we'll add this strip to the other side here. Perfect. All right. Now, let's give this a press. And just like so. That is how easy these blocks go together. So, the only thing you do need to be careful of is that you're making equal numbers of each of these orientations of adding your strips. and it'll tell you depending on the size you choose how many of each one you need to make. But this is what allows this layout to work and allows all of these embroidered charms to be facing upright um as you continue with the layout. So, let's look at the quilt behind me. You can see here, here's our four little charms that come together in the middle. And then, how is the easiest way to show this? This little guy sets in so that they continue to be upright. And this little guy comes in on the other side so that they continue to be upright. And so you just follow the layout in the pattern and it will give you the diagram to lay all of these out and have everything facing the way you want. But it's such a simple block and simple quilt to make. All right. So, to make this super clear, to make the small throw that you see behind me, you're going to make 12 blocks in each of these orientations, and you'll be able to do this layout. Now, remember, there's three different sizes. So, if you want to do the baby size, which I have right here, you would make four of each direction block. So, I'll give you a little bit of time to just look at how cute this turned out. I love it so much. So, that is the baby size. And then if you wanted to tackle the large throw, it looks like this, which is so fun. And so the thing that I love about this pattern is it gives you all of these options to decide how ambitious you're feeling to tackle this project. Whether you want to make the baby, the small throw, or the large throw. You can decide how much embroidery you're feeling up for. But regardless, you're going to have this beautiful project that's going to be an heirloom that you will treasure for years to come. I absolutely love how this turned out. It means so much to me and it meant so much to me as a little girl to have a handmade heirloom that I got to look at and love every single day. So, I hope you all will give this project a try. I really love it so much and it has been so much fun to design and put all of this together to share with you. I can't wait to see the versions that you make. And until next time, have a wonderful week and I'll see you on at home. Hey everyone, thank you so much for watching at home. We're so excited to be almost a million quilters strong here at Missouri Star. And so if you haven't already joined our family, be sure to subscribe and hit that notification bell so you can be notified of all of our future tutorials. And we'll see you soon. [Music]

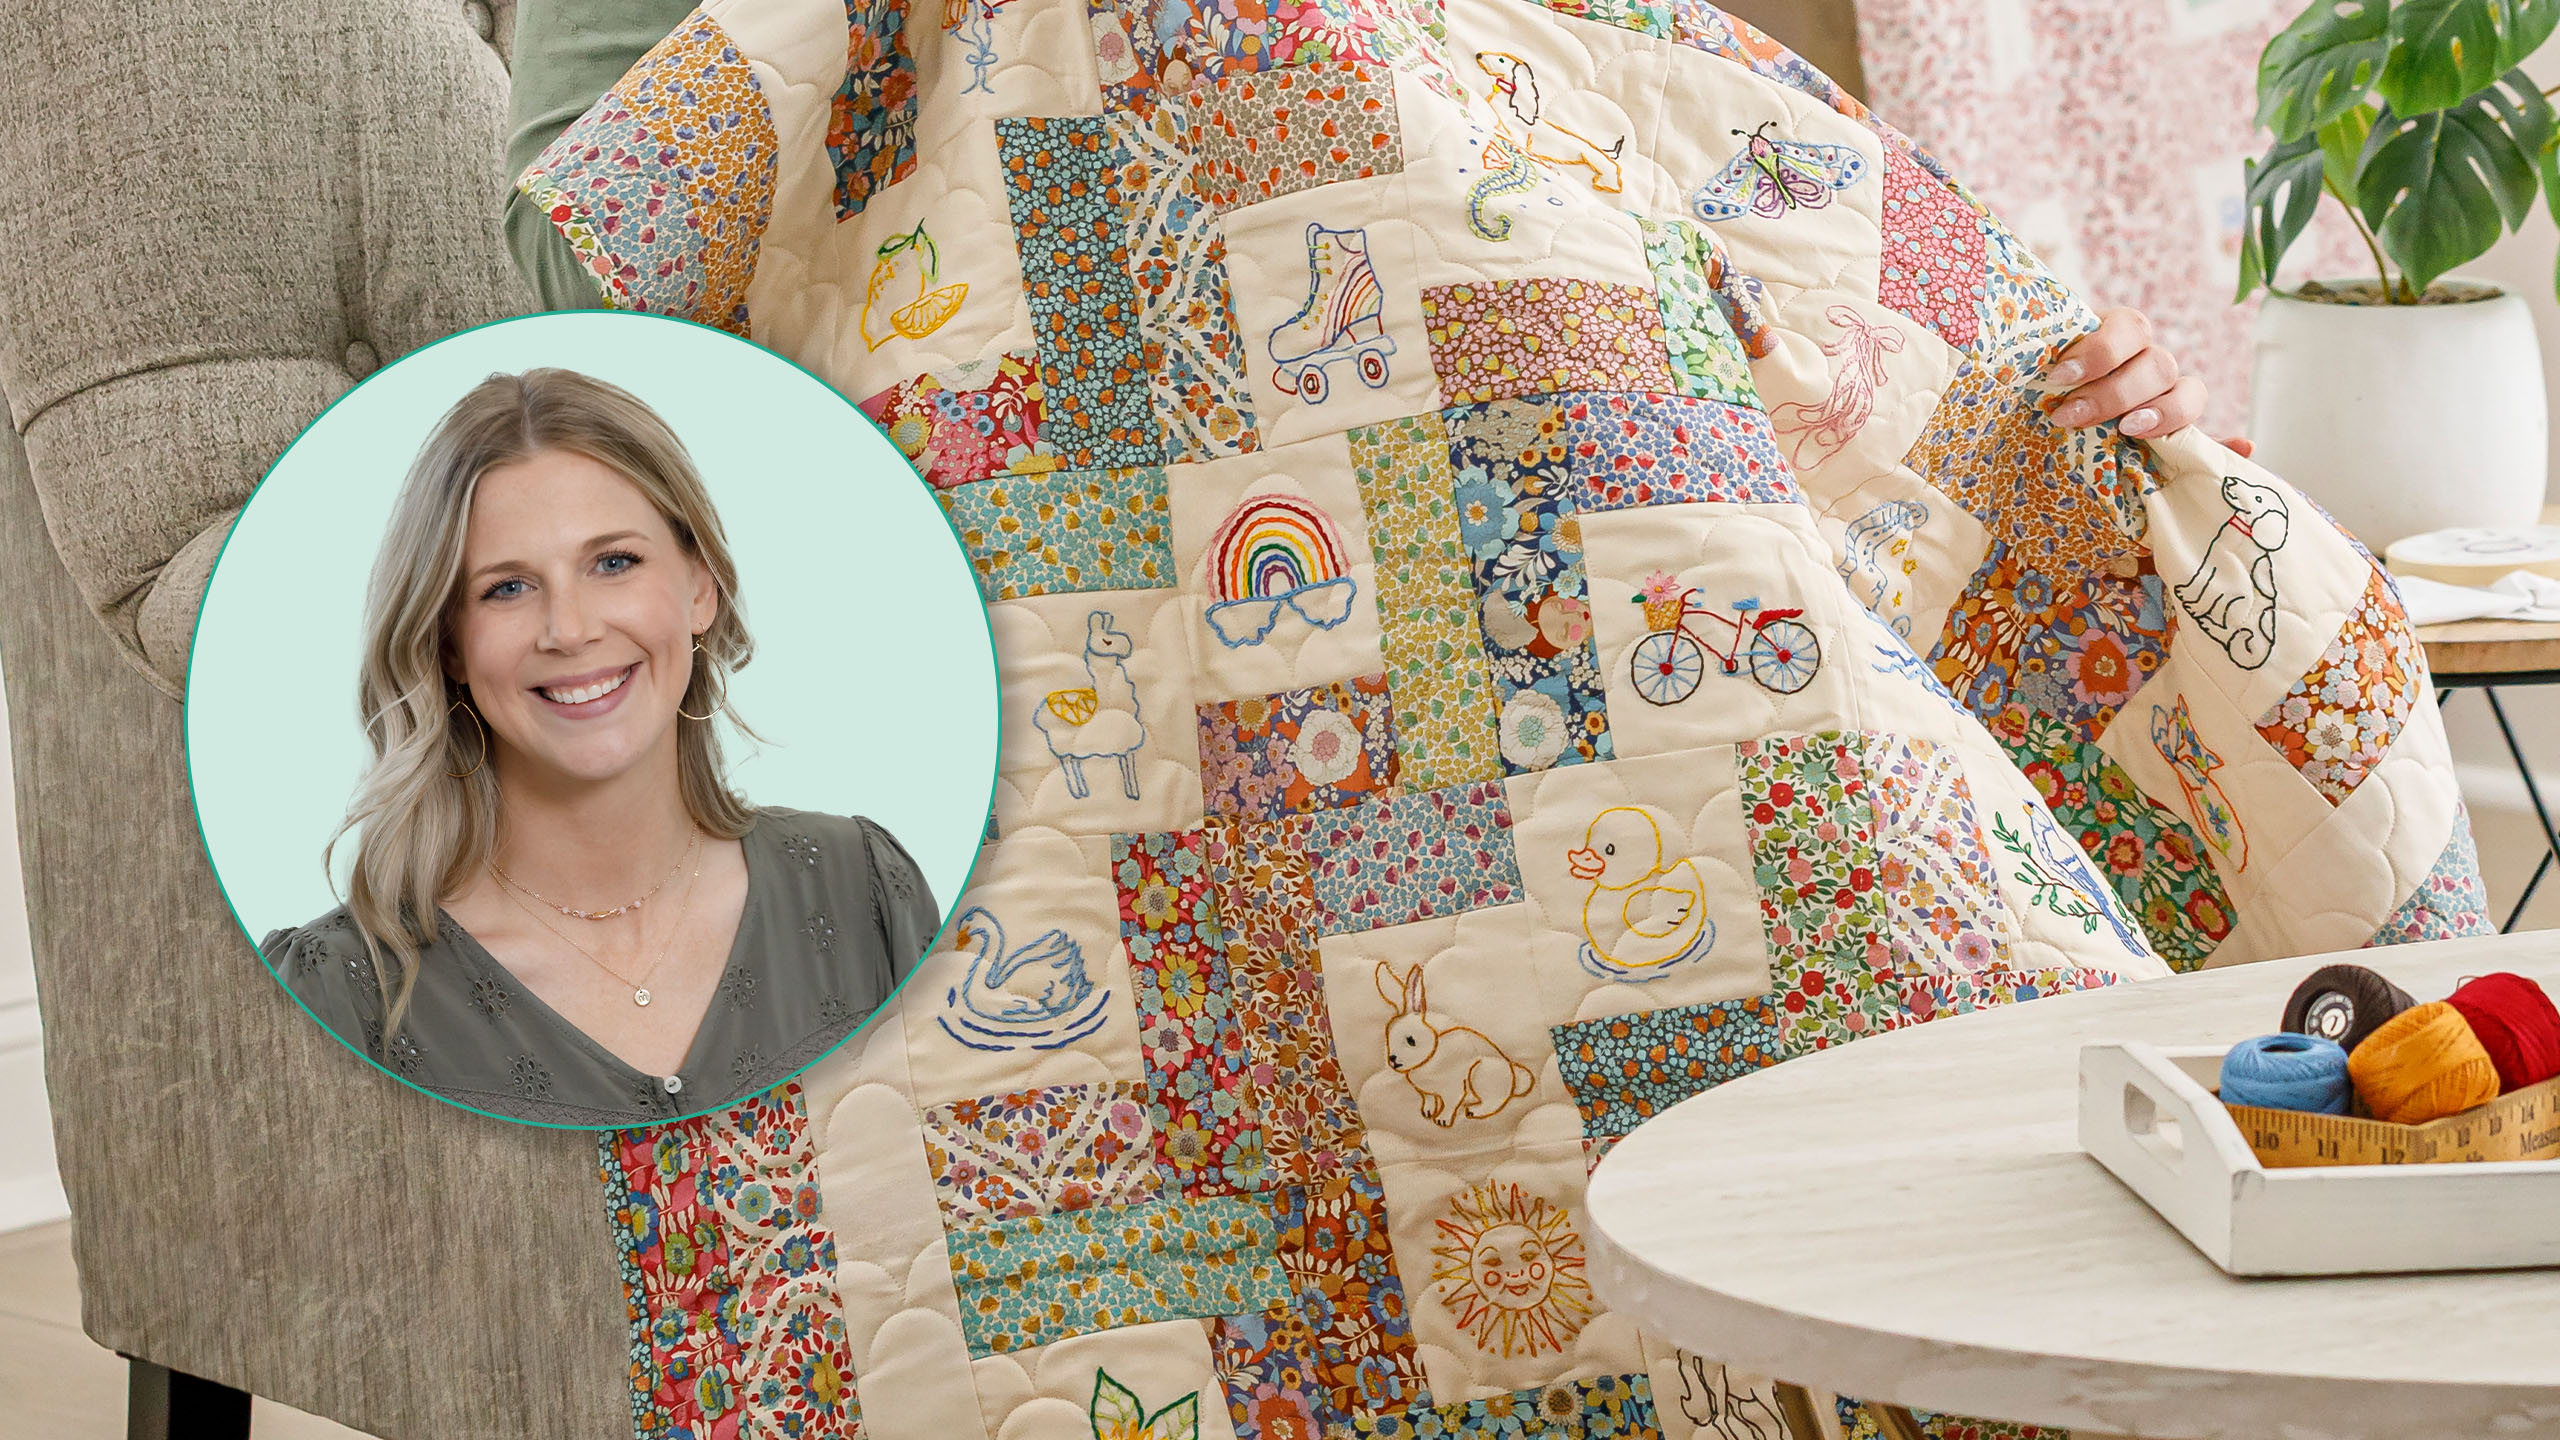
 Misty Doan
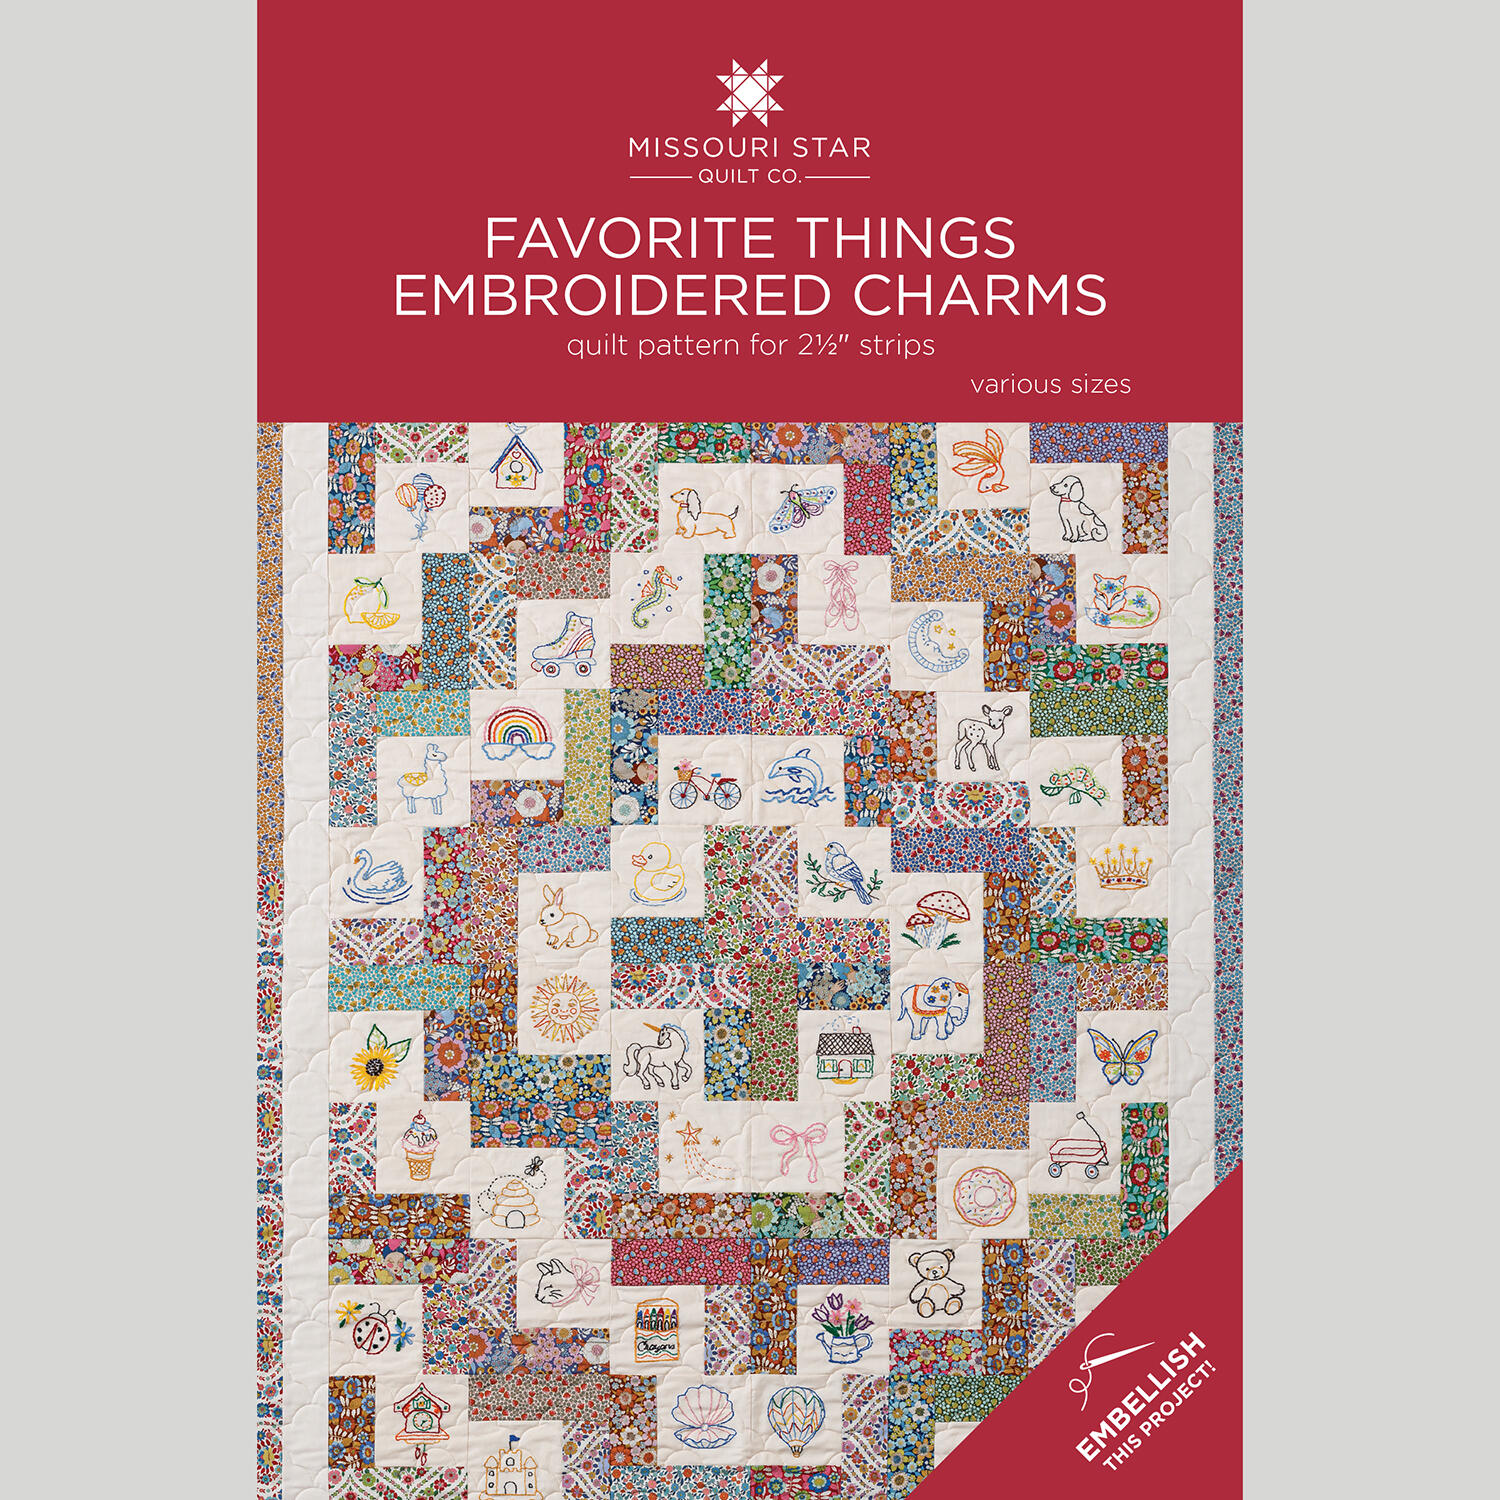 Favorite Things Embroidered Charms Quilt Pattern by Missouri Star$8.50Shop →
 Digital Download - Favorite Things Embroidered Charms Quilt Pattern by Missouri Star$6.95Shop →
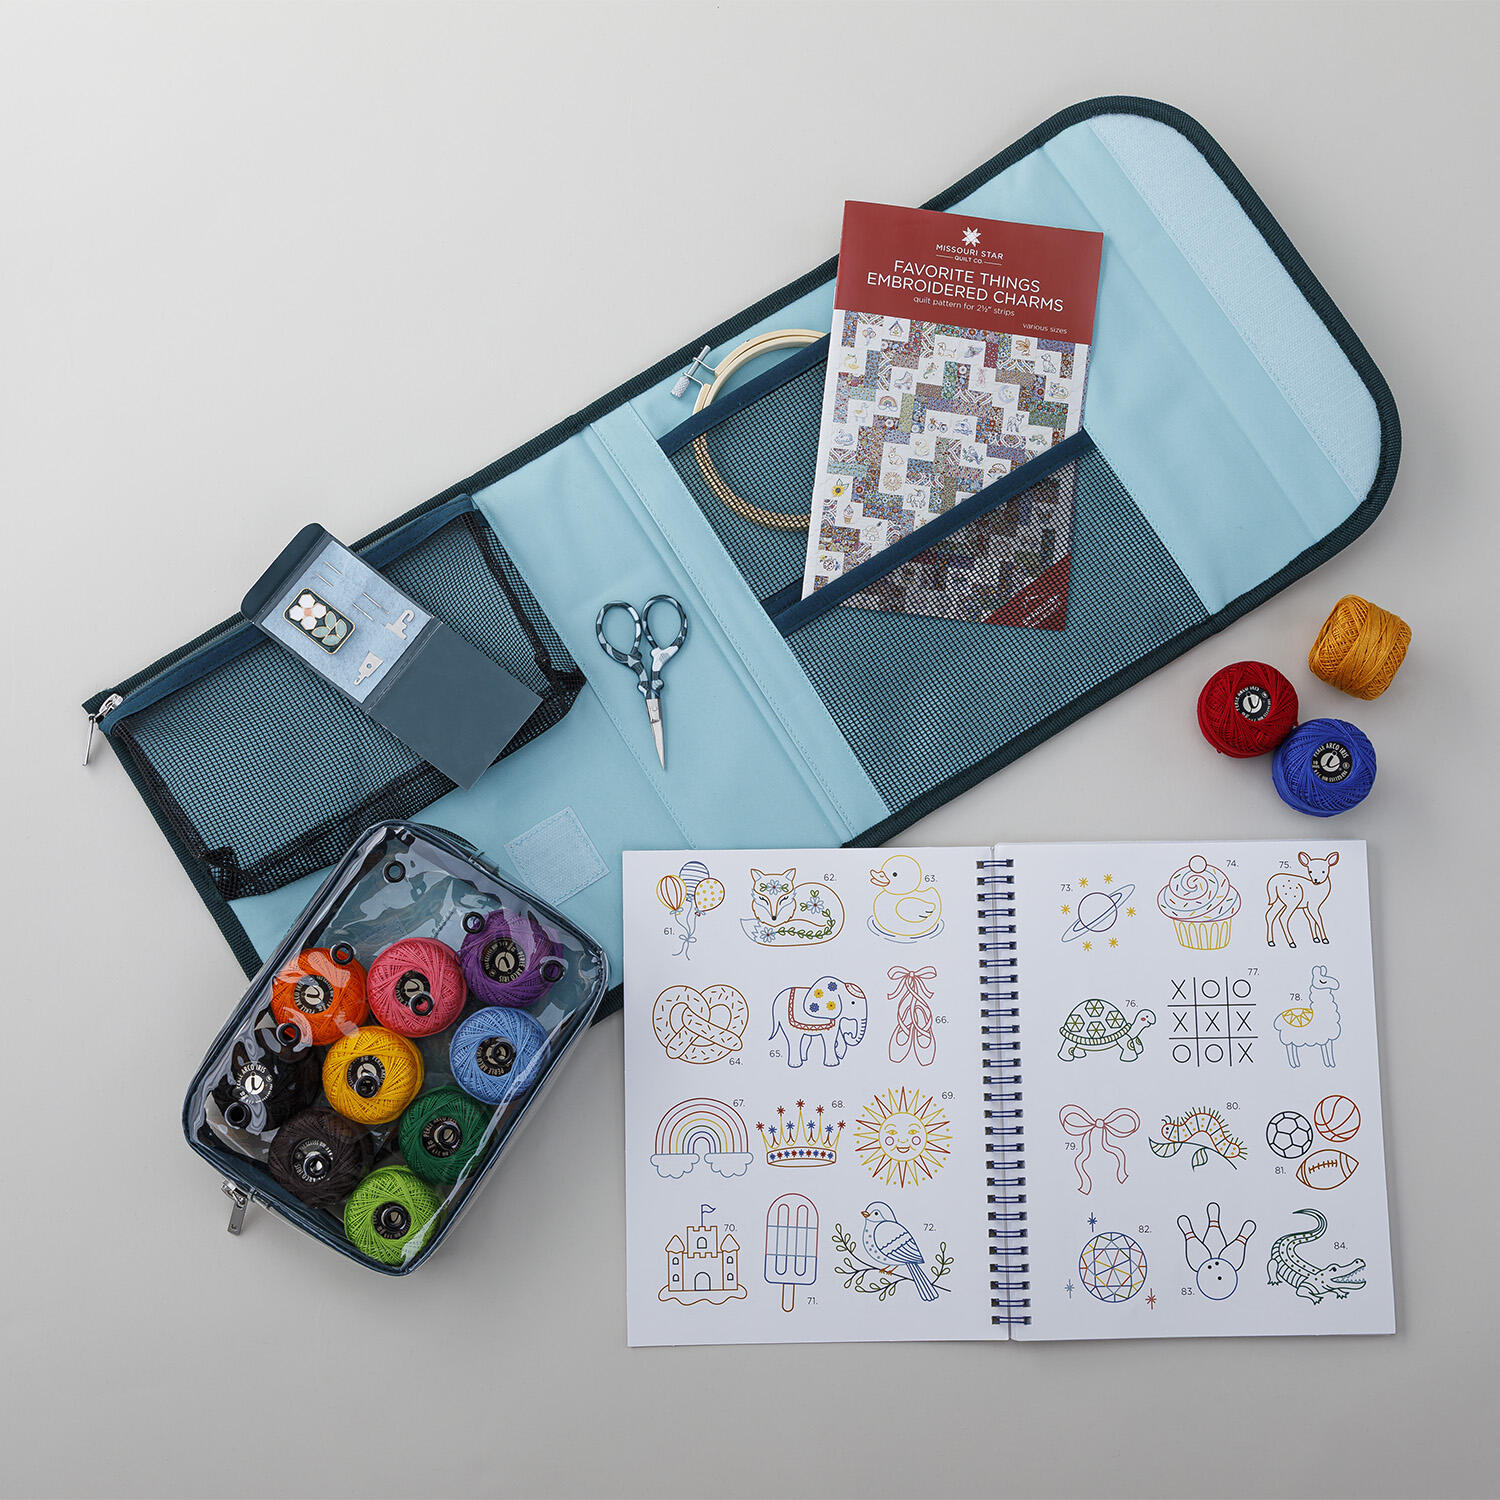 Missouri Star Favorite Things, Embroidered Charms Kit$59.95Shop →
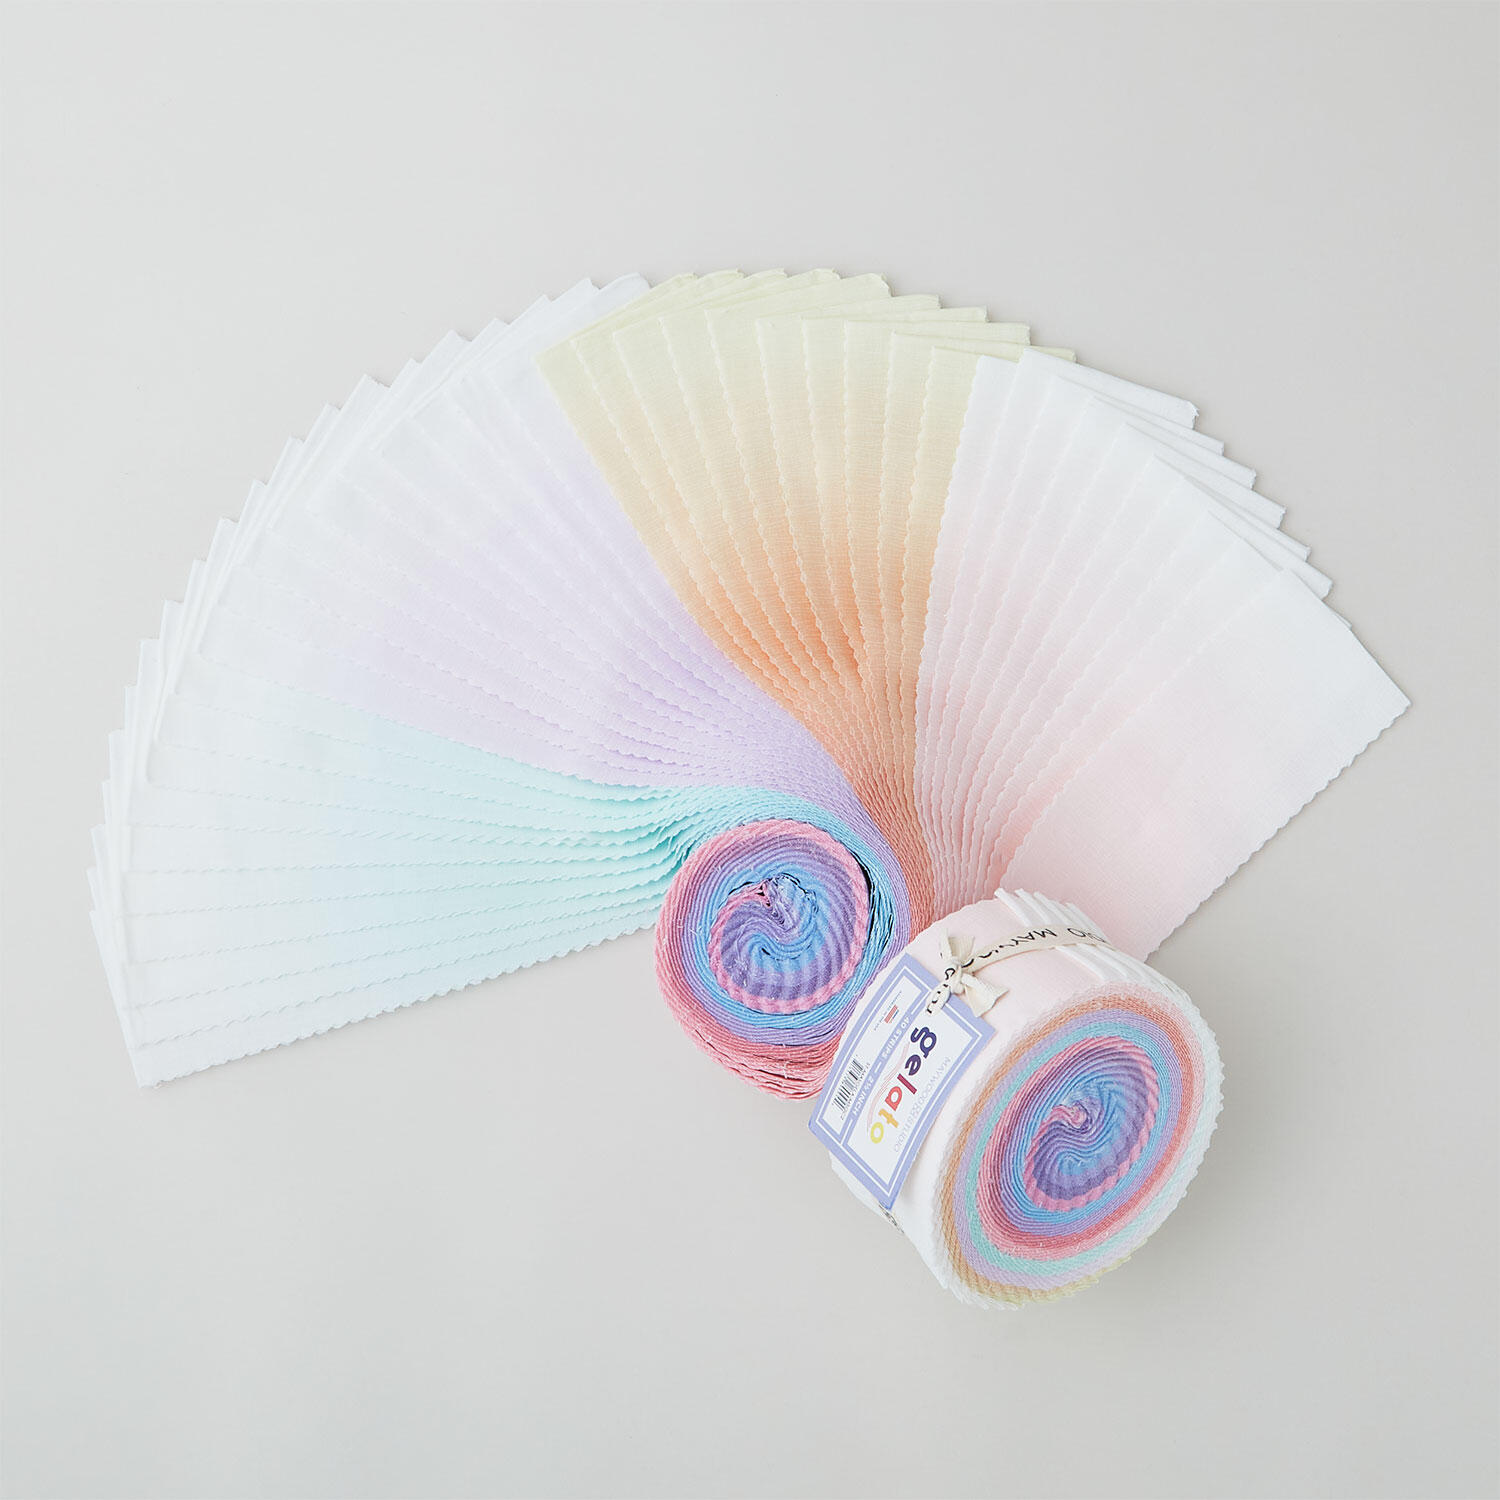 Gelato Ombre Pastel Whisper 2 1/2" Strips$48.95Shop →
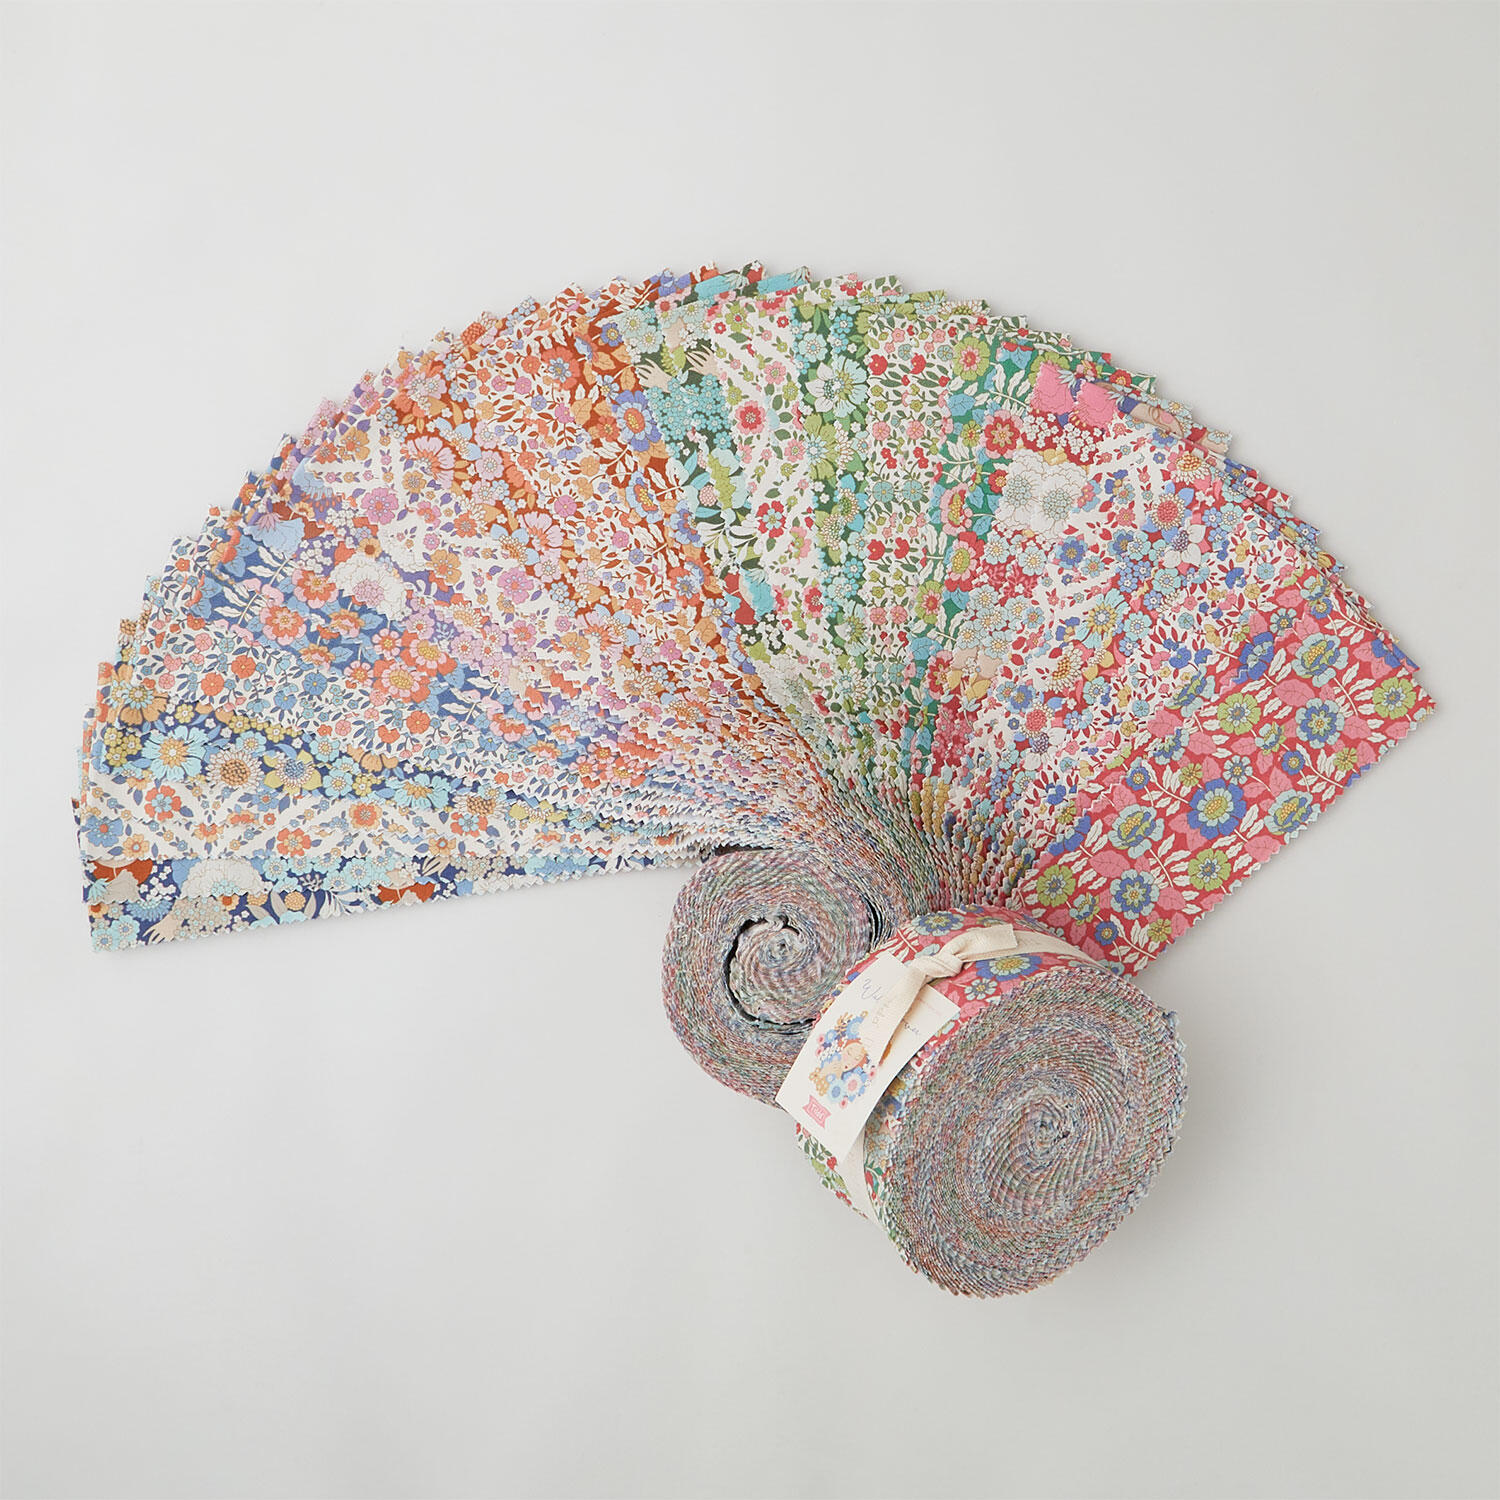 Wallflower Fabric Roll$72.30Shop →
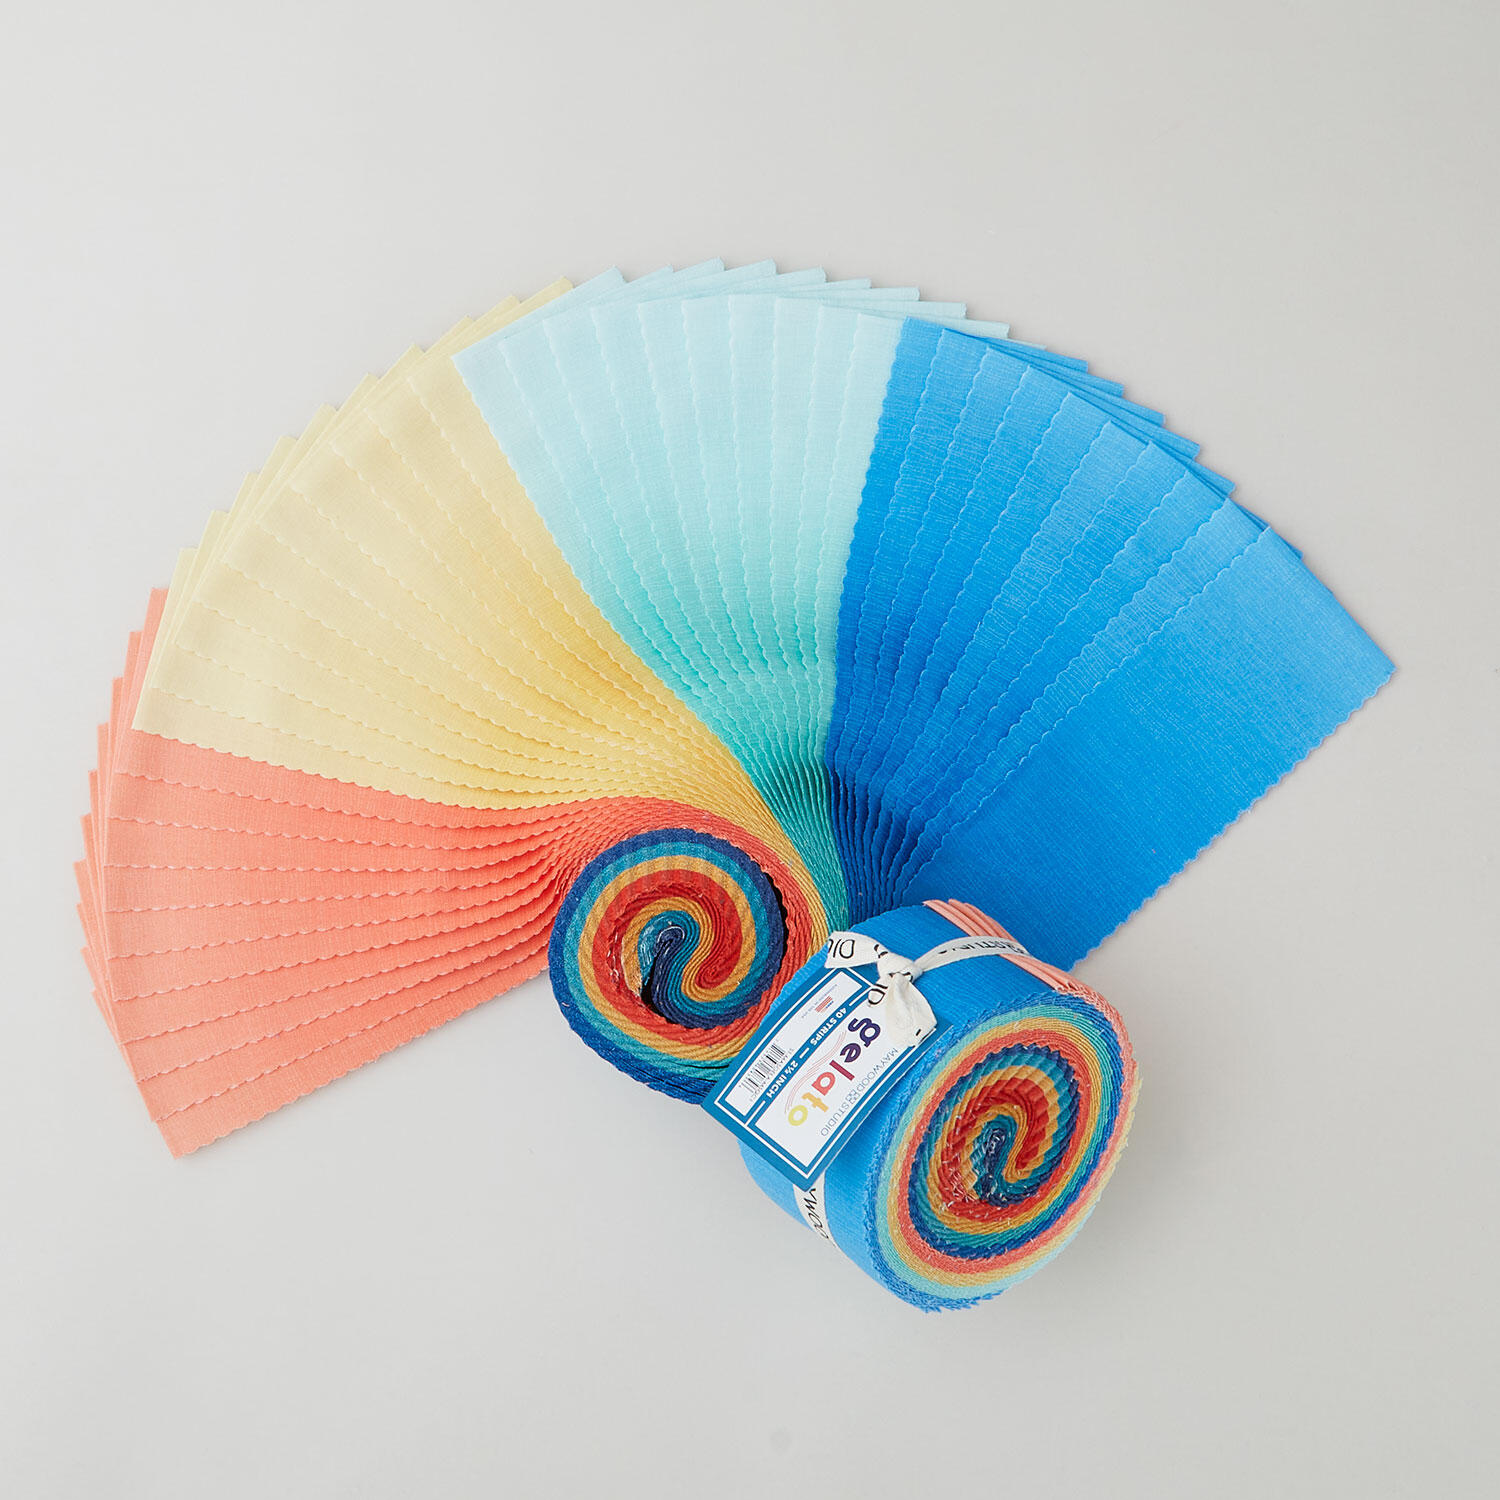 Gelato Ombre Color Pop 2 1/2" Strips$48.95Shop →
 Colorworks Premium Solids White Chips$11.15Shop →
 Colorworks Premium Solids - Ecru Yardage$8.10Shop →
 Colorworks Premium Solids - Superwhite Yardage$8.10Shop →
 Gelato - Ombre Light Teal Yardage$13.10Shop →
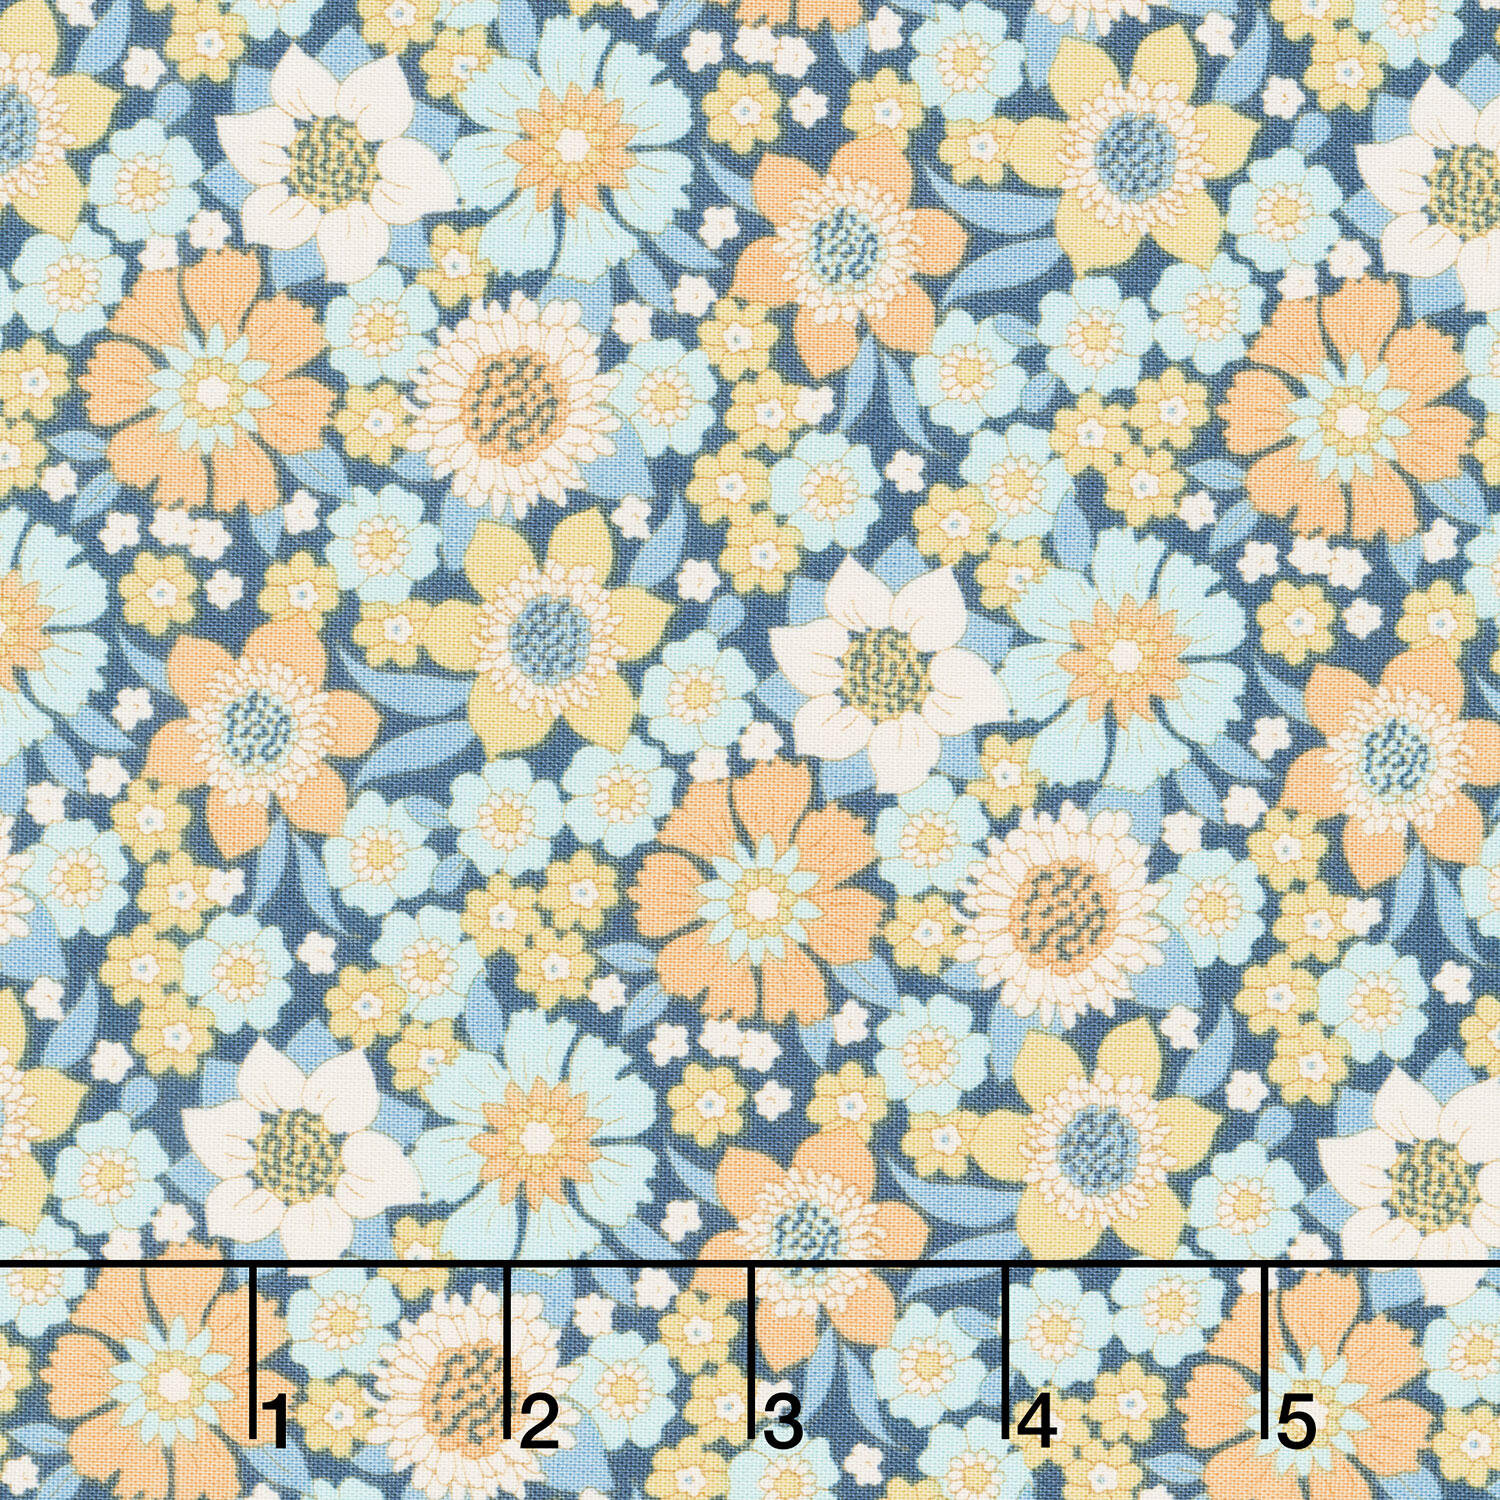 Wallflower - Lauren Blue Yardage$16.48Shop →
 Gelato Ombre - Pastel Purple / White Yardage$13.10Shop →
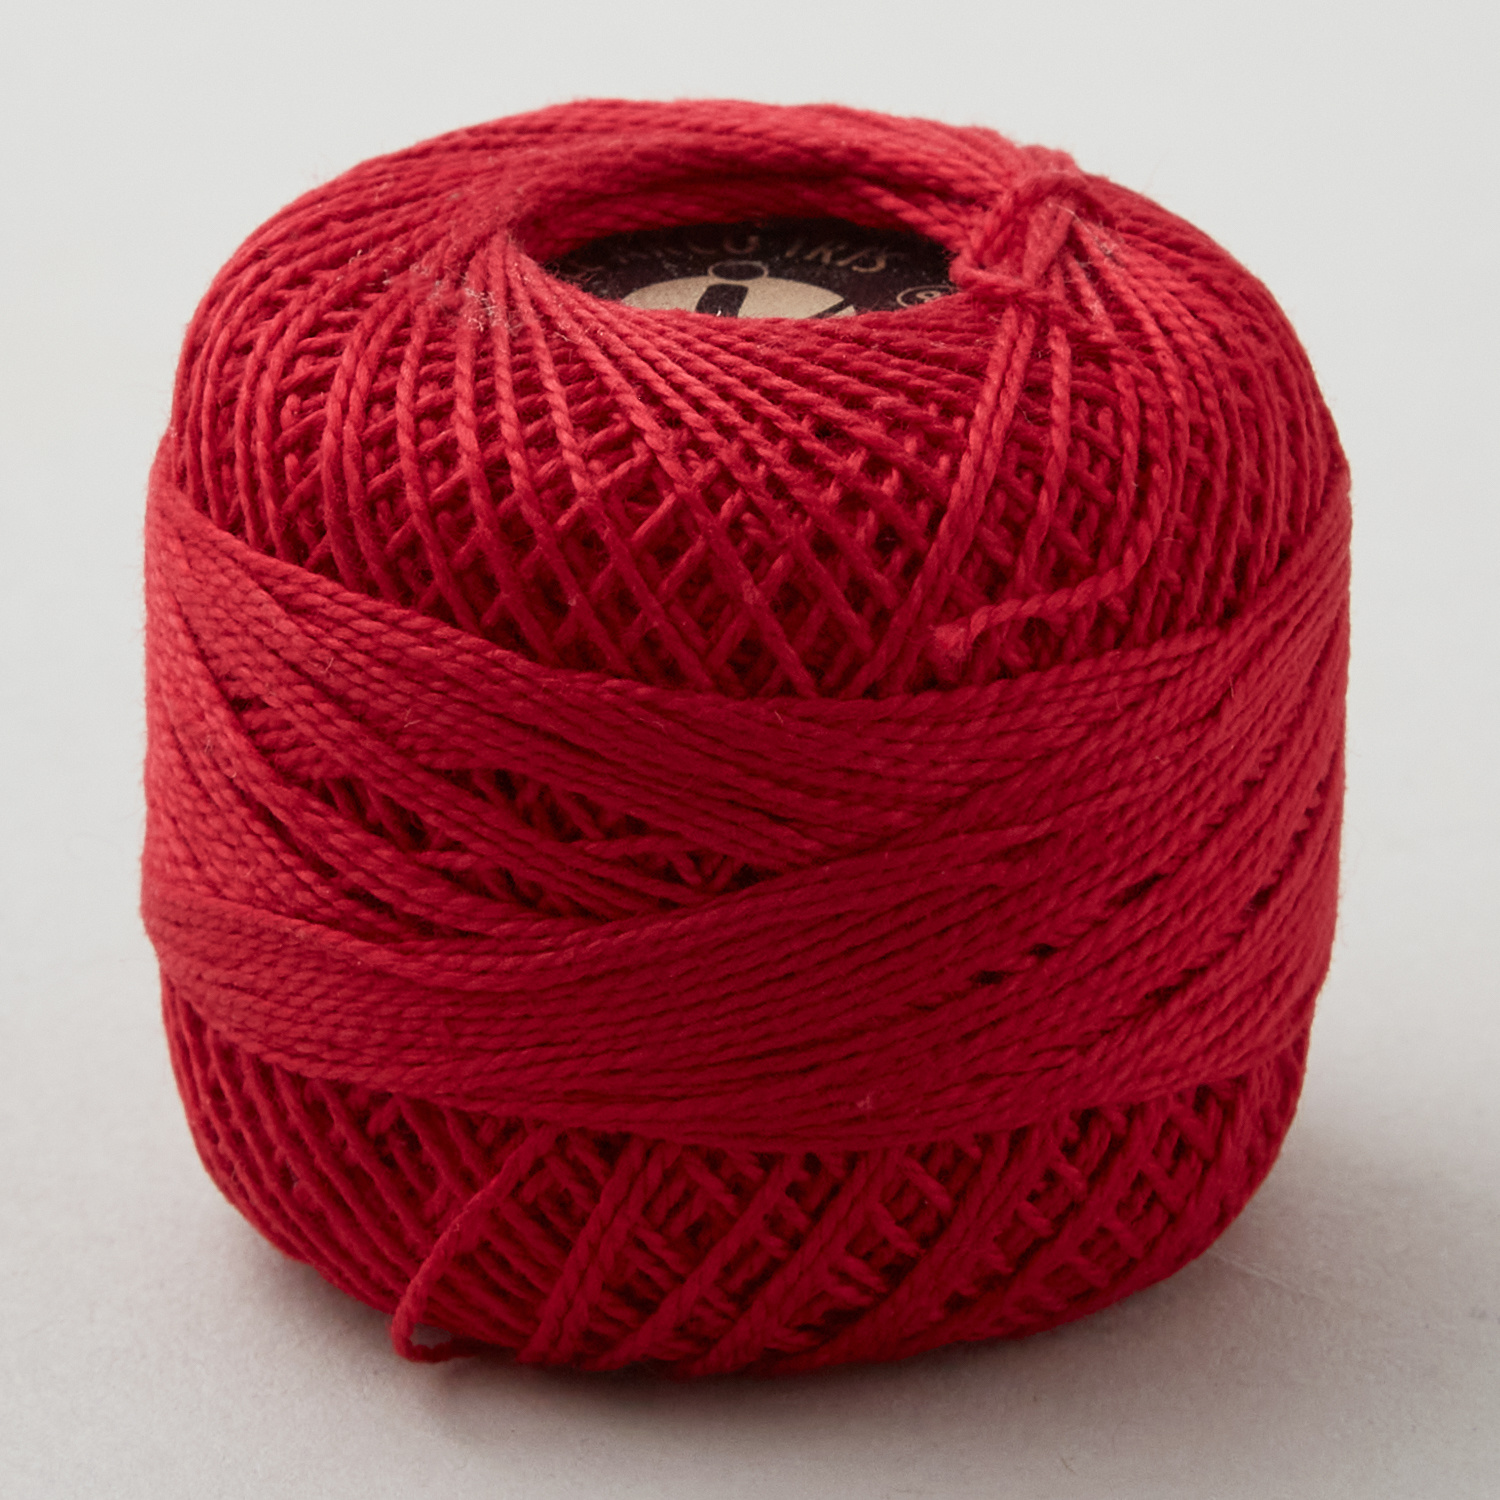 Missouri Star #8 Perle Cotton 10 Gram Ball - Deep Red$3.49Shop →
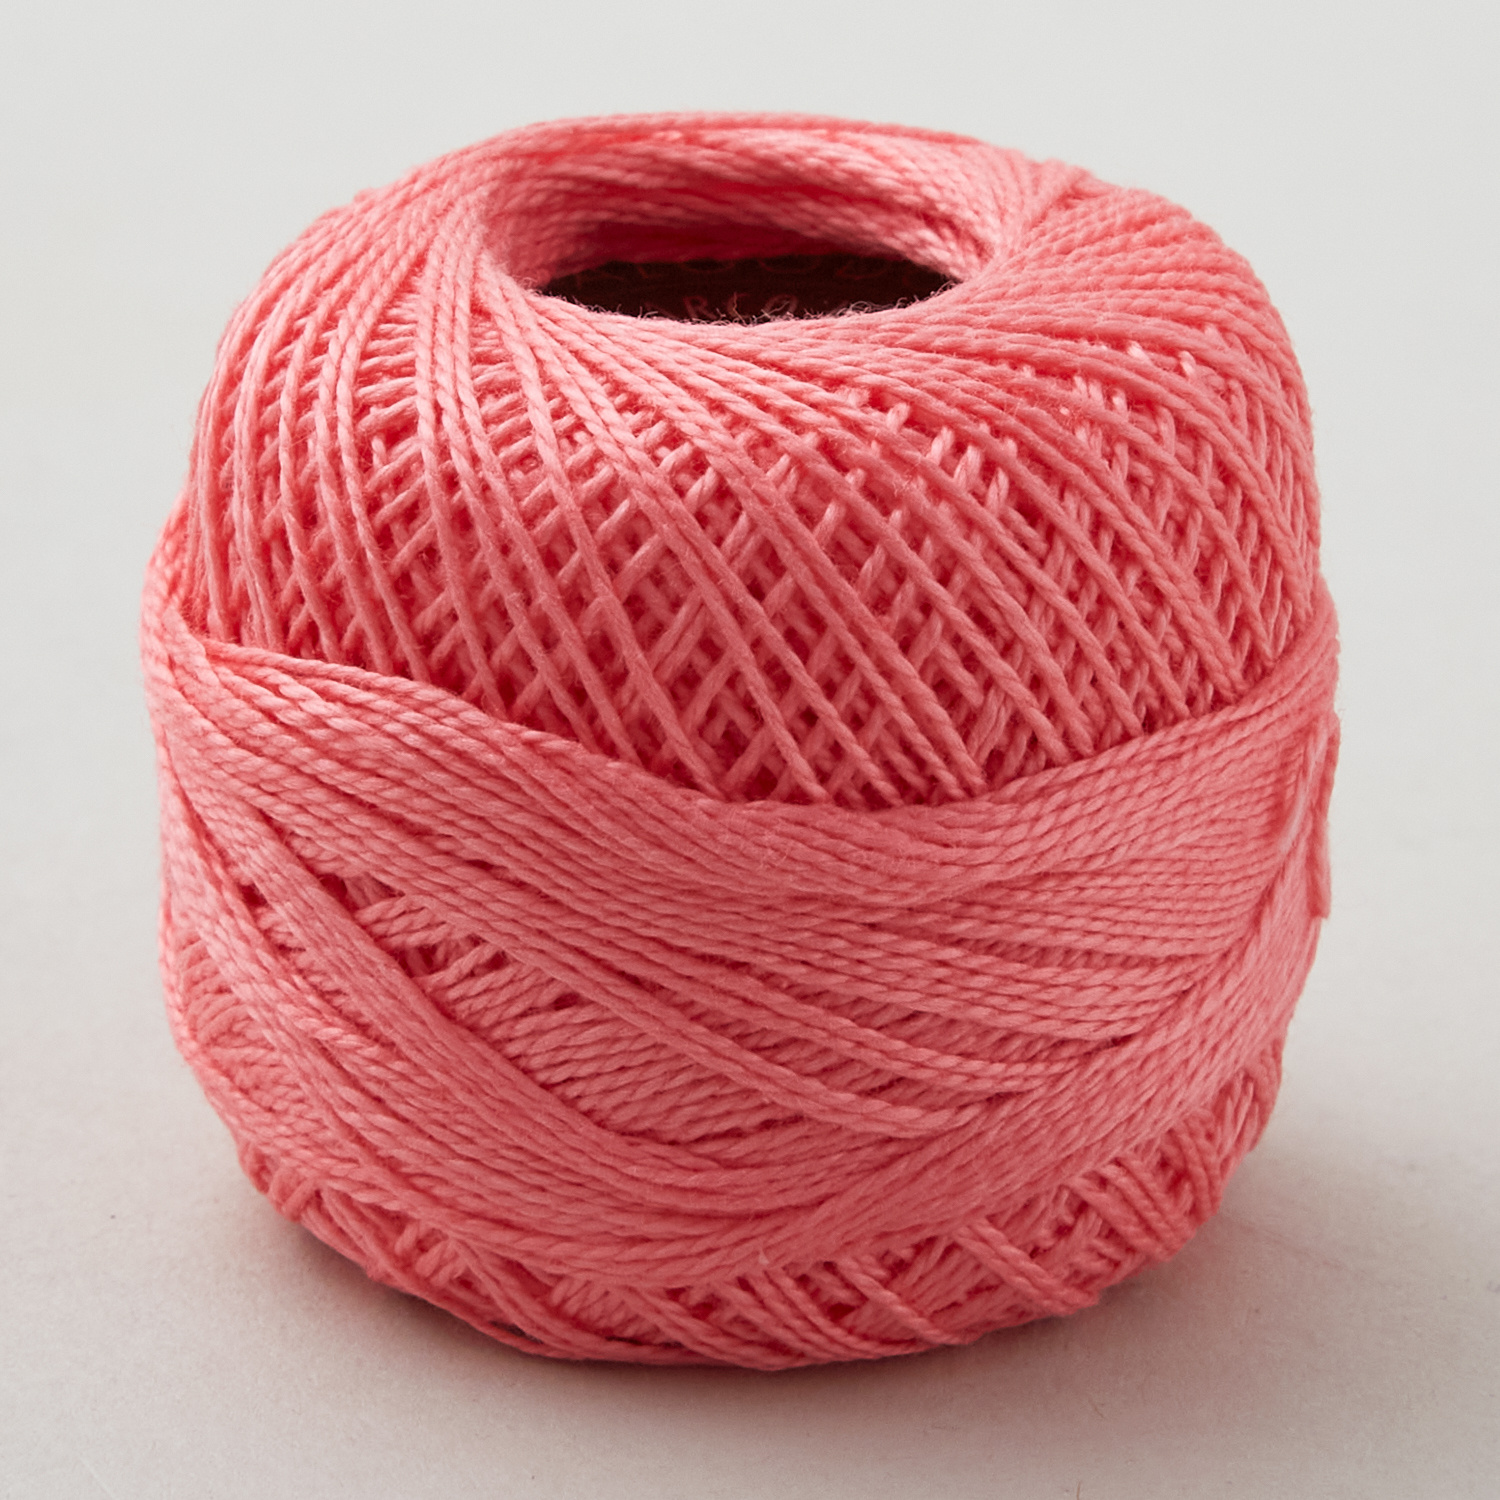 Missouri Star #8 Perle Cotton 10 Gram Ball - Salmon$3.49Shop →
 Missouri Star 5" x 15" Ruler$19.95Shop →
 Missouri Star 45mm Rotary Cutter - Olga$19.95Shop →
 Missouri Star 8" Everyday Scissors - Amelia$19.95Shop →
 Missouri Star + Oliso TG1600 ProPlus Iron$209.95Shop →
 Missouri Star Wooly Betty Board - 17.25" x 25.5" Orange Border$99.95Shop →
 Bernette 77 Sewing and Quilting Machine$1699.00Shop →


