Chick out the cute projects you can make featuring some fine-feathered friends! With the Feathers & Floss kit, Misty makes a pillow, table runner, and wall hanging that put chickens front and center. Piecework and embroidery come together in these projects to create décor that is something to crow about!
Misty Doan grew up surrounded by sewing and quilting. She loves spending time sharing tutorials each week each week, and when she’s not stitching up one of her fun sewing projects for home decor, most likely you’ll find her hanging out with her husband and three awesome kids or working on a house project.
Chick out the cute projects you can make featuring some fine-feathered friends! With the Feathers & Floss kit, Misty makes a pillow, table runner, and wall hanging that put chickens front and center. Piecework and embroidery come together in these projects to create décor that...
How long is the tutorial video?
The tutorial video is 00:20:14.
Are supplies listed for this tutorial?
Yes. The tutorial page includes the supplies and materials connected to this project.
Video Transcript
Hey everyone, welcome to At Home. I am so excited about today's project. We are going to make this adorable feathers and floss kits. These chickens are so much fun. They combine embroidery and applique. So, let me show you how to make them. This feathers and floss kit is so much fun. The pattern that's included actually has three project options for you. This wall hanging, which is what I'll be teaching you today. There's also a pillow and this adorable runner, all included, so you can decide which one is, you know, what you would like to make. And the kit is so great because it includes pretty much everything you need to make this project. So, let's go ahead and open this up. In this little zipper pouch here, we have a little pair of scissors that match the project keeper itself. And then you have this adorable little chicken needle minder, your needles, and your threader included. Tuck those back inside. And then in this next little zipper section, these are the acrylic applique templates. And there are two different chicken bodies and parts in here, as well as a little cracked egg that you can play with to make these chickens your own. Then, of course, you have the feathers and floss peel and stitch book. At the beginning, it has some great little tips on your embroidery stitch guide, as well as the actual peel and stitch that you'll be able to use to add embroidery to your project. In the back you will find your hoop and all of your floss to go along with this. And so then in addition to this kit, you just need a few things to make your project. You're going to need some so light fusible to do the applique. Uh to make the wall hanging that you see behind me, you're going to need two charm packs. And I use this adorable collection called Love Struck by Kim Deal for Henry Glass. You need some background fabric, approximately 1 and 5/8 yards, and then you'll of course need scissors, a marking tool. I like to use some invisible thread to stitch down my applique. I love chenille needles when I'm doing any sort of embroidery. So, I grab those. And then, of course, a ruler and a rotary cutter. So, let's go ahead and get started. I'll show you how to make it. Okay, so first things first, we are going to cut out our background squares. So, we are going to cut all of those into 12 and 1/2 in. So, you can cut a big 12 and 1/2 in strip and subcut those into 12 and 1/2 in squares. I just used my 12 and 1/2 in square ruler because this will come in handy for trimming these down after we do the applique and embroidery. So, if you have one of those, uh, this is a great time to use it. Once you have all of your background squares prepped, we're just going to set those aside for now because now we get to start with our applique and use our cute little templates that come in the set. And so to do that, I'm just going to pick some of the extra squares from my charm pack. And I'm going to take my square of Soite fusible and we're just going to press this to the wrong side of our fabric. And remember, there is a bumpy side that has the glue and a paper side. So, you want the glue side going towards the wrong side of your fabric. Beautiful. And so, I think I'm going to use this cute little yellow print for the body of my little chicken. So, we'll just use a pen now and trace all the way around. Whoops. And this doesn't have to be perfect. It's very forgiving. And then, of course, you're just going to use some nice sharp scissors to cut that out. I have one already cut out and ready to go. And then I, you know, you might want to pick some different colors to use for your head and your wing, and I have those ready to go as well. So, here we go. I have my pieces all cut out. And so, let's bring in our background square. And I am going to press this in half both directions just so I can see my middle and try and keep my design as centered as possible. So there's one and two. Just have some little guidelines to work with. Then we can open this up. And it's kind of nice to work right on your pressing mat when you're doing this step. We're just going to peel off the paper backing. And we'll put the little body down first. And we'll come in with the head. If I can get a hold of that paper. There we go. And we'll line this up over the top. So cute. And then lastly, this little wing. My little trick is failing me. You usually if I just crease that paper, it will peel off really easily. But sometimes if you want to use a pin or something to score that edge, that'll make it easier to peel as well. Then we'll put that wing in the middle there. I think I want to rotate this whole thing just a little bit. There we go. That's pretty cute. So now I'm just going to press this with a hot dry iron. You want to be careful not to slide your iron around. Just press straight down. Count to four or five and then lift and press again. There we go. Beautiful. So there is the applique portion ready to go. So next I would take my invisible thread just in the top part of my machine and I would go ahead and either do just a straight stitch, blanket stitch, zigzag just to secure that applique in place. So now we get to add these adorable peel and stitch details that are in the book from the kit. And you'll notice that there are certain shapes that are designed to go along with the shapes of the template. So like here, here's our cute little chicken. And you'll notice that this the shape of the head matches this template. So you might just want to pay attention to that. But you can also cut these apart and use them however you want. They're just kind of little guidelines to get you started. Feel free to just play and make these complete your completely your own. So we'll do that. I have this face, our little tail feathers, these flower details to add to the body itself, and of course some little feet. So, let's turn this now and we'll start by adding our face. And so, you can kind of see through this and line the stitching up. There's a little dashed line that coordinates with the edge of the fabric. So, you can see that really well. And then I think I'll add our tail feathers. So cute. There is those cute little tail feathers. And now I'm noticing I actually picked feet that are the wrong direction. So, let me pull this kit back up here and let's find some feet that are going the right way. Here we go. There's some in the middle here that will work. So, I'll just cut in and cut around There we go. Now our feet will be going the right way. And you know, I can just save these for another chicken. They're not going to go to waste. And so we will peel these off now. Just like so. And we can add those in. So cute. I absolutely love it. So, once you have these all chosen, you can hoop this and start your stitching. If you are not familiar with those embroidery stitches that are included in the kit, be sure to check out the embroidery 101 series that Natalie did. She walks you through every single stitch that you will need to make these. And so once we have this all done, we're going to square these up to 10 and a half. I have one here that is ready to go. And I should point out as well that peel and stitch that you use once you're finished with the stitching, you just run it under water and it just dissolves away and leaves your stitching and your fabric behind. So it looks just like this. So, let's go ahead and square up this guy to 10 and a half. So, I am going to turn this. Make sure I'm centered. That looks pretty good. Rotary cutter. There we go. So, just to reiterate before I cut, I guess I should explain what I'm looking for here. So, I've got my zero in this corner here. Since I'm right-handed, it makes the most sense to my brain. And I'm measuring over to 10 and 1/2. And then I'm looking in there to make sure that my chicken is centered both this way and up and down. And so, I just want to make sure I have plenty of room all the way around the chicken once I square this to 10 and 1/2 to add it into our blocks. So that's what you're looking for. So we'll go ahead and cut this side. [snorts] Now that that is nice and straight, I can rotate this corner, line it up exactly with the 10 and 1/2 line on my ruler, which is right here, and trim off the rest. There we go. Now, our cute little applique and embroidered block is ready to add into our wall hanging. We're going to make four of these. And so, now I'll move all this aside and show you how to do the piecing to surround it. All right. So, I'm going to show you how to make one of the blocks because I think that makes it the most straightforward. So, you'll just repeat this four times to make the wall hanging that you see behind me. But you want to select six matching pairs of your 5-in print squares. And so I have pulled those out here just like so. Each of these are matching. And then you also need six 5 in background squares. So I have those ready to go. And so the first thing we're going to do is we're going to take these first two matching pairs and we're going to pair these each with a background square. Just like so. All right. So, those are ready. And then we're going to take one each from these next two and we're going to pair these with a background square. Just like that. And then for our remaining, we are going to pair these together. these together and then finally these together. And so these are all of the sets of 5 in squares you need to make. And then all of these we're going to sew on all four sides with a quarter inch seam. So, let's go ahead and sew a couple so they're ready to go. And I just like to sew off the edge, pivot, and make my way around all four sides. There we go. And let's grab one of these. And you're just going to keep going until you have sewn all the way around all of these sets. Okay, I think you get the idea. You will need every single one of these to make your blocks. So, make sure you go ahead and sew all of them. I have some other ones that I've prepped that I know will match up like we need them to. So, let me just walk you through this next little step. So, now we need to cut these into half square triangles. And so, I'm going to use this Clearly Perfect slotted trimmer B in order to do that. And I like to start by laying the long side corner to corner and cutting my squares in half like that. And then I'm going to lay this on the 3inch mark. So if you've not used this before, I'm going to measure down to the 3 inch. This comes in a set of A and B. We're using B because that's the whole measurements. And I'm going to line the dashed line of the trimmer up with my stitch line. And then just cut out at 3 in. Get rid of those little notches. Just like so. Now I can spin this one around. Line this up. And you'll trim all of these the exact same way until you have your whole big stack of half square triangles. Then we can gently press these open. You do want to kind of keep them organized by color way because it will help you later on. There's that just like so. So, this is a great way to make a bunch of half square triangles quickly. And so, now here is my stack of all of my other pieces that are ready to go to make the three different units that make up this block. So, let's pull those in so I can show you. Here is one. and two, you'll notice, is just the opposite from the other one. And then this is our little corner unit that has one of the half square triangles and three background 3in squares. So, let's go ahead and make one of each of these. Here is my corner. So, we've got one of our little half square triangles that'll go there and the three background squares. And I'll go ahead and start by just sewing this together like a four patch. So we'll take this to the machine. Make sure double check I've got this facing the right way. And I do. Now we can open these up and sew them together. Then I'll nest that seam in the center there, making sure they're going opposite directions. There we go. And there, our first little corner unit is done. So now I can press this. All right. See, just like that. And so now, let's talk about this next set. Make sure I've got all my pieces here because what we need is for these to match up. So, see how this print needs to be the same in our next unit. So, I'll start with that. And then my little half square triangle that is the same print as this one with a background will come in here. Then this piece and this piece. And so that's going to go together just the same like a four patch. And then we'll come in with our next section here. So here's this color and this color and this one and this one. And I do want to point out that if I were to pull this around to the other side, this print and this print also match. So that's where you can kind of check and make sure that you have all of your placement correct. Um, but it should all work out as long as you've done all of those sets, like I said. So, now let's pull these other ones that I've already sewn in with our cute little block in the middle. And so, we're going to place one of these top and bottom on each side just like so. And then our four corners can set in just like that. And so now you can see how all of your fabrics line up. We're going to start by sewing these two together, adding them to our middle, and then sewing each of our sides together to finish off that block. And then you'll notice in the little wall hanging, we just sewed those four big blocks straight together. It finishes at 40 in square. I quilted it with bubbly feathers, which I think is just perfect for this fabric. It finishes at 40 in square. And look at these little chicks. I just think they're so fun. And you can really just kind of let your creativity soar. Look at this little guy over here. So fun. And as a reminder, we have those embroidery 101 videos for you to go back and check out if you need any help with the stitches. And besides that, this feathers and floss kit has everything you need. And as a reminder, it includes three projects: the wall hanging, the pillow, and this adorable runner. And you'll notice we made each of them in different fabrics because it's adorable no matter what you choose. So, I hope you'll give it a try, and I'll see you next time on At Home. Hey everyone, thank you so much for watching at home. We're so [music] excited to be almost a million quilters strong here at Missouri Star. And so if you haven't already joined our family, be sure to subscribe and hit that notification bell so you can be notified of all of our future tutorials. And we'll see you soon.


 Misty Doan
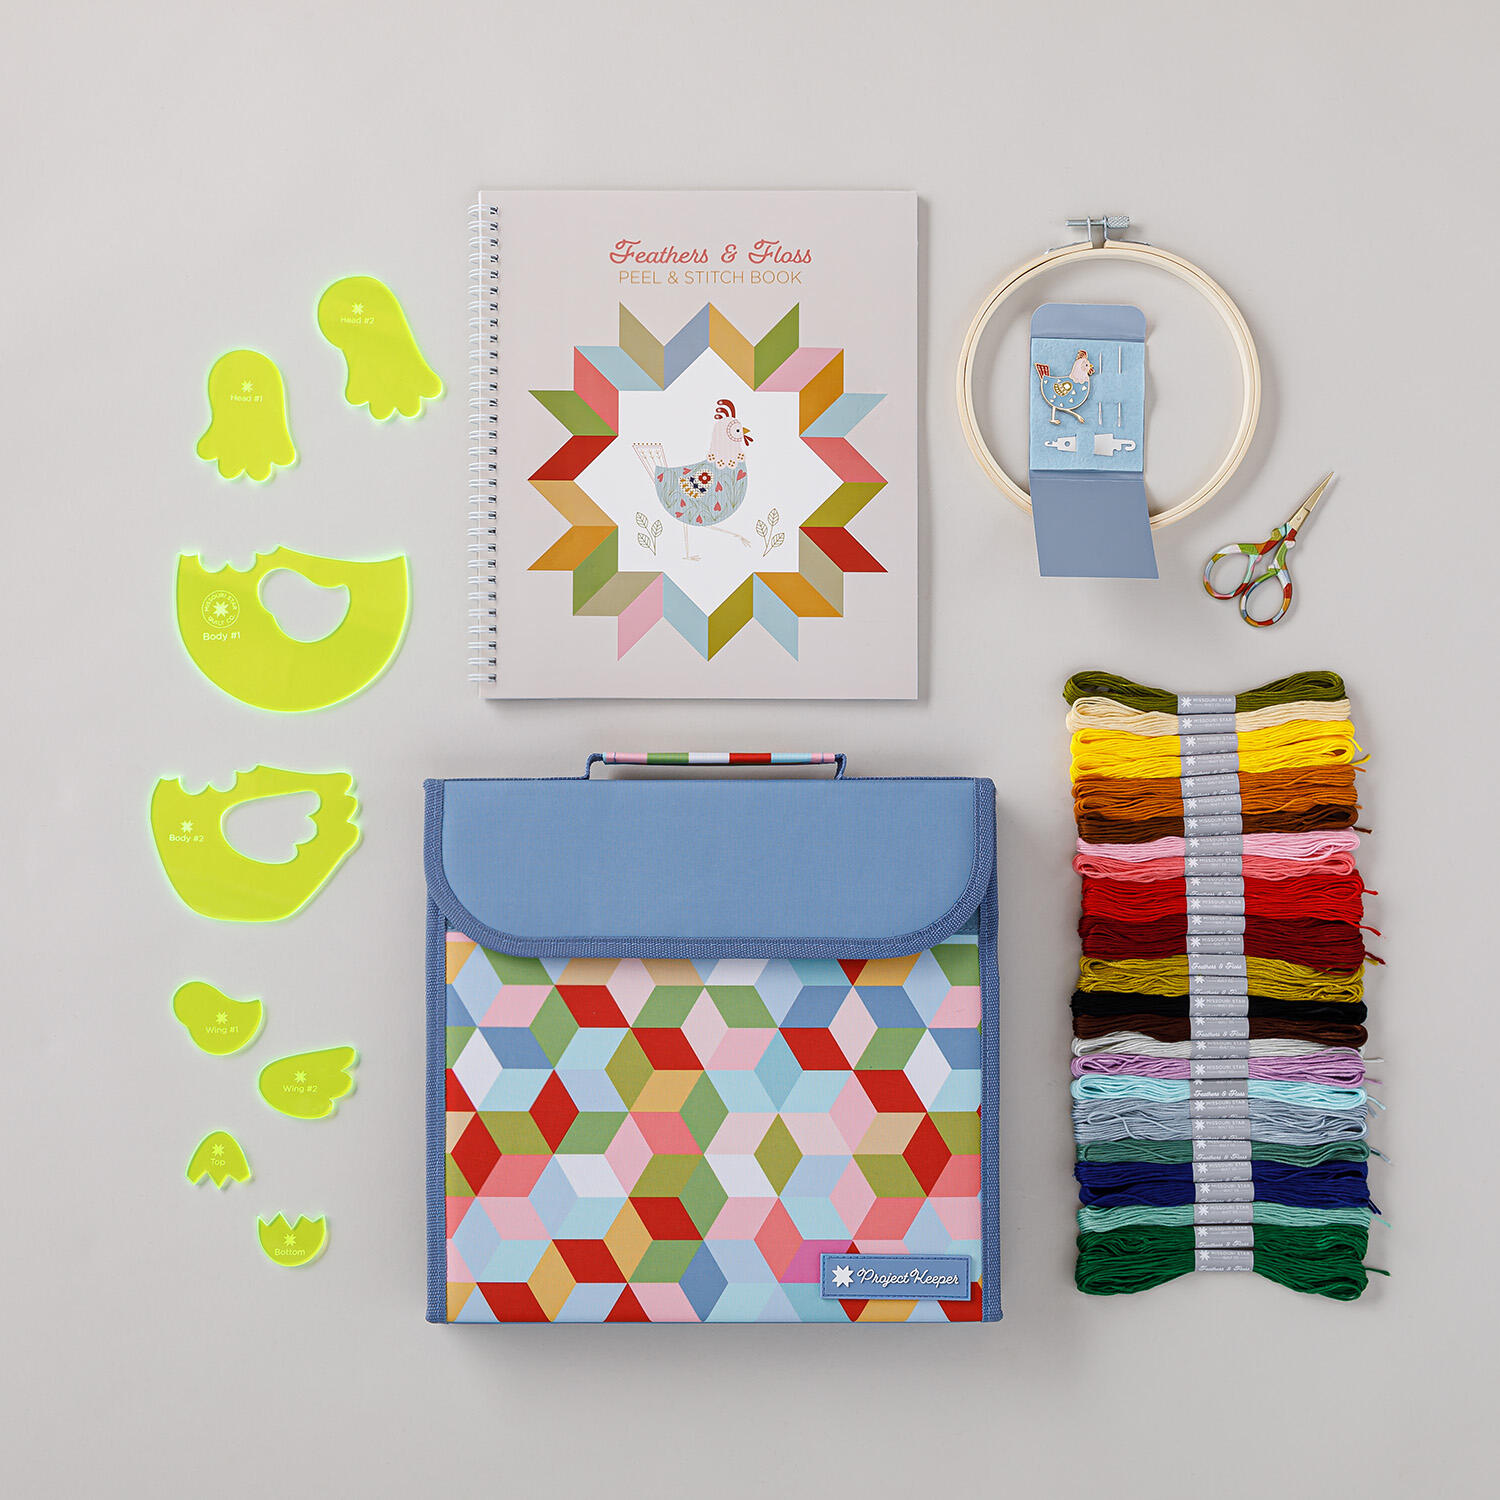 Feathers and Floss Embroidery Kit by Missouri Star$59.95Shop →
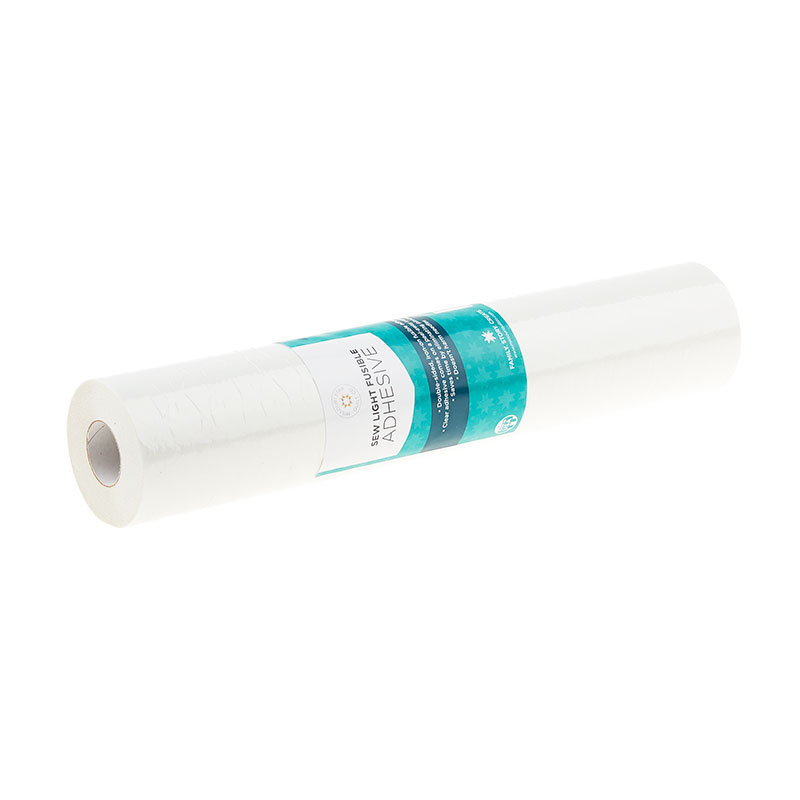 Missouri Star Sew Light Fusible Adhesive - 12" x 15 yards$28.95Shop →
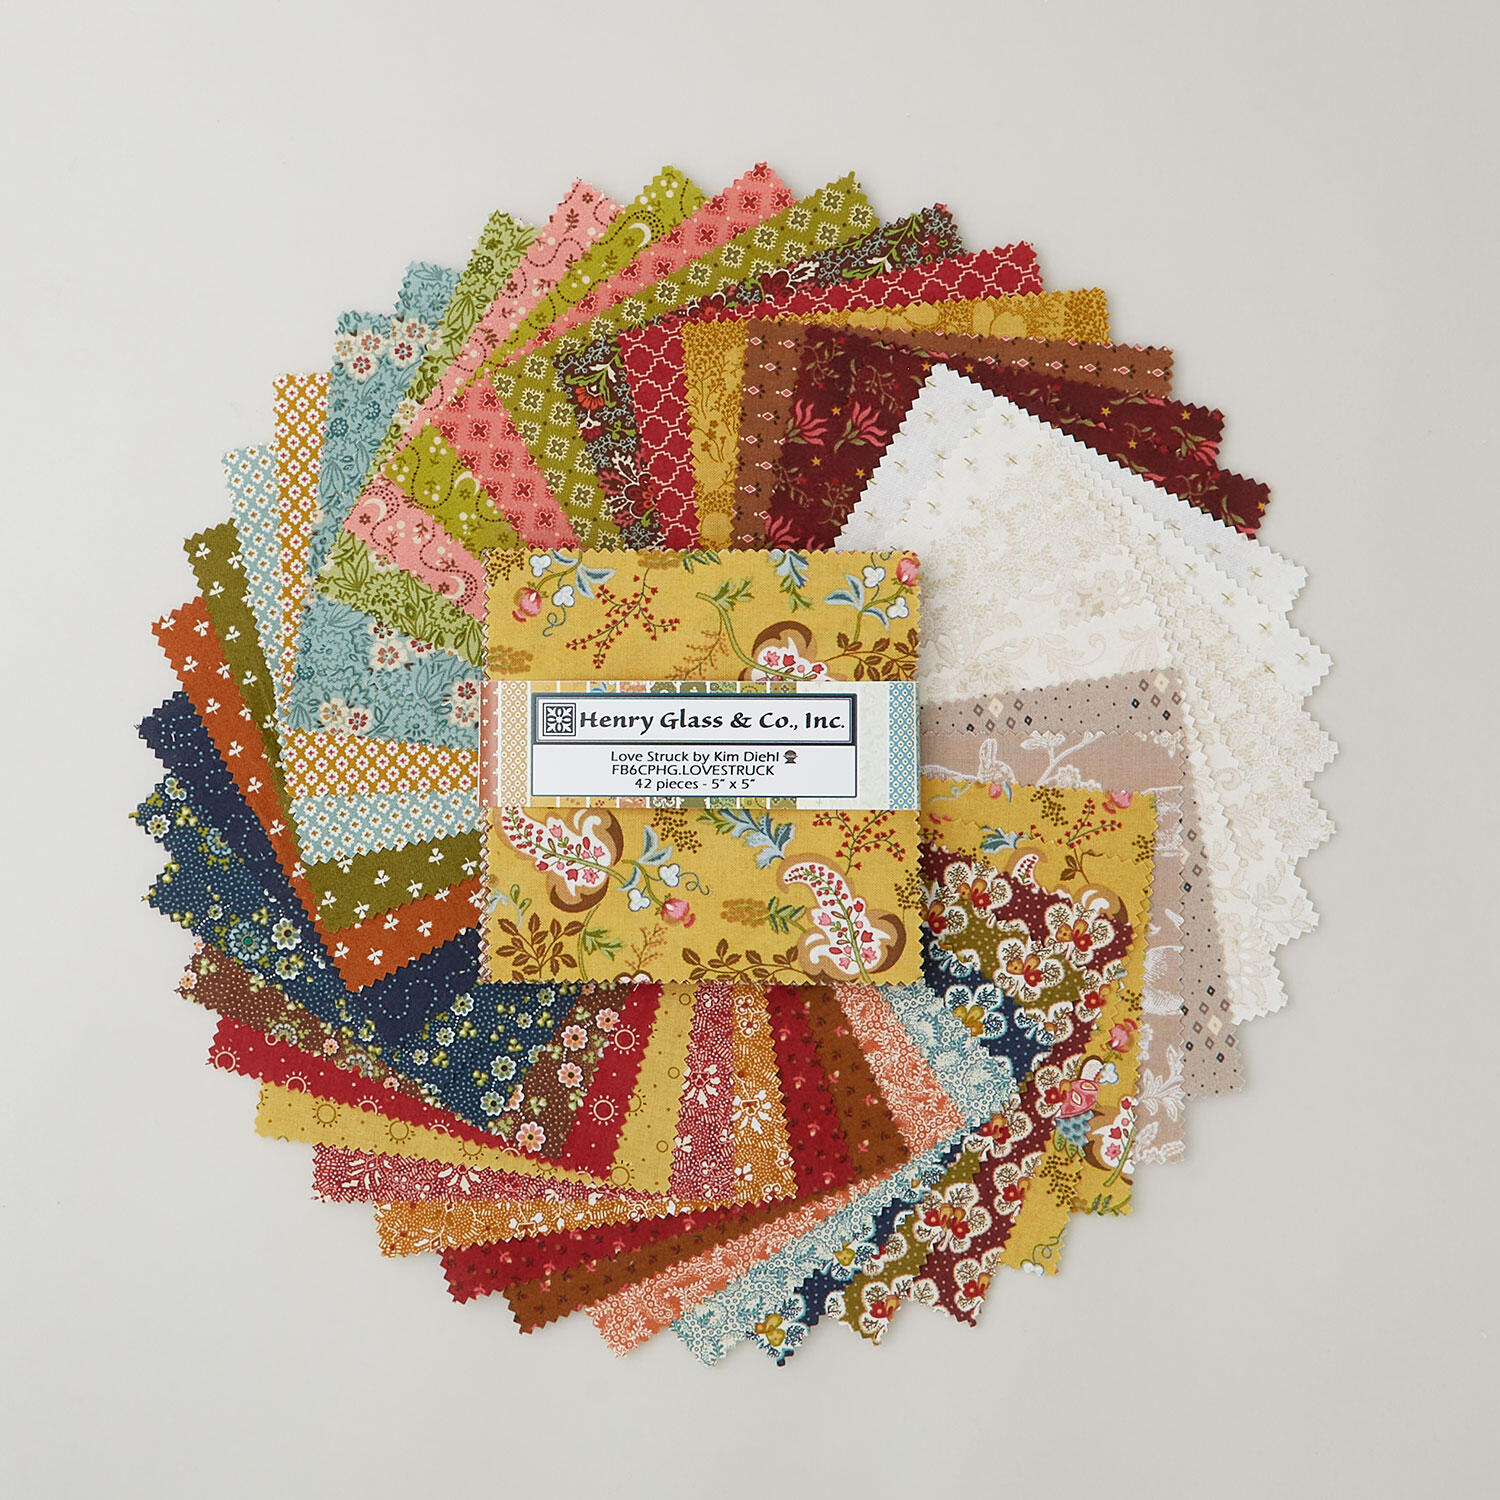 Love Struck Charm Pack DO NOT PUBLISH need for tutorial in april$15.95Shop →
 Colorworks Premium Solids - Alabaster Yardage$8.96Shop →
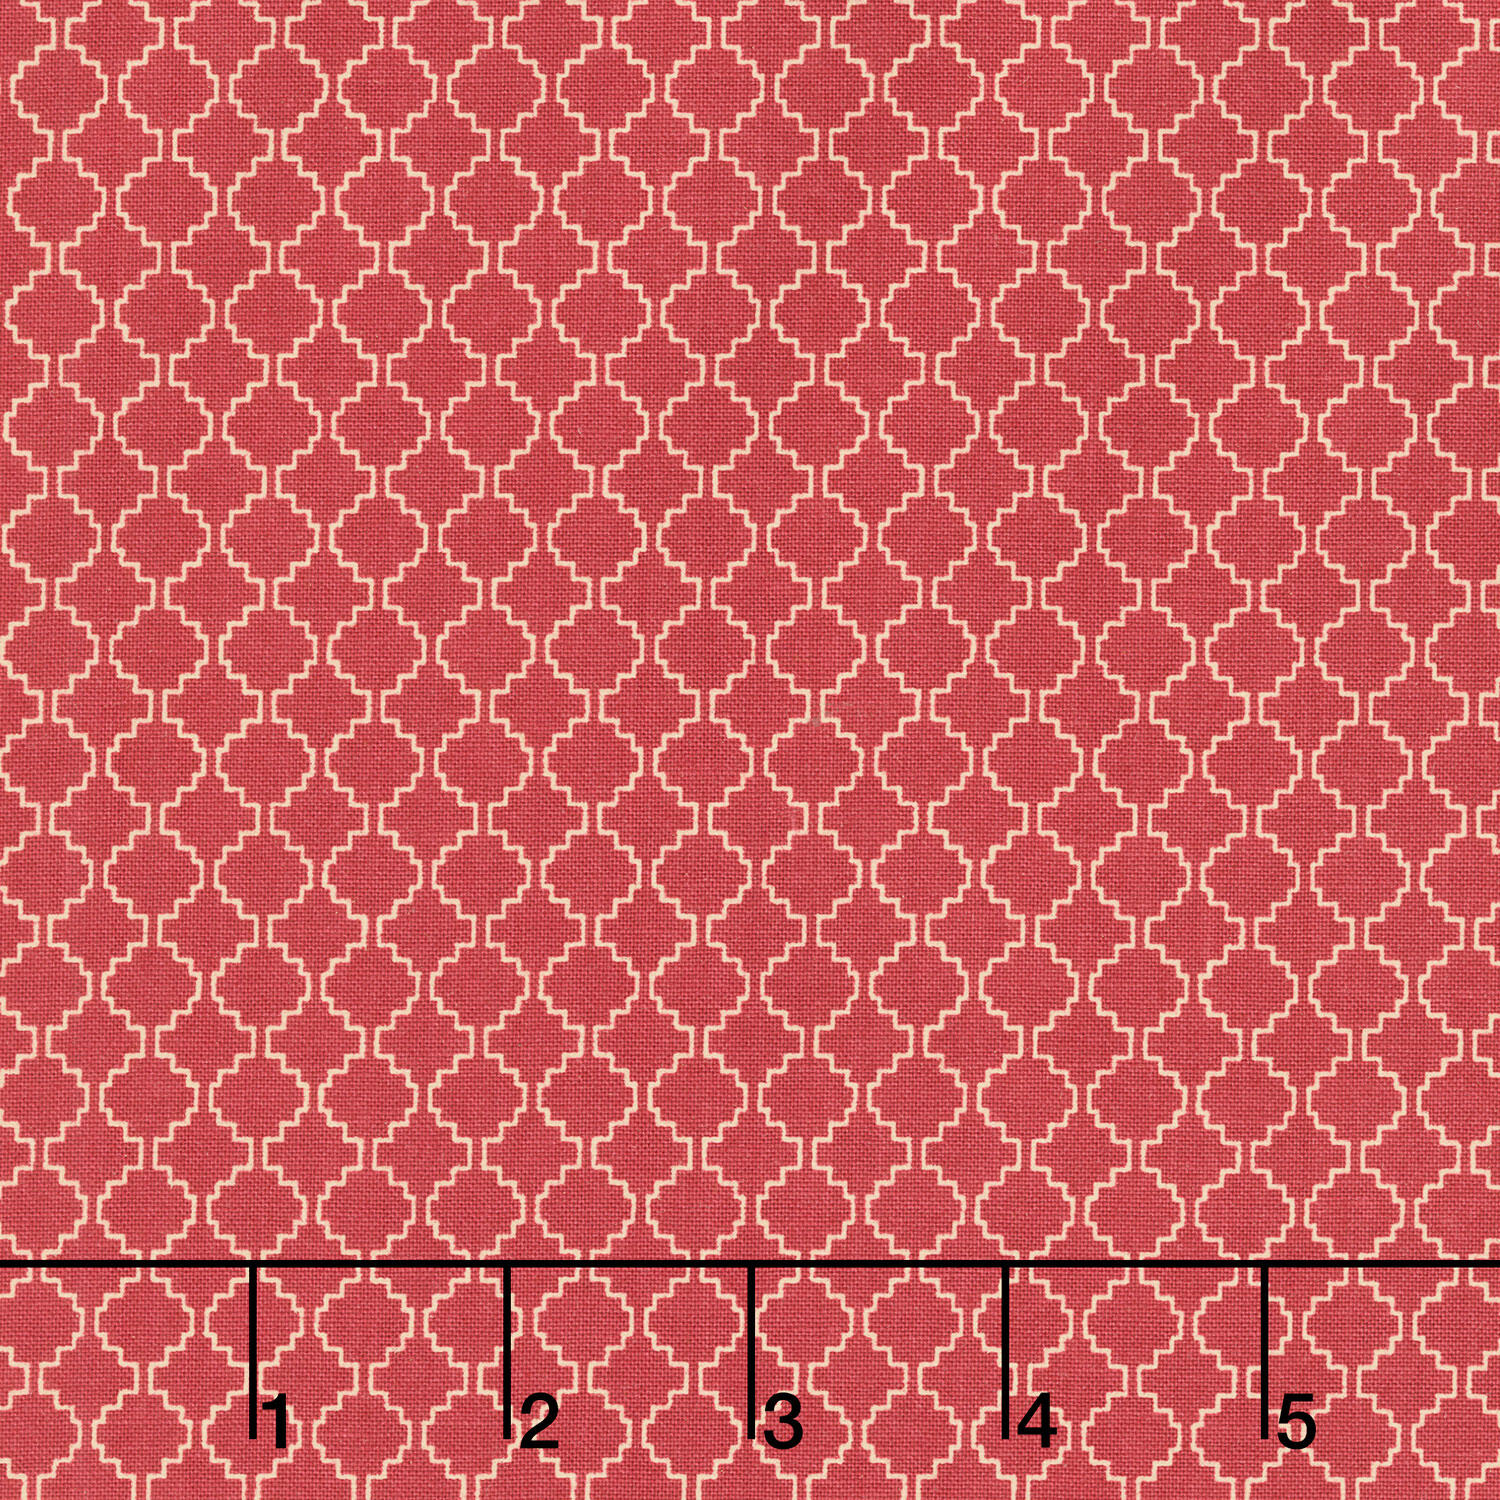 Love Struck - Berry Bucket Red Yardage$12.56Shop →
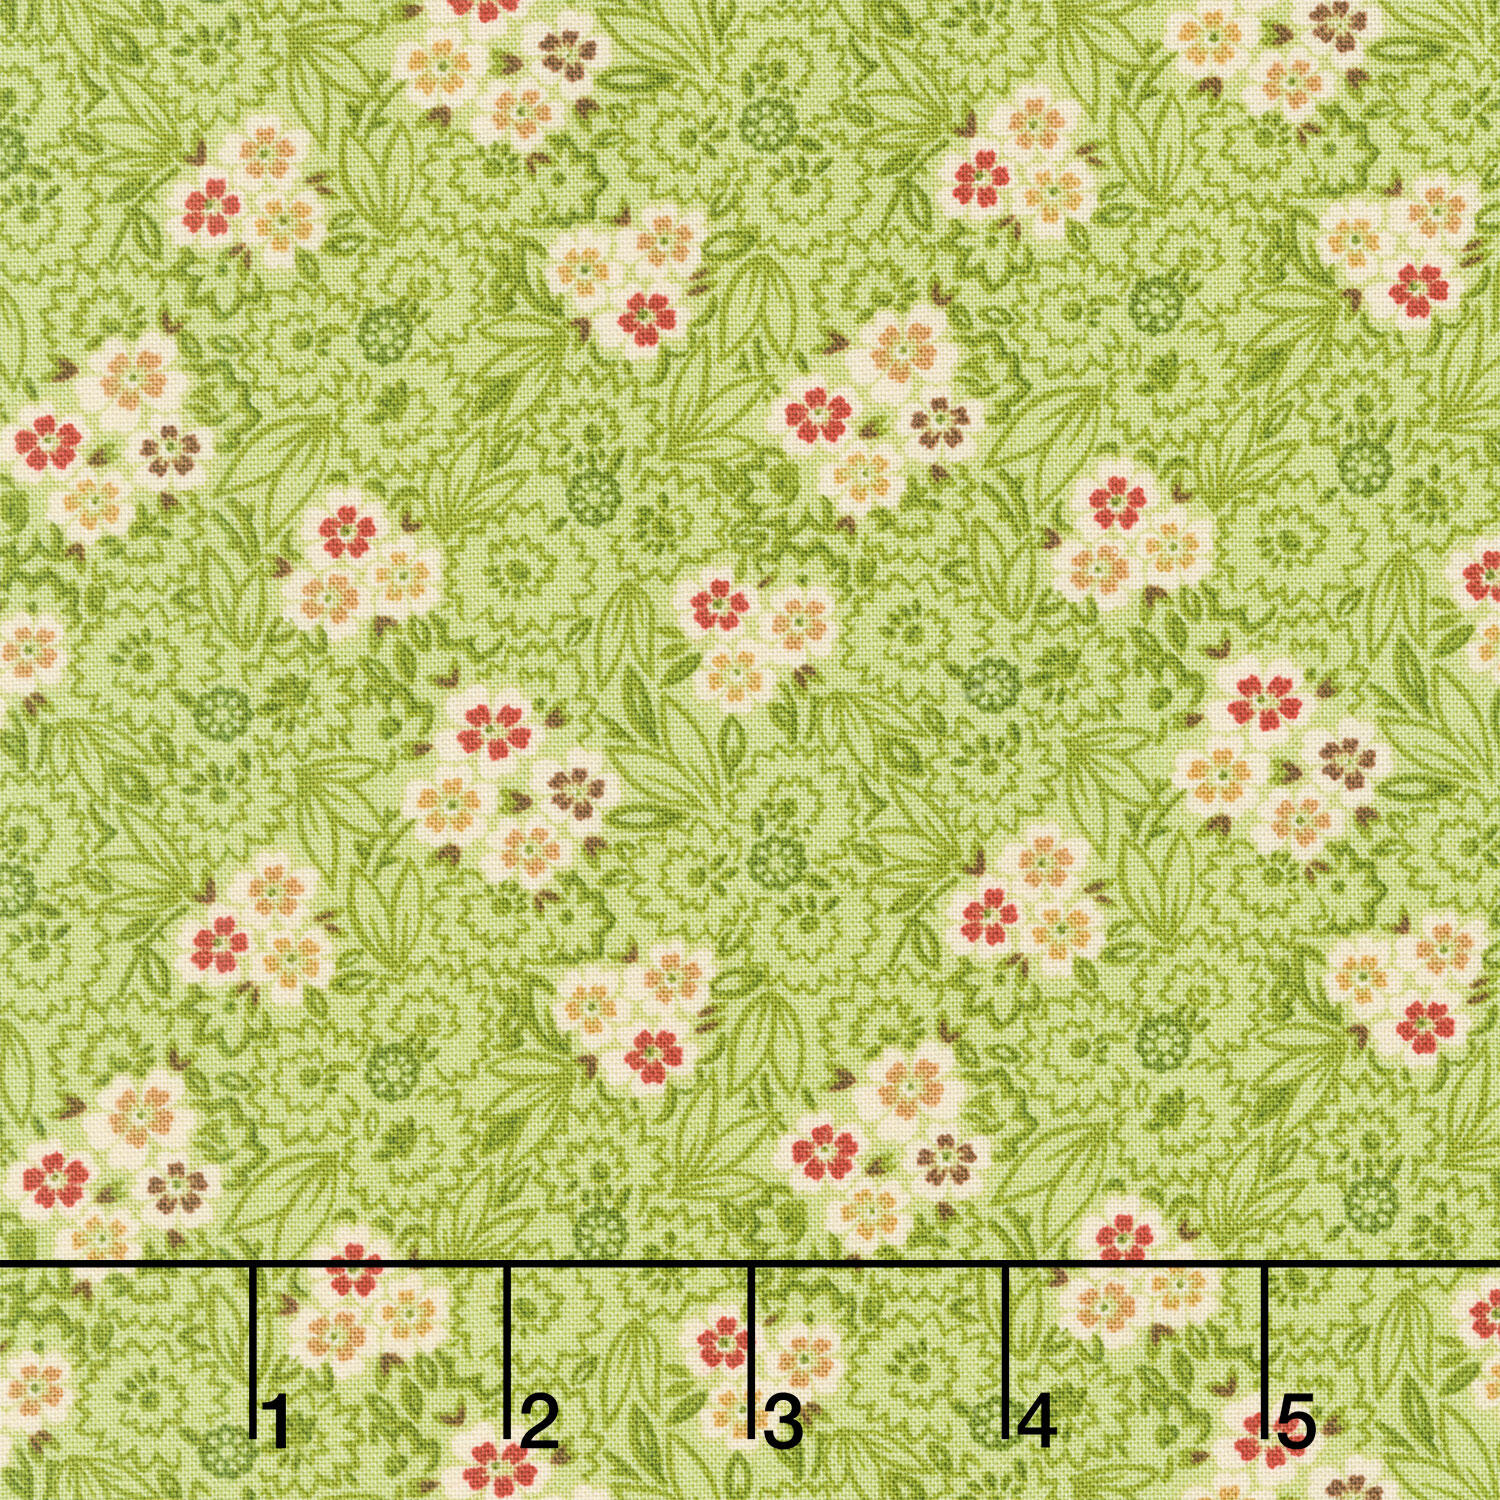 Love Struck - Flower Cart Green Yardage$12.56Shop →
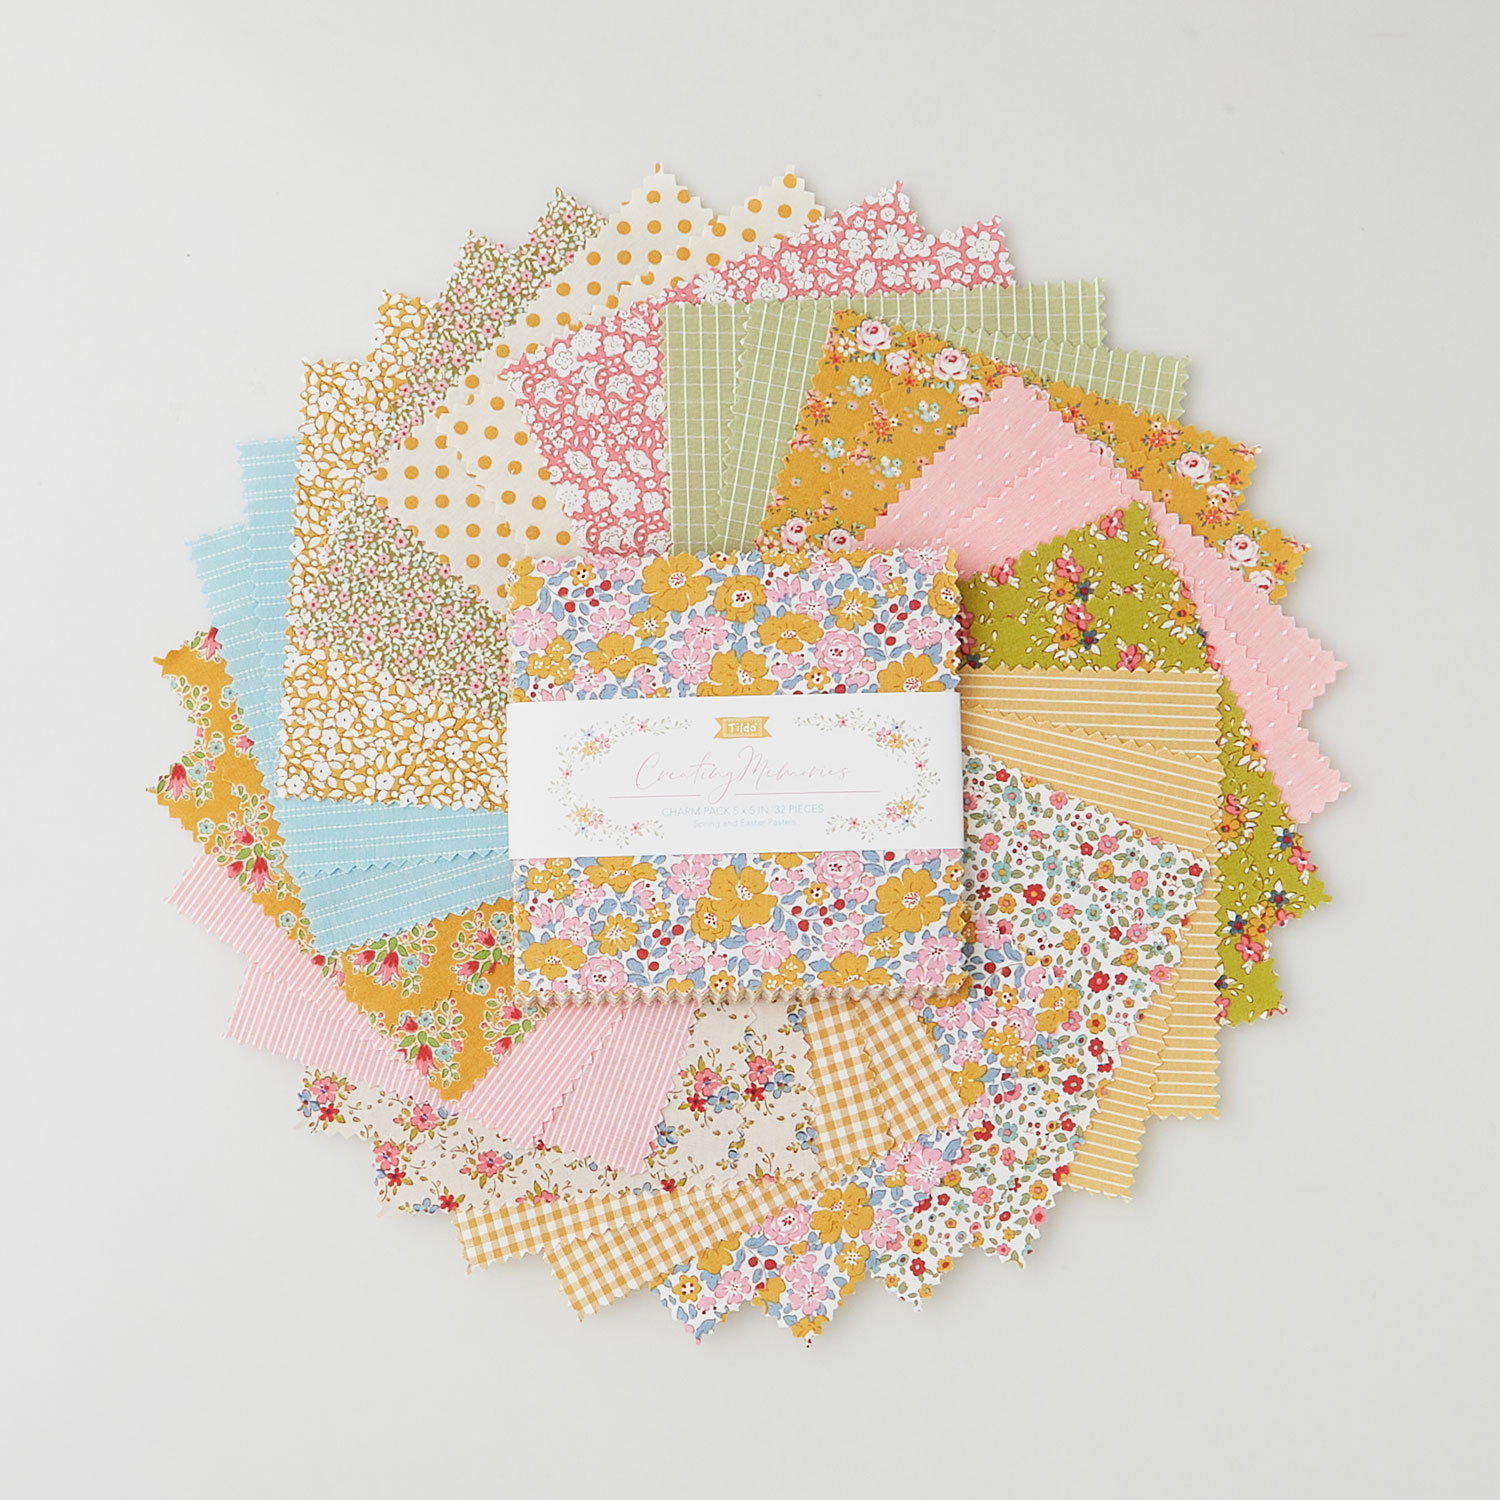 Creating Memories - Spring Charm Pack$21.70Shop →
 Colorworks Premium Solids - Snow Yardage$8.96Shop →
 Colorworks Premium Solids - Romance Yardage$8.96Shop →
 Missouri Star 2.5" x 8" Ruler$11.95Shop →
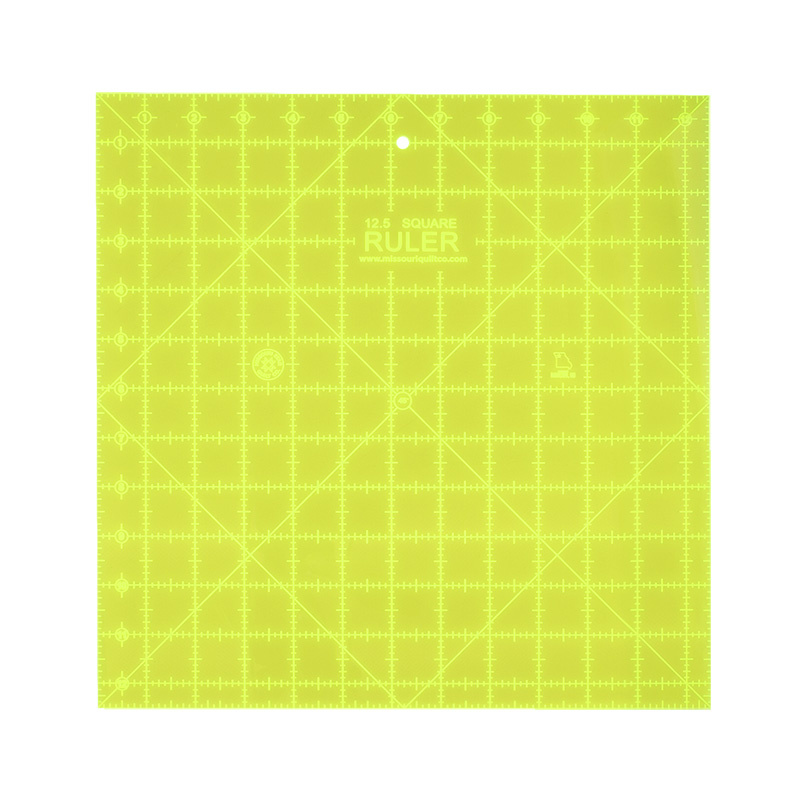 Missouri Star Square Ruler$29.95Shop →
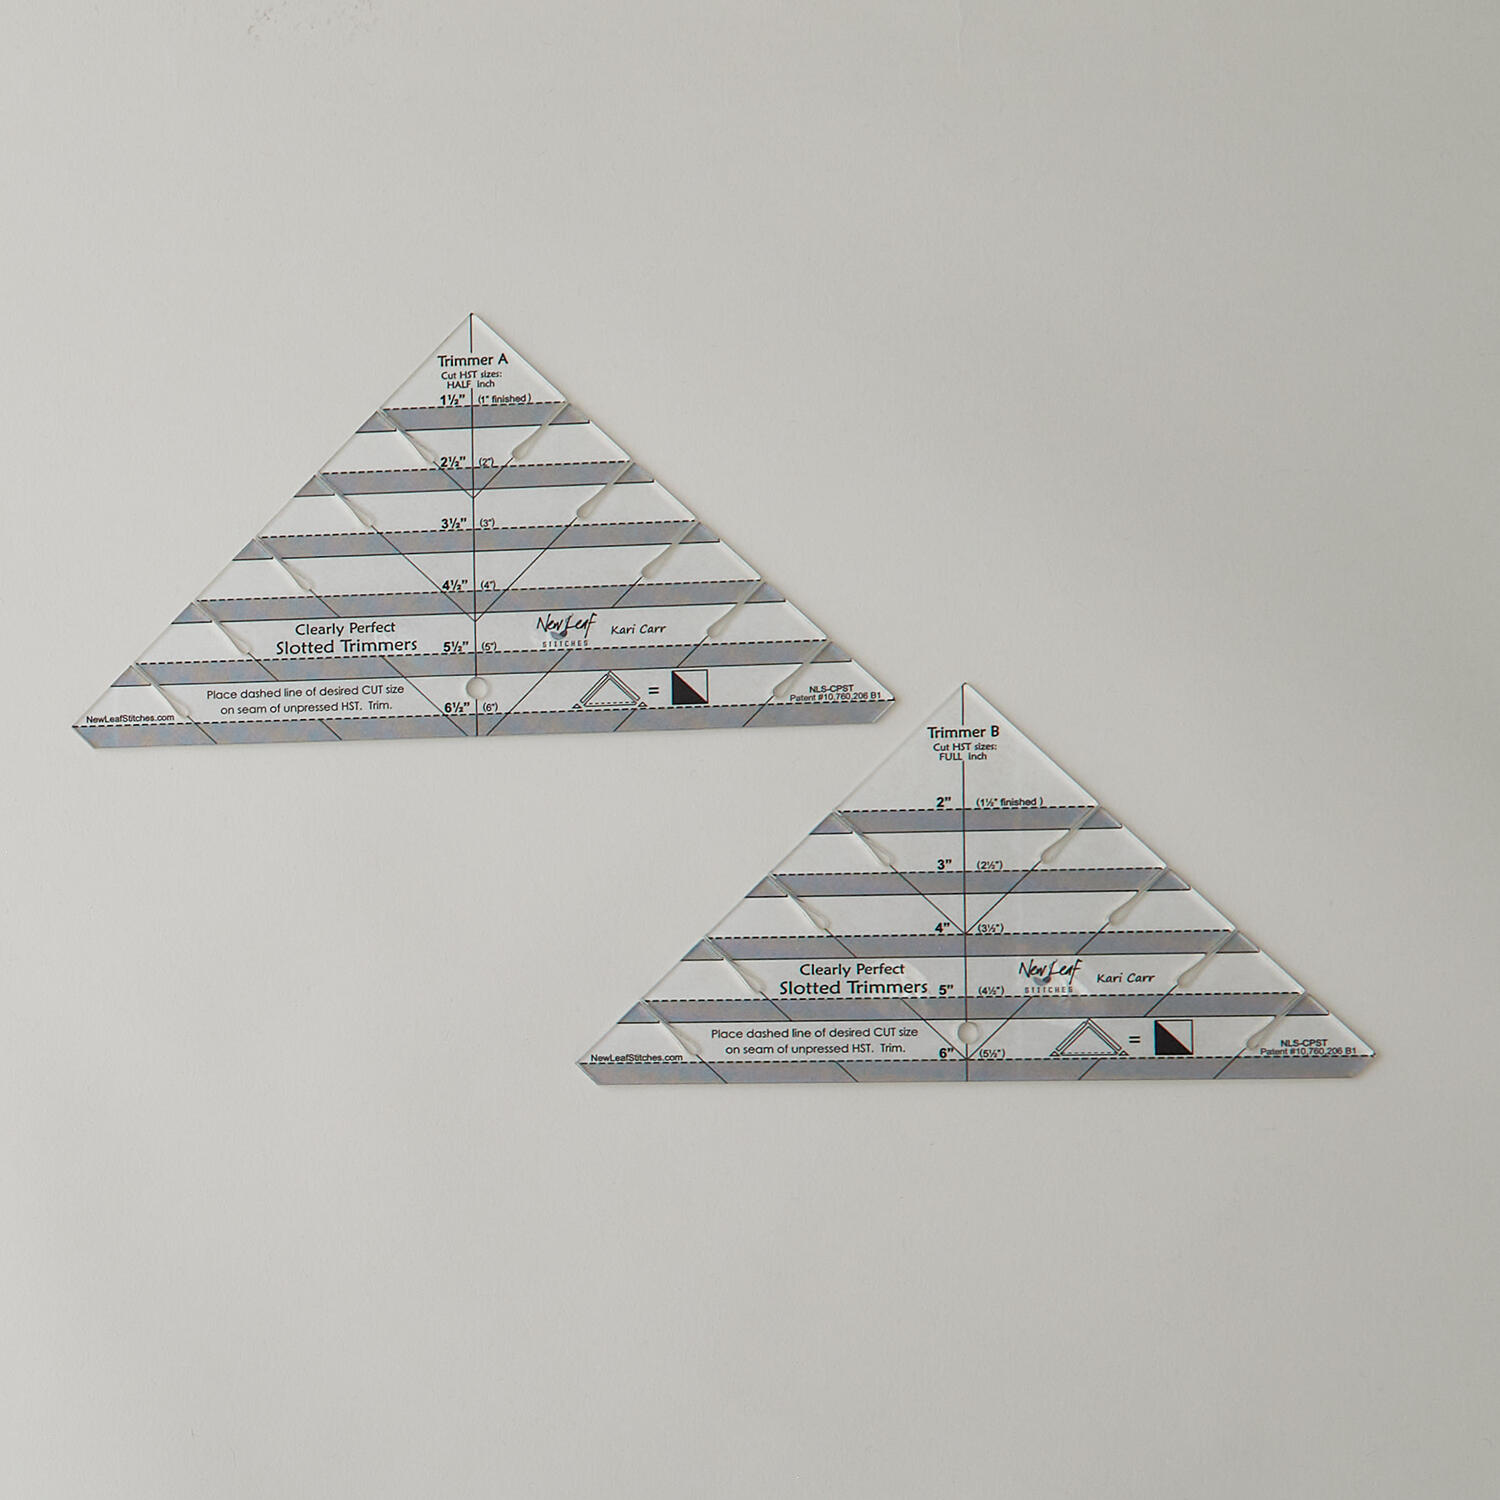 Clearly Perfect Slotted Trimmers$33.95Shop →
 Missouri Star 45mm Rotary Cutter - Olga$19.95Shop →
 Missouri Star 6" Everyday Scissors - Lulla$12.95Shop →
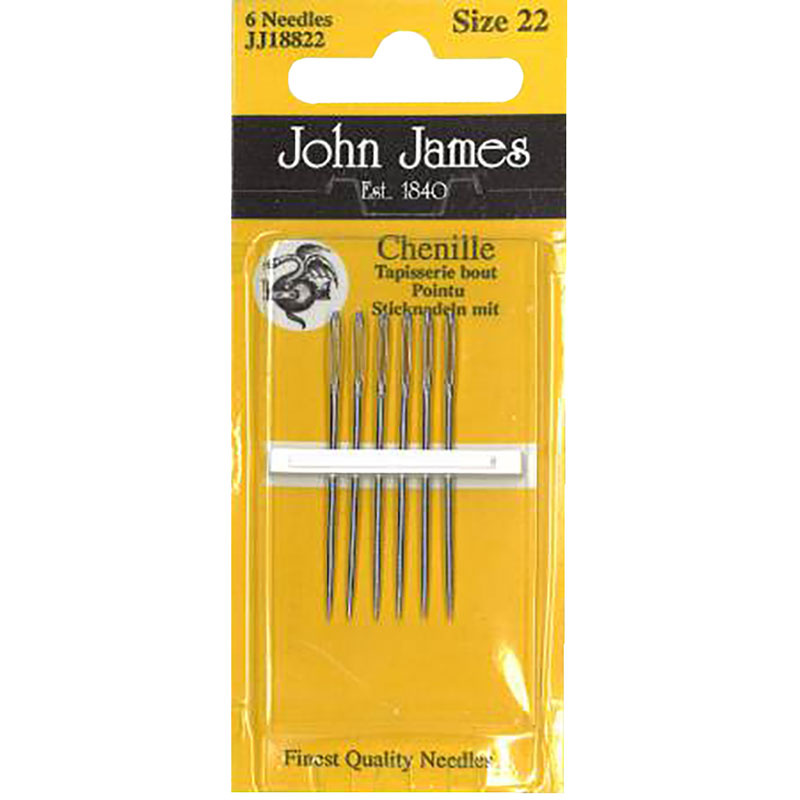 John James Chenille Needles - Size 22$4.25Shop →
 Gutermann Invisible Nylon Thread (250m / 273yds)$5.95Shop →
 MonoPoly™ Invisible Thread - Clear$8.75Shop →
 Missouri Star + Oliso TG1600 ProPlus Iron$209.95Shop →
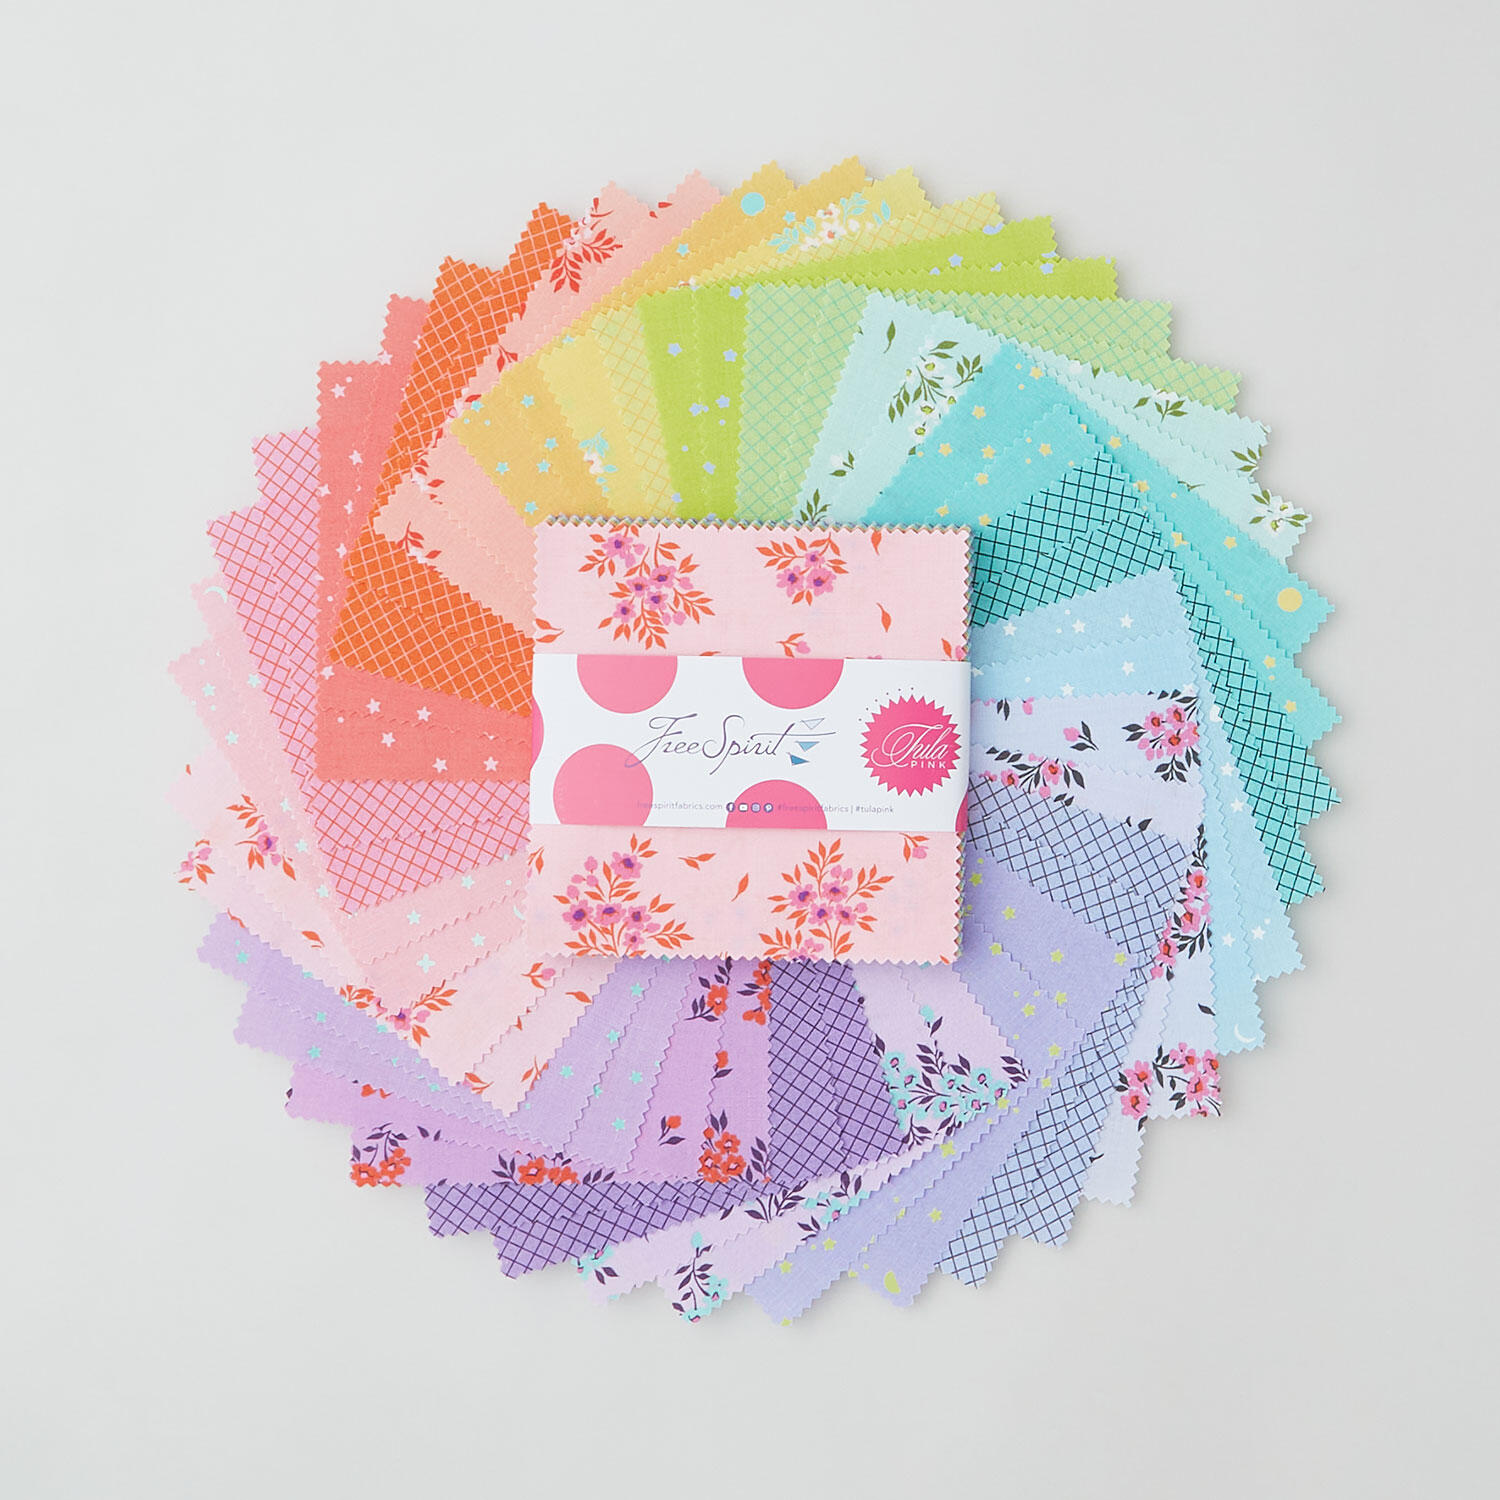 Full Moon Forest II Tula Pink's 50th Collection Charm Pack$15.95Shop →


