After a long winter, seeing springtime flowers like tulips and crocuses pop up is so exciting! Capture that feeling of being "sew" excited with the refreshing First Bloom Quilt! The flowers are easy to create with a jelly roll of watercolor floral prints from the Secret Garden collection from Dear Stella Fabrics. With petal shapes and floral prints, this quilt says, "Hello, spring. It's bloomin' good to see you!
Misty Doan grew up surrounded by sewing and quilting. She loves spending time sharing tutorials each week each week, and when she’s not stitching up one of her fun sewing projects for home decor, most likely you’ll find her hanging out with her husband and three awesome kids or working on a house project.
After a long winter, seeing springtime flowers like tulips and crocuses pop up is so exciting! Capture that feeling of being "sew" excited with the refreshing First Bloom Quilt! The flowers are easy to create with a jelly roll of watercolor floral prints from the Secret Garden...
How long is the tutorial video?
The tutorial video is 00:22:29.
Are supplies listed for this tutorial?
Yes. The tutorial page includes the supplies and materials connected to this project.
Video Transcript
Hey everyone, it is Misty and welcome to At Home. I know we are deep in the cold of winter, but spring will be here before you know it. And I love that tulips are always the first ones to pop through that winter weather. So, I'm calling this quilt first bloom. And I can't wait to show you how to make it. So to make this quilt, you are going to need one package of 2 and 1/2 in strips. And I use this beautiful collection called Secret Garden by Clene Designs for Dear Stella. You're also going to need three accent fabrics. So I use this cute little gingham and two different shades of green. 3/4 of a yard each for those. For your background, you need 3 and 1/4 yards. And that does include all of your sashing strips and this first little outer border that we did. For your backing, you need 5 and 1/4 yards. And that is with vertical seams or 2 yards of a 108. In addition to that, you're going to need both the small Missouri Star drunkard's path template and the mini. It's also going to be really helpful if you have a 28 mm rotary cutter as well as your regular. a little bit of glue and a marking pen. So, let's get started. All right. So, this is the block that we will be making today. Of course, we have this adorable little pieced petal as well as our leaves on the bottom. So, we're going to begin with making that petal. And so, to do that, we're going to take our 2 and 1/2 in strip and I am going to cut this into four 10in sections. So, 2 and 1/2 by 10 in rectangles. So, let's just cut away the salvage here. And then I like to turn my ruler. There we go. There's our first one. And our second. There we go. All right. And so then from the first two of these strips, we are going to be using our small drunkard's path or I'm sorry, our mini drunkard's path. Better say that correctly. And we are going to cut our curves in opposite directions. So I'm just going to line this up so that this uh bottom edge of the curve meets exactly with the bottom point and it's straight along this edge. And then I'm going to use my little 28 mm rotary cutter and just trim off that little bit from the outside edge. Now, before I move this, I'm going to place a little mark right here with my chalk pen. And that is where I'm going to start my background fabric. So, that's just a little reminder for me of where I'm going to line this up later. And so then now I want to flip this and do the same thing in the opposite direction. I am going to flip it over since I'm right-handed, but we want these to be curving different directions. So again, just trimming that little bit off, lining it right up with those edges, and then making sure this is nice and straight. And then over along this edge, the curved side, I'm gonna make that mark so that I can line up my background fabric. So now both of these are prepped. I can set this curve aside for now. And then from my background fabric, I'm going to cut some 2 and 1/2 in by 3 and 1/2 in rectangles. And this is what we're going to use to cut the outer curves to match up with that. So, we will line up the 2 and 1/2 inch line with one side here. And then we'll make our first cut. Just take our time in there. Whoops, I missed one little spot. There we go. There's one. And now I can flip this around. And I still have plenty of room. to get my other cut as well. But you do need the 28mm rotary cutter to do that tighter curve. So, be sure to have that. If you don't have one, you could mark it with a pencil and cut it out with scissors. So, there's options there. All right. So, let's set these aside for now. And now, I'm going to take one of these. So, we know this is going to look like this once we have it sewn, but you actually have to add your drunkard's path a little bit differently. But the first thing I want to do is go ahead and find our center points. So, I'm going to look at that reference mark I made and I'm going to fold this corner up to match that point and just give myself a finger press right in the middle of that curve. And then I'm going to do the same thing with this piece. Just like so. Just a little finger press in the middle. And then now I'm going to line up this straight edge with that mark. I love to use glue here. So I'm going to put a little dot of glue right below my mark. And I don't know if you guys can see that mark, but I certainly can. And so we'll do that there. And then I am also going to line up my middles now. So just kind of pull this around. Line those up. And I like to use one pen, especially on these little curves. I find any more than that just really gets in my way. But feel free to pin as much or as little as you would like. So, we're just going to place a pin right there in the middle. And then I'm going to pull this opposite side around. And I'm going to use glue again here to hold this. So, let's go ahead and just line up that outside corner. They should meet at 90 degrees. And then now, even though it looks a little rumply, let's go ahead and take this to the machine. I promise it's going to turn out great. So, let's begin with our needle right on the edge of that white curve. And we're sewing a quarter inch seam allowance. Okay. And so, I am just going to gently ease my way around this curve. And you can see once you start stitching, the bias of that fabric just kind of lets it settle in there and go exactly where you want it. So I kind of just get to that halfway point, readjust, make sure I don't have any little pleats, and continue around the curve. And I love that the glue keeps my ends lined up so nicely because that's really the hardest part of working with these little curves. And so you're just going to take your time. There we go. And we've made it around there. So there, our curve is sewn. You can see this is one of my favorite things about drunkard's paths in general is you look at this and you're like, there is no way that's going to work. And [clears throat] then we take it over to the iron and we just gently roll this back. And look at how great that turns out. So wonderful. So, just like we did on this side, we're now going to do this curve in the opposite direction. So, remember, we're going to fold this up, find our halfway mark. We'll fold this in half, find our halfway mark, and then we will begin our gluing and pinning. So, let's go ahead and go through this one more time. So, a little dab of glue right there at the top. Lining up the outside part of my fabric with the outside edge of this fabric. Then grabbing a pen, lining up my middles, keeping those directly in line with one another, and pinning through. And then pulling this last side around with another little dot of glue. Whoops. If I can get the lid off. There we go. And a little bit goes a long way. You don't need much. And so then we line those up exactly. Oh, this little one popped off, but that's okay. We can go back here. Just pinch it again. Sometimes you just have to hold it for a second. There we go. All right. So then let's take this to the machine. Since this is curving in the opposite direction, I'm starting at the other side just because that's easier for me to manage since I'm right-handed. And if you have a little stiletto, that can be handy as well. But I just kind of use my nails to get everything lined up. So, approaching that middle point, leaving my needle down, moving the pin out of the way, and I'm actually going to lift my presser foot here and just make sure everything is still lining up. There we go. Okay. And then we can go and press this one. Beautiful. All right. That one stretched a little bit when I pressed it. So, I'm just going to make sure that this edge still looks nice and straight. I can just trim off this little bit here that kind of bowed out. Beautiful. All right. And so now that we have these opposites, we are going to now sew our 2 and 1/2 by 10 in rectangle to each inner side. So we'll just pair these together like this and like this and sew down each side here. So let's take this over here to the machine. There we go. Take a few stitches to get us started. Then make sure everything is lined up. There's our first one. Okay. All right. So, now let's cut my threads apart here. And we're going to go ahead and press these open. So, set the seam and roll it back. I love this project, especially with these beautiful florals, because I think it's a great reminder to us that once we piece these together, it's hard to even see the seams anymore because the fabric just kind of blends together. I love that. There we go. Okay, so here is our two little units. And so now we get to move over to our small drunkard's path. And we're going to do basically the exact same method that we did with those minis using the small. And so we're going to do this inside curve now. So lining up along this long straight edge. And we can use our regular rotary cutter now to cut away that excess. And just like we did before, we're going to keep this lined up on the edge there and make a little reference mark out here because we will use that. I can go ahead and finger press this in half just to have my center mark ready for me. And we'll do the same thing on this opposite side. Cut that away. Whoops. There we go. Make our little mark and crease. There we go. All right. And so now we can cut the background pieces for these. And for this size, you are going to need a 4 and 1/2 by 5 and 1/2 in rectangle. And so we are going to do the exact same thing. We'll get two of these background arcs out of each of these rectangles. Just making sure our edges are lined up with the 4 and 1/2 in marks on this template set. There is the first one. And we can flip it around and get the second. All righty. There we go. All right. So, I have one of these inside curves already done. So, I just want to check here and make sure. There we go. So, we're going to work on this one just because I think you guys are getting the idea now. And so let's find our center mark here. If I can get those little edges to line up for me. There we go. Let me move some of this out of the way. All right. And so just like before, I find it helpful to line up this piece first. So we'll do that little dot of glue right by my mark. Oops. There we go. I'll just press that so it stays in place well for me. Then we'll pull this around. Line up our center. There we go. Grab a pin. And finally, glue this outside piece as well. And of course, you could totally pin instead of glue. Like I said, I just find the glue to be so helpful at keeping those lined up exactly. It's worth the time for me. There we go. So, there is our larger curve now ready to sew. So, we'll take it to the machine and just like before, we're going to stitch this down with a quarter inch seam allowance. All right. So, I'm going to start right at the edge of that fabric. And I am going to back stitch just a little bit. And you'll notice how the fabric is already starting to just kind of ease into place. And we will just make our way here to that center point, pulling the pin out before we get there. And then I'll take some time with my needle down. You can even lift the presser foot if you need to just readjust this fabric. And with these small curves, you really do have to take your time. So, I'm going to go a little bit farther. There we go. All right, that looks so nice. All right, let's go ahead and press that back. Sometimes where you glued it gets really stuck. So I have to peel that away here. There we go. Roll that seam back. And now our two pieces are all ready. And so we can now sew these units together. And we're going to catch this little overhang in our quarterinch seam. So you don't have to worry about that at all. It's all going to get captured. So, let's go ahead now and take this to the sewing machine and we're going to sew a quarter inch right down this side. Here we go. Make sure we're lined up. And one little tip here, as I'm approaching, I can see where that seam is. And so I want to make sure as I'm sewing, I'm gonna end up right in line with that seam. So that's what I'm headed for. Beautiful. All right, let's go ahead and give this a press now. We can set that seam and roll it back. And I did just want to show you here how nicely that matches up there in the middle. And so you don't see any of that overhang anymore. It turns out so great. So now the flower part of our block is complete. So, let's talk about how we made the leaves because it's basically the exact same concept of what I've just showed you. And so, from our accent fabrics, remember we have three different ones that we've used in the quilt, you are going to cut 4 and 1/2 by 10in rectangles. And so, they end up measuring the exact same size as our flower units before we sew them together. Right? And so then for these, we're just going to use the small template to cut both curves. So each one is going to have one curve cut this way. And then flip it around and have one curve cut this way. And because this one is solid, you could technically cut them all the same and flip it. But I did use one print. So you want to be really mindful of that. So if you have a print, you need to make sure that you're cutting them in opposites. Now I have these already done because we have gone through how to do this with our flower block. And so just like we did there, we have our two pieces. We added the bigger curve exactly the same way. So nothing else you need to do there. And so now we can just place these right sides together. And I'll sew down this center seam. And again, making sure I'm going to line up where those meet and and meet that fabric there. So, as I get close, just going to make sure that those two points are as lined up as I can. And then I'm going to come towards this seam and make sure I'll intersect that with my quarter inch. All right. Now, let's give this one a press. have everything lay nice and flat here. Okay. And so then the last step is to just simply sew these two sections together. I didn't add any sort of stem. I think it, you know, visually you don't really need it. I think it turns out adorable. So this is how the block finishes. So let's go ahead and look how it fits into the quilt. We have six across by 1 2 3 four down. And so once you finished your blocks, you're going to cut your 2 and 1/2 in sashing strips to the same length as your block. And then from some additional strips from your pack, that's where we got our cornerstones. Those are all just cut at 2 and 1/2. So I did that between every single block and the rows and then finished it out without that on the outside as well. So let's look at this backing. It's this gorgeous floral. I absolutely love it. I quilted it with a pattern called Migrate, which I think is really pretty. I just used a white thread, so I'm not sure if you can see it there, but it turned out so nice. This finishes at 62 by 86, so a great twin size. I hope you guys enjoyed this tutorial on the first bloom quilt, and I'll see you next time on At Home. Hey everyone, thank you so much for watching at home. We're [music] so excited to be almost a million quilters strong here at Missouri Star. And so if you haven't already joined our family, be sure to subscribe and hit that notification bell so you can be notified of all of our future tutorials. And we'll see you soon.


 Misty Doan
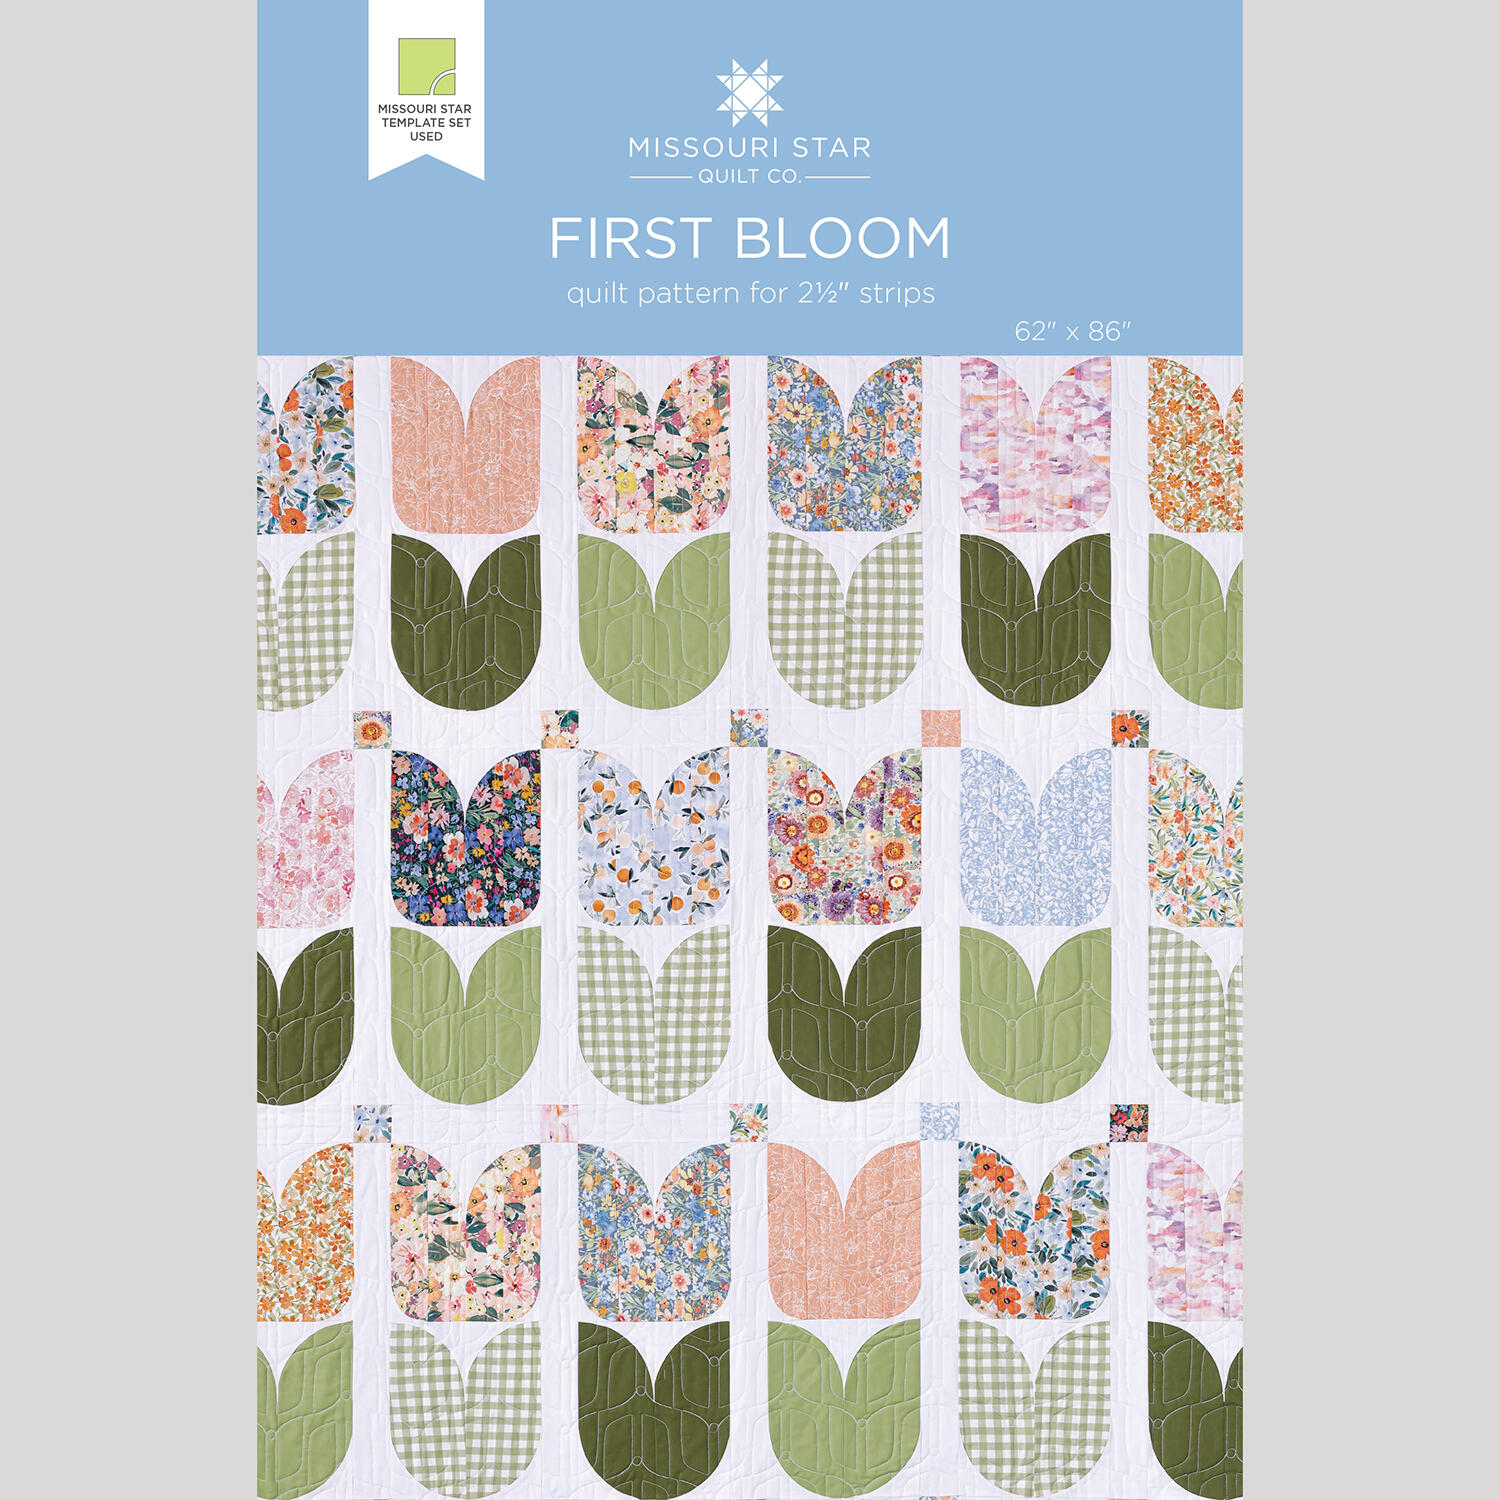 First Bloom Quilt Pattern by Missouri Star$8.50Shop →
 Digital Download - First Bloom Quilt Pattern by Missouri Star$6.95Shop →
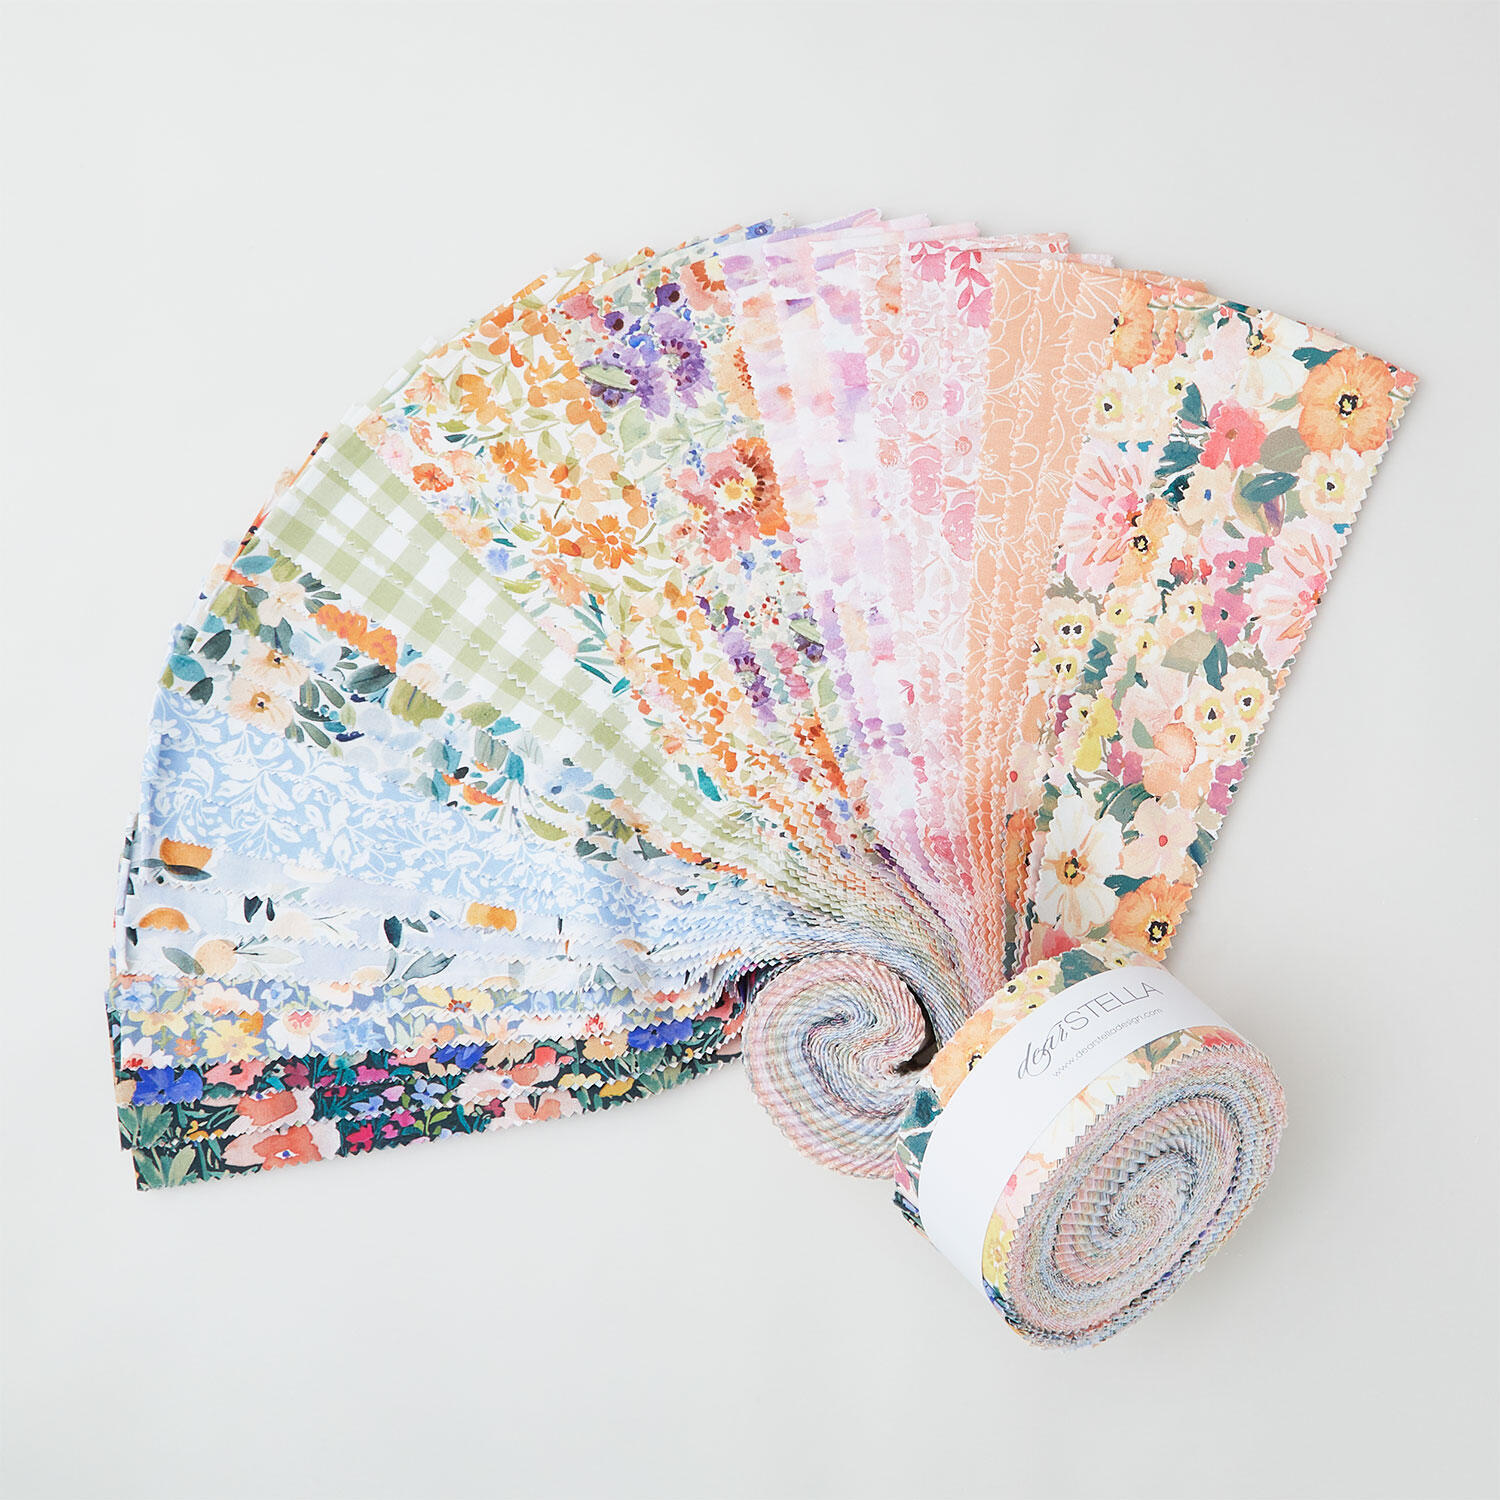 Secret Garden 2 1/2" Strips$41.95Shop →
 Kona Cotton - White Yardage$7.92Shop →
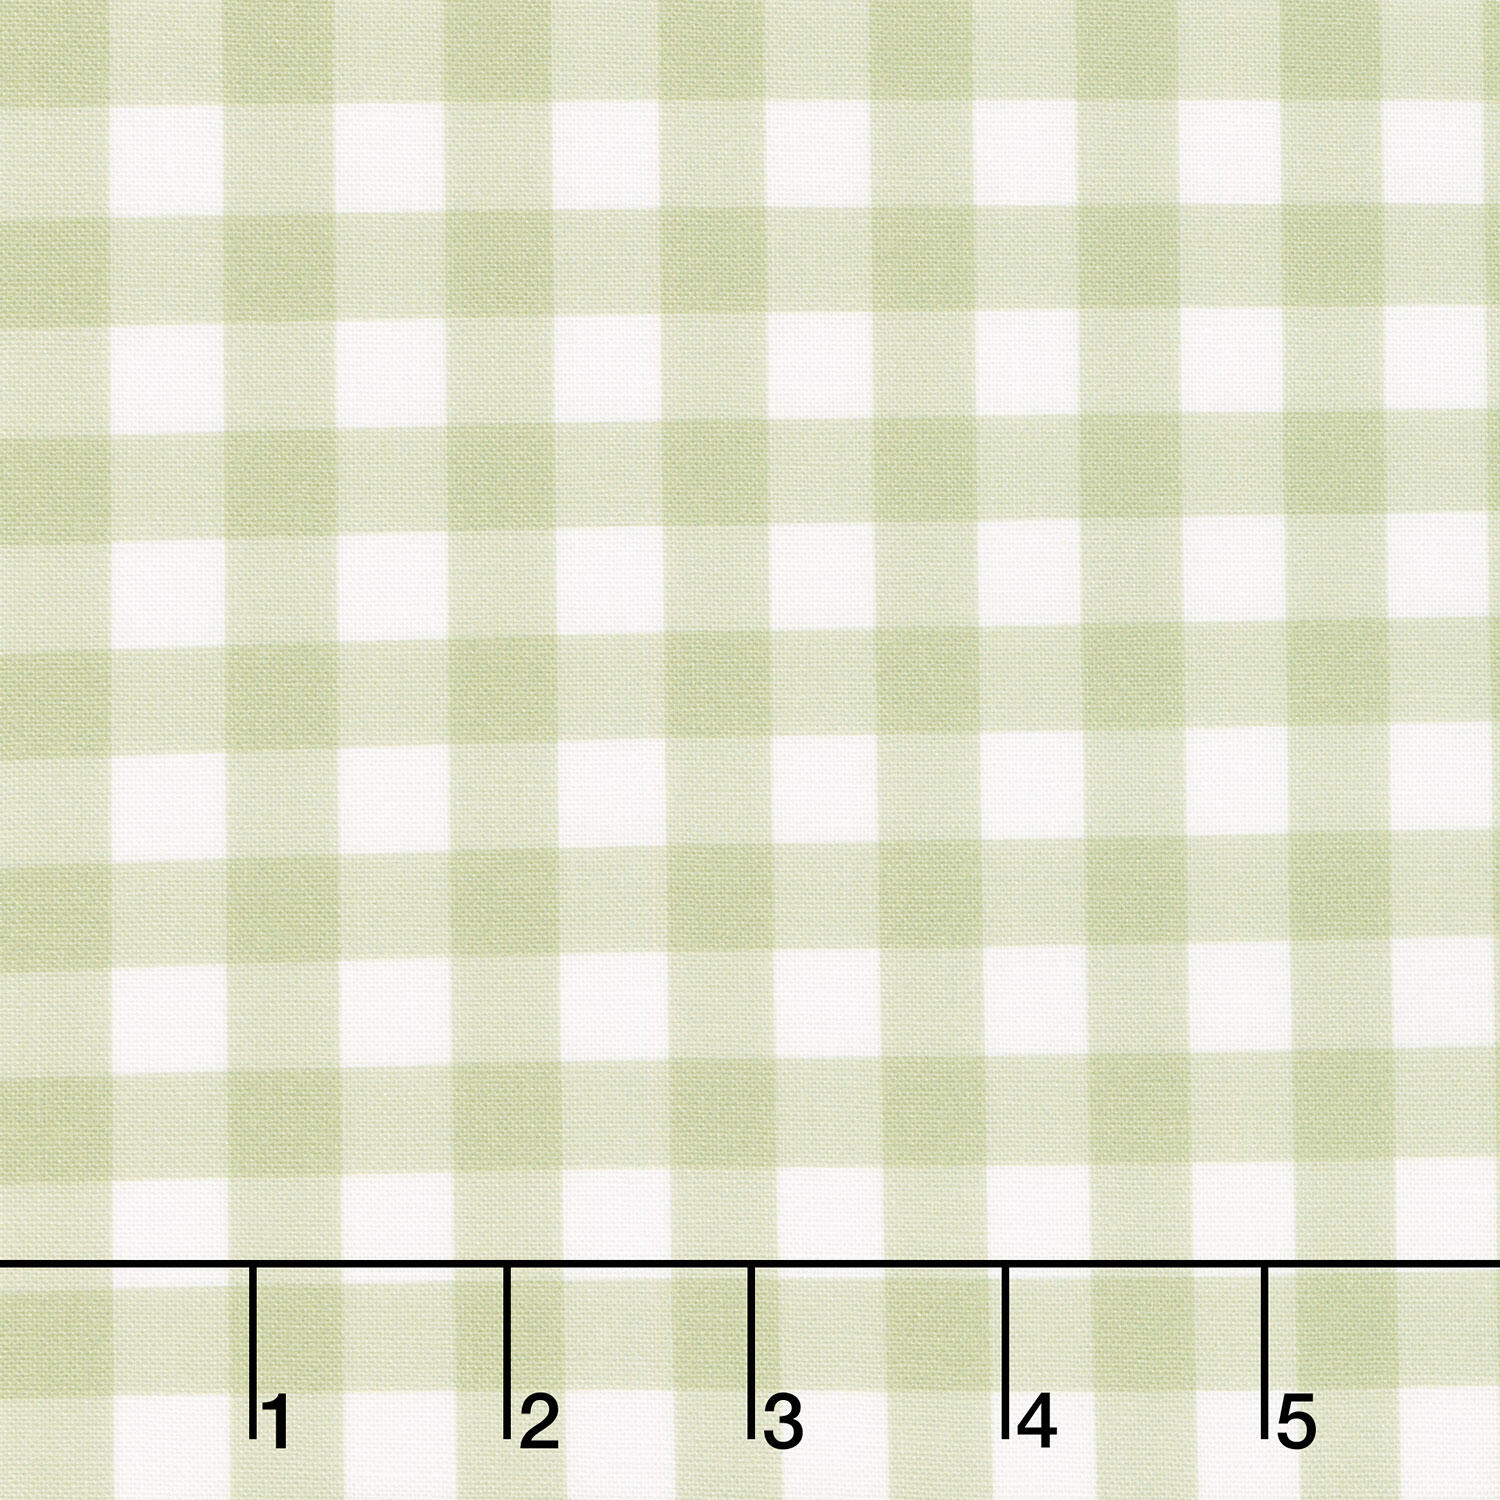 Secret Garden - Olive Grove Gingham Olive Yardage$12.04Shop →
 Kona Cotton - Tarragon Yardage$7.92Shop →
 Kona Cotton - Ivy Yardage$7.92Shop →
 Secret Garden - Climbing Garden Wave Yardage$12.04Shop →
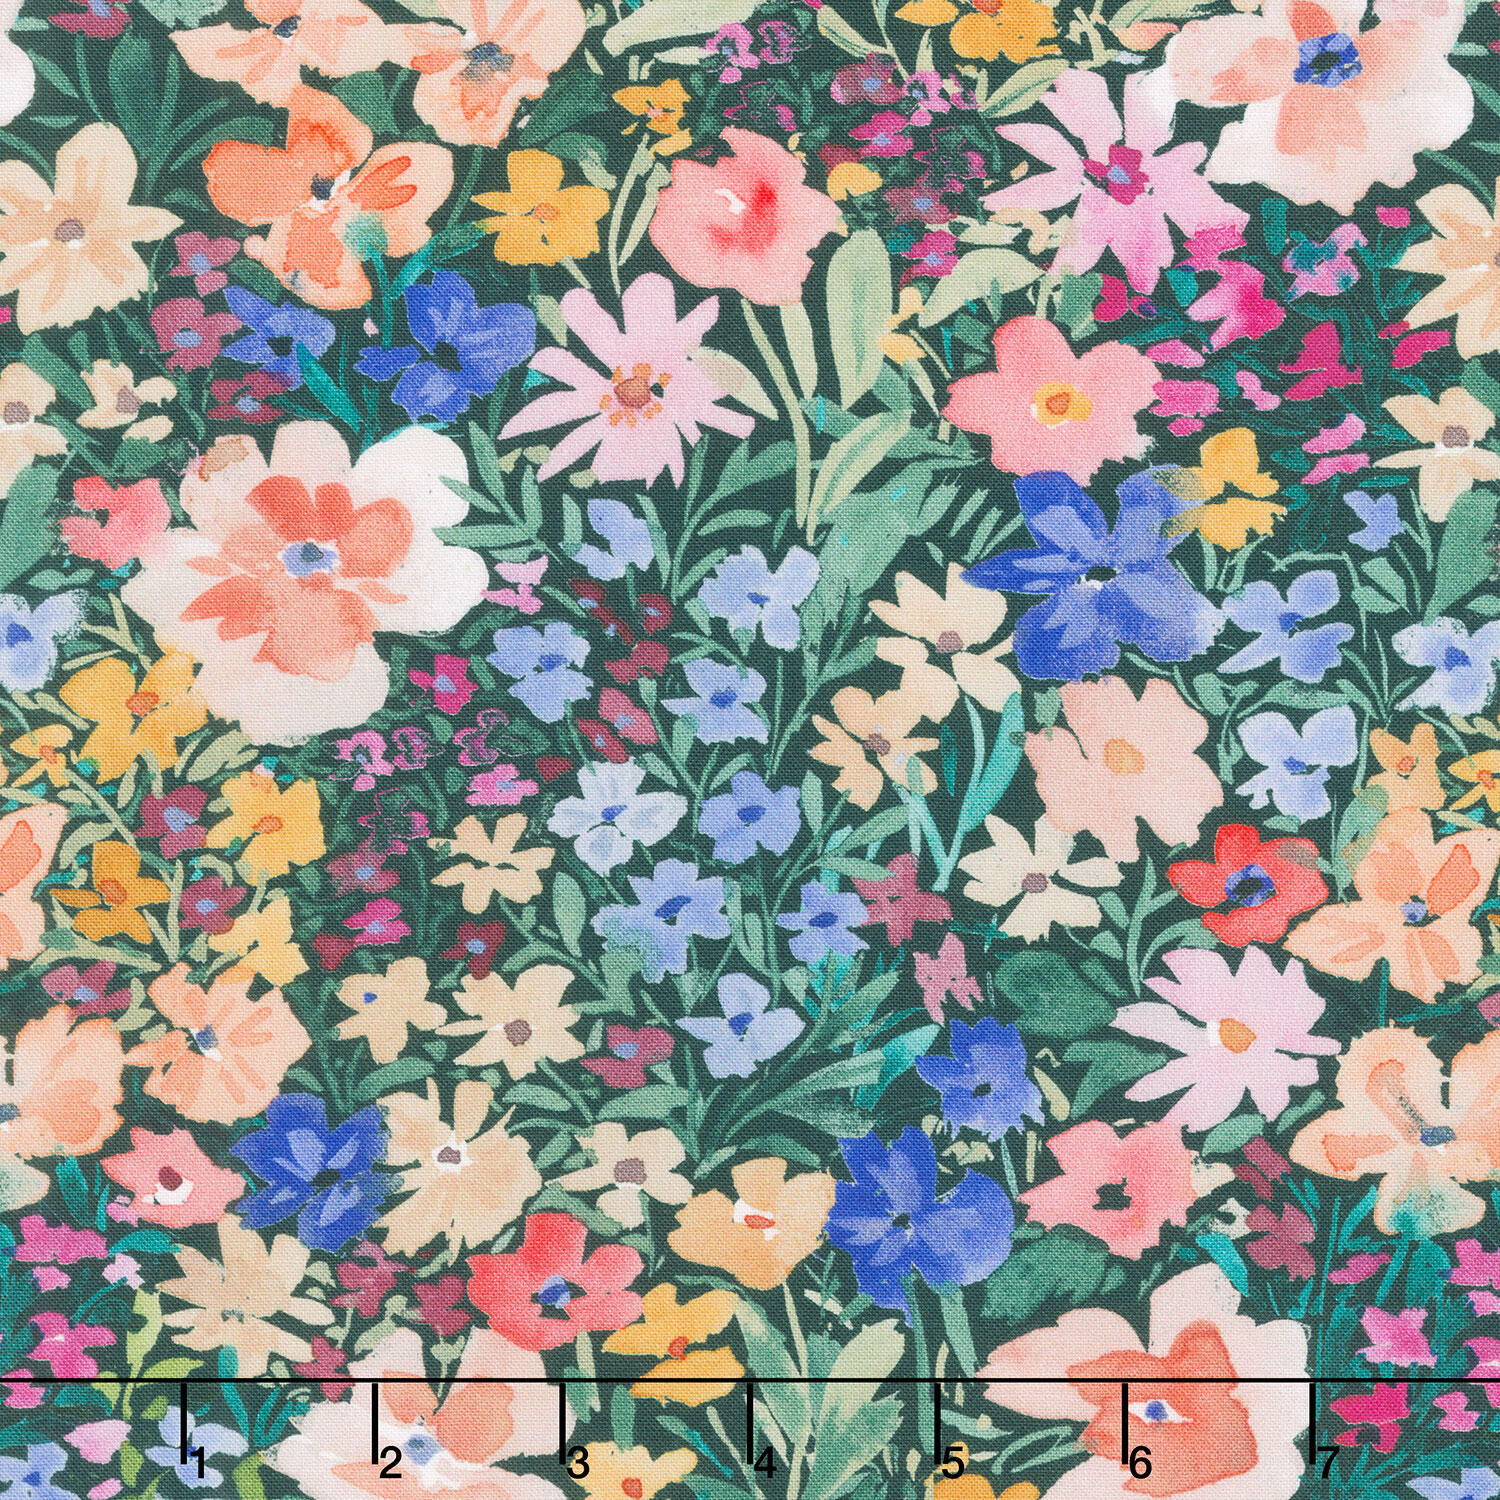 Secret Garden - Leap Year Multi Yardage$12.04Shop →
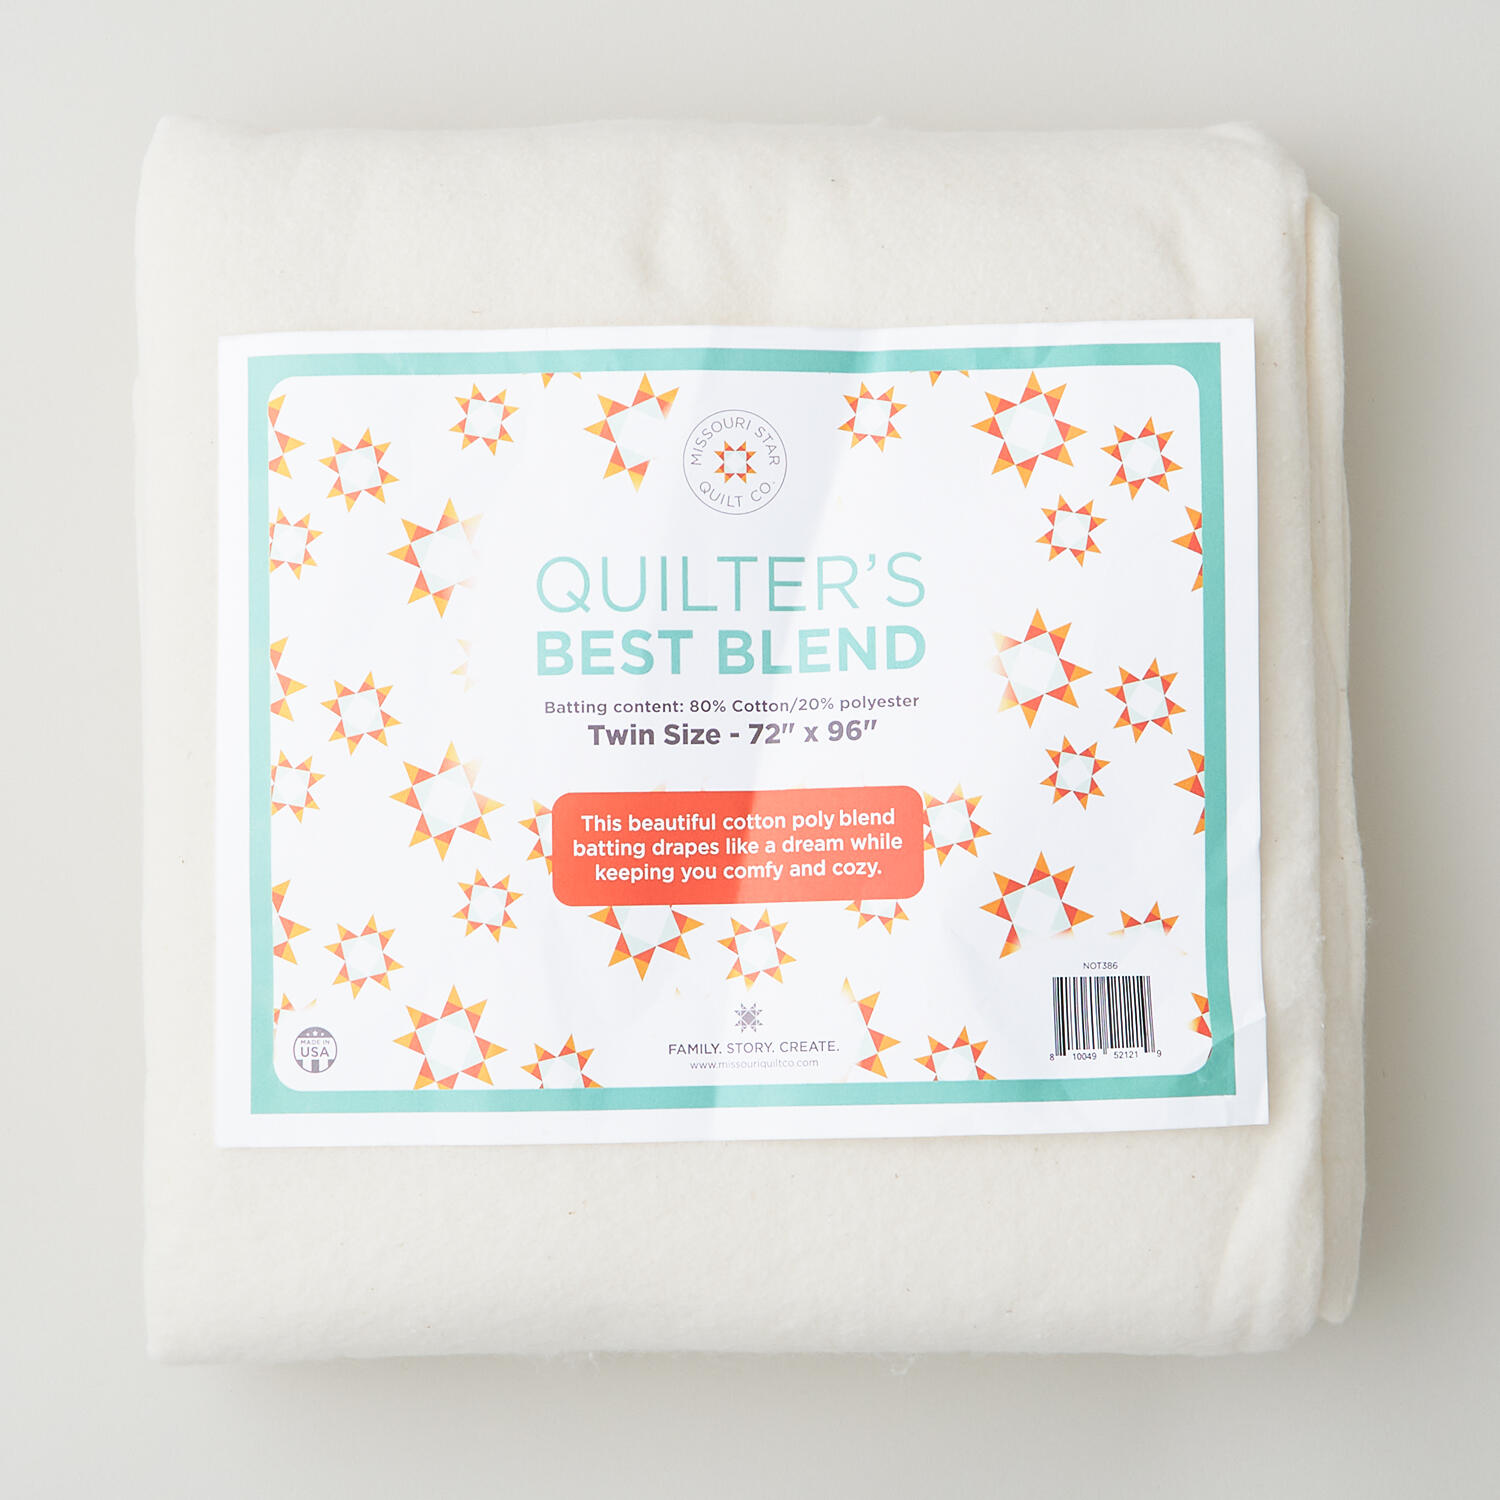 Missouri Star Quilter’s Best Blend Twin Batting$26.95Shop →
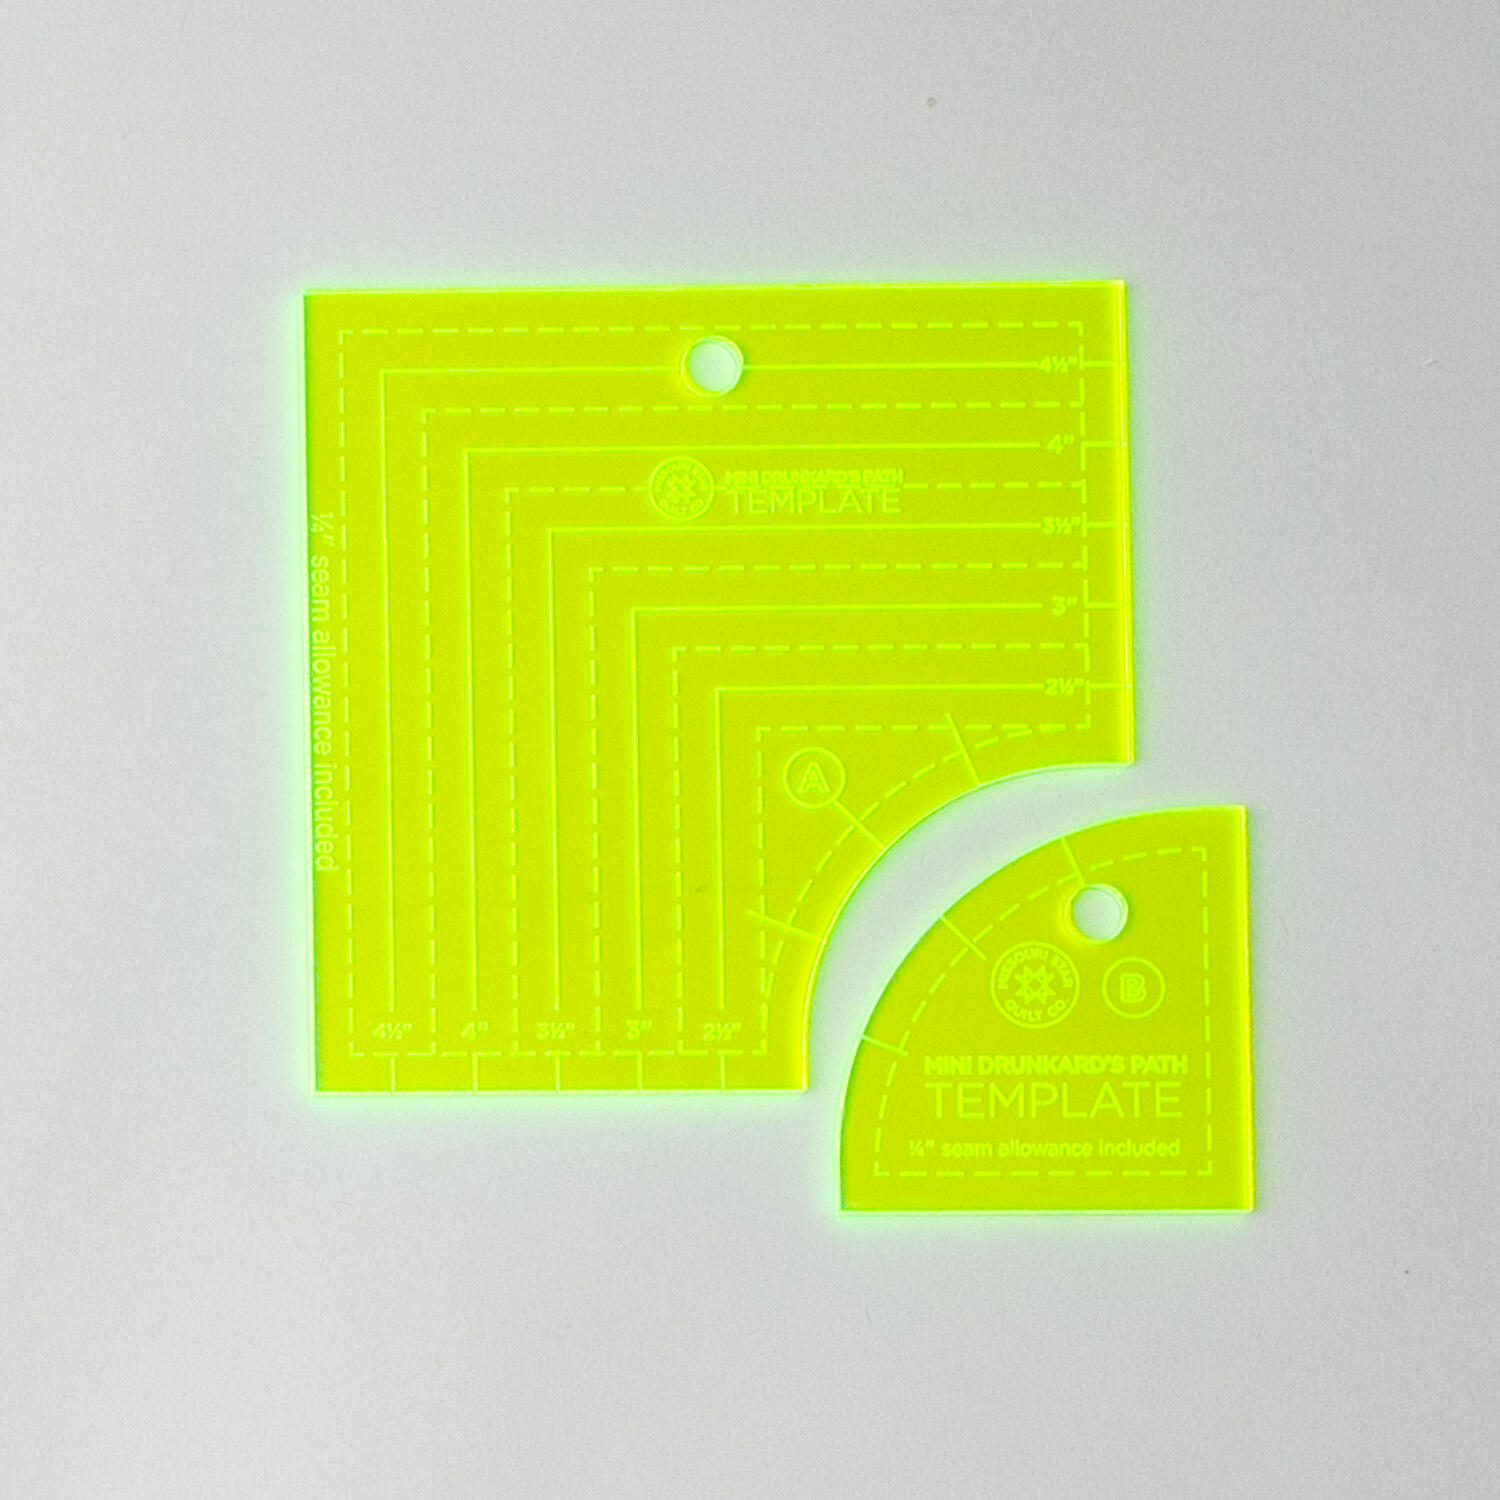 Missouri Star Drunkard's Path Circle Template Set - Mini$10.95Shop →
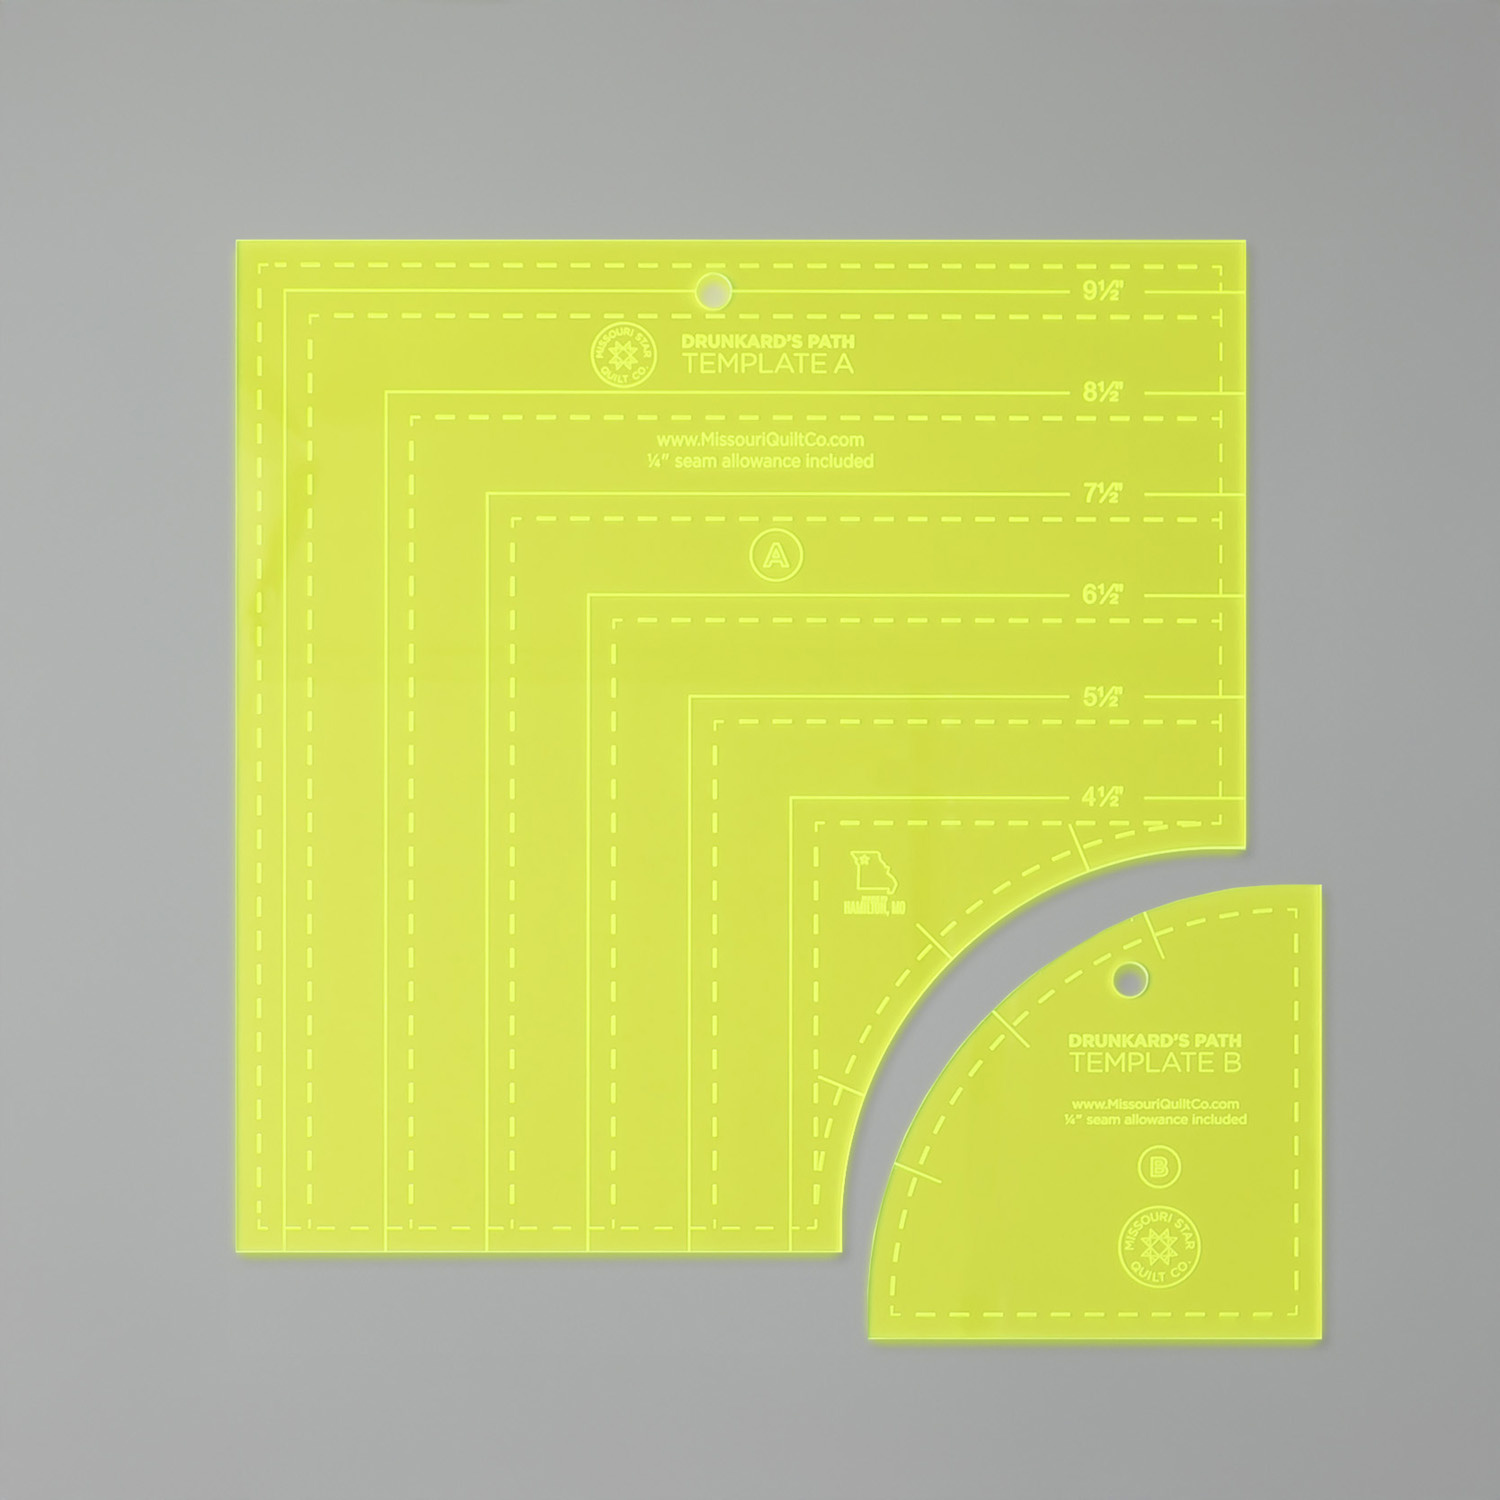 Missouri Star Drunkard's Path Circle Template Set - Small$21.95Shop →
 Missouri Star 45mm Rotary Cutter - Olga$19.95Shop →
 Missouri Star 8" Everyday Scissors - Amelia$19.95Shop →
 Missouri Star 50 WT Cotton Thread White$7.95Shop →
 Missouri Star + Oliso TG1600 ProPlus Iron$209.95Shop →
 Missouri Star Wooly Betty Board - 17.25" x 25.5" Orange Border$99.95Shop →
 Bernette 77 Sewing and Quilting Machine$1699.00Shop →


