
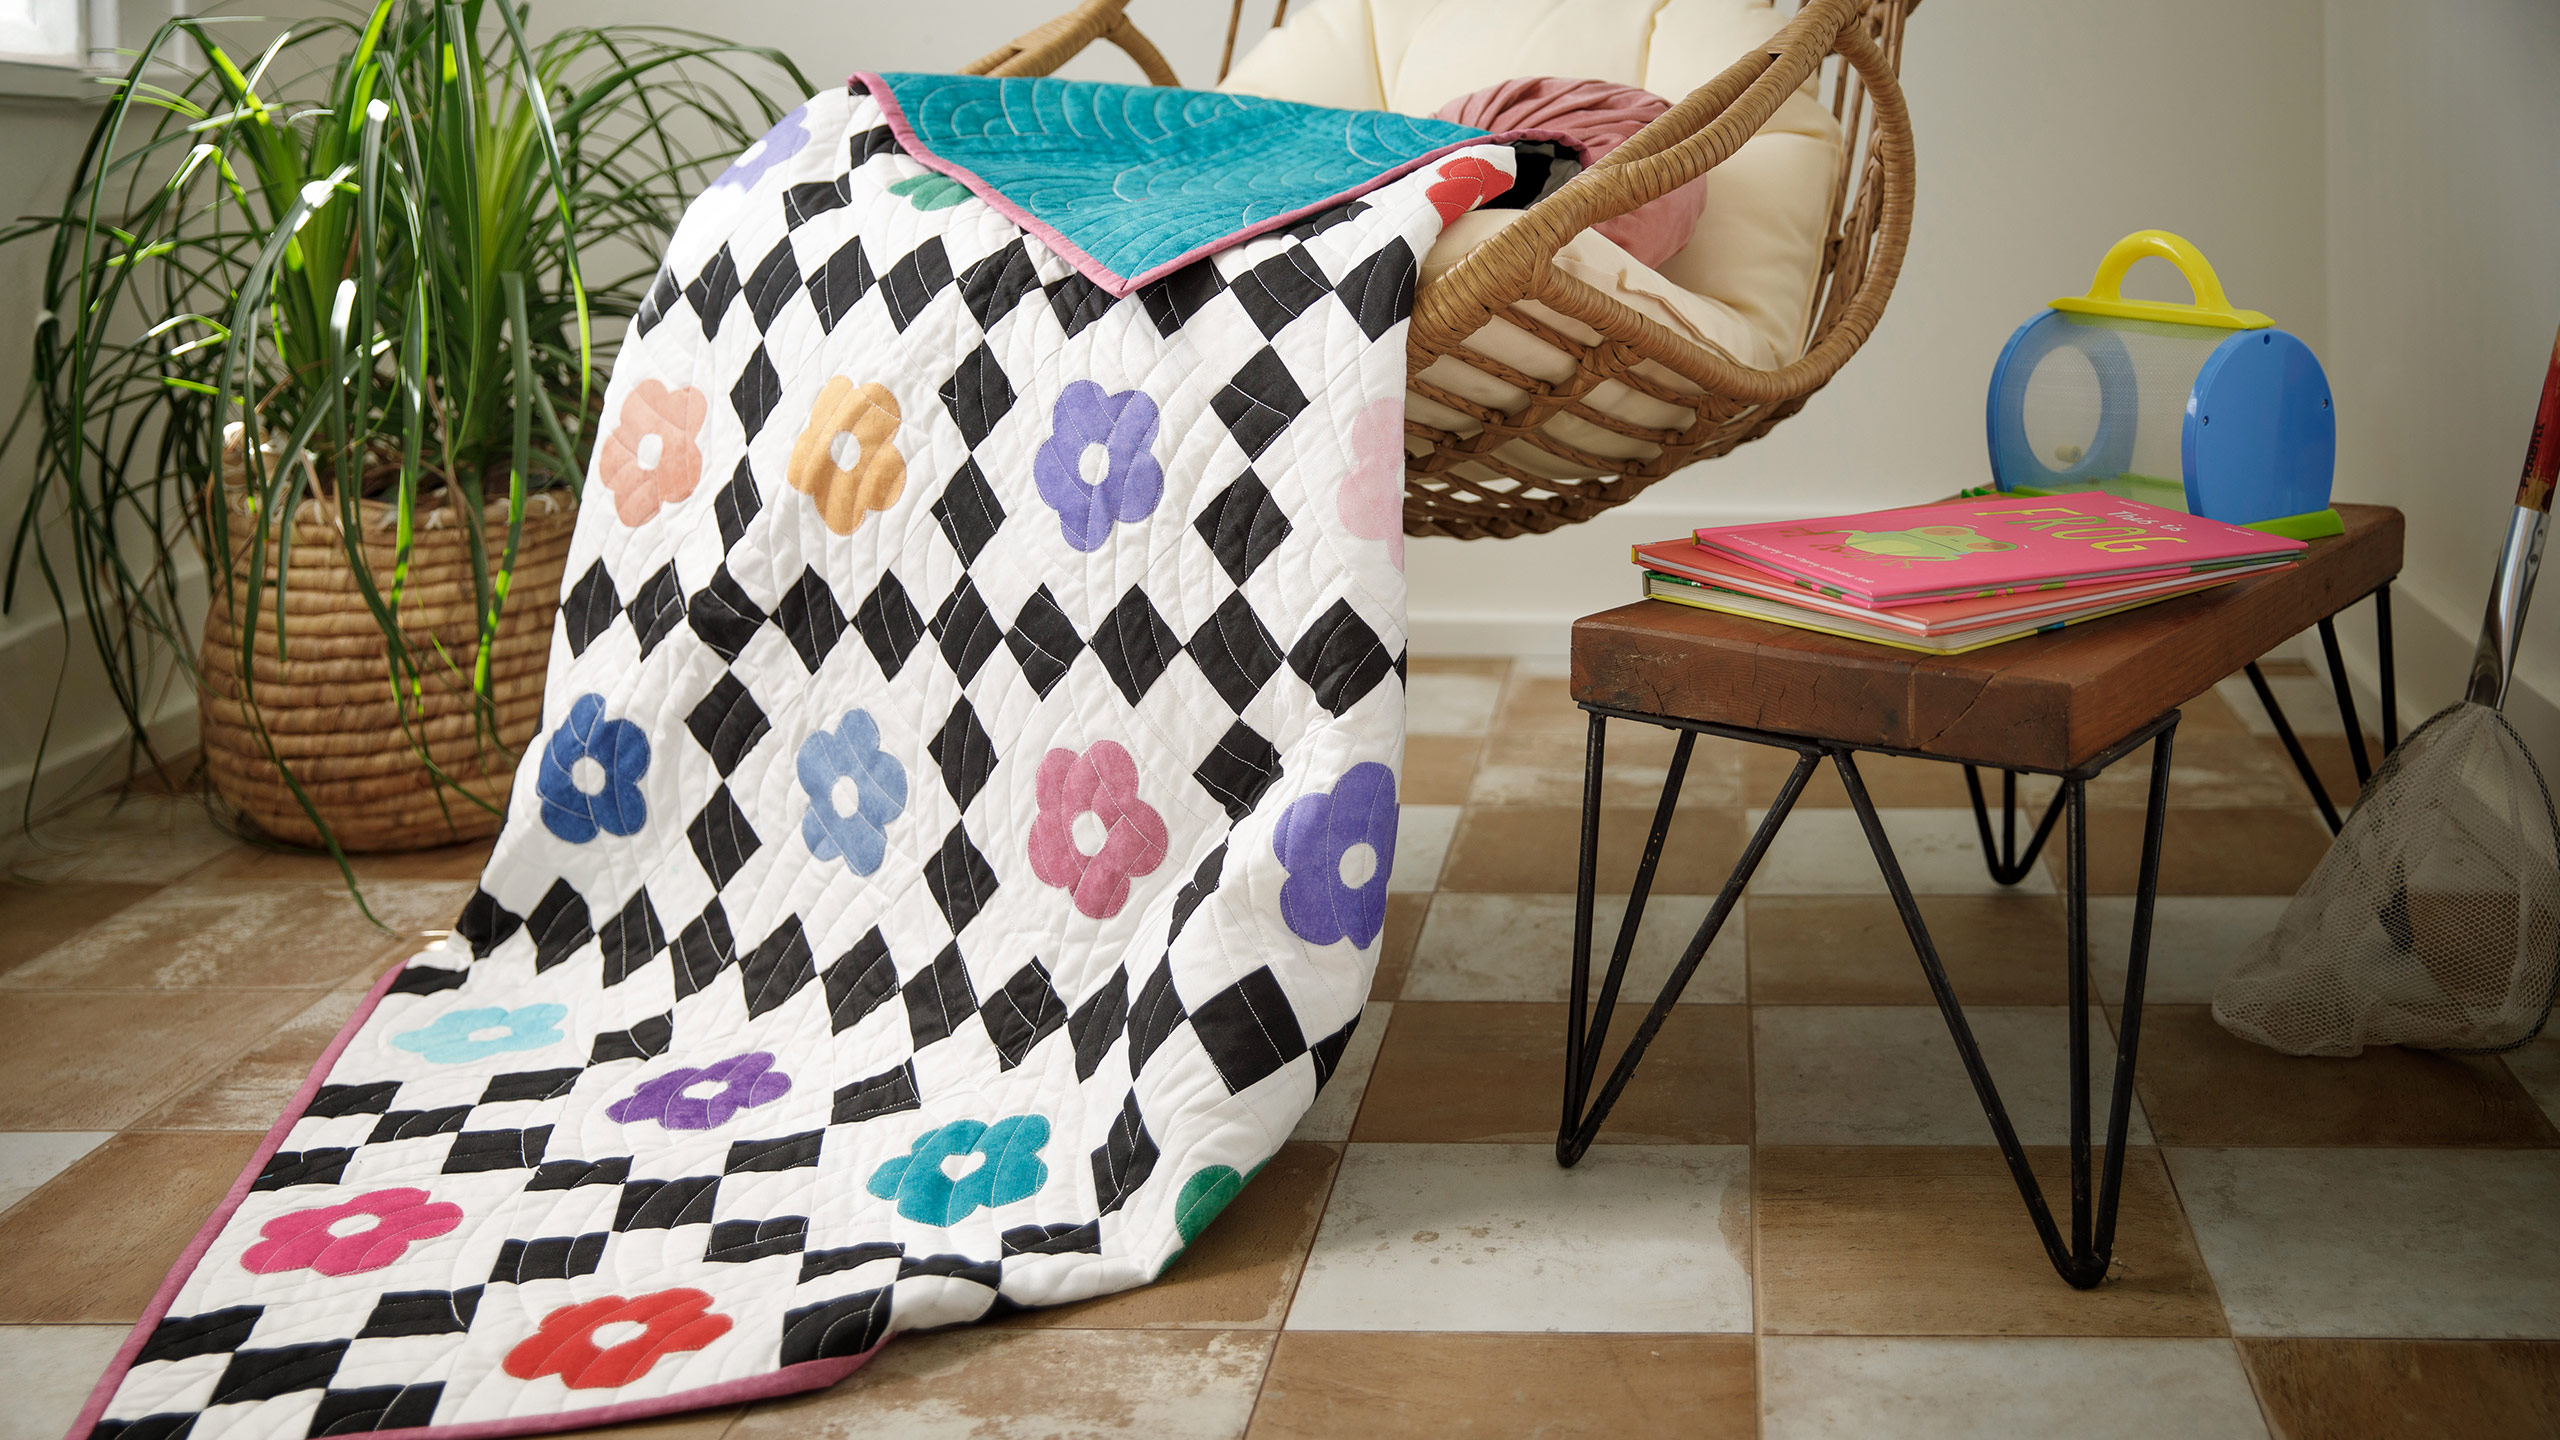
Flower Child Baby Quilt
 Misty Doan
- Charm Pack
- Modern
- Quilts
- Intermediate
- Quilt size 54" × 54"
Piece, love, and flowers, baby! The Flower Child baby quilt Misty makes in this episode features flowers that are appliquéd onto pieced squares. Never tried appliqué? Have no fear. With the Missouri Star Nesting Flower Template Set, you’ll have perfectly pretty petals!
Instructor
Misty Doan
Misty Doan grew up surrounded by sewing and quilting. She loves spending time sharing tutorials each week each week, and when she’s not stitching up one of her fun sewing projects for home decor, most likely you’ll find her hanging out with her husband and three awesome kids or working on a house project.
Shop this tutorial
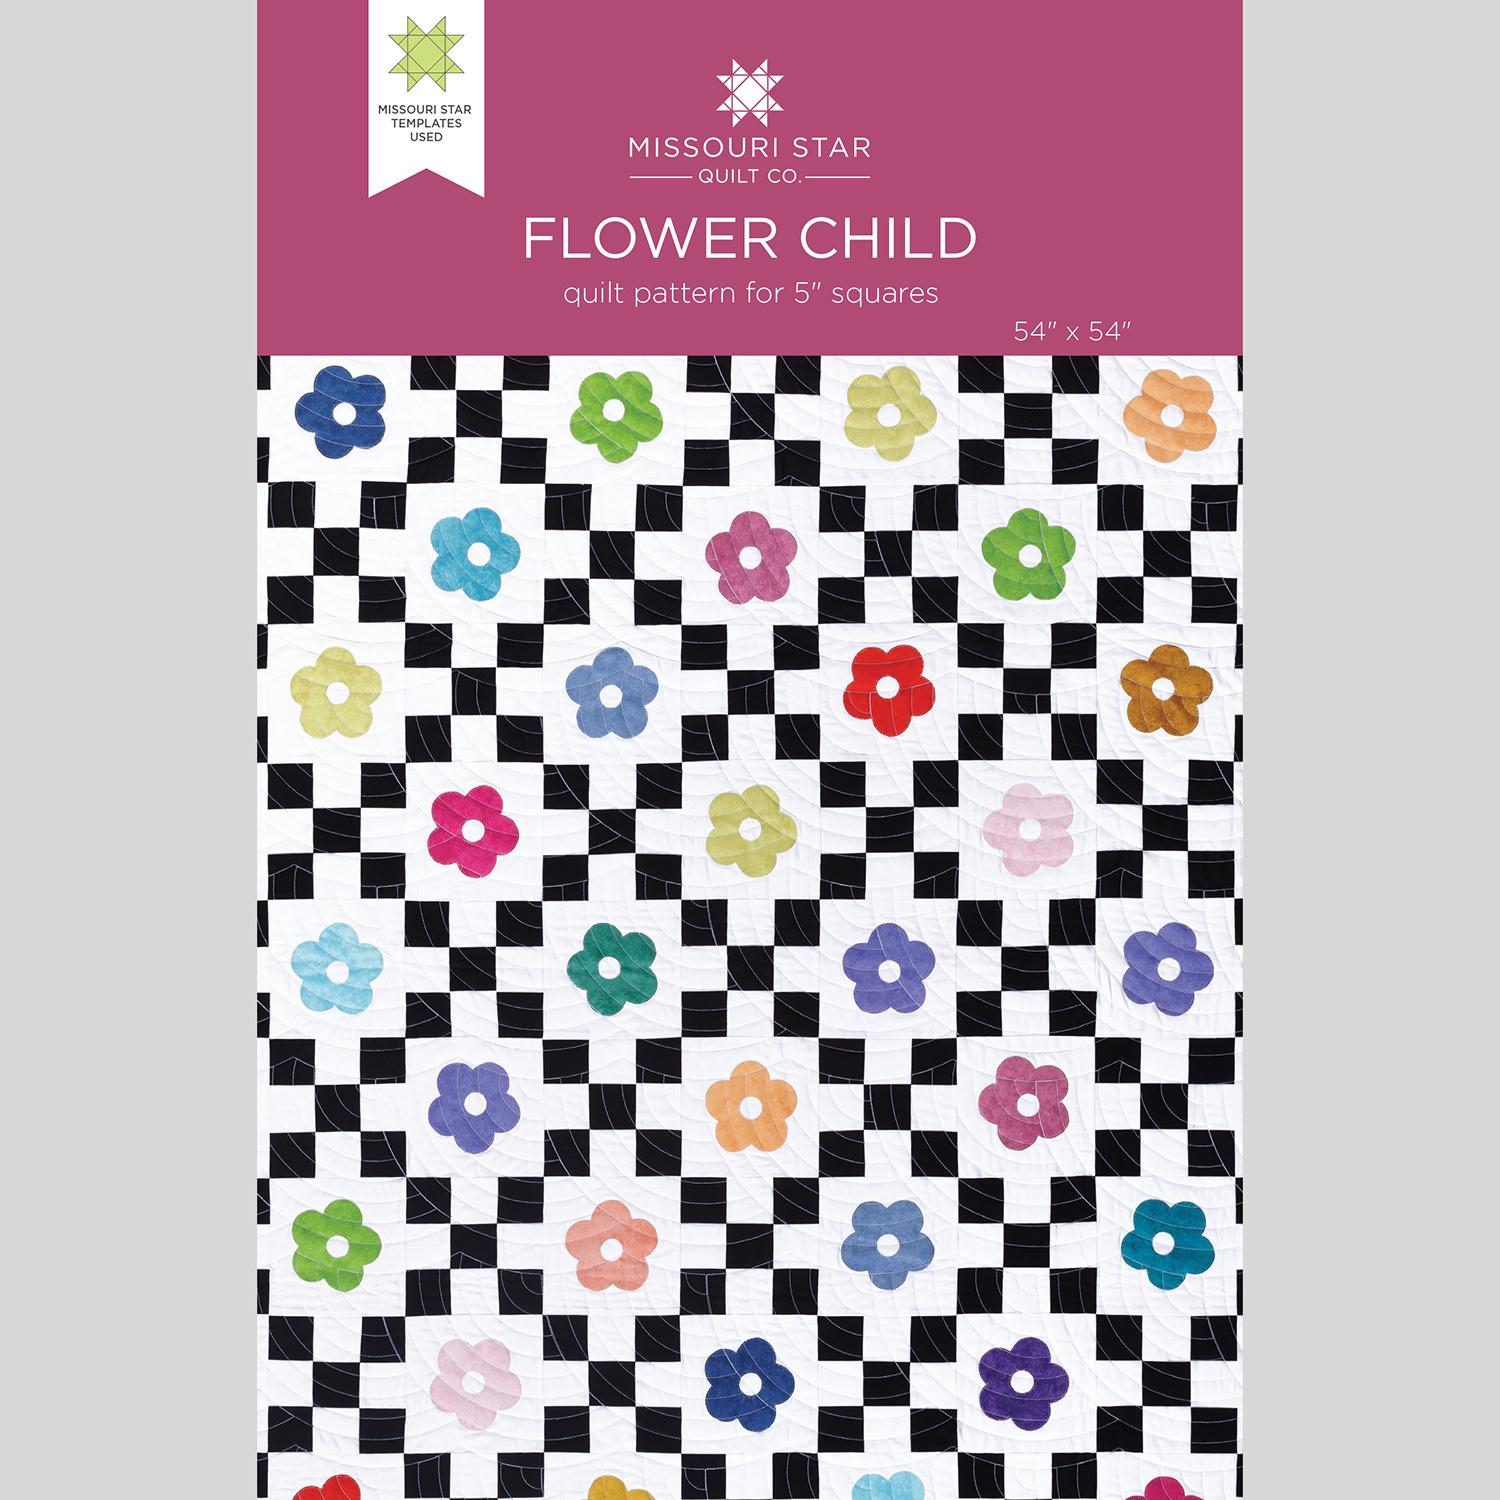 Flower Child Quilt Pattern by Missouri Star$8.50Shop →
 Digital Download - Flower Child Quilt Pattern by Missouri Star$6.95Shop →
 Shadow Play - Spectrum Charm Pack$11.95Shop →
 Kona Cotton - White Yardage$7.48Shop →
 Kona Cotton - Black Yardage$7.48Shop →
 Missouri Star Sew Light Fusible Adhesive - 17" x 2 yards$4.95Shop →
 Missouri Star Quilter's Favorite Dispenser - Pink$18.95Shop →
 Shadow Play - Orchid Yardage$10.76Shop →
 Shadow Play - Cloud Forest Yardage$10.76Shop →
 Missouri Star Quilter's Best Blend Throw Batting$21.95Shop →
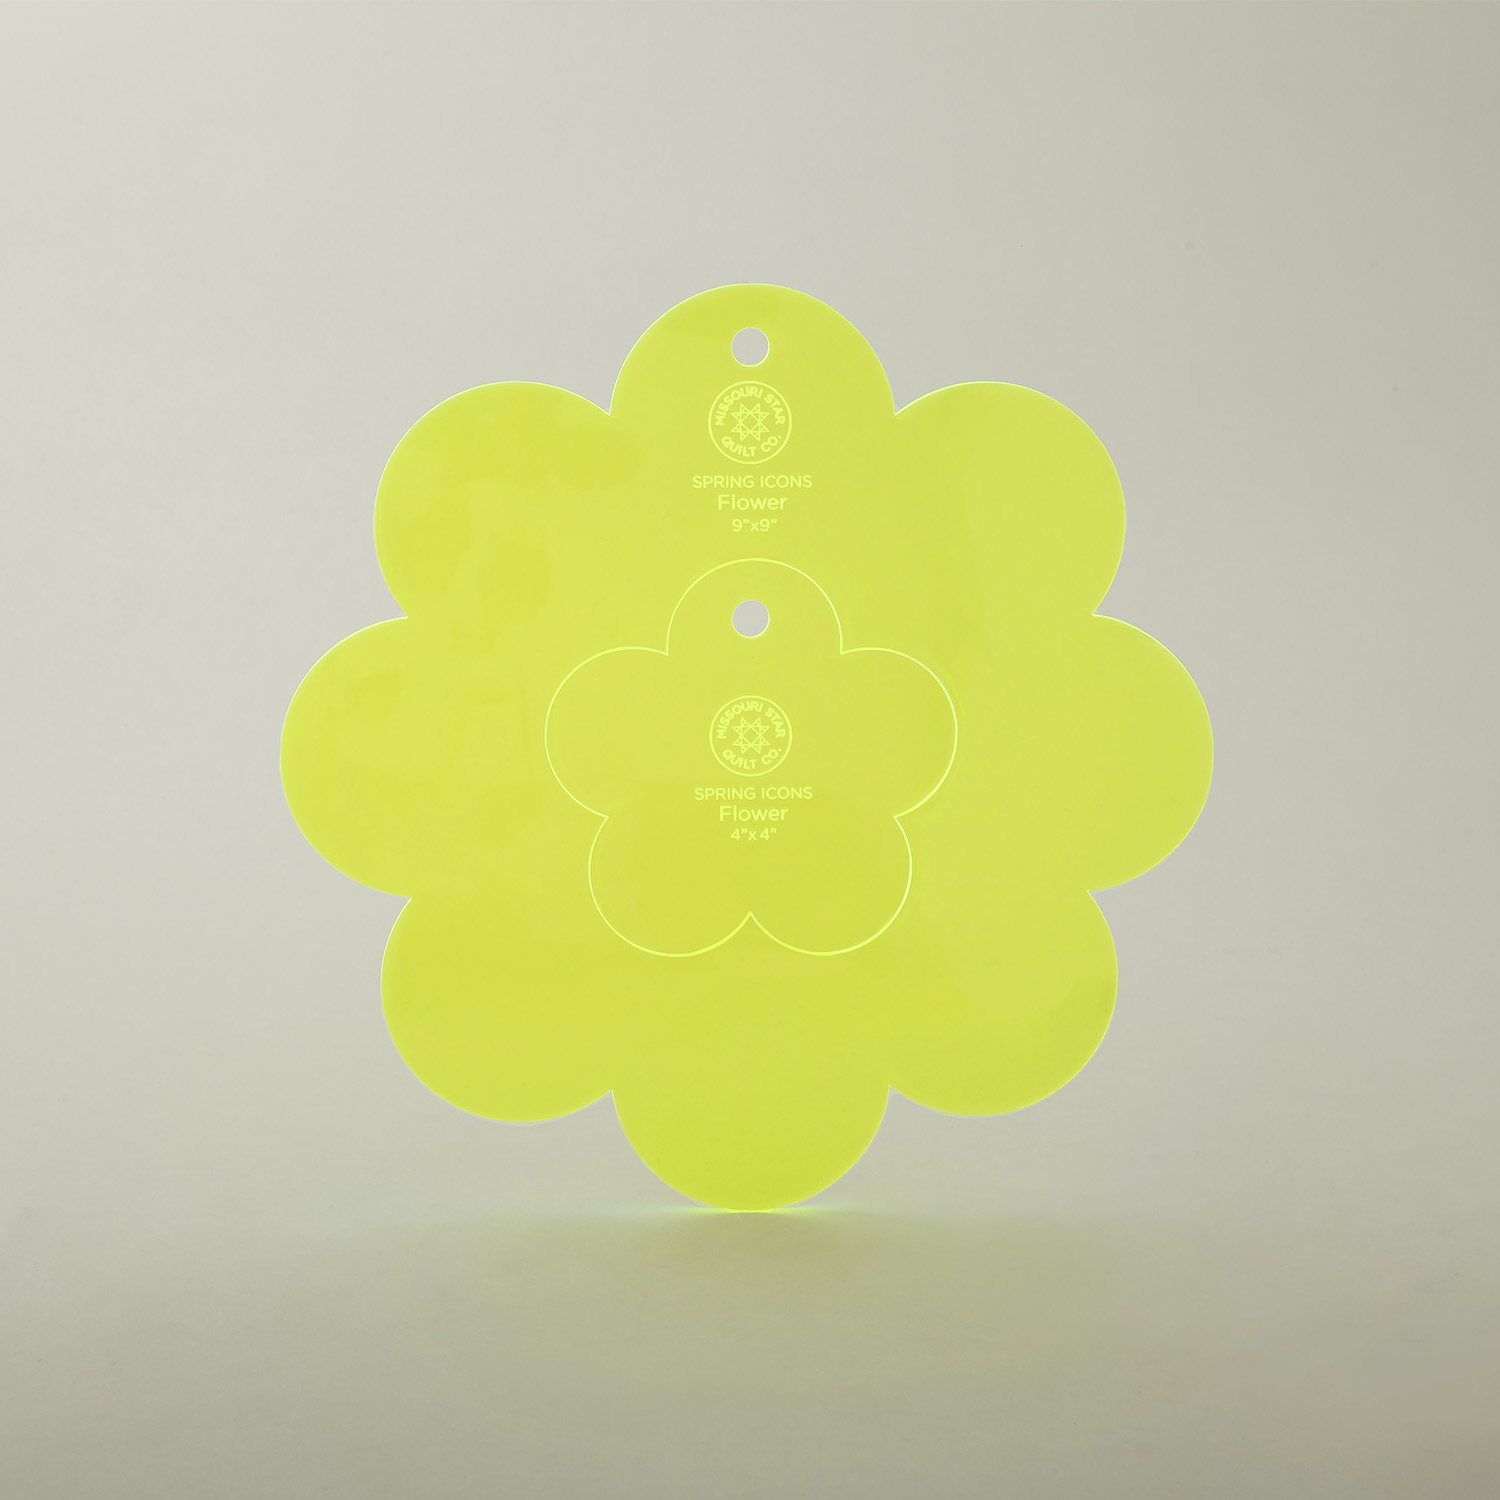 Missouri Star Nesting Flower Templates$12.95Shop →
 Missouri Star 5" x 15" Ruler$19.95Shop →
 Missouri Star 45mm Rotary Cutter$19.95Shop →
 Missouri Star 8" Everyday Scissors$19.95Shop →
 Missouri Star 6" Everyday Scissors$12.95Shop →
 Missouri Star 50 WT Cotton Thread White$7.95Shop →
 Invisible Nylon Thread (250m / 273yds)$5.95Shop →
 Exclusive Missouri Star Jenny TG1600 ProPlus Oliso Smart Iron$199.99Shop →
 Missouri Star Wooly Betty Board - 17.25" x 25.5" Orange Border$99.95Shop →
 Bernette 77 Sewing and Quilting Machine$1499.00Shop →
Common Questions
What is covered in Flower Child Baby Quilt?
Piece, love, and flowers, baby! The Flower Child baby quilt Misty makes in this episode features flowers that are appliquéd onto pieced squares. Never tried appliqué? Have no fear. With the Missouri Star Nesting Flower Template Set, you’ll have perfectly pretty petals!
How long is the tutorial video?
The tutorial video is 00:12:01.
Are supplies listed for this tutorial?
Yes. The tutorial page includes the supplies and materials connected to this project.
Is a transcript available?
Yes. A written transcript is available on the tutorial page.
Video Transcript
This quilt comes together quick and easy! In order to make it you're going to need one package of 5 inch squares. I used Shadow Play Spectrum by Maywood Studios. It's just this great kind of textured rainbow palette. I think it's really beautiful. You're also going to need 2 ⅓ yards of white and 1 ¼ yards of black fabric and some of our Sew Light fusible. I'm also using our Nesting Flower template - you get both of these sizes. We'll be using the small for today's project. So let's go ahead and get started.
First things first, we are going to make some strip sets. From our black fabric and our white fabric we are going to cut some 2 ½ inch strips, by the width of fabric. The first set we're going to do light/dark/light and the second we are going to do dark/light/dark - just the opposite. So you're going to sew this full length until you have strip sets that look like this.
So here's our darks, and then of course our lights, just like so. So let's go ahead and move these other strips out of the way, since I have those sewn. Then we can cut these into our segments that we need. If you want to, you can leave these folded so you get two cuts at a time. You just want to make sure that they are lined up nice and straight. If that makes you nervous, just open them up and just cut one at a time.
So I'm just going to have those lined up and make sure they're straight on my mat. Then we'll trim off our selvage, just like so. Then we are looking for 2 ½ inches, so we come over one two and a half we'll just make a few cuts here. You'll just go the full length of your strip and keep all of those in a pile. I'm going to go ahead and move on to the other set - our opposites. And so the same as before, we're just going to line this up nice and straight, trim off our selvage, make sure I come back far enough to get the one underneath. I'm just going to shift that a little bit - there we go - and then two and a half, one two and half. there we go. So I have a bunch of these already cut as you can see. So we'll just add those to our piles and move these out of the way for now.
Then we're going to start with our light/dark/light and we'll bring in one of the others and finish it up here. So you're going to need twice as many of these strip sets as you do of the centers and we can just sew these together to make our nine patch. So let's go ahead and take it to the machine. So one thing you do want to keep in mind is these seams in the middle should kind of nest up, so I always just feel that with my fingers and make sure that they're going in opposite directions. Then we can just sew with a quarter inch seam. Make sure my needle is where it needs to be. So here we go. I'll sew to that first juncture, make sure those seams are nice and nested, and then I can pause with my needle down and make sure that the next little joint is going to match up.
There we go, now we can clip our threads, open this up, and we're going to add the other strip set to the opposite side. So, same thing: nesting those seams and just sewing down with a quarter inch seam. Okay once we have our strip set sewn together that's how that's going to look. We can go ahead and give this a press now. So we'll take this over to the ironing board and just gently roll back those seams. We don't want to distort it; we just want to make sure it's going to lay nice and flat. Beautiful! So that's how our nine patches are made. You're going to make 41 of these for this quilt and now we can move on to our flowers.
So that is where our charm pack comes into play and then, of course, our small template. I've also cut from my white background fabric some 6 ½ inch squares. So what this is, is the exact same size that your nine patch finishes up because you want these to match together. So if you use wider strips you would just alter the size of your square and you could make this quilt bigger or smaller - whatever your heart desires! But 6 ½ is the number we're going with.
So I have that ready to go and then we also cut some 4 ¾ inch squares from our fusible and we are going to just pick some of our colors. Here - this pink is really fun! We are going to iron this onto the wrong side of our 5 inch square. And I like to cut it just a little bit smaller than our square, so that we don't have to worry about any of the fusible getting onto the mat. So let's go ahead and take this over to the iron and give this a good press. Just a nice hot iron will do the trick. Now we can bring this back over here and we are going to put our template on our square. And for this one we are just going to trace it - there we go. Give this a little turn just to finish off this last side, there we go. There's our flower shape!
So you'll notice the template doesn't have a hole in the middle. I really decided that I wanted a little bit of that background fabric to peek through, so I decided to cut out a center circle. I wanted it to be about an inch and I had this little roll of washi tape that was the exact size. I'm just going to eyeball it and then we're going to trace this inside circle. That one got a little wonky - it's not not going to look pretty, but it's enough for me to know where I want to cut it. Of course the pattern's going to have a little circle that you can trace, but if you're like me maybe use a quarter or a nickel or whatever you have lying around.
Now we can go ahead and cut this out with our scissors. So we'll just go
around our shape here just take your time. There we go - we have the outside cut out. I'm actually going to switch to a smaller pair of scissors just for the inside. It makes it a little bit easier and so I'm just going to fold this, give it a little snip to get started, and then I can go around my circle in the middle. I can just kind of roll those through. Perfect - that looks great!
All right so now we can take our flower that we cut out and our 6 ½ inch background square over to the ironing board and we will fuse this in
place. So first things first, I like to press my background square in half both
directions just to give me some guidelines. You can totally just eyeball
this if you want, but this is really helpful to me. So we'll press this the other way now and you can see it just gives me these guidelines of where I want to put my flower. So then we can peel the paper backing off of our shape - it comes off really easily. Now I can kind of just line up my flower. It's going to meet right in the center there and I just look for that plus in the middle here I cut out. Now we just press our iron straight right down, give it a few seconds. We're just going to make sure that it is all pressed in place and then we’ll be ready for top stitching.
So I have one of those all done here, let me find it. I just did a simple little blanket stitch all the way around. I used white thread on this. You could absolutely use invisible thread if you want, but I think the white looks fine.
So now let's talk about our layout! This quilt is super simple. It's going to start with a nine patch, and then alternate with a flower, and then a nine patch, and then a flower. You're just going to alternate nine blocks across and nine down. You're always starting and ending with that nine patch block which means you have 41 of those and 40 of the flowers.
So this measures 54 inches square. It's a great little baby or throw size. I think it's just super happy and fun! Depending on what colors you choose, you could do so many different looks with it!
I hope you enjoyed this tutorial - I can't wait to see what you make! I'll see you next time on At Home!


