Turn 2 ½" strips into an eye-popping quilt! Using just two colors, the geometric Framework quilt gives the illusion of on-point squares that appear to float above the surface of the quilt. This fantastic modern quilt design showcasing the Kona Cotton Color of the Year (Wander) is a real show-stopper!
Misty Doan grew up surrounded by sewing and quilting. She loves spending time sharing tutorials each week each week, and when she’s not stitching up one of her fun sewing projects for home decor, most likely you’ll find her hanging out with her husband and three awesome kids or working on a house project.
Turn 2 ½" strips into an eye-popping quilt! Using just two colors, the geometric Framework quilt gives the illusion of on-point squares that appear to float above the surface of the quilt. This fantastic modern quilt design showcasing the Kona Cotton Color of the Year (Wander)...
How long is the tutorial video?
The tutorial video is 00:11:42.
Are supplies listed for this tutorial?
Yes. The tutorial page includes the supplies and materials connected to this project.
Video Transcript
Hey everyone, I cannot wait to share this quilt with you. It is featuring the Kona color of the year, this beautiful green called Wander. So, let me show you how to make it. I was so excited with the selection that Kona made for this year's color of the year. I love green and I think this quilt turned out really beautiful and it is super easy to make. I'm calling it framework. And let me show you what you need to make it up. First, you need one roll each of both this beautiful wand green and navy. So, there are 40 2 and 1/2 in strips in each of these rolls. You're also going to need a little bit of extra yardage of both. Of the green, you need 1 and 3/4 yds. And of the navy, you need 5/8. The green does include that outer border as well. For your backing fabric, you need 7 and 1/2 yards with a vertical seam or I use this beautiful 108 and you need 2 and 1/2 yards of that. It's also handy to have a 12 and 1/2 in ruler for squaring. So that's everything. Let's get started. The entire quilt that you see behind me is made up of this block that you see right here. And it is actually so simple to make. Let me show you how I did it. We are going to begin by making these two opposite blocks. You'll see one in each color here. And so all of these cuts are the exact same size. You just need them in opposite colorways. And so all of our 5 in squares that are in the middle are going to come from that extra yardage that you have. And so just cut some 5 in strips and subcut those into 5 in squares. You need 18 of each color. And then we are going to chain piece uh and make our kind of square and a square blocks by adding our strips. And so let's begin with this one here. So we'll add some 2 and 1/2 by 5 in rectangles to each side. Then we'll come back and add these 2 and 1/2 by 9. And then we'll continue all the way around. These are 2 and 1 half by 9 again. And then 2 and 1 half by 13. And I'm actually going to chain piece these. So we're going to do both of these colors so we can build both blocks at the same time. And the sizing is exactly the same. So I'll begin by just adding one of these 5-in rectangles to each side. And we will just keep on going all the way around. So then I can slide this one in behind. Now I'll trim these. Turn them around. Make sure I'm doing opposite colors. So, my navy goes on the green square here and the green onto the navy. Beautiful. There are our first couple of seams. So, then we'll trim these apart here and roll these seams back. There's one and two. And now we'll take those 9 in strips and just like we did before, we'll add one to each side of both colors. And so I'm just going to continue in that way until I have both of these sewn all the way around with all of our layers. All right. So just like before, we can cut these apart. Press these back. You can see how it's starting to take shape. There we go. And so now we come in with that opposite color again. So we're starting with our 9 in strips on either side. And I do like to add them to the where I had started with the five just because it kind of builds out from the middle. That's just for my own brain. So we will add these and then we'll finish them off with the 13in strips. So let's go ahead and do that as well. All right, one more press and then we just have our final strips to add. So, we'll roll these back. There's one, two. Okay. So, then we'll come in with those last strips, adding one to each side of each of these, just like so. Okay, that is it. So, you've made your two opposite blocks. I have two that are all pressed and ready to go here. So, let me grab those. And so now the next step is we want to place these right sides together. We're going to nest up these two blocks actually. And I'm going to take my large ruler here. And I'm going to lay this corner to corner. The thing that you want to make sure more than anything is that you're intersecting these center seams. And so then we're going to take a marking pen of your choice. Let's do this side. And we are going to draw our line straight through those seams all the way out to this end. And then we're going to sew a scant quarter inch on both sides of that drawn line. And so if you want to fold it back and make sure everything is nesting, you can. I just kind of feel it and trust the process. I figured out as I went along that it's pretty forgiving and so I'm not going to fuss over it. I'm just going to sew a quarter inch on either side. Okay, there is our first side. So now we're going to flip this around. Do the exact same thing. Go back down the other side. Beautiful. All right. Once we have stitched on either side of that line that we drew, we're going to take our large ruler here and we're just going to come back and cut in between. Make sure that stays out of the way. Perfect. Sometimes where all of those seams come together, it is a little thick. So, just take your time and make sure you made it all the way through. There we go. Whed that one, too. There. All right. And then when we open this up, we get these opposite kind of half and half blocks. So, let's go ahead and press these now and roll them back. There's one. and two. Just try not to stretch. Just really press that seam so it'll lay nice and flat. And these should finish up on their own almost exactly 12 and 1/2. But if you have a 12 and 1/2 in ruler, you can lay this on here. And I'll just line up that diagonal seam line with this uh 45° angle that runs in the ruler itself. And then I have just a little bit that I can trim off. And so I'm going to go ahead and do that so that our blocks will match up nicely. Just shave that tiny little bit. And honestly, that's why when you make sure you take a scant quarter inch, it just lets you trim it up a bit and make sure everything is nice and straight. And then you don't have to fight with it when you put these blocks together. There we go. That looks great. And so you'll do that with all of your blocks. Go ahead and square it to 12 and 1/2. And now we get to lay these out. And so when I did the layout, I put the green towards the middle every single time. So we'll bring four of these together just like so. And I kind of made these big blocks first because that's just how it was easier for my brain. So you'll notice you have three of these big blocks across by three down. And I love how you kind of get this navy border that forms, but it's really just the blocks themselves. So, I just sewed those straight together. Then I went ahead and added this 5 in outer border of the green to wrap it all up. It finishes at 81 in square. Here is that beautiful leaf backing. It's a 108. I absolutely love it. And I quilted it with a pattern called Cakewalk in navy thread. We've got these great little labels that we launched as part of National Quilt Month that add just a little handmade touch. I love this one, limited edition, one of one. So cute. I just think it turned out so great. I love this pattern. So, I hope you enjoyed this tutorial on the framework quilt and I'll see you next time on At Home. Hey everyone, thank you so much for watching at home. We're so excited to be almost a million quilters strong here at Missouri Star. And so if you haven't already joined our family, be sure to subscribe and hit that notification bell so you can be notified of all of our future tutorials. And we'll see you soon.

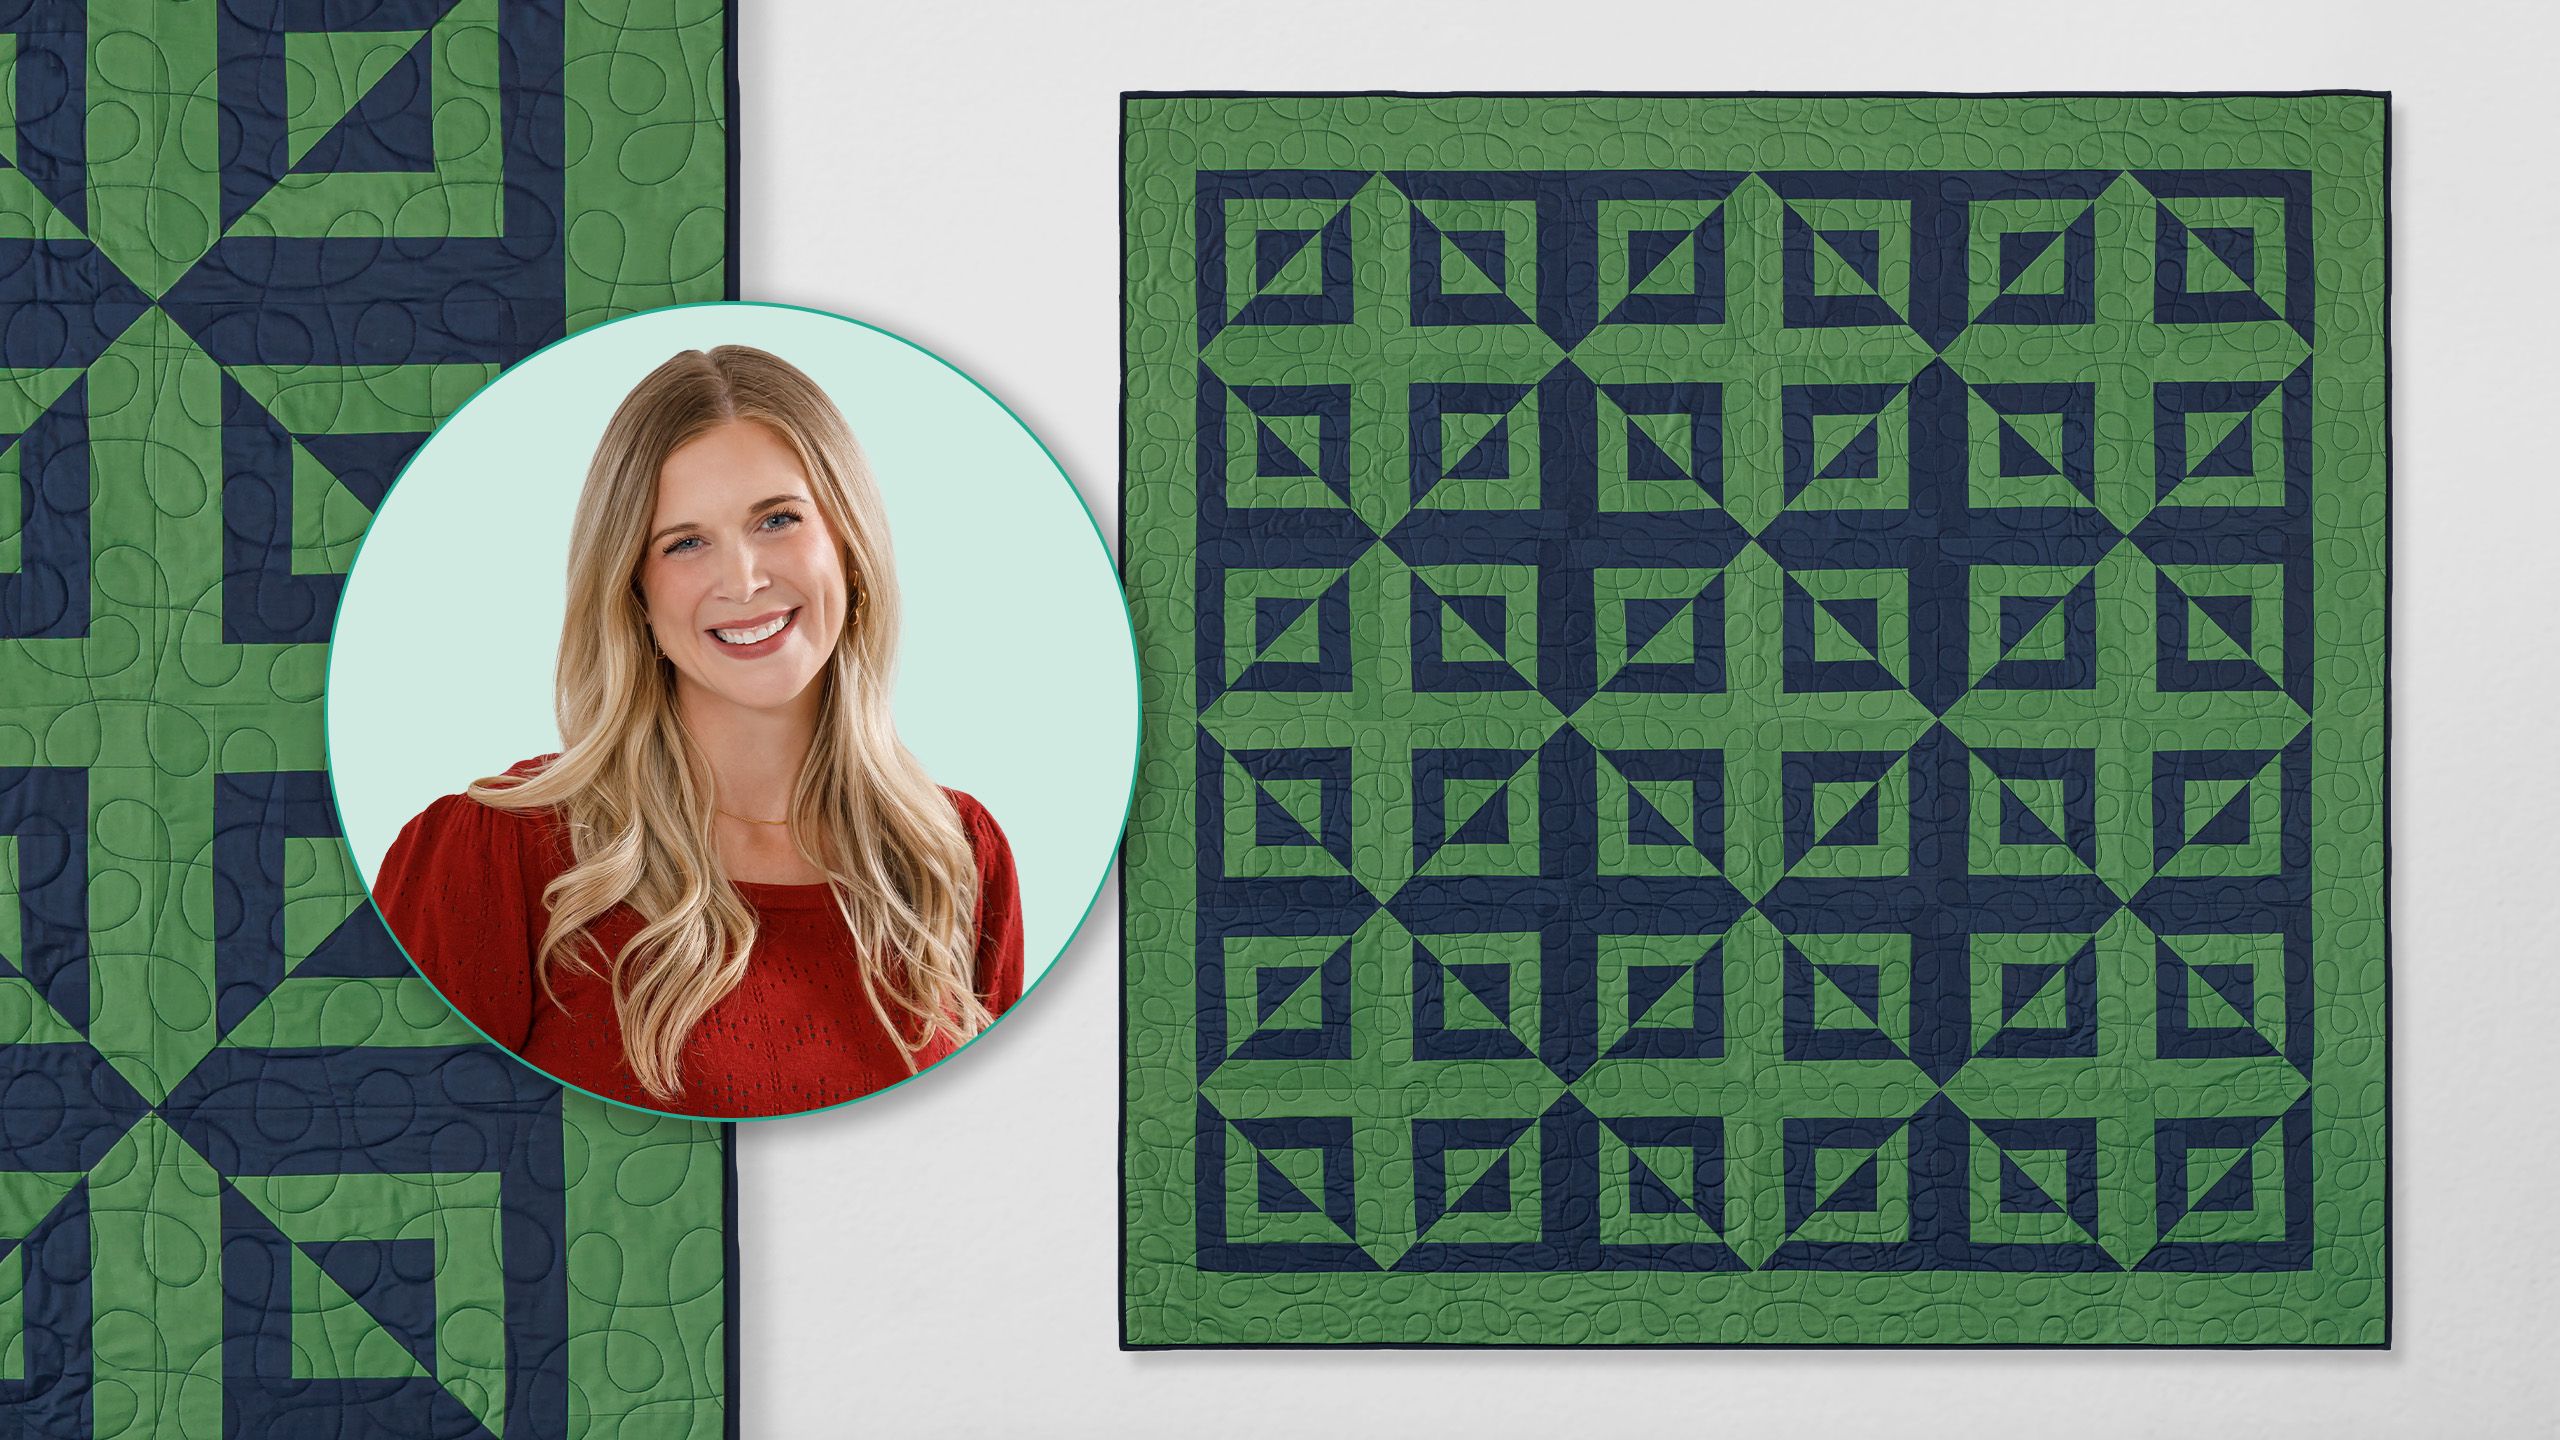
 Misty Doan
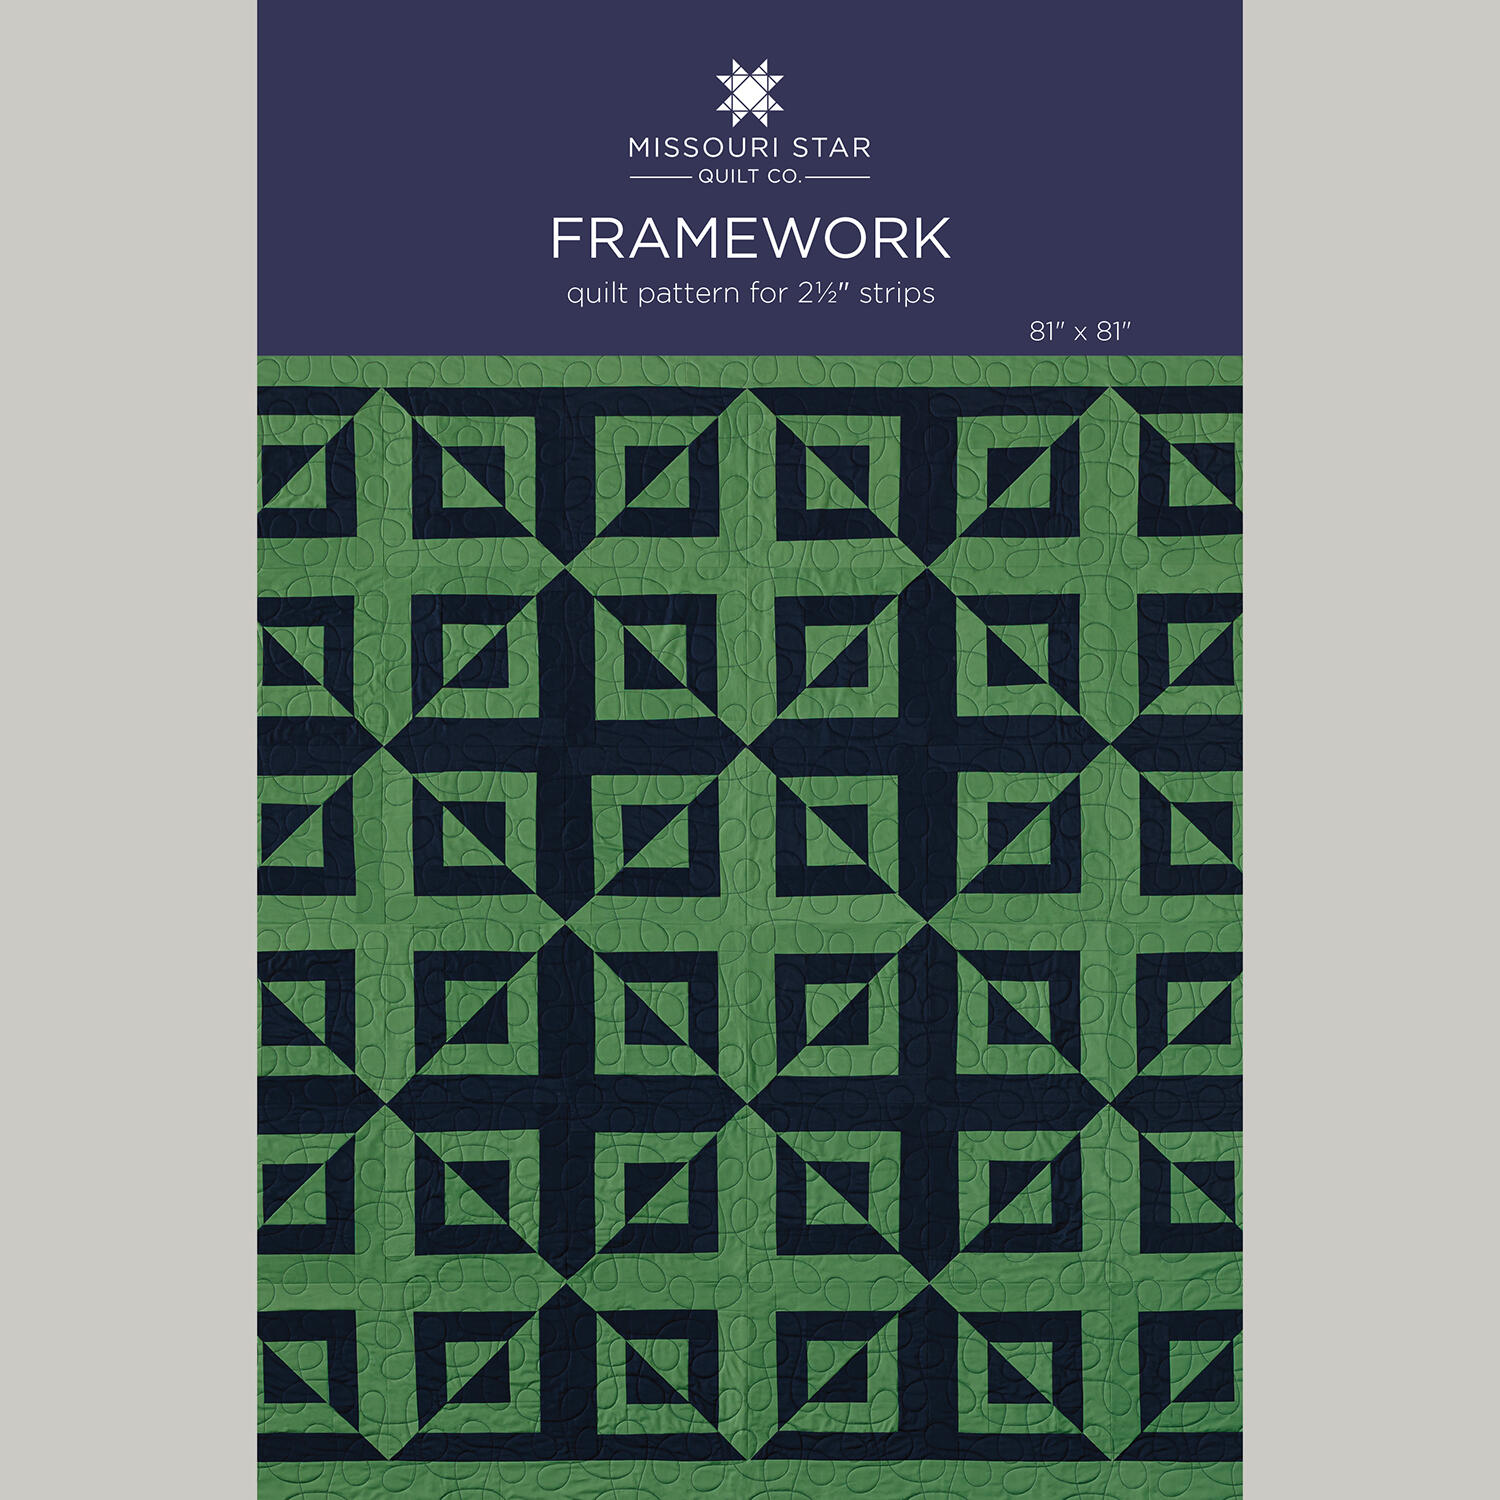 Framework Quilt Pattern by Missouri Star$8.50Shop →
 Digital Download - Framework Quilt Pattern by Missouri Star$6.95Shop →
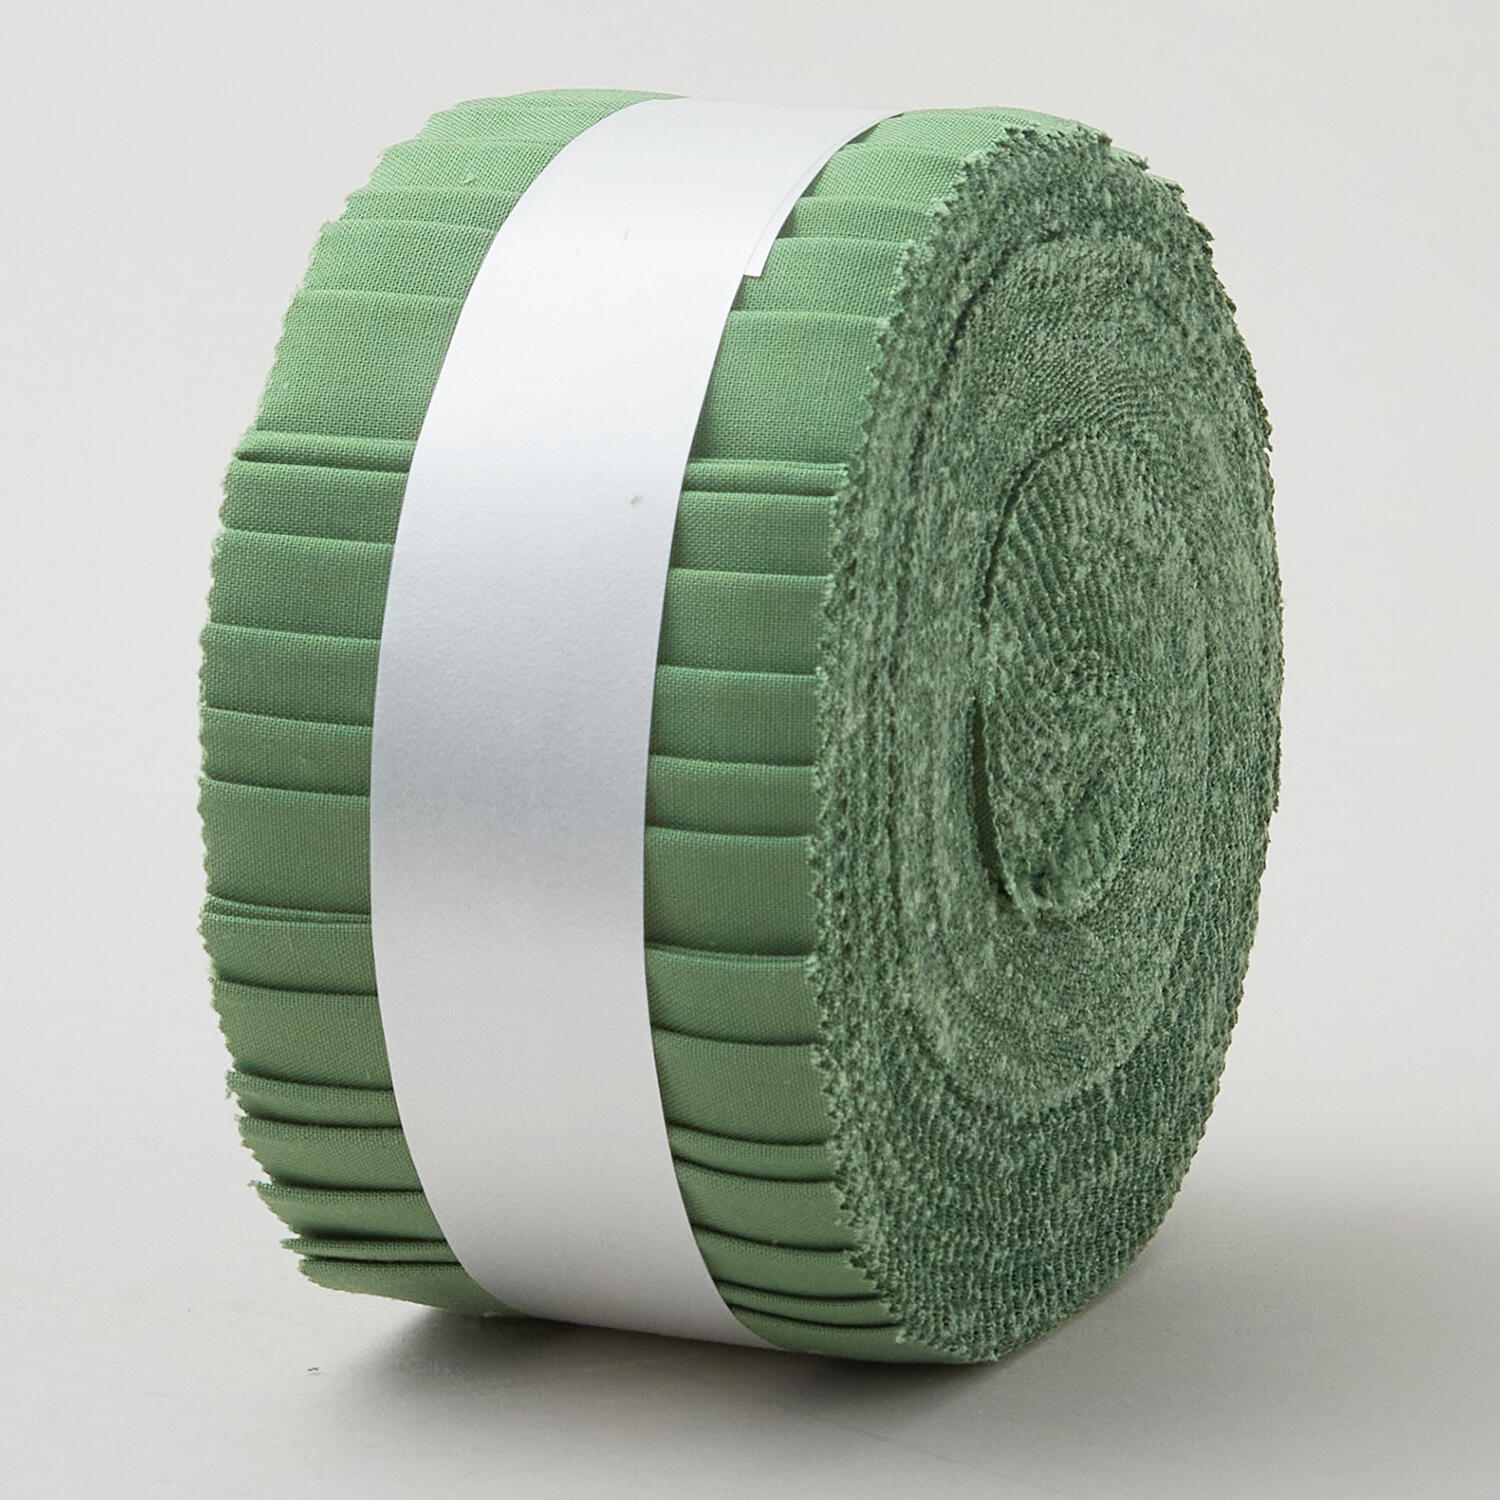 Kona Cotton Color of the Year 2026 - Wander Roll Up$36.10Shop →
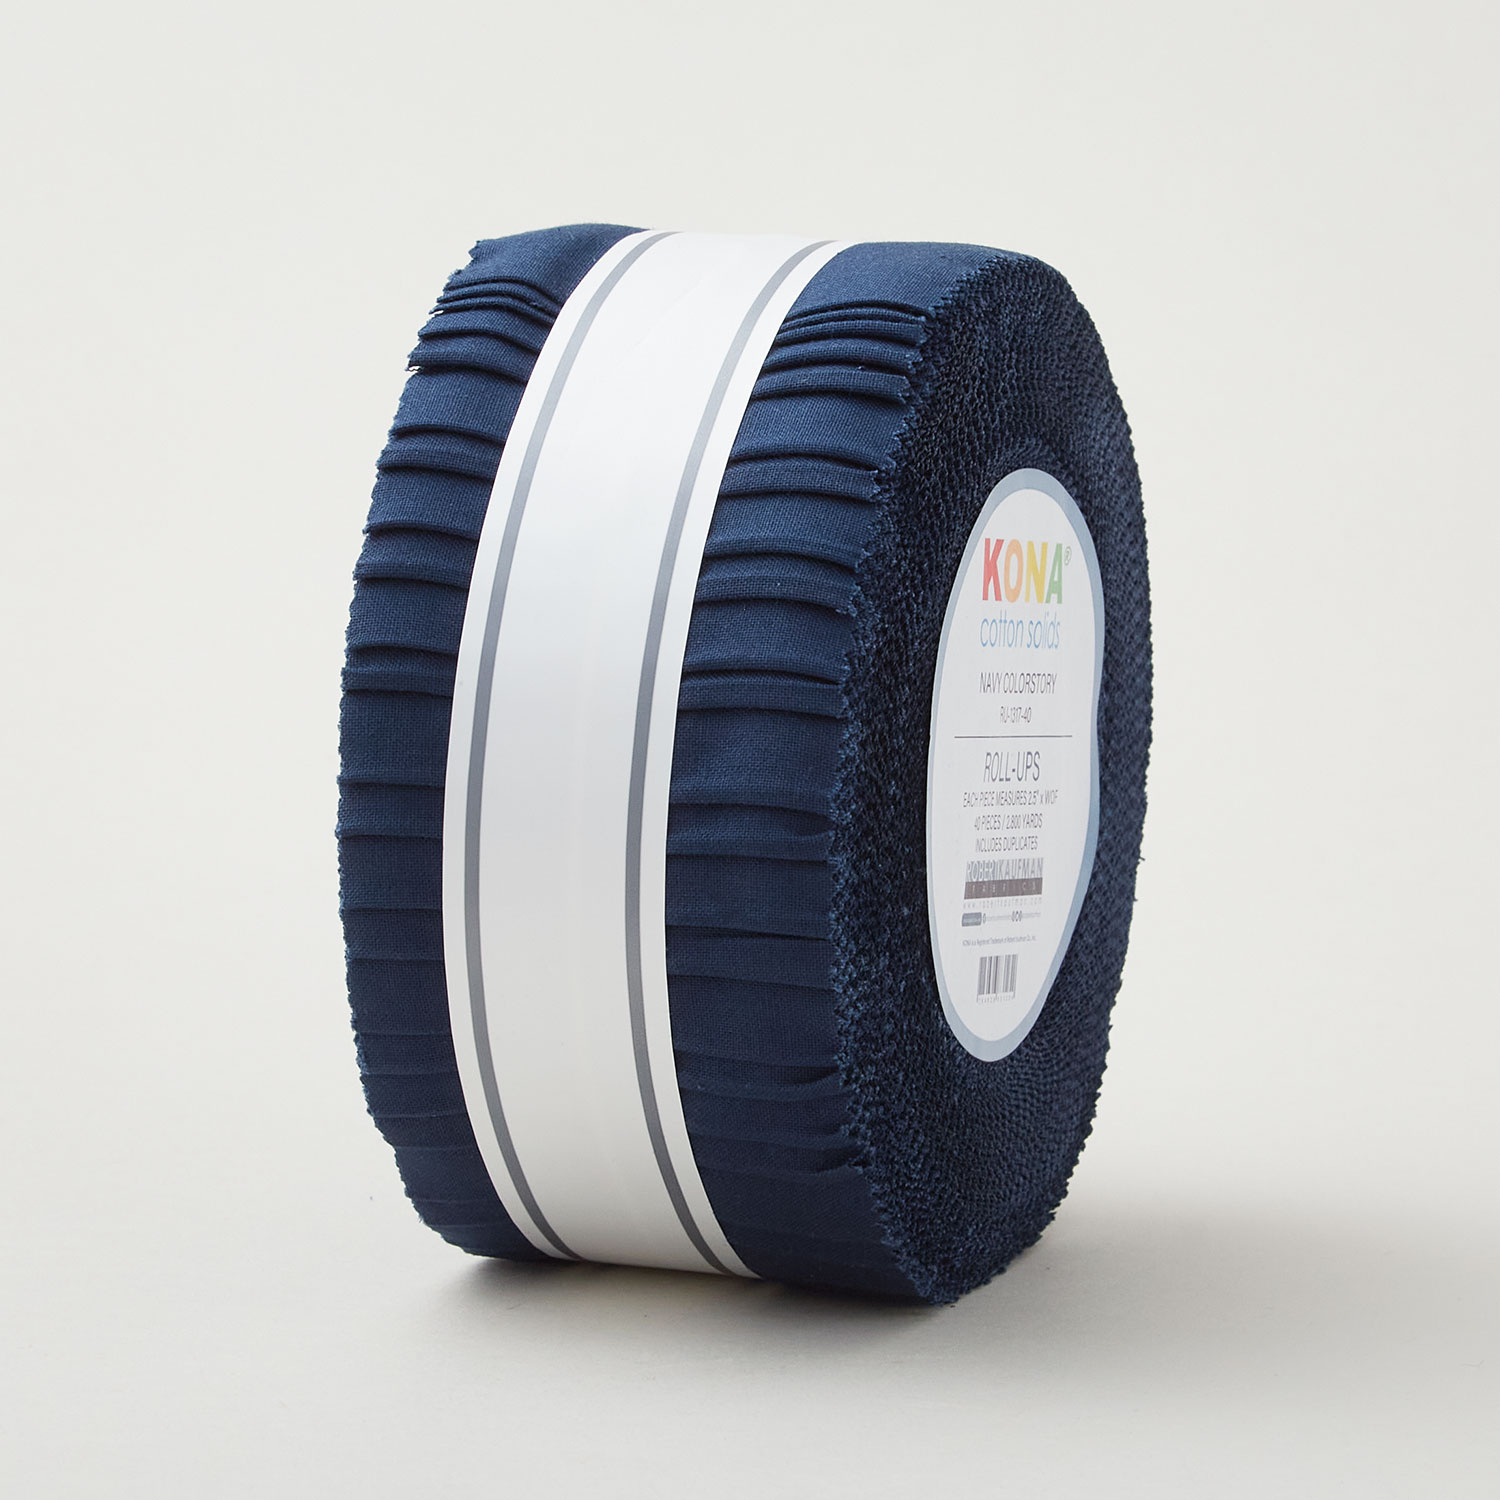 Kona Cotton Navy Roll Up$36.30Shop →
 Kona Cotton - Navy Yardage$7.92Shop →
 Kona Cotton - Color of the Year 2026 - Wander Yardage$7.92Shop →
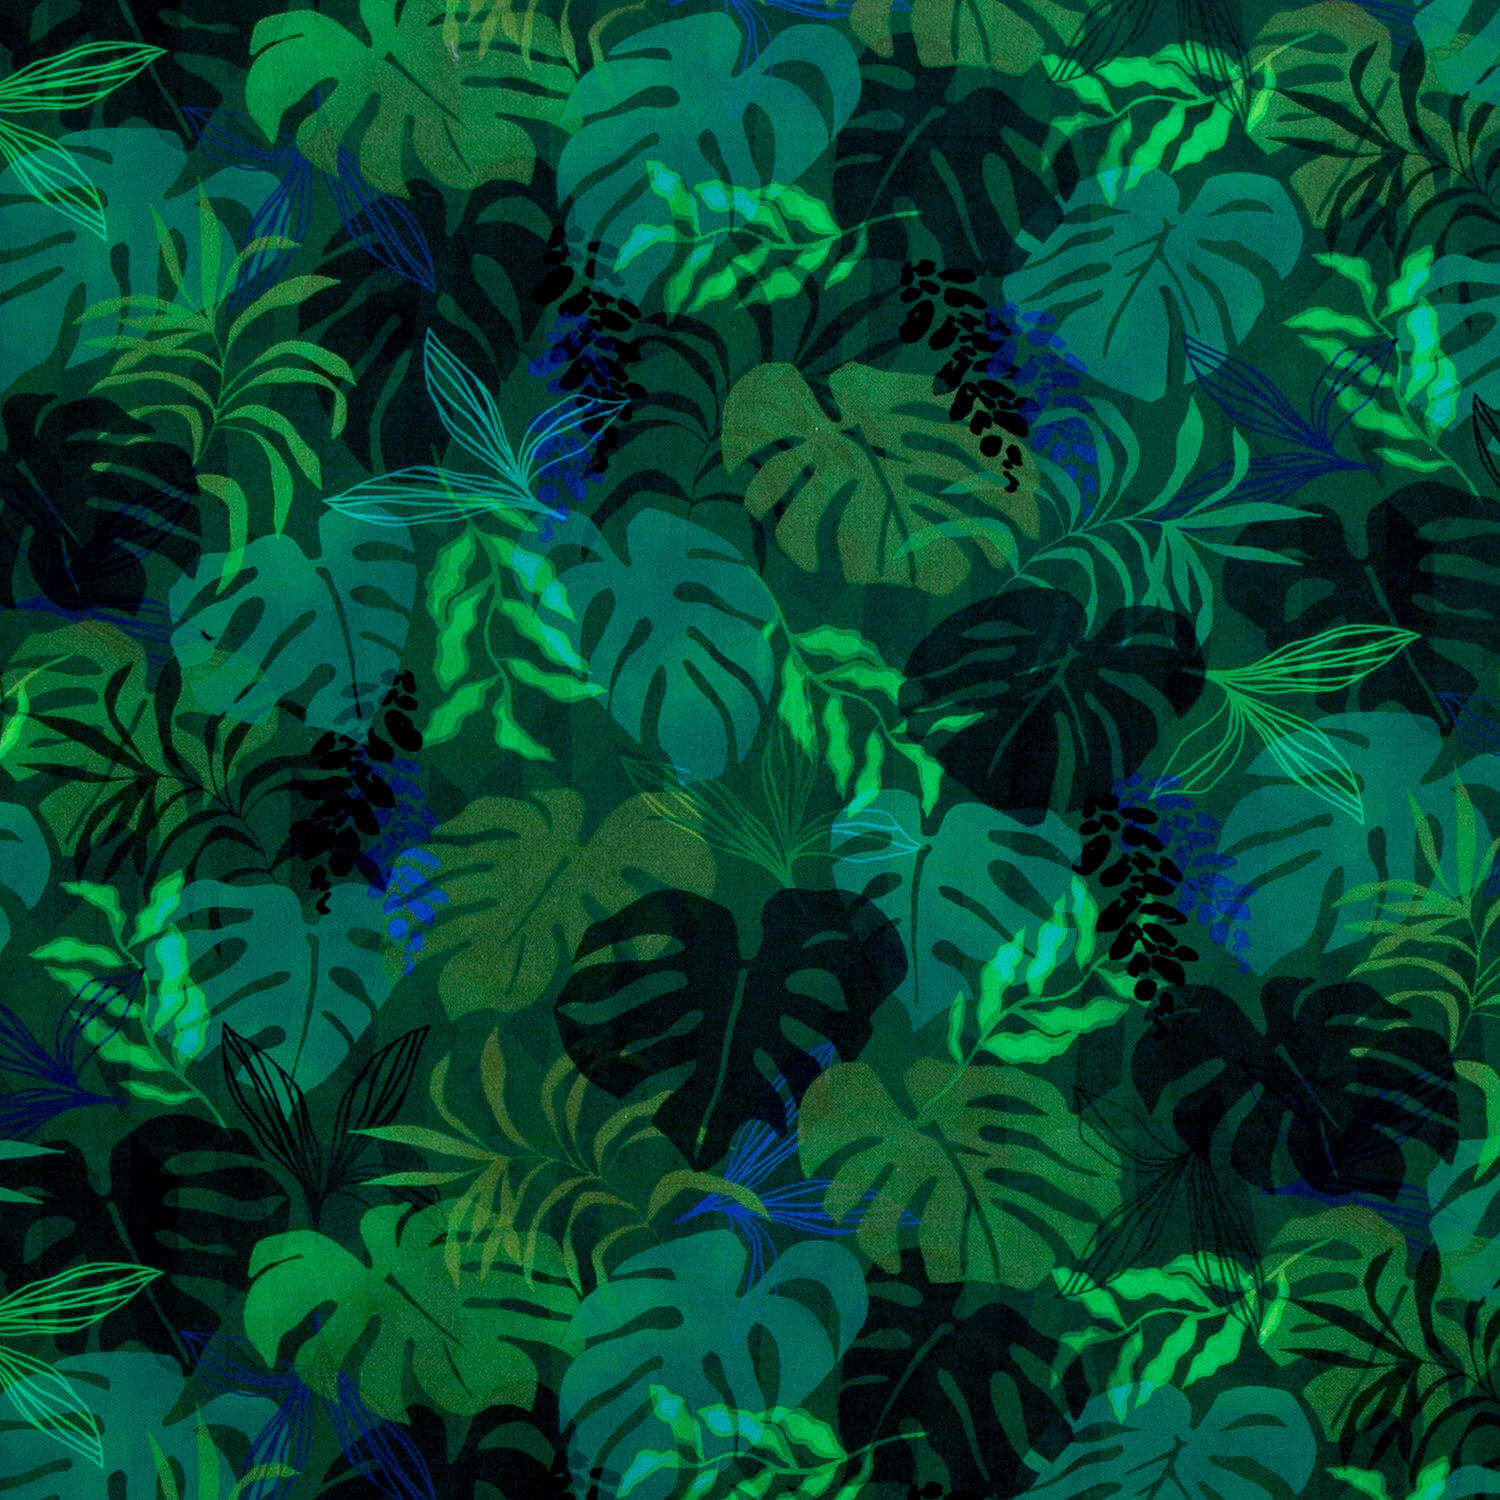 Wide Collection - Leaves Fern 108" Wide Backing$19.16Shop →
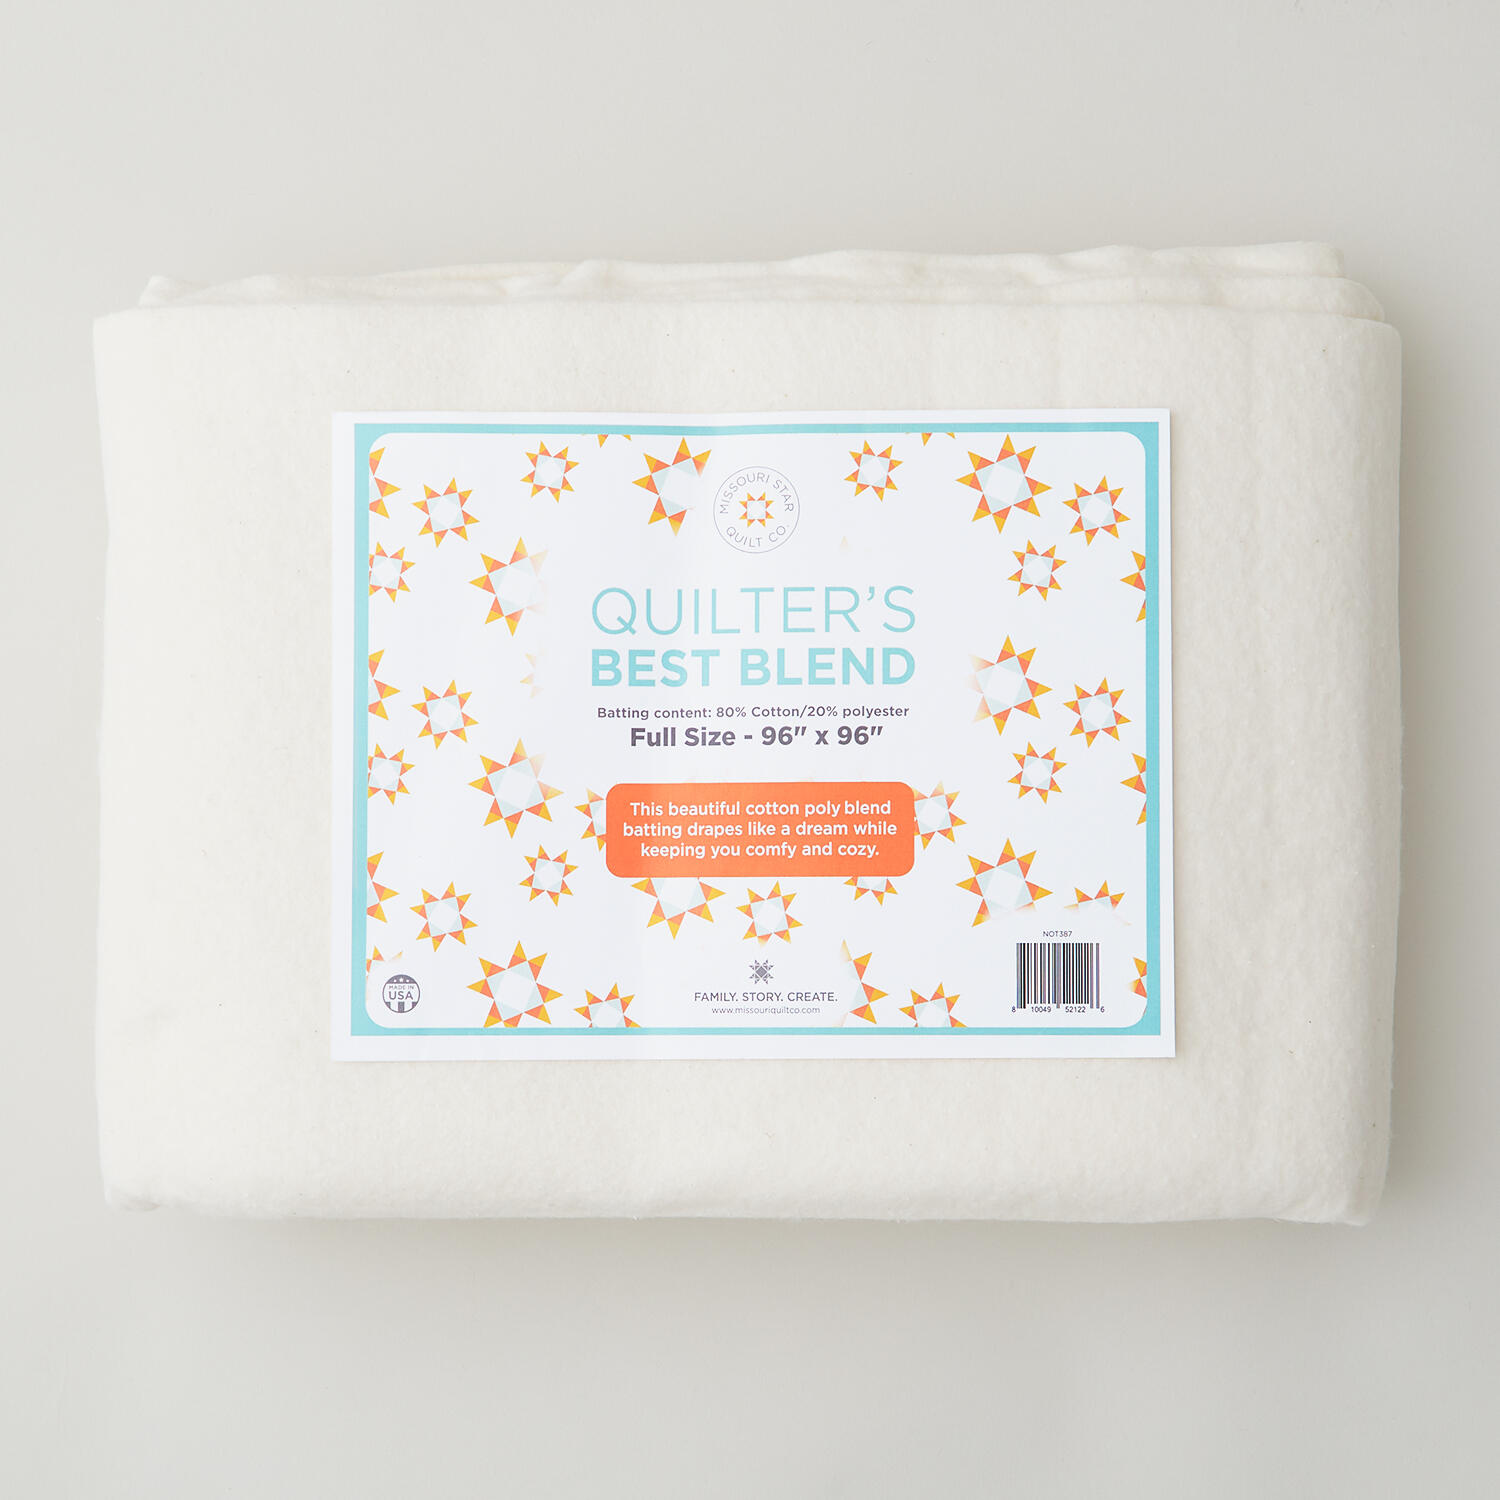 Missouri Star Quilter’s Best Blend Full Batting$32.95Shop →
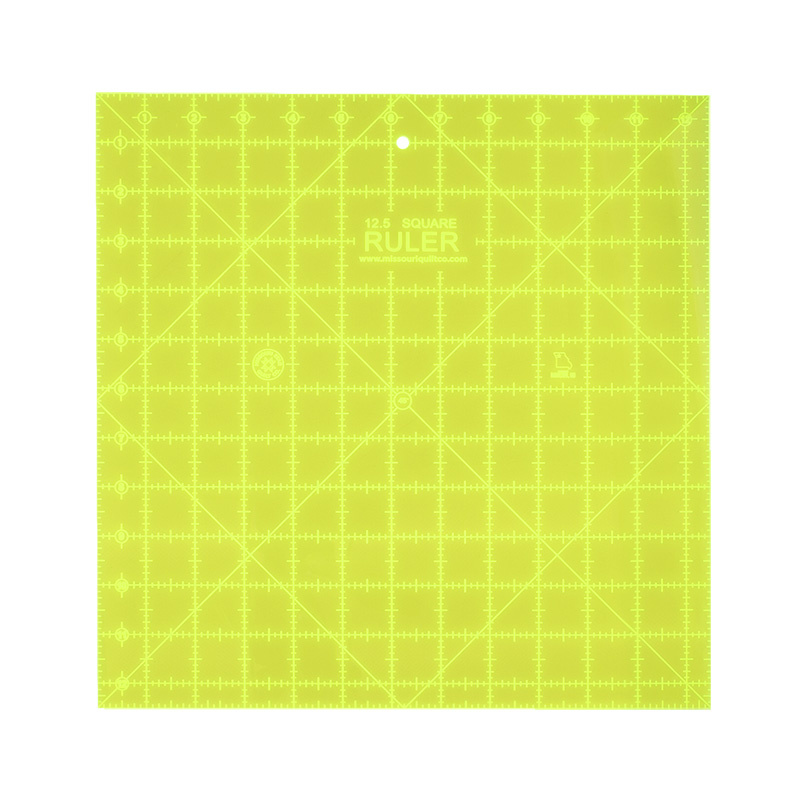 Missouri Star Square Ruler$29.95Shop →
 Missouri Star 5" x 15" Ruler$19.95Shop →
 Missouri Star 45mm Rotary Cutter - Olga$19.95Shop →
 Missouri Star Seam Ripper - Frida$9.95Shop →
 Missouri Star 8" Everyday Scissors - Amelia$19.95Shop →
 Missouri Star 6" Everyday Scissors - Lulla$12.95Shop →
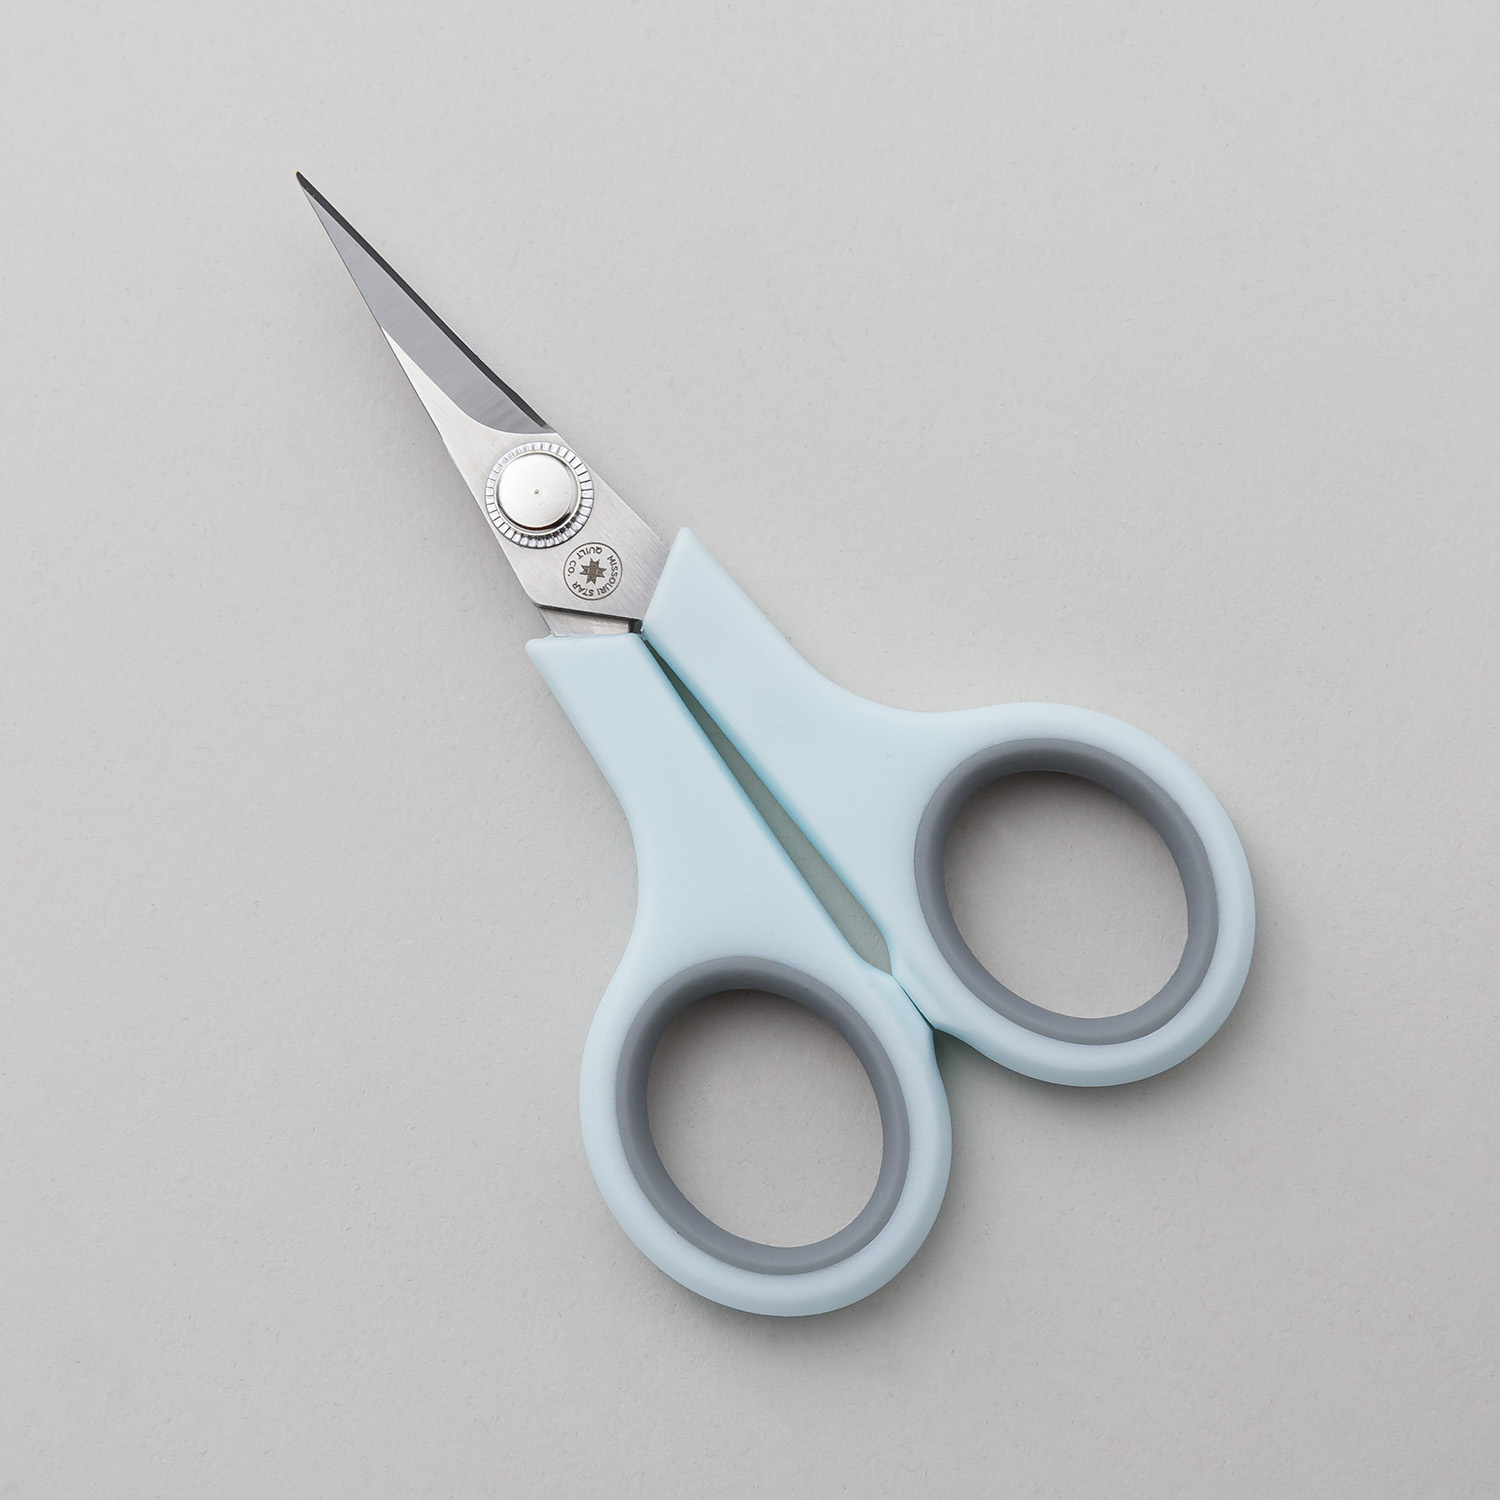 Missouri Star 4.5" Everyday Scissors - Elna$9.95Shop →
 Missouri Star 50 WT Cotton Thread White$7.95Shop →
 Missouri Star + Oliso TG1600 ProPlus Iron$209.95Shop →
 Bernette 77 Sewing and Quilting Machine$1699.00Shop →


