Learn a new skill and how to make a gorgeous table runner! Follow along with Misty and HollyAnne Knight of String and Story as they use Colorworks Solids and free motion and ruler quilting techniques to sew up the Breezy Blocks table runner. With guides as good as Misty and HollyAnne, learning new skills is a breeze!"
What is covered in Free Motion Quilting with HollyAnne Knight - Breezy Blocks Table Runner?
Learn a new skill and how to make a gorgeous table runner! Follow along with Misty and HollyAnne Knight of String and Story as they use Colorworks Solids and free motion and ruler quilting techniques to sew up the Breezy Blocks table runner. With guides as good as Misty and Ho...
How long is the tutorial video?
The tutorial video is 00:26:00.
Are supplies listed for this tutorial?
Yes. The tutorial page includes the supplies and materials connected to this project.
Video Transcript
Welcome rock stars. It's time to quilt our breezy blocks table runner. My name is Holly Knight of String and Story and it's my job to guide you to quilt with confidence. And today we're going to take the first steps into freeotion quilting and bring that to life here on these fabulous breezy blocks. Now I have drawn up a quilting plan that uses the motifs that I teach every time I'm introducing folks to freeotion quilting for the first time. We're going to do the meander, the loopy meander, swirls, and switchbacks. So, technically, this is going to be custom quilting. Now, if this is your very first time quilting your own project, please don't be nervous about that. I'm going to guide you step by step all through the process. Now, before we head to our machine, I want us to talk a little bit about choosing thread. You can see here that I have already basted this table runner. I have my backing, my batting, and my quilt top all stuck together with some spraybased. We have a whole tutorial on that on the Missouri Star Quilt Co channel. So, we're going to take you through that step as well. But, as we head over to the machine, it's time to choose our thread. Anytime I want to think about quilting a project, I always grab a whole bunch of colors. I start with colors that are in the quilt itself, and then I always choose a couple that are kind of adjacent. My favorite quilting thread is going to be a fine cotton thread like Orurafhll 50Weight. I love this because I think that it is a lot easier to balance our tension when we're using a fine cotton thread. And I love the color selections of Orafll. Now, I'm going to take each of these spools and I'm just going to unravel a bit of thread across my project. And you'll notice right away that how a color looks on the spool might be really different from how it looks on the project. It's kind of like the opposite of paint chips. You know, if you're going to paint like a bathroom in your house and you go and you get the paint trips and you put those tiny little pieces of color up on the wall and you always have to remind yourself this is going to be 10 shades darker when I paint the whole wall this color, right? Thread is the opposite. The moment that we unspool it, we remember that this is in fact really fine. Our stitches are going to be very small. And so even a color that can look really bold on the spool might look quite delicate on the quilt itself. This gives us a lot of wiggle room to pick fun colors for our quilting. So, you can see here we've got these lovely purples and blues in the quilt top itself. And so, I've chosen quite a few purples that I've laid out. Um, I've also chosen some lighter colors if I wanted my quilting to show up a little bit more. And then I've chosen this funky green because I think it's always kind of fun to pick an out there color. I'm surprised by how often I choose the out there color for my quilting. It just adds a fun little pop of contrast and especially if I'm really excited about what I'm going to be quilting, sometimes I want that to show up a little bit more. Now, as you are looking at these, I want you to take a couple of things into consideration. If you're new to quilting your own projects, you might be really tempted to gravitate immediately towards the threads that match. And if you're a matchy matchy rockstar, rock on. Okay? But if you're new to this, I also want you to consider the fact that seeing what you're doing might be really helpful. Don't worry about the fact that little imperfections in your quilting might show. The moment this is quilted and bound and washed, you're going to get that lovely crinkle. And any little errors that you make as you're practicing are going to fade into the whole texture. Okay. Personally, I'm going to go, I think, for this light blue as we're quilting together today. I think it'll show up nice on camera for y'all, and I'm excited to bring this to life. Let's head to the machine. Now that we're at our machine, before we start actually quilting our table runner, we're going to want to take a moment to check our tension. Now, I've gone ahead and I have threaded my machine. I've put in a brand new needle, and I've made sure that my bobbin race is nice and clean. These are great things to do every single time you're starting a new project because then you know that all of those factors have been eliminated from any tens tension issues that may arise. It's totally normal to have wonky tension when you sit down. It's your job as the quilter to adjust it. Don't be afraid of adjusting your tension. The machine is not going to catch on fire. That little knob is there for a reason. All right. In order to do this, I'm simply going to raise and lower my needle so I can pull those thread tails up to the top so they're nice and out of the way. And then I am going to quilt a couple of motifs. I know that we're going to be doing the meander loopy meander swirls and switchbacks together. So I am going to go ahead and do a little selection of each of those just to make sure that my tension is going to look nice throughout. Now we have a whole tutorial available on the Missouri Star channel all about how to adjust your tension. So, if this is unfamiliar to you, then you can totally go watch those in order to get your bearings. We're just going to hit the highlights here today to make sure that our particular situation today is going to look nice. These don't need to be your best motifs ever. You just need to stitch them out so that you can see how it looks on the back. Now, I can see here that I've got some eyelashing. So, we're going to give that a nice hefty turn to the right and do one more quick check. Tension is rarely a set it and forget it affair. So, anytime you sit down to work on a project, it's a good habit to have to just go ahead and take a moment to make sure that your tension is looking really good. On a mechanical machine like this one, it's probably going to hold tension a little bit better than a computerized machine that resets every time you turn it off and on. But building that habit each time will prevent you from making the mistake that I've made of getting 2 hours of into quilting a project and then realizing that I need to seam rip because my tension went wonky. It's 0% fun. Just learn it the easy way. Okay. All right. Let's do one more quick check. My stitches here on top are looking pretty good. Let's just make sure it looks clean and tidy on the back. It does indeed. So note that my sutas match on the front and the back. I can see clean starts and stops with no raggedy edges. And that means that we're ready to grab this table runner and get going for real. We have our tension all adjusted, but there's one more thing that I sometimes get asked about. What about the feed dogs? Y'all, I'm going to be honest. I mostly leave them alone. I know that there's a whole uh school of thought around you must lower them or you must cover them. And sometimes that's great, right? The BO8 has really strong feed dogs. It can be helpful to put that needle plate on there that's going to cover them up. If you have a machine that has the little switch, you're welcome to lower them. What I really recommend though is that you try and see what works for your machine. On some machines, you're going to notice tension issues when the dogs are down. And if they're not interfering with your quilting, it's not going to hurt anything to leave them up. The main job of the feed dogs is to engage with your presser foot to move your fabric. And here we're using a presser foot that doesn't engage with those dogs. So try both ways on your machine. See which way gives you the best tension and the most comfortable quilting experience. Adjust your tension like we just did. And now it's time for us to get that breezy table runner and start quilting for real. Are you ready? It's time to finally stitch this. Let's review our quilting plan real quick. I mentioned to you that we're using four motifs. We're going to use a swirl, a meander, switchbacks, and a loopy meander. Now, because they're sashing between these blocks, we are going to break thread in between the blocks and the borders. And I'm going to show you how to do that after we quilt this first block together. So, we're going to do this swirl and the meander all together. Then, we're going to break our thread. I'll show you how to bury those thread tails. And then, we'll go one by one through these two borders. Are you ready? Let's do it. We're going to start in the corner of this block together in order to make our swirl. Now, this is a pretty big block to drop a swirl into. I always say that a rule of thumb when you are freeotion quilting on your domestic machine is that you're going to be able to control whatever is in the triangle of your hands. And as you can see, this block is bigger than the triangle of my hands. So, we're going to make a swirl, but then we're actually going to add some echoes around it in order to fill in that space completely. As we're quilting, all we need to worry about with these thread tails is keeping them out of the way. We'll circle back in just a second and bury them so that we have some nice invisible starts and stops. All right, I'm going to position my hand. Make sure you're sitting nice and tall. And I use the slider on the front of my machine to kind of create a stitch regulation effect, if you will. So, if I were to slide it all the way to the far right and let this machine go at its full thousand stitches per minute and hit that pedal all the way to the floor, it's going to feel like this machine is running away from me and I'm going to end up with really tiny stitches. On the other hand, if I were to slide it all the way to the left and have this on its lowest setting, then I'm going to end up with really big stitches while I'm quilting. So, I want to put this somewhere in the middle. That way, even if I put my petal all the way to the floor, I'm going to end up with a a speed that is controllable, right? All right. So, position those hands, and we're going to take a stitch or two in place. And then simply begin to make our swirl. As I get a little closer in, I'm going to move my hand so I have more control. And I'm going to shape that swirl. If you want, you can aim to have the center of this swirl land in the center of the block. It's not necessary like it. You can be a little offc center and it's still going to look really great. I use my foot as an easy visual guide for spacing this swirl out. And as I went into the center, I wanted to make sure I had enough room to get out. And then I'm just going to continue echoing until this entire block is full. Don't be afraid to pause and reposition your hands. I always like to remind folks that if you're watching this video on the internet, things like pauses often get edited out because they're not necessarily as nice to watch, but they're an important part of any quilters's process. Every single one of us is taking time to stop and put our hands back so we have good control over our work. You'll notice I'm just traveling in the ditch each time I arrive to the edge of the block. And we're going to fill this all the way out. I think this echo will probably do the trick. And then we'll stitch in the ditch back to where we started. I want to start the meander of this first border right where I began stitching for this block because if I start here and quilt all the way around, I'll be able to end that meander in the same place as well. And then we can just bury our threads one time. From here, a meander is simply a wiggly line. Now, like I said, if you are doing this for the very first time, this is your first time freeotion quilting before you get onto your quilt, you may want to take some time to practice these designs on paper so that you feel confident about how to make them. The other thing you could do is you could start with this border and do the swirl second if you're a little bit nervous about it. Swirls are kind of tricky. Don't be afraid to practice them a lot on practice sandwiches before you come to your quilt. And also, don't be afraid of it being imperfect. You are a whole human. You're not a robot. You're not a machine. None of this needs to look like it was done by a computer. That's not the point. This is quilting. This is something we do for fun. And it should be all about the joy units. I'm just going to continue this meander all the way around until I get back to where I started. As you can see, we've gone all the way around and added texture to the center of our block and then to that first border. Now that we're back to where we started, we can raise our needle and lift our foot in order to get our thread up without having tiny little tails. We want to have a little bit of slack underneath in that bobin. And I can give a little tug and use my seam ripper here to help guide that bobbin thread up to the top. Ideally, you'll catch it on the first loop, but it's okay if it takes a second. All right. There we go. So, cut those thread tails. So, we've got a couple of inches of both top and bobin thread all up here at the top. If you want this to be super secure, you could tie a little knot in these, but honestly, I typically just bury them. So, I've grabbed a sewing needle with a nice big eye and I've threaded a spare piece of thread through it, right? And this makes like a little lasso. Think of this like the little thing they give you to like get dental floss under your braces or under like bridge work. And we're going to do that same thing here, right? So, we're going to put those thread tails through our little lasso. And then we can bury all four threads at once without ever having to thread that needle. So we put the needle right into our quilt where these thread tails are coming out. And we want to go through the quilt top, but not down through the back of the quilt. And we're right here at these seams. So you may have to fiddle for just a second to find an easy way in. There we go. And we're going to go an inch or so through the quilt and just gently tug those thread tails behind us. So you can see how they just vanish right into the quilt there. Give it a little massage. And then we'll trim those thread tails flush and your start and stop has become invisible. Congratulations. You've just quilted your swirls and your meander. Now let's tackle the switchbacks and that loopy meander in our borders. Next, we're going to tackle the borders on this quilt. I'm going to show you how to go down and around the corner so you see how that works. I would recommend that you just quilt this in one big loop and then using that same thread burying technique that I just taught you, go back and do these sashings in between your blocks. There are ways that you could try to do it without breaking thread, but I honestly think that's probably more trouble than it's worth. So, we're going to start up here at this nice, lovely little seam, and I'm going to drop my needle down and back up so that I can grab my thread tail. And then we're going to start doing this switch back. Now, this is very important. Switchbacks are a straight line with a U-turn at the end. It is not a wiggly line. If you start quilting it like a wiggly line, it's going to look like those thumb guys from Spy Kids, and that's not the vibe. Okay. So, straight down, and then about a quarter of an inch from the end, you're going to do a tight little U-turn. tight little U-turn. And I like to quilt these switchbacks going left to right so that if I have any bulk under my machine, there's going to be less bulk as I move along. But also, our shoulder joints are designed to move like railroad tracks. And that's going to help you get these nice straight lines, even without the assistance of a ruler. You could do these with a ruler, but for something like this, this is a really great size to practice the freeotion quilting technique. And we're simply going to go all the way down and then turn this corner together. It's okay if yours are not super even as you get started. I've done about one frillion of these, so I've had a lot of practice. I'm always thinking about having the space between my stitching lines being about the width of my foot. And as your hand starts to drift over to the left here, pause on the straightaway, scoot over and reposition Now, I can notice there I got a little wobble at the top of my loop. That meant my hand was too far to the left. I'm not getting enough control. So, don't be like me. Move your hand preemptively and keep on chugging along. Now, I'm going to take this switch back all the way to the edge and end in the ditch. And then we're going to turn 90 degrees to come the other way. I think of these little corners as like little overlapping baskets almost. And I like that effect because then I don't have to worry about how to turn a corner with a switchback. I can keep them straight all the way in. And then as we come down this next side, I'll come all the way down here and then pick up at that corner. So simply pivot your quilt. I'm deciding how I want. I'm going to go left to right still, even though that means having the quilt in my lap. Ideally, we want to keep the quilt out of our laps. We don't want to have all that extra weight on our body. This is a pretty small project, and that way we can keep that same left to right orientation. Again, I'm going to go all the way to the edge. And then we will pivot 90° to start quilting the other way. This time we've got more bulk. So, we're going to take that bulk and we're going to shove it all the way through the machine. You don't have to have all of it up in the throat space. You just have to have enough of a little puddle that you can quilt your section. That way, the table can do the work for you. That's what it's there for. I start to run out of space. I just fluff my little quilt, make a fresh little puddly spot, and carry on. From here, you're going to continue quilting that switch back all the way around your quilt and do the corners at the other end just like I showed you on this end. Then you'll come back and do these sashings and then you'll be ready to join me again for the loopy meander in our final border. Let's tackle this final border. Now, I've been referring to this motif as a loopy meander, but it doesn't meander very much, and that's because I've simply taken those loops and I've lined them up for recess. Looks a little bit like a telephone cord. You'll notice that I've gone ahead and pulled my thread tails up. I'm going to start in the same place that I did with that uh switchback a second ago. That way, once again, I only have to bury those thread tails once. I like bringing these tails up because then they're not going to get tangled or anything underneath the quilt and I don't have to go fish them out later in order to have a nice clean finish. I tuck them under my thumb when I get started kind of out of habit just cuz again it keeps them out of the way. As we start this, I'm going to make a simple looping shape. And you will notice that I am not going all the way to the edge of my fabric. And that's because a binding is going to go on this. And we want to leave room for your binding without it covering up the edge of our loops. Cuz these would look like funky little shapes indeed if they got lost under there. So, I always like to leave about a half an inch. If you're worried about your project being wonky, you could even leave a little bit more than that. And that gives you plenty of room to square everything up, get nice smooth edges, and then drop that binding into place. Now, notice my hand has drifted all the way over to the left here. My stitching is going to start getting funky. So, that means it's time to pause. I paused on my little upswing. It's a nice easy place to pick back up. And when I start again, we're still going to take that stitch or two in place before we begin actually moving our fabric. Especially if you're quilting a motif you're not familiar with or if you're new to freeotion quilting. That stitch or two in place allows your machine to find its rhythm, but it also gives you a second to just take a deep breath and remember that you're in charge of this quilt and it's not going to run away from you. Every little bit of movement is coming from how you're guiding the quilt, not from anything that the machine is doing. Once again, I'm going to bring this right into the corner, but then I'm going to do a little like trio here. So, I'm going to make almost like a little shamrock of loops to turn my corner and then pause and rotate my quilt. You could keep quilting and just move the quilt away from you there. I find that a little bit disorienting, so I just like to go ahead and turn it and get it out of the way. We're going to pick those loops back up and again continue down this side of the border. If you are new to freeotion quilting, you may notice that in these first motifs, your stitches are not that even, right? Sometimes they may be a little shorter, sometimes they may be a little faster. And that's caused by just the difference in pacing of your needle and your hands. So if your hands are moving more slowly and your needle is moving more quickly like this, then you'll get teeny tiny little stitches. If your needle is moving slowly and your hands are moving fast, you'll get much bigger stitches like this. As you practice, you will find your nice even pace where your stitches begin to even out and are nearly the same length as you stitch along. If at any point you're making these loops and you're having issues with the loops coming out kind of pointy, probably just means your needle needs to move a little faster. Think about when you're driving in a car and you're going to make a left-hand turn, right? Let's say you get into that lefthand turn lane and the light is green. You're gonna coast your way down the turn lane, but as you actually get to the turn itself, you'll tap the gas to add a little bit of momentum so that you can turn smoothly through the curve. It's the same thing when we're quilting. You just add that little bit of momentum to move yourself around the curve so that you can get a nice smooth effect. Remember, once we turn and we've got all this bulk, we can shove it all the way back through our machine so the table is doing the work and make ourselves a little puddle just so we can quilt and move freely. I can feel my right hand here bumping up against that quilt. So, that just means it's time to adjust and then resume. If you've been quilting your whole table runner along with me, your body's probably starting to get tired. Make sure you do a little posture check. Make sure you're sitting up nice and tall. Drop those shoulders away from your ears. And if you're feeling a lot of tension in your back or your neck or your shoulders, take a break. There's no award for finishing your quilting in one sitting. It's more important to take the time that you need to take care of your body and work on this project in, you know, 15 or 20 minute increments and it will still be done in no time. You're going to continue this loopy meander all the way around. And when you reach the place where you started, you will have successfully custom quilted your Breezy Blocks table runner. You did it, Rockstar. Not only did you make a fabulous breezy blocks table runner, but you have quilted it yourself. That makes you a whole quilting rock star. Together, we have covered the basic motifs of freeotion quilting, including swirls, meander, switchbacks, and loopy meander. Using just these four quilt quilting motifs, you can bring an infinite number of quilting plans to life. And I hope that you are feeling excited about your newly found rockstar status. Just a reminder that if you're brand new to this, it's normal for it to not look perfect. You're a fabulous rockstar who's going to continue growing your skills. Practice makes progress. So maybe it's time to go make another table runner. I hope you've enjoyed this Missouri Star quilting tutorial. I am Holly Knight of String and Story, and it's been my job to guide you to quilt with confidence. Thanks for spending some time with me today, Rockstar.


 HollyAnne Knight
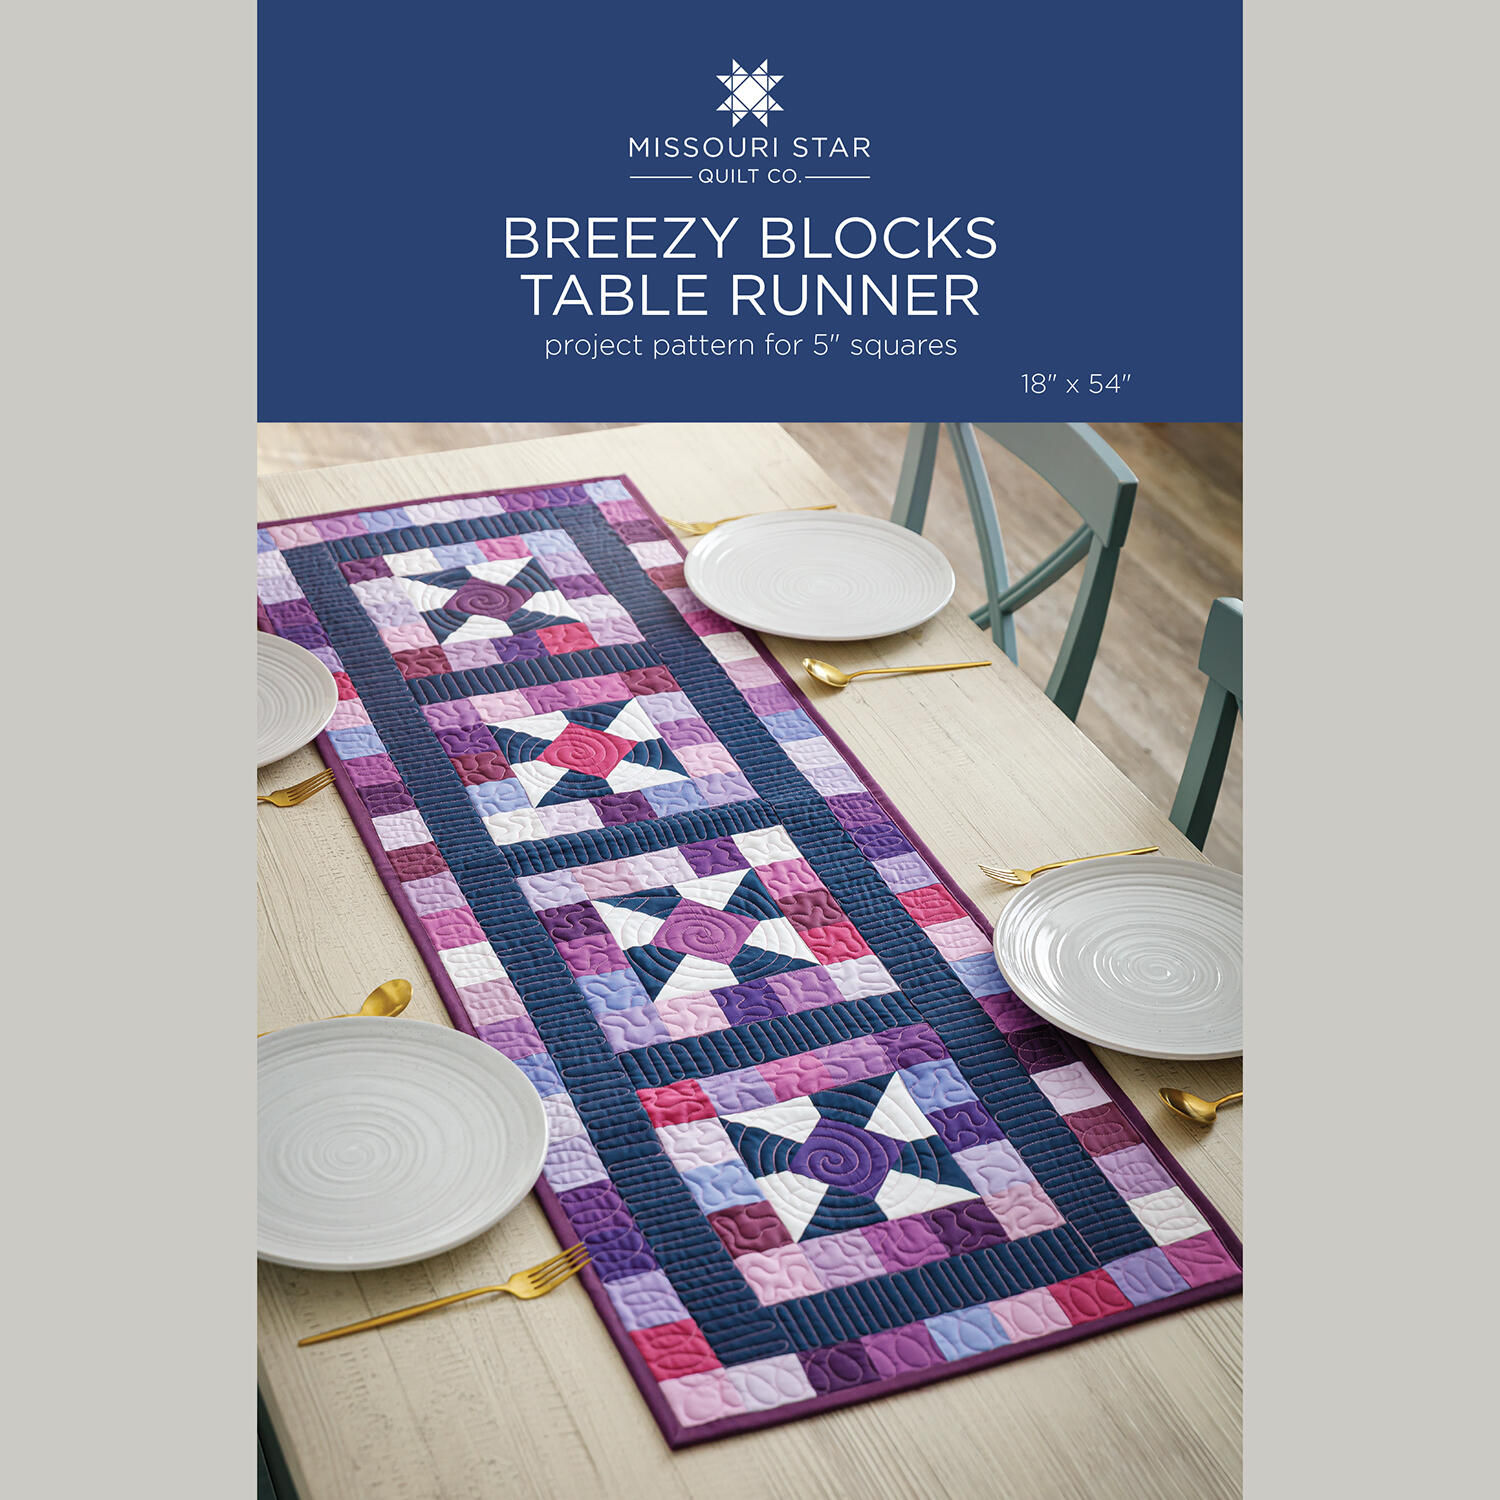 Breezy Blocks Table Runner Pattern by Missouri Star$8.50Shop →
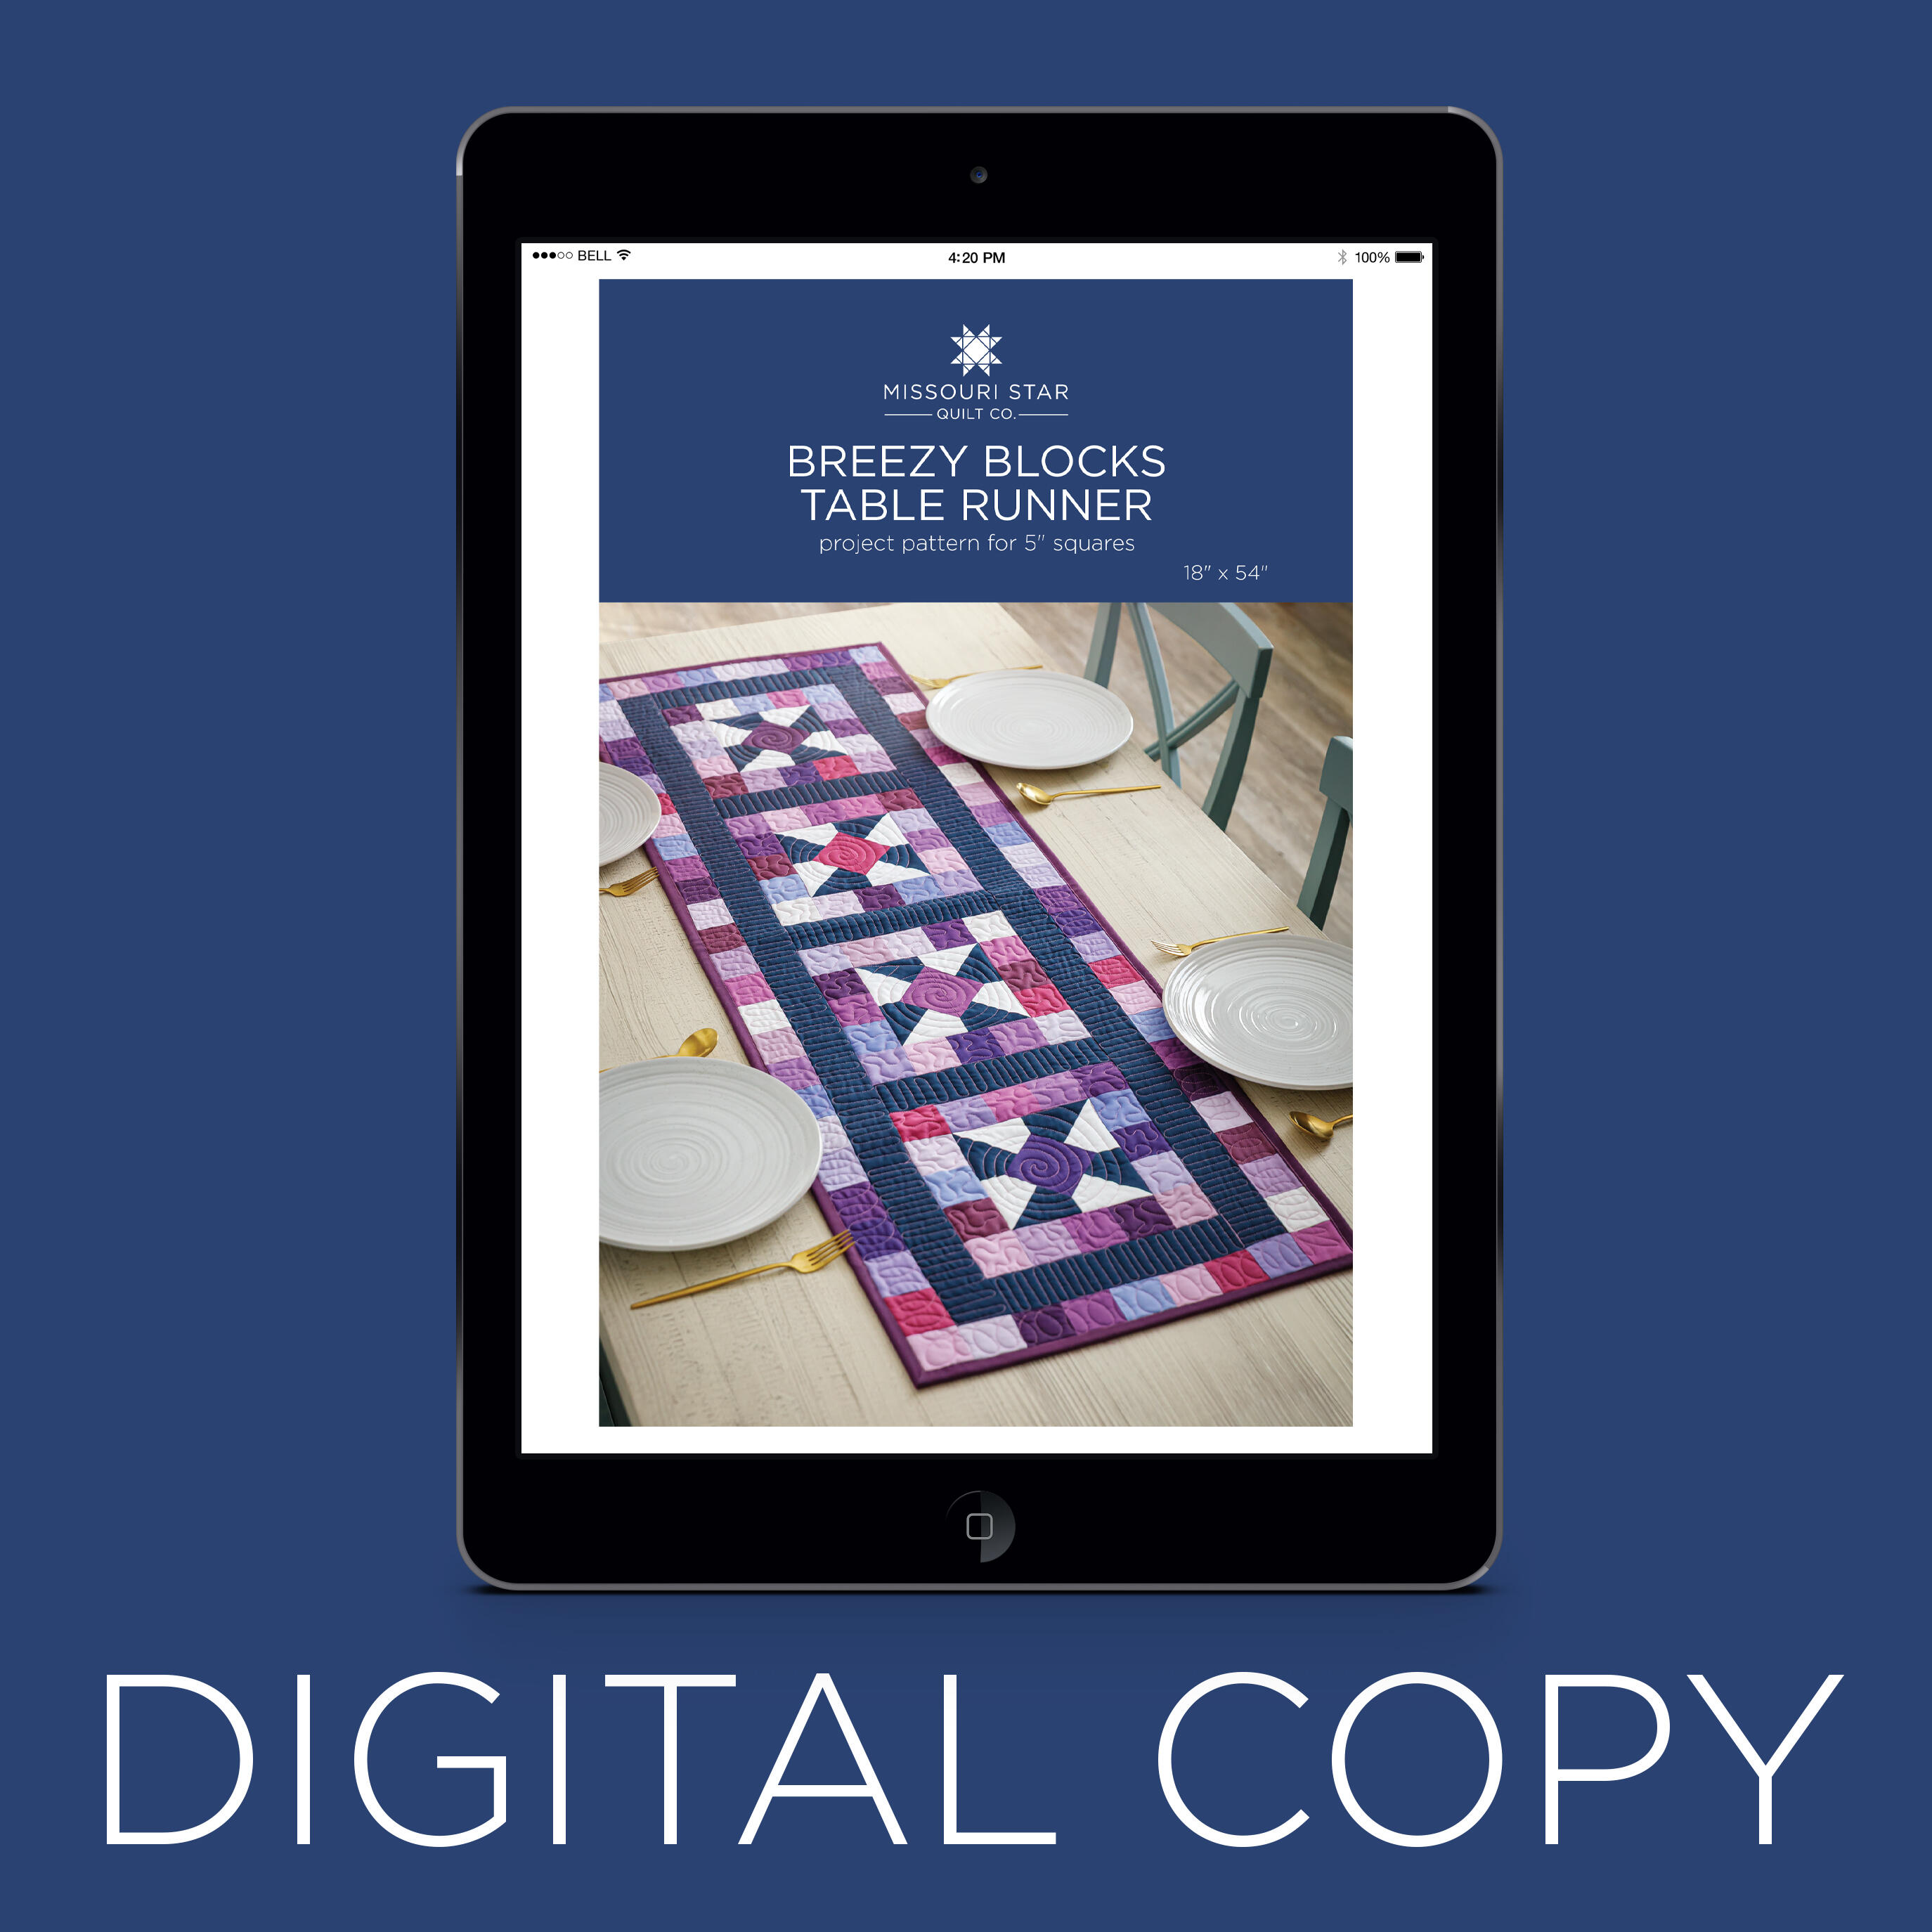 Digital Download - Breezy Blocks Table Runner Pattern by Missouri Star$6.95Shop →
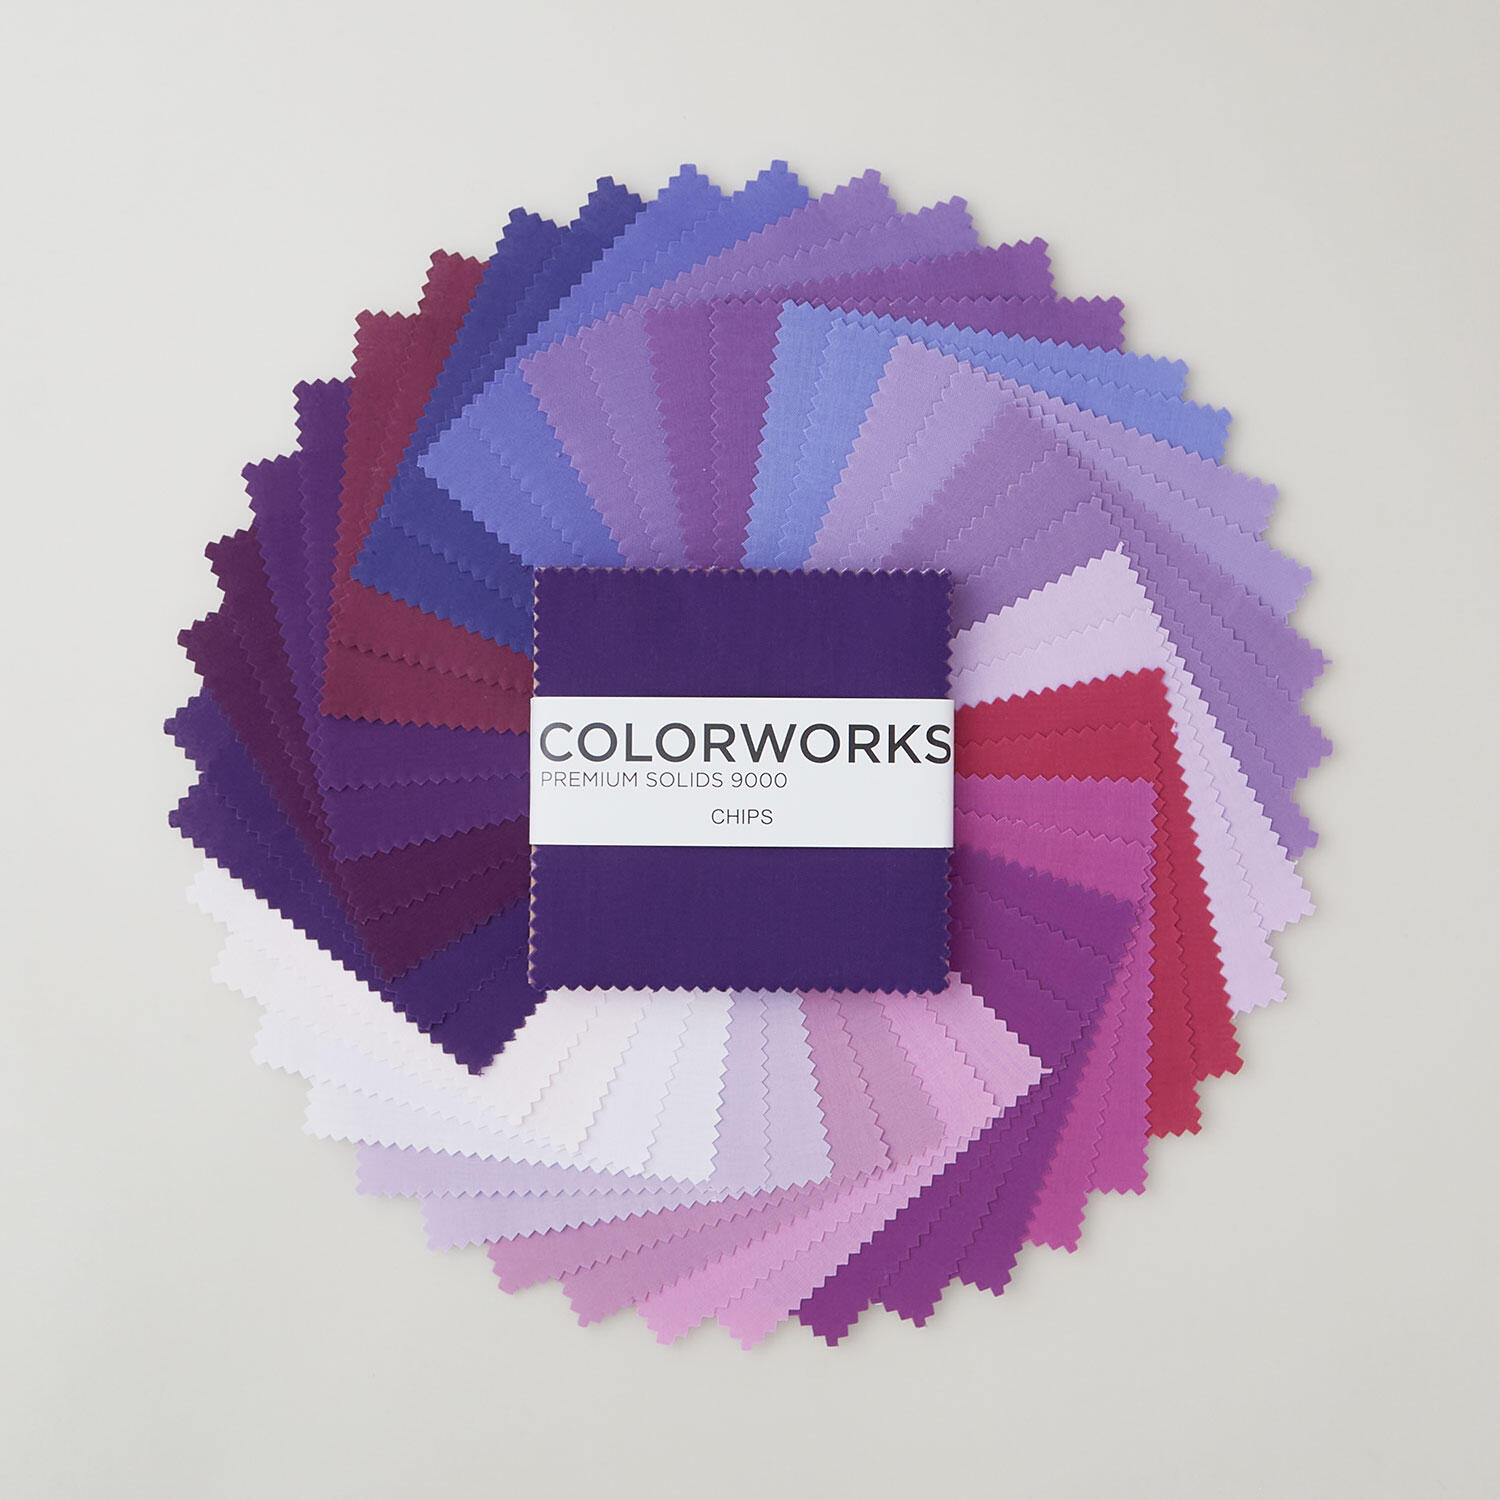 Colorworks Premium Solids Majestic Purples Chips$11.16Shop →
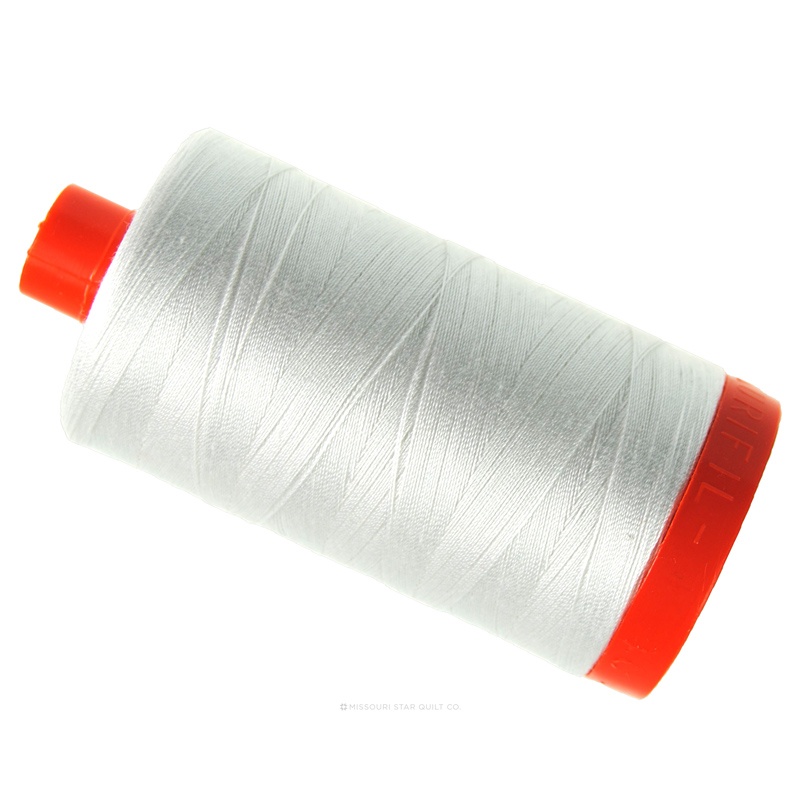 Aurifil 50 WT Cotton Mako Large Spool Thread Natural White$14.95Shop →
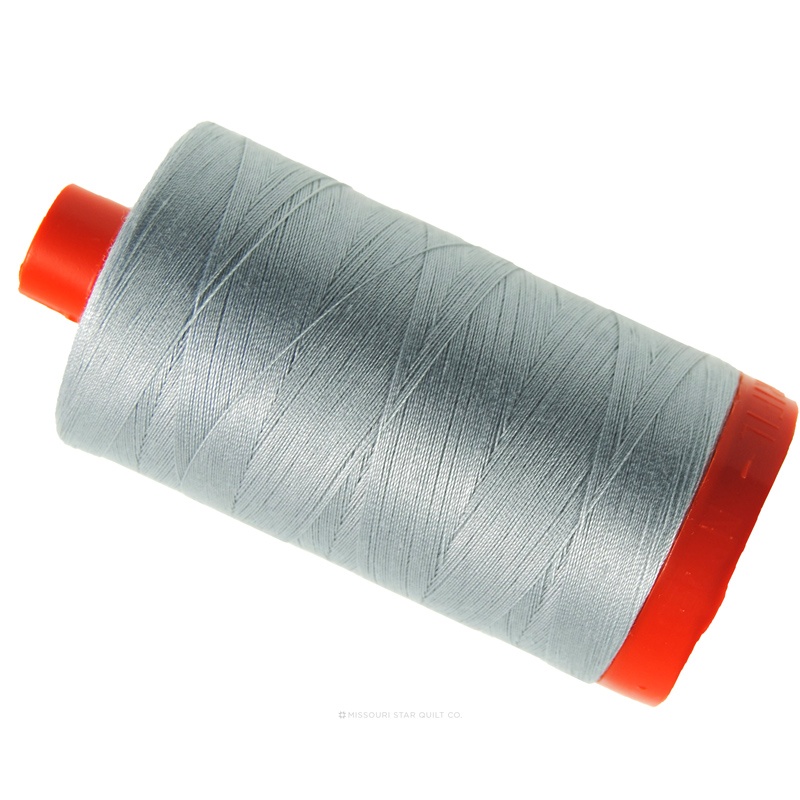 Aurifil 50 WT Cotton Mako Large Spool Thread Dove$14.95Shop →
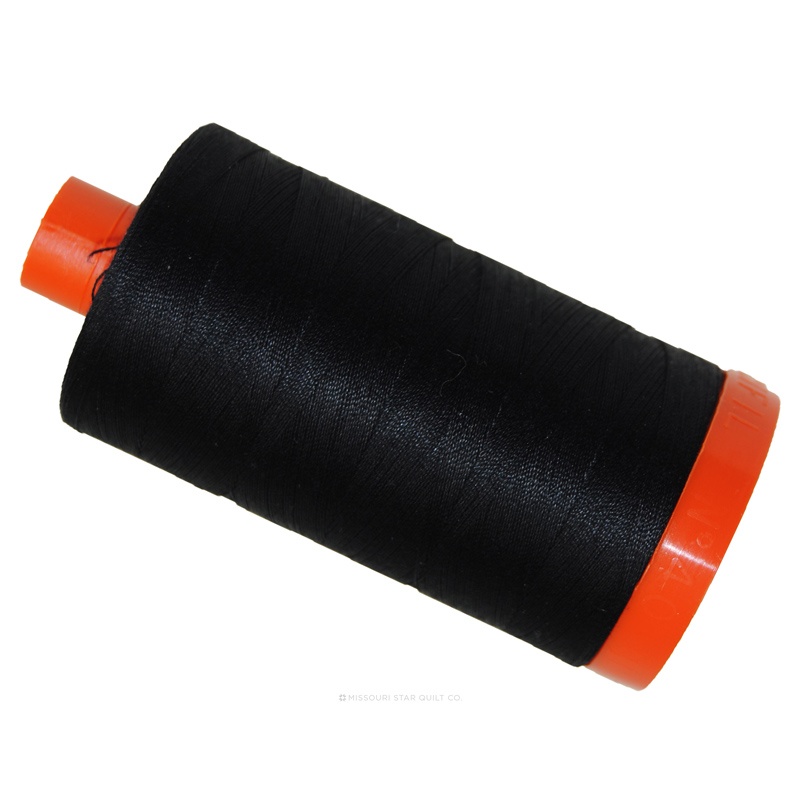 Aurifil 50 WT Cotton Mako Large Spool Thread Black$14.95Shop →
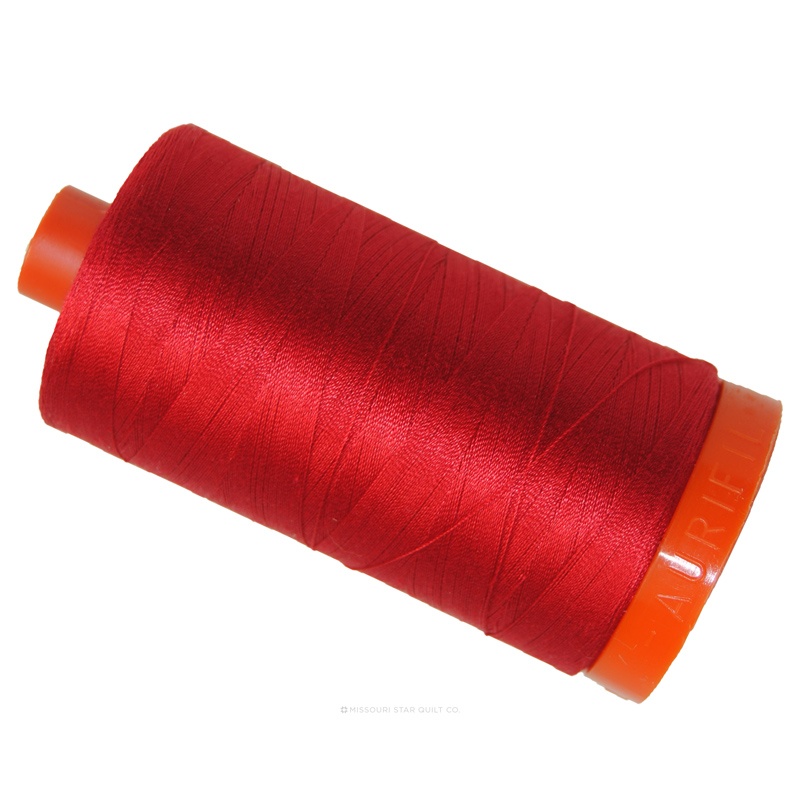 Aurifil 50 WT Cotton Mako Large Spool Thread Red$14.95Shop →
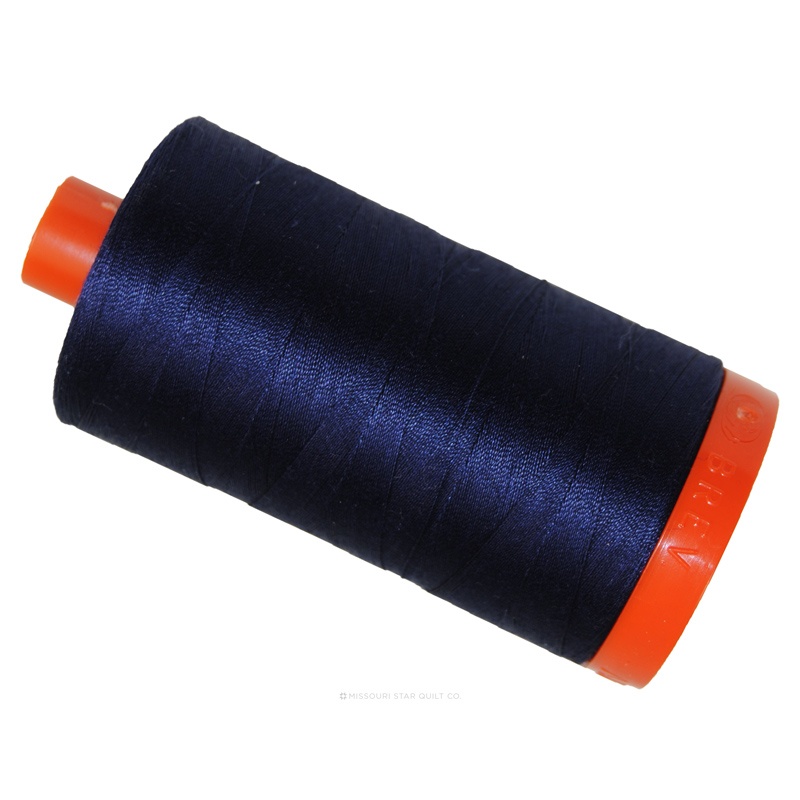 Aurifil 50 WT Cotton Mako Large Spool Thread Very Dark Navy$14.95Shop →
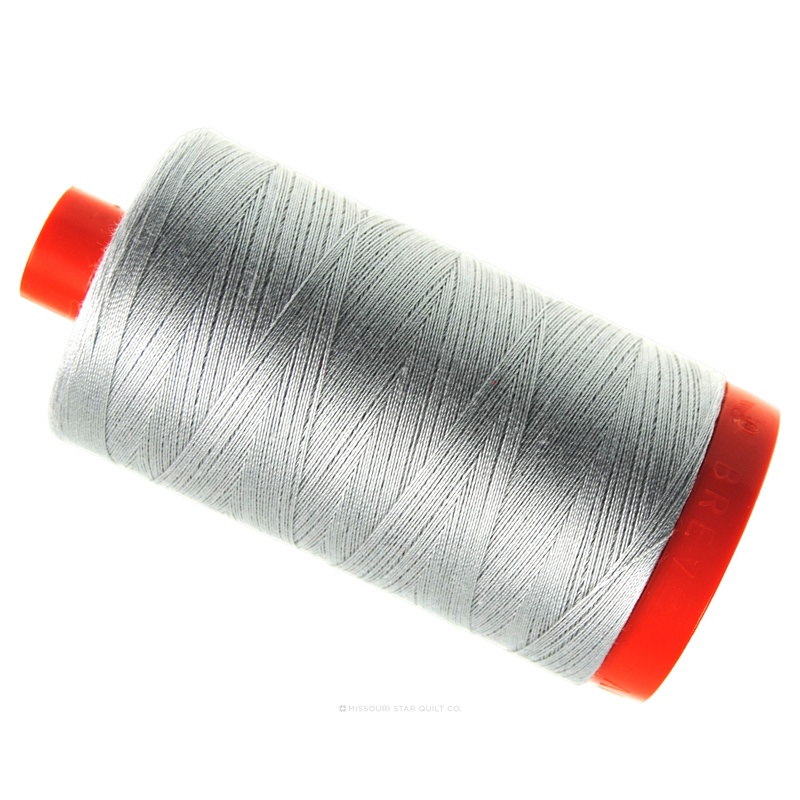 Aurifil 50 WT Cotton Mako Large Spool Thread Aluminum$14.95Shop →
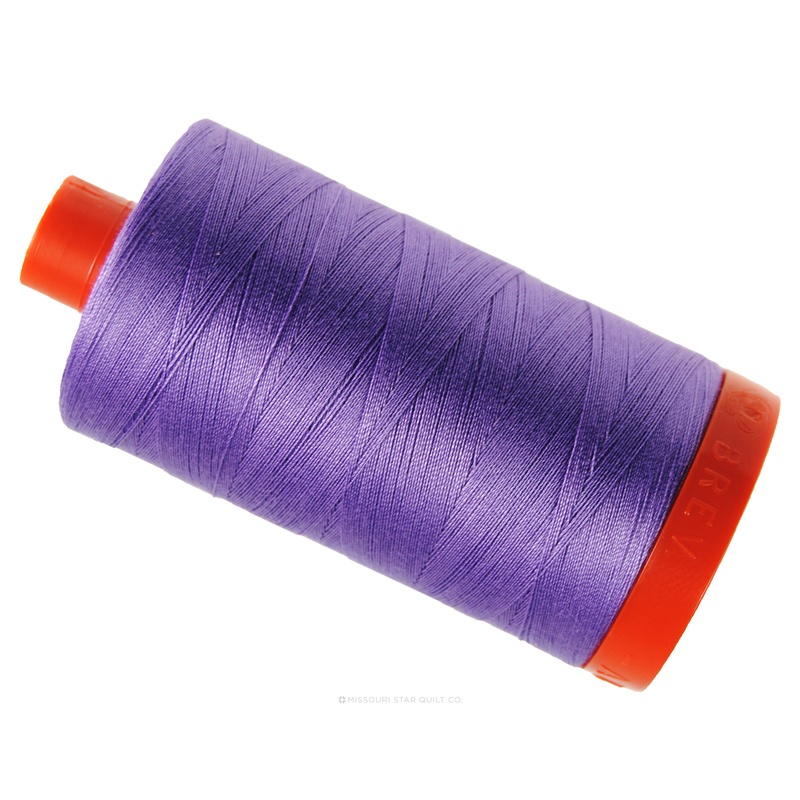 Aurifil 50 WT Cotton Mako Large Spool Thread Violet$14.95Shop →
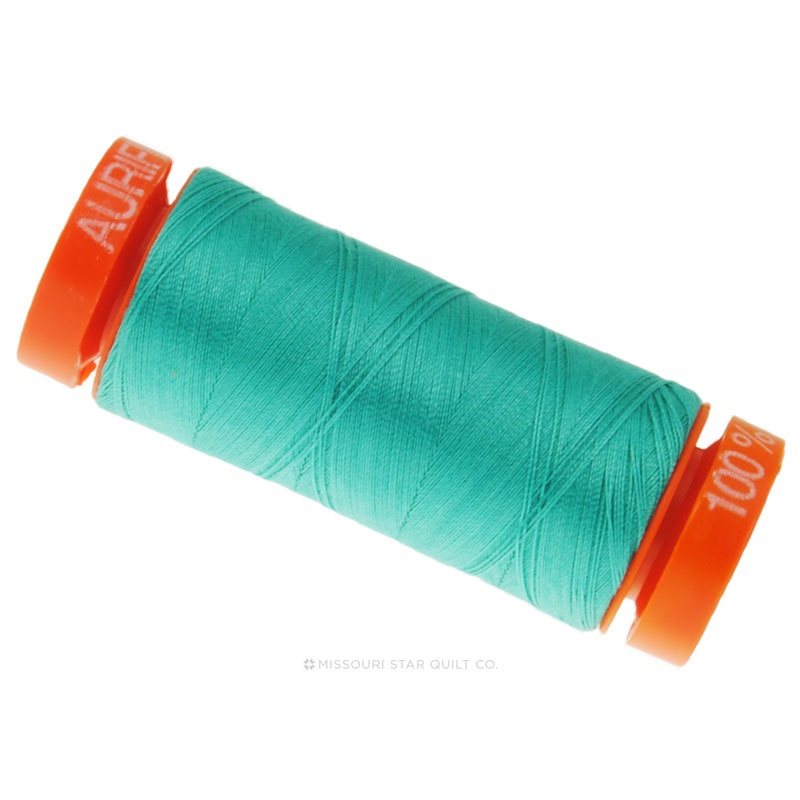 Aurifil 50 WT Cotton Mako Spool Thread Light Jade$5.95Shop →
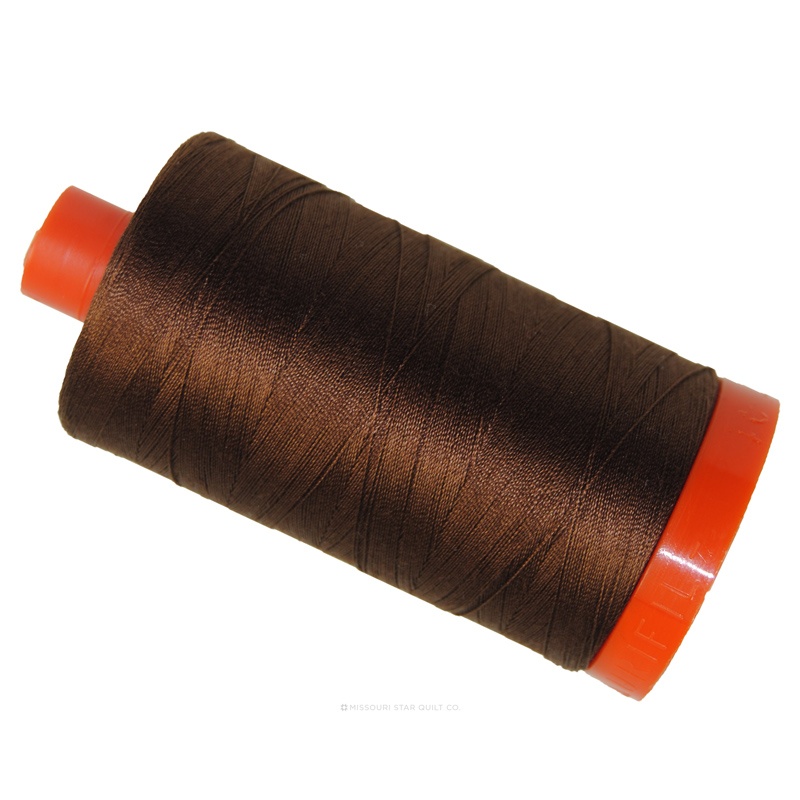 Aurifil 50 WT Cotton Mako Large Spool Thread Chocolate$14.95Shop →
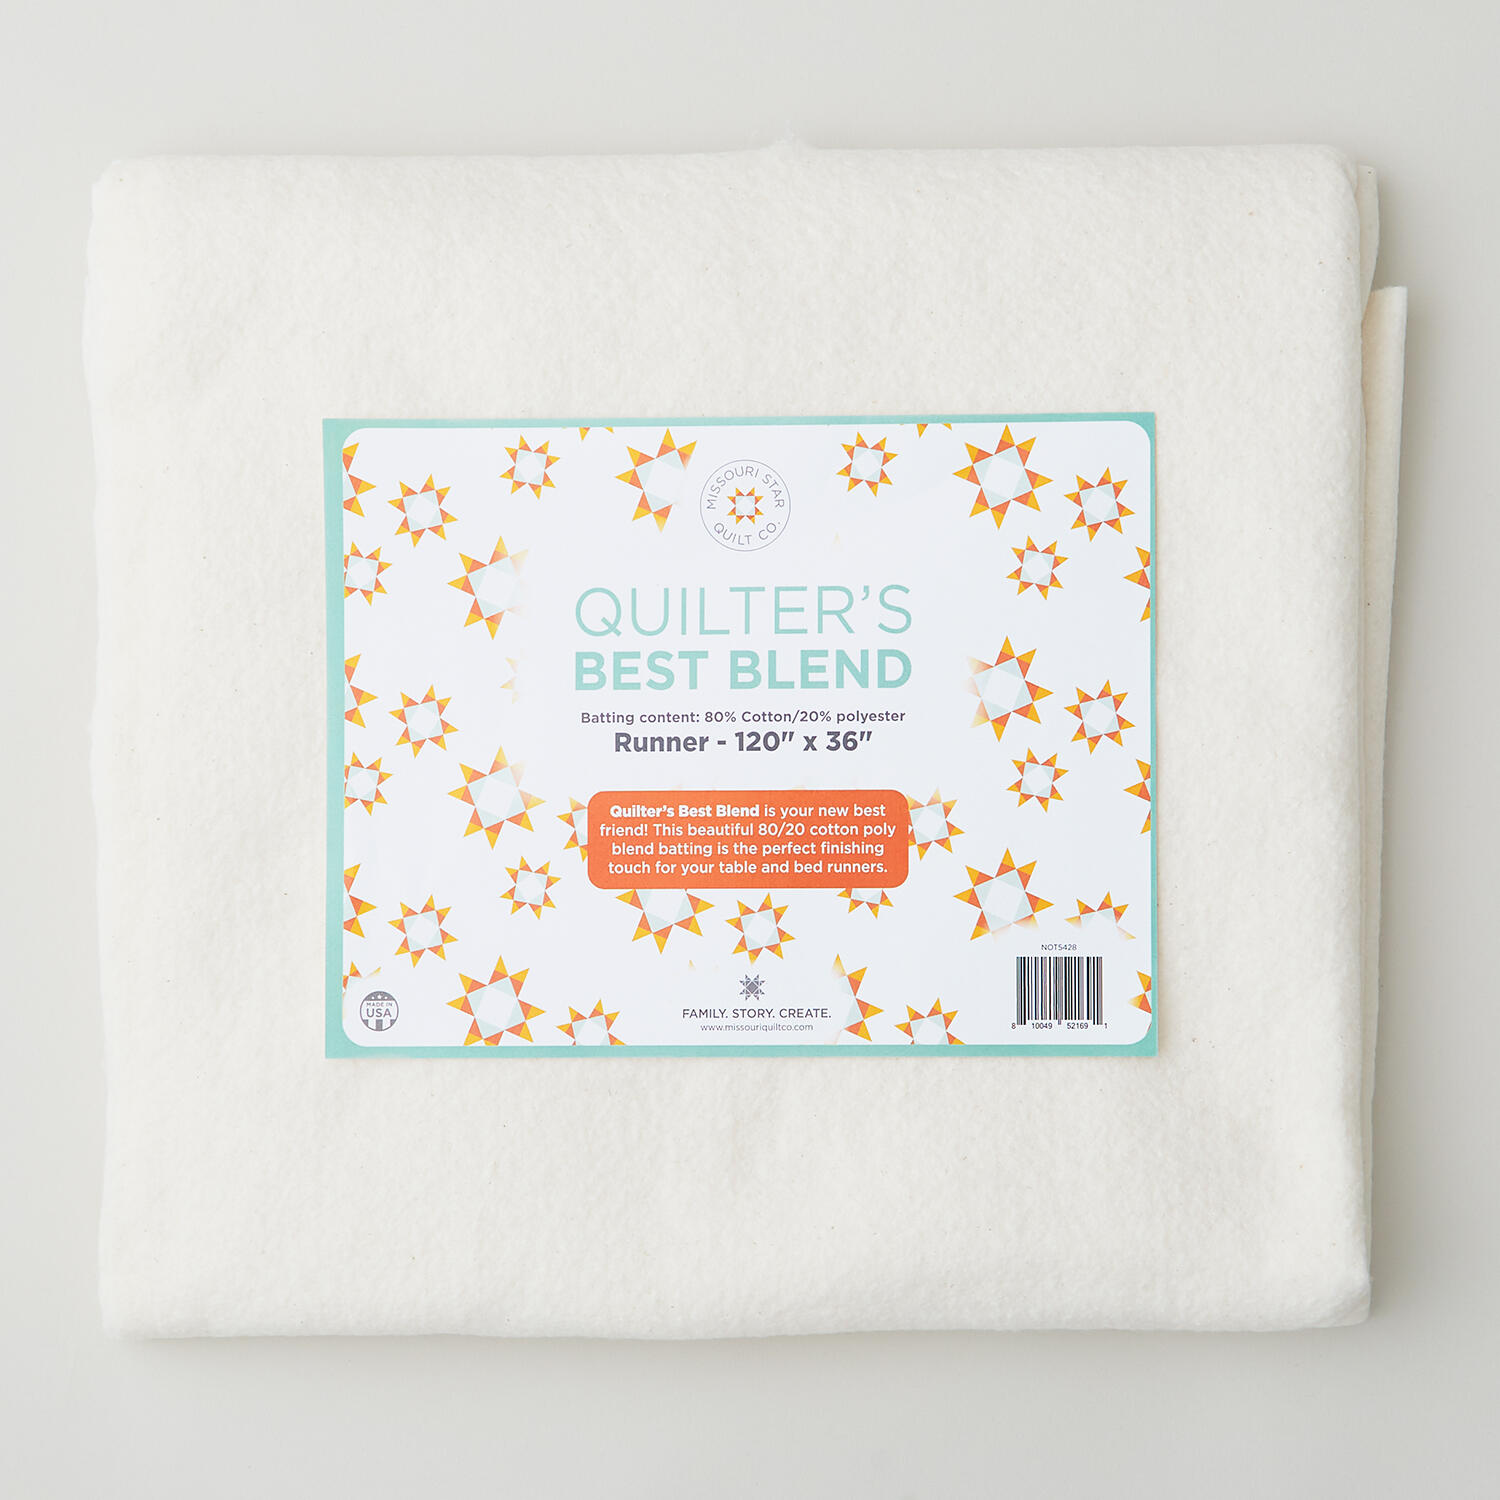 Missouri Star Quilter's Best Blend Bed/Table Runner Batting$14.95Shop →
 Machingers Quilting Gloves - Small/Medium$9.00Shop →
 Machingers Quilting Gloves - Medium/Large$9.00Shop →
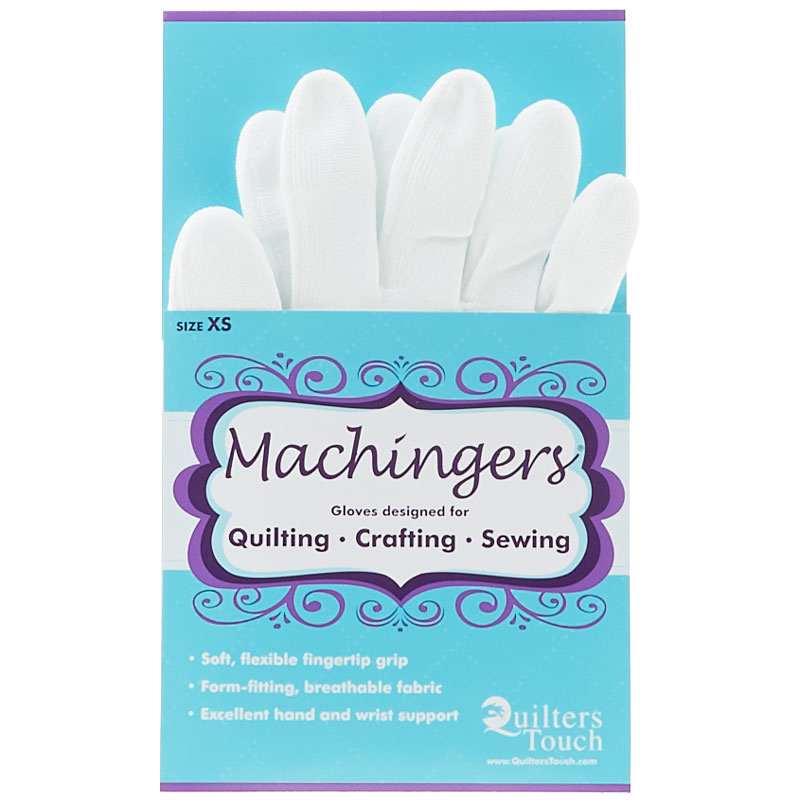 Machingers Quilting Glove - Extra Small$9.00Shop →
 Missouri Star Wooly Betty Board - 17.25" x 25.5" Orange Border$99.95Shop →
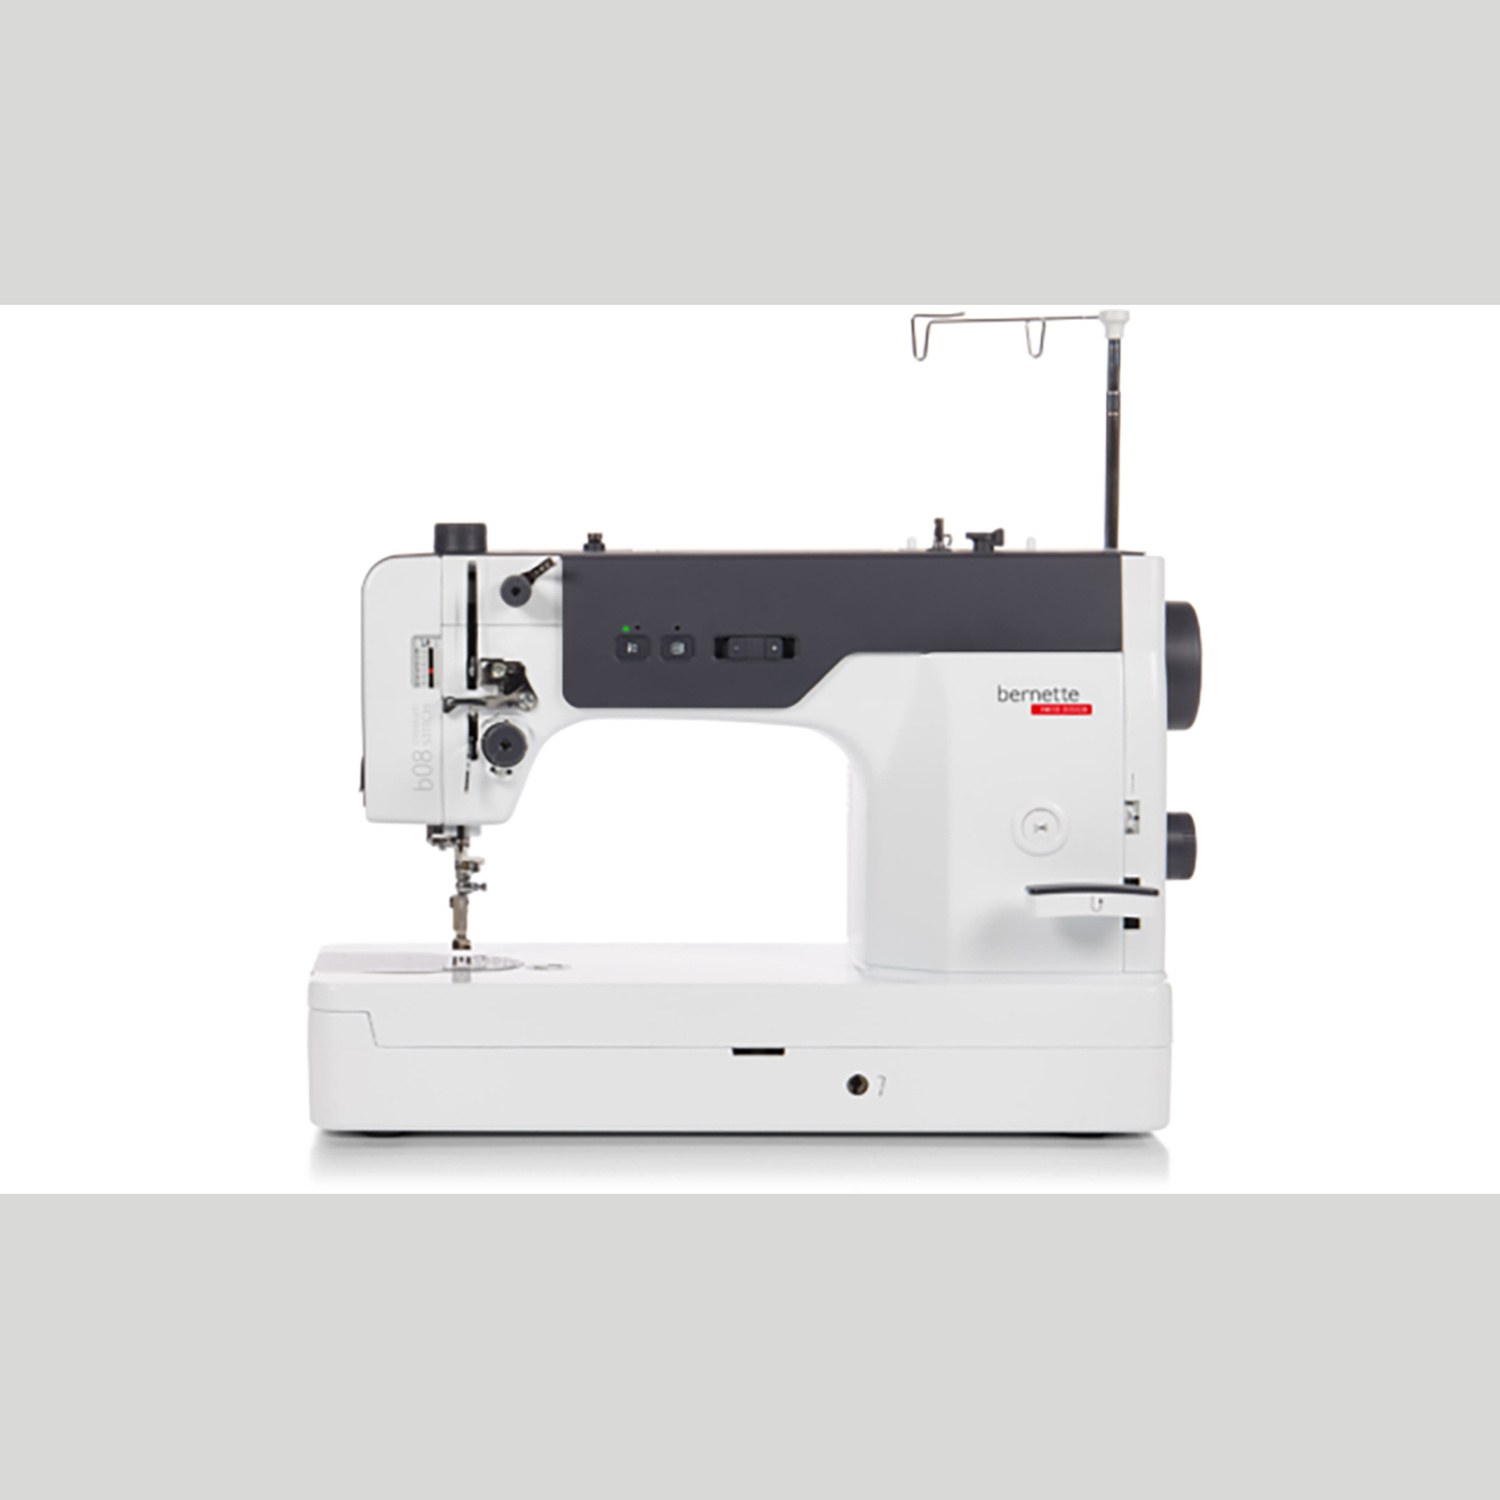 Bernette 08 Straight Stitch Sewing Machine$2299.00Shop →


