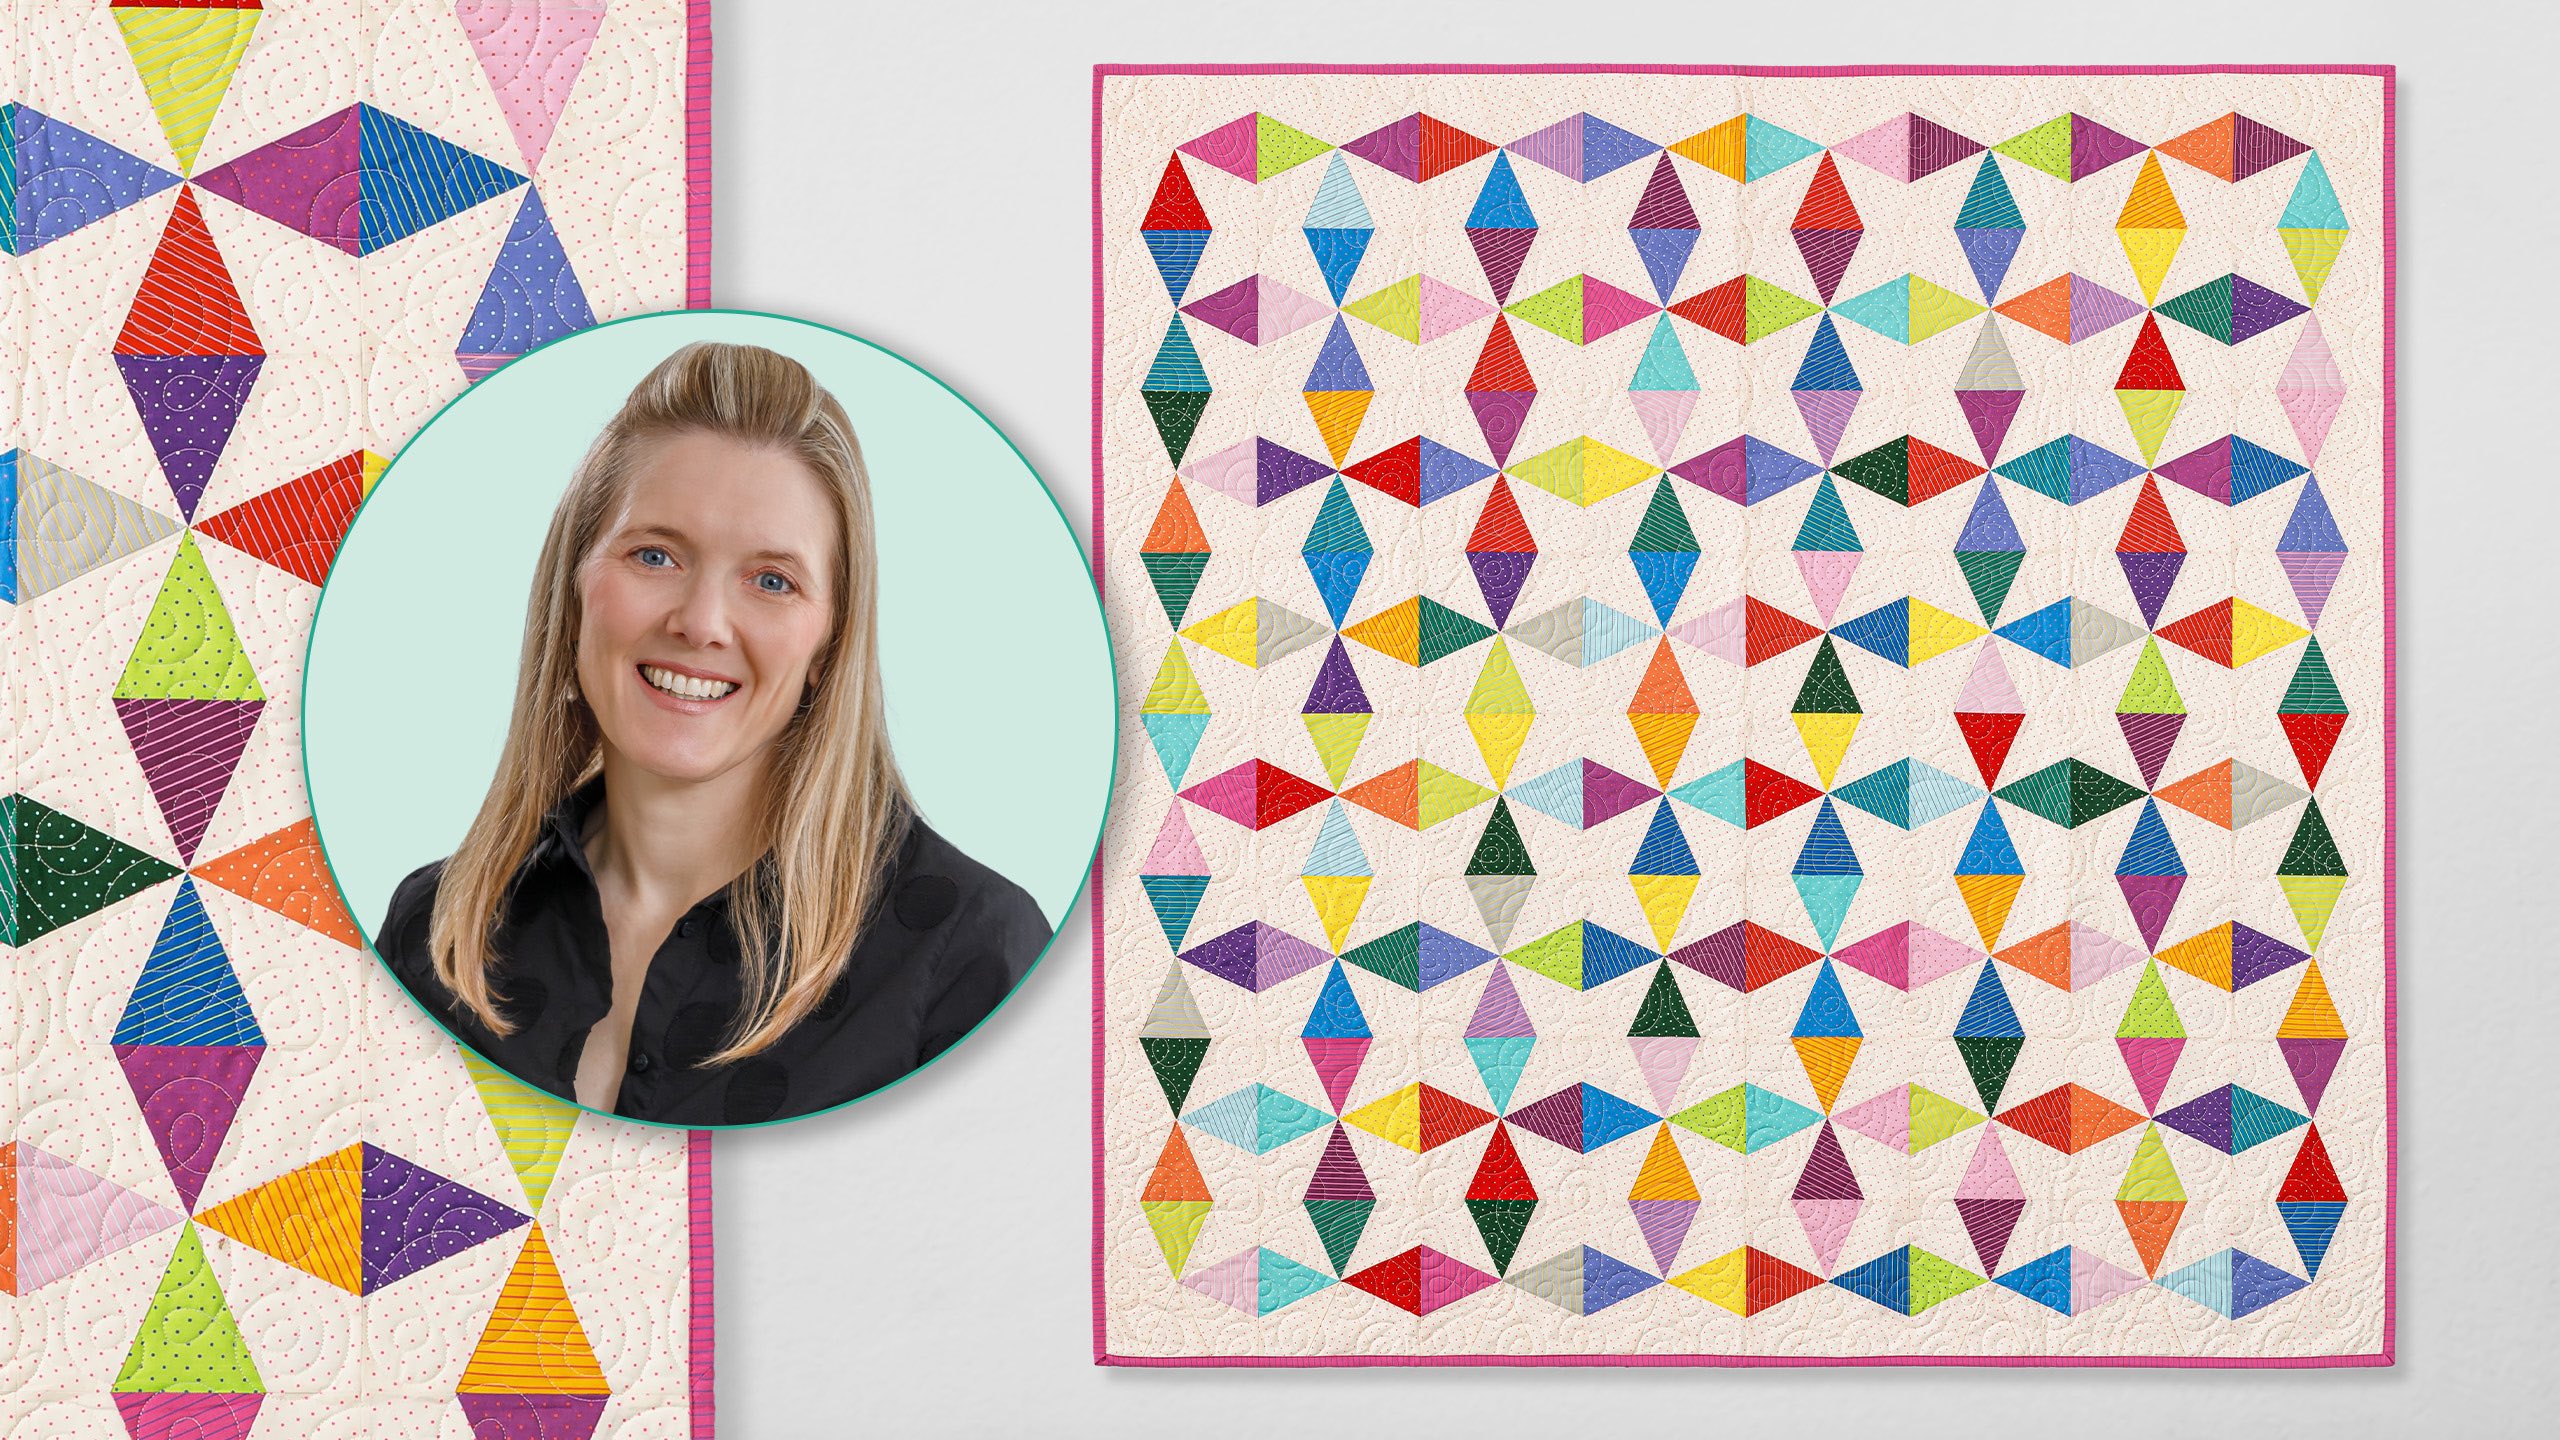
If foundation paper piecing has ever felt intimidating, Jemima Flendt is here to change that. Joining us in the Missouri Star studios, she walks you through the Graffiti Quilt—a vibrant, eye-catching pattern that doubles as the perfect introduction to this game-changing technique. Jemima breaks down the core principles of foundation paper piecing in a way that's approachable and fun, building your skills and your confidence one block at a time.
Jemima Flendt is a quilt and crochet designer, teacher and author, all under her label Tied with a Ribbon. She loves exploring the interplay between crafts (specifically crochet and quilting), as well as embroidery and appliqué.
What is covered in Graffiti Quilt with Jemima Flendt?
If foundation paper piecing has ever felt intimidating, Jemima Flendt is here to change that. Joining us in the Missouri Star studios, she walks you through the Graffiti Quilt—a vibrant, eye-catching pattern that doubles as the perfect introduction to this game-changing techni...
How long is the tutorial video?
The tutorial video is 00:28:24.
Are supplies listed for this tutorial?
Yes. The tutorial page includes the supplies and materials connected to this project.
Video Transcript
Hi, I'm Jamaima Flynn and I'm going to share with you today my graffiti quilt. I'm really excited to show you how to foundation paper piece. So, if you've never tackled this technique before, this is a fantastic place to start. Let's dive in. With foundation paper piecing, this technique is used to achieve really precise points. You're going to be sewing on the paper as a foundation to help really make sure that everything lines up nice and neatly. You can see that with all these beautiful colors, you'll be able to create these beautiful blocks to make the graffiti quilt. Let me show you what you're going to need to get started. The supplies that you're going to need for the graffiti quilt are your pattern. There is the option for a paper pack, and I'm going to explain that in a little bit more detail as we go along. You're going to need your background fabric and we have this absolutely beautiful Tula Pink um tiny dots and stripes bundle that we're using for our fabrics today. The other supplies that you're going to need for foundation paper piecing include an add a quarter ruler. You're going to also need some rotary cutters, and I'll explain why we're using two today. You're also going to need a seam roller, some binding clips, and your machine with a few little adjustments for it. With the graffiti quilt, you'll want to make sure that you have got your foundation paper piecing ready to go. For this, what you'll need to do is you'll need to with your pattern, you'll need to either print out your template pages, making sure that you check carefully that you have 1 in test square here, and actually measure it so that it is 1 in. You want to make sure that you do that so that you have the correct scale of the block. If you are using the preprinted papers, you will find all of those papers already done for you for the entire quilt within this pack. When it comes to cutting out your papers, one of the tips that I love to give is to have a second rotary cutter in your sewing space. I like to use a different colored rotary cutter from my fabric cutter. And I use this to actually cut out all of my paper template blocks. This way I know that this one is for craft or for paper so that I don't use it for my fabric cutting. Once you have cut out all of your paper templates for your A, B, and C blocks according to the pattern instructions, you'll be ready to start with your sewing. The other thing that you need to make sure that you've done to prepare and to be ready is to have all of your background fabric cut according to the pattern instruction size and also all of the fabric colors and prints that you're going to be using to make your blocks. If you have them already cut and you have all of your paper ready, it really does make the production for foundation paper piecing a lot easier because you're able to just go through the next step without having to wait for the next piece to be cut or sewn or anything like that. So, preparation is really important and key for foundation paper piecing. The Caterpillar light board is a really useful tool when you're sewing your foundation paper piecing. It becomes a really helpful light source for you. And this one here actually has the cutting mat placed on top of the lightboard. So, it's really easy for me to set myself up between my machine and my cutting surface so that I really am able to do this all in the one space without having to move too much about. With your foundation paper piecing pattern templates cut, there are a couple of things to note that you'll find on my particular pattern pieces. One of the things with foundation paper piecing is you don't necessarily always have an indicator to add the seam allowance. And that's one of the things that when we start out learning, we often don't know that we need to do that. So in this pattern, you'll notice that it's indicated by that dotted line. So again, when you're trimming your papers, you want to make sure you're trimming to the outside of the dotted line. There are a couple of other key things on here as well. We have in here the piece that you're going to be working on, which you work through in number order. You also have on here the actual names of the fabric that you're using so that you don't confuse it and that you're able to keep it all nice in order and you know which one is about to come next. This here is block A and it is one half of the block. So, we're going to start with making and showing you how we're going to sew the first side of block A. The blocks are made up of block A, block B, and block C. All of which are just slightly different. But once you've got the construction for A, they will be very simple to follow through. With your fabrics, what you're going to need to do is you're going to need to take your background piece of fabric and place it down on the surface in front of you. You're then going to take your piece for the pattern, which will be for number one, and you're going to place that right sides together. One of the things with foundation paper piecing that's very important to note and often quite tricky when we start out is you're actually going to sew on the printed side of your paper. Everything is then turned and worked to the actual blank side of the paper being the finished side. So that sometimes can be the little tricky part when we're first starting out with this technique. So what you're going to do is you're going to place your two first pieces, your piece one, which is our color, because I've got that written on my pattern, so I'm not confused as to which way I'm going. You've then got piece number two, which is going to be covered with our background fabric. You're then going to take your paper template and you're going to line it up along. And you can see through the lightboard that I have placed it with 1/4 of an inch seam allowance added on this side here. Now, that's really important when you're starting out with foundation paper piecing because quite often when we start, we think that everything has to be placed in the an on angles. But if you remember to keep all of your fabric and your lines straight, then you'll actually make sure that you have those pieces turn and when you fold the piece of fabric over, it will all be in the correct position. So, what you're going to do is you're going to take your paper template, those first two fabrics, and there is absolutely nothing wrong with placing a pin in this little position here to just double check that you have placed everything where you need it to be. One of the things when we get to our sewing um machine, you need to take your stitch length down to between 1.5 to 1.8 eight on your sewing machine. And that stitch length is really important for foundation paper piecing because you're going to make sure that you've got nice strong stitches for when you're tearing and perforating that paper. So, the smaller stitch length really helps to keep that stitch nice and straight and so that it doesn't unravel or fall apart as you're sewing. You also need to remember when you're stitching that you are going to stitch from the top of the dotted line because you have to add your seam allowance with foundation paper piecing. So, you're going to stitch from the top of the dotted line straight through the solid line and you're stitching on the line through to the bottom of the dotted line. One of the other things that you'll also need to remember is that you need to back stitch at the beginning and the end of that seam to allow that you've really secured those stitches down because when you start to tear away the paper, you don't want your stitches to start to unravel. So, what we're going to do now is, as I've mentioned, we're going to stitch from the top straight through to the bottom with a smaller stitch length and making sure that we back stitch at the beginning and the end of that seam. So, we have sewn our first line. What you're now going to do is you're now going to fold back the paper and we're going to use our add a quarter ruler. We mentioned before that these are in our supply list. These actually have a little ridge along the back of them so that when I place it up against my paper, it actually butts up against the paper for you to securely lock your ruler in to make sure that you're going to trim off anything that's past that 1/4 of an inch seam allowance. And because I have the cutting mat on top of the lightboard, I know that I've got everything in the correct position. What you're going to do now after you've done that is you're going to fold back. And you can see not only through the light box, but from the top here that I have all of my paper covered with my second piece of fabric in the order. Using your seam roller, you're then going to give that a press. You could also use your iron if you had that set up in your space as well. What you're wanting to do essentially is be able to do this so that it's nice and flat so that you're able to do the so that sorry the next piece on and nothing's going to buckle or pucker as you're sewing. Now we're up to the next piece. And if you turn back your template, you can see that you've got your first sew in line. Everything for piece number two is covered. And then we're going to now sew piece number three, which is also a colored fabric. So again, you'll find that it's very helpful in the pattern to actually see that that's where you're up to if you're new um to this technique. So again, you're going to place your fabric right side facing up. And again, don't worry about trying to make the angles of the fabric. Just consider that everything is a straight line and that when you place this down, you're going to place it down also here so that you can also see that you have taken it past that one/4 of an inch. And again, always pays to double check when you're first starting out. So, we have placed that pin in to just make sure that when you turn this back over and after you've sewn that line that everything is covered with that piece of fabric over the paper. With foundation paper piecing, it can be really tricky to seam rip your lines if they aren't exactly where you'd like them to be because you have done that smaller stitch length. So, trying to avoid unpicking, especially also because you've got paper in your um work, it's really um best to try to always, you know, double check to make sure that you're sewing it correctly. First, again, we're going to sew from the top of the dotted line straight through the straight line to the bottom of the dotted line with that next piece of fabric. After you've sewn your line, you're ready to once again repeat the process where you fold over your paper. because you have some intersecting seams at the top of where you've started, you're very much able to just give that slightly um a bit of a tear so that your paper will sit nice and flat. And then again, you're going to take your add a quarter ruler and you're going to butt it up to the fold line of the paper. You're going to take your rotary cutter and then you're going to trim off anything past that 1/4 in seam allowance. Our next step is to then press. So essentially with foundation paper piecing, you're doing those four steps which are sew, fold, trim, and press. And if you keep repeating that, you'll very quickly have mastered this technique. So we've got our first three pieces. We're now ready to sew and turn back our paper. So that we are now sewing our fourth piece, which I know because it's not indicated by a color that we're up to a background fabric. So again, place your background fabric right side facing you or facing up. You're then going to take the line that we're going to sew, which is the one between three and four. And you're going to place it down onto your fabric. Again, very helpful when you've got a great light source under you to be able to see that everything is running at one/4 of an inch past that line. And again, just remember, keep everything straight. The straight line of the pattern template and also the straight line of the edge of the fabric. That way, you won't start creating angles that you would have to seam rip. So, we're now going to sew that last one. But I want to give you a very little um clever tip at this point. When you get to this part of your paper piecing, you are actually starting to sew across quite a number of your seams. Can be very helpful to actually just take out this little bit of paper at the top of your pattern template because those ones later on can become quite difficult to take out as you actually go to sew more of your template pages together. And then we're up to our last seam where we're going to repeat the same process. We're going to fold back our paper. We're going to take our add a quarter ruler and we're going to now trim anything past that one/4 inch line. Then you're going to take your seam roller and again you're going to press that last seam in your first side of your block A. You can see here that we have now constructed the first half of the block. This here is the finished side of your block. And as you can see, all of our sewing and our stitching has taken place here on the back of the block. Once you have completed it up to this stage, I like to give my block a little bit of a press with the iron just so that everything I know is nice and flat. We're giving our block a final press. And now what we're going to do is we're going to trim up our block with our ruler. Just making sure that we've got that seam allowance added to that solid line. And there you have the first half of your block. What you're going to do is you're going to repeat that for your second side to make your first a block, which looks just like this. And I'm going to show you how we're going to sew those two pieces together. After you've completed your first side of your block A, you're going to repeat that for your second side of your block A. So, this is where you're mixing up a variety of the different colors and patterns that you have within the fabrics that you cut earlier on. This here is two sides of our A block. And when we sew them together, I'm going to show you how we still maintain and get those beautiful points. You're going to take your template and you're going to fold it right sides together. And you can see how handy that little bit is of paper that we've taken out. how much easier it does make for this next step. So, you're going to line them up and what we're looking to line up is where those seams have intersected from your sewing line. So, you want to make sure that when you're putting these together that you're actually lining those up. The center is the most important part. If you've got a little bit of give that you have to sort of push out to the sides, it's much better to make sure everything's centered and everything is really spot-on and neat and precise in that center. So, roll those two seams together. And then I like to use a binding clip to hold those in place at that center point. You're then going to put your two pieces together. At the end, you will have a little piece that is actually sort of sticking out of the um outside of the paper template and that's supposed to be further past where you are. So, don't worry if you um have that and think I haven't made it correctly. You need to have that for the seam allowance. So, placing a clip also on that side and then also on this side. And what we're going to do is the same process where we did before. You're going to start at the top of the dotted line and you're going to sew this solid line seam straight through reversing at the beginning and the end or back stitching. Or you could put a locking stitch in right through to the opposite end. Now when you open out your papers, you should be able to see on the front of your block how you have absolutely perfect points. What we need to do also now is we need to open out this seam allowance to help distribute any of the bulk. So, fold open on that paper template side where you've got your writing. Just press that open with your fingers first. And then you can use your seam roller to make sure that you have got all of your seam nice and pressed flat. so that you've got your block completed for block A. One of the things with foundation paper piecing is when do I get to pull out the paper or when do I actually start to take away that paper from the back of your blocks? And I always like to say to people that you want to keep the paper in for as long as possible until the seams are closed or no longer being used. So you can now see with our center seam that we no longer need any of that seam. We still need to actually sew the top and the sides of our block into our quilt top. So we don't want to take any of this paper away from the back of the quilt. Otherwise, everything tends to be on the bias and you'll have more shift in your blocks as you start to sew them. So we won't start to sew these um together until we have all of them prepared. But you want to make sure that you keep the paper in. So you can just take it out at the areas where you no longer need simply by tearing that away. And then I like to give the back of the block a press with the iron to make sure that everything is sitting nice and flat, especially that center piece, um, which can tend to be a little bit bulkier than the rest of the seam. After you've finished your completed A block, you're going to also need to make as many of these as required for your pattern size. You're also going to make the B blocks and the C blocks. So, let me show you those. Here you have your completed A block. Here you've got your completed B block, which has three pieces of your colored fabric. Then you've got here the C block which has the two colored fabrics and makes up the four corners of the quilt or the pillow. So let me show you where those blocks fall within the quilt. This here is our C block which in this quilt makes up your four corners of your quilt. So you've got four of these that you'll need to make. This here is our B block and this makes up the borders essentially of the quilt. So you can see that you'll be making these to go around the outside edges of your quilt. And you'll need to make the required number of those depending on the size. And here is our A block, which makes up all of your pieces within the center of the quilt. So the majority of blocks that you'll be making are A, whether you're making the baby or the pillow, and those all fall within the middle of the quilt. I've now prepared all of my block pieces that I will need for the first row in the quilt. Whichever size you're making, you just need to check how many pieces you require. What I wanted to show you is how we sew these together. These are really satisfying. And I you can see that I have kept all of the paper on my blocks because you want to now have that there as that solid foundation for you to sew the next blocks to. So, these here are the first pieces for row number one. And you can see here I've got my first corner piece or block C. I'm then going to sew it to my first block B. So, you're going to take your two right sides together. And this is where you can see how that attention you've paid to your sewing really comes into its own because everything is so nice and precise. So, you're going to place that right sides together. And you can see I've still left that paper in so that I can keep this nice and secure. What you're going to do is you're then going to again make sure that you're checking everything lines up at the seam allowance line. And then you've got some binding clips that you can place those together. Again, just checking that everything lines up at one quarter of an inch where you sew your seam. And then we're going to sew that block C to block B. So you can now see that we've sewn together the block C and B. And you can see by taking care and putting those binding clips in how everything is coming up with absolutely perfect points. We're now going to press this seam line open. You can sew the whole row together before you start to take out these seam line papers. I'm just going to show you at this point. So again, now that you've completed this row, that's when you can take your paper out. And again, then you can give it a nice press with the iron. This is where you can really see how foundation paper piecing really gives you those beautiful precise points and how with sewing on those lines, you get such a precision with your piecing. You're going to sew the rest of your rows together and the rest of each of the other rows so that you're able to make your pillow or your baby quilt or your lap quilt so that you have the correct size. Once you've completed all of your blocks and you've sewn all your rows, you're then able to start thinking about taking out the paper from your blocks. There's no real hard and fast rule here with where you take it out. You can complete your top and then start to take the paper out from the middle. Or after you've started to sew the second and consecutive rows, you can actually start to take out the paper from the blocks that will form the center of the quilt. You can take it out as you go or as I mentioned, you can leave it right in until the end if you prefer to have that keeping everything nice and secure. I hope you've enjoyed learning how to make the graffiti quilt with me today on this Friday tutorial. I'm really excited to share that you can find me over at tidewithther ribbon.com or over on Instagram you can find me at tidewith ribbon. But make sure you keep watching for the Missouri Star Quilt tutorials so that you'll be able to make your very own as well.

 Jemima Flendt
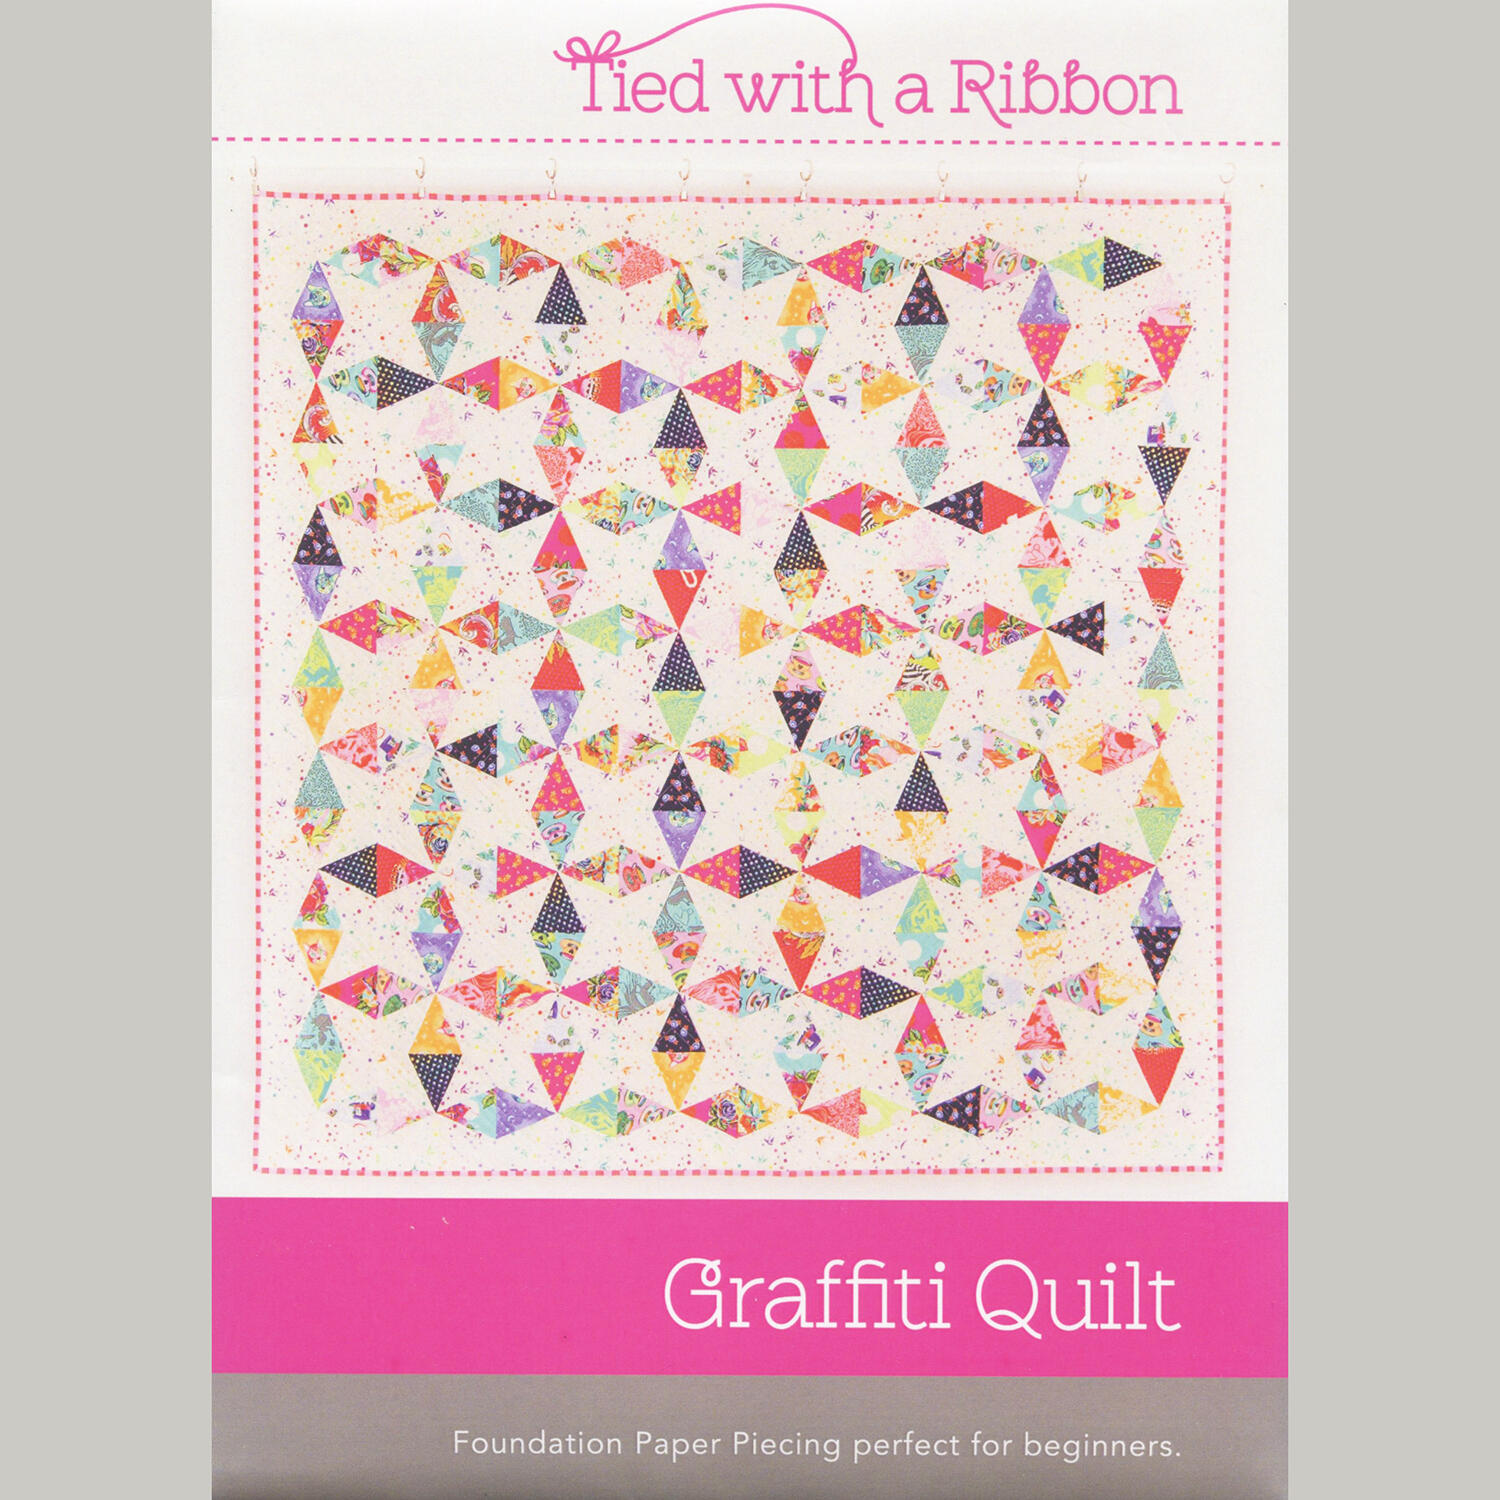 Graffiti Quilt Pattern$14.75Shop →
 Digital Download - Graffiti Quilt Pattern$13.00Shop →
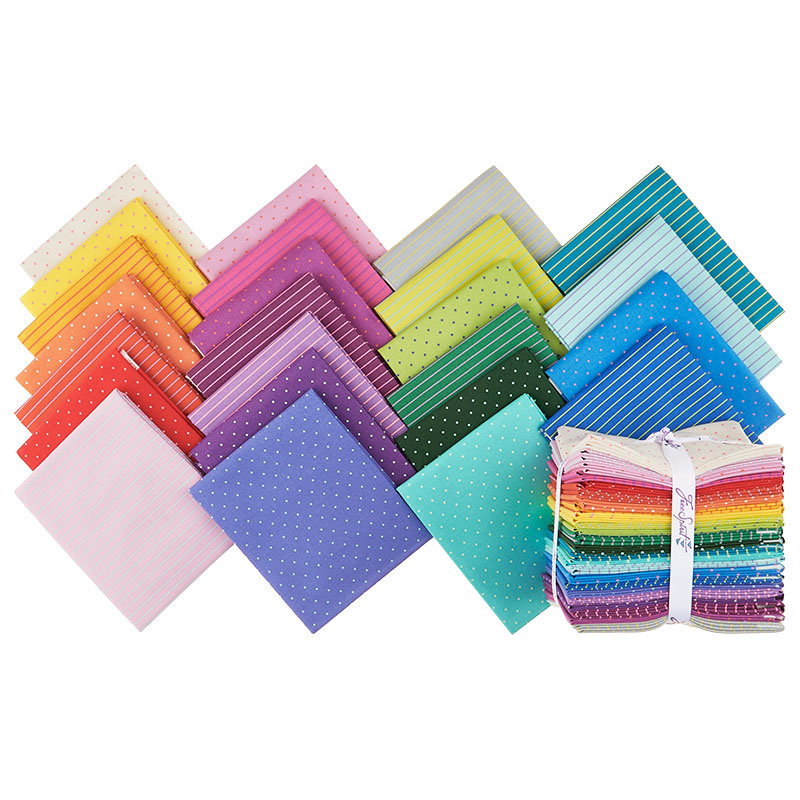 True Colors - Tula Pink Fat Quarter Bundle$99.85Shop →
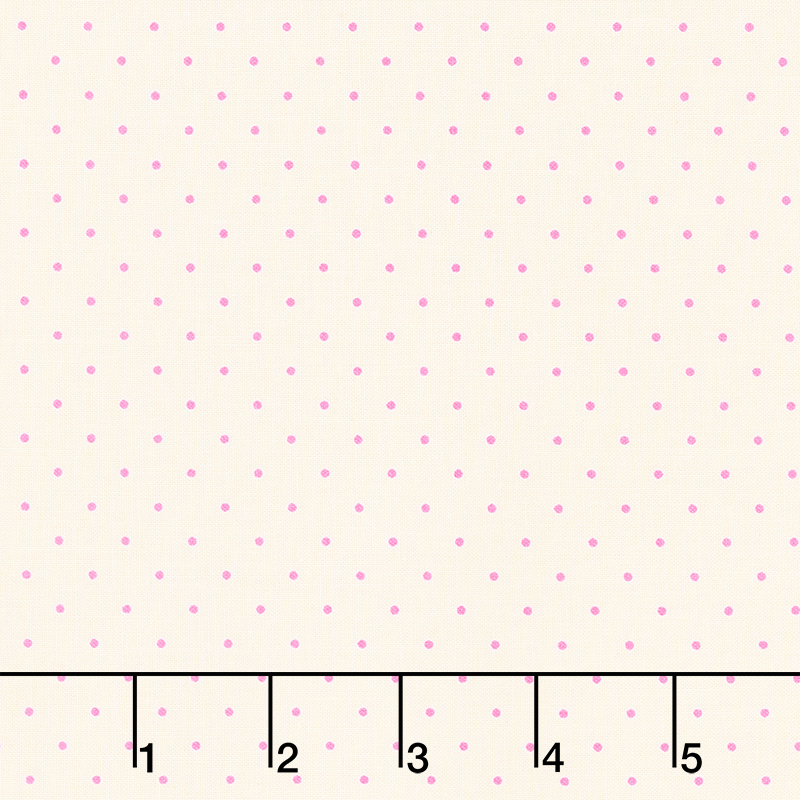 Tula Pink's True Colors - Tiny Dots Cosmic Yardage$14.00Shop →
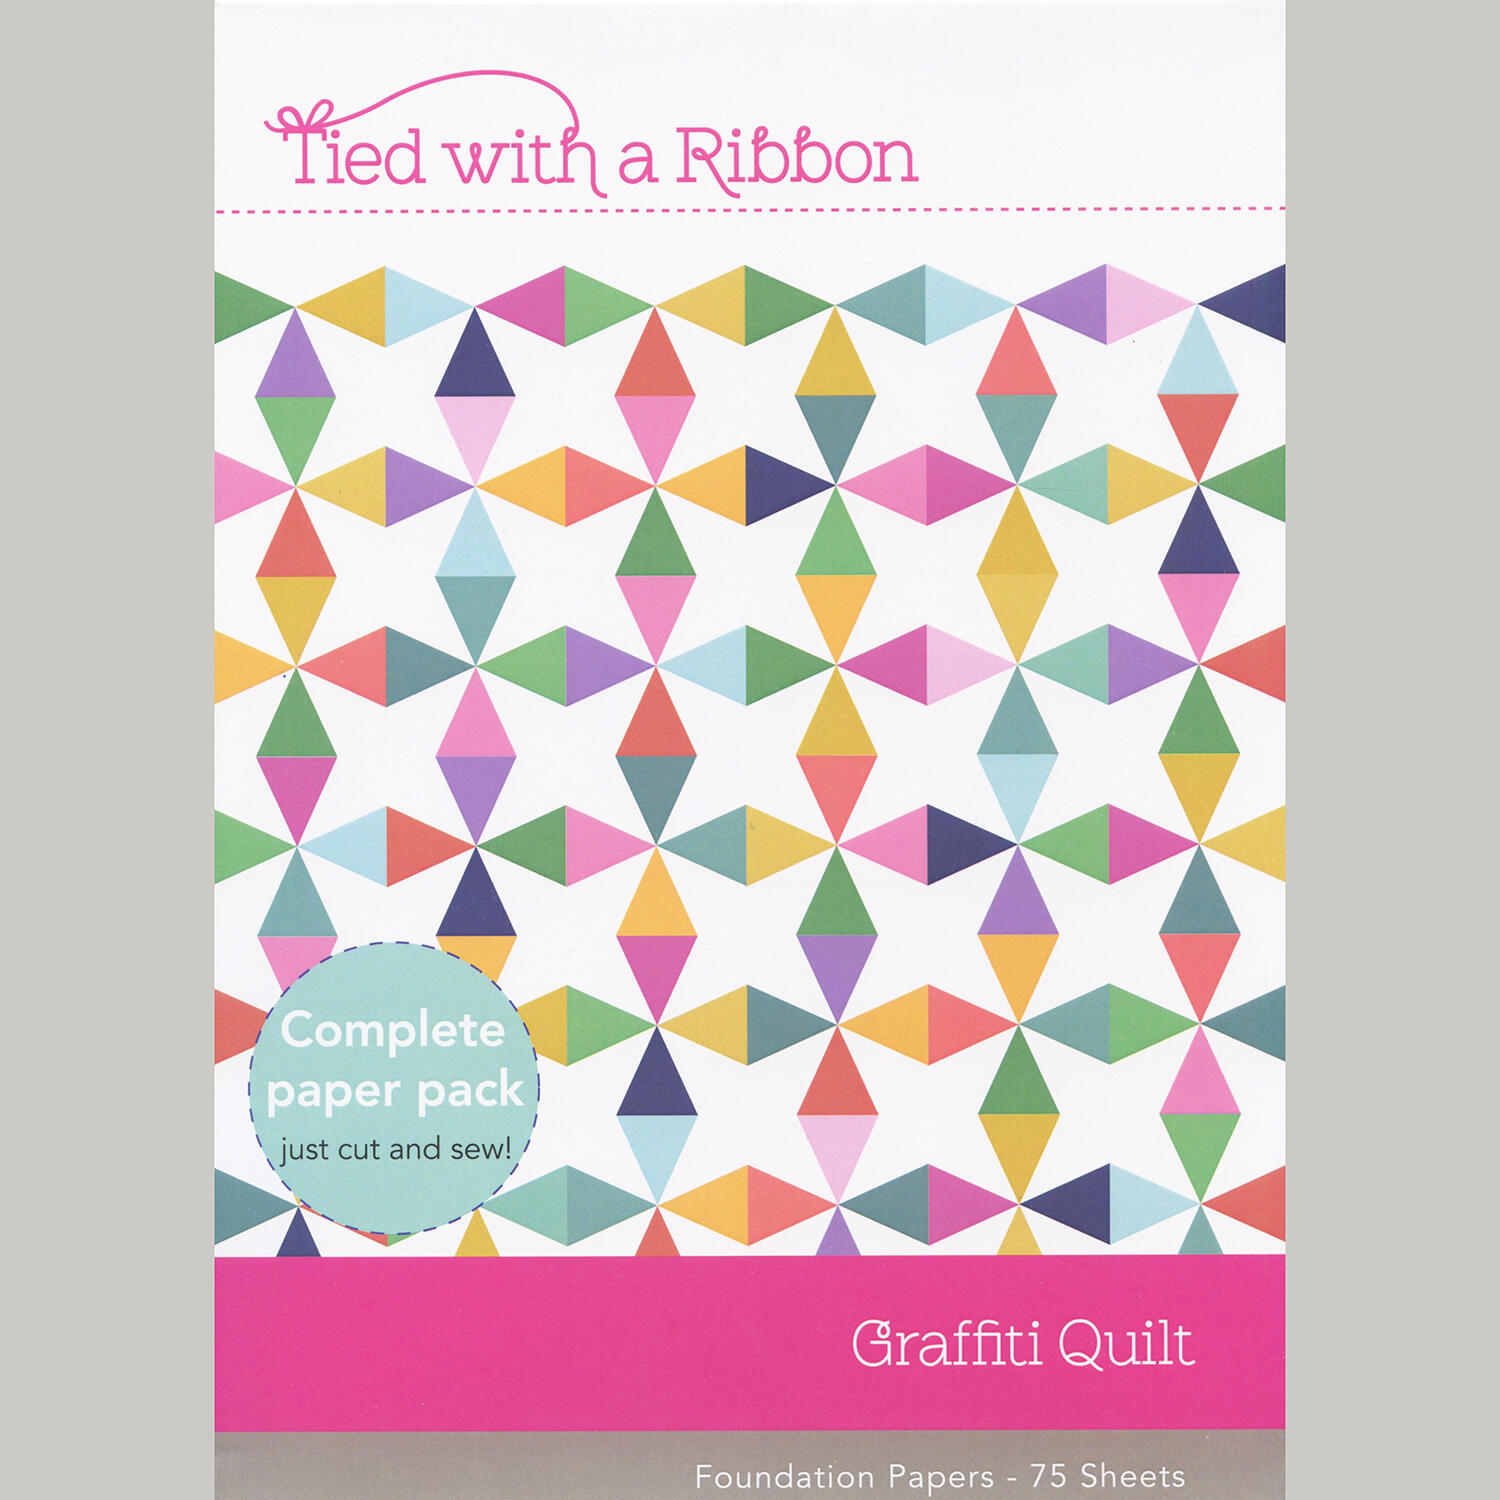 Graffiti Quilt FPP Pack$19.75Shop →
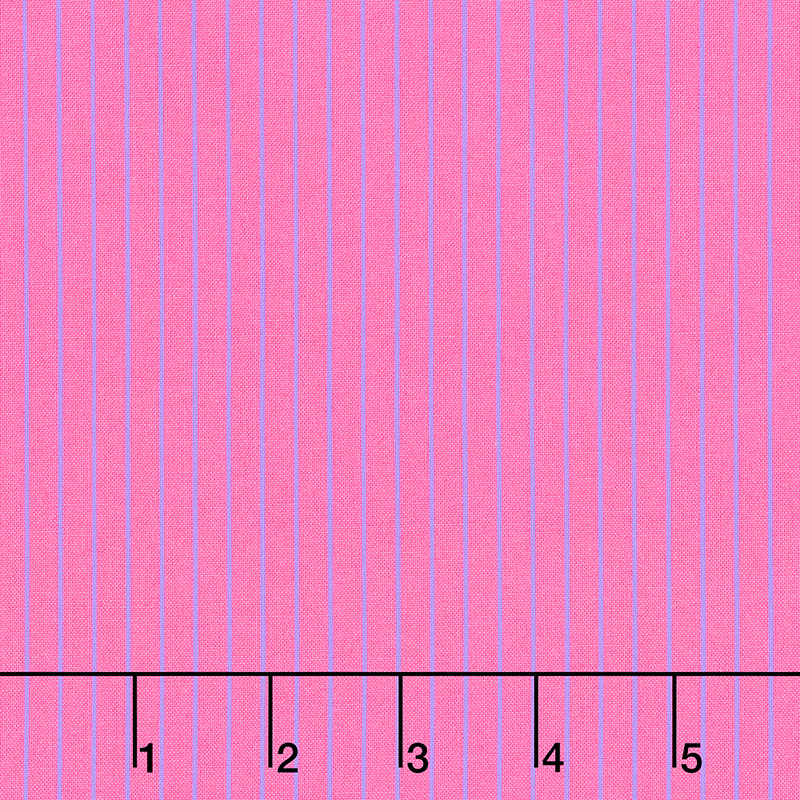 Tula Pink's True Colors - Tiny Stripes Mystic Yardage$14.00Shop →
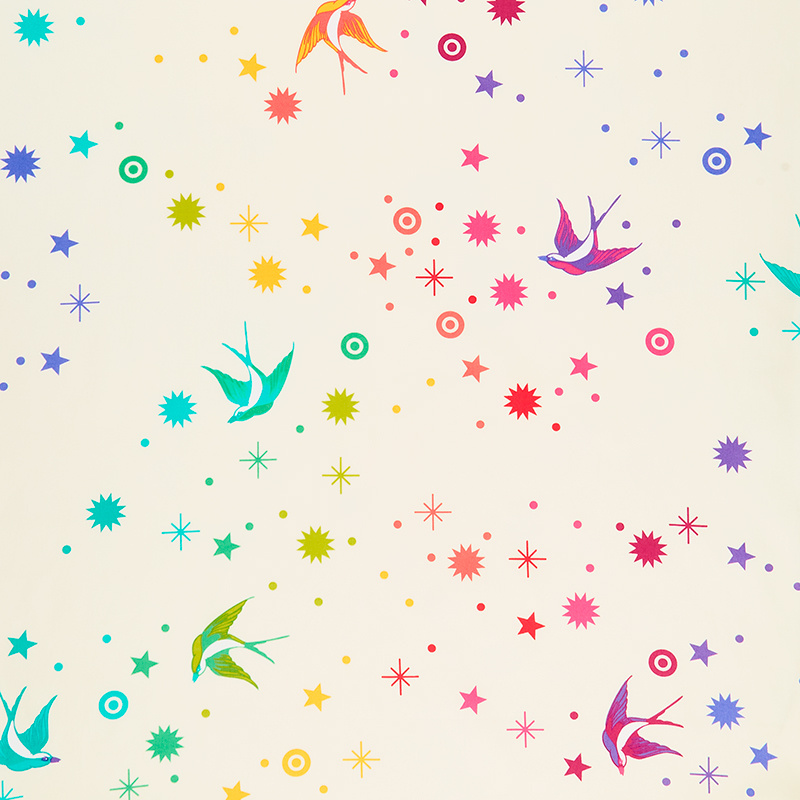 Tula Pink's True Colors - Fairy Dust XL Cotton Candy 108" Yardage$27.76Shop →
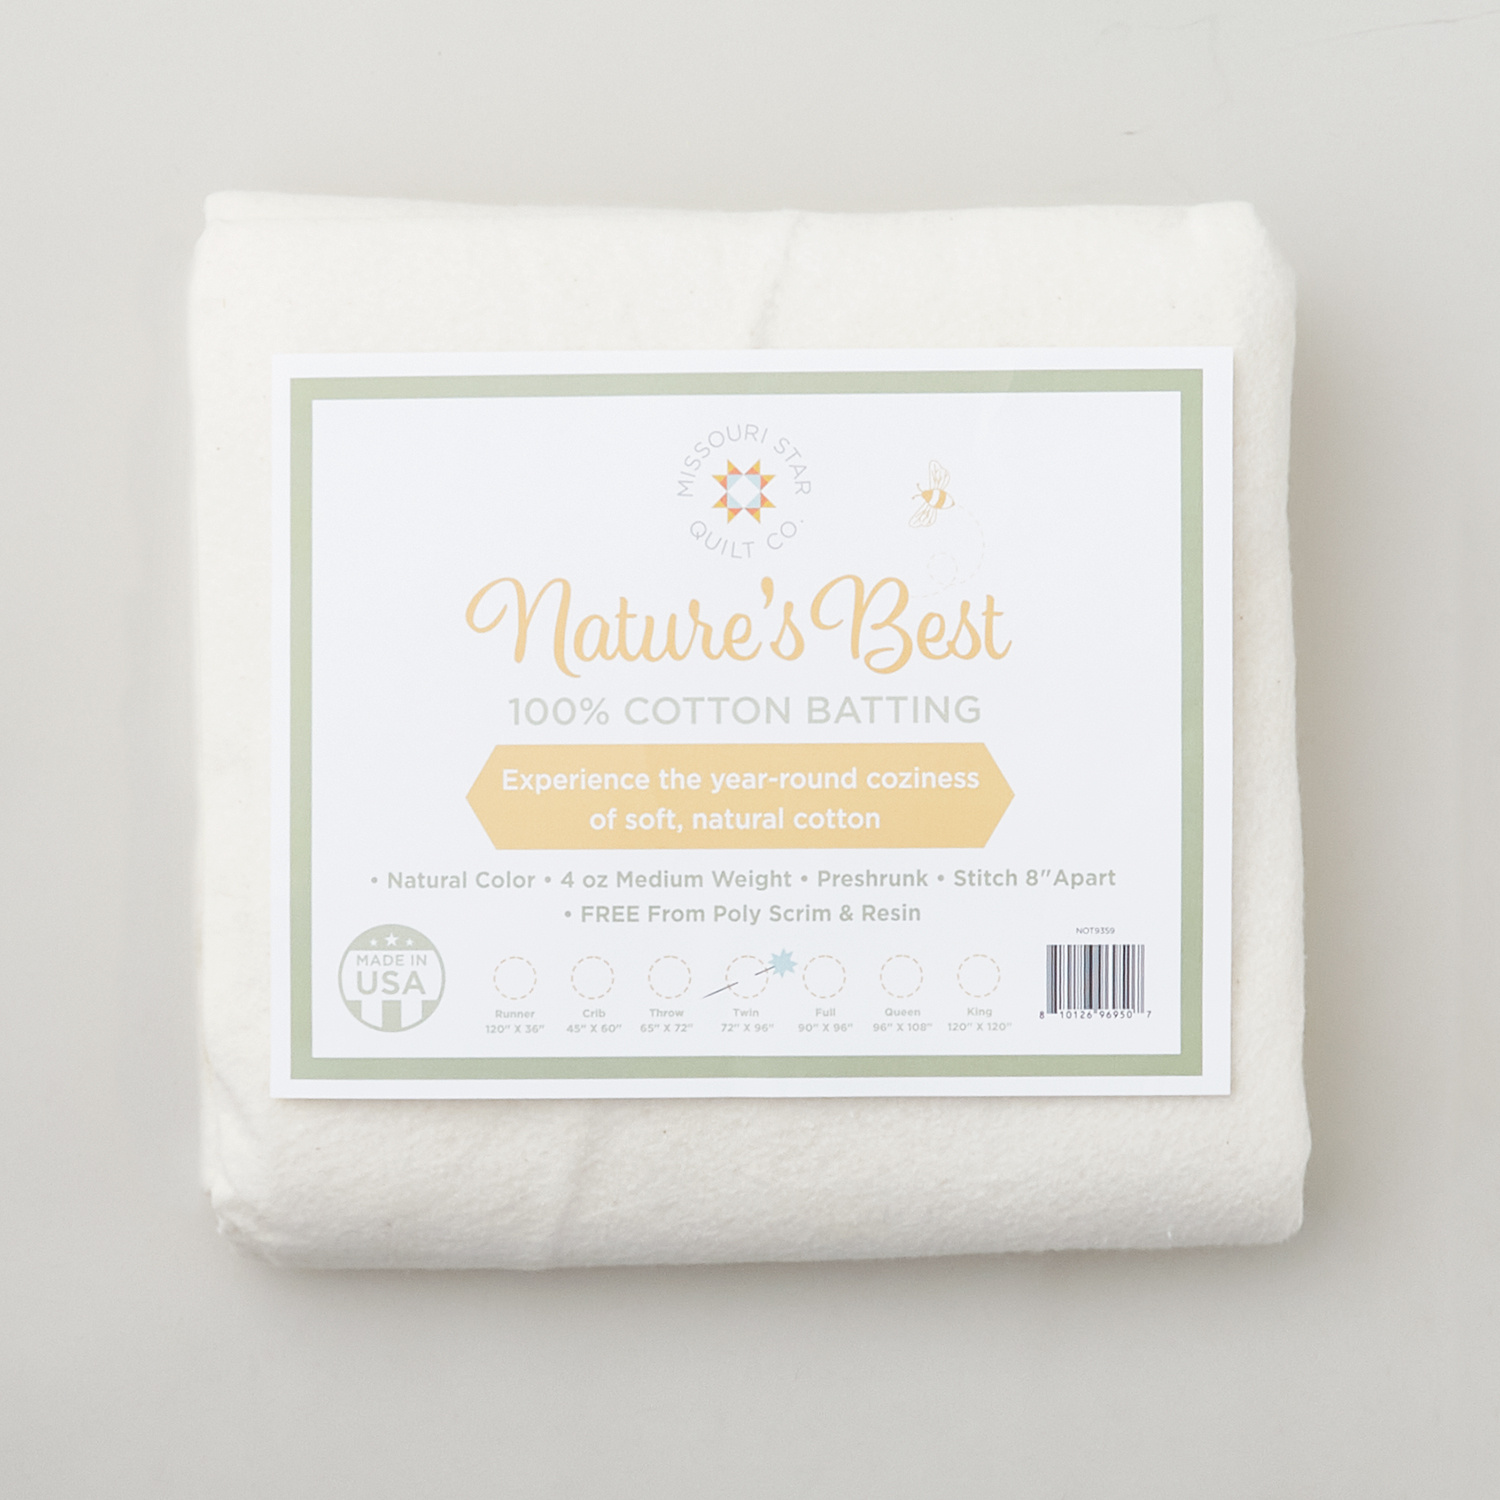 Missouri Star Nature's Best 100% Cotton Twin Batting - Natural$29.95Shop →
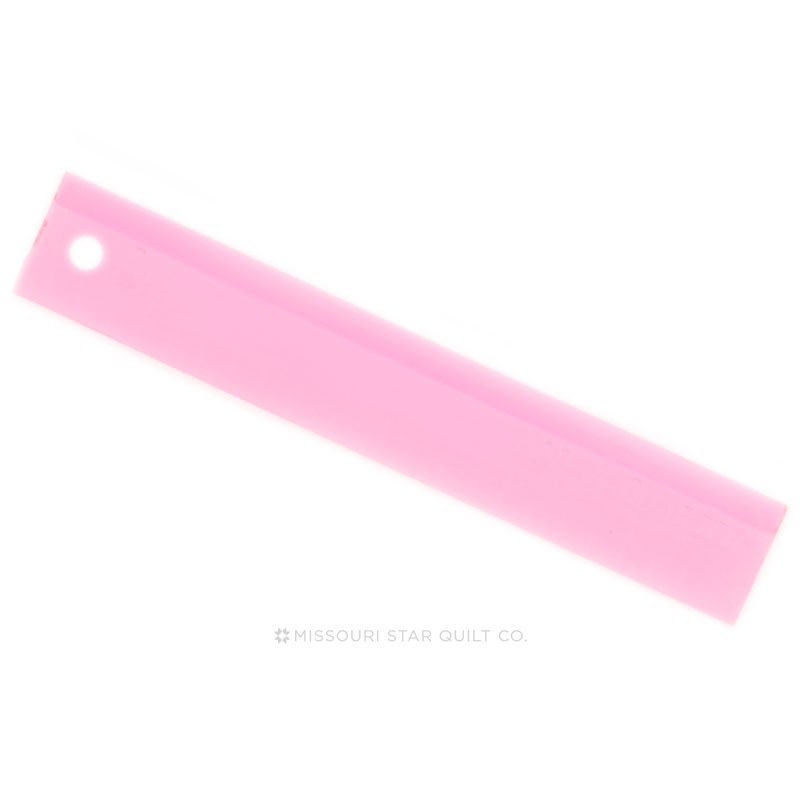 Add A Quarter Ruler 1" X 6" Pink$9.75Shop →
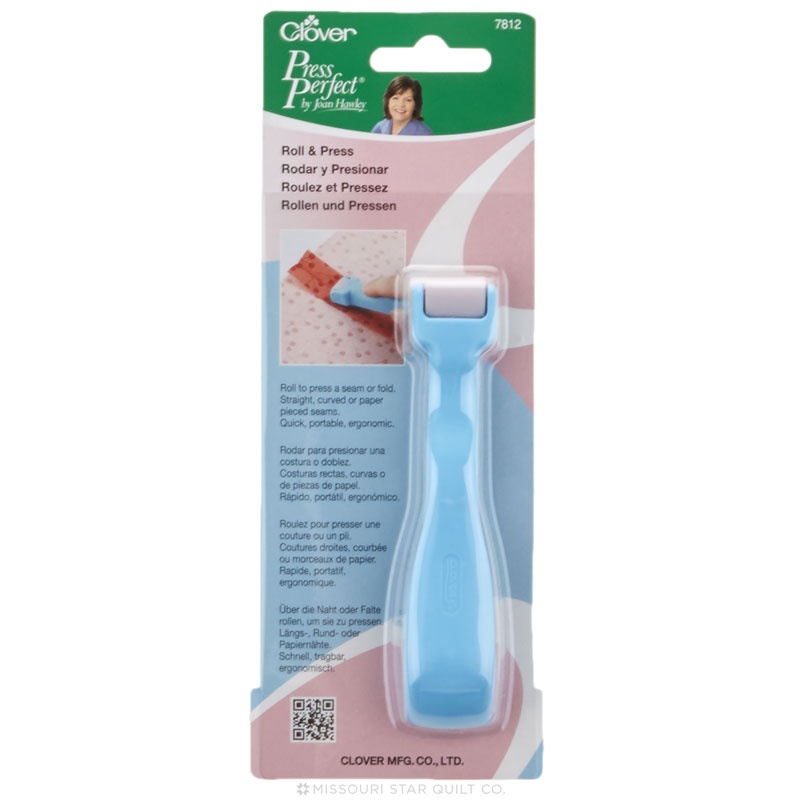 Clover Roll & Press$18.95Shop →
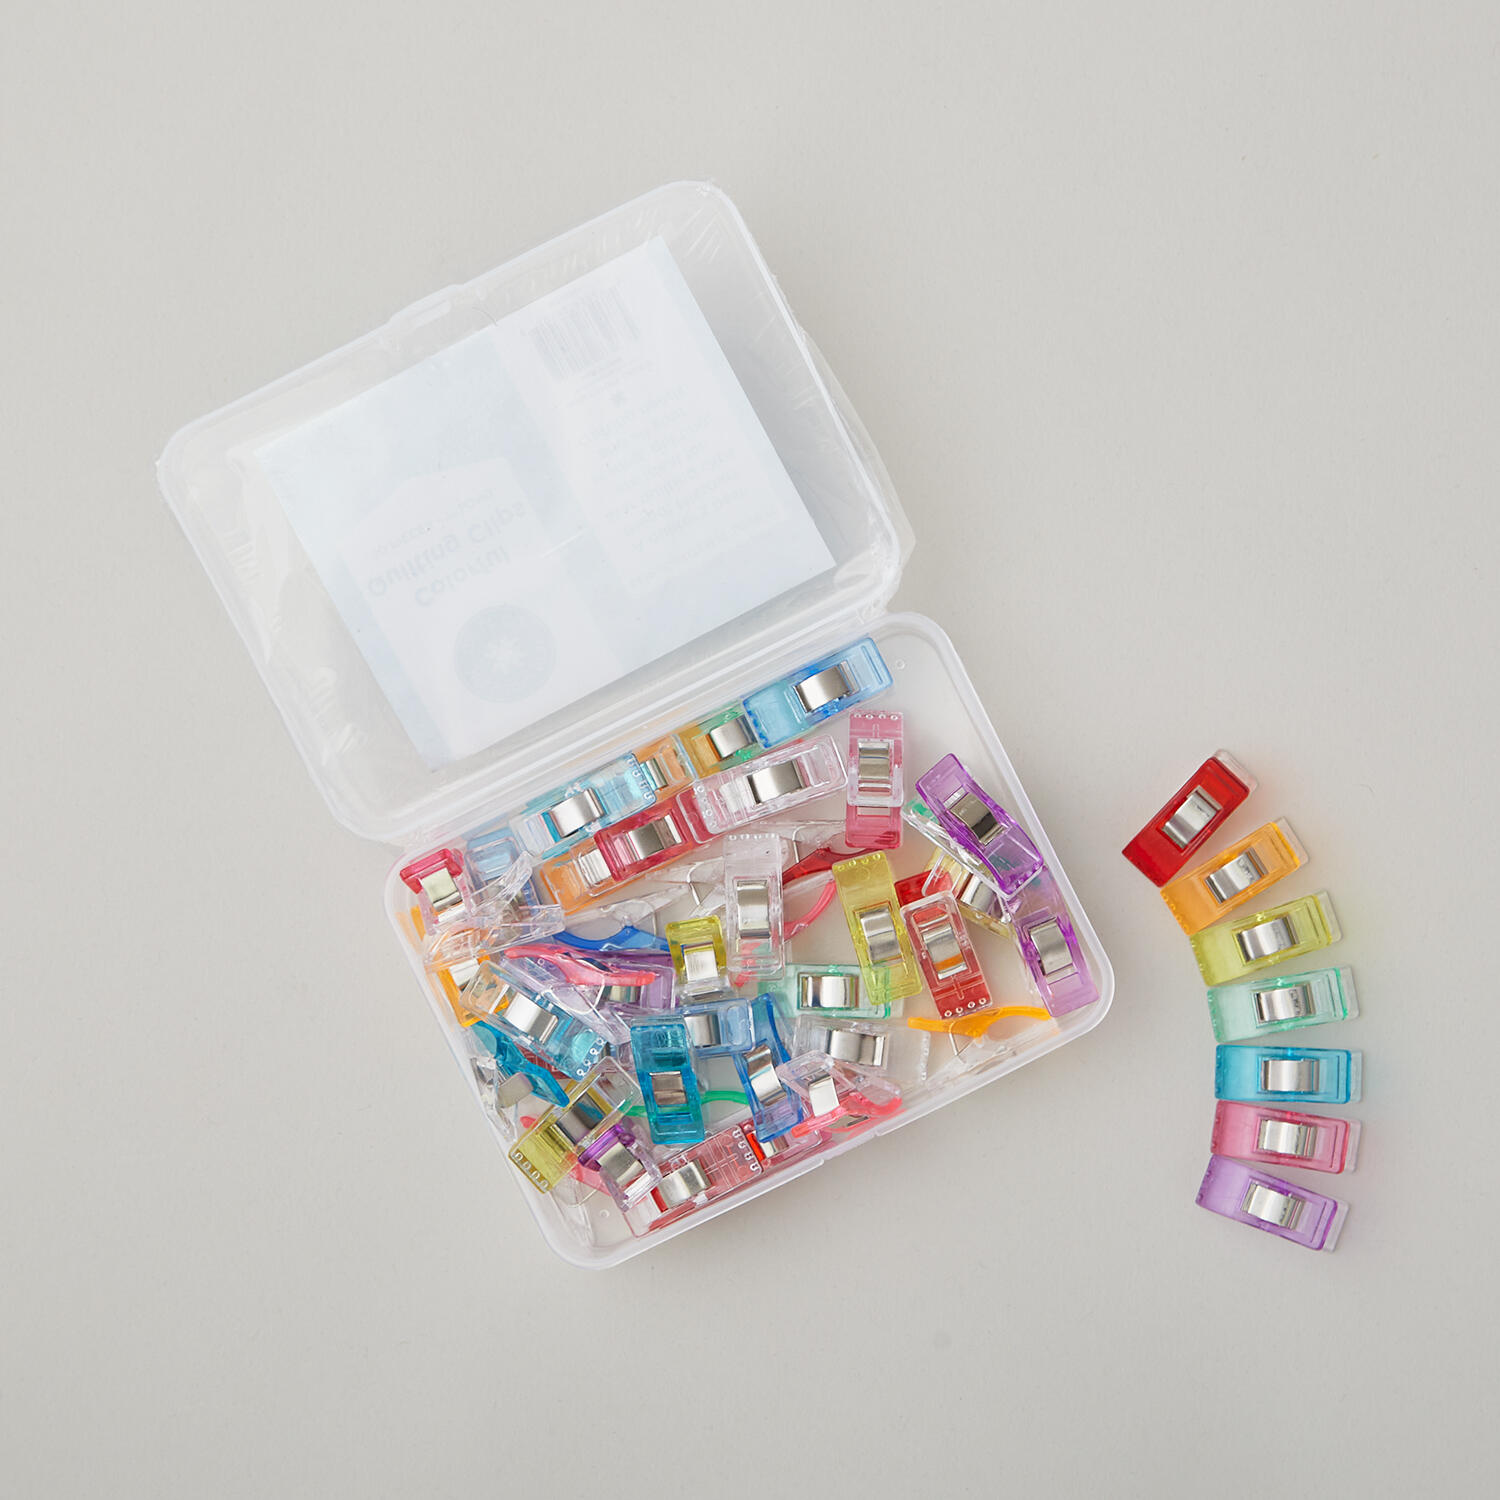 Missouri Star Quilting Clips - 50 pk$29.95Shop →
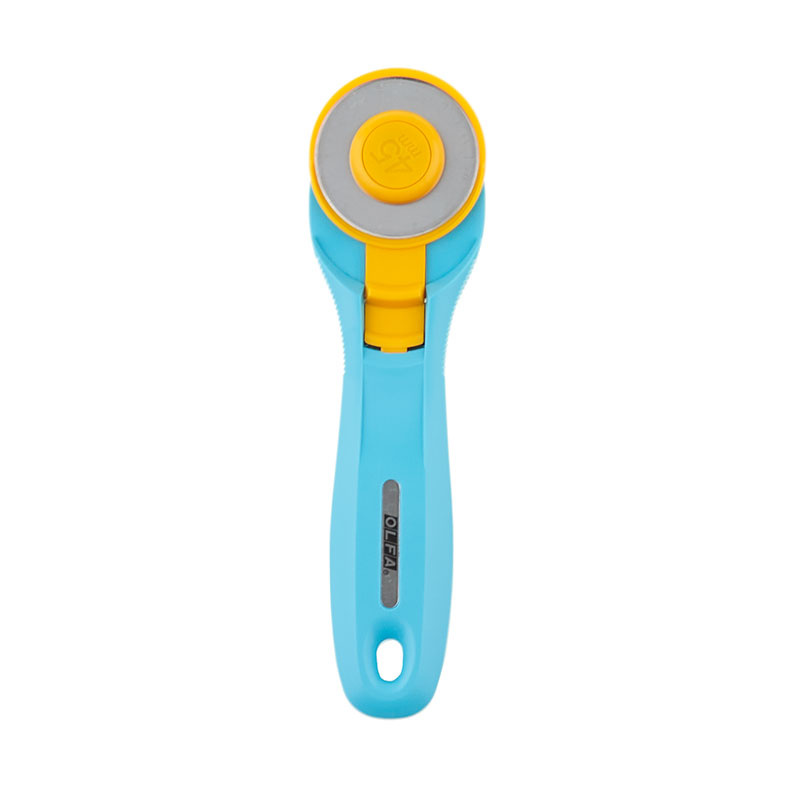 Olfa Splash Aqua 45mm Rotary Cutter$20.95Shop →


