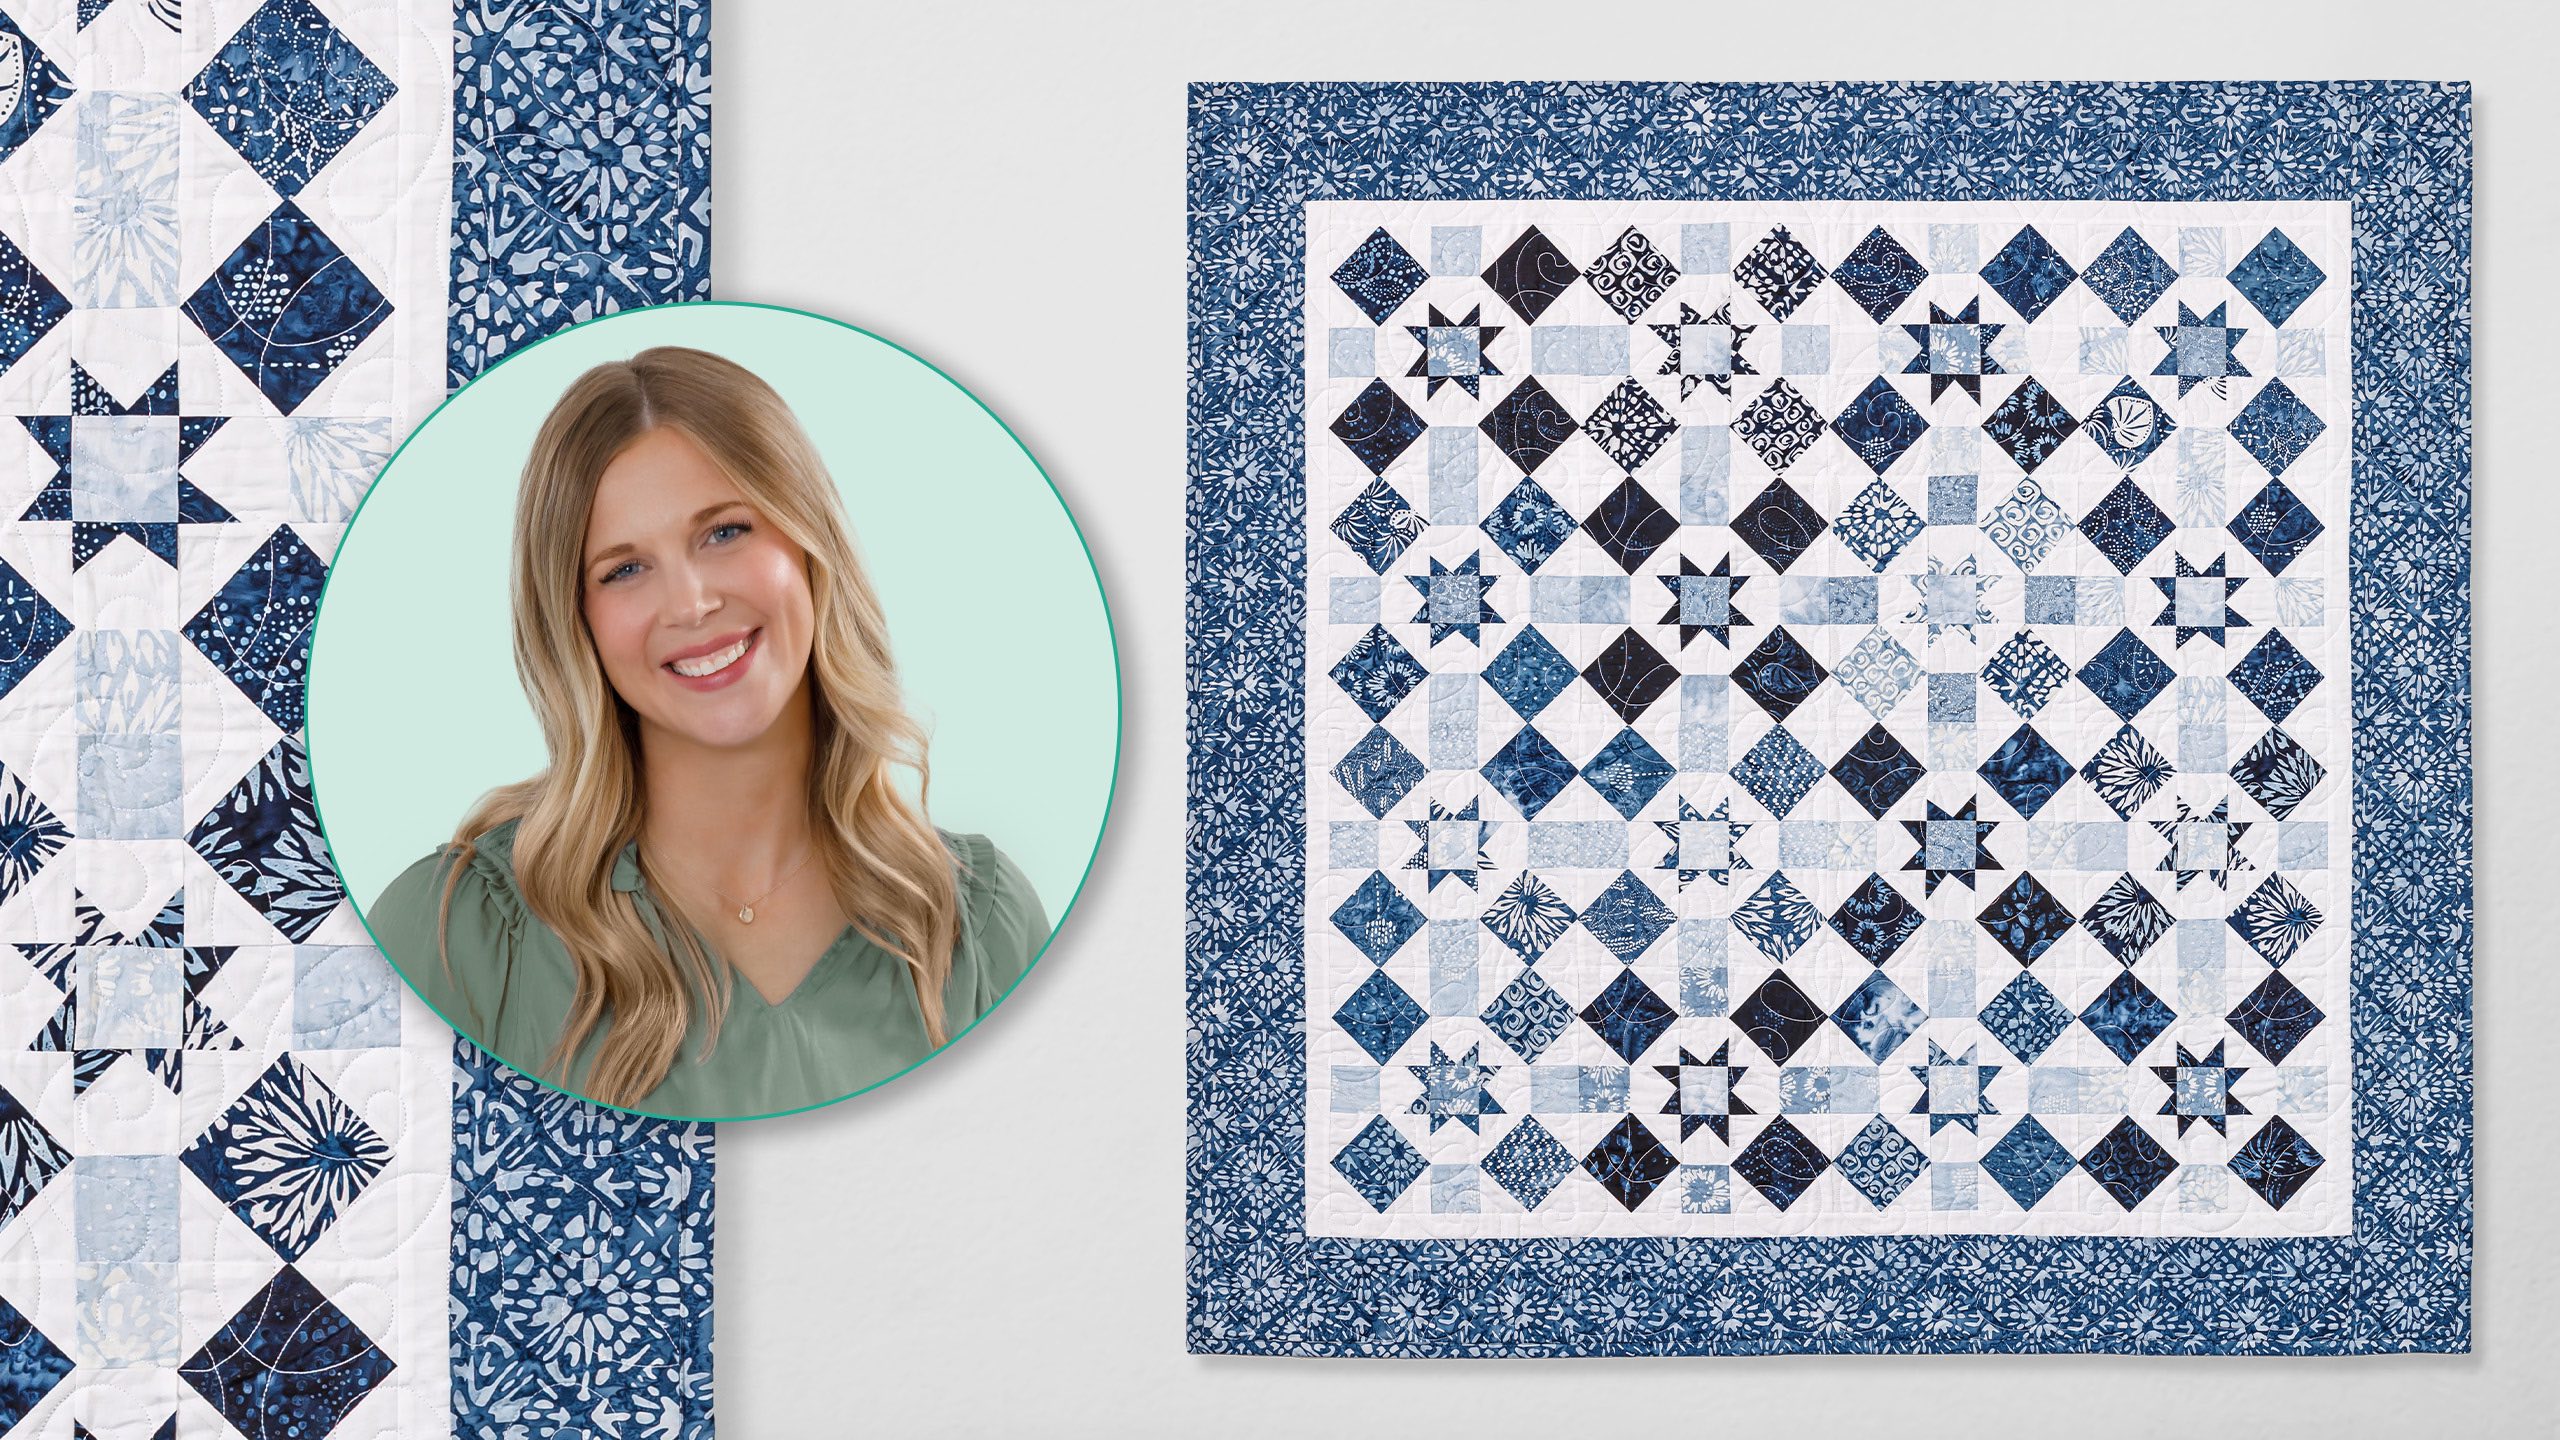
A beautiful quilt is in the stars! Join Misty as she makes a star-studded quilt in gorgeous batiks from Artisan Batiks' Kasuri collection. Intriguing batik tiles and floral prints in a spectrum of blues add depth and interest to a classic quilt pattern featuring eight-pointed stars. Solid white makes the blues pop! The quilt is easy to make, but the final result is stunning!
Misty Doan grew up surrounded by sewing and quilting. She loves spending time sharing tutorials each week each week, and when she’s not stitching up one of her fun sewing projects for home decor, most likely you’ll find her hanging out with her husband and three awesome kids or working on a house project.
A beautiful quilt is in the stars! Join Misty as she makes a star-studded quilt in gorgeous batiks from Artisan Batiks' Kasuri collection. Intriguing batik tiles and floral prints in a spectrum of blues add depth and interest to a classic quilt pattern featuring eight-pointed...
How long is the tutorial video?
The tutorial video is 00:10:44.
Are supplies listed for this tutorial?
Yes. The tutorial page includes the supplies and materials connected to this project.
Video Transcript
Hello there friends. I am back with another tutorial to share with you. We're going to make this beautiful guiding star quilt made of just this simple block. Let me show you how to do it. Today's project is called Guiding Star. And I absolutely love this little quilt. You just set the blocks straight together and it gives you so much movement. Um, and let me show you how easy it is to make. So, to make this, you are going to need two packages of 5 in squares. And I use this beautiful boutique line called Cassuri from Artisan Boutiques. From your background, you're going to need 1 and 7/8 yard. And that includes your first little inner border. For your outer border, you need 7/8 of a yard. And that's a 5 in border that we put on there. And then for your backing, you need 3 and 1/4 yards with a horizontal seam. So, let's go ahead and make the block. So, you'll notice that our block is made up of a few different little sections. So, we have these corner units and these center star leg units. We're going to start with these outside corners. And so, to do that, you're going to pick four of the darker prints from your pack. That's what I opted to go with, but I guess you could technically do whatever you'd like. And we are going to trim these down to 4 and 1/2 in. So, I'm just going to trim a half inch off of two sides here. [snorts] And spin this. Make sure it stays straight for me. [snorts] There we go. And so then from our background, we're going to cut both some 5 in squares and some 2 and 1/2 in squares. And we're going to use the 2 and 1/2 for this portion. And so you can see here, I went ahead and drew a line corner to corner on these. And I'm going to start by placing these in opposite corners just like so. And I'm going to stitch right on that drawn line. So we can go ahead and take this to the machine. And once I do that one, I can flip this around. Just make sure everything is still lined up. And then we will stitch again right on that drawn line. Okay. So then once we have these first two added, we can go ahead and trim off our excess, leaving our quarter inch seam allowance. Just spin this around. There we go. Now I'll take this over to the pressing mat and we will just roll these back. And now we're going to take two more of those 2 and 1 half inch squares and we're going to do the exact same thing on these opposite corners. So I'm going to go ahead and stitch right on those drawn lines. Okay. And so just like before, we'll trim off our excess. Flip this around here. Leave just that 1/4 in seam allowance. And then we'll give it a press. And there is our little corner unit. You're going to make four of these. And we're just going to set those aside for now. And then we're going to move on to these little star leg units. So, in order to do that, we are going to pair up a 5 in background square with one of our print squares. I kind of went with the lighter medium shades for this portion of the block just so we had some contrast. And we're going to stitch on both sides of this square. Just two sides. Flip it around back down this side. Okay. And so now that I have stitched on those two opposite sides, I am gonna take my little two and a half by eight inch ruler here. And I'm gonna lay this right against one of my edges so that I can cut this in half once this direction. And then I'll carefully lift and cut it again this direction. And so now what I have are four of these little two patch units just like so. So I have some of these done, but you're going to do this same thing to all four of these. So let's go ahead and press this back towards the dark side. So we'll go ahead and set that seam and roll these back. And it'll make our four little units just like this. And so now what we need to do is add those star legs. And so in order to do that, I'm going to grab another 5 in square from my packs and I'm going to cut this in half both directions so that I have some 2 and 1/2 in squares. And so by doing this method, this will give you enough of your star legs to make one block. And so then for this little unit, we're just going to cut this in half corner to corner. And then I'm going to finger press this little piece along the background side here where I want my star legs to go. And then I'm going to lay this so that it intersects over that center seam. And I can adjust this. I always like to kind of make sure and test that when I fold it back, I'm going to cover my corner. So that's the only thing you want to watch for. And so this looks really nice. And so now I'm just going to follow the edge of this blue piece and stitch my quarter inch seam away from that edge. So let's go ahead and take this to the machine. We're just making some wonky stars. There is our first one. When you do wonky star legs, you do want to press and trim between each one. So, it can be helpful to make like a little nest by your machine if you want. Or you can add all of one side and then get up and press them. You know, there's there's methods to this madness. And so, now that I have stitched that, I'm going to use my original square here as a guide and trim this off. There we go. And you could leave this excess behind it if you're going to, you know, hand quilt or anything like that or you're worried about bulk. You can just go ahead and trim that off once you've squared it up. And so now we've got the first side and we're going to use this other piece here. The exact same idea. We're just going to intersect that first seam. Kind of double check, make sure it will cover our corner. And we can stitch right along this edge. All right. So then, just like before, we're going to go ahead and press this back. Use our original [snorts] square as our guide here to trim this up. And then we can fold this back and get rid of that bulk. There we go. And there is our little star leg unit. So you're gonna make four of these. I have the other ones ready to go. And so now the last thing we need to do is just pick one more 5 in square that we're going to cut down to 2 and 1/2 to use for the middle of our block. So I have one more here. We're just going to give this a cut. This will be enough for four block centers. There we go. And now we can lay out our block. So I have our little center. We'll bring in our star legs. Just like so. And then we'll finish off our four corners with those little square and a square blocks. And then we're going to sew that together. Oops. And this is how our block looks when it's all done. I think it's such a beautiful block. And so let's go ahead and look at the quilt behind me. I have just set these right together. And so we have one, two, three, four across by four down. We went ahead and put a little 1 and 1/2 inch border to frame it up and then added a 5 inch outer border. I quilted the whole quilt with a pattern called Chantelli Lace. Just a little bit of curve and movement. And then here is this beautiful boutique on the back. I think it turned out so nice. This quilt finishes at 51 in square. So a great little throw or lap. And I hope you guys enjoyed this tutorial for the guiding star quilt. I'll see you next time.

 Misty Doan
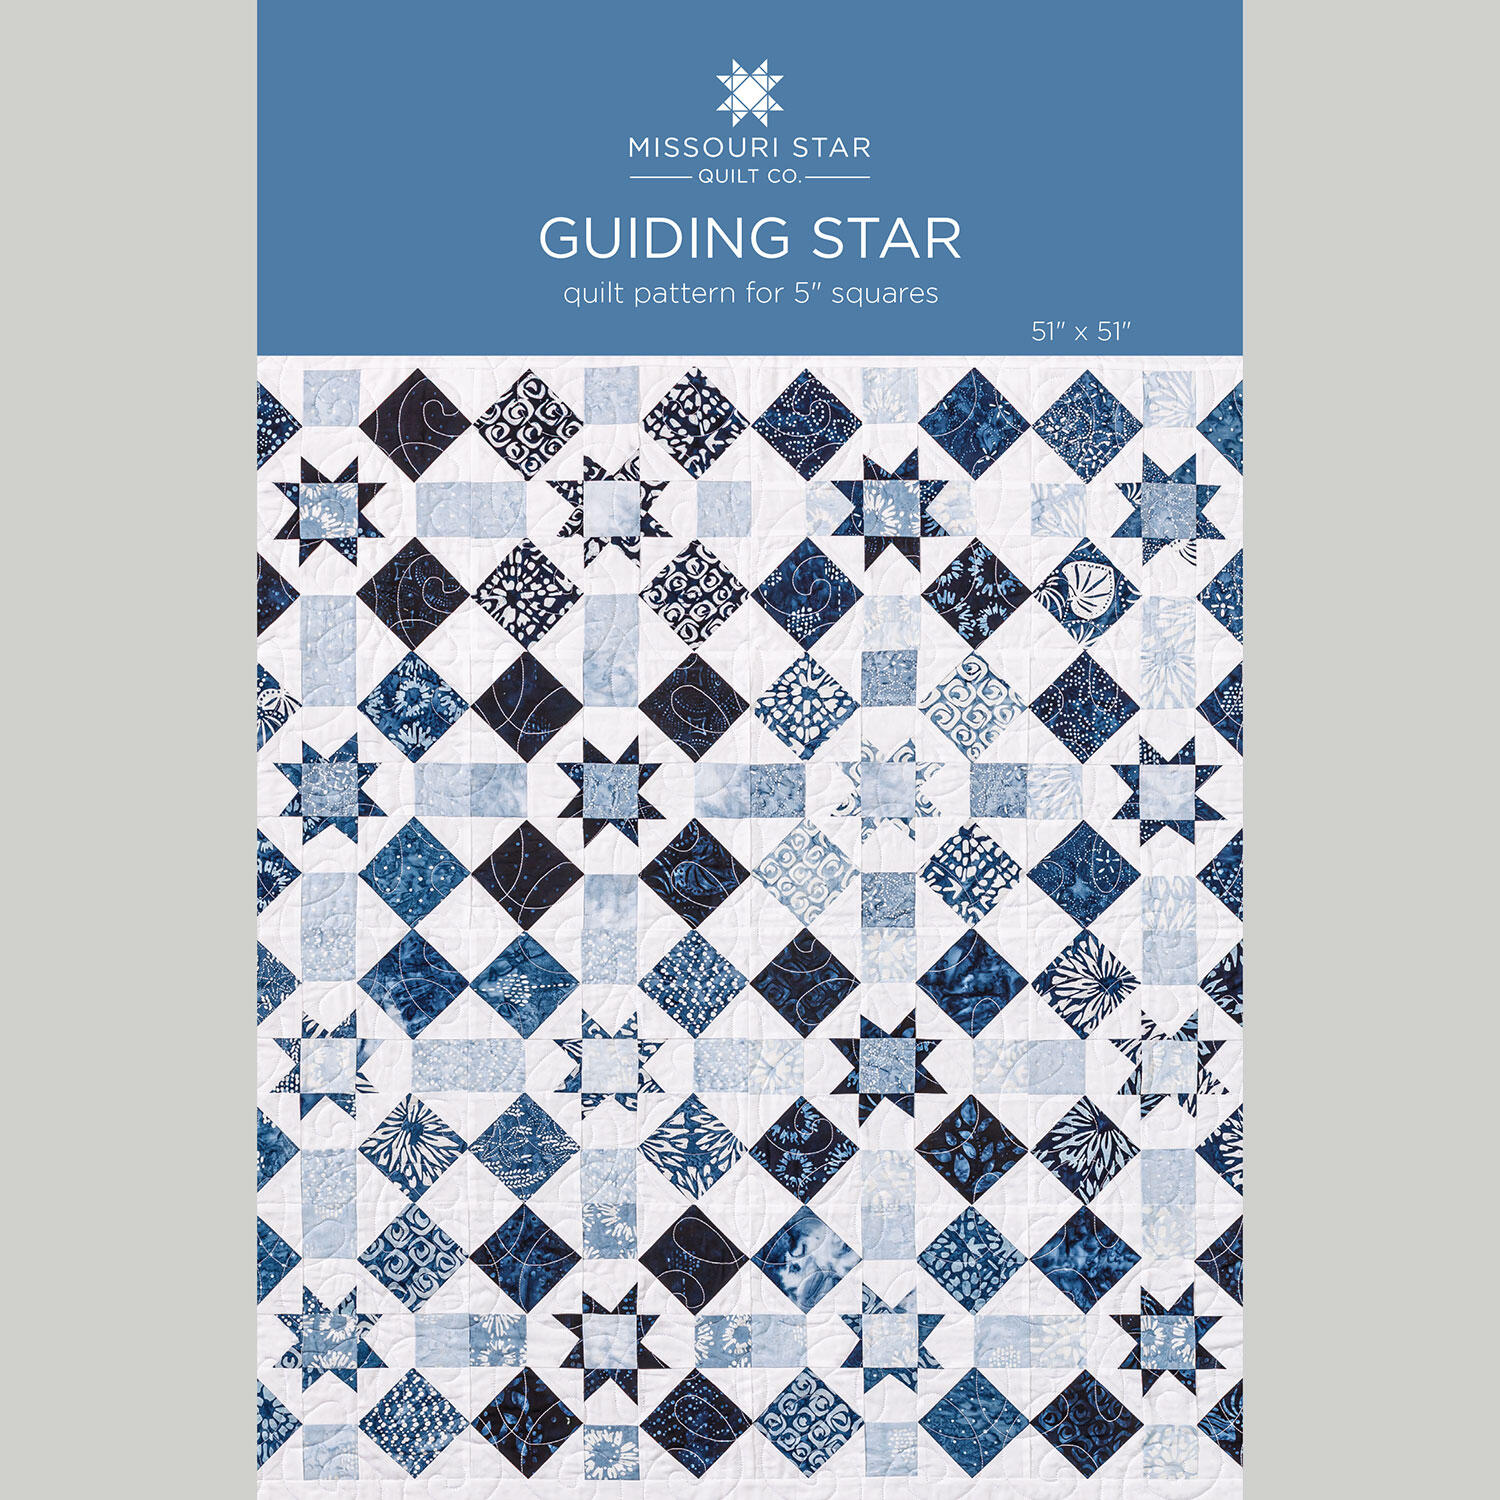 Guiding Star Quilt Pattern by Missouri Star$8.50Shop →
 Digital Download - Guiding Star Quilt Pattern by Missouri Star$6.95Shop →
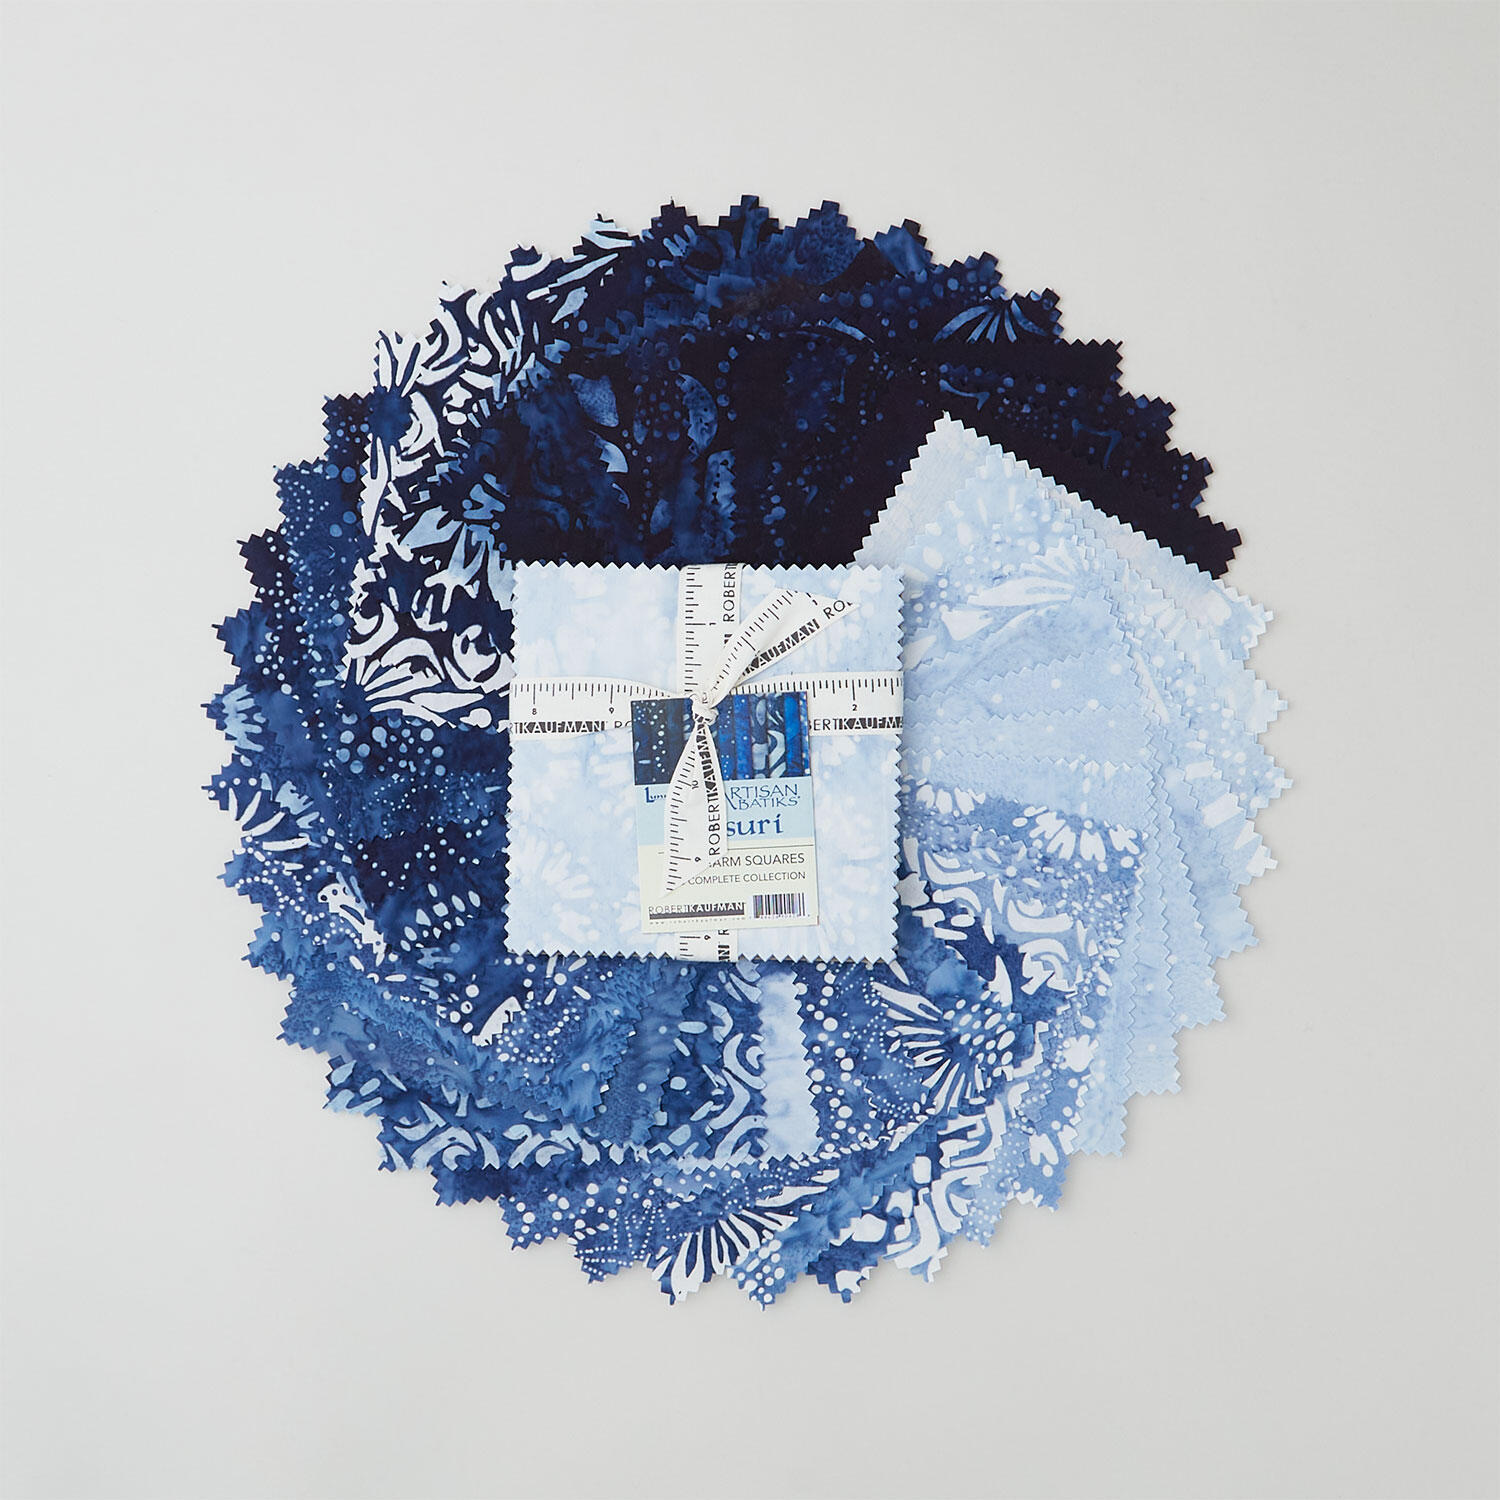 Artisan Batiks Kasuri Charm Pack$15.25Shop →
 Simply White Batiks - Solid White Yardage$10.40Shop →
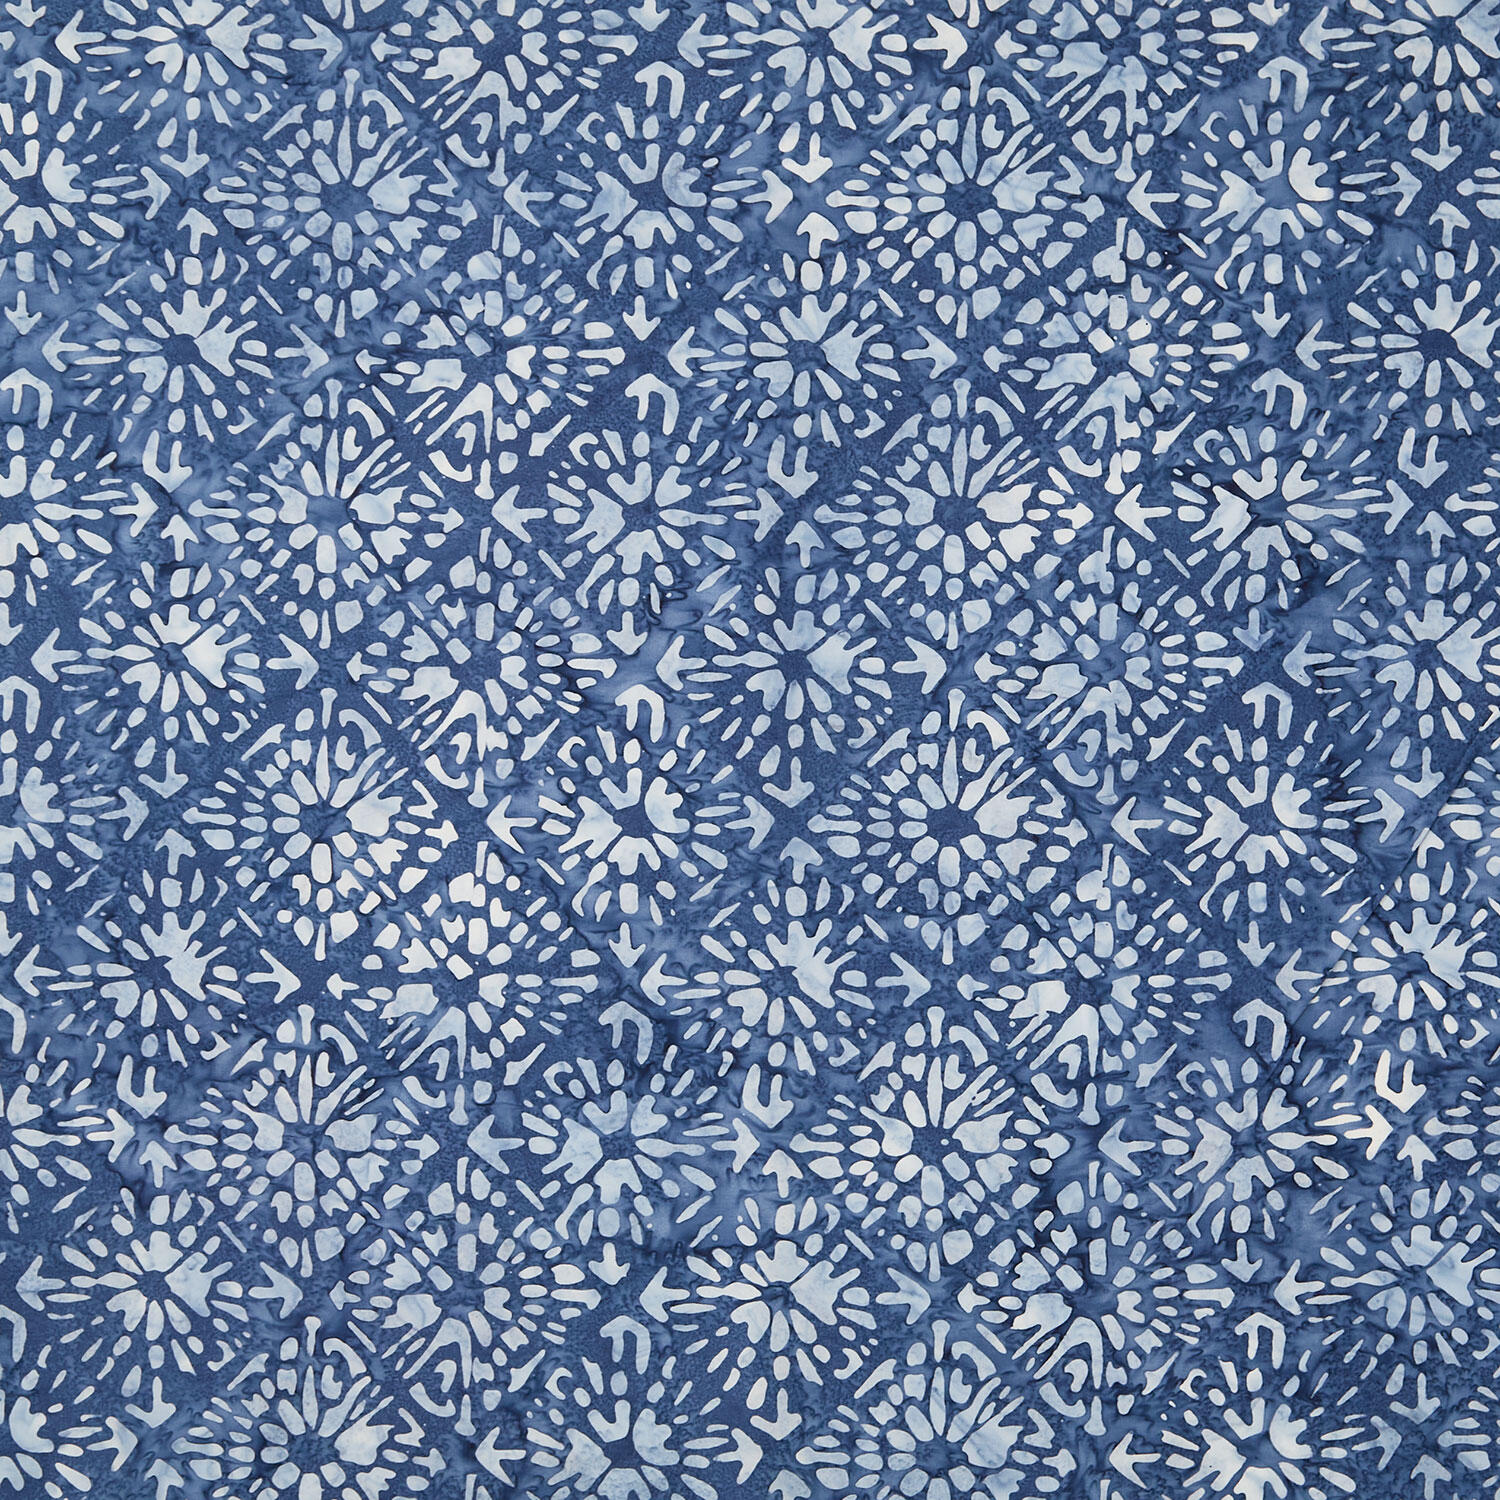 Artisan Batiks - Kasuri Tiles Blue Yardage$12.44Shop →
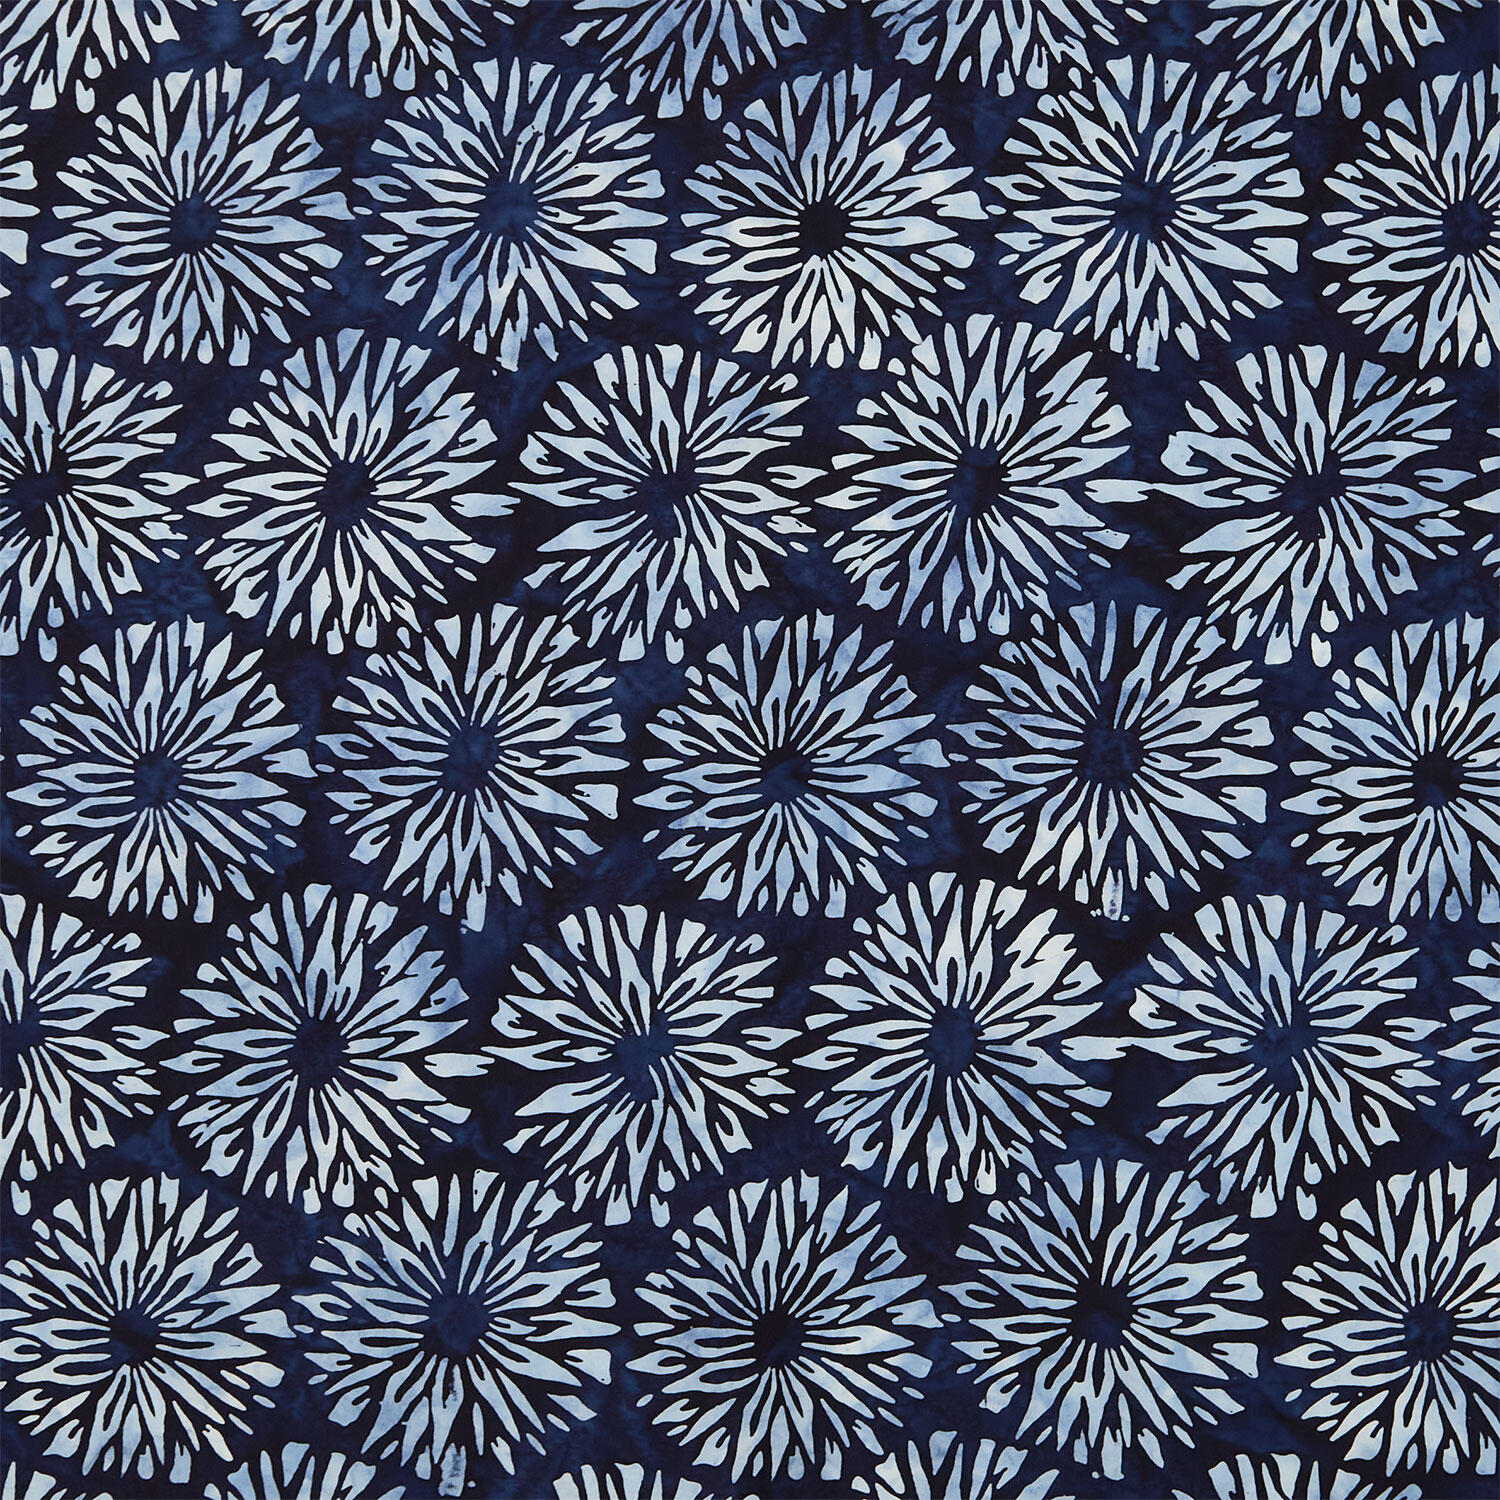 Artisan Batiks - Kasuri Large Flowers Indigo Yardage$12.44Shop →
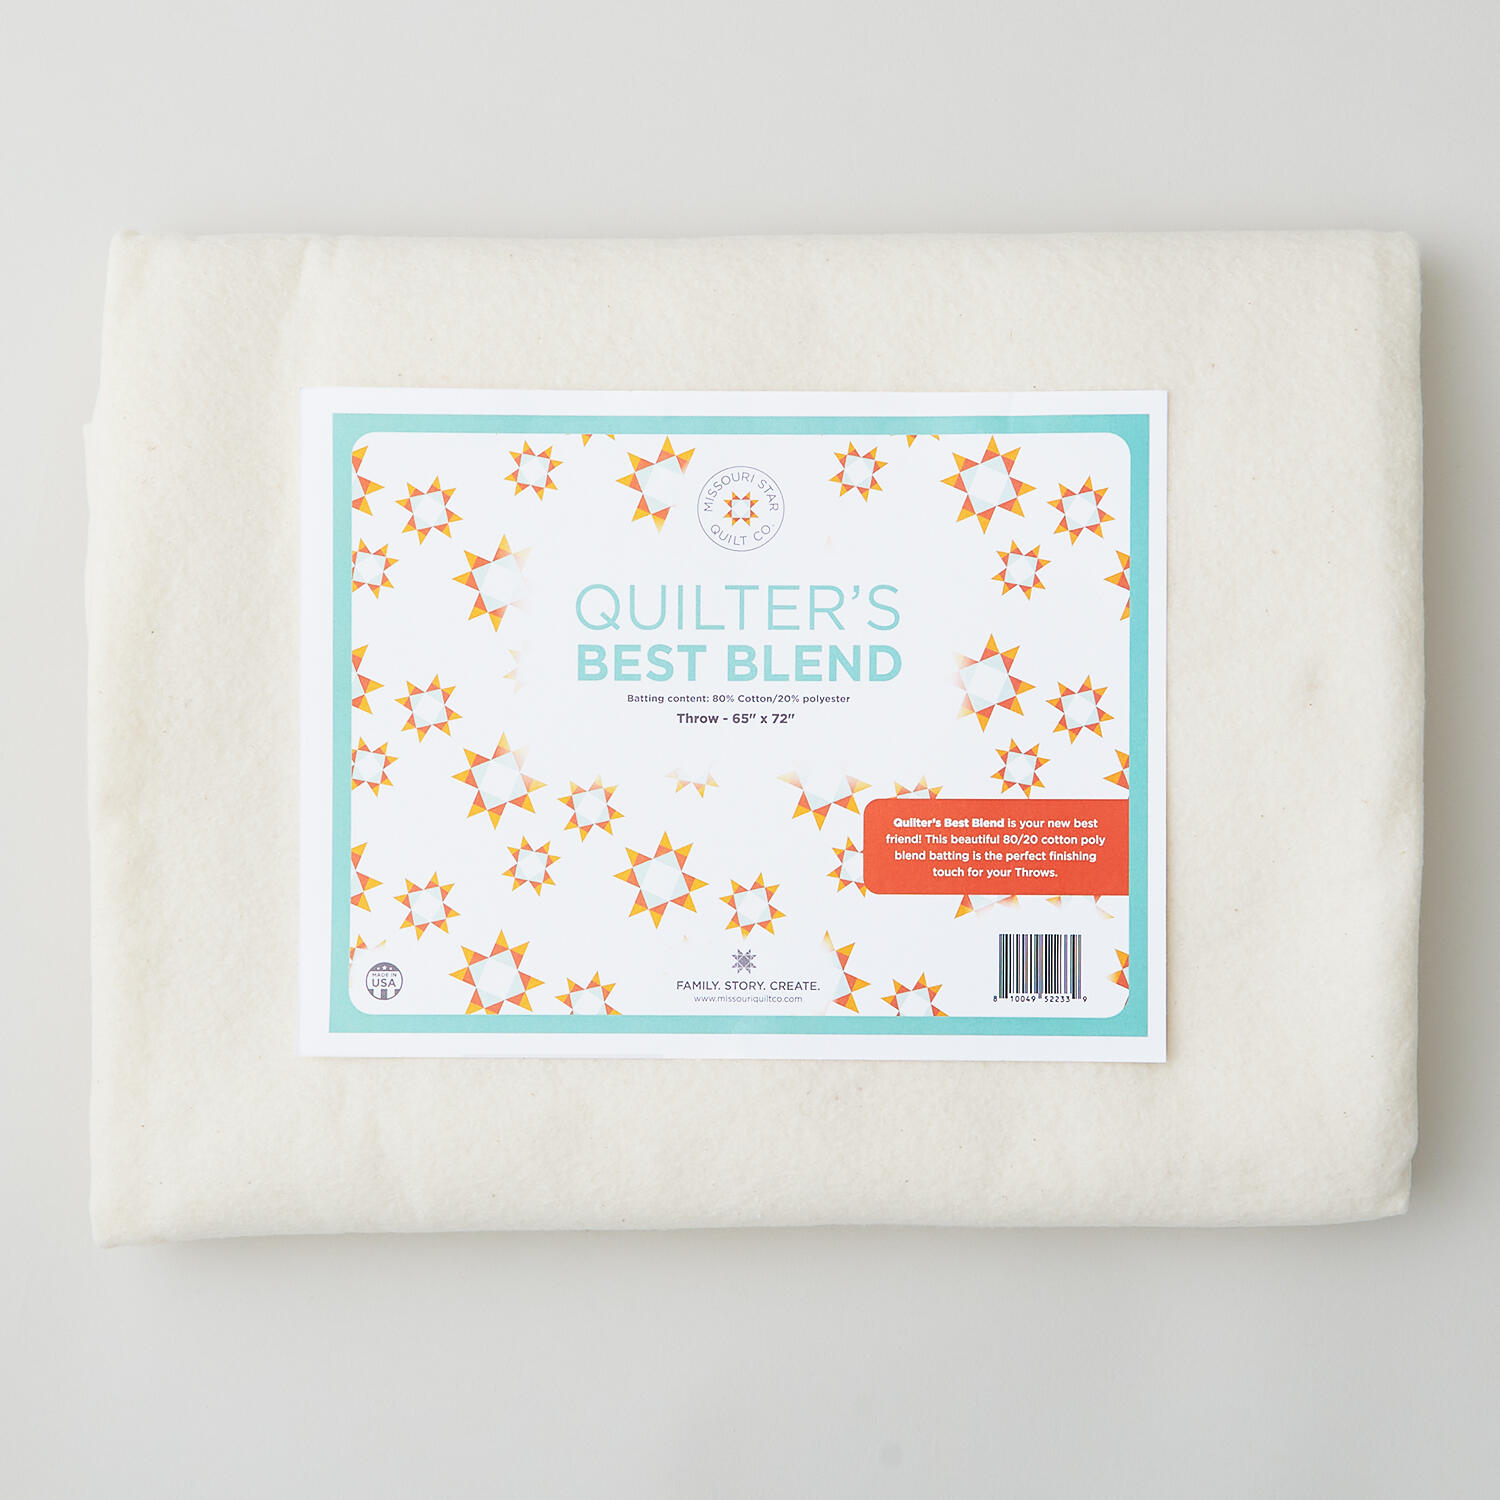 Missouri Star Quilter's Best Blend Throw Batting$21.95Shop →
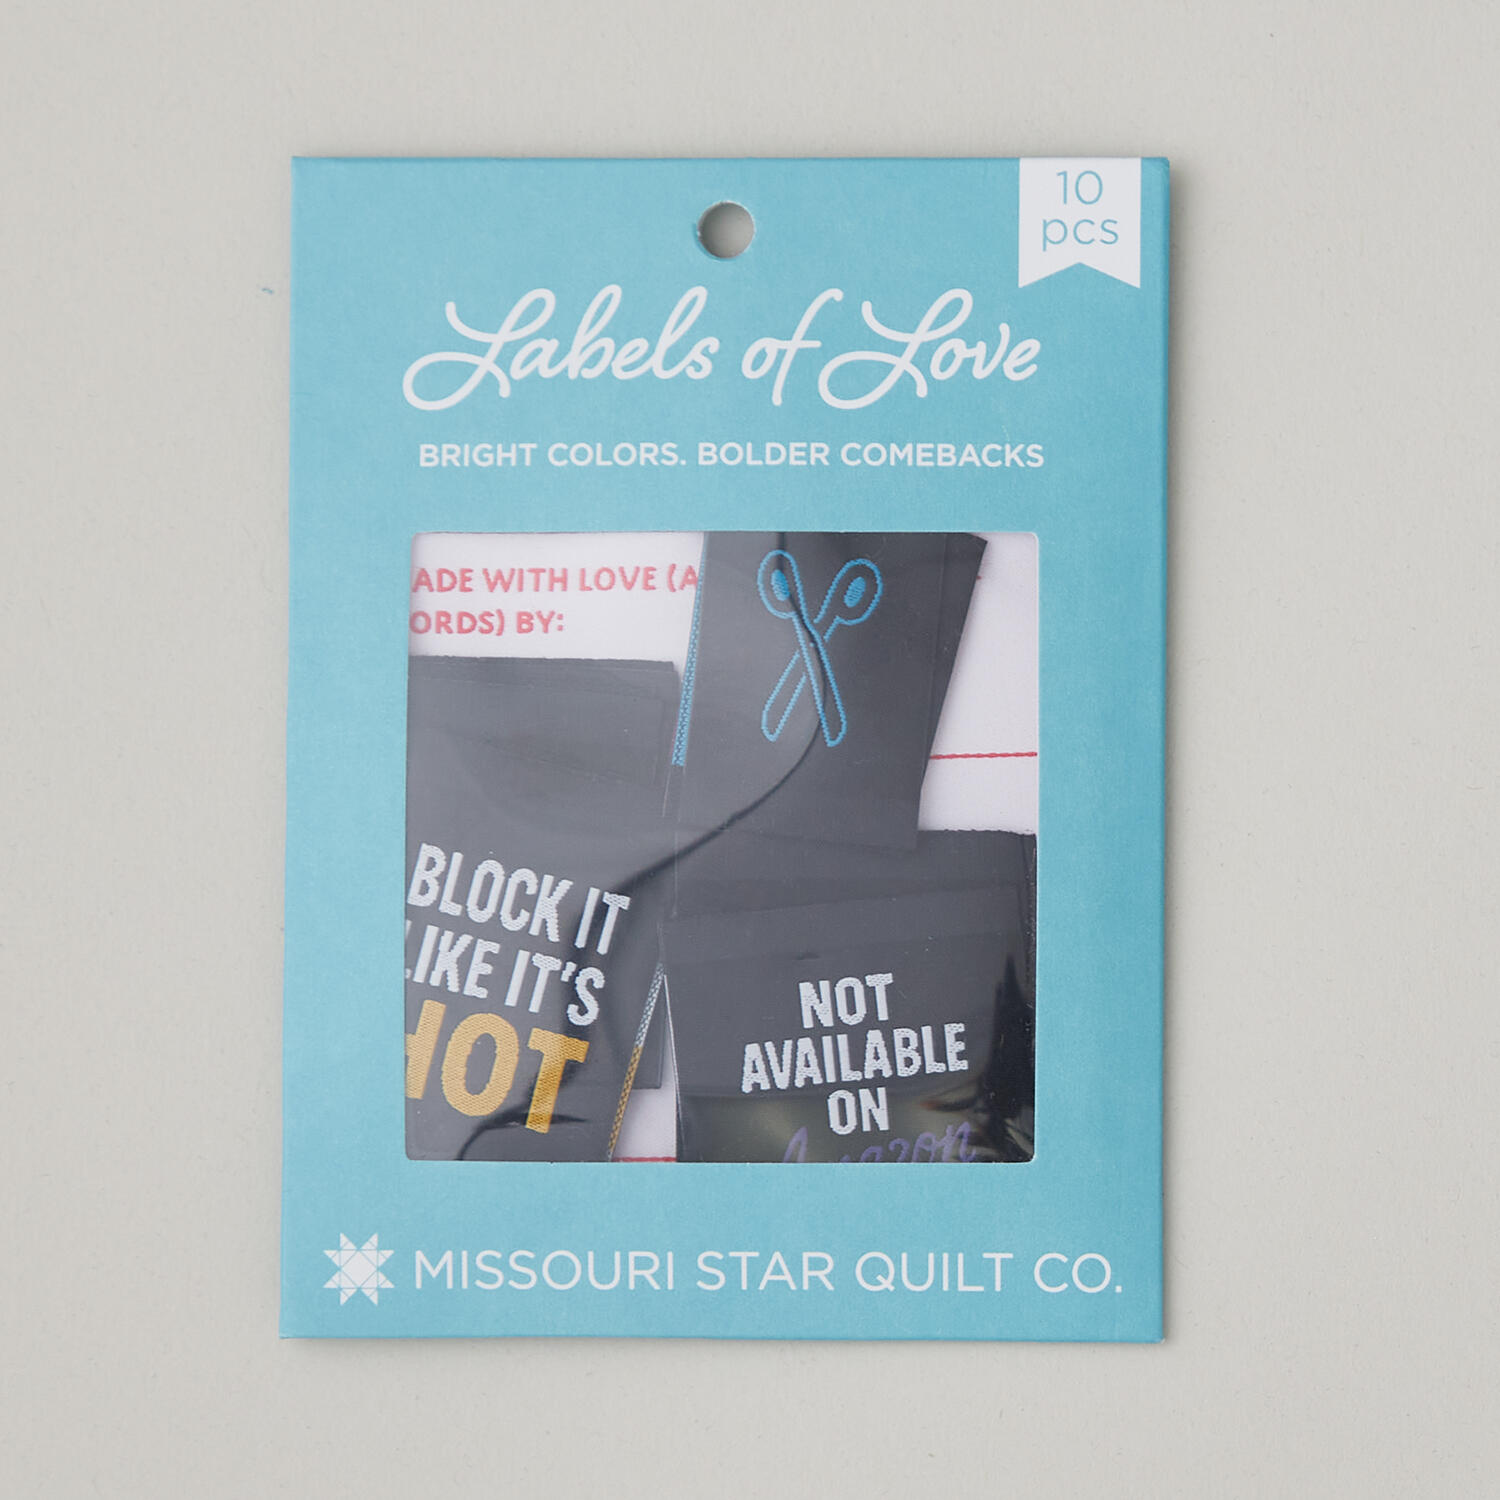 Missouri Star Labels of Love: Bright Colors, Bolder Comebacks$9.95Shop →
 Missouri Star 5" x 15" Ruler$19.95Shop →
 Missouri Star 45mm Rotary Cutter - Olga$19.95Shop →
 Missouri Star 8" Everyday Scissors - Amelia$19.95Shop →
 Missouri Star 50 WT Cotton Thread White$7.95Shop →
 Bernette 77 Sewing and Quilting Machine$1699.00Shop →


