
Heart Flower Throw
 Misty Doan
- Charm Pack
- Modern
- Lap / Throw
- Beginner
- Quilt size 54" × 61"
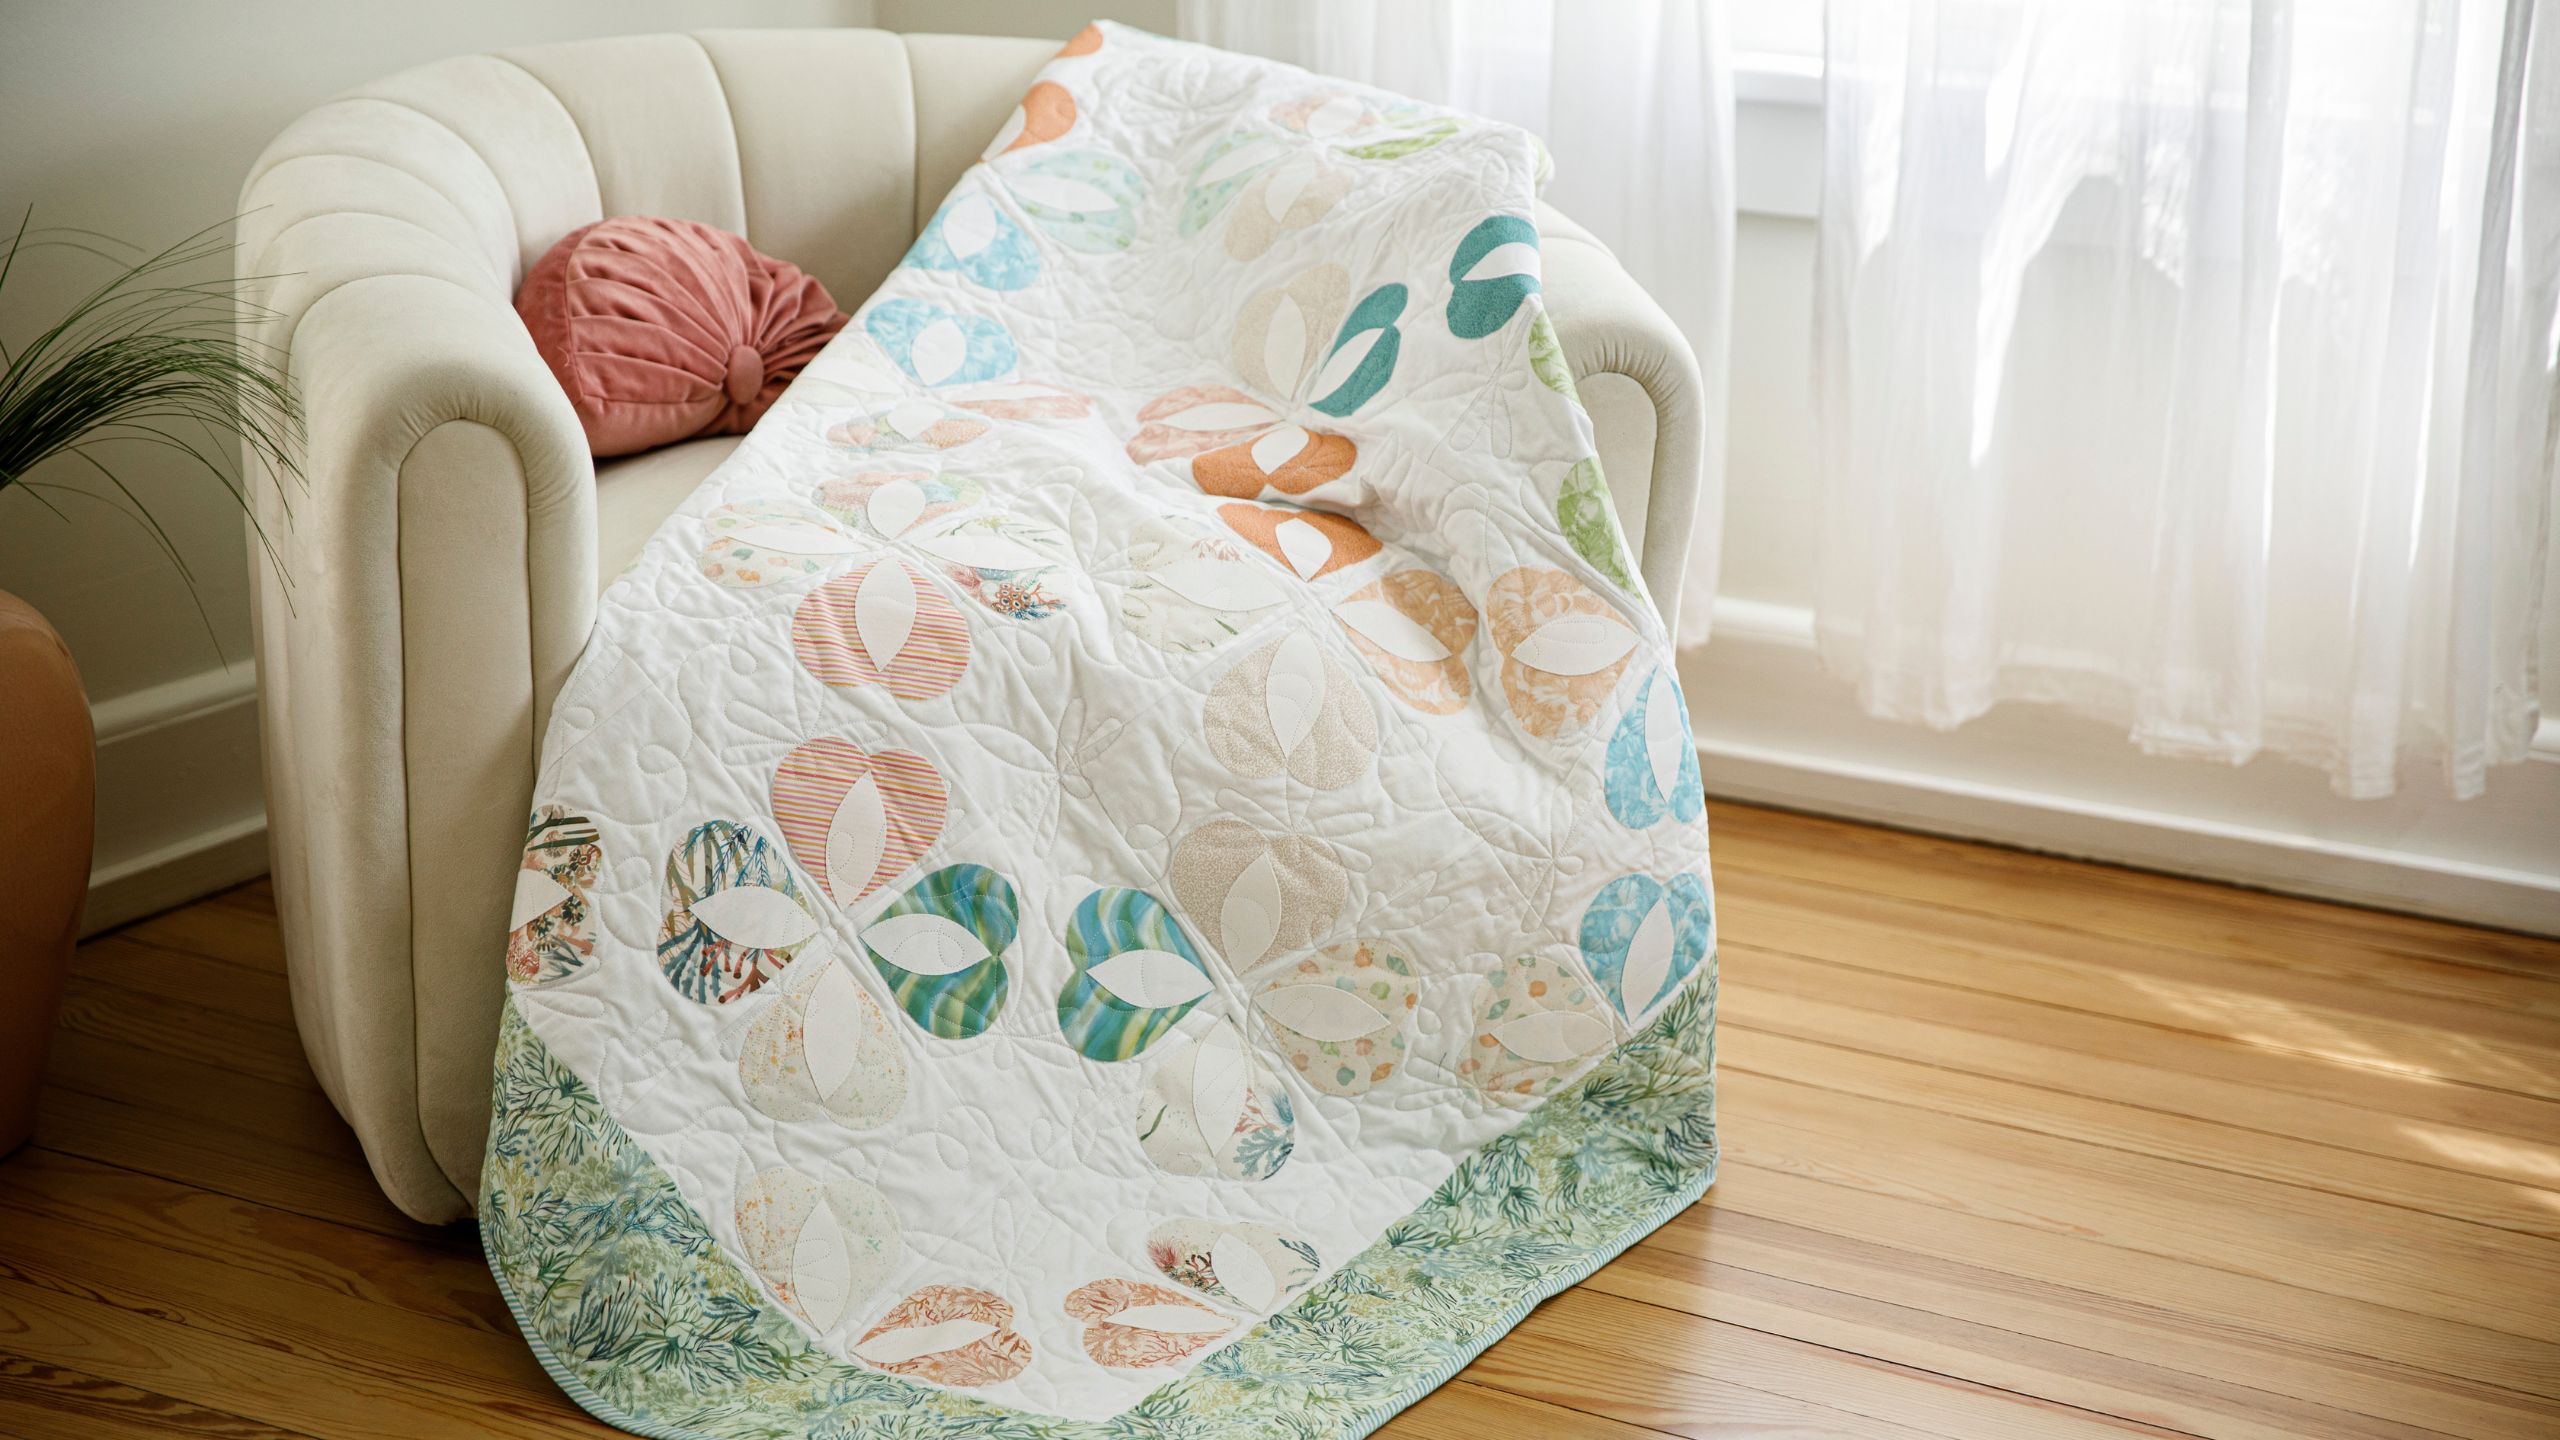
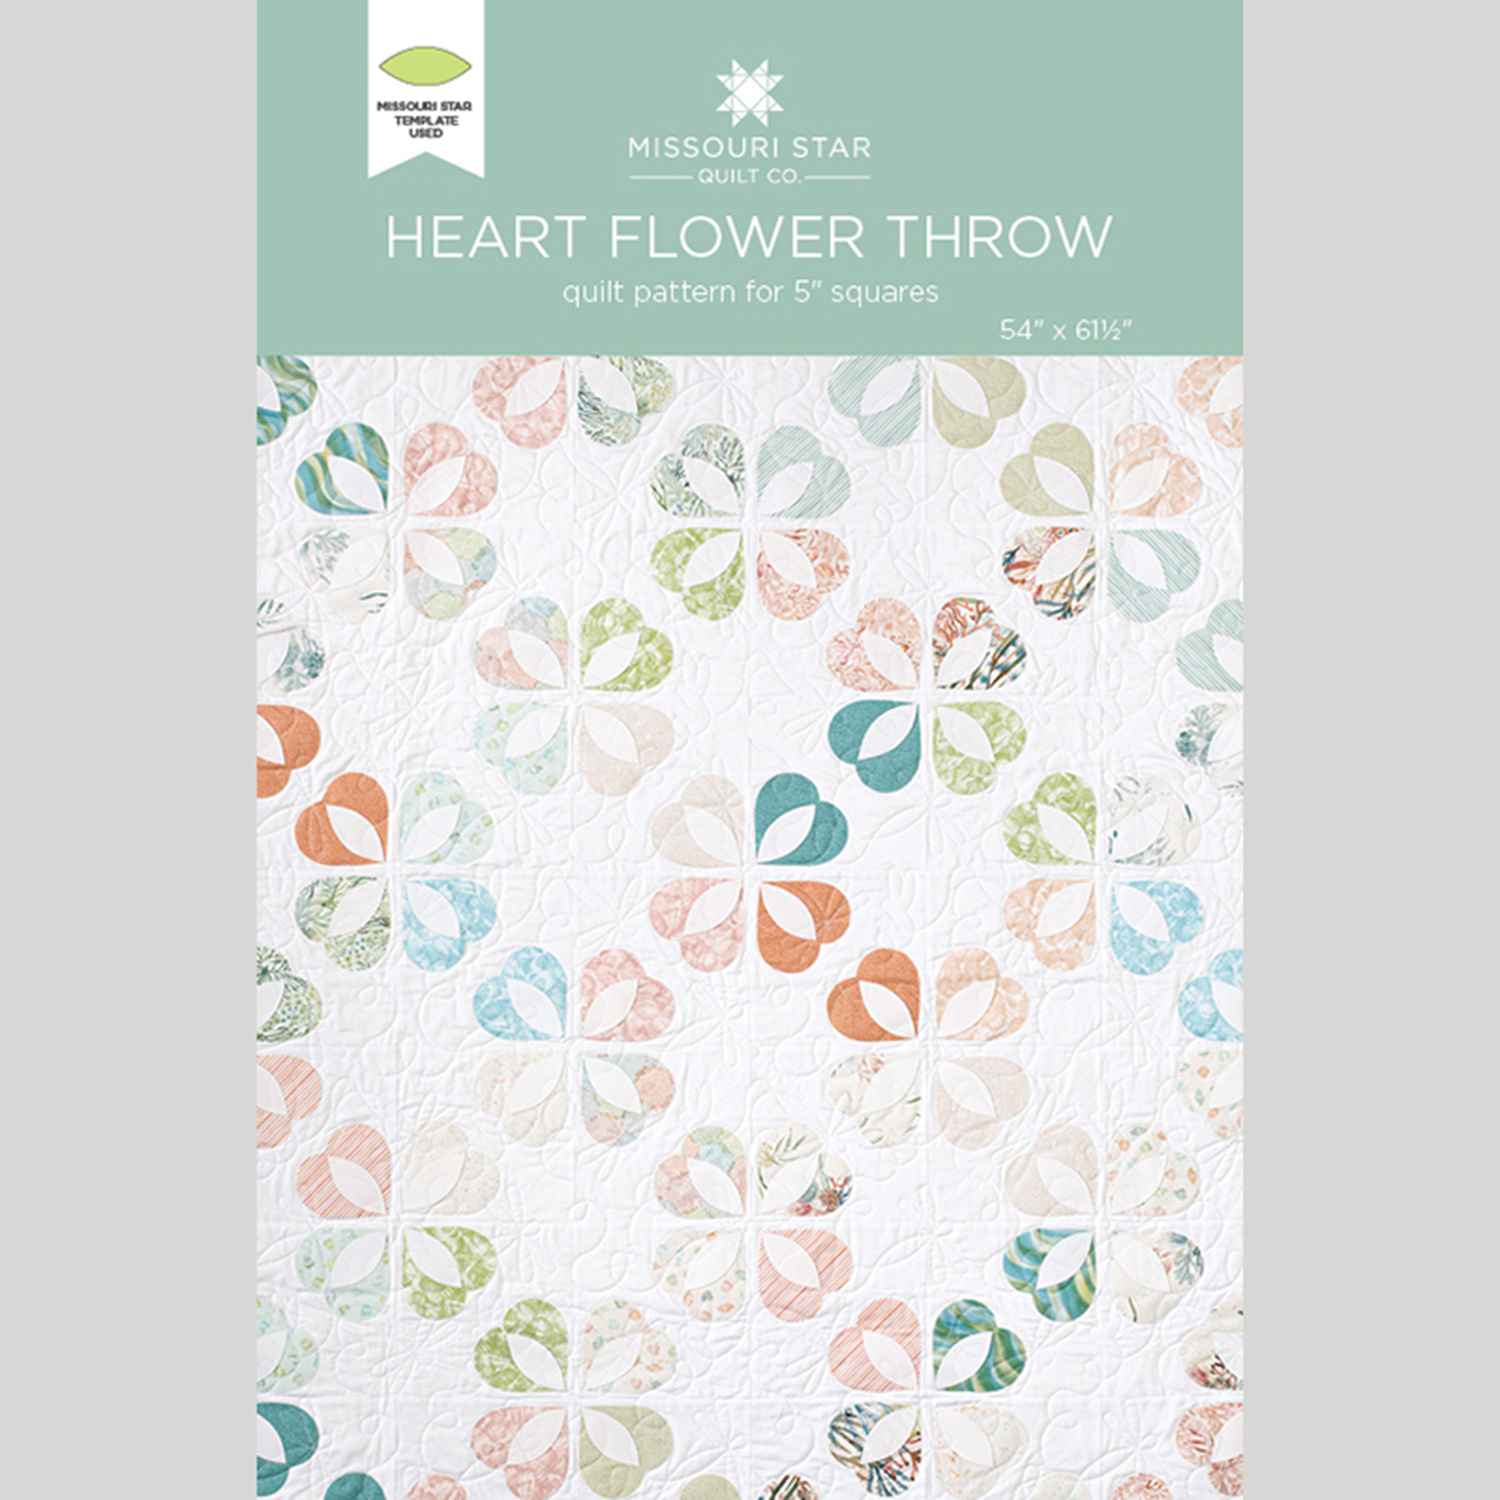
Be still my heart! Hearts come together to create flowers in this adorable pieced and appliquéd Heart Flower Throw Quilt. Misty shows you how quick and easy it is to make petals by using charm packs and a mini orange peel template.
Instructor
Misty Doan
Misty Doan grew up surrounded by sewing and quilting. She loves spending time sharing tutorials each week each week, and when she’s not stitching up one of her fun sewing projects for home decor, most likely you’ll find her hanging out with her husband and three awesome kids or working on a house project.
Shop this tutorial
 Heart Flower Throw Pattern by Missouri Star$8.50Shop →
 Digital Download - Heart Flower Throw Pattern by Missouri Star$6.95Shop →
 Seascape Charm Pack$11.95Shop →
 Kona Cotton - White Yardage$7.48Shop →
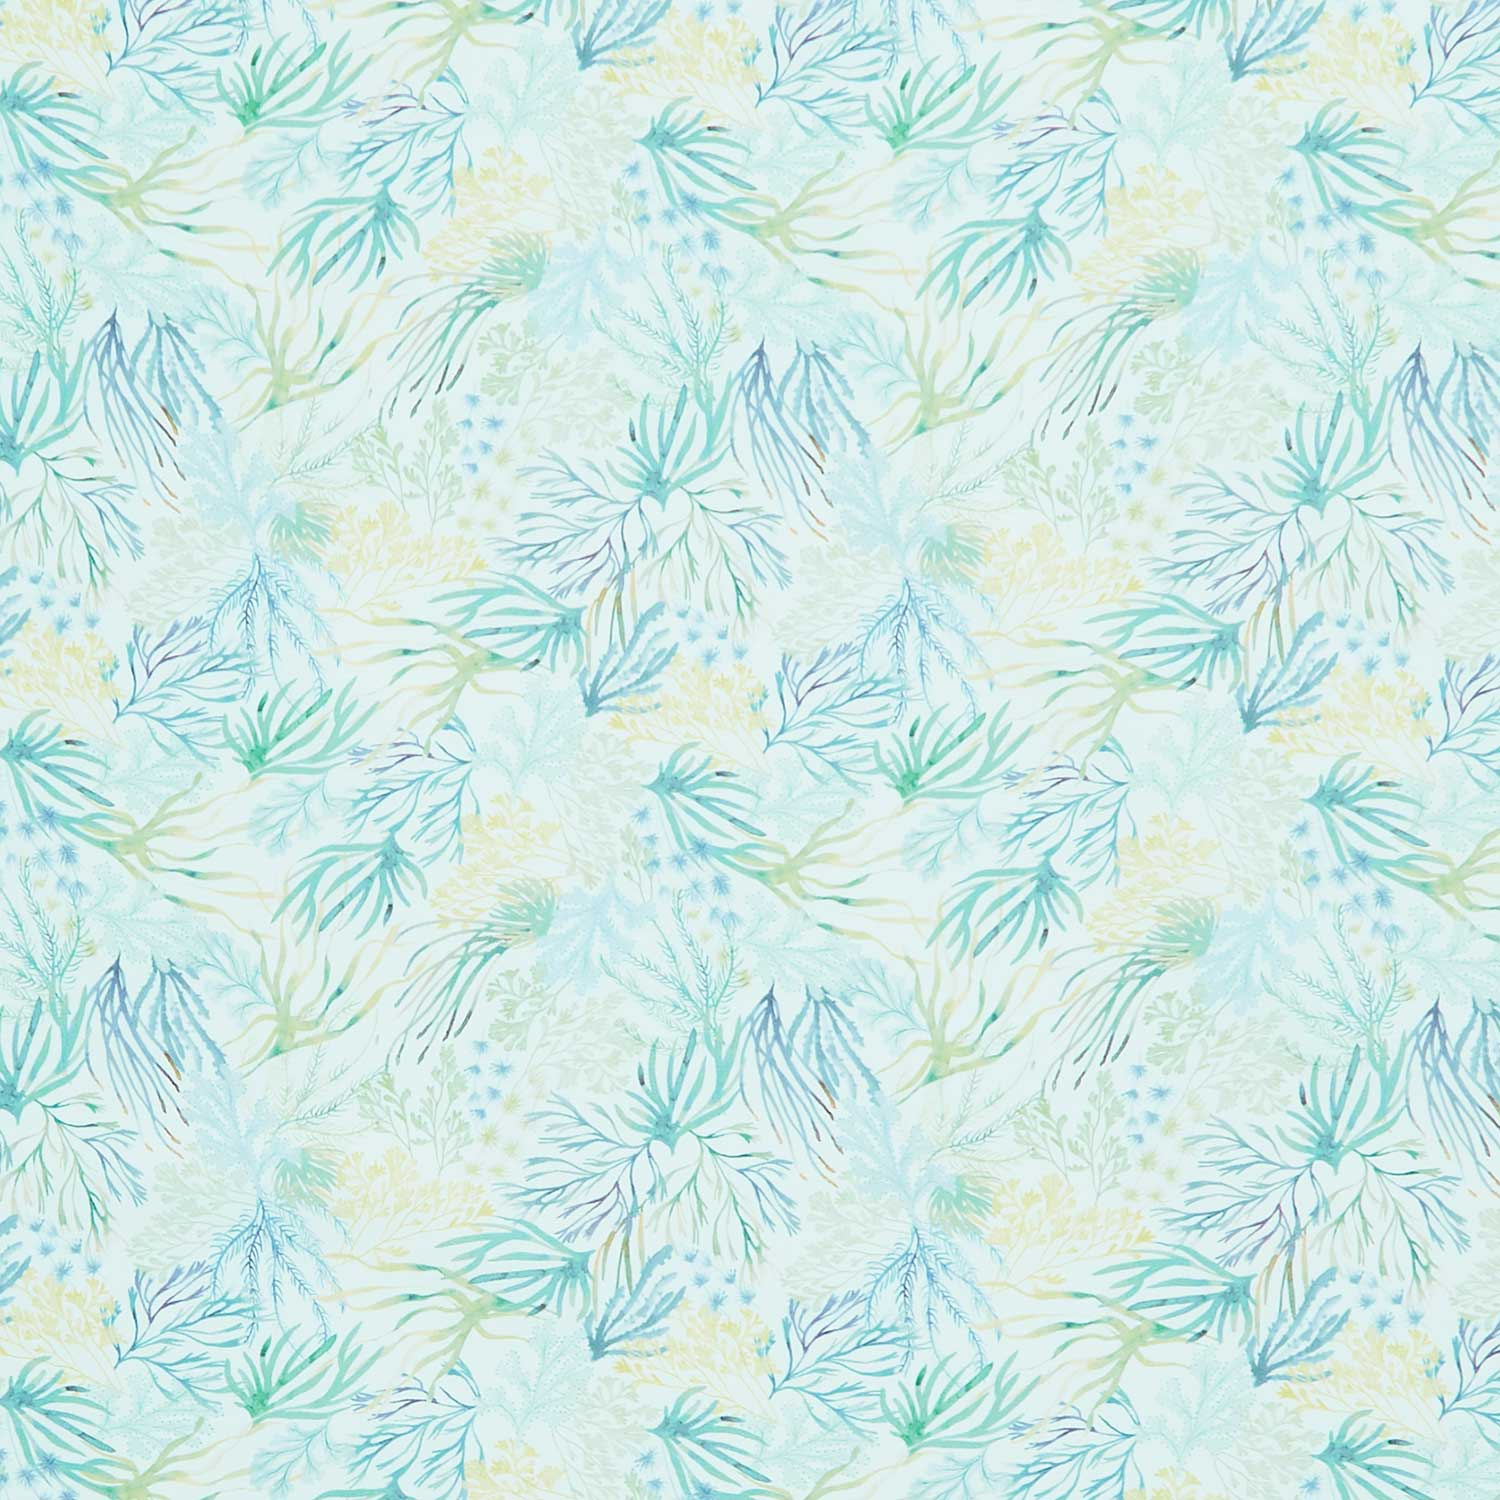 Seascape - Coral Seaweed Green Aqua Yardage$11.96Shop →
 Missouri Star Sew Light Fusible Adhesive - 17" x 2 yards$4.95Shop →
 Microtex Needles 8/60$5.25Shop →
 Quilter's Favorite Dispenser - Quilt Town$18.95Shop →
 Seascape - Seersucker Stripe Green Aqua Yardage$11.96Shop →
 Missouri Star Quilter's Best Blend Throw Batting$21.95Shop →
 Missouri Star 2.5" X 15" Ruler$14.95Shop →
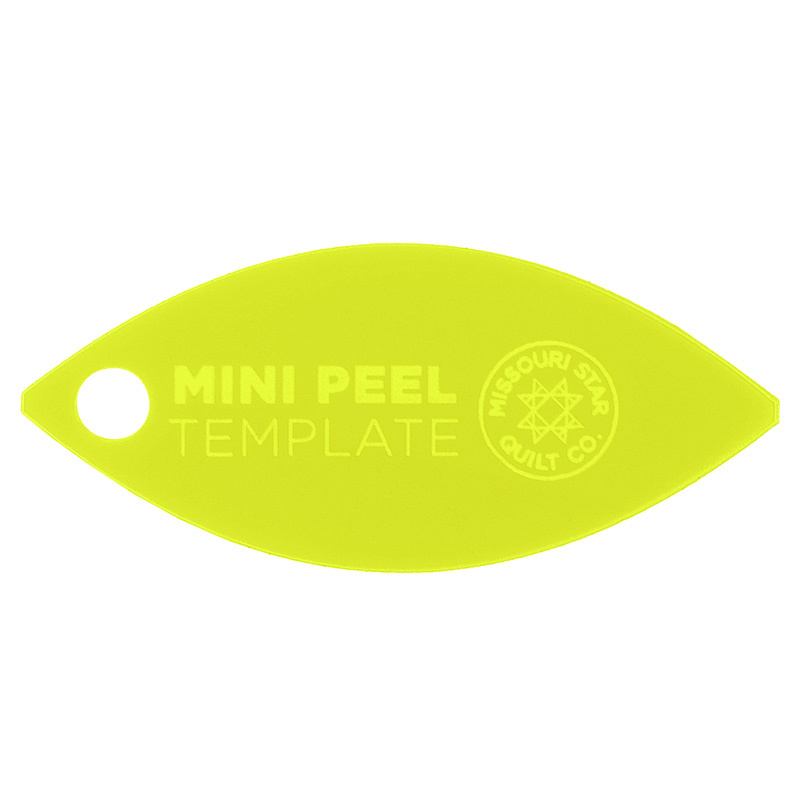 Missouri Star Mini Orange Peel Template for 2.5" Squares$4.95Shop →
 Missouri Star 45mm Rotary Cutter$19.95Shop →
 Missouri Star Seam Ripper$9.95Shop →
 Missouri Star 4.5" Everyday Scissors$9.95Shop →
 Missouri Star 6" Everyday Scissors$12.95Shop →
 Missouri Star 8" Everyday Scissors$19.95Shop →
 MonoPoly™ Invisible Thread - Clear$8.75Shop →
 Missouri Star Wooly Betty Board - 17.25" x 25.5" Orange Border$99.95Shop →
 Bernette 77 Sewing and Quilting Machine$1499.00Shop →
Common Questions
What is covered in Heart Flower Throw?
Be still my heart! Hearts come together to create flowers in this adorable pieced and appliquéd Heart Flower Throw Quilt. Misty shows you how quick and easy it is to make petals by using charm packs and a mini orange peel template.
How long is the tutorial video?
The tutorial video is 00:11:01.
Are supplies listed for this tutorial?
Yes. The tutorial page includes the supplies and materials connected to this project.
Is a transcript available?
Yes. A written transcript is available on the tutorial page.
Video Transcript
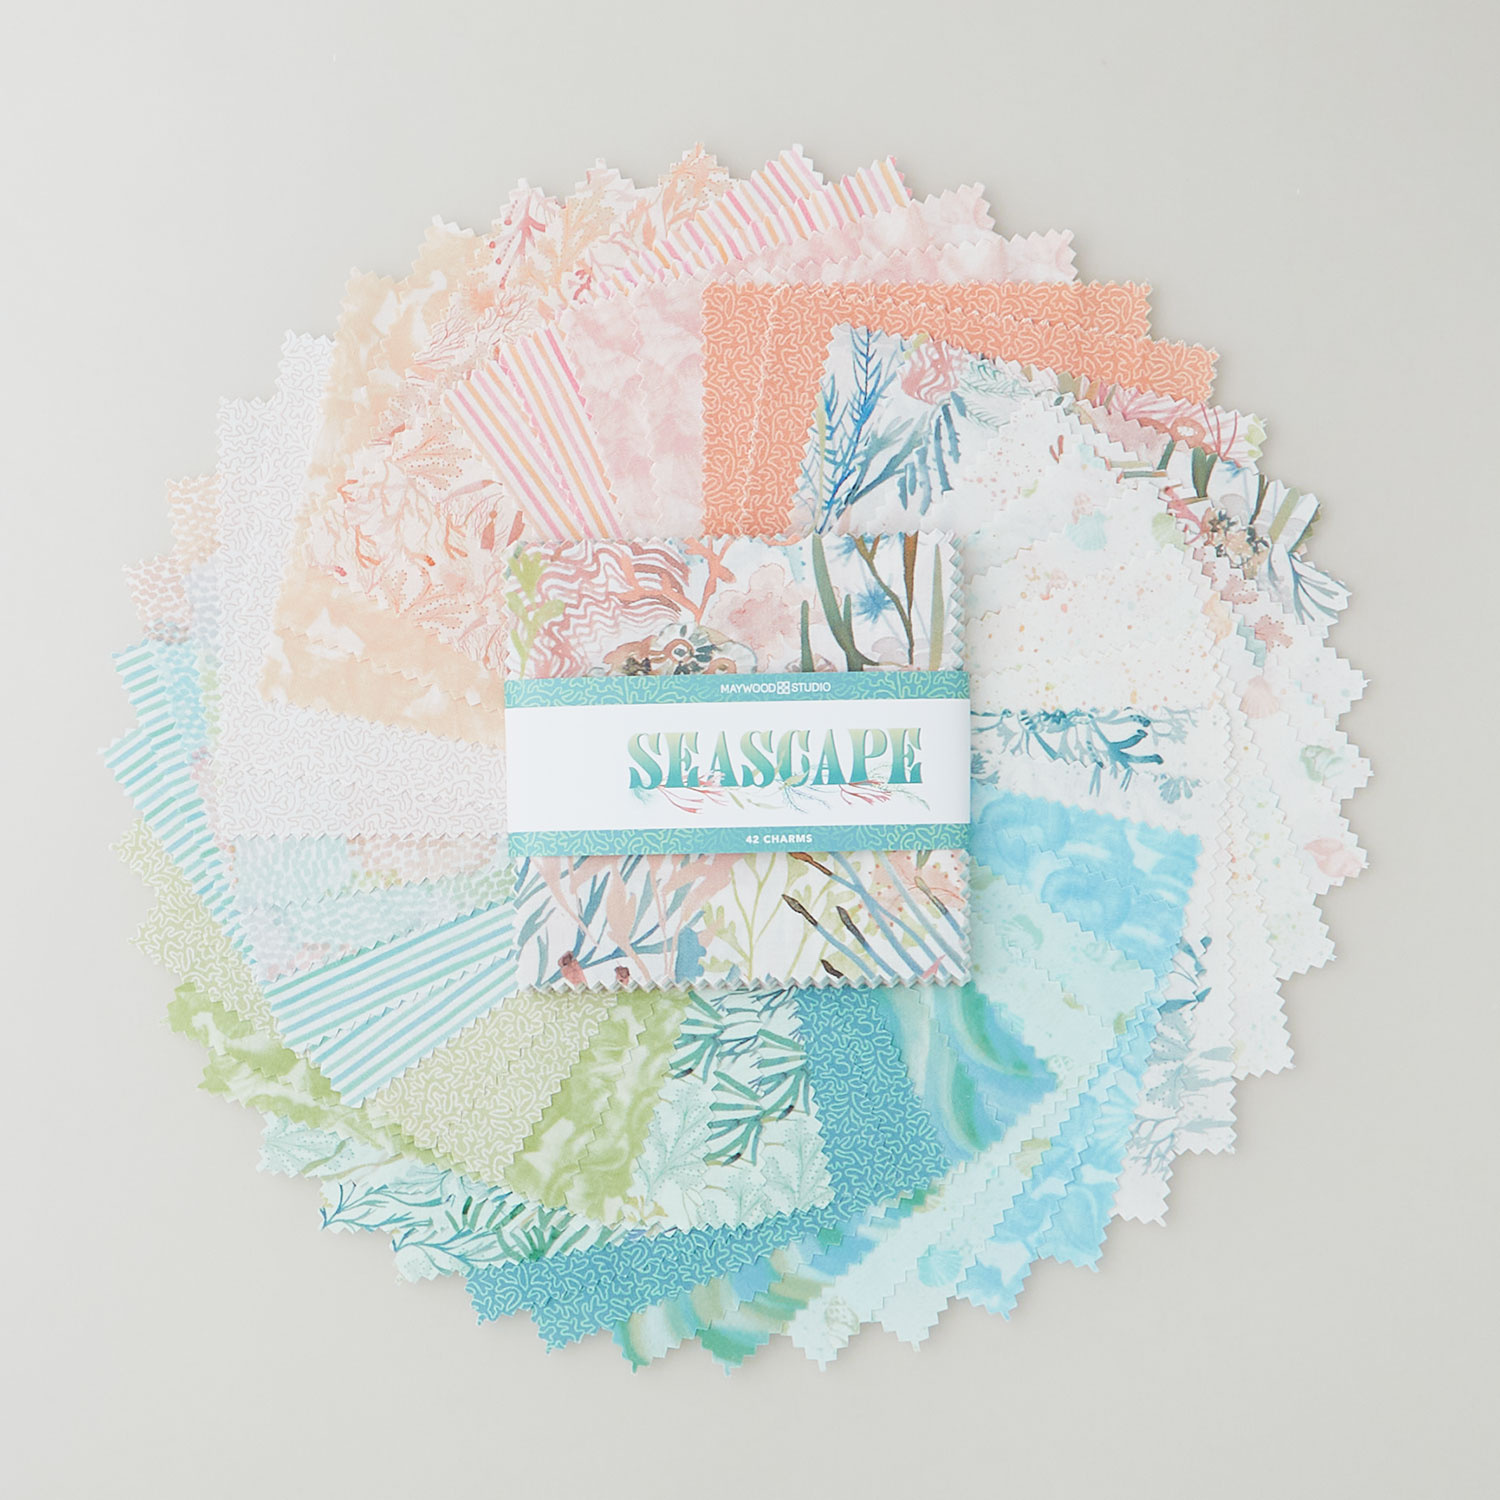
This quilt is super fun because you need just two charm packs and some background fabric. So for my charm pack I used Seascape by Maywood Studios and it's these beautiful soft beachy pastels… I just love it. For your background fabric you're going to need 2 and ⅞ yard. And then for your border, you'll need one yard. I use the same fabric for my backing which means you're going to need an additional 3 and ½ yards with horizontal seams for that. Also a few other things that will make this easier for you. If you have the mini Orange Peel template you can cut out all the centers with that. You're also going to want to print and cut out the little half heart template from the pattern and I really recommend using a Microtex needle and some invisible thread. Also you'll need some fusible. So let's go ahead and dive right in!
All right, to begin you're going to take your background yardage and you are going to cut it into some 8 inch squares. This is going to be the foundation for each of our blocks, so we want to have those ready to go. Then we're going to take our two charm packs - remember we have two - and so you're going to get matching colors out of each one. I think I'm going to use this coral-y color. We are going to back each of those with a 5 inch square of our fusible.
So let's go ahead and take this over to the iron, so we can fuse this in
place. So I like to make sure we're putting this on the wrong side and that I'm not going to have any hanging over onto my mat because we don't want any of that sticky stuff getting on there. So there's one and then two. If you have not used this fusible before, that bumpy side is what you want to go down. That's the glue, so that goes to the wrong side of your fabric. And then while I have this over here, I'm going to go ahead and press these in half one direction, just to make it easier on myself. There's one and two.
Okay, so we have these pressed. Now we're going to take that little paper template that we printed off and I'm going to grab a pen here and we're going to put the little dashed edge along the fold of our square and then I'm just going to trace this. Oops, as you can see it doesn't have to be perfect. Then I'm going to give you a little hint that I did to make this go faster. For each set I just traced one and then I'm going to kind of tuck them inside
each other and then we can cut them out together and that just helps us save some time. There we go.
We're just going to cut on that line - perfect. Now we have our two hearts all
cut out and ready to go. So we can throw this in the trash. Every single block that you make you're going to need two of these. So let's go ahead and take our square. We're going to fold this in half on the diagonal and I'm going to take all of this over to the ironing board, but I'll just finger press it just to show you what I'm trying to do to make sure you get a good look.
So we're going to get this diagonal line. Then we'll peel off our paper
backing and we're going to line up the center of our heart. And we want to make sure we're about a half an inch from this bottom edge, because we don't want to catch that into the seam. So if you have a ruler you can just lay that on there or you can just eyeball and make sure you're about a half an inch away from both sides. So we'll put one here and one here. So let's go ahead and take this over to the ironing board so we can press this into
Place.
So again I just want to make sure I have that half inch. I'll press one. When you're working with this you really just kind of want to lift and press. You don't want to slide your iron around too much. So now I'll rotate this to make sure I can see what I'm doing and press that in place, there we go. All right, so that first part is done.
So now the next step is in adding our little orange peels to the middle. So
I want to talk a little bit about that. It's the exact same concept. You're going
to fuse the back of your white fabric. So I have some strips of that done
and then you can just use your little mini Orange Peel template and cut out one after another after another that you need. But because I opted to use a lighter fabric against a dark, here's just one thickness of the white. I want to show you if I can get this to peel back sometimes you can see your darker fabric through it. So let me just get this off of there and we're just going to float that up there. So I can see just a little bit of that peach through it. If it bothers you, this is totally optional, you can double up these layers. If you decide that that's something you want to do. I recommend going ahead and doubling it up before you cut them all out. It makes it go a lot faster!
So I have these two strips that are fused. So I would just peel back one of these. This is always the trickiest part, getting a hold of that paper, there we go. So I just cut these the exact same width and then we will just line these up. One thing you do want to keep in mind is you don't want little fabric fluff or anything in there because that could also show through. So make sure your fabric is nice and clean and you don't have any extra threads. Then we can just layer these up one on top of the other, fuse this in place and then cut all of those out so we have that extra thickness so that our white won't be see-through. So this is a great tip if you're wanting to use lighter fabrics in the center. If you use a dark background you would not need to do this.
And so again now that I have that done, I can just lay my template on
here and cut these out. It is a gentle enough curve that you can use your rotary cutter to do this. If that makes you uncomfortable because it's so small feel free to trace, there we go, there's our little guy. And so you can see it's just a little bit thicker and more stark with that white than the single layer. Hopefully that shows up on camera for you guys.
So I have these ready to go. These are double thickness. So let's go ahead and place that. You want to kind of line that up with the bottom point of your heart. Let's get this off of here, there we go. Now we can fuse these into place. So let's go ahead and take these over here. Same idea, lining up that bottom point along that middle line that we creased and just pressing that into place. And same on this side. Perfect, all right so let's go ahead and do some top stitching on this to secure these down as we wash it and use it.
This is where I love using invisible thread. My favorite is the Superior Mono-Poly. It's just a really really fine, clear thread and it works great. I don't find that it bunches up. You're going to keep a white thread in your bobbin - you only use that invisible thread on the top. I'm just going to use a tiny zigzag. So let's go ahead and do that. All right, so I'm just going to follow this little orange peel first; then I'll come back and do the heart. So I will just take care of both of these and I will meet you back here when it's done.
All right, we are finishing up. I am going to just take a few little back stitches to lock that in place and now we are all done. Both of our little hearts are embroidered or appliqued on there, excuse me. So you can see how that Invisible Thread just sinks in and really lets the fabric shine, but it's got everything secured in place.
So to finish this off, I just placed them together in a row. I thought I have one more, there we go. And so then the four come together in the middle to kind of create this blossom or flower. So in the quilt there are 1, 2, 3, 4, 5, six across by 1, 2, 3, 4, 5, 6, 7 down. And I just went ahead and added a 5-inch border to finish that off. The quilt measures, let me check back here, 54” x 61.” So it's super cute, really fun to put together. I hope you enjoyed this tutorial. I'll see you next time on At Home.


