

How to Make a Beginner's Star Quilt - Free Quilting Tutorial
 Jenny Doan
- Charm Pack
- Heirloom
- Lap / Throw
- Beginner
- Quilt size 49" × 49"
With an easy-yet-fabulous quilt pattern, even a beginner can feel like a superstar! This week Jenny Doan is stitching up 9 patches with a touch of pizazz and the Back to Basics Charm Pack by Kansas Troubles Quilters for Moda Fabrics. The Beginner’s Star quilt is simple enough for the newest of newbies, so grab your precut 5 inch squares, and let’s start sewing!
Instructor
Jenny Doan
Jenny Doan is an American quilter, author, and YouTube personality. Jenny started Missouri Star Quilt Company in 2008 and today it is the largest quilting supply vendor in the United States.
Shop this tutorial
 The Beginner's Star Quilt Pattern by Missouri Star$6.95Shop →
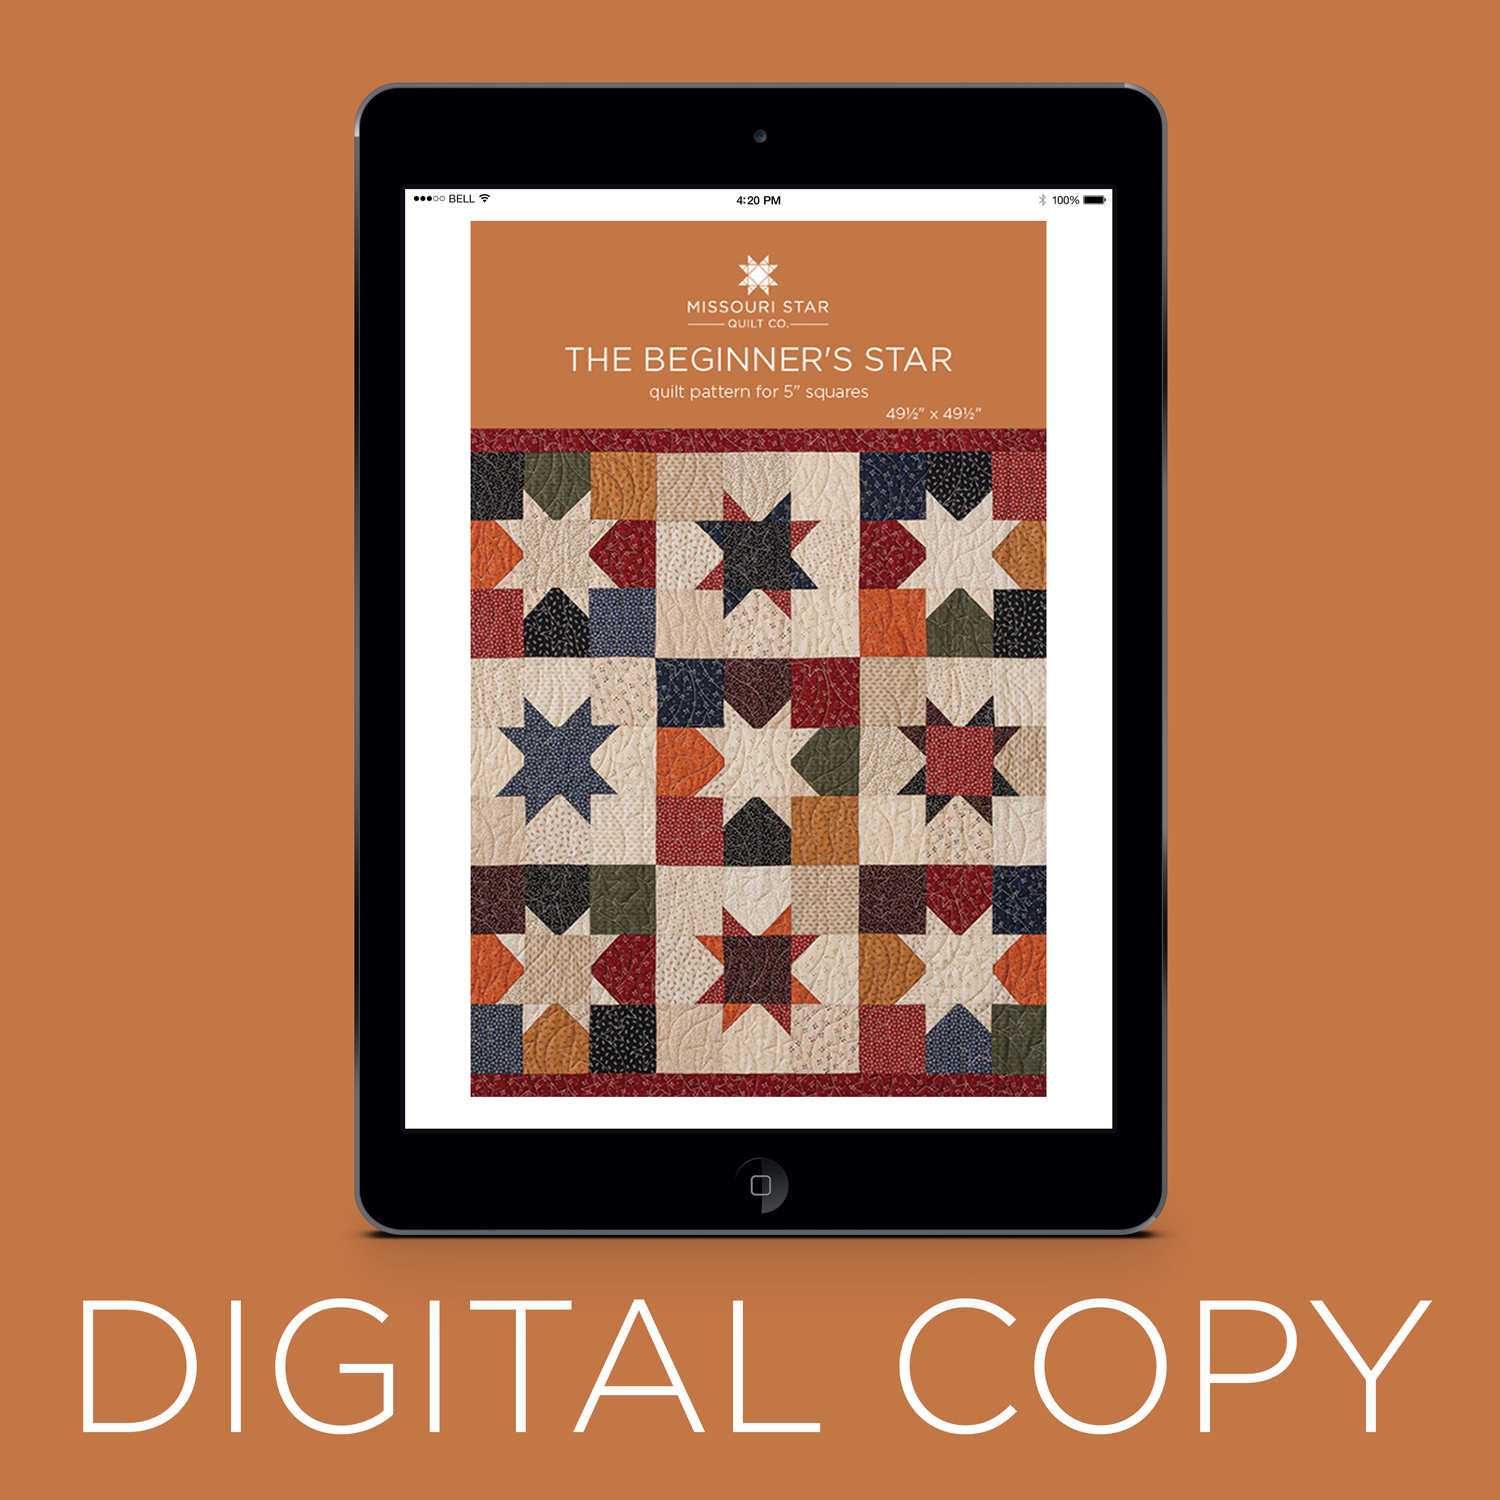 Digital Download - The Beginner's Star Quilt Pattern by Missouri Star$4.95Shop →
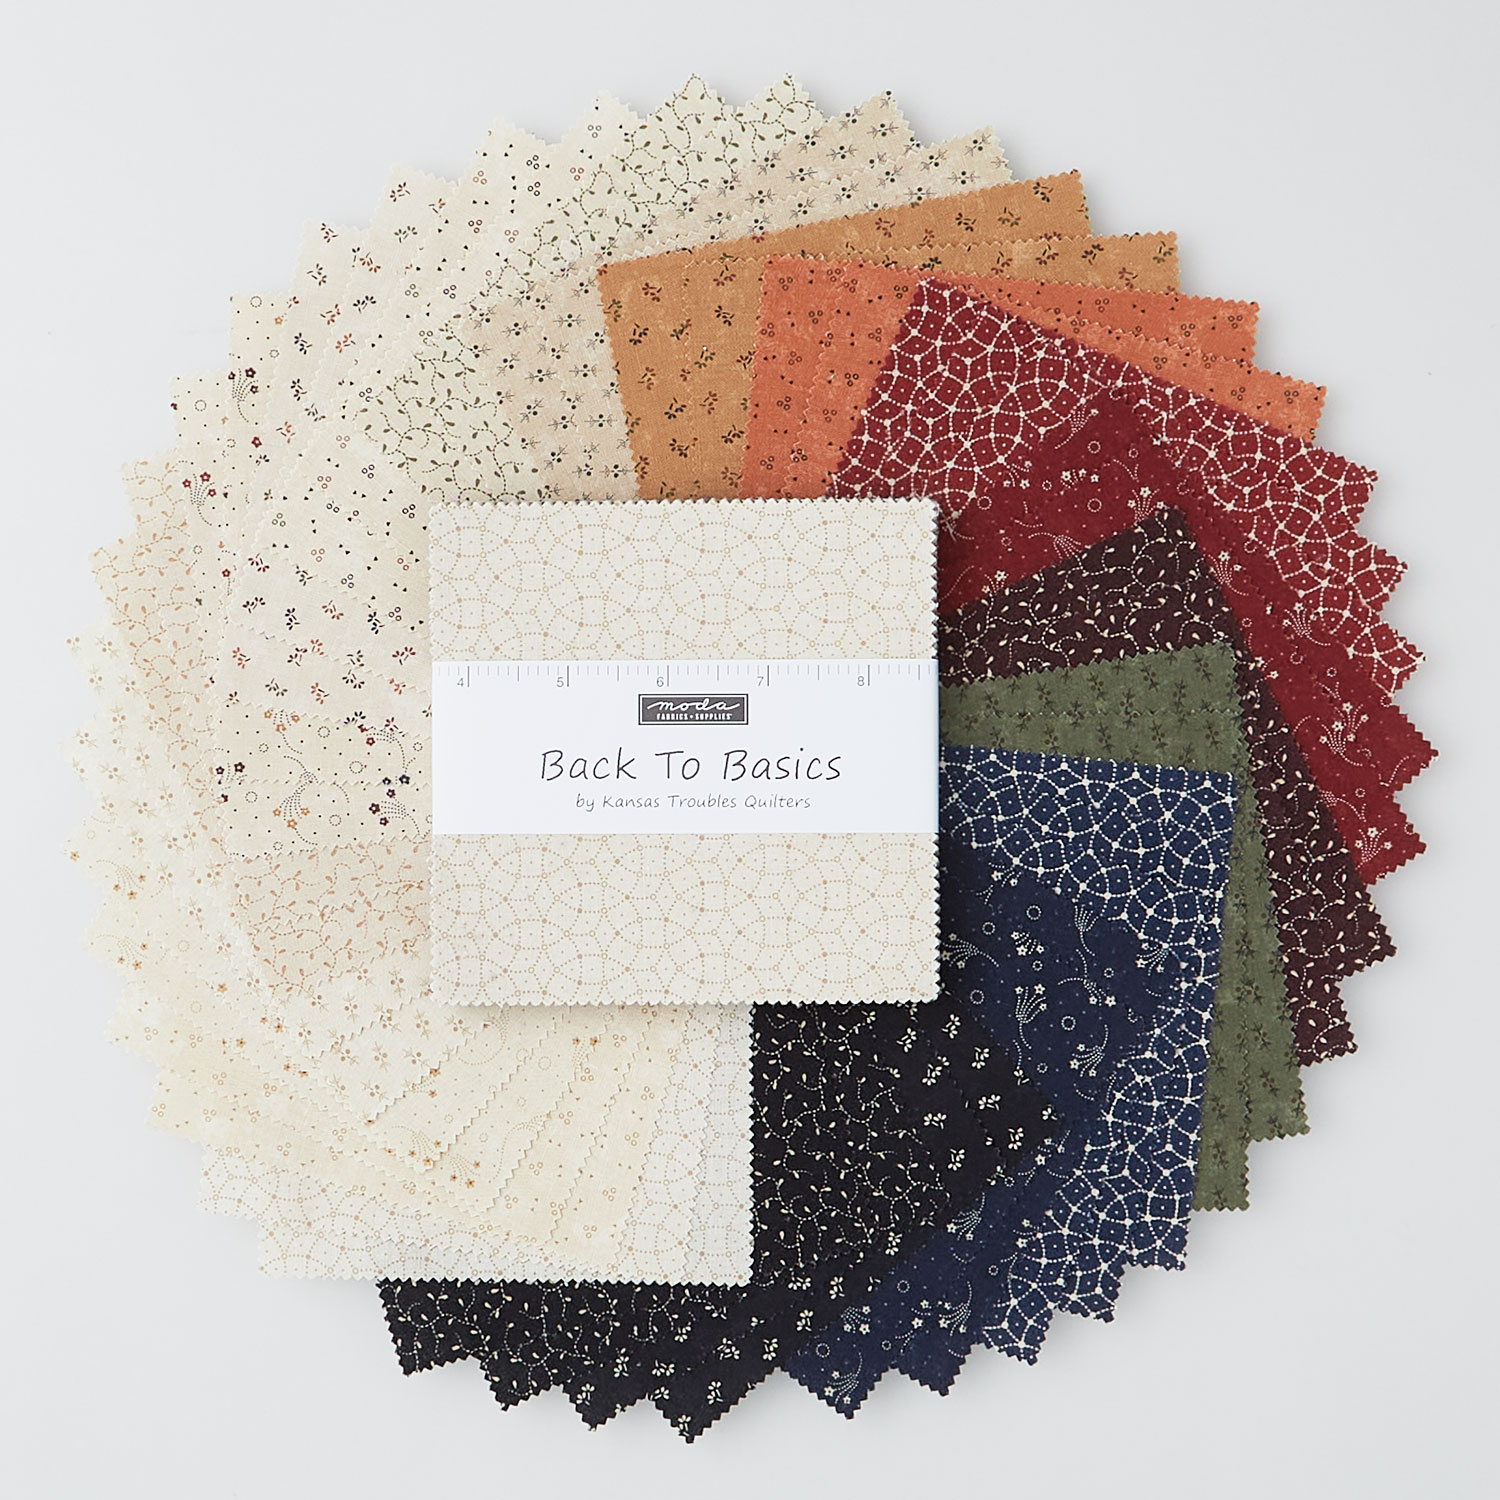 Back to Basics Charm Pack$11.45Shop →
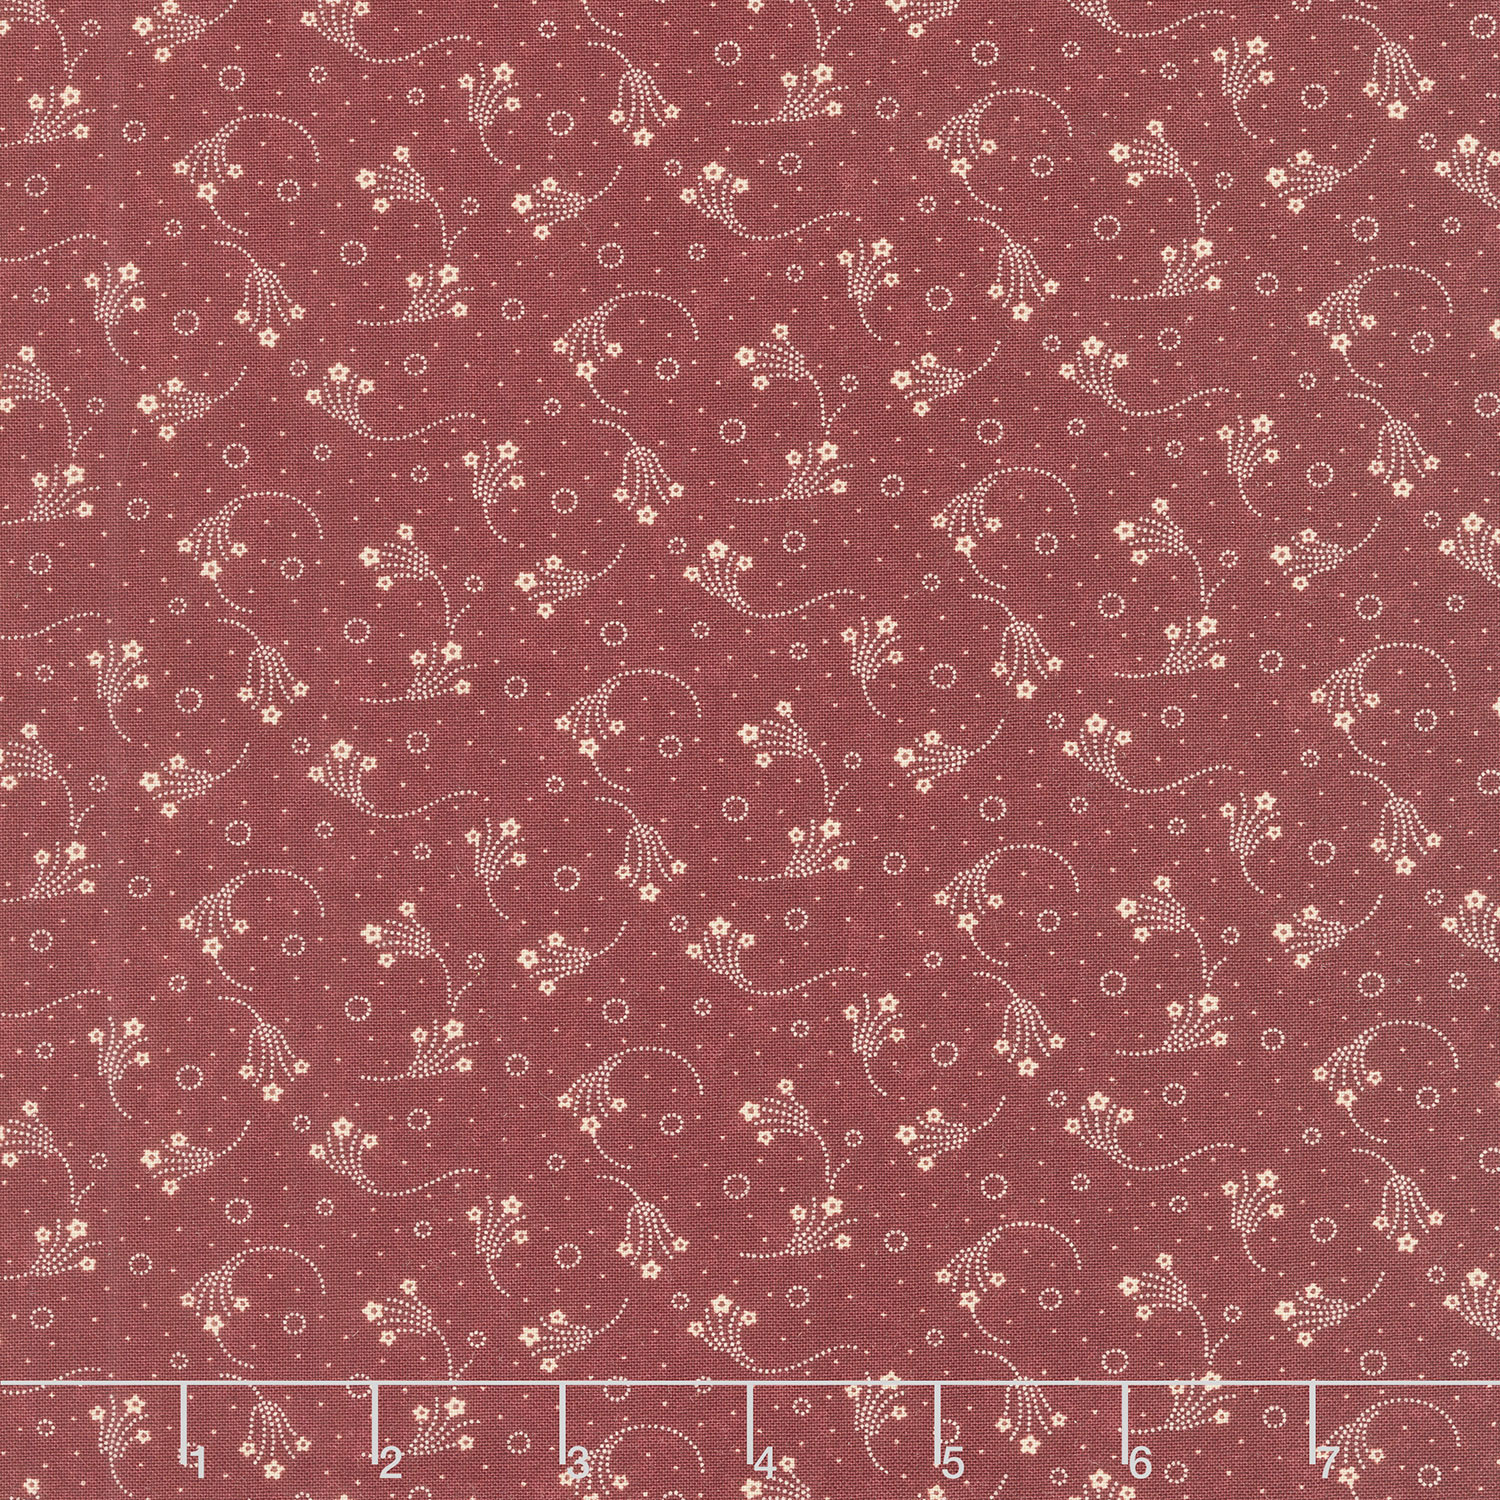 Back to Basics - Daisy Swirl Red Pepper Yardage$11.96Shop →
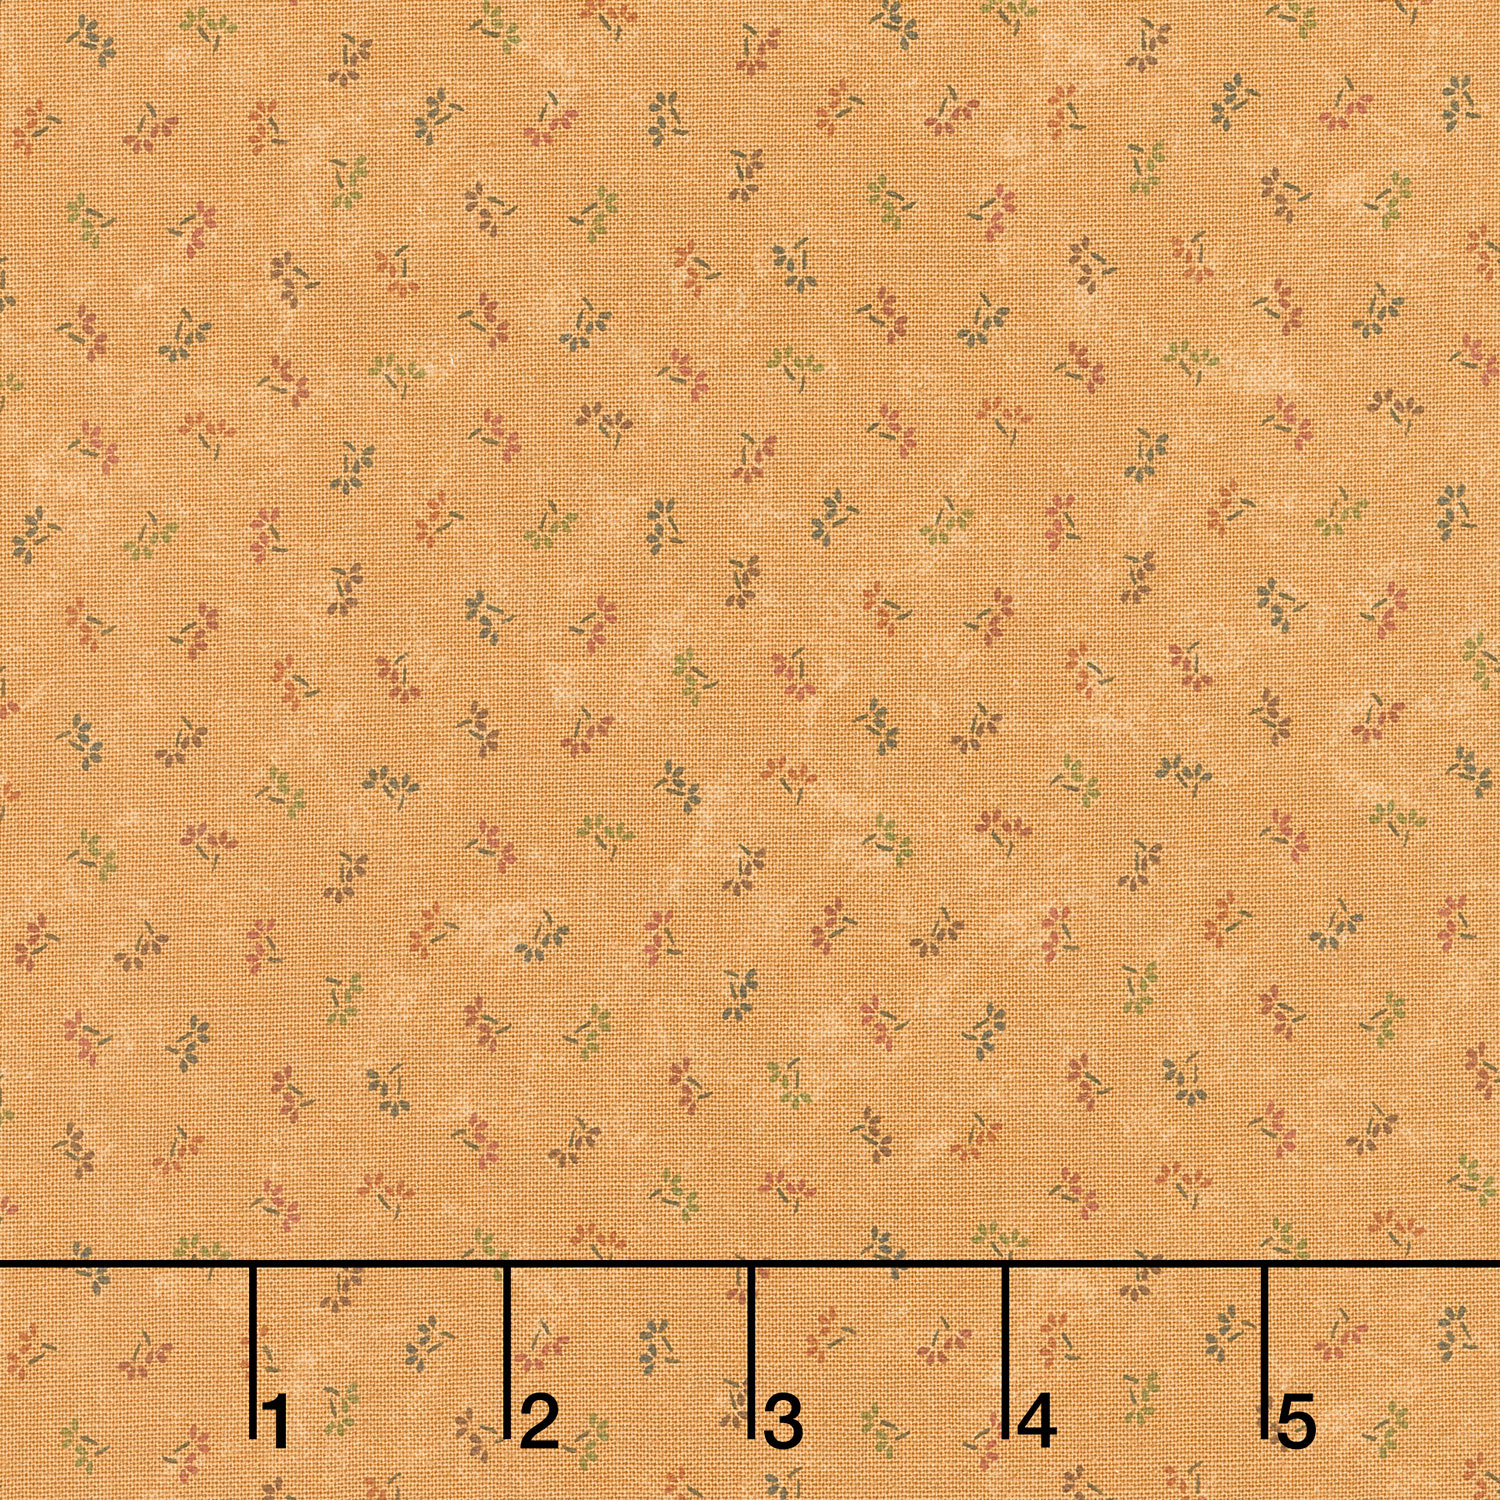 Back to Basics - Clover Parmesan Yardage$11.96Shop →
 Missouri Star Quilter's Best Blend Throw Batting$20.95Shop →
Common Questions
What is covered in How to Make a Beginner's Star Quilt - Free Quilting Tutorial?
With an easy-yet-fabulous quilt pattern, even a beginner can feel like a superstar! This week Jenny Doan is stitching up 9 patches with a touch of pizazz and the Back to Basics Charm Pack by Kansas Troubles Quilters for Moda Fabrics. The Beginner’s Star quilt is simple enough...
How long is the tutorial video?
The tutorial video is 00:18:34.
Are supplies listed for this tutorial?
Yes. The tutorial page includes the supplies and materials connected to this project.
Is a transcript available?
Yes. A written transcript is available on the tutorial page.
Video Transcript
Hi everybody, it's Jenny from the Missouri Star Quilt Company and I have such a great project for you today. So this is a beginner-friendly project. It's also one of those where if you need to make a quilt really fast, this is a great one for you. But I'm focusing today on the beginners because all of us love stars and sometimes we don't just want to sew squares together, but we want to do something that looks a little fancy. This is the quilt for you. So let's go take a look at it. So this is nine blocks right here, and it's these star blocks, and I just can hardly wait to show you how to do this because it's so easy and quick.
So to make this quilt, you're going to need three charm packs and we have used Back to Basics by Kansas Troubles from Moda Fabrics. You're going to need a little bit of border. Now our border here is a little five-inch border and you're going to need three quarters of a yard for that. And your backing, you're going to need three and a quarter yards. We also bound it with the same fabric, and this is our backing right here. Now you can see our quilting is the Star-Spangled Banner quilt pattern, and it just really highlights these stars and makes them look beautiful.
Now, can I actually suggest that when you make your first beginner quilt, get it quilted because it feels like a real quilt somehow when you get it quilted. And I just love how it looks. All right, so let me show you how to make this because it's super easy.
So we're going to start with our charm packs and the reason I chose charm packs is because they are already cut. So you do very little cutting on this. And what we're going to do, you can see back here I have one square where it's colors and the star is the background. And one square where it's background and the middle star is the color, the print part. And so I have one here where you can see it's all made of the background fabrics, and then we have our star made out of the colors. And so of course you can do them all background with your colored stars or you can do them all the same. I just did them opposite for a little visual interest, but let me show you how to do this. So we're going to make one that has all the different colors in it because I have this one at the background right here. I'm going to take my colors and here's how we're going to do this.
We're going to lay out nine stars to make our nine patch. When you put nine blocks together, it's called a nine patch, and I'm just going to switch up all the different colors and take one from each. So I'm going to go ahead and put all these nine patches out. So there's black in here, there's red, there's blues, there's some greens, and I'm going to leave that center patch because my star now is going to be the background color. So it's going to be a light color, and I'm going to put this little center here. I'm just going to put one of these light ones in here. So this is going to be my block right here.
Then what I have to do is I have to add these star legs like this. See the little star legs around here? We have to add those. So what I'm going to do is I'm going to take a couple of my lighter fabrics and I'm going to cut those into fours. So this is the only cutting we'll do on this block, and so it goes together very quickly. Let me clear this up so I can show you exactly what's happening here. I'm going to scoot this up just a little bit. We're going to take these down here. Now you'll need a rotary cutter and you'll need a little ruler and this little ruler, this little two and a half is so handy because it's exactly in half. You don't really have to measure. You just lay it along the edge and we're going to cut... We're cutting two of these now. I have two stacked up right here. Let me show you. Two. And they don't have to be the same, but they can. You'll see behind me some of the stars have the same legs, some of them have opposite legs. It's just whatever you want to do. And I'm going to cut it in half this way and I'm going to cut it in half this way.
Now I have eight little two and a half inch squares. So we're going to slide this back down so you can see it really well. And these middle blocks are the ones that are going to get the star legs. So what we're going to do is we are going to either draw the line. You can use your diagonal seam tape or you can press a line, but you need a line diagonally on your block somehow. So we'll just go ahead and press these in half like this and make a little line. You can draw the line too. It's really personal preference and honestly as a quilter, it's whatever you get used to. And so I'm used to the diagonal seam tape, plus I have sewn across about a zillion of these squares and I can eyeball it pretty good.
So once you get your little line on here, what you're going to do is you're going to pull out these four right here. And we're going to put them over on our sewing machine. So just the middle ones. So this stays how it is, and we just pull out the middle ones. And then what we're going to do is we're going to put these right sides together like this, and we are going to sew right on the line this way. And we're going to add one to both sides, but we're going to do one side of one all at once.
Now what we can do here is we can lay it on this corner and sew right on the line like this. And make sure it's lined up, snug into your corner, just right on the outside edge, just right in there. And then we can do what we call chain piecing. So now we're going to take our little blocks and we are going to add them all the same corner, and we're just going to sew one after another after another. So this is called chain piecing. And we'll do another just like this, make sure they're snug in that corner. And we're going to do this to all four of ours like this.
Now you can take your scissors or your rotary cutter. I just am going to use scissors because I'm old school and you're going to cut this about a quarter of an inch away. So leave a little bit of room in here so that you don't get close to your seam when you're cutting. And I'm just going to trim these off and cut each one of these like this. And here's my last two, one there and one there.
Now what we're going to do is we're going to press these back. So just set your seam like this and lay it and roll it back like that. Now you can pretty much set all your seams at once. They just need a little heat to relax that thread. I forget to set the seam a lot of times. So it's not crucial, but it is helpful to relax the thread and make them lay all nice and flat.
So now what we're going to do is we're going to take the rest of our squares here and we're going to add them to the other side. And let me show you how that looks. I'll get rid of these over here. Here's our block still together. So here is our little square, and I'm going to lay my square on the opposite side like this, and I'm going to sew side to side like this.
Now, if you draw that line, let me show you how to do that so you can see because everybody likes a different method. We all think differently and everybody likes a different method. And some of us may want to draw, some of us may want to iron, and some of us will just sew across. So if you draw a line diagonally, corner to corner just like that, you're going to sew right on that line. And so it just makes it really easy. And then as you get used to putting those corners on, you may decide you love doing that or you may decide that you want to do it a different way. So try the different things and see what works for your brain.
So I'm going to sew right on this line. And then again, I'm going to bring all my little pieces up here. There they are over here. And I am going to chain piece them all the way across here. So put this on here like this. Slide it under there and sew across. And I'm going to do this with all of them. And one of the reasons this makes this beginner star is because there are no points to lose. The fabric doesn't cross over, so you don't have to worry about any points at all. It just makes a really fun star. Quick and easy. Let's go ahead and trim these and press those back. And here's our last two, and then we'll fit them right back into our block.
So we're just going to press that back. Oh, set my seams. I'm trying to help you have good habits as a beginner. As we get going on quilts, we're often just like, "Oh, I'm not going to worry about that." And there's a lot of things that we don't have to worry about. There's no quilt police, nobody's going to get mad at you if you don't do exactly the right thing. All right, so let's put these back into our block and then you'll be able to see the star form. And so we'll put this one up here, just like that. This one can go here. Oh, actually we'll put him over here because we have a red one here. I don't like my same colors to be together just like this and see how that star forms just like that.
Now what we're going to do is I'm going to lay this over here and I'm going to sew it row by row. So I will match these two. These have not changed the size, so they're still five-inch squares. And so we're going to lay it on here, and then I'll add this one to the other side of my star legs and we'll do it row by row. There's lots of ways to sew a block together. All right, so then I'm just going to open this up and I'm going to add my five-inch square to the other side, sew it at a quarter of an inch and then I lay it right back here so I know right where it came from. All right, these two are both going to go to this center square right here. So I'm just going to bring these three over here and sew them right to that center square. Again, it's a quarter of an inch.
And what matters more, the quarter of an inch doesn't matter as much as consistency. And so if you're comfortable like lining your fabrics up on a line here. Quilters shoot for a quarter of an inch, but on all sewing machines, there's different lines. And sometimes if you like the line or you like the edge of your presser foot, whichever one you like, as long as you're consistent, because these are all the same size, it will go right together. Now, when you start doing more difficult blocks, that quarter inch is going to matter. On this one consistency is more important than perfection. So then that goes there. And now on this one we're going to sew these three together.
So as you're sewing these together, it doesn't really matter which one is on top and which one is on the bottom. It matters that they're in the right order. And that's why we leave our blocks together like this because we want it to make a star. So if for instance, I put this back on here, I would look to make sure that all my points were going in the right direction. If I accidentally put this on here, well, it's a whole different tutorial for one, but it's not going to make a star.
What we're going to do now is I'm going to sew this row to this row, and I'll show you how I do that. So what I do is I line up these edges just exactly, and then I take a few little anchoring stitches. So I'm just going to go forward a little bit, like maybe a half an inch, and then I'm going to go to where this next seam, the junction comes together. I'm going to make sure that one of my seams is going one direction and one the other, and I'm going to feel with my fingers to make sure that there's no fabric in between there. And I'm going to sew to that far.
Now if you want to use a pin, you can, and I will show you how to do that on the next row, but I got used to where I could just feel with my fingers if it was together. So now I'm looking to the next junction where my seams come together, making sure that one seam is going this way and one this way. So they nest really tight at the seam. And I will show you that in a little better depth on the next row. Again, we're just sewing a quarter of an inch. How did I get the red with the red after all that work? Am I doing this right? That's all right, I guess. All righty.
So now here's the star. And as we go to add our bottom row, I'm going to show you a little better what I'm talking about. So I'm going to sew a little bit here, then I'm going to come to these two seams right here and I'm going to make sure that one is going this way and one is going this way. Now it's handy to have your middle seams go the same direction. So if you've sewn one and those seams are going out, it'd be better if these seams go out too because then your block will lay flatter. And so that means these are going to go in, these seams are going to go in. All right, so make sure they're nested up really nice.
Now if you want to use a pin in this, you would just take this and you would just line this up on here. So this seam is going to go in and this outer seam is going to go out and you could put a pin right in here like this. So you've got these lined up and you can just feel that there's no fabric in between them. Now if you put that pin in at a little bit of an angle, it will just lock them up and hold it together really well. And so if you want to pin, you can pin like that, but then I always look, peek in there to make sure that my seam is just lined up exactly. I've gotten so used to doing it by feel that I don't pin very often, but if you're a beginner, you may want to use a pin.
And I always pin with my head to the inside. You want to remove that pin as you come to it because you don't want to sew across it. But this one is far enough away from my quarter inch where I could just go ahead and sew the row and we'll just see how I feel when I get there because maybe I'll pull that out or maybe I'll leave it in. All right, so here we go. And this again, my middle seam should be coming to the middle and the seam that's right here on the top should be going away from me.
And I am going to go ahead and sew a little closer, and then I'm going to take this pin out. It's just a good habit to remove your pins as you go along. Make sure your seam still feels nice and tight there, and then you're going to [inaudible 00:16:19]. All right, so just like that our block is done. Let me press it so I can show it to you. It looks so good and we haven't had to worry about a single point. And we have this wonderful little star block and you can see back here. So every other one of these here have the color on the outside and then these have the background on the outside. But sometimes, especially when you're a beginner and you're making a new block, it's fun to see things in different colors.
So I made another quilt here and I thought it was just would be a perfect baby quilt because a lot of times when you are beginning quilting, the first quilt you make is a baby quilt because somebody at work is having a baby and you want to do something that's a gift from your heart. And so you just choose something different. So I thought this was a fun fabric to use for a baby quilt. I just think it looks so cute and it's a whole different look. When you see this, this is just a whole different feel than the quilt behind us. Maybe I'll hang it up right here so we can see it better and see both of them. All right, there we go.
It's fun to look at how much fabric changes a pattern when you put it together. Look how different that looks than the other one. And yet it's the same simple pattern. Think about it in Christmas or Halloween or whatever, maybe you just want to make six of these stars and sew them together and make a runner for your table. But it's a great way to start, especially if you love stars and especially if you're a beginner.
So we hope you enjoyed this tutorial on the beginner star from the Missouri Star Quilt Company.
Hi everybody, it's Jenny from the Missouri Star Quilt Company. We hope you enjoyed watching this video. If you aren't already part of the Missouri Star Quilt Company family, be sure to subscribe so you won't miss a thing. And if you click that bell, it'll notify you every time a new tutorial comes out. See you next Friday.


