
How to Make a Confetti Trivet - Free Project Tutorial with Misty Doan
 Misty Doan
- Charm Pack
- Beginner
- Quilt size 9" × 9"
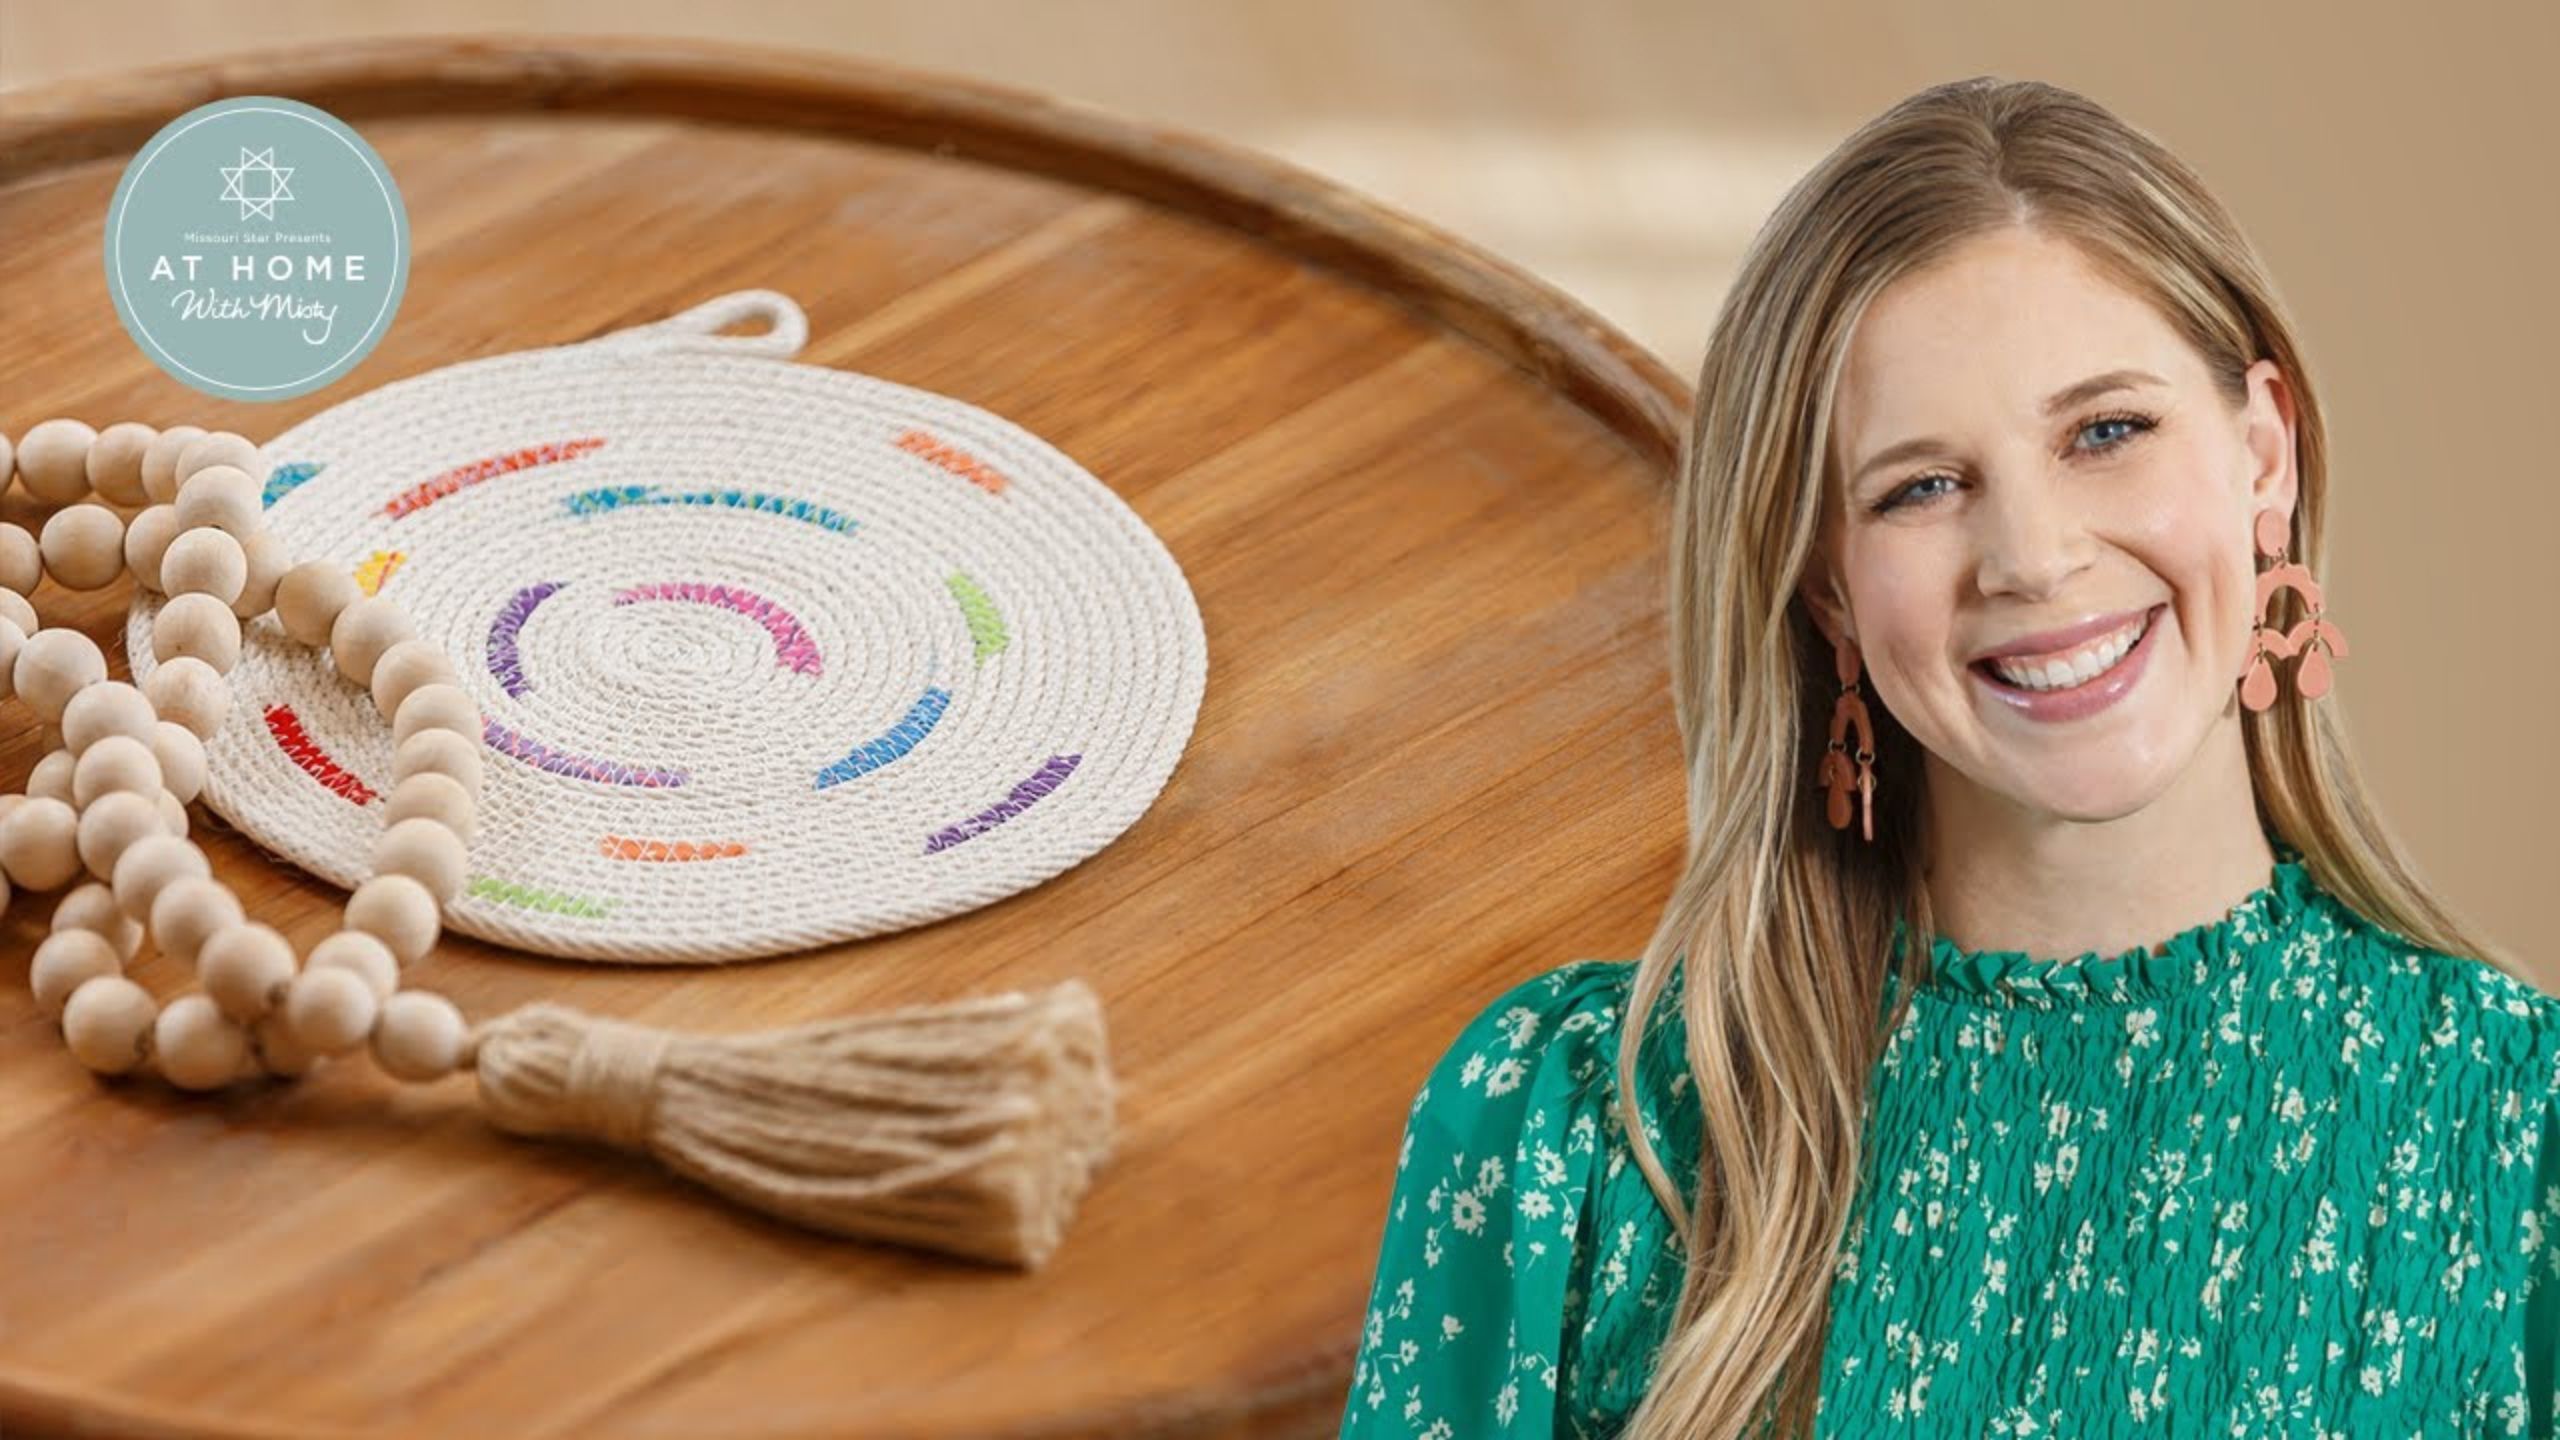
Is your coffee table looking a little bare? Join Misty Doan from the Missouri Star Quilt Company on At Home With Misty to discover a fun way to decorate those end tables and coffee tables! The Confetti Trivet is a cute project and makes a great rest for your mugs. All you need are some colorful 5" squares and a spool of cotton braid rope to get started! Super easy and super fun!
Instructor
Misty Doan
Misty Doan grew up surrounded by sewing and quilting. She loves spending time sharing tutorials each week each week, and when she’s not stitching up one of her fun sewing projects for home decor, most likely you’ll find her hanging out with her husband and three awesome kids or working on a house project.
Shop this tutorial
 Tiny Coordinates - Tula Pink 5" Squares$13.45Shop →
 Cotton Braid Rope - 3/16" - 66.6 yard spool$39.95Shop →
 Cotton Braid Rope - 3/16" - 15 yards$14.95Shop →
 Missouri Star 2.5" x 8" Ruler$10.95Shop →
 Olfa Splash Aqua 45mm Rotary Cutter$18.75Shop →
 Exclusive Missouri Star Jenny TG1600 ProPlus Oliso Smart Iron$199.99Shop →
 Missouri Star Wooly Betty Board - 17.5" x 17.5" Aqua Border$88.95Shop →
 Magnetic Thread Spool Pin Holder - Pink$5.45Shop →
 Missouri Star 50 WT Cotton Thread Eggshell$6.95Shop →
 Zigzag Rope Sewing Projects Book$18.95Shop →
Common Questions
What is covered in How to Make a Confetti Trivet - Free Project Tutorial with Misty Doan?
Is your coffee table looking a little bare? Join Misty Doan from the Missouri Star Quilt Company on At Home With Misty to discover a fun way to decorate those end tables and coffee tables! The Confetti Trivet is a cute project and makes a great rest for your mugs. All you need...
How long is the tutorial video?
The tutorial video is 00:15:16.
Are supplies listed for this tutorial?
Yes. The tutorial page includes the supplies and materials connected to this project.
Is a transcript available?
Yes. A written transcript is available on the tutorial page.
Video Transcript
Sewing and we're going to make another project today.
Like I said, I got hooked. Once I started making these rope bowls and all of the projects that I found in this awesome book. It's called Zigzag Rope Sewing and it has 16 different little projects for you to use around the house.
So I just dove right in and I bought myself a full spool. This is from the
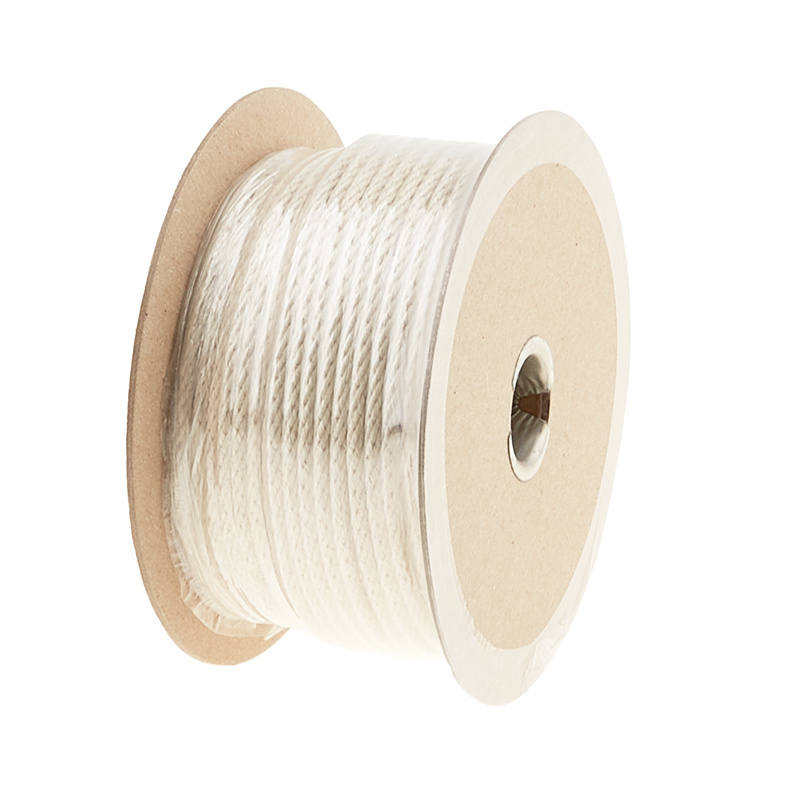
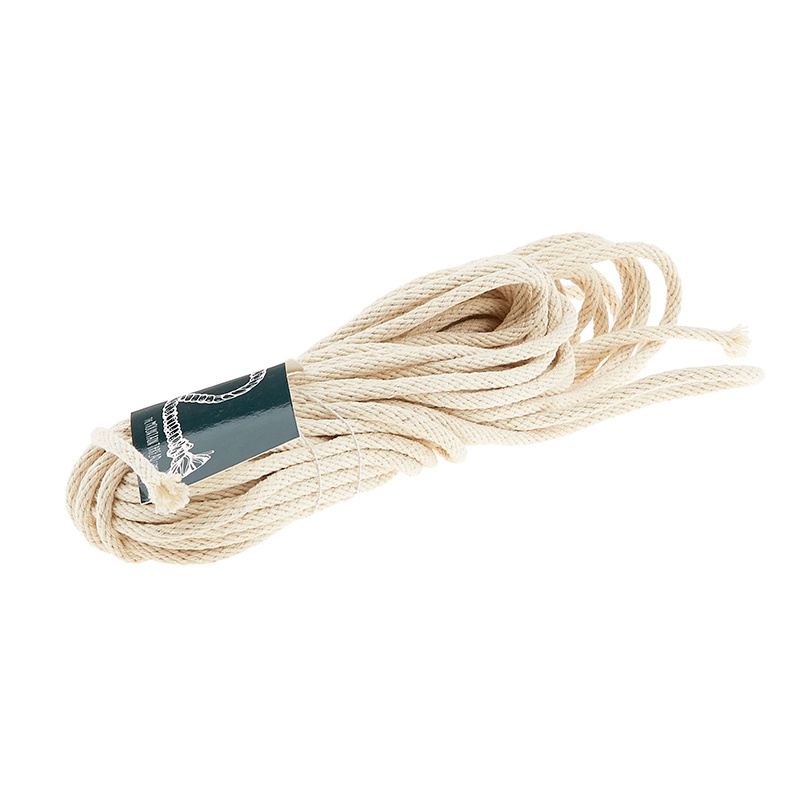
same company that those kits were from. This is Mountain Thread Company. I just wanted to tell you a little bit about this product. It is made here in the United States and it is 100 cotton rope. For a lot of these home projects, especially the one we're making today because it'll be used in the
kitchen, you want to make sure that it's 100 cotton if you're going to be using it around hot dishes or anything like that, because anything that is synthetic can burn or melt, and we don't want that to happen.
Just like we want the rope to be cotton, we want our thread to be cotton and our fabric that we're using to be 100 cotton as well.
This is actually a fabulous scrap buster project - that's what they use in
the book. But I had this adorable little Tula Pink. I think it's called Tiny
Coordinates. It's just really small scale prints and all these fun bright colors
hanging around, so I just chopped them up into little pieces. Let me show you what I did. I just grabbed a few different colors from my charm pack. I
just mixed it up a little so I had some variety. Let's get three or four different ones here…maybe a pink, this purple's nice. We'll go with this.
So I'll just stack these up now, one on top of the other and. I like to do no
more than four at a time and like I said, if you have scraps be sure to just use those, but you want pretty small pieces for this project. I'm going to
cut these first into one inch strips because they recommend no pieces larger than one by three, so I'm just going to make a cut and just make my way all the way across my five inch square. There we go.
Now I'm just going to kind of willy-nilly cut these different sizes because I don't want them to all be even. The variety is what makes it interesting. Now I have a variety of sizes that are all about one inch wide and varying lengths.
Beyond the scraps that you're going to need, you're going to need 10 yards of that cotton rope. I went ahead and spooled this off and measured it ahead of time. One trick if you're tall like me, I just pull my arm out like this and this is about a yard and that's close enough for me. It's easier for me to do it that way than laying it out and measuring it on my cutting mat. Of course you can do it that way as well, just find whatever works for you and remember that these measurements are fairly accurate and they're going to shift a little bit depending on how tight you lay your rope. It's just one of those things that's really forgiving, so don't stress too much about that.
Now that we have all of our pieces prepped and ready, let's go ahead and get started. I'm going to pull this over to the sewing machine here.
One thing I want to talk about is when you are starting, I put a little piece of tape on the end here so that it wouldn't fray. We are going to make a little coil and so let me just start right here. I'm just going to roll that around, just like so, until we get about three or four times around.
Now that you have this wrapped around, you can put a pin through here if you want, but I find it easier to just hold it tight in my hands. I'm going to lay it down here so you can kind of see what I've got going on. You can see my rope is spooling around and then I have this tail of the rope coming down to my right hand side. That's the way that I want to take this to the machine, so I'm going to pinch this again and move it to the machine here.
Now to begin there's a couple things that you want to make sure of so that
you are successful with this project. You need a machine that has a zigzag
stitch. I have that ready to go and these first few stitches that we're going to take, we are going to have our stitch length at about 1.5-2. We want pretty tight stitches and then the stitch width, the width of that zigzag, I turn it all the way up to seven. I found that to be the easiest to work with. We are going to just start by making an X across these first coils that we made.
I'm going to put this under the machine and I'm going to sew straight across. Right now I'm not following around the coil and I do kind of back up at the start and stop just because I want this to be nice and secure.
Then we will lift our presser foot - we've got my first row there - and I'll trim my threads. I do kind of take the time to trim these as I go because they can get in the way as you're working later. Now that you have that first row of stitching. It's a lot easier to work with because it's already kind of holding that spool together.
You can see that it's keeping that coil shape, but we're going to go
ahead now and finish off that X. We're going to turn this and stitch
in the other direction in the exact same way.
Now we're going to go in the opposite direction of where we have that X and we're going to put an X in between so that we're making it really secure there in the center. I'm just lining up in between those two rows of stitches. I know it's hard to see with this coordinating thread, but that is what we're doing and there's some great diagrams in the book that explain all of this as well.
There we go. Trim, and one more row of this stitching and then we'll be ready to go all the way around. Now our center is all secure. Take one final time here to just trim all of these out of the way, make sure everything is lined up the way that we want it.
So we've got all of our stitching there and the coil is coming down into the right which is exactly how we want it. Now I'm going to set this up to continue sewing all the way around this circle which means I need to lengthen my stitch length up to about a 4.
Now you can see where the rope is not attached from that first line of stitching and that's where I'm going to start my zigzag. I'm going
to come back there and when you begin you want to take your
time and go really slow because these first few coils when it's small is the
trickiest part. So I am just going to start stitching making sure I'm catching both sides and back stitching a little bit there. And then just slowly turn this.
If you have a center mark on your presser foot, you want to keep where the two ropes are joining lined up right with that center mark. That's kind of what you're looking for because then you know your needle is going to catch both sides.
I'm going to do a couple rounds around this Center just to make it a little bit larger. Once I've made a few rounds around that center, so it's easier to work with, now we can start adding our scraps of fabric. I'm just going to pick up a little piece here and I'm going to wrap this around the rope. This takes a little bit of practice, but like I said earlier this is way more forgiving than you realize. I'm just going to get this in here so it lays down just like that, and pinch the end with my fingers, just like. You can see kind of what I'm working with. Then we're just going to ease this along and start continuing to add this around.
As it comes around the back side - I don't know if you can see - this is a
little uneven but I'm not worried about that because it's going to work out as I continue to add rope. I'm going to take a few more stitches and add another piece. I’ve got this little red one just wrapping that around and then we're just going to keep going. Now when I add a piece of fabric I usually like to do at least one coil around again, just to give some separation especially on the inside few rounds.
Now as I get past this red scrap I think I'll add one more, all right? I'm going to add this piece in here now, just kind of wrap it around, you can see some of the ends are showing. None of that matters. We're just gonna keep going in the same way until I get to about 10 to 12 inches of rope left and I'll show you how to finish this off.
So I've got just a little bit left here. I'm going to go ahead and back stitch (usually you would do all of this under the machine, but I want to be sure
that you guys can see what I'm doing). So I am just going to clip these threads. As you can see, I've left this little tail here and all we're going to do is continue this around and then as we get to the end of this I'm going to fold it back on itself about like so, and tuck it alongside. Then when we get up here we're going to shorten our stitch length again and we're going to back stitch over where all of that meets. It's going to leave this cute little loop on the end of our trivet.
Now let's go ahead and put this back under the machine and I'll finish that off exactly like that. I'm going to go ahead and backstitch to get me started again because we don't want that to come unrolled. You want to kind of keep this flat because remember, when we tilt it that's how we add a curve. We learned that from making the bowls.
Getting close to the end now, so I'm going to take that into the loop, push it back under so it meets up with the side of the trivet. I'm going to shorten my stitch length for the end here, back down between 1.5 and 2, and we are going to finish this off. I like to back stitch a bunch over that little loop area just because I want it to be nice and secure.
Now you can pull this out of here and trim our threads and there we have this cute little confetti trivet using some of our fabric scraps! I love this project so much. The basic instructions with the 10 yards of rope that are listed in the book here give you this trivet that ends up about 9”, but one of the things I love about this book is it has all kinds of great tips about how to customize these projects and make them larger. You can see here I doubled my rope and got a much larger trivet.I thought this would be so cute even for like chargers underneath your plates.
Remember you can use whatever color of fabric scraps you want to make this fit your decor or the decor of whoever you're making these great little gifts for! I hope you guys enjoyed this awesome Confetti Trivet from the Zigzag Rope Sewing book. I will see you next time on At Home with Misty.


